Table of Contents
We've all sewn for the first time. I was no different. But when I was starting out, I thought it would be wise to start with something simple that I could handle and learn the basics.
I was very afraid that I would ruin my creation. So I started looking on Etsy for an easy sewing project with a simple pattern for a regular one piece fabric bag. Considering my limited experience and skills(I didn't know how to sew a tote bag), it seemed like a sensible course of action.
I wanted to be sure I could sew my first project and actually wear it. I don't usually sew in a "drawer". So I looked for beginner pattern of modern sewing projects for beginners. From those I found, I selected the Origami Bag pattern. It's the Azuma Bukuro style. Clean and simple lines that a complete beginner can handle. It takes less than 4 hours, and a beautiful bag is born!
The bag captivated me, so I bought the Origami Bag pattern and immediately ran to print it. I found the bag very inspiring because it is not a classic pattern. It is different, original, and at the same time has a completely minimalist and elegant design. The bag has a simple construction.
When I researched the history of this model, I got to the 17th century. century. At that time, ordinary Japanese citizens tied scarves together and then simply sewed them together so that the bag would hold its shape.
The bag is inspired by origami, which almost everyone associates with Japanese culture. I really like it when things also have some meaning, and it is not just a fuss of folding something.
Mottainai Philosophy
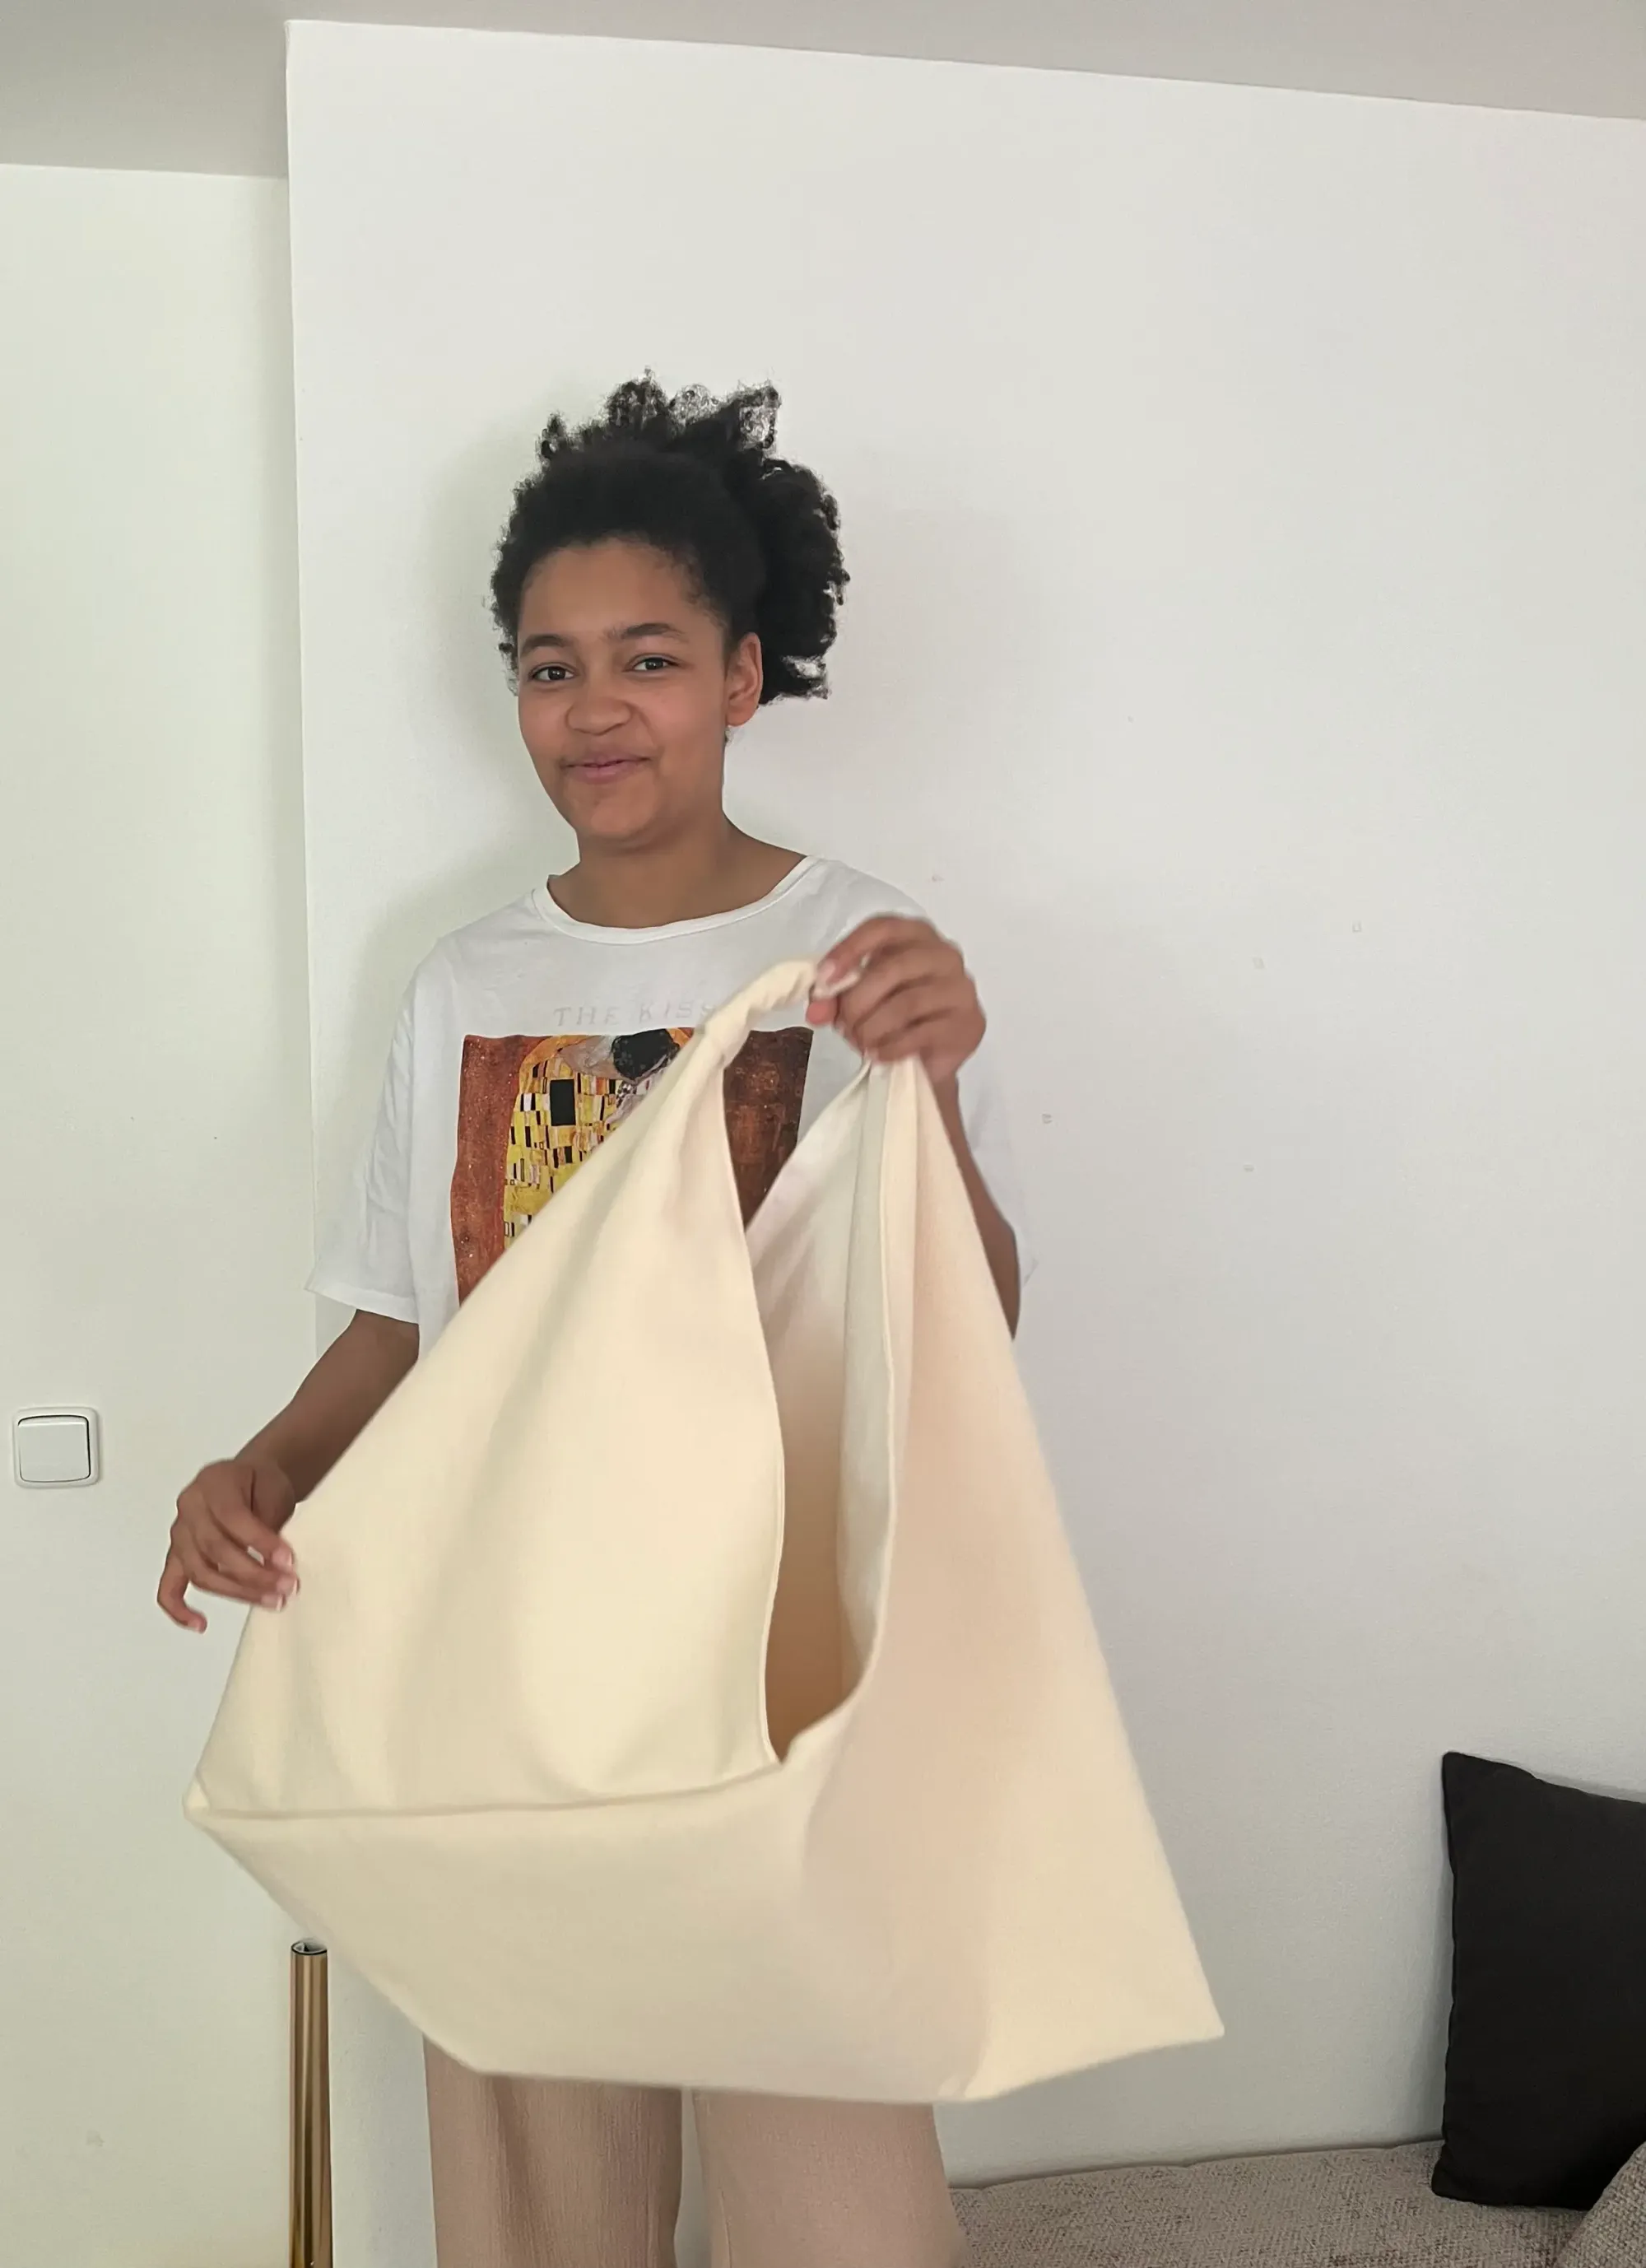
Some of you may know this philosophy. It blends into the bag and its design in an absolutely fabulous way. This philosophy is about not wasting what still has value. That's why you can ideally recycle old canvases and fabrics when making a bag, because its simple and minimalist design can also handle the color combinations of older fabrics. For example, I used leftover canvas that I found on the internet for mine. I found it very beautiful in color and in a timeless combination. I think that if you use material that is no longer useful to someone else, it's a great idea. My daughter also sewed her first origami bag. She was 14 years old at the time and managed to do it without losing the flower. 🌸
What I find most interesting about the Azuma Bukuro pattern bag is that it remains modern, even though this simple cut is several centuries old. They say: "There is beauty in simplicity." In this case, it is 100% true. Given that the bag's design has remained practically unchanged for several centuries, it can be expected to remain so in the future. That's what I love most about the slow approach. You create or buy something, and it will last you forever.
Soft shape
Another important factor in deciding to buy the cut was the fact that a fully fabric bag does not wrinkle anywhere, it is soft, and therefore can withstand various shapes inside. I like to go with the bag to the vegetable market or to the store for a quick trip to the store for the last fresh pastries. The bag is great for traveling. I throw it in my suitcase, where it does not take up space, and at my destination, I just take it out and show it off. 🤭
Occasions to wear
This is the absolute best thing about the Origami bag. Technically speaking, there are no limits. It is purely about the size and the material used. So you can have a bag made of leather, linen, or canvas, or as a small evening bag made of silk or satin. It is entirely up to each of us to choose the size and material for our bag. So lovers of boho style, minimalism, or even Japandi aesthetics will find their place. It is unbelievable that a handbag with this practical shape will find a place.
Cut for beginners
As I mentioned, the bag has a completely simple cut. You do not need any buttons or buttonholes, zippers, or various studs. All you need are two rectangles of fabric and one smaller one for the handle. This bag can be said to be truly sustainable! All you need is leftover fabric, and you can adjust the size. Just keep the aspect ratio, and the cut will always work. So you can have a small bag or a large one, depending on how much fabric you have. Since I sewed my bag from a classic rectangular shape, I had almost no waste.
Origami Bag Step-by-step Tutorial (Azuma Bukuro pattern)
Here I share a simple step by step tutorial on how to make an Origami Bag (Azuma Bukuro bag)
ATTENTION: sometimes there is confusion between Knot bag versus Origami bag. In this tutorial we are going to make an Origami bag.
To make a bag you need shell material and lining material.
Sizes:
Small Bag
100cm x 50cm / 39.5" x 19.6" of shell material
100cm x 35cm / 39.5" x 13.8" of lining material
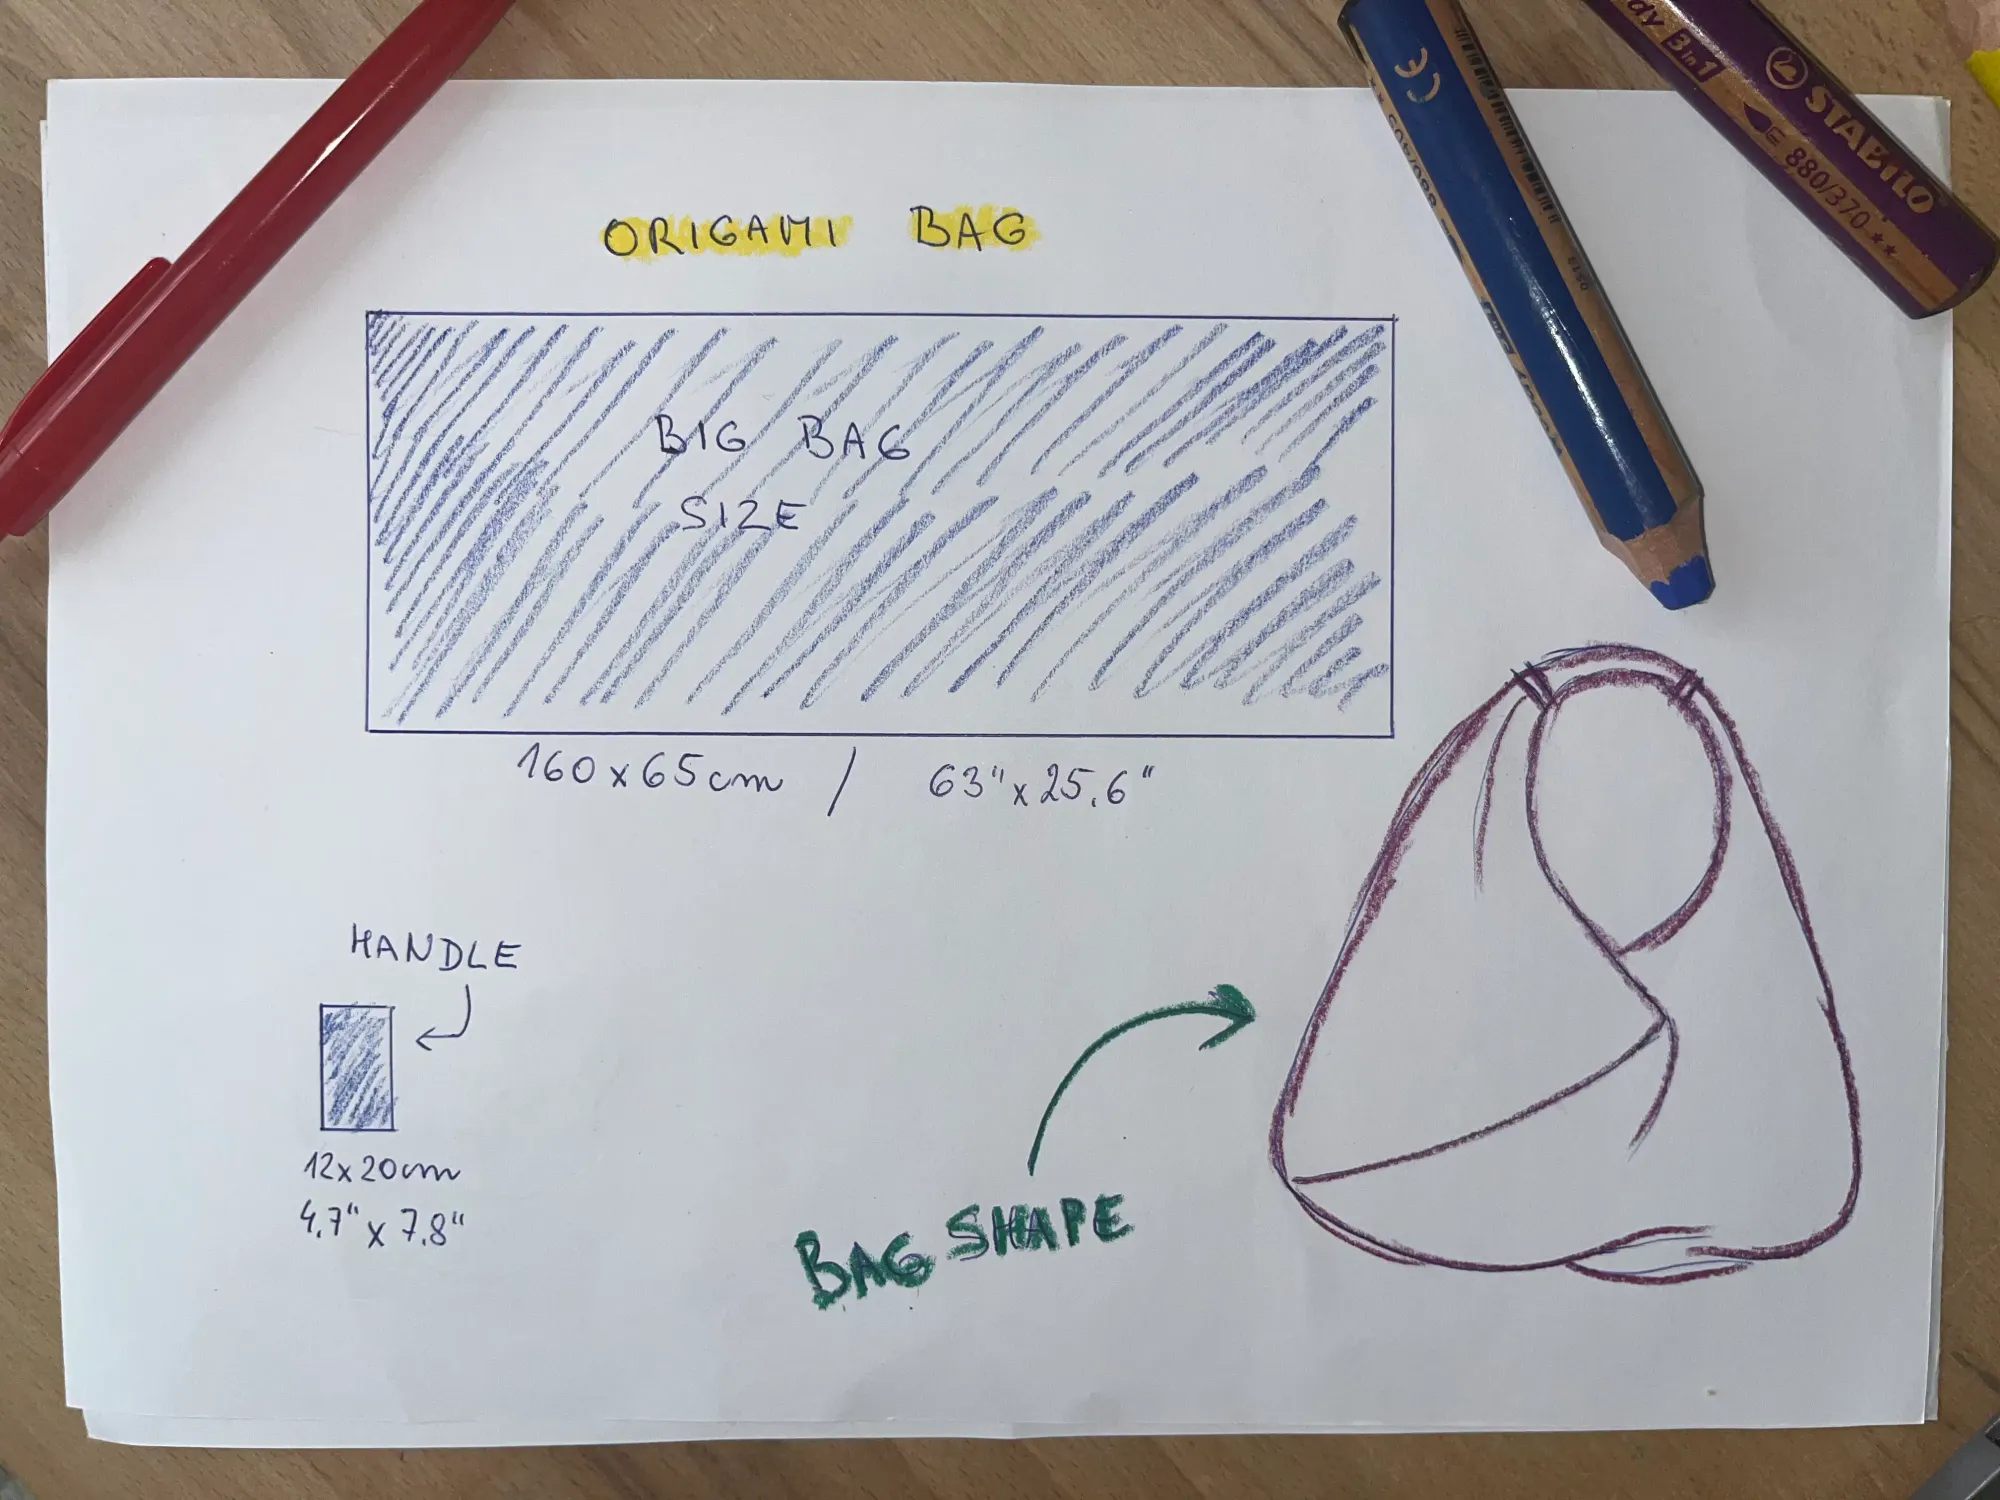
Big Bag
160cm x 65cm / 63" x 25.6" of shell material
160cm x 60cm / 63" x 23.6" of lining material
Equipment
Scissors
Measuring tape
Fabric pen / chalk
Sewing pins
Sewing machine
Iron
Recomandation:
If you are sewing a bag from cotton, I recommend washing the fabric before sewing.
Cotton tends to shrink by approximately 10%-15% depending on the type of material treatment and the quality of the cotton. This step ensures that the bag will always have its shape. It was very worthwhile for me to always wash the fabric before sewing. Then when you wash the bag later because it got dirty somewhere, you can be sure that your bag has a final and unchanging shape.
Origami Bag beginner-friendly tutorial:
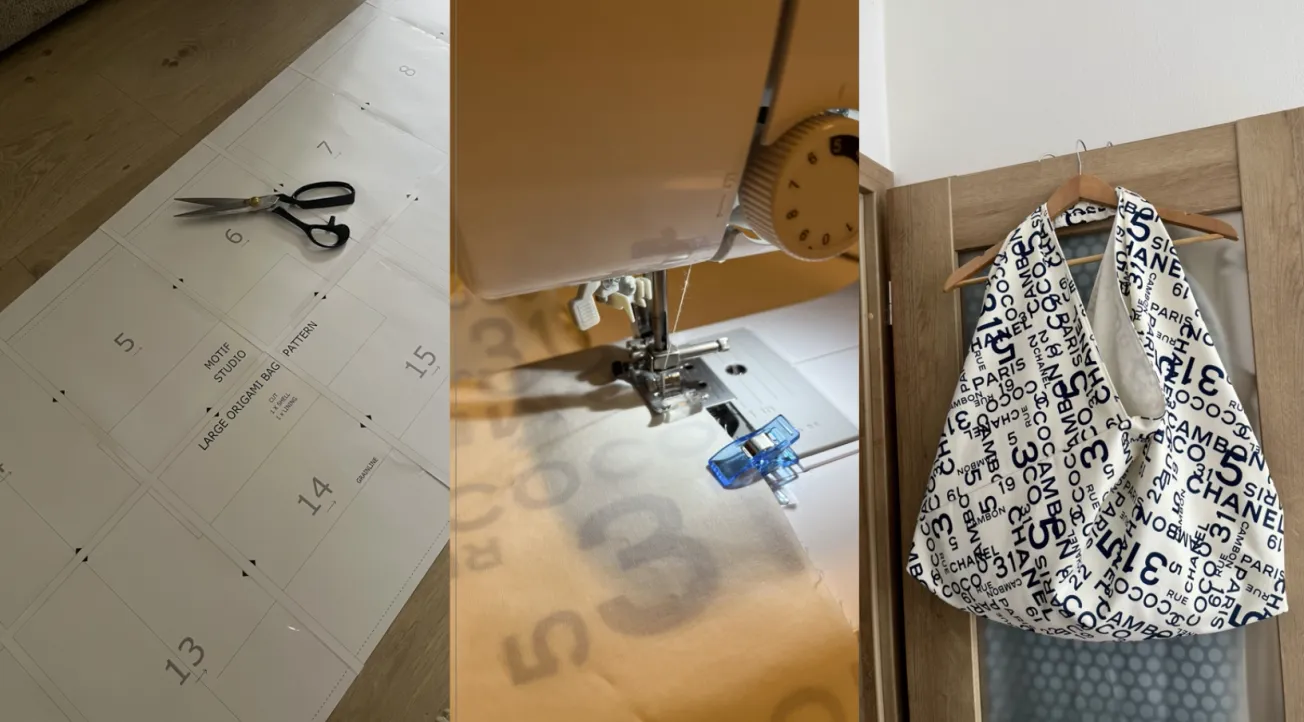
Place the washed and ironed fabric on a flat surface. Ideally, a large table or the floor. Personally, I always choose the floor. ☺️
Draw the desired size of the bag on the fabric using a tape measure or ruler. It is a simple rectangle, so you can handle it. Draw the rectangle so that it is perpendicular to the warp of the fibers - the fibers of the fabric must fit and must not be at an angle. In this case, we do not need to deal with the hem allowance.
- Cut out gently all of your pattern pieces (shell fabric, lining fabric, shell fabric handle)
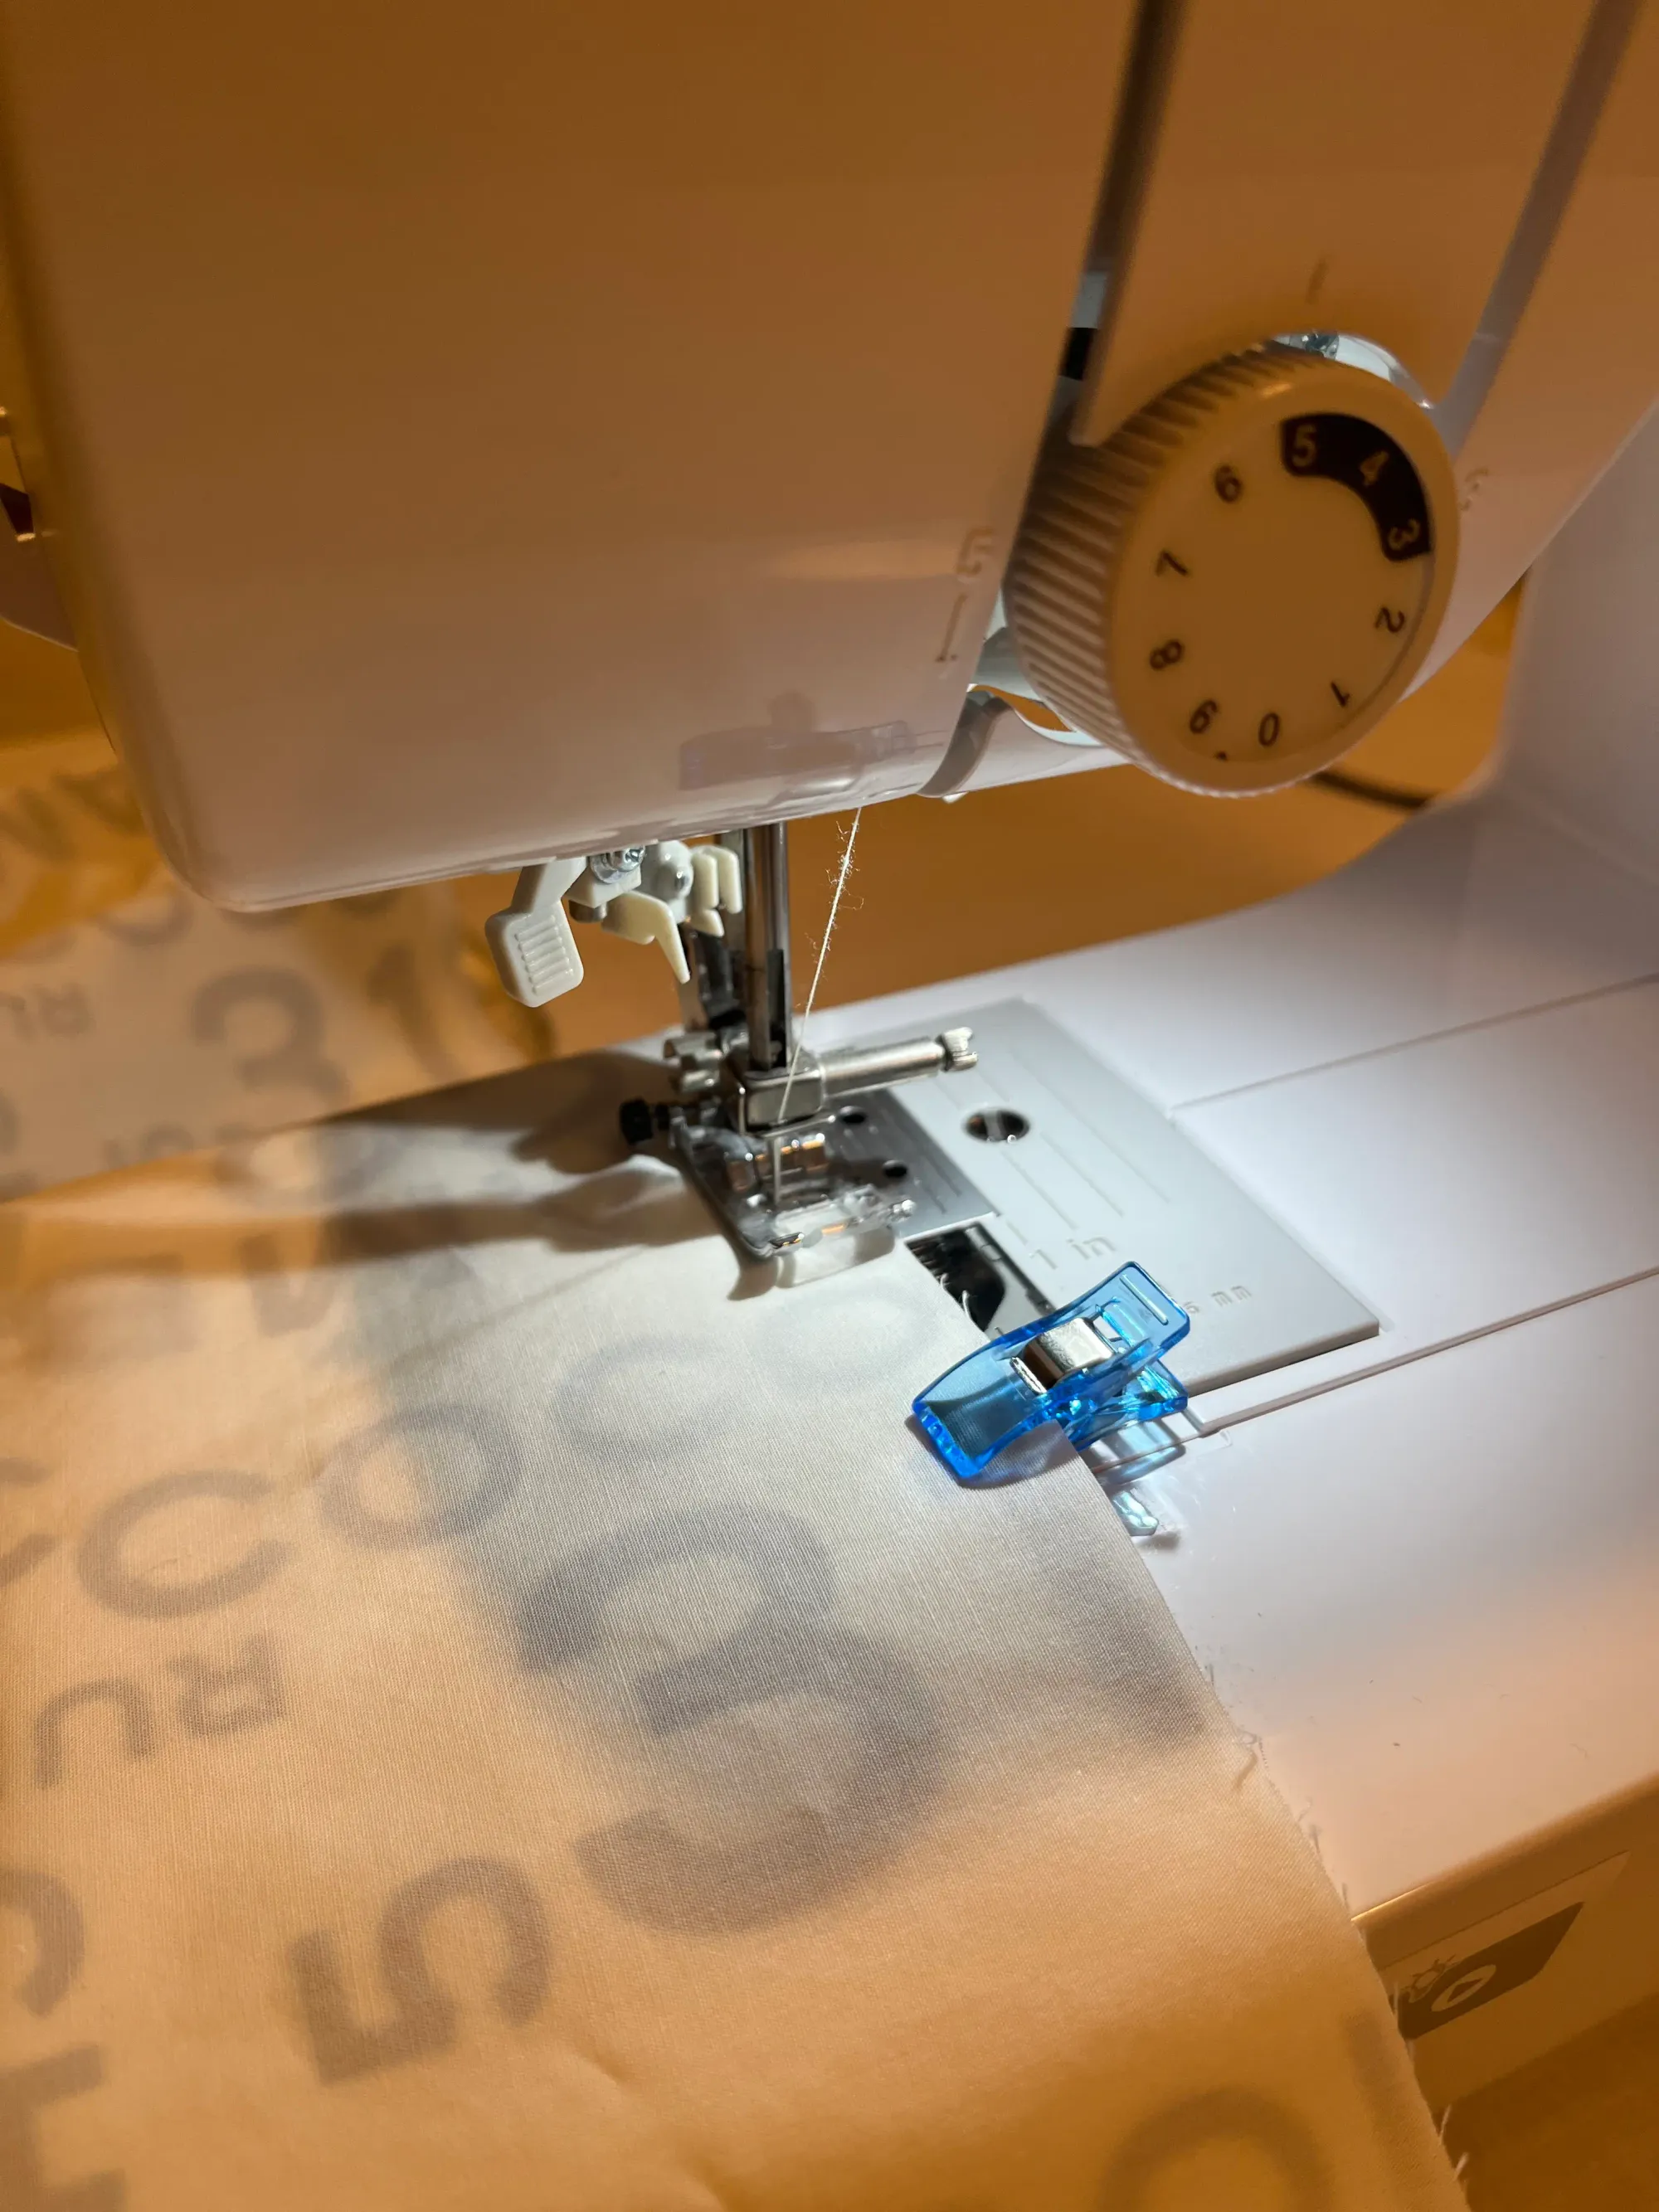
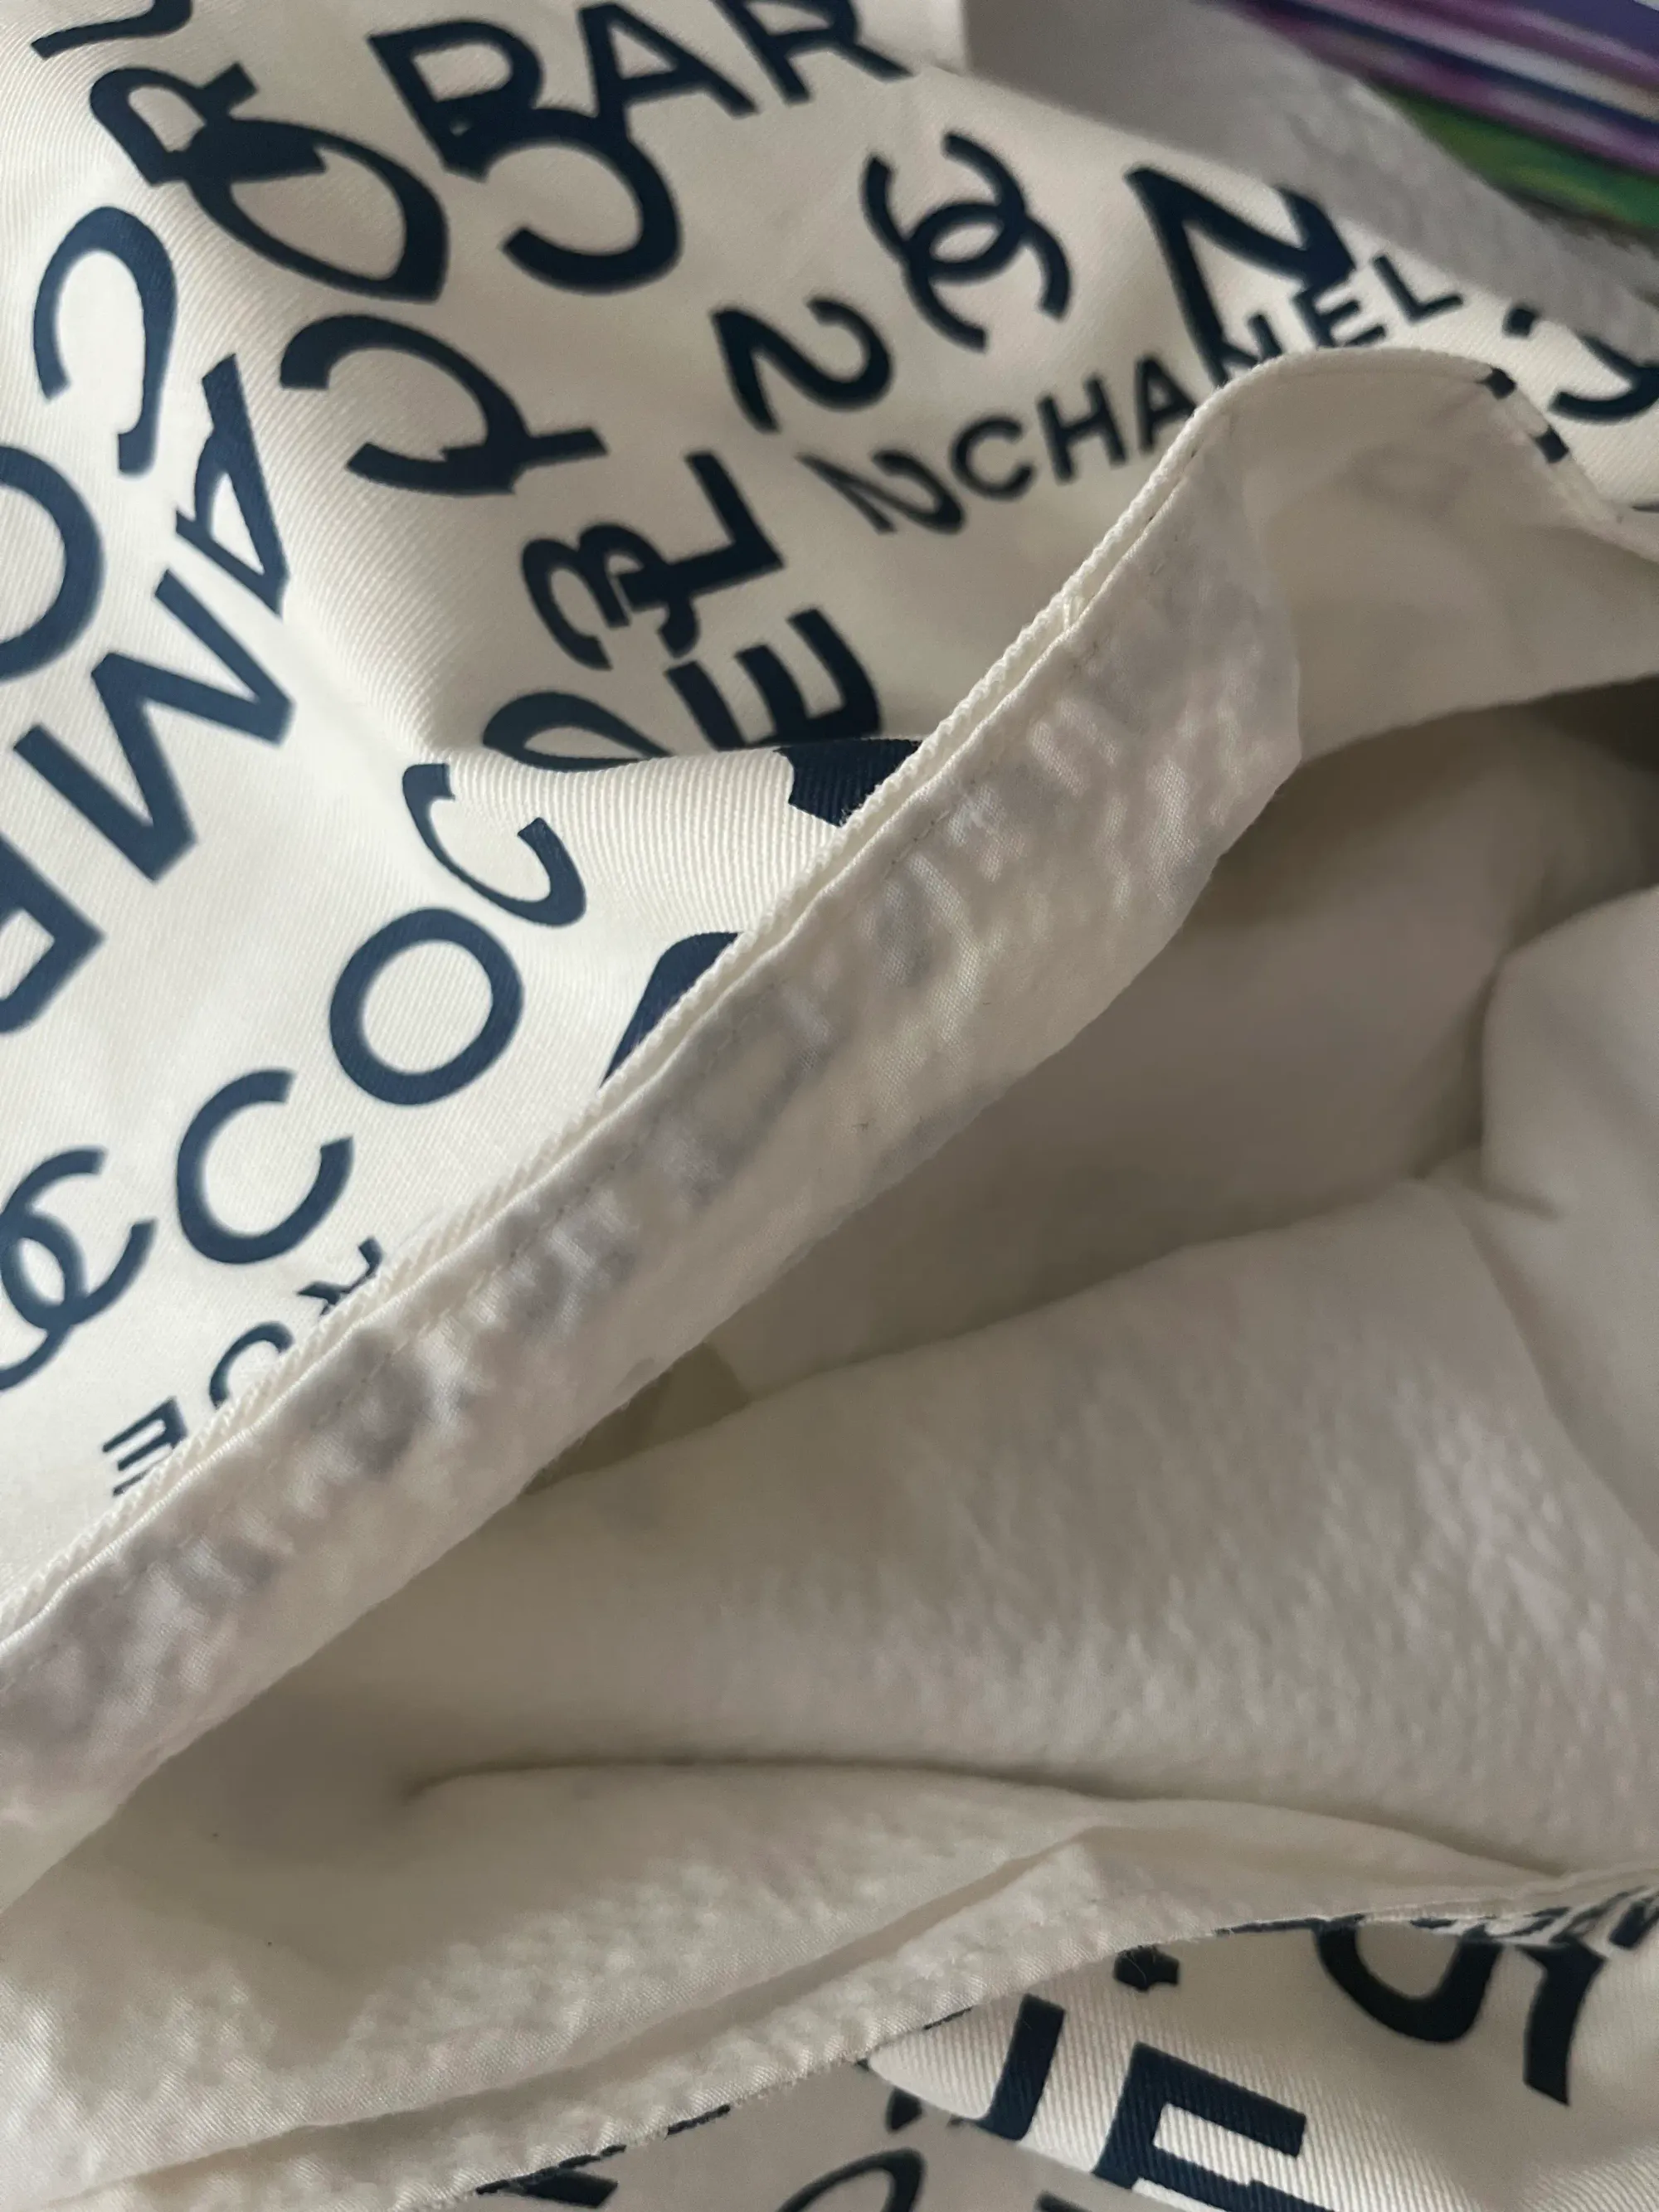
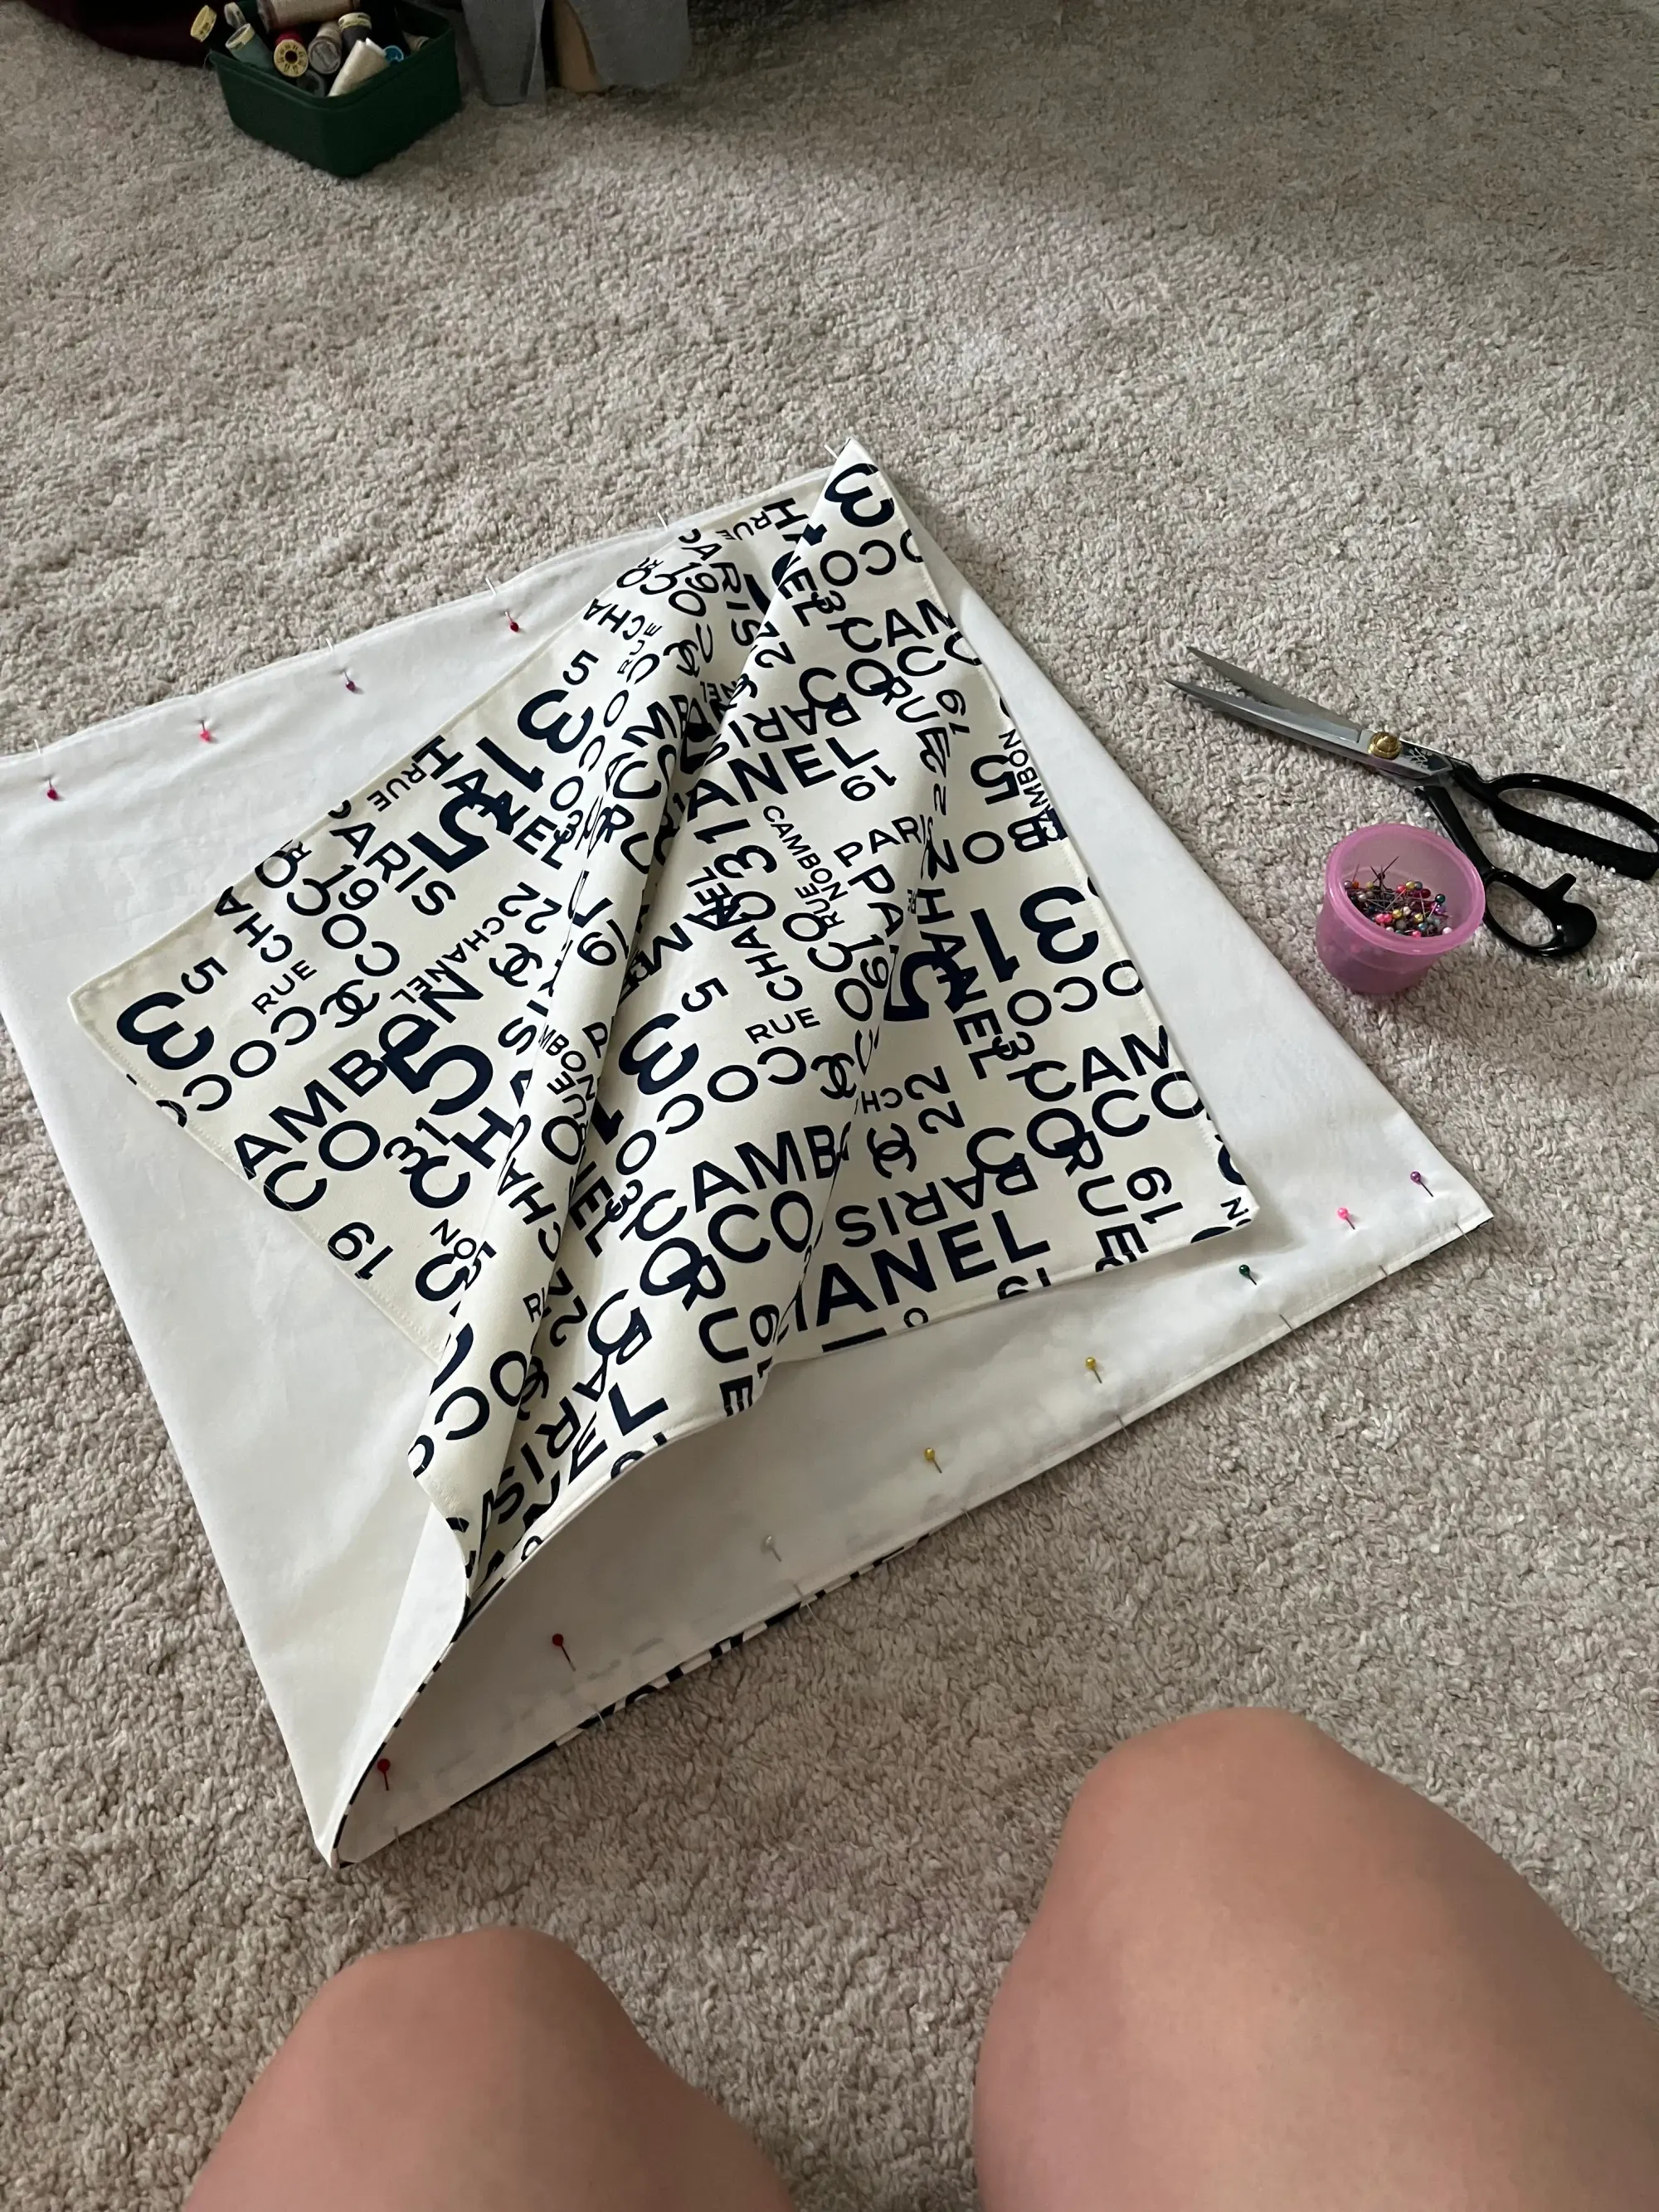
- Lay your shell fabric on top of your lining fabric, right sides together (You will be turning the fabric after sewing the pieces together, so leave room for turning the fabric.) Pin all the way around the edges. Make sure there is at least a 10cm / 4" gap at one end for turning inside out. (You can see on the left pics.)
- Once you have the bag pieces sewn together, gently trim the fabric at each corner to create nice edges when you turn the bag over to the correct edge.
- Turn the sewn bag over through the opening you left and iron it thoroughly to create nice, folded edges. (You can see this in the pictures in the middle and on the right.) When you are done, iron this large piece of sewn fabric thoroughly and this time sew the entire piece along the edge to create a neat and elegant edge to the bag. See. the third picture below.
How to sew Origami Bag beginner friendly tutorial
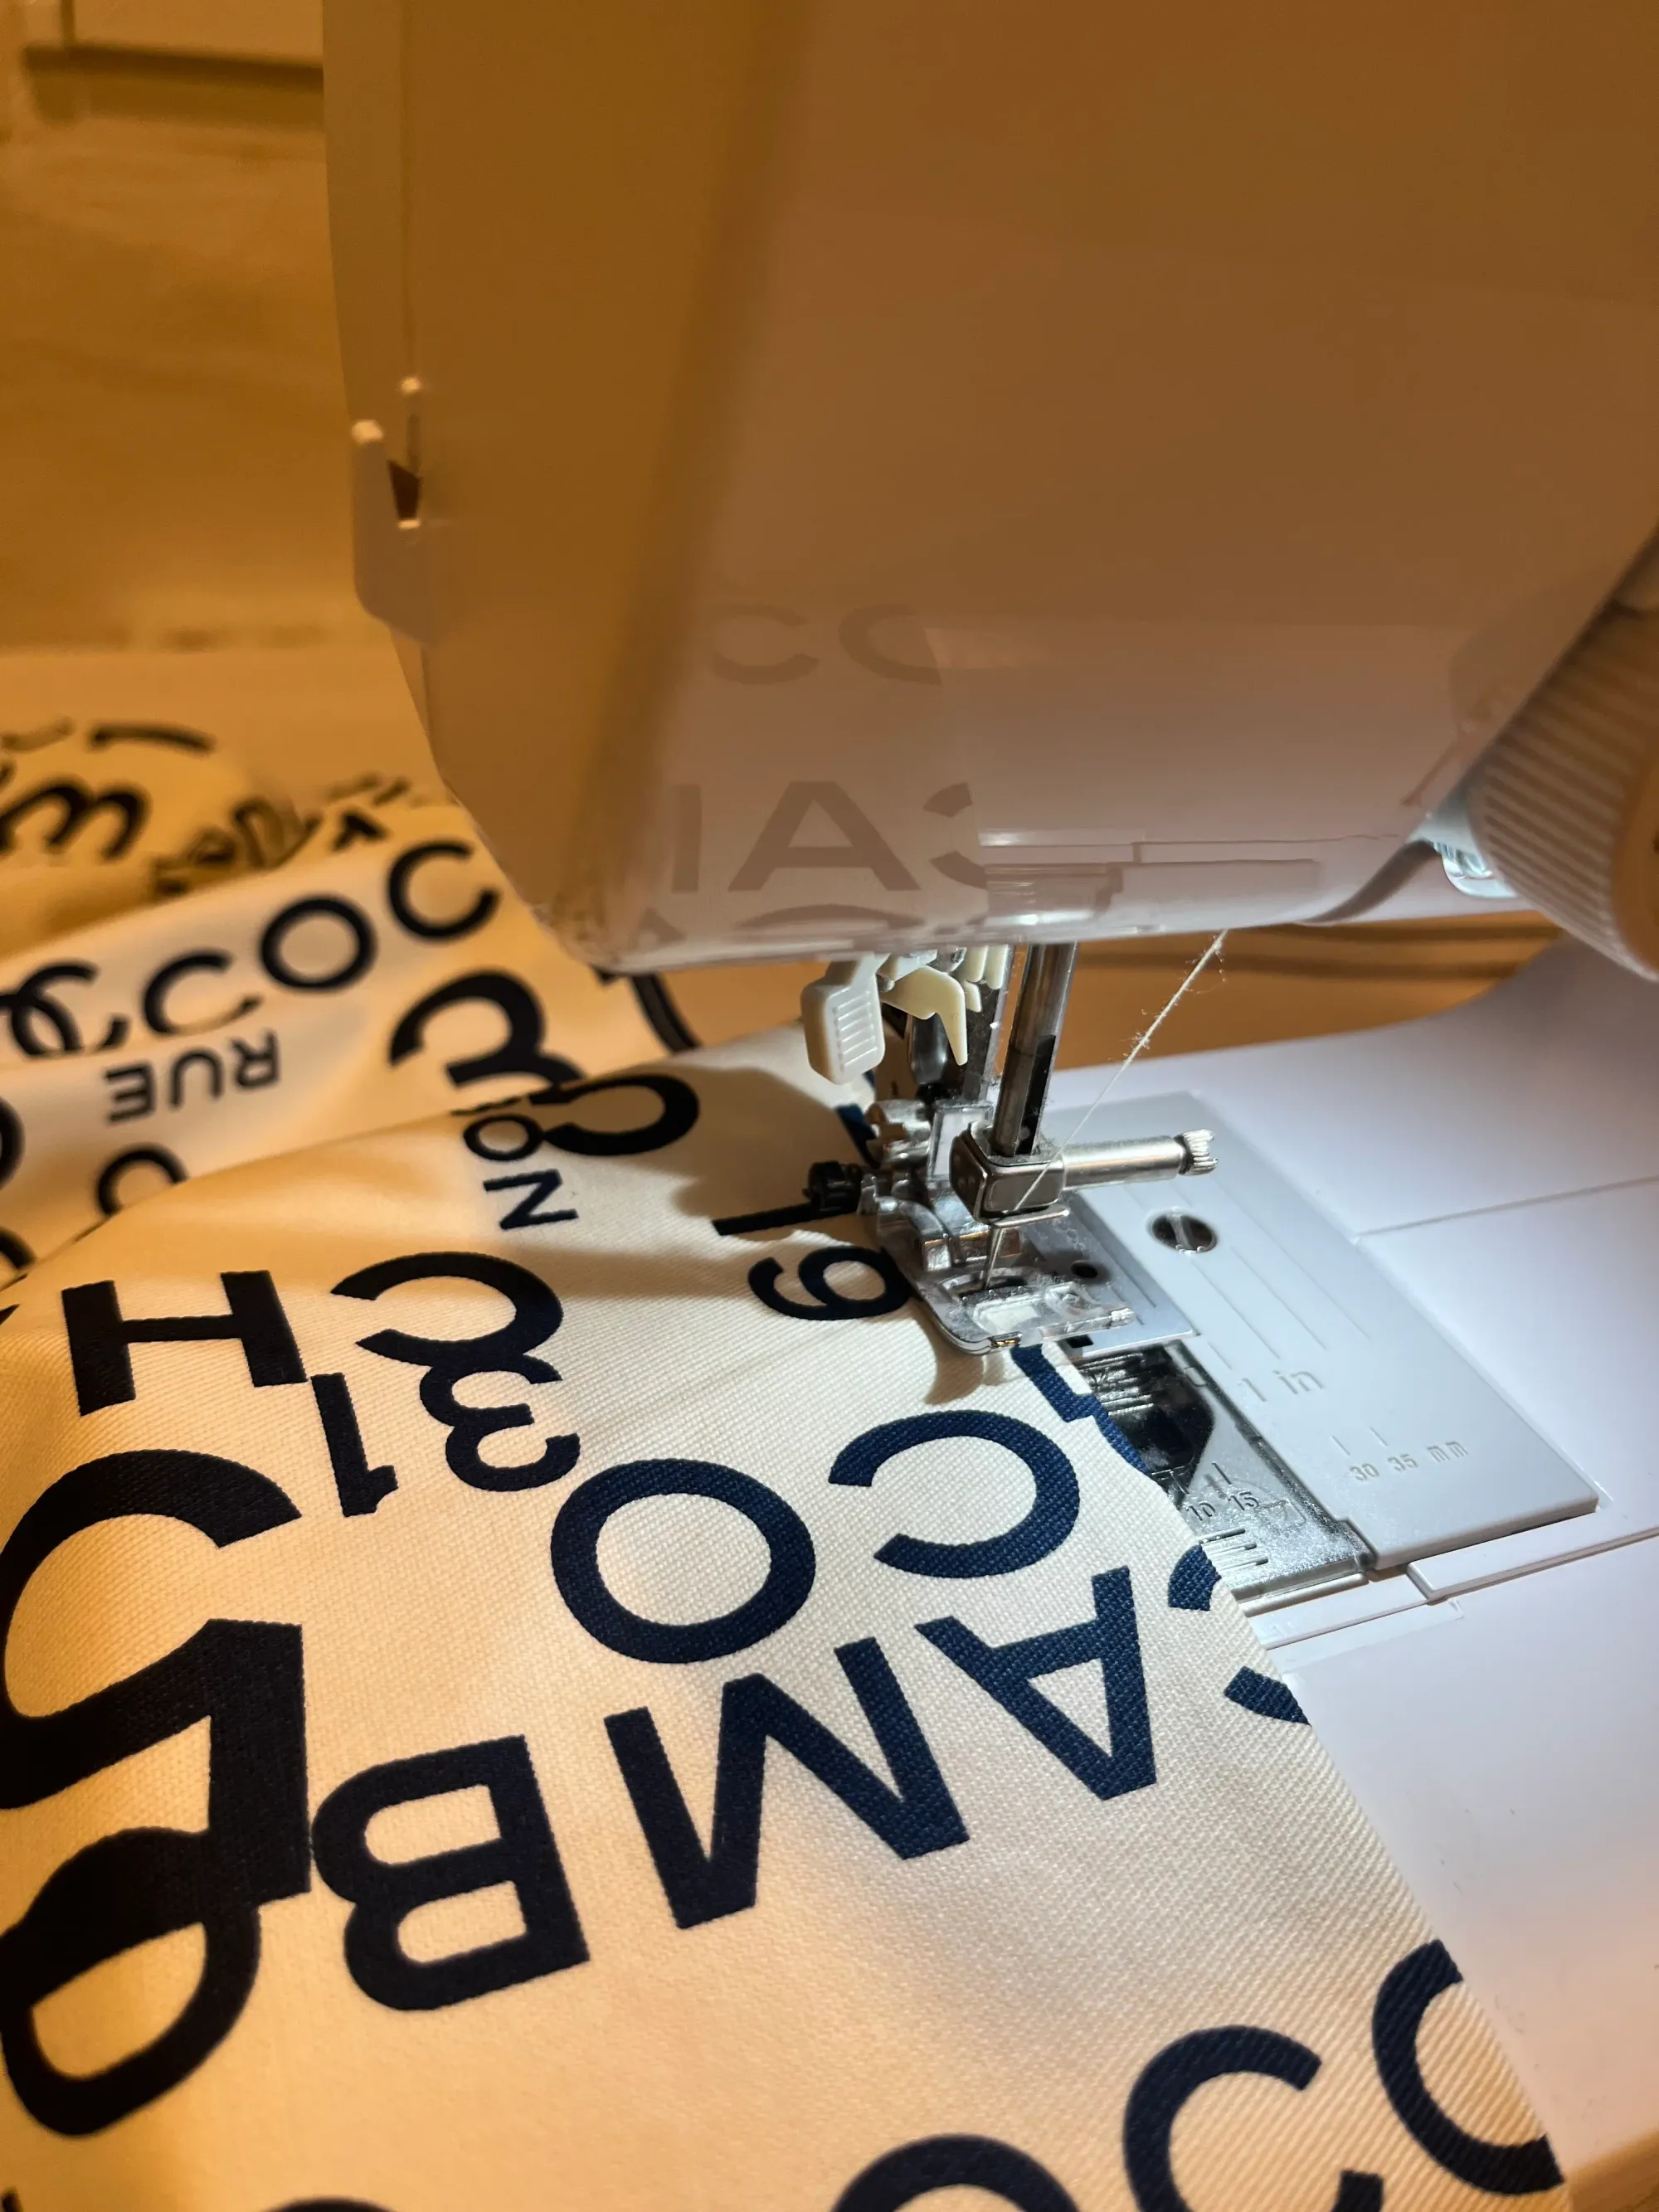
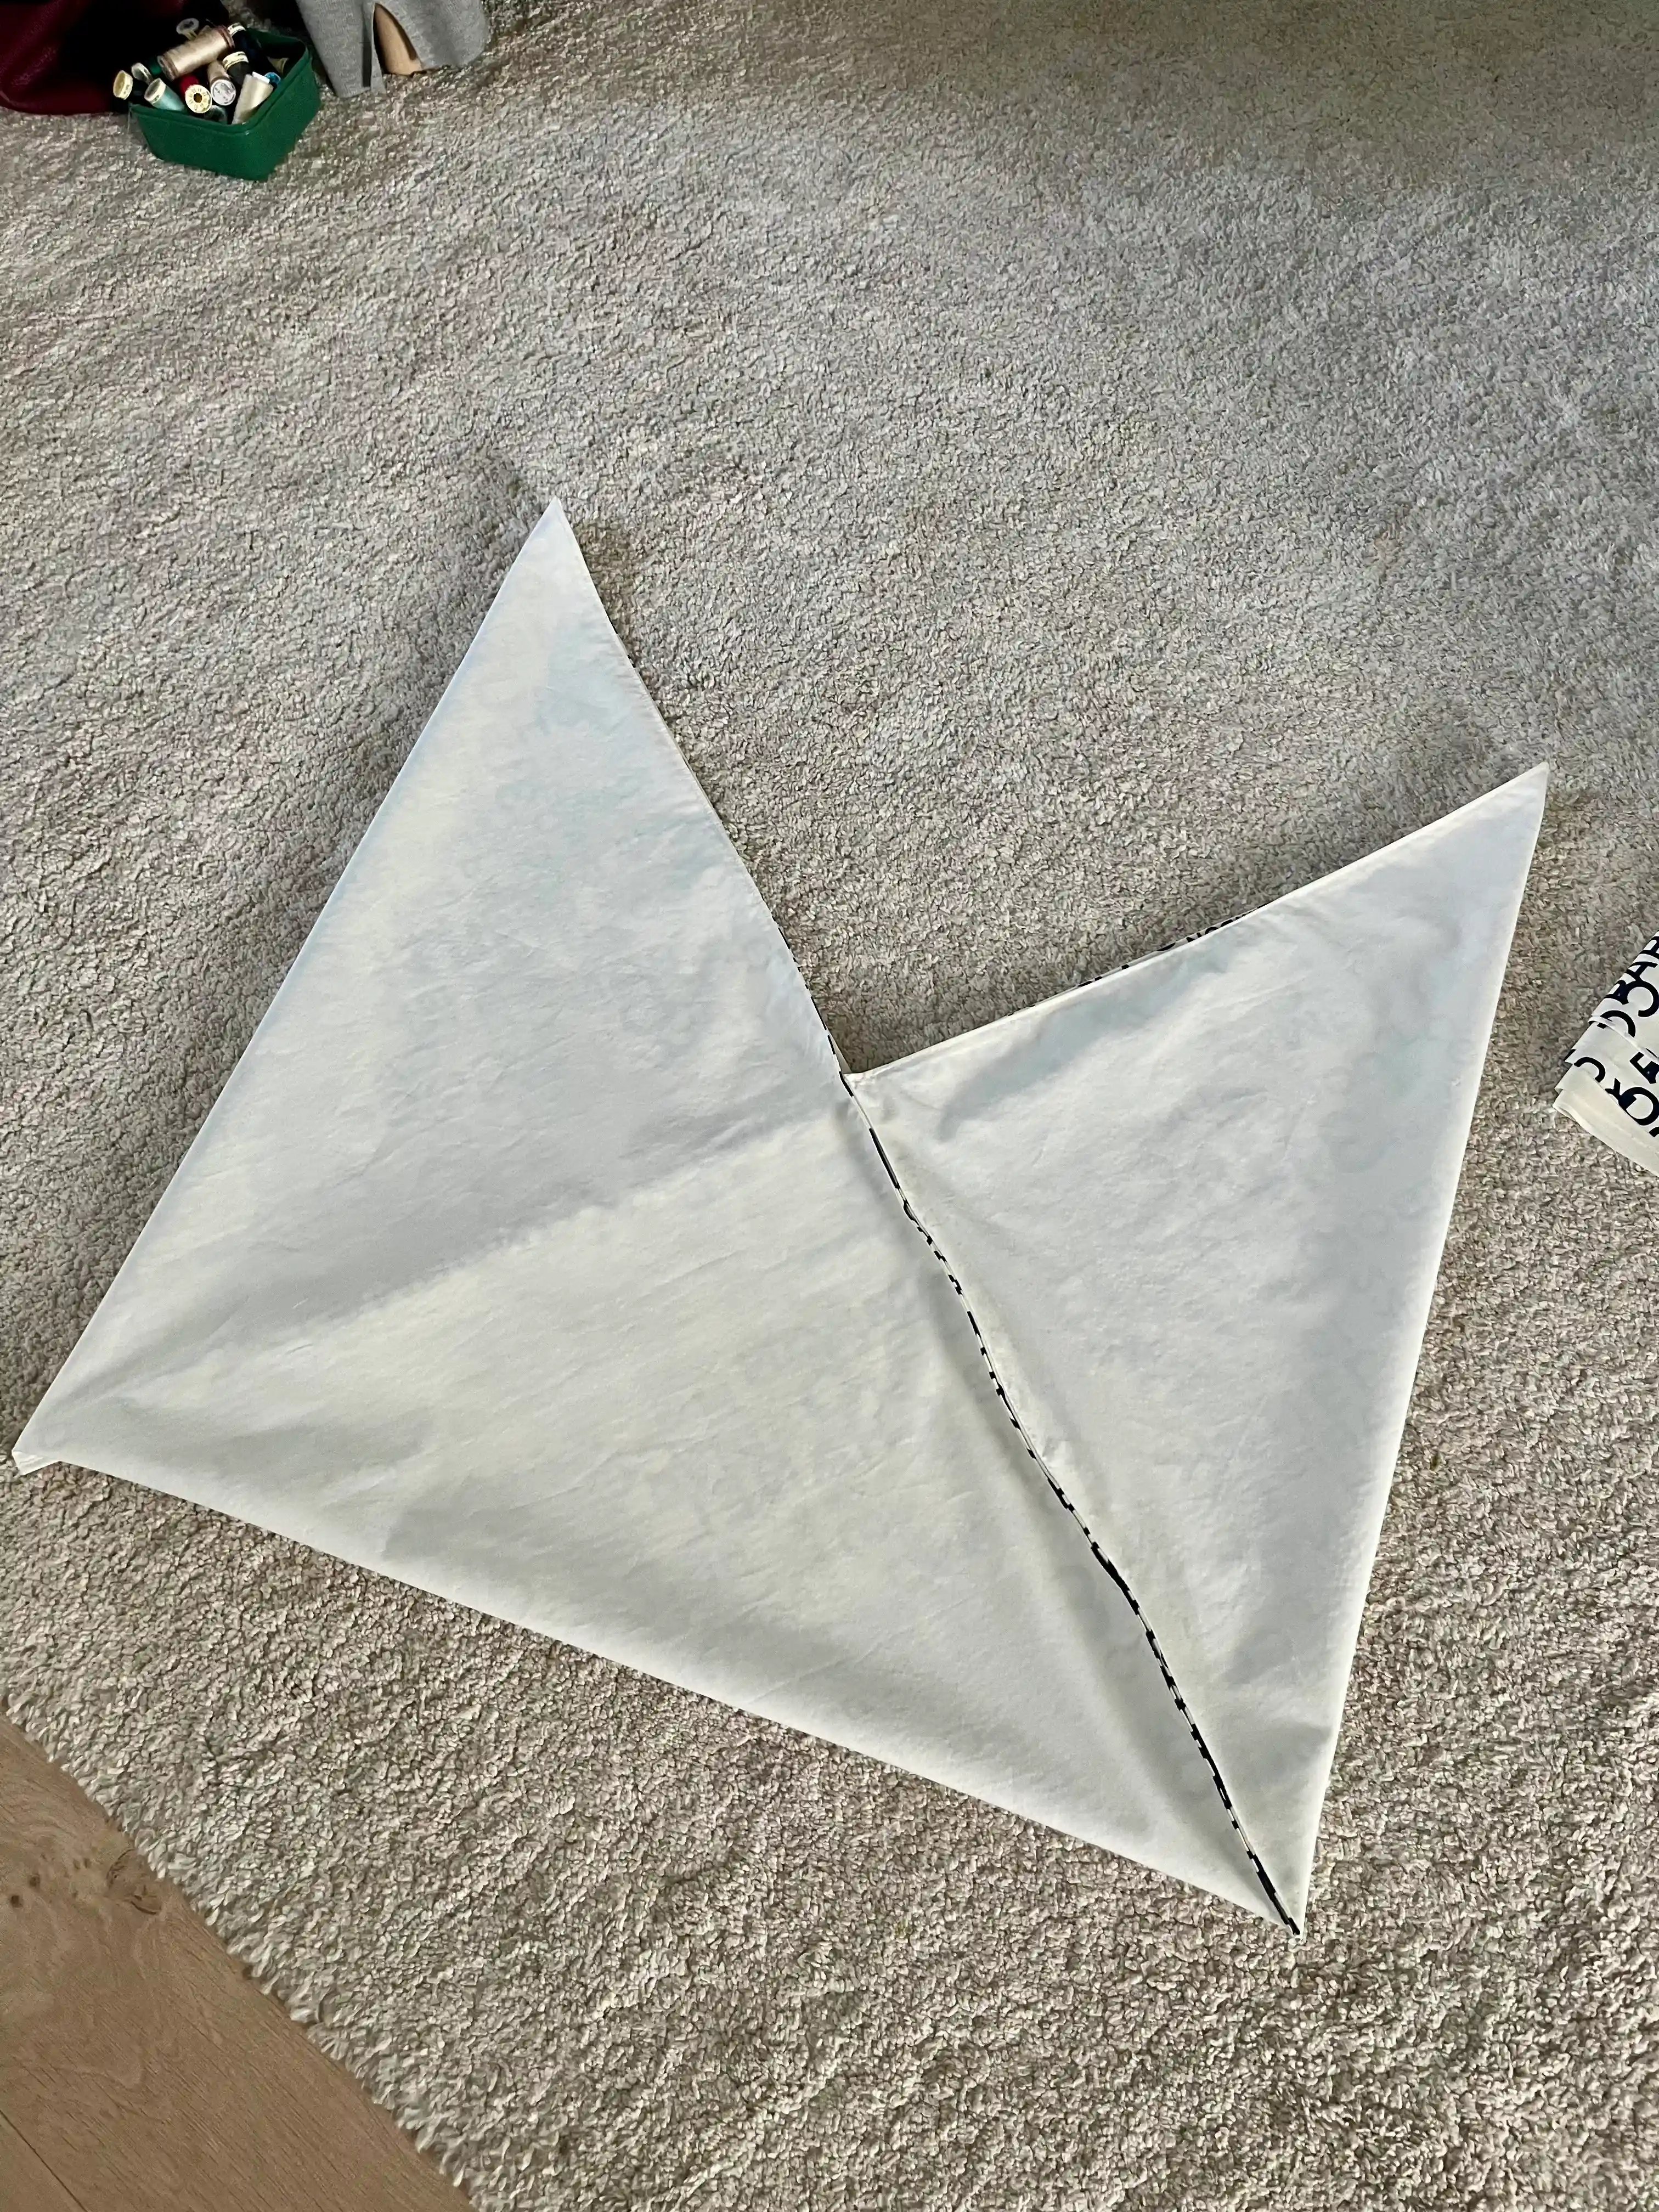
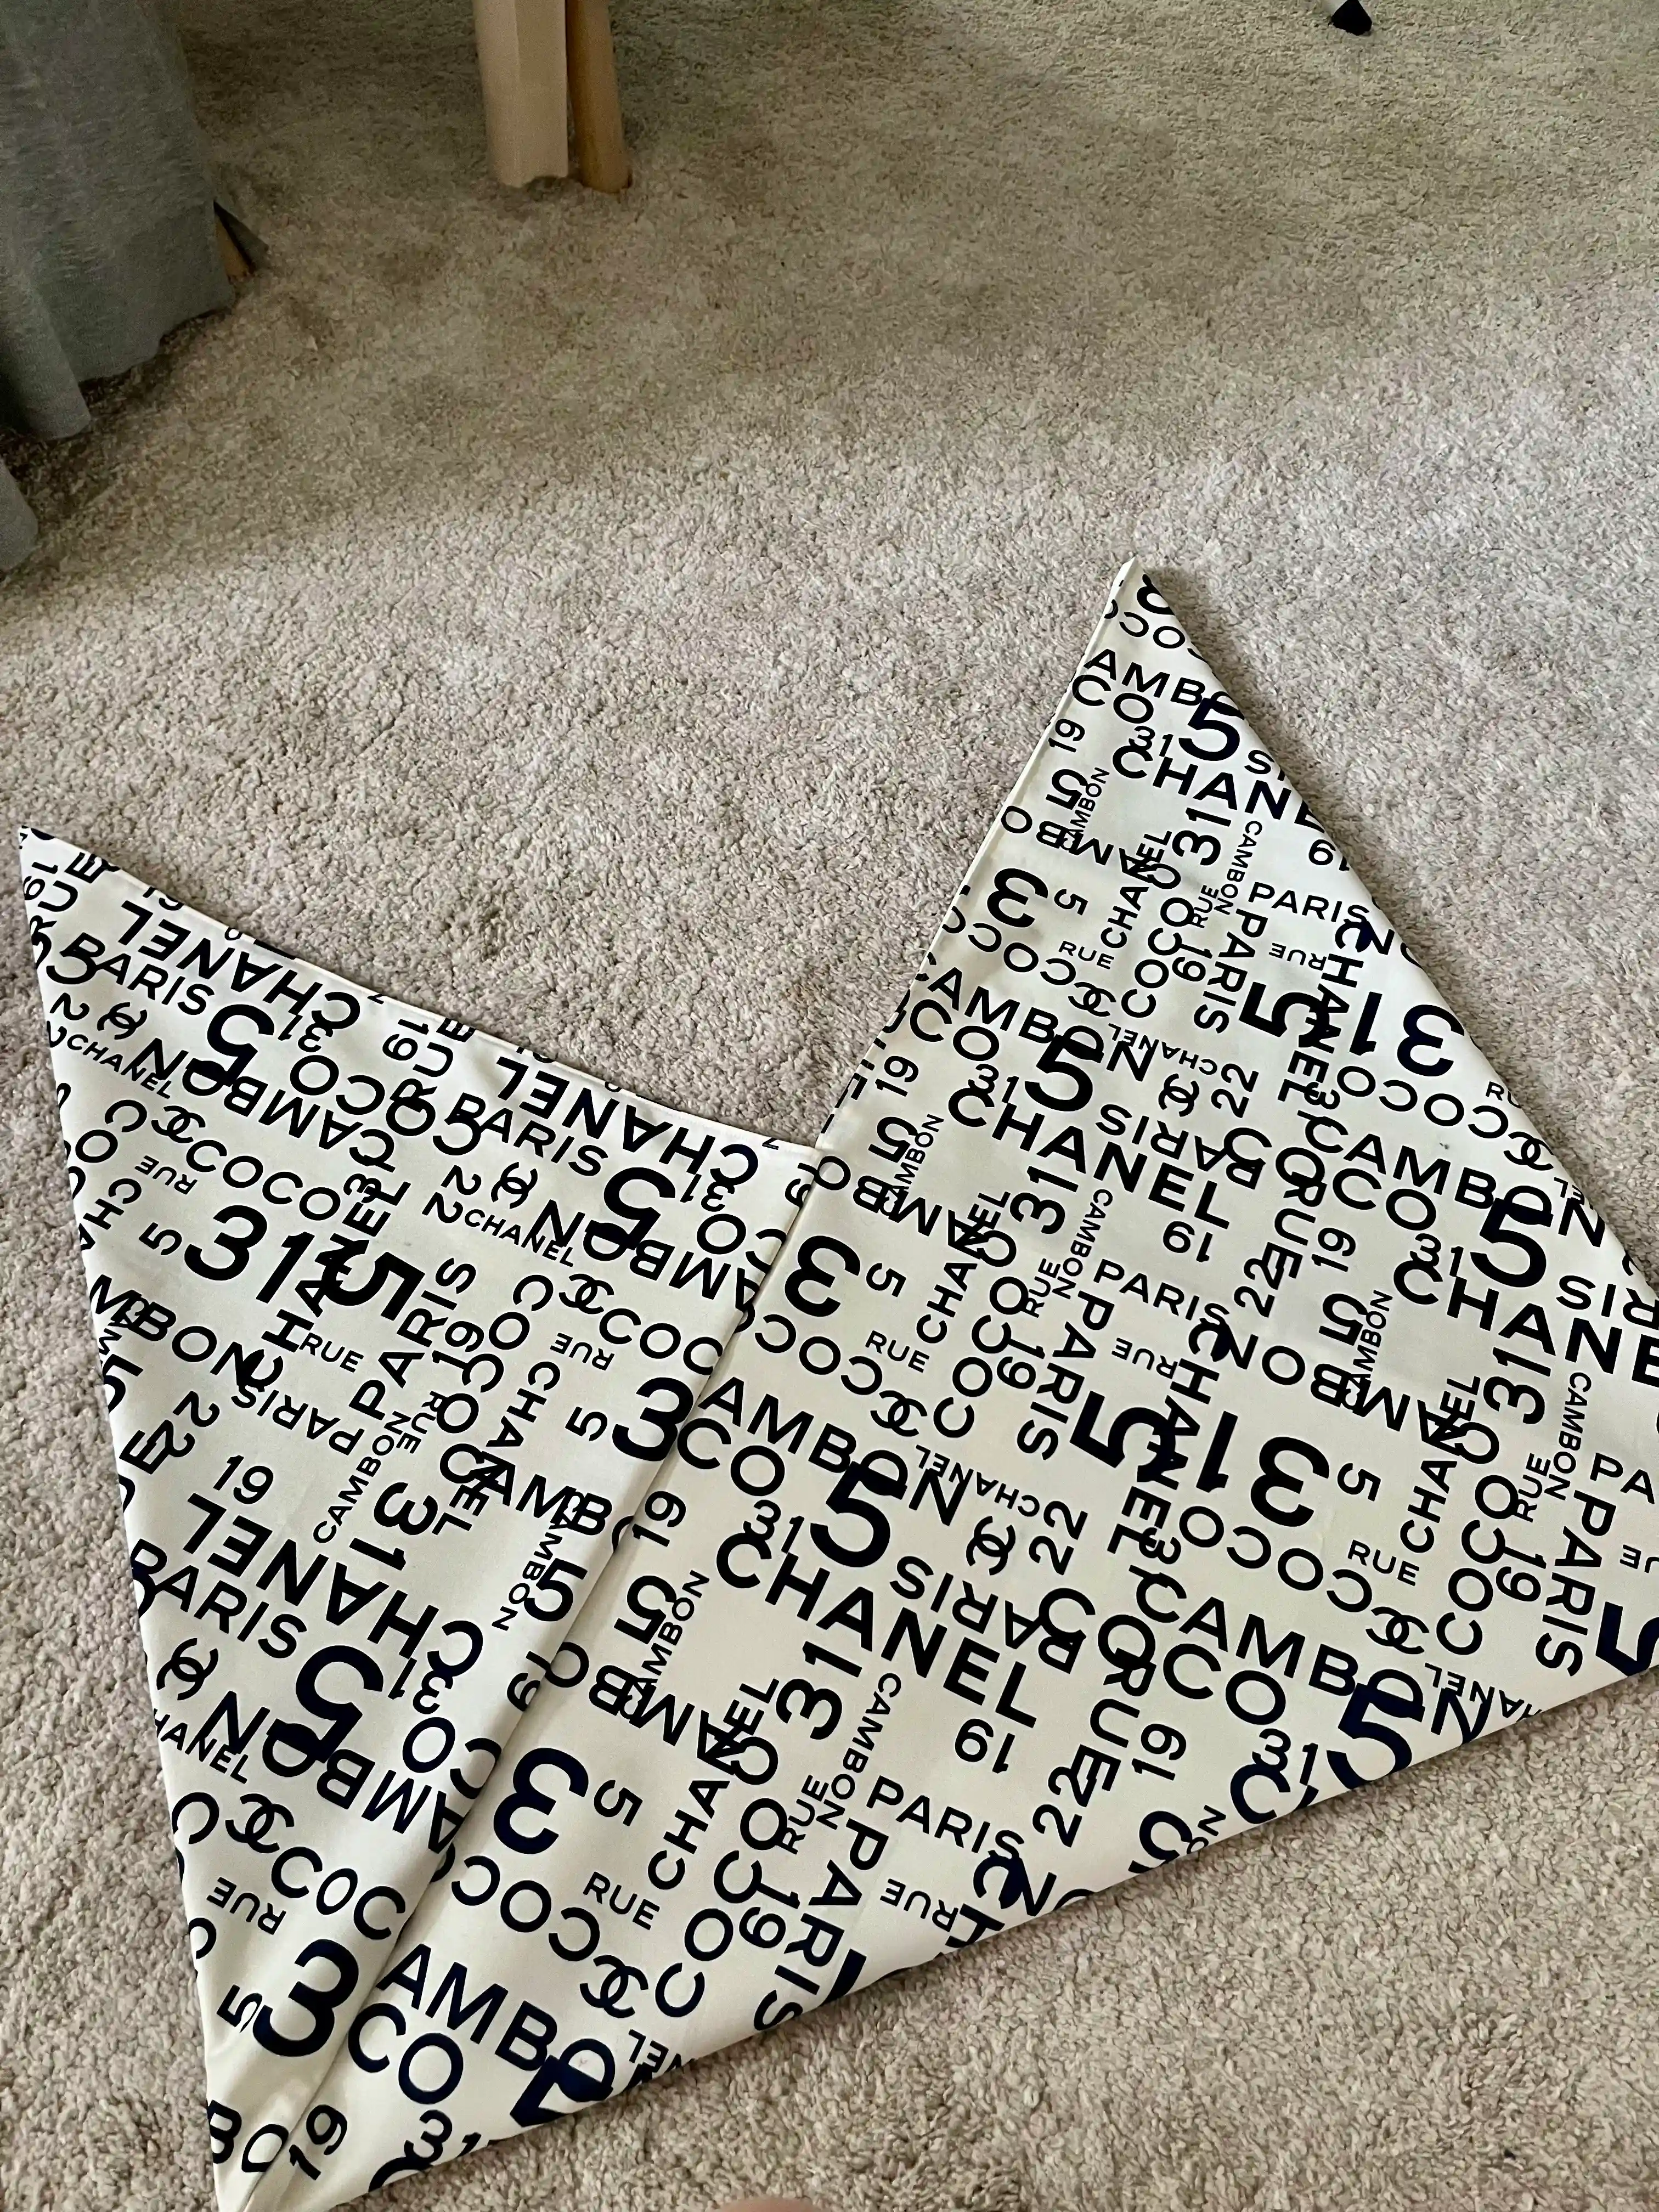
- Fold the bag into 3 equal parts, see the picture below, and pin the top and bottom of the bag together so you can sew the parts together. The edges in the middle must be free, they form the future opening of the bag. (You can see on the left pics.)
- Sew the top and bottom edges. And iron them again thoroughly. (You can see on the middle pics.)
How to Sew and Fold an Origami Bag
- Now turn the bag over so that the main fabric is outside. All you need to do is finish the handle and sew the top to create your beautiful bag. You're almost there. 🥰
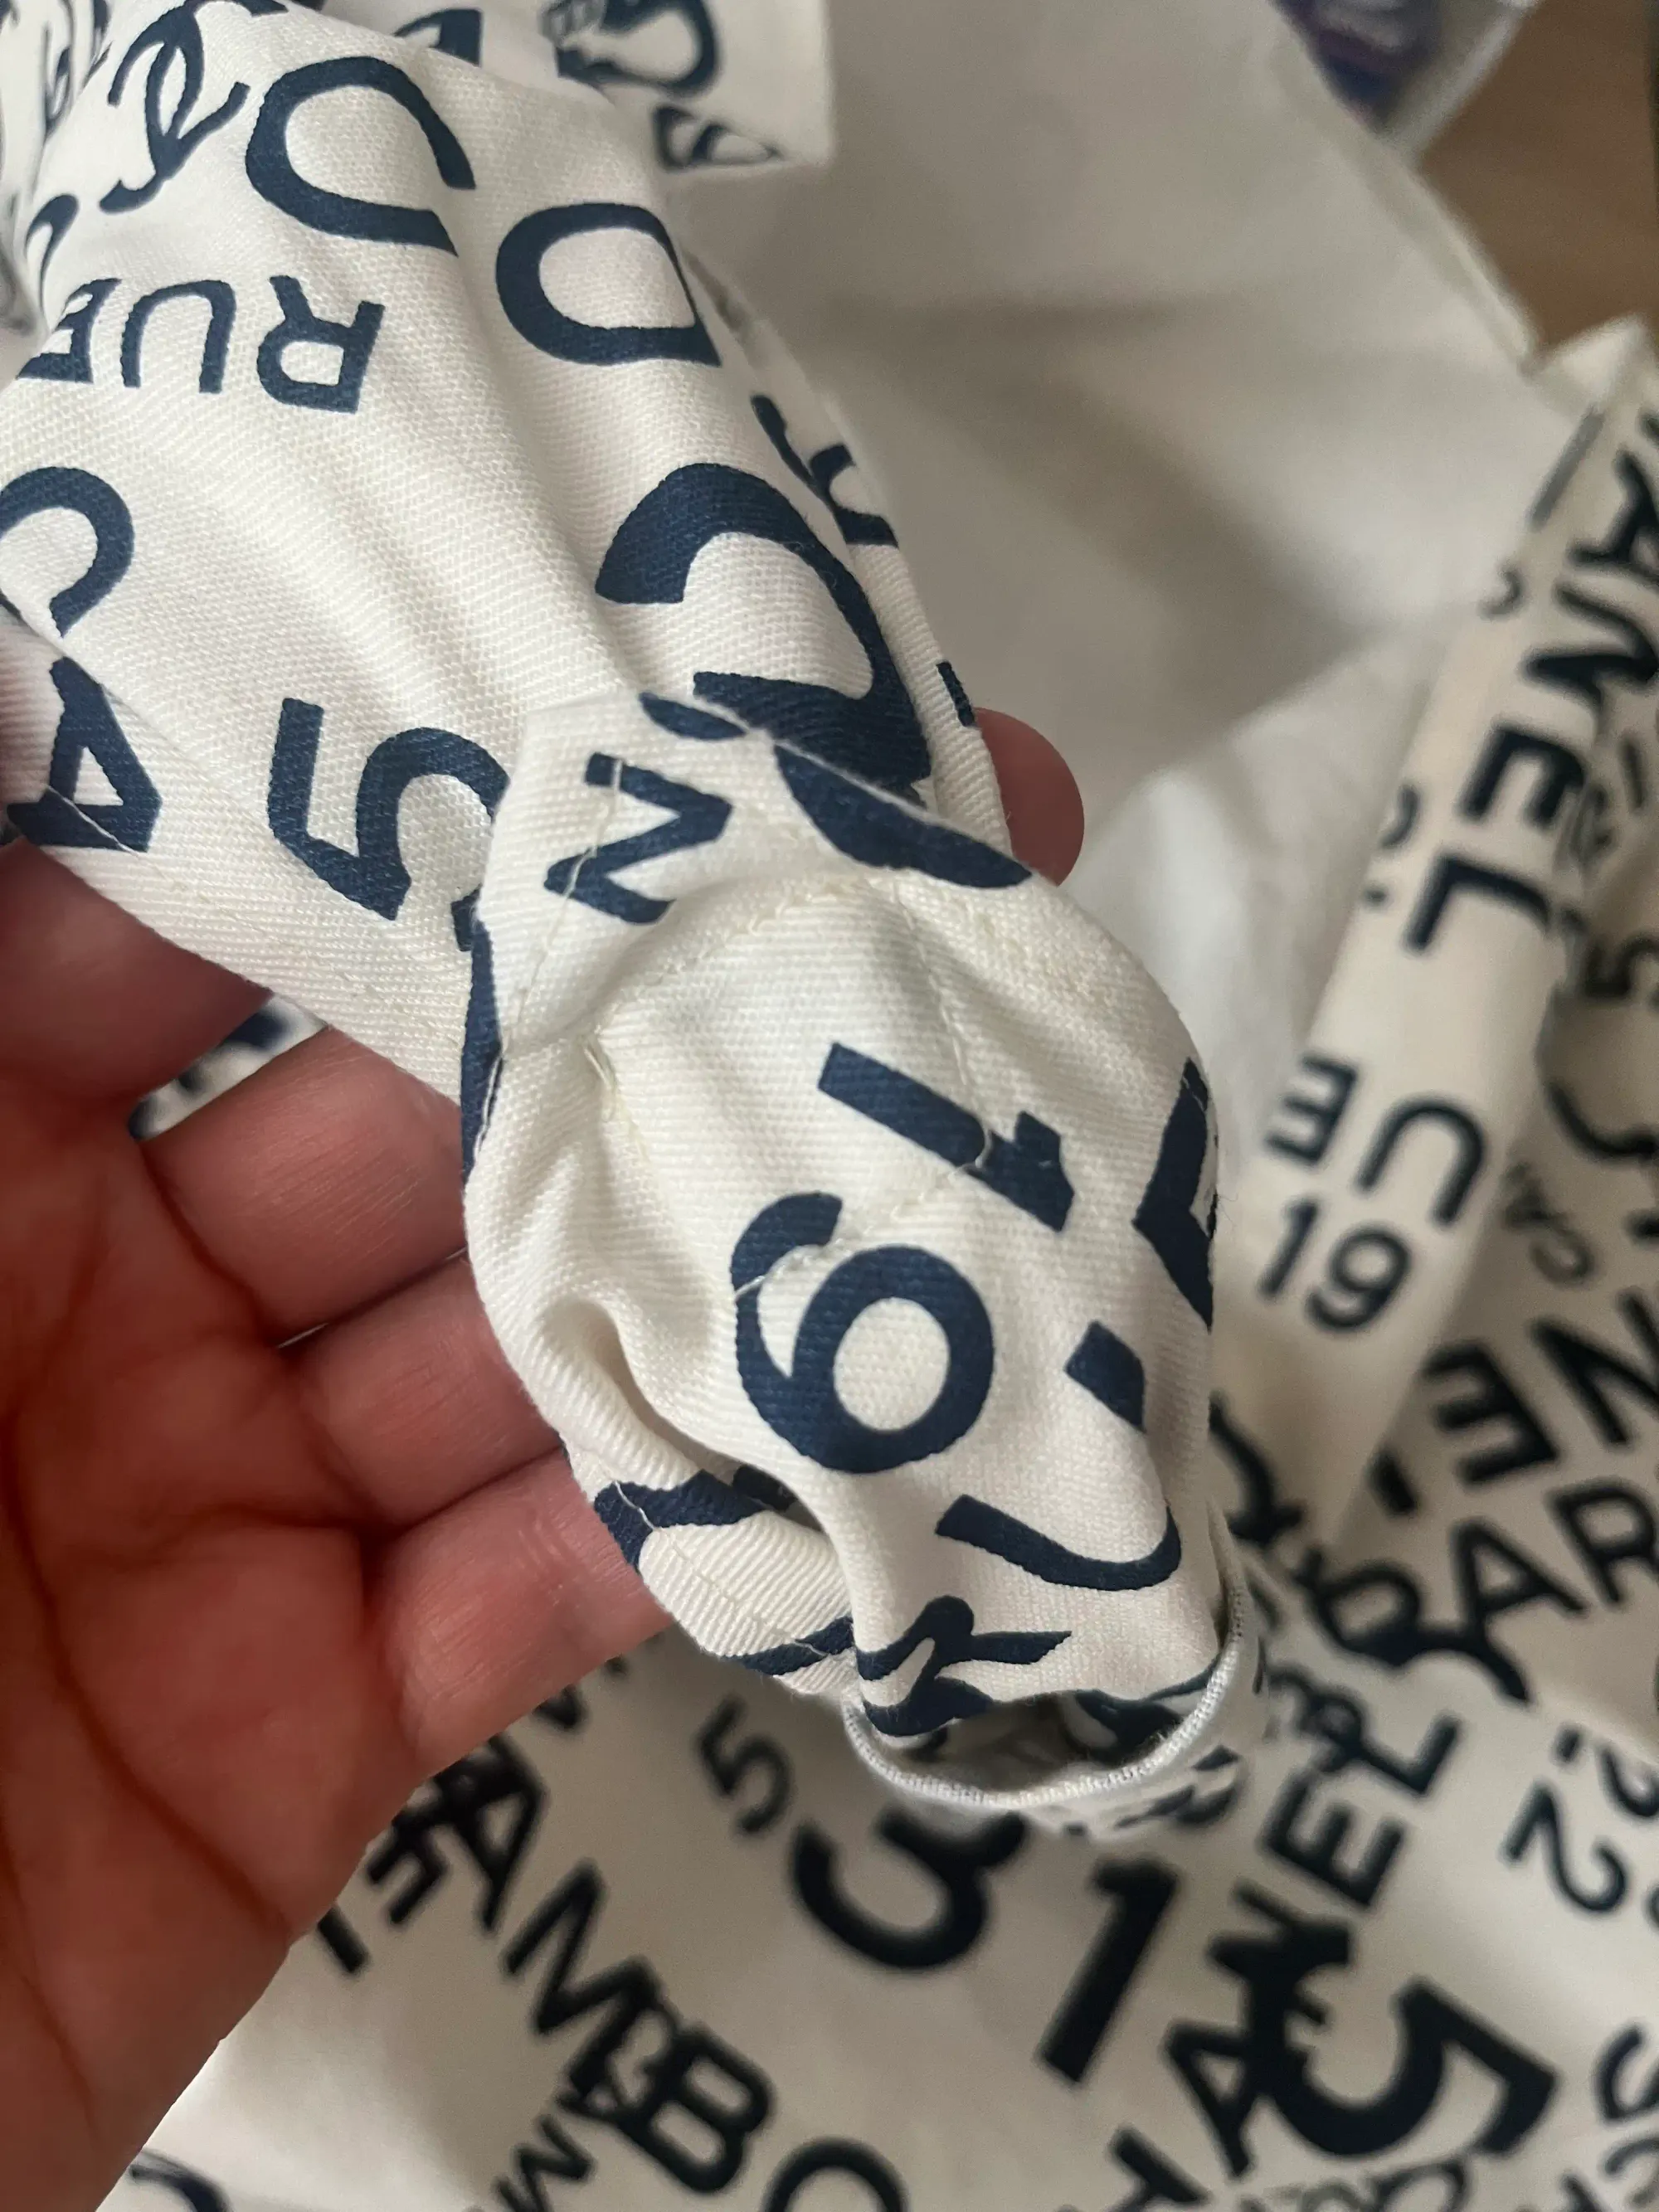
- Prepare the part intended for the bag handle.
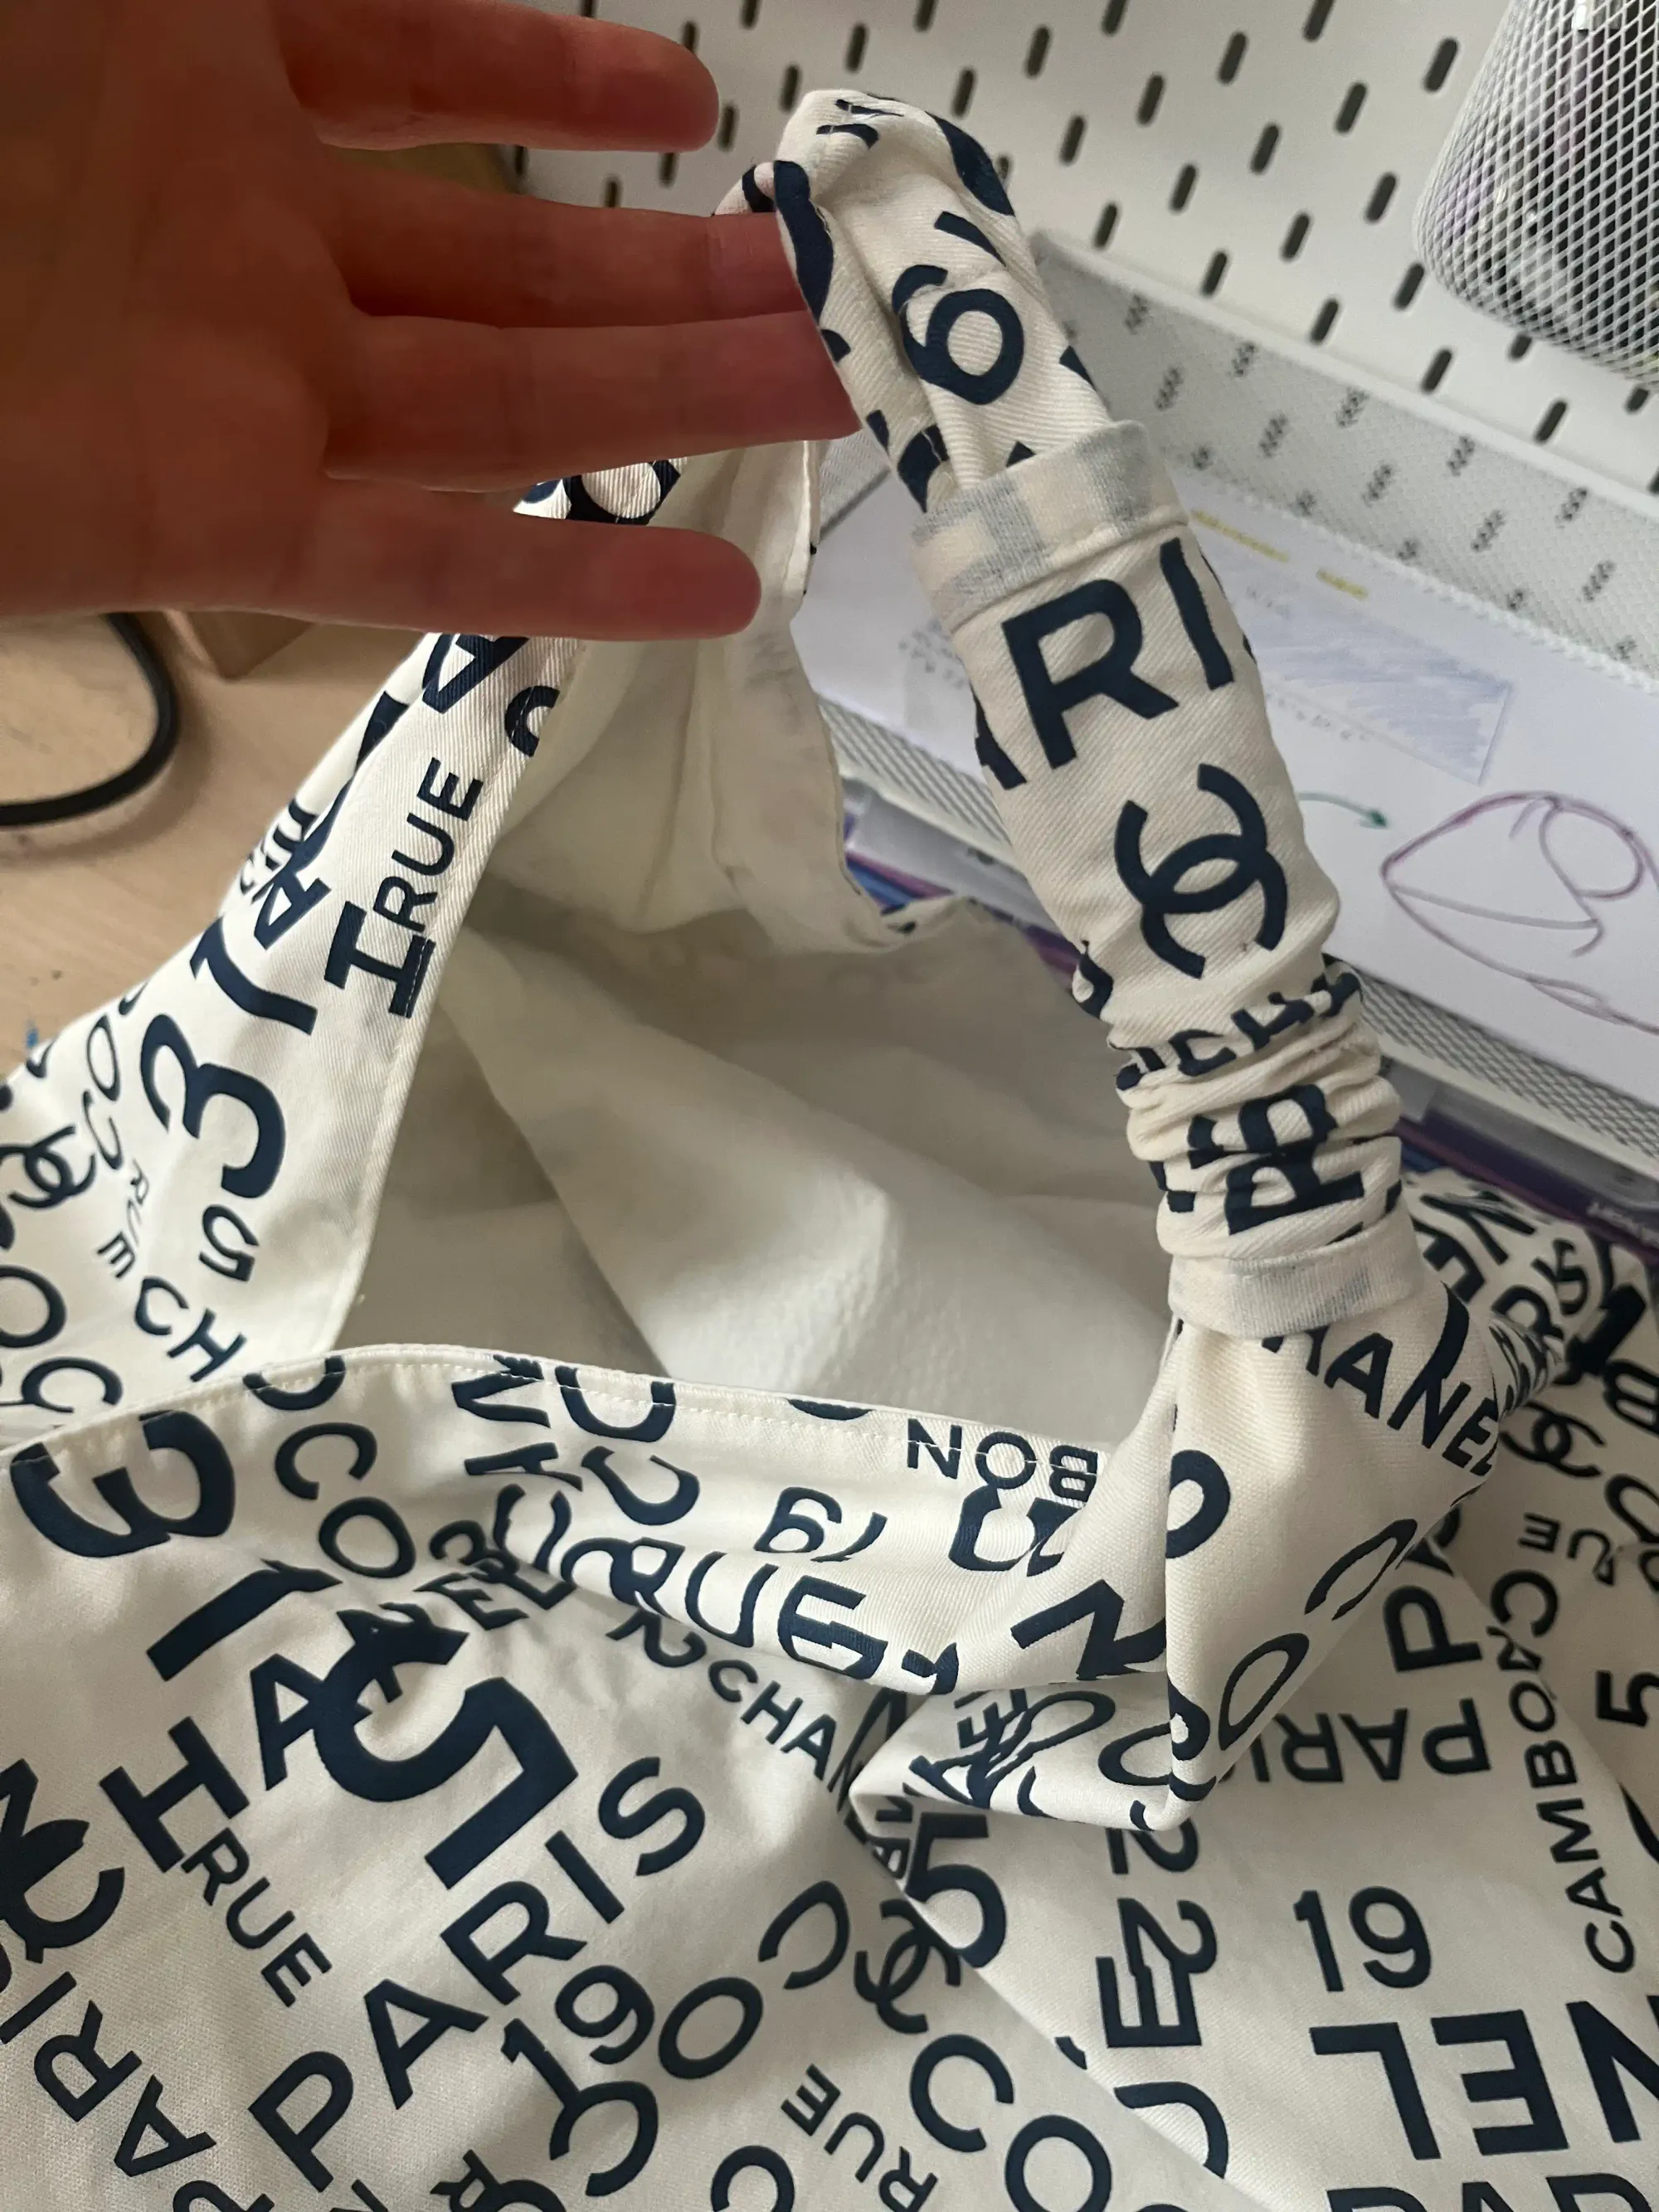
Fold and stitch it at the shorter ends to create a nice and stylish edge on the bag. Just fold it slightly twice on each smaller side, iron it, and sew along the edge, see the picture. - Then sew the handle along the inner longer edge and turn it over. You will have a nice cylinder - a neat handle that you can thread onto one of the corners of the bag.
- After putting on the handle, sew both ends of the bag's corners together. For example, I sewed the corners of the bag into a square shape. It doesn't matter how you sew it. The important thing is to connect the ends of the bag tightly. After connecting, just pull the handle and this end connection will not be visible, see the picture.
Well... and you're done! If you want, you can leave the corners of the bag outside or tuck them in. It's purely your choice, as you like. And enjoy wearing it.
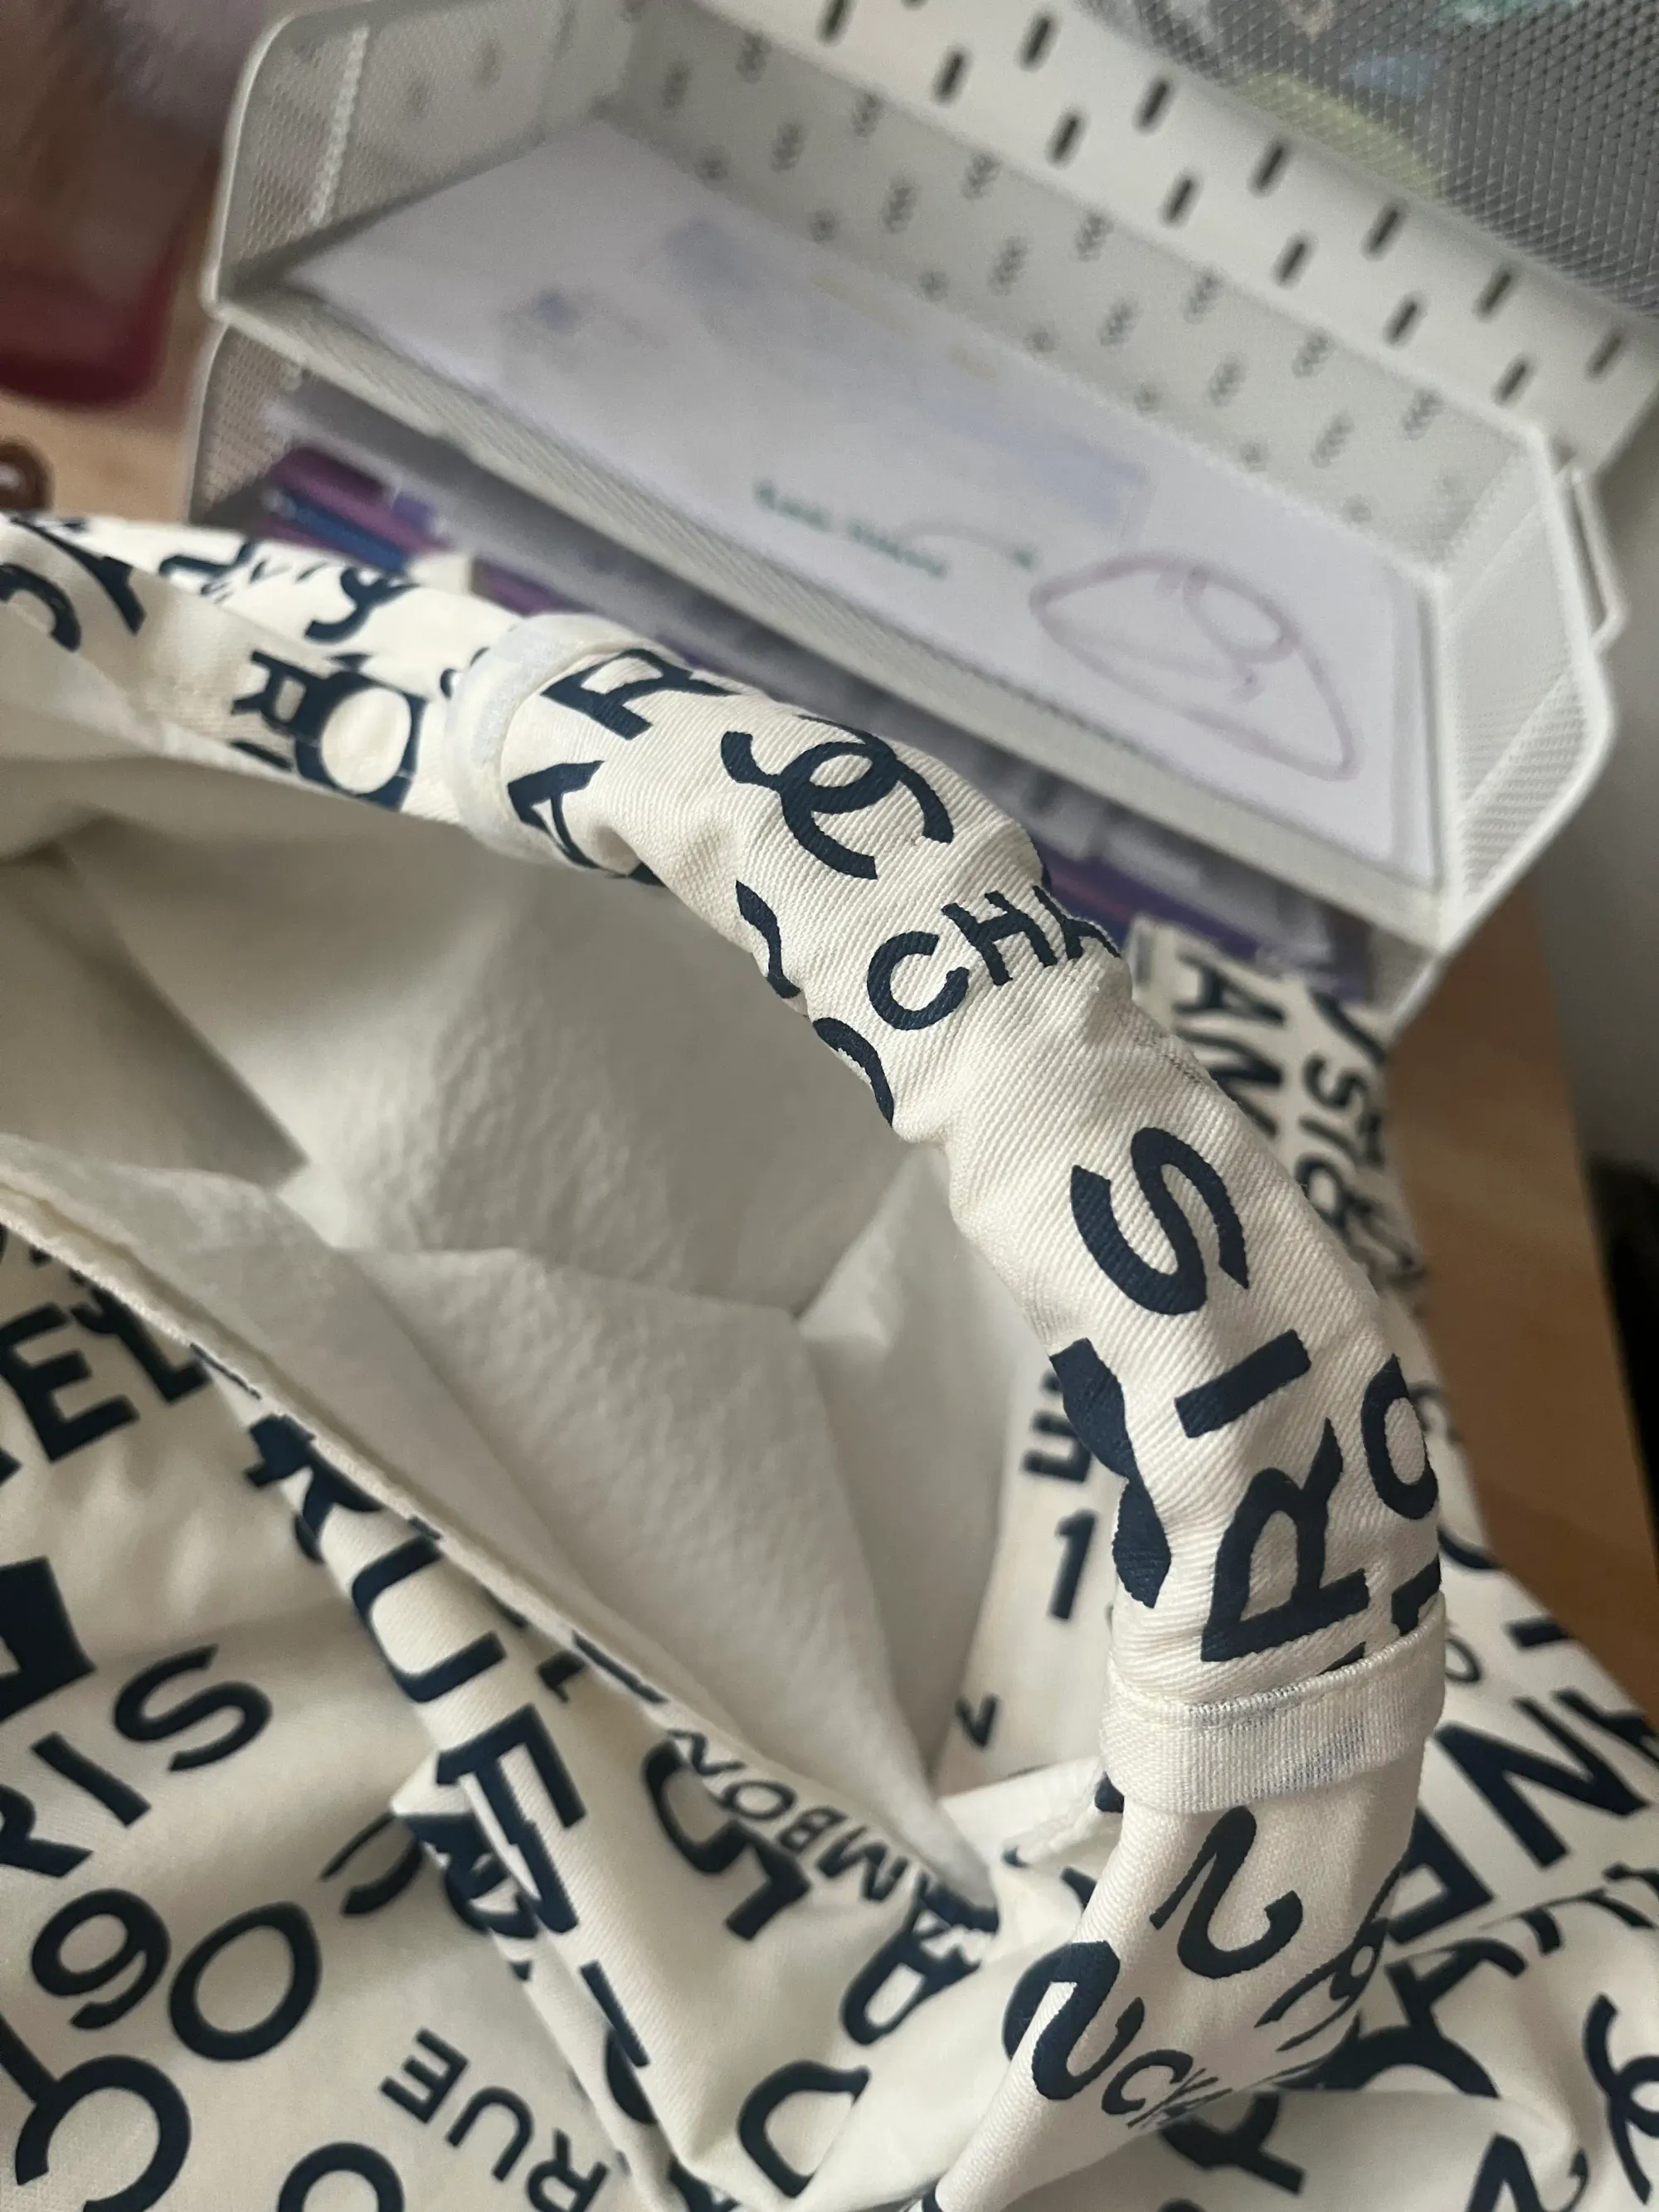
How to Finish the Bag Handle for an Origami Bag
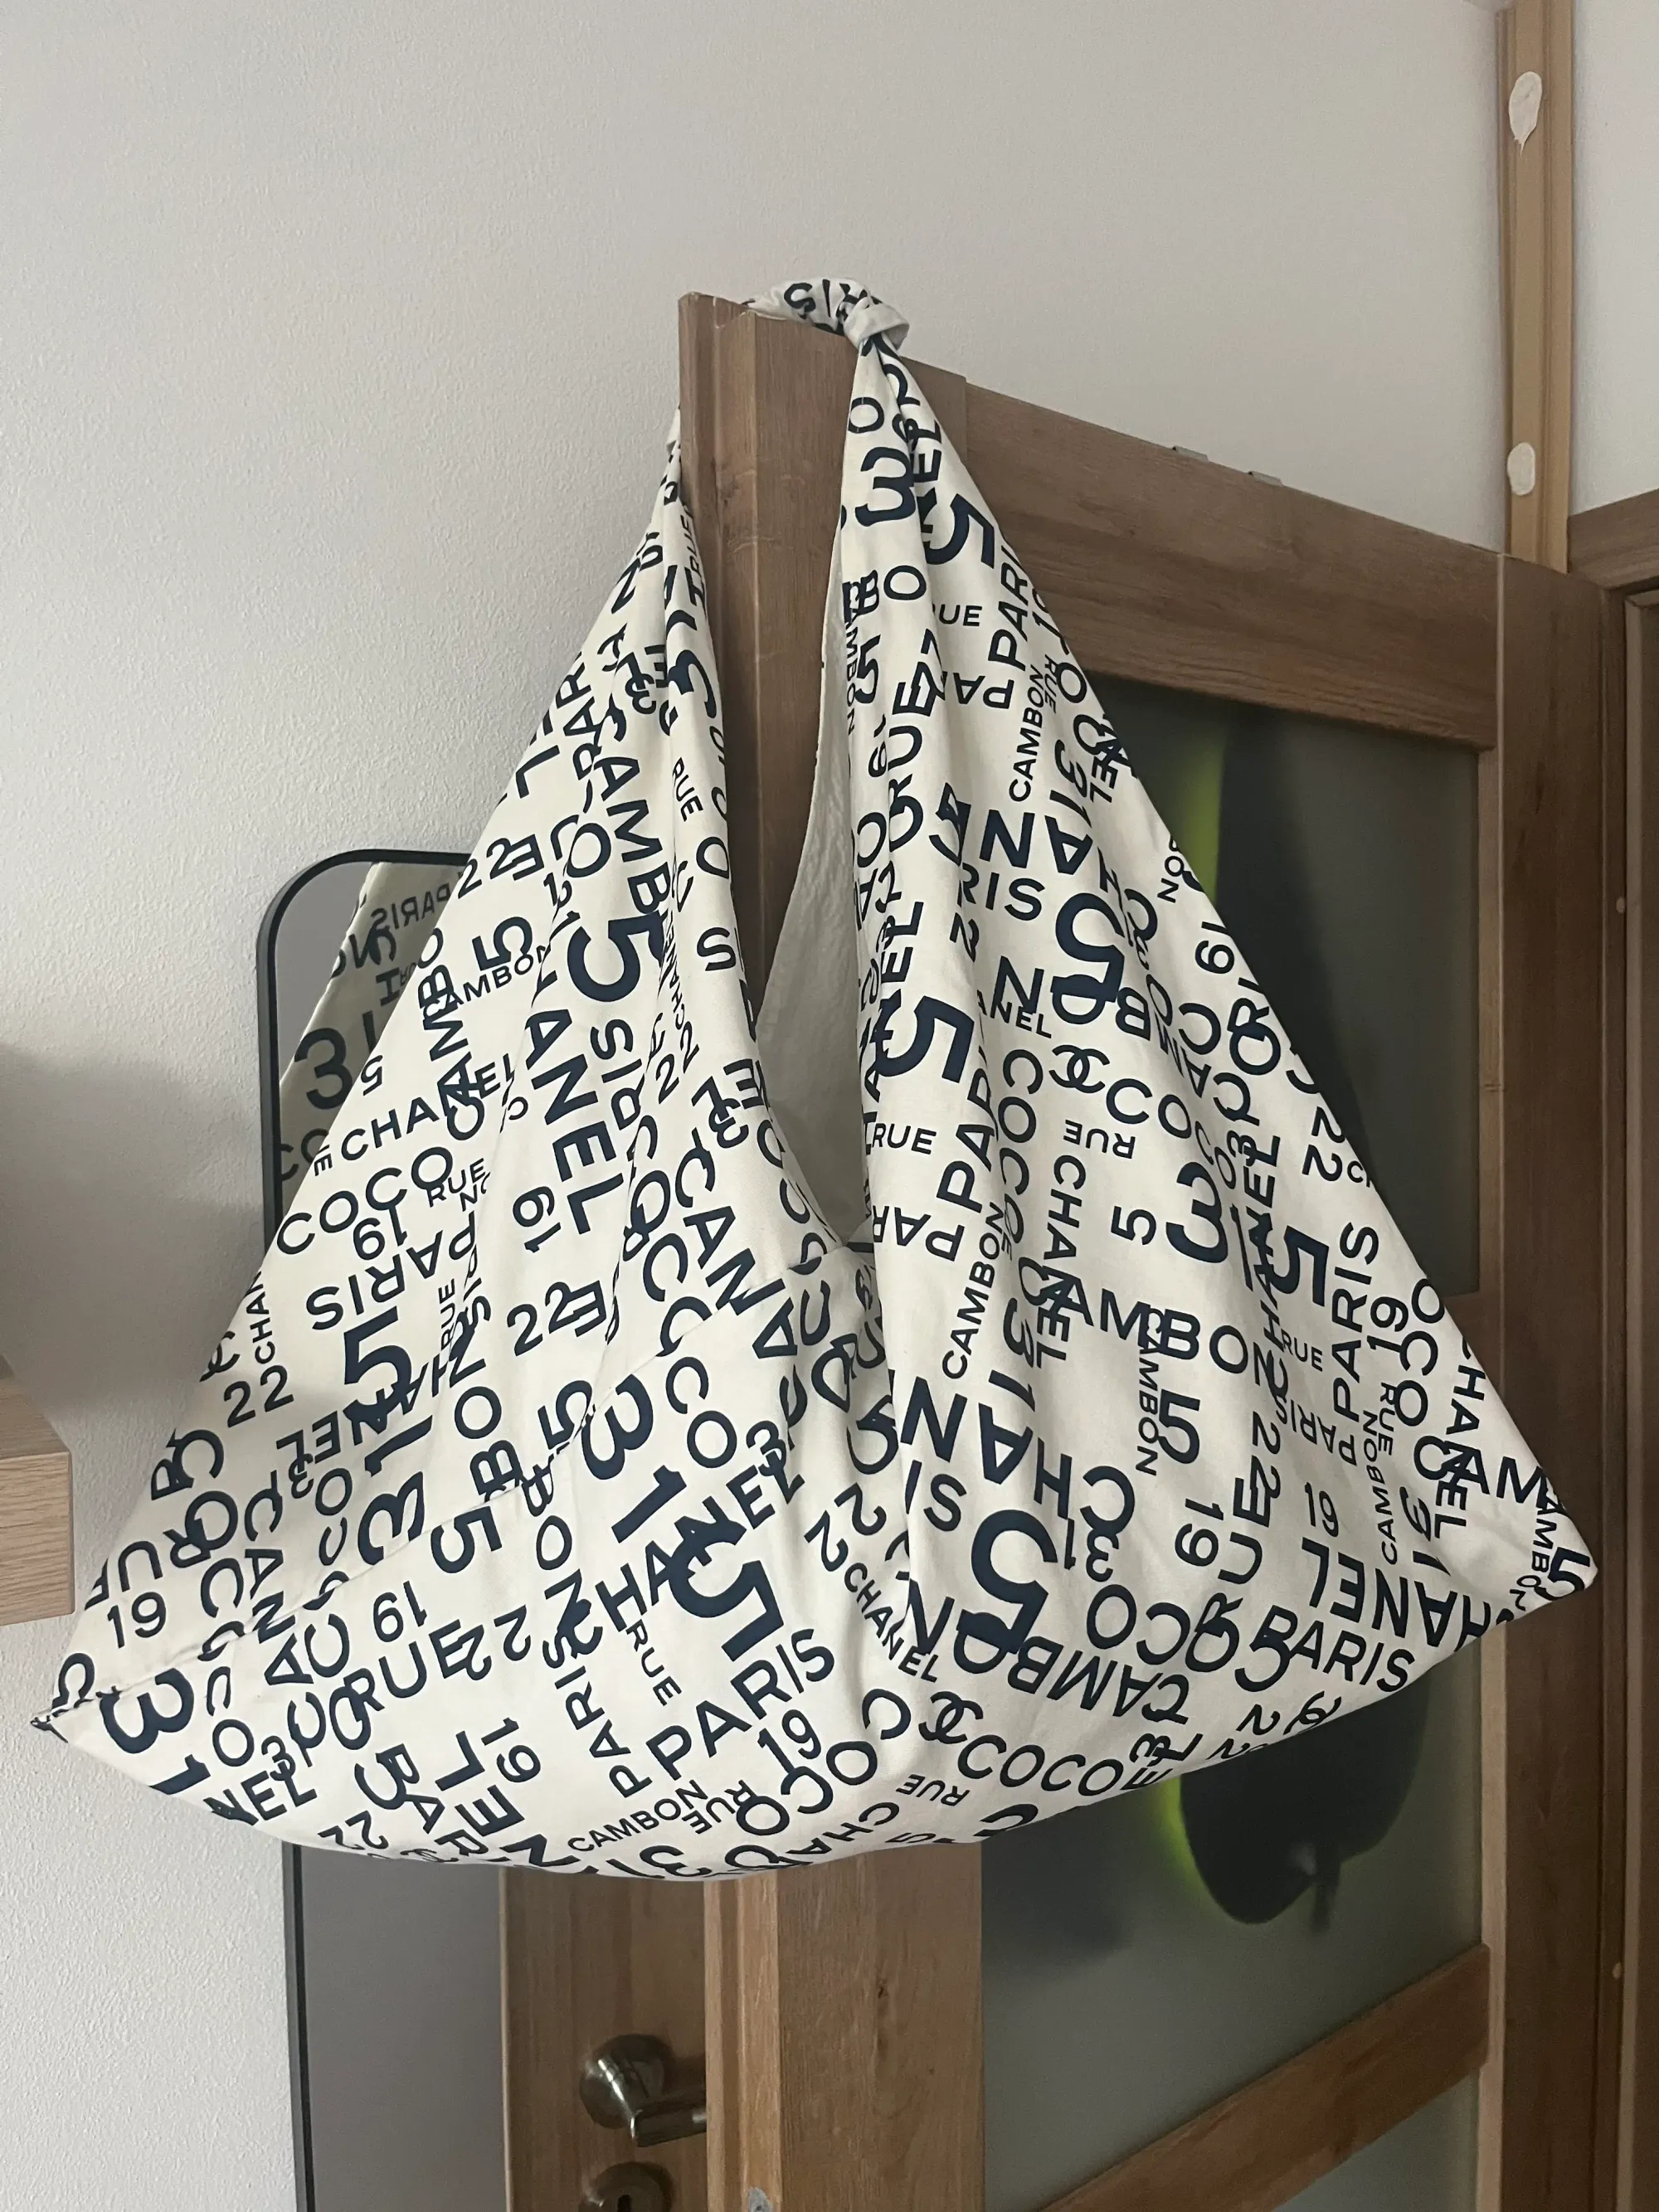
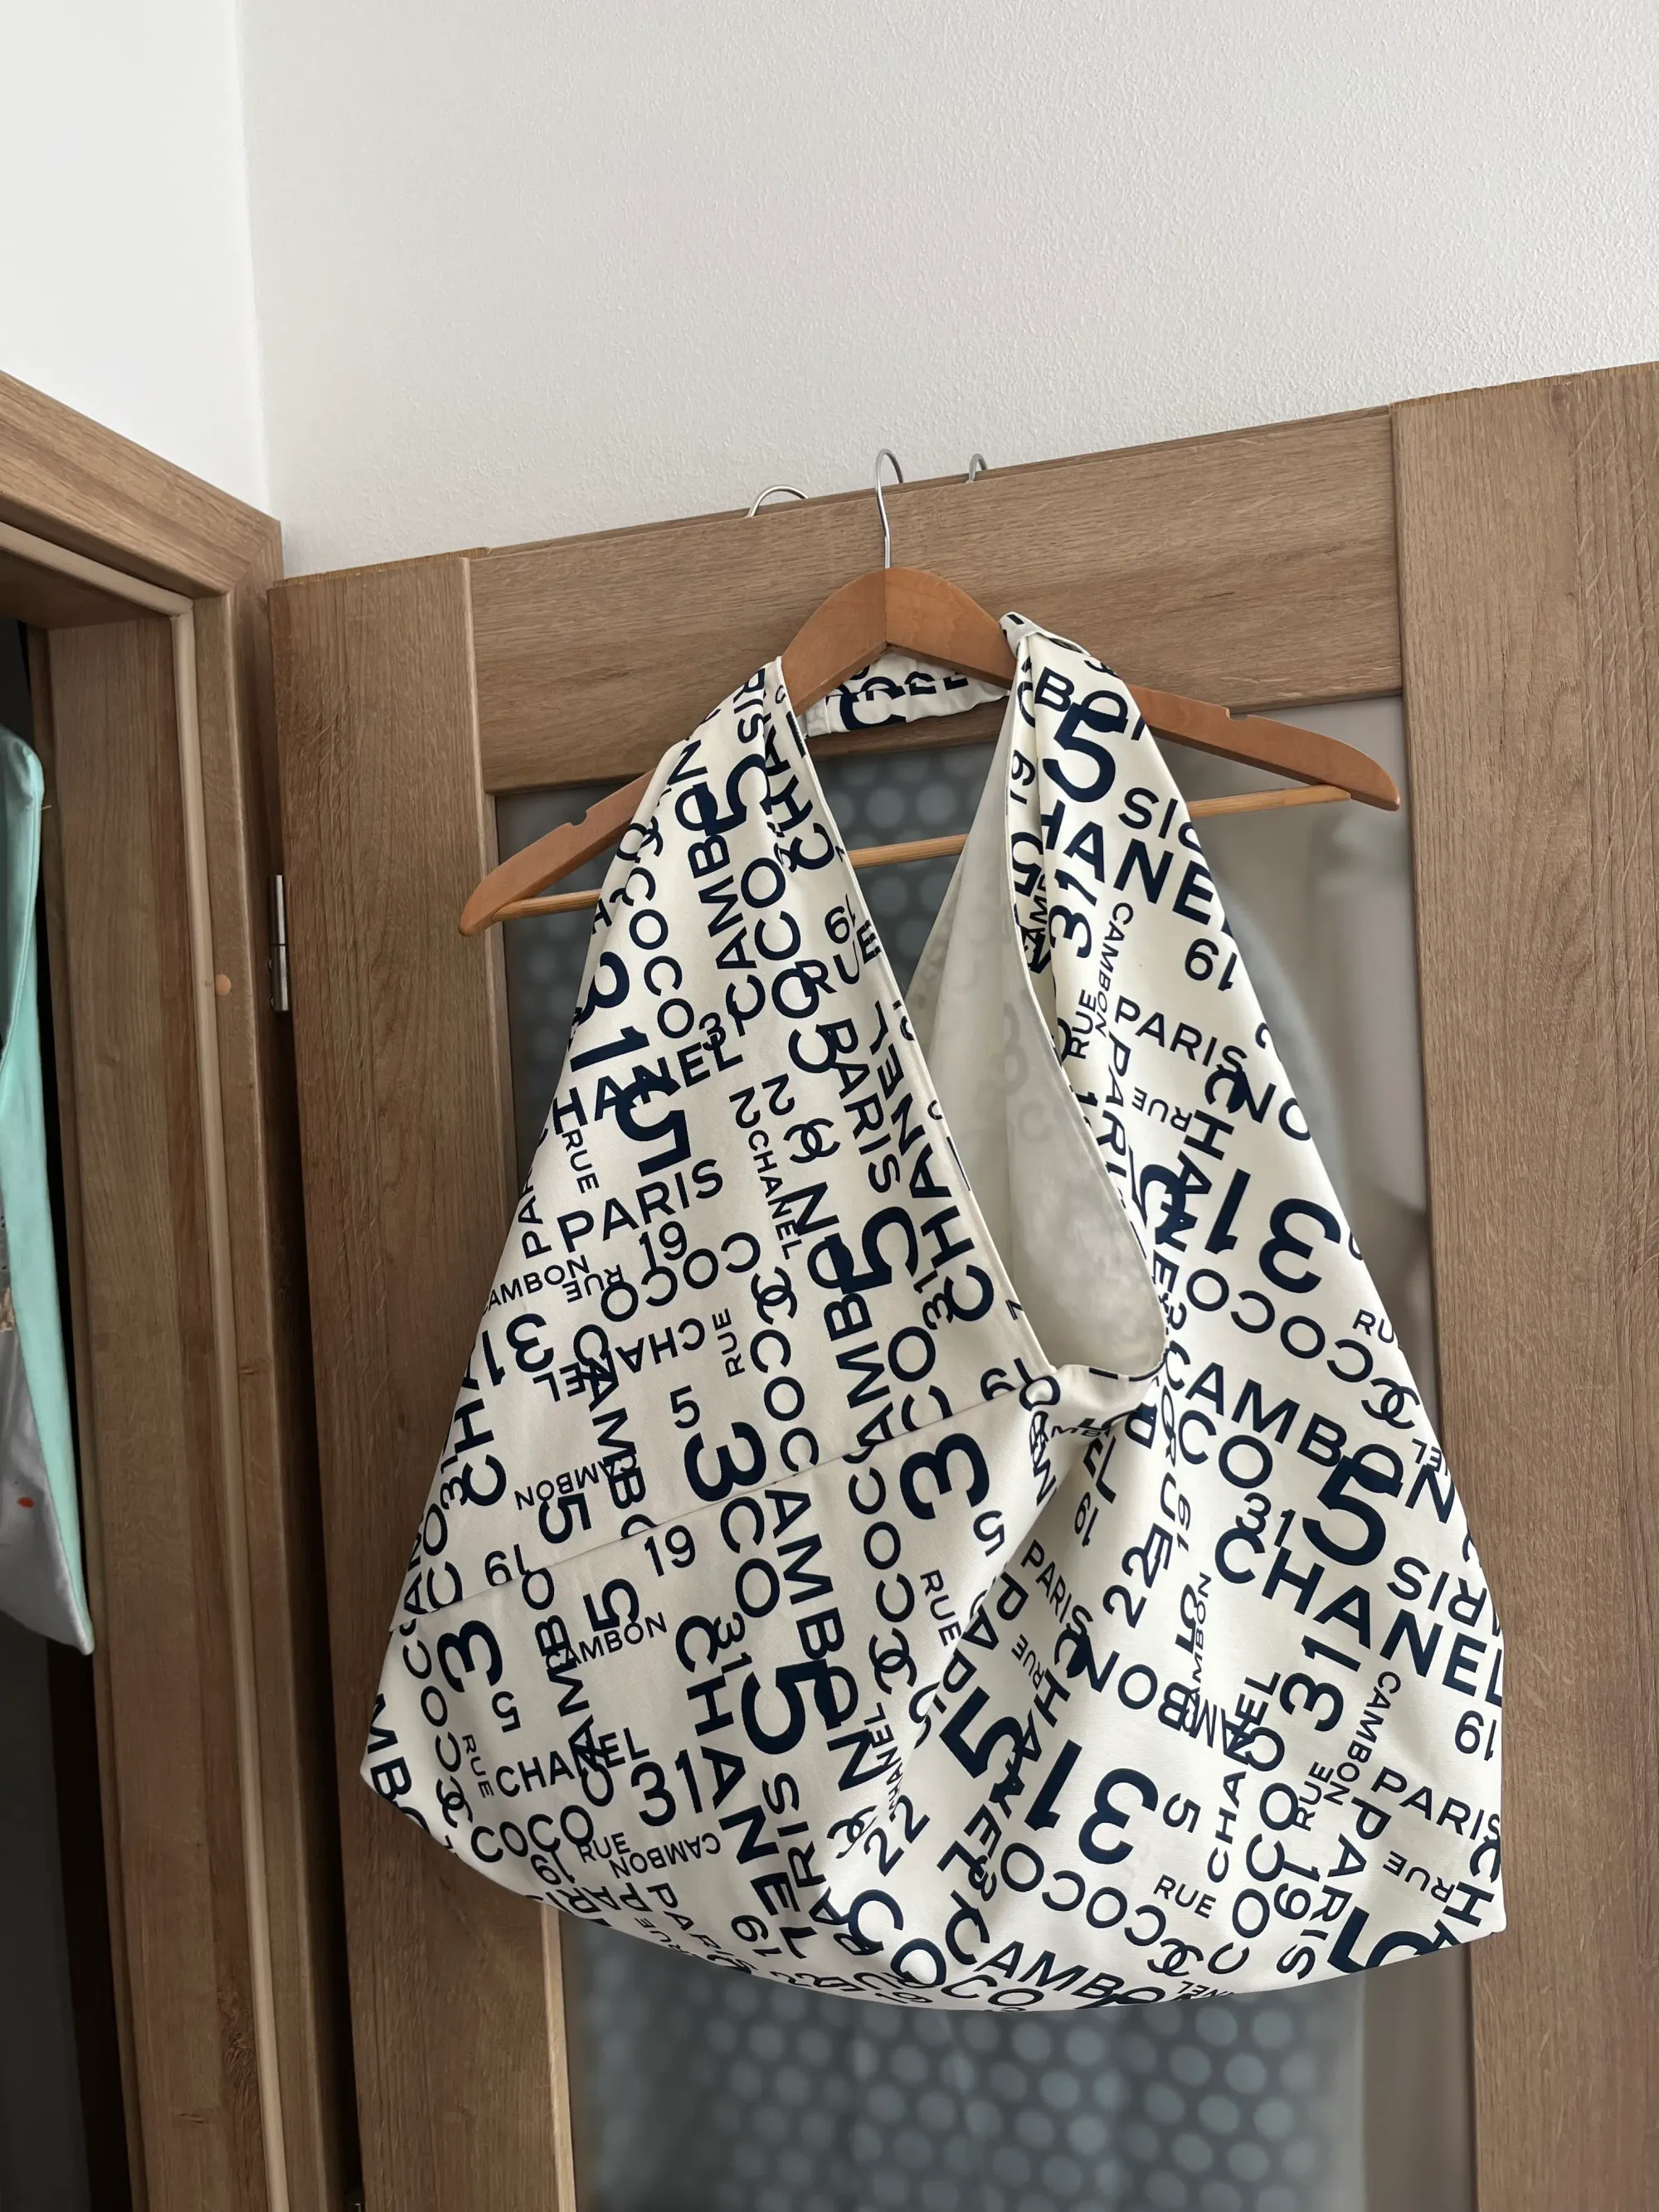
Origami Bag Full Big Size Two Versions My With Pattern and My Daughter's Clean Natural.


