Table of Contents
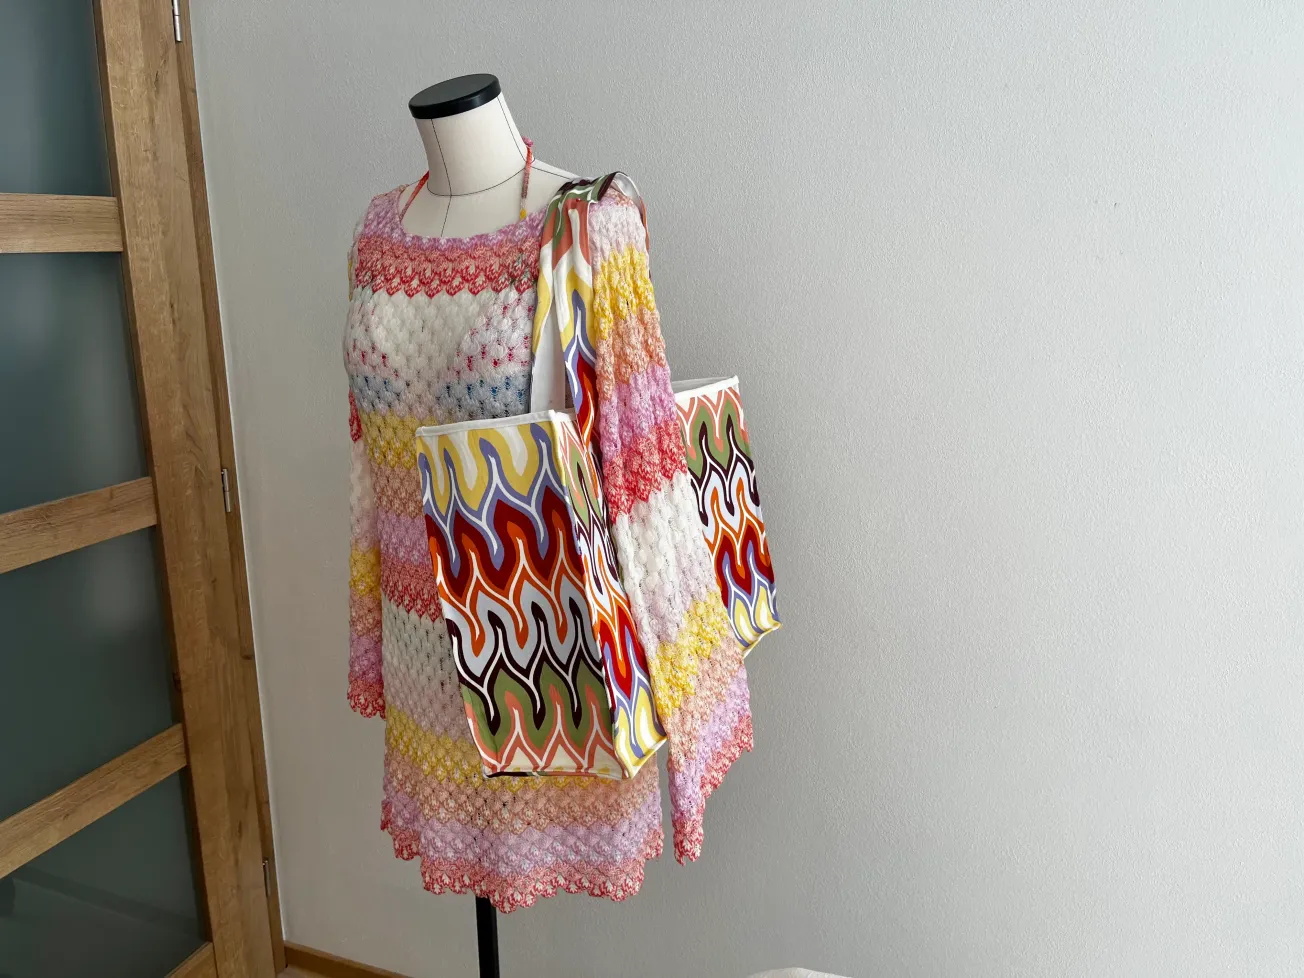
A few days ago, I had some summer beach outfit ideas, so now I'm walking on the beach, happy because I'm wearing a set I made myself: a Missoni-style bikini, a Missoni-style tote bag, and a dress to complete the set I just finished a few days ago. I'm a big fan of sustainability, so if possible, I'd rather invest time in my own creations than spend a fortune on fast fashion made from plastic.
Why Missoni style
I love this brand for its quality fabrics. Their zigzag patterns are absolutely stunning. They allow you to work with fabric in a way I've never done before. You can use the zigzag pattern to create graphic works and optical illusions right on the specific model you're creating. It's incredibly creative and yet still sophisticated and elegant. I love how, when you look closely at the fabric, you can see the weave of the individual threads. These are things that you rarely find anywhere. It is extremely elaborate work that this brand sends out into the world for other seamstresses, sewing beginners, DIY lovers, and fans of the quiet luxury style to create.
You will not find any logos anywhere on the fabric. The only recognizable features are the handwriting on the fabric, its weave, color palette, and zigzag patterns or stripes of various types. I love these fabrics very much. Creating with Missoni fabrics is exactly for those of us who do not need to shout: "Hello, I have an expensive thing, everyone look at me." For me, it is enough to know that the materials are high-quality, made with love and extreme care, so that the rest of us can create interesting fashion from them, too.
Why it's great to sew with Missoni fabrics
I'm not a super advanced creator. My Missoni fabric sewing projects are still at a beginner level. I haven't yet passed my high school exam on sewing a hidden zipper. 😅
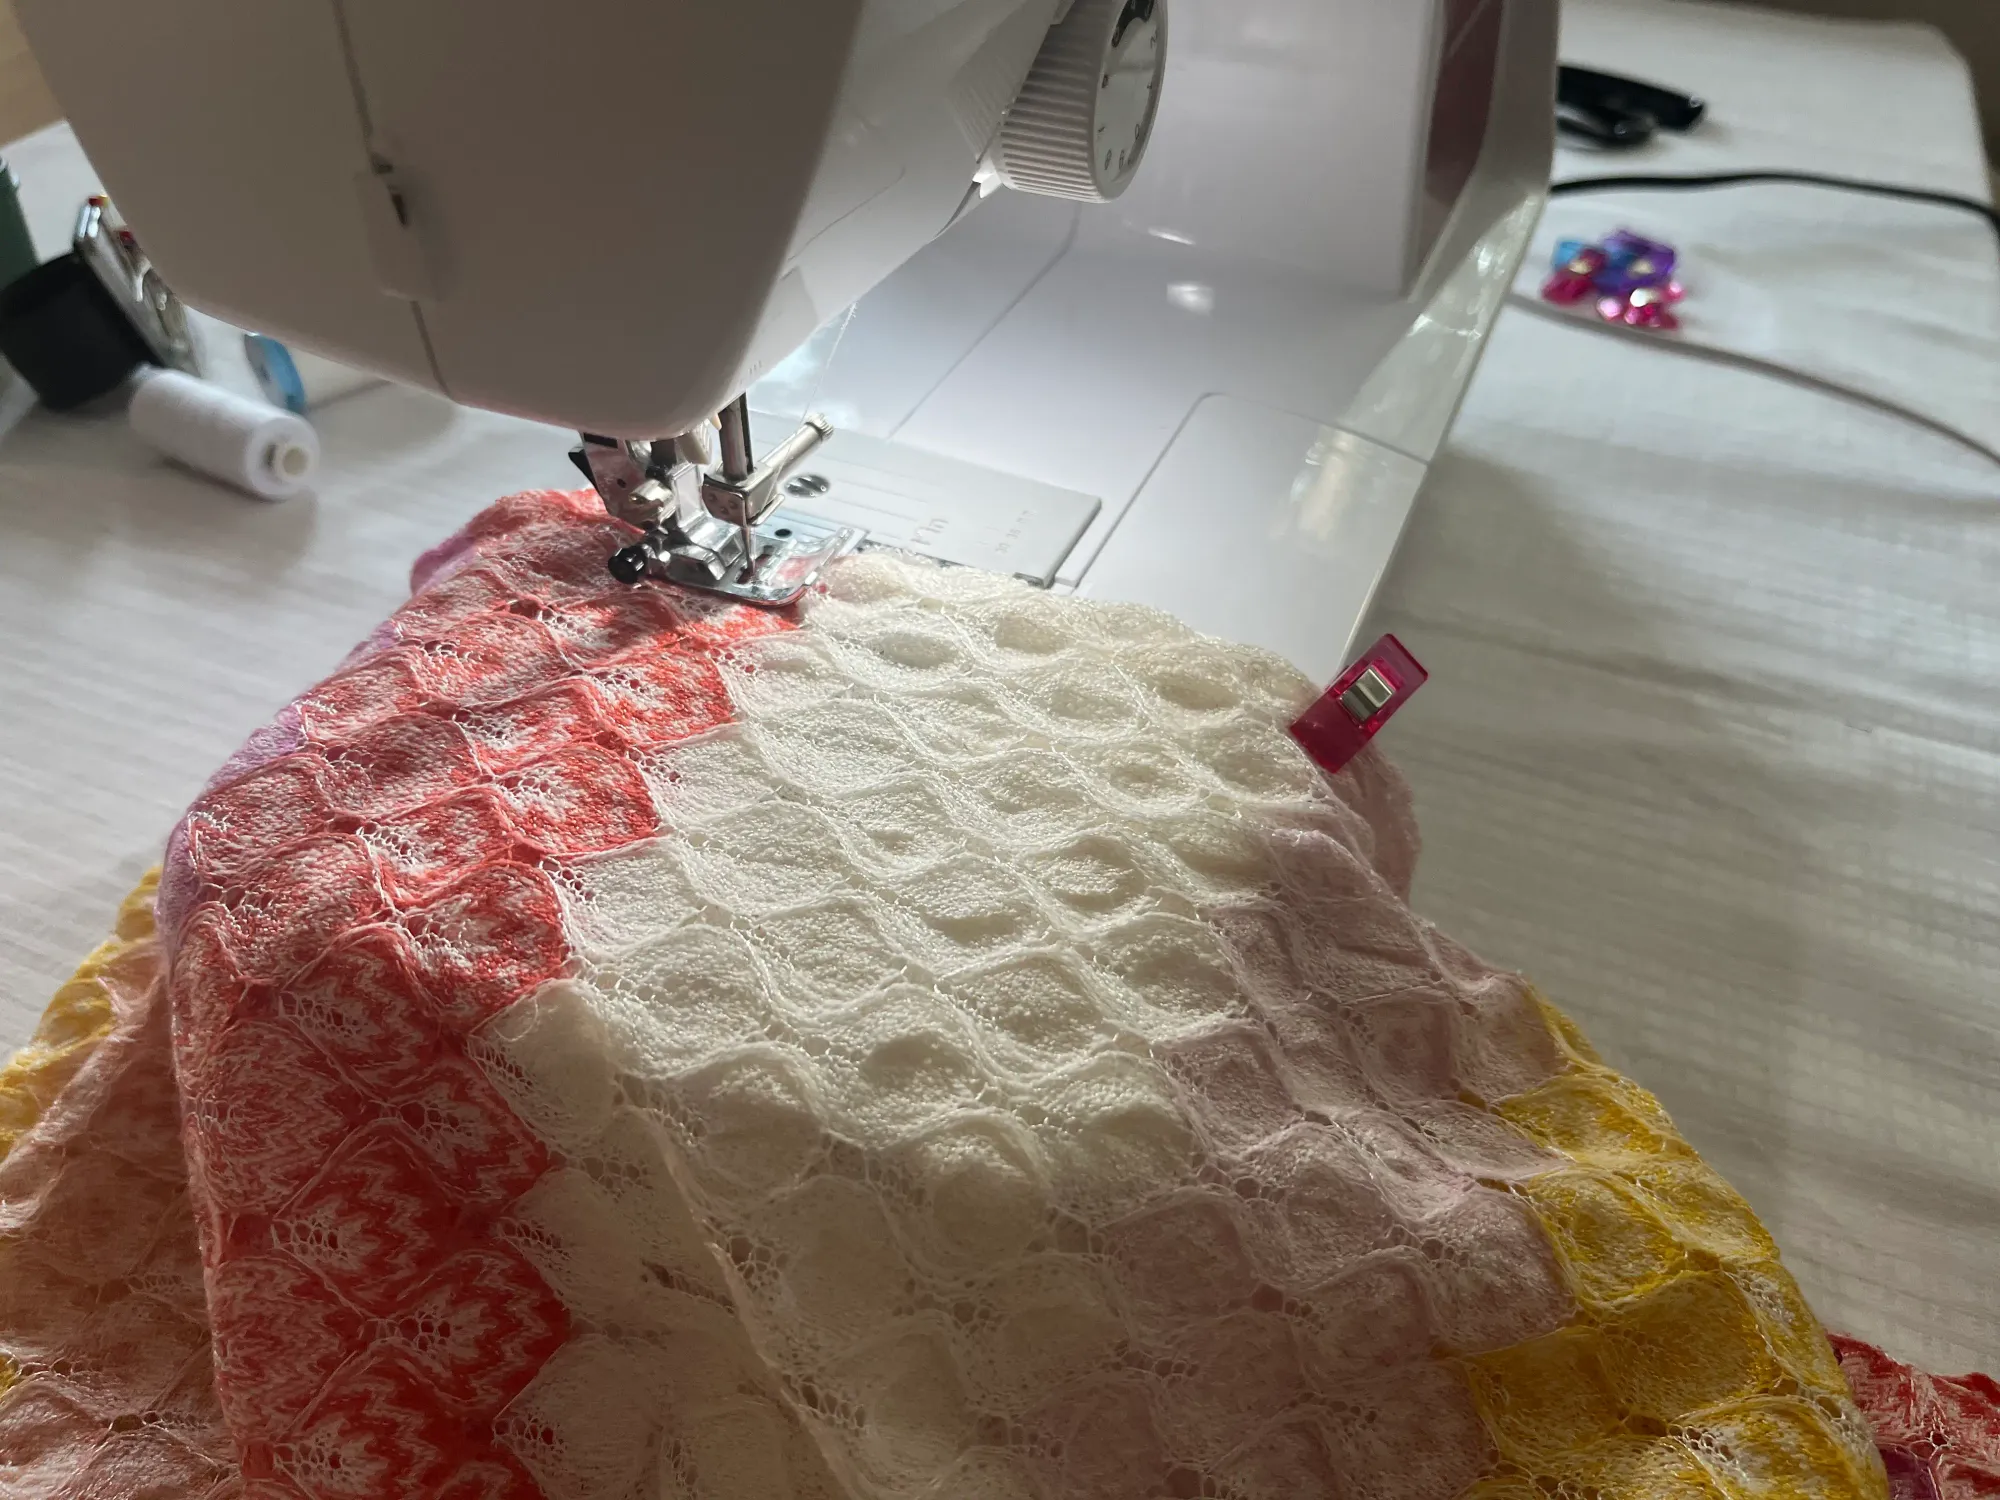
The projects I'm gradually implementing are simple enough thatthat I can handle them. Even though Missoni knits are delicate and at first glance fragile, they are relatively easy to work with. After cutting, the threads don't come apart. Unless you stretch them on purpose. Then, naturally, some thread will pull out of the eyelet. But if you cut the fabric normally and work with it in a natural, calm way. It holds its shape. I really, really liked that. I was very afraid the fabric would pull out and shift, but luckily I sewed it normally on a classic machine, using a zigzag stitch and a straight stitch at the neck to keep the seam neat.
The second reason I chose the Missoni viscose knit was that it drapes beautifully. So if I cut a little differently than I originally wanted somewhere, it will be completely lost in the cut and the final model. As a beginner, I was quite afraid of how my project would turn out, but you know: "He who did nothing, did nothing wrong." So I just cut it, and that was it.
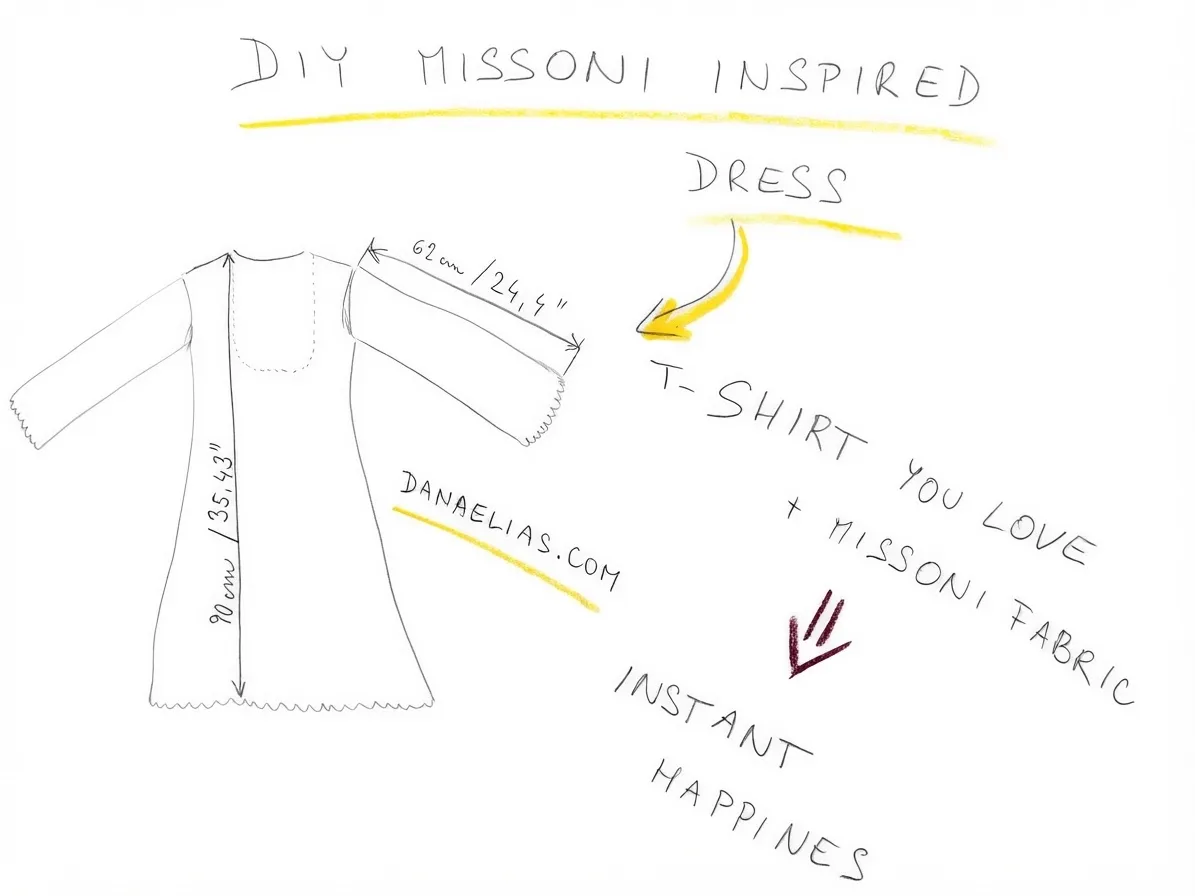
I took the original cut from a long, basic T-shirt, extended only the sleeves, and finally cut out the back so the swimsuit's strings would be visible.
But on the day of sewing, they brought me the sewing mannequin that I needed, so I ended up shaping the entire dress directly on it. But if I had worked according to the T-shirt's cut, it would most likely have turned out the same.
What is important is the fact that I extended the sleeves of the T-shirt, and it turned out to be a beautiful dress. Viscose knit is stretchy, so if you take off a few centimeters, it will forgive you for everything, and you can make a big show.
DIY Missoni Style Dress No Pattern Need
Timelessness of the Missoni pattern
The main motif of the Missoni brand is its zigzag pattern. It is not subject to trends, and the zigzag pattern itself has become more of a collector's art over the years. The pattern is recognizable worldwide and always features a color palette that fits perfectly. For this reason, it is necessary to stick to simple lines when creating dresses or anything else. If we were to sew something dramatic, it would already look kitschy with this fabric. To make the fabric stand out, it needs a minimalist cut that every beginner can handle. Whatever you decide, the fabric you use will retain its color and structure for many years.
Estimated Time
Around 9 hours of your time.
What you need to make a Missoni-inspired summer dress
Main fabric: 1.5m / 59 in
Spool of matching thread
Tailor's Scissors
Tailor's chalk
Pins or clips - to catch fabric
Tailor's tape measure
Sewing machine
How to create a tailored cut
Chevron knit dress tutorial: Knitwear should not be stretched when cut; that's why choosing the right cut is important. Missoni fabrics are ideal for a minimalist cut. I decided on a dress based on my favorite T-shirt, but I lengthened the sleeves. That will be my DIY luxury beach cover-up. 😊
I took the washed and ironed fabric.
I smoothed it out on the floor so that it was spread out flat with the wrong side up
I placed the T-shirt on the fabric, then traced it or cut it out straight away.
The back is the same. The only difference is the larger opening on the back, which you cut out by folding the back piece and cutting as much of the opening as you want.
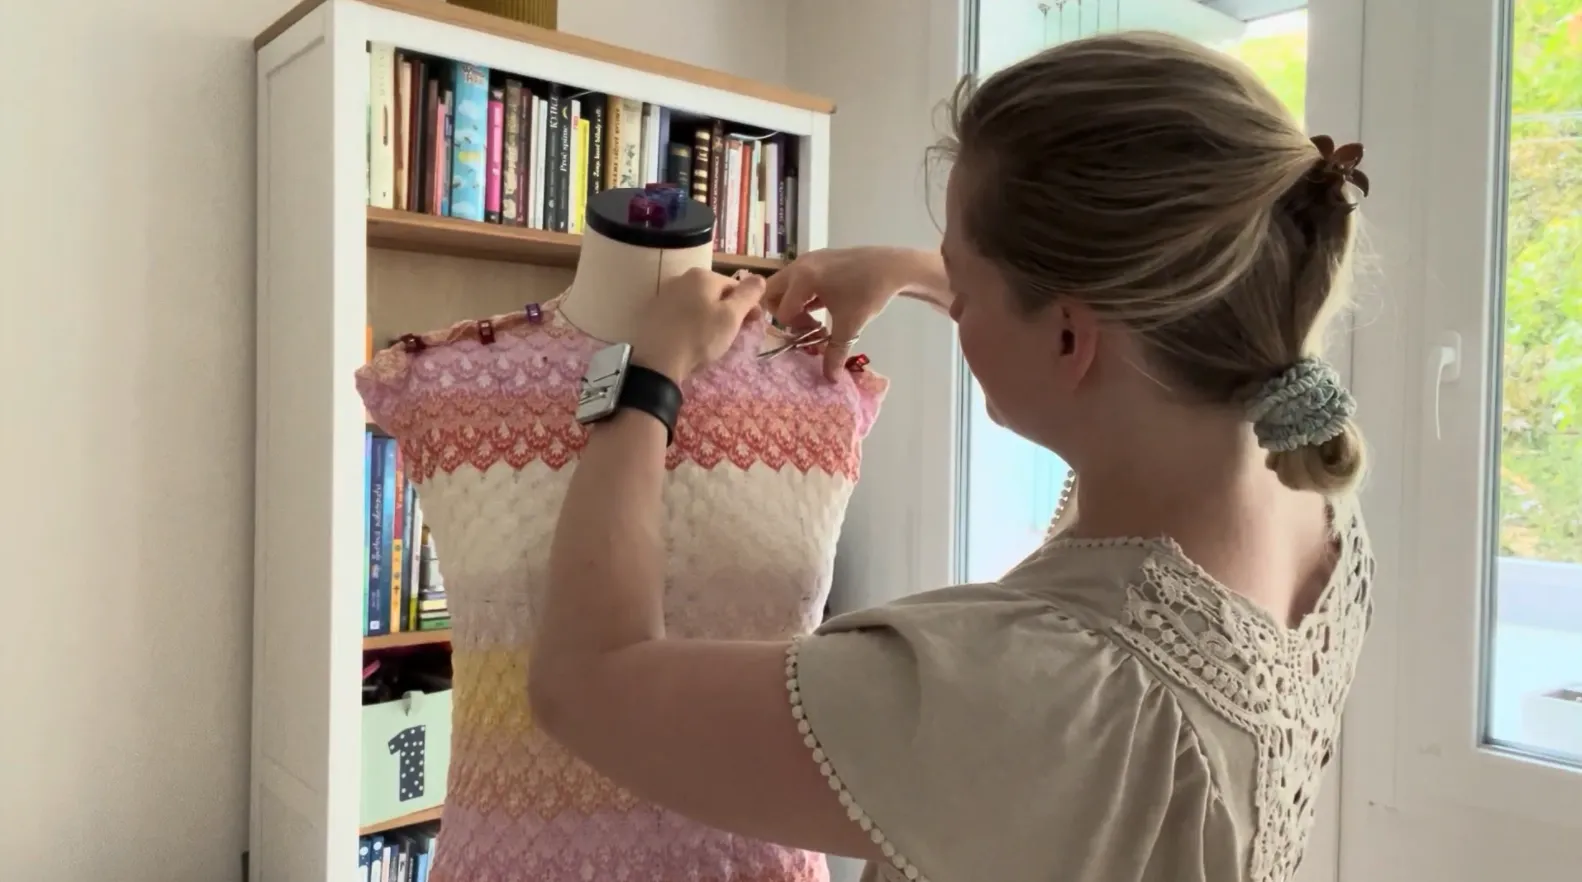
On the day I wanted to sew the dress, my long-awaited mannequin arrived. I couldn't wait to see it. When I sew, I solve the problem of not being able to make final adjustments to the clothes I sew. It bothered me a lot, so one day I ordered a sewing mannequin. I'm thrilled with it.
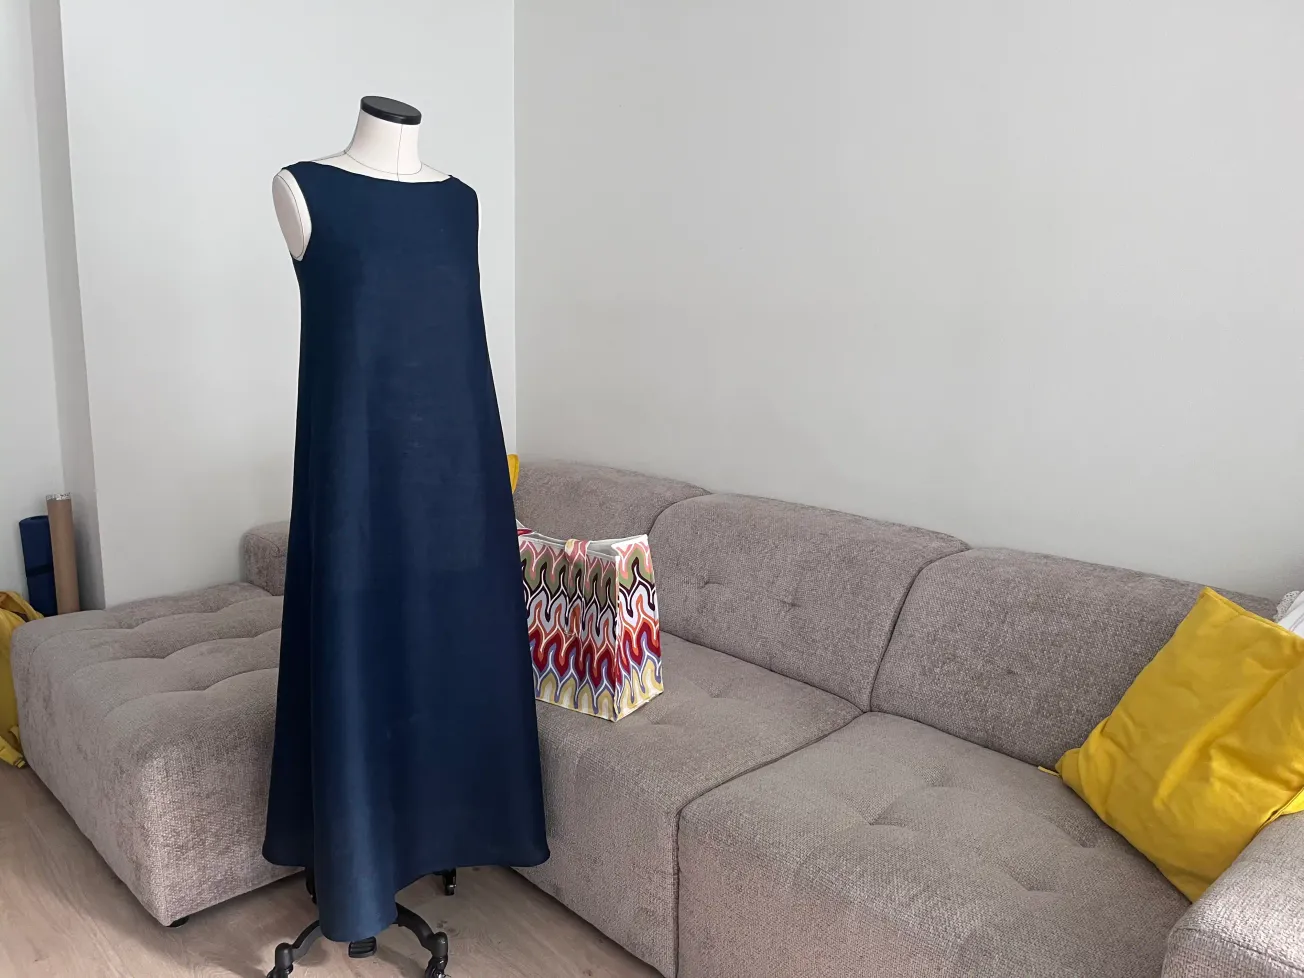
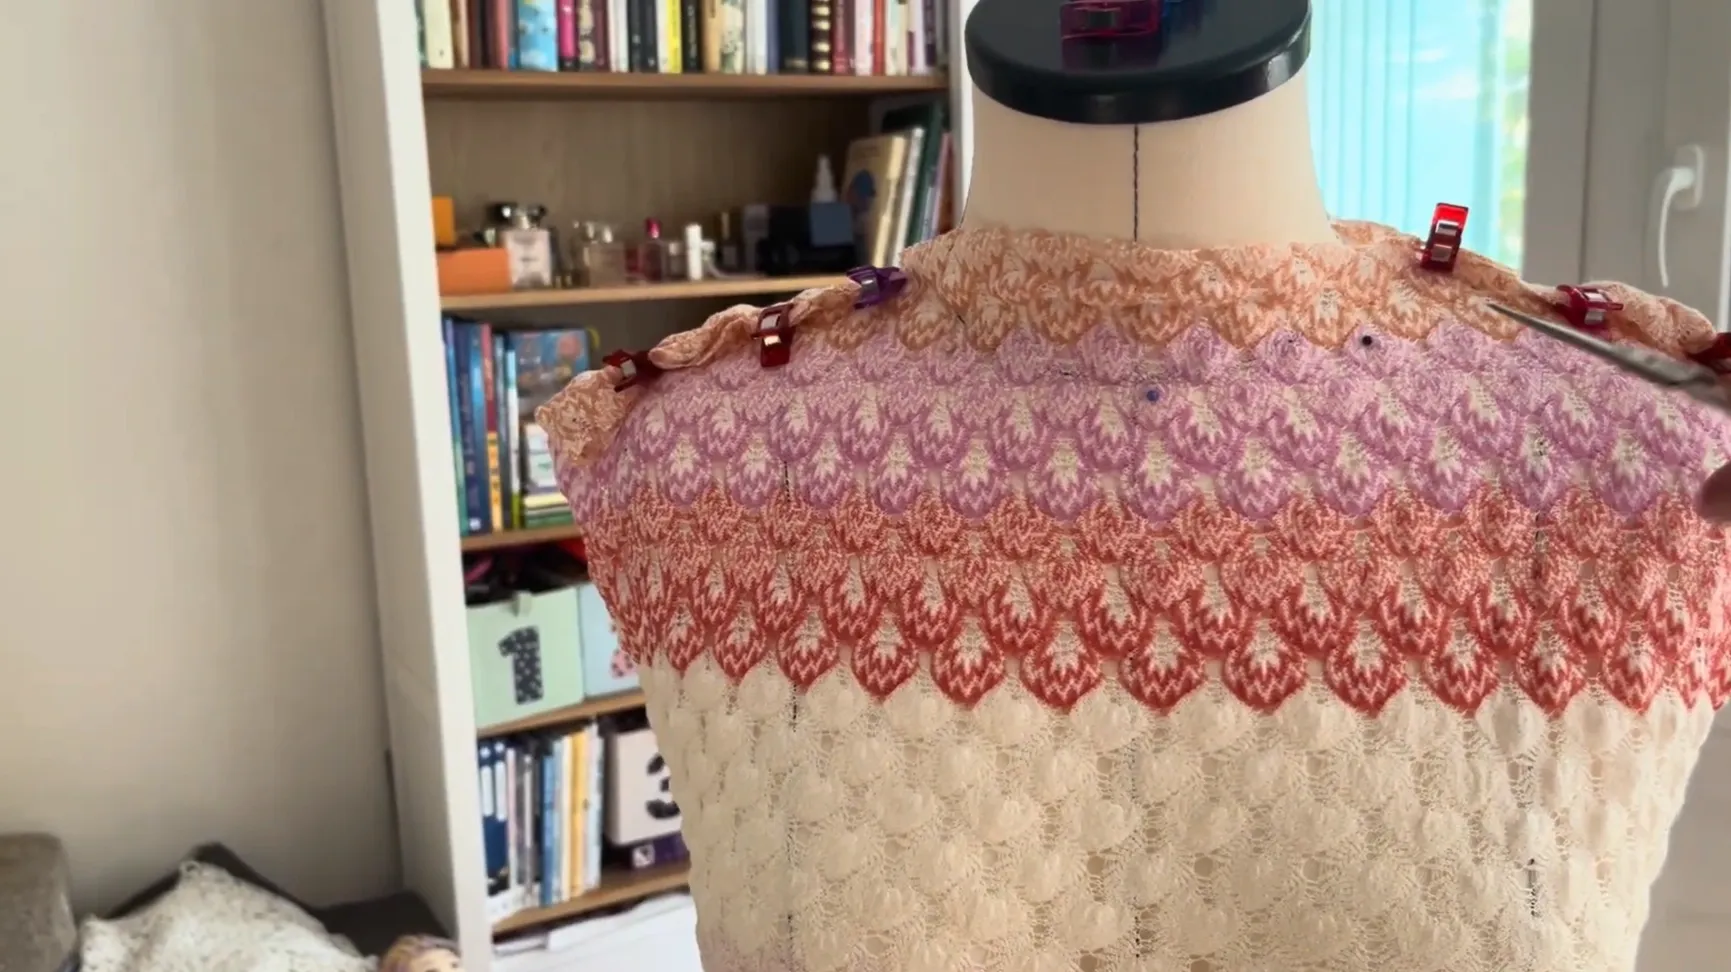
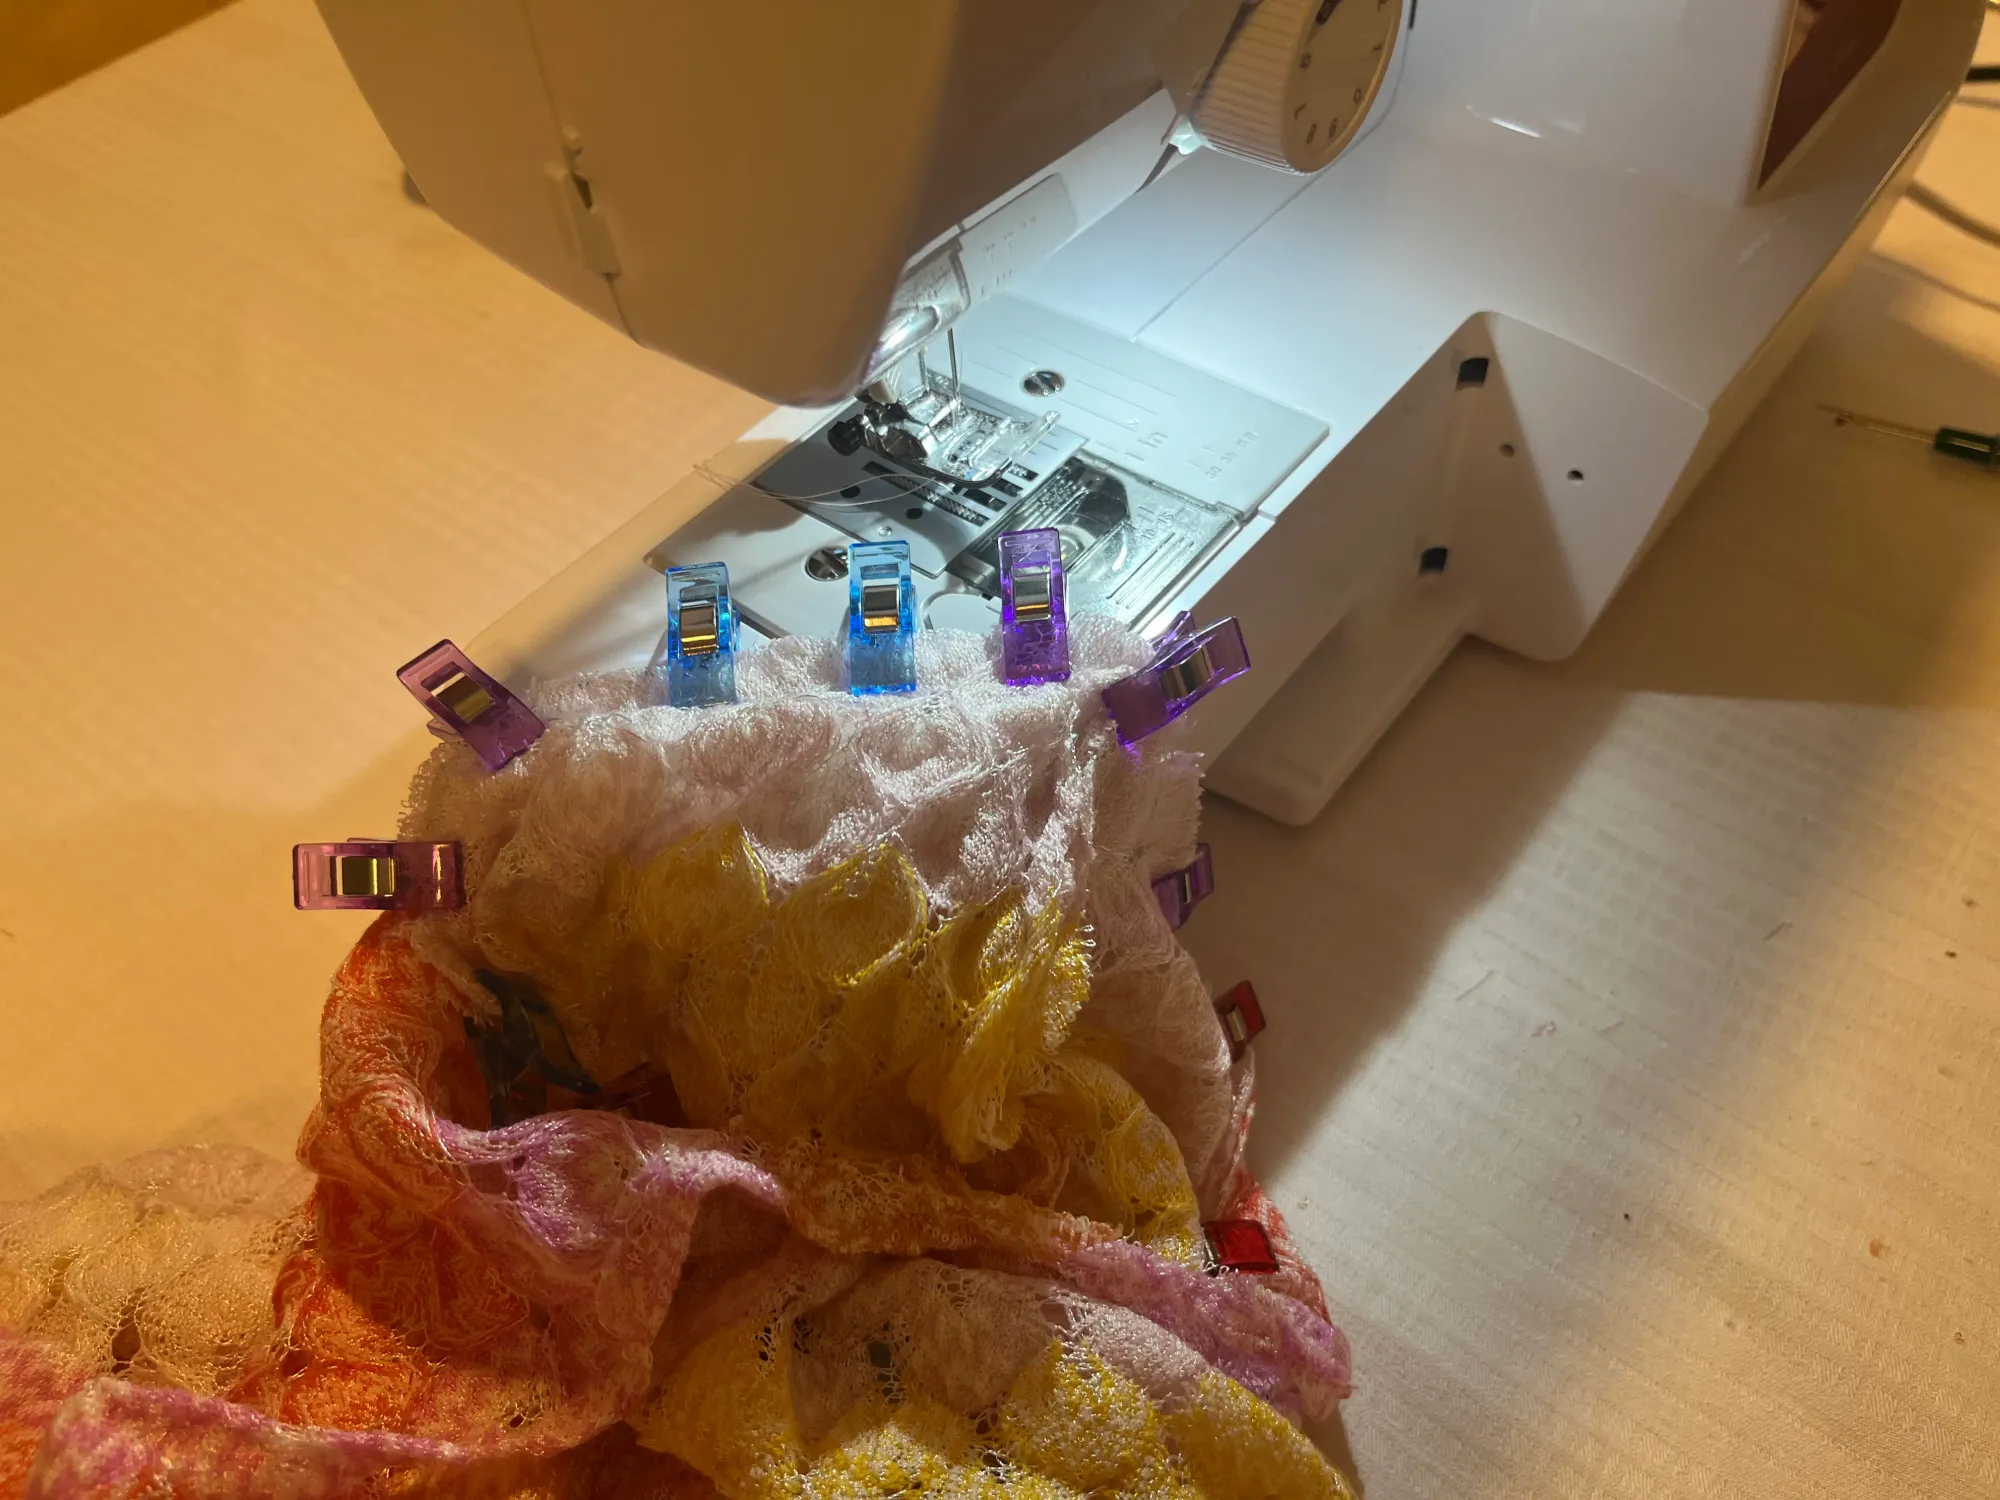
So I finally cut the dress on the mannequin. I pinned the fabric so that the dress was the desired length. The entire cut is actually just a tube. Viscose knitwear can handle even the simplest cut.
I had to sew the fabric in the back. Before sewing, it is very important to make sure that the pattern fits you and the fabric parts come together in the right places. If the pattern suddenly comes together in a way it doesn't, it is visible with patterned fabrics and has a disturbing effect.
The sleeves are two straight tubes. They are slightly gathered at the top so that the sleeve circumference fits through the dress opening. I sewed the entire dress with a classic zigzag stitch from cream thread, which was not visible on the knitwear.
The main upper opening of the dress is sewn with a classic straight stitch to avoid disrupting the dress's visual impression. I will have to add some strings to the back of the dress later because it is a bit loose on me. So if you sew it straight, that will be best for you.
I left the bottom of the dress and the sleeves unchanged. Missoni has a beautiful, delicate hem, and it would be a shame to fold it in and sew it in. It looks so delicate this way.
Sewing a DIY Missoni-style dress
Sewing viscose knitwear can seem daunting for some beginners. It was for me. But once I cut into the fabric, the fear subsided, and I was calm. My no-pattern beach dress was safe. You don't have to be afraid of sewing. Viscose knitwear won't run away from you. The only thing that is a bit of a challenge is the fact that you can't iron the fabric. In this regard, it was a bit more laborious. If I iron the fabric, the stabilizer will stick to the iron because the knitwear has holes. But the fabric worked well without the stabilizer.
Sewing without a mannequin
The seam is on the sides of the dress, just like on your T-shirt.
- Place the fabric wrong side up
- Trace the front of the selected T-shirt onto the fabric with tailor's chalk
- Trace the back of the T-shirt onto the fabric using the same procedure
- Fold the back in half lengthwise (fold the right and left sides)
- Cut out the opening for the bare back as you wish (be careful; with minimalist cuts, less is sometimes more, so cut carefully to avoid a big opening and an overly bare back).
- Measure the length of the sleeves from the shoulders to the middle of your palm. It's nice if the sleeves are a little longer than just to the wrist.
- Sew the upper part of the shoulders
- Turn the entire inside opening of the dress wrong side out, iron it so the opening lies flat, and sew the fabric around the entire circumference with a straight stitch.
- Pin the sleeves to the shoulder seams of the dress, then sew them in place. Sew the right sides together with the wrong sides out.
- Sew both sides of the dress from the sleeves to the bottom of the dress in one long stitch.
- Turn the dress right side out, and you're ready to go to the beach.
Sewing with a mannequin
The seam is only on the back because you'll be wrapping the fabric around the mannequin.
- Pin the fabric to the mannequin with the wrong side out so the bottom aligns with the desired length of your future dress.
- Pin the place where the shoulders will be
- Grab the dress in the back and adjust it to fit your proportions
- Pin the fabric in the area of the inner opening (neck and back) so that it does not move
- Cut out the desired opening and neck and back according to the markings on the mannequin, or if you do not have markings, then according to your own discretion
- Cut out armholes according to the pattern
- Cut out 2 rectangles from the side, which will be the sleeve tubes (make the size of the sleeve tubes according to the desired sleeve length and the circumference of the opening of the cut-out part on the sleeve of the dress).
- Remove the fabric from the mannequin and sew the places where you attached the shoulders
- Sew the place where you shaped the back seam of the dress wrong side out
- Pre-iron the bend of the inner opening of the dress (neck and back) wrong side out, and then sew with a smooth stitch
- Sew both sleeve tubes wrong side out
- Insert the sleeves wrong side out into the inner part of the dress and connect each sleeve to the opening in the dress that you prepared for the sleeve, and always sew both parts together
- Turn the dress right side out, and you can go to the beach. Have you ever sewn a similar dress just a little differently? There are many ways; I would be happy if you shared.
Let's Do the Math
For the Missoni-inspired summer dress, I needed 1.5 m (59 in) of Missoni fabric. This fabric cost me 66.81 EUR / 77.11 USD.
I sewed this dress for about 9 hours because of the knitting material.
On the Missoni website, I found a beach dress (not the same as mine, of course) priced at around 900 EUR / 1039 USD.
I am certainly not denying whether the beach dress is well-made and how much we pay for the brand. I can appreciate that working on their bag takes a lot of time. On the other hand, I wanted to show you the raw cost.
I wish you good luck in sewing, and if you need to discuss anything, write to me in the comments or contact me via the contact form.
I am here for you
Happy sewing! 🧵✨
Dana