Table of Contents
Each of us sometimes longs to sew our princess her "Best Friend". It's a wonderful feeling when you make a doll with love for your princess, watch her eyes shine with happiness, and take her with you everywhere as her new best friend. Giving a handmade doll as a gift is a wonderful expression of love. A tender, friendly doll that your princess will take to her crib and go on trips with. Yes, there are beautiful plastic and cloth dolls today. But we all know in our hearts that "THE DOLL SEWN WITH LOVE" from mom or grandma would probably be her best friend forever.
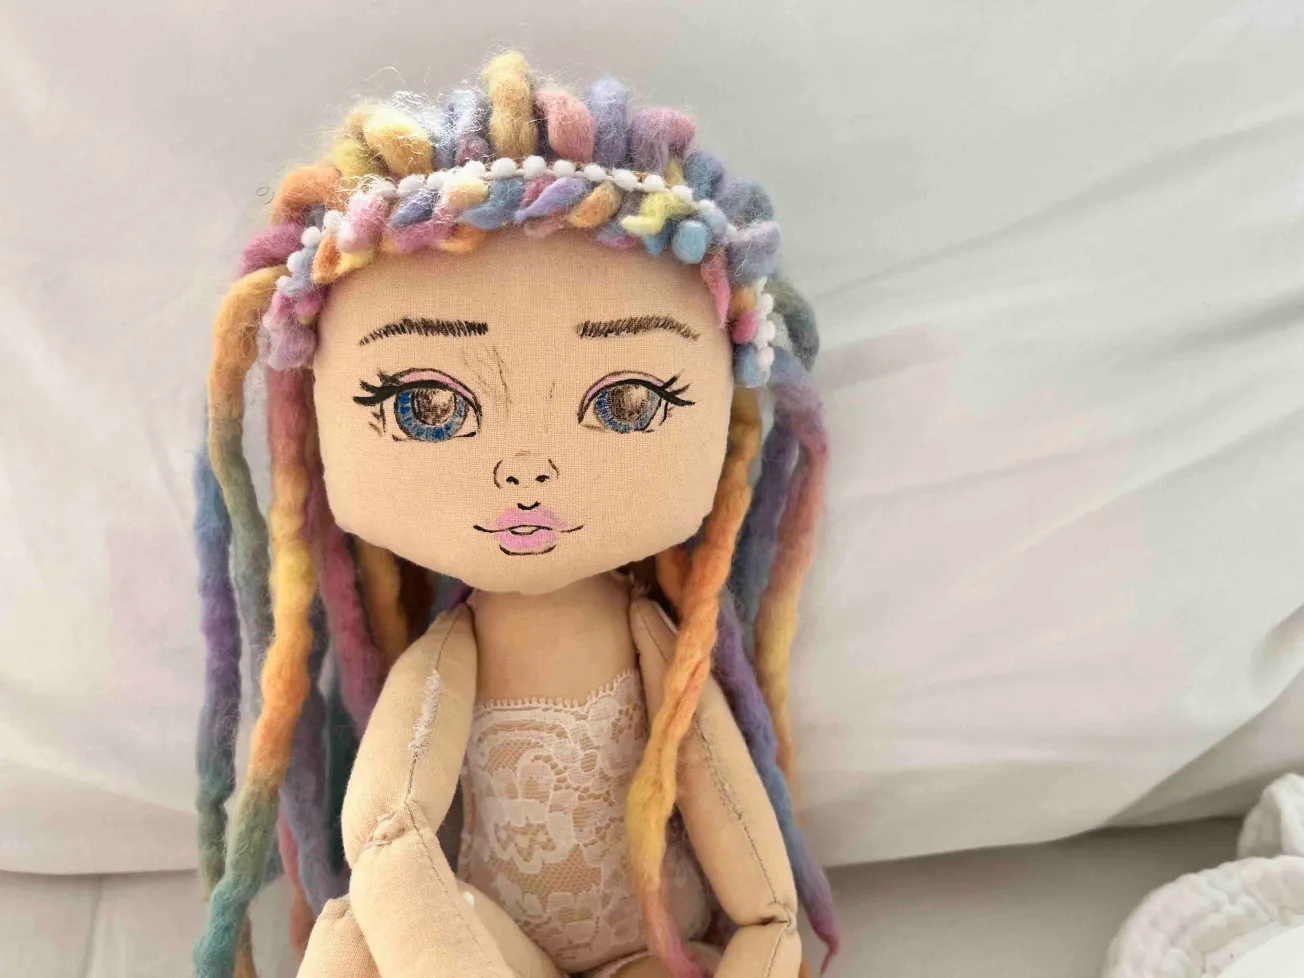
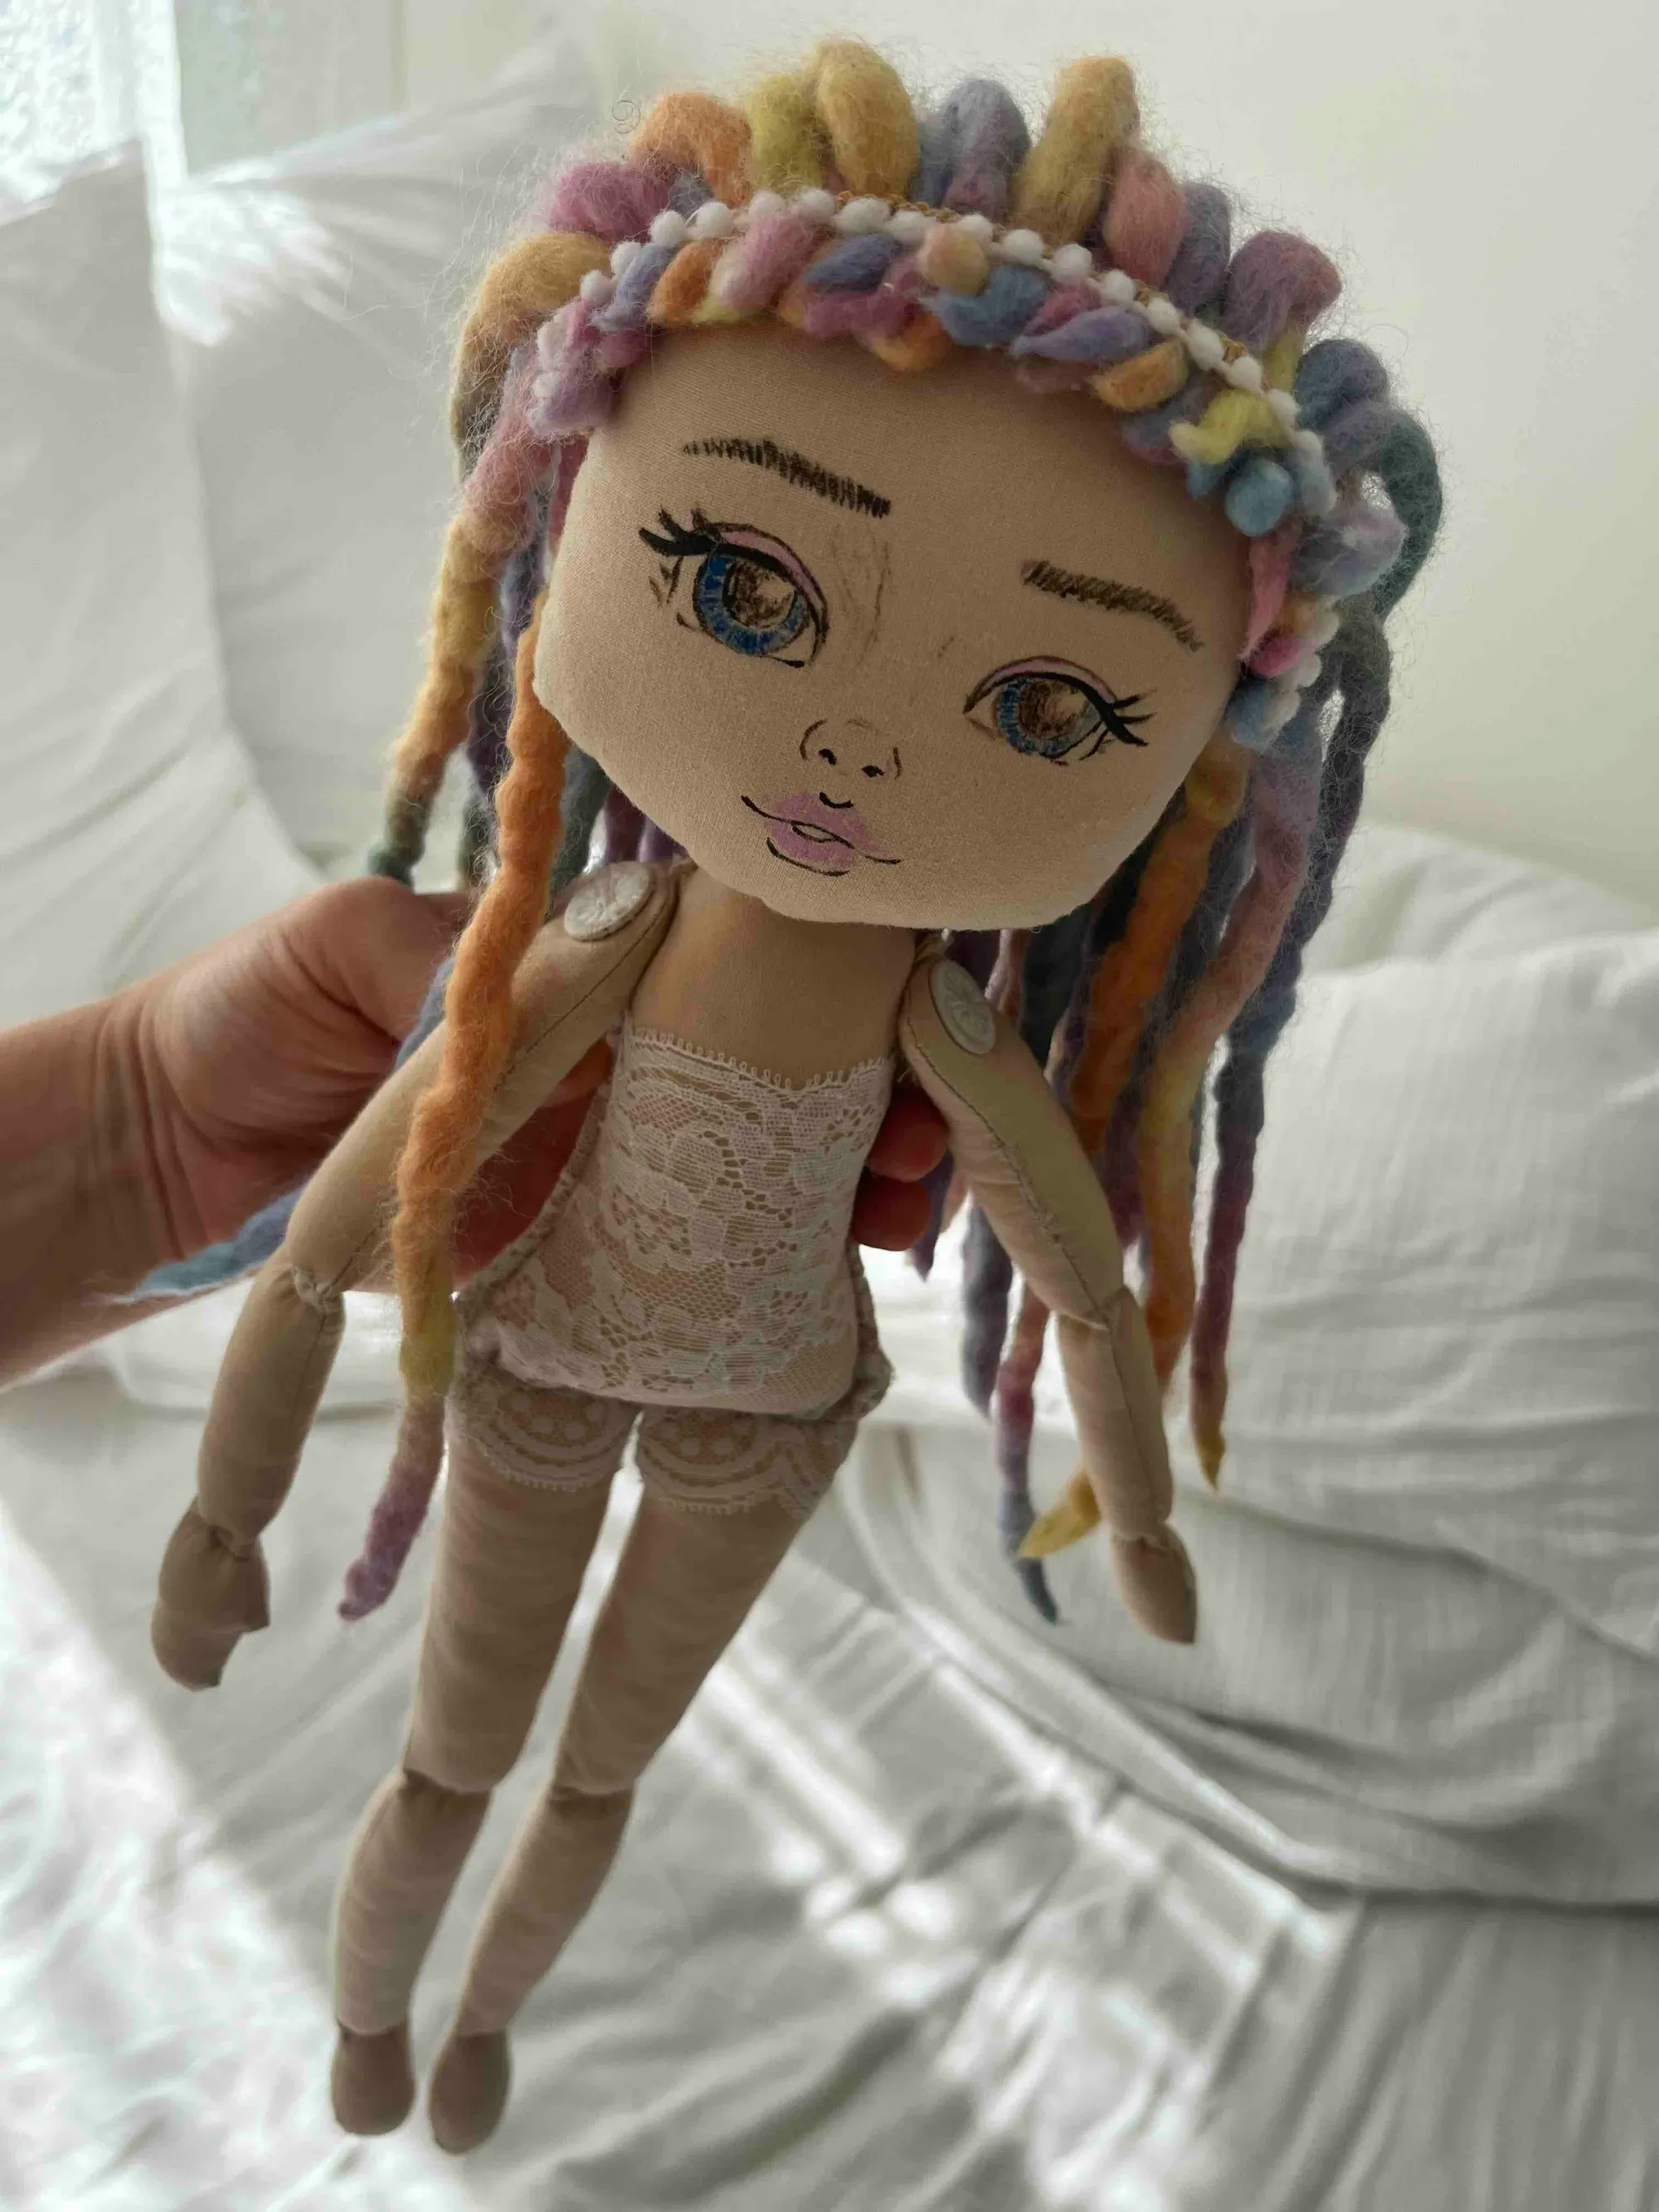
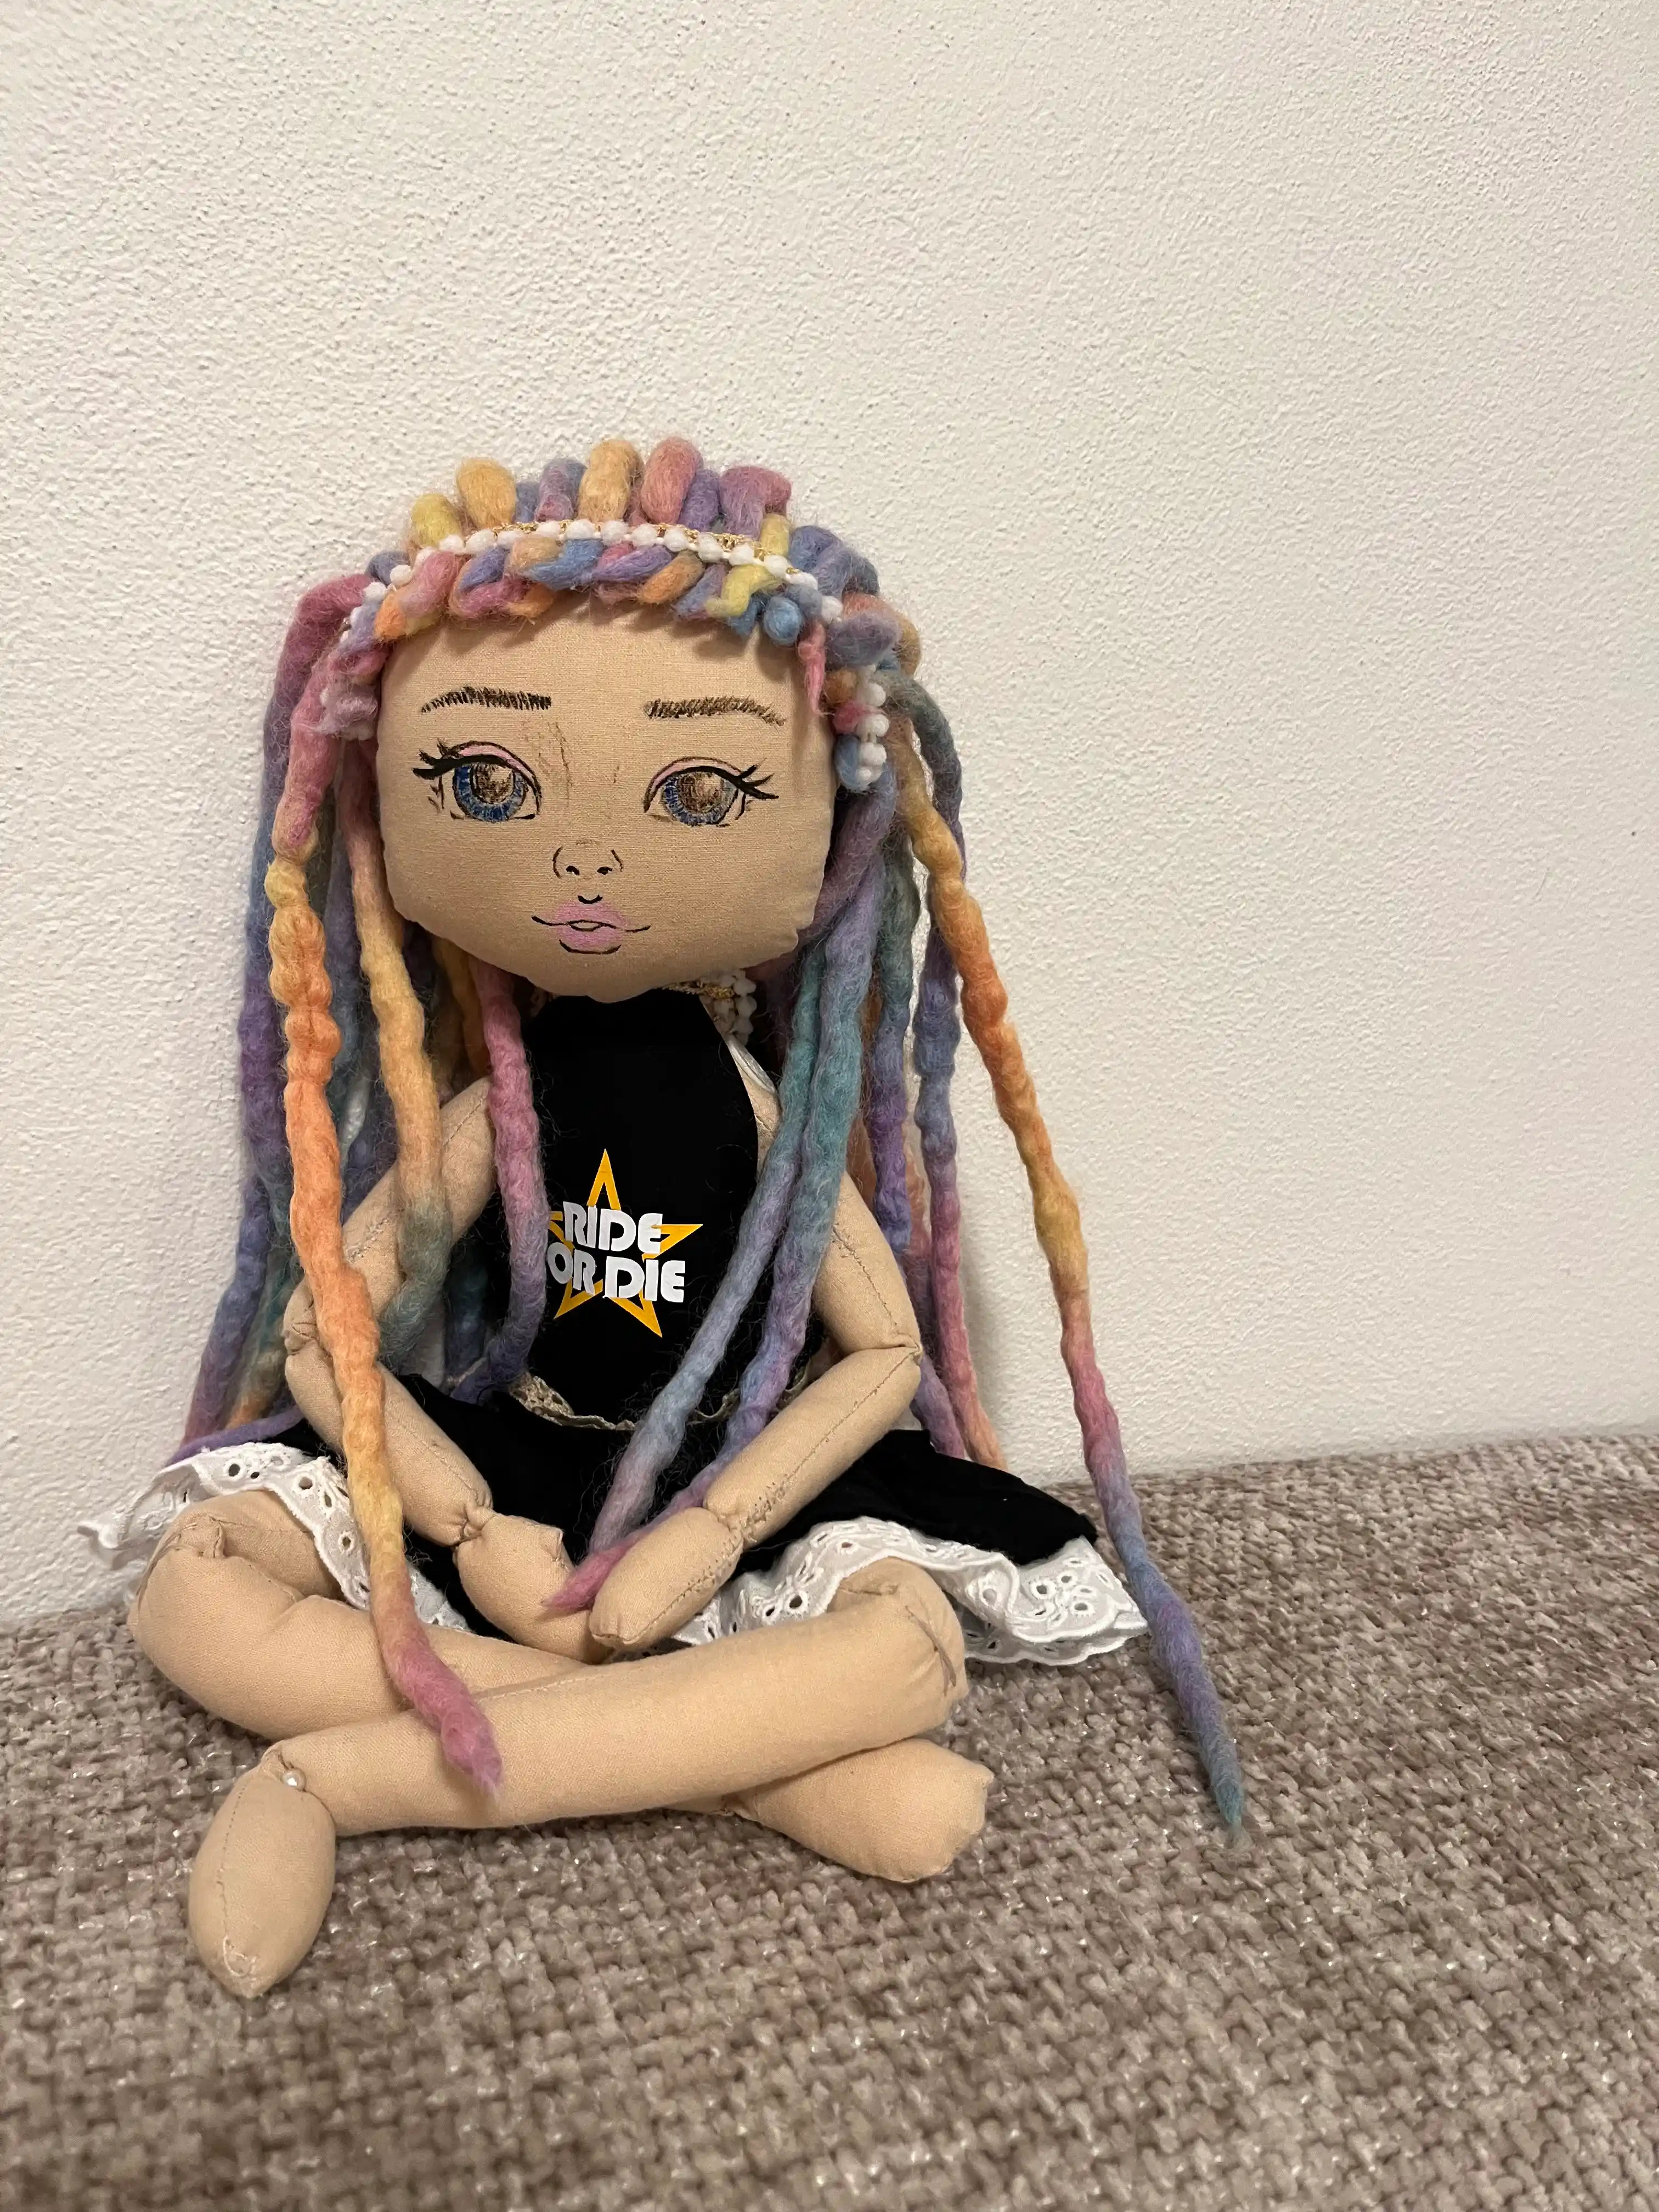
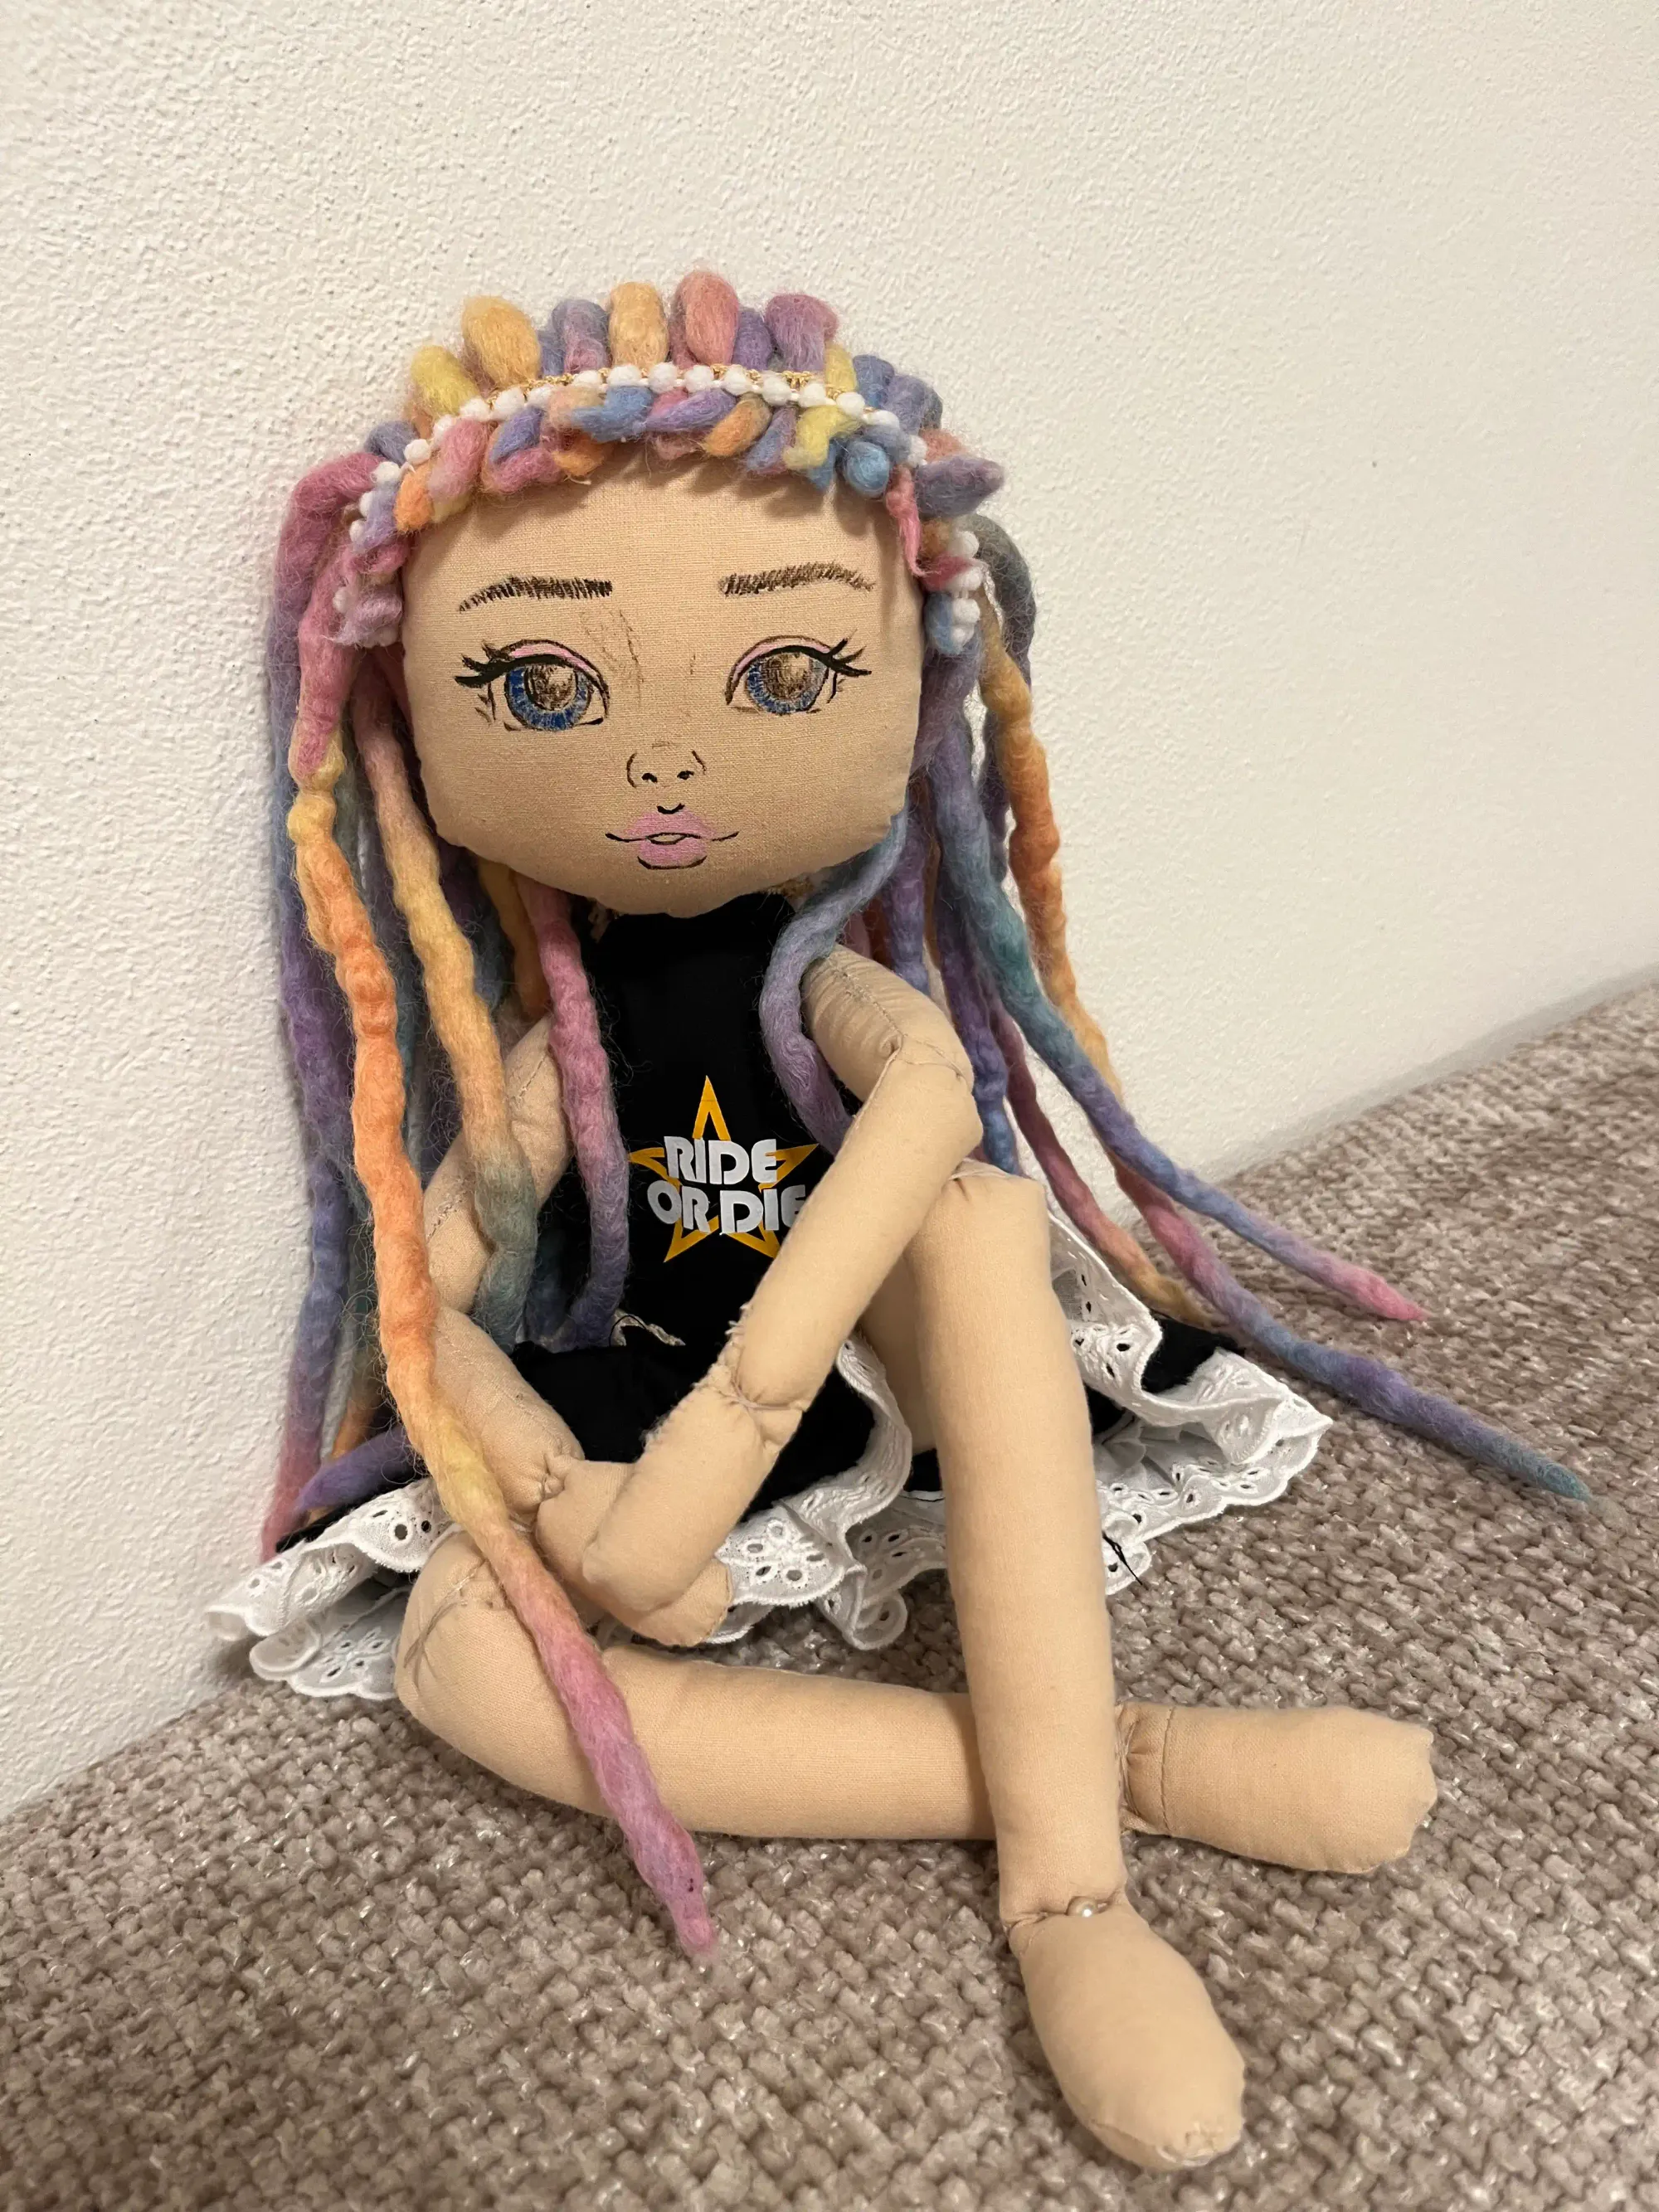
I can confirm this. When I sewed a posable cloth doll for my daughter, she was thrilled. She takes her "Rainbow" with her almost everywhere. And she is her great friend and often sleeps with her, too.
How Did I Find The Right Pattern For a Posable Doll?
And once you find one, how exactly do you sew a doll to make it truly beautiful? I also searched and bought various patterns online for sewing a cloth doll. In the end, I gradually developed a pattern you can use to sew a posable doll from fabric your children will love!
The pattern of cloth doll is free to download because I believe we should all have the opportunity to sew a beautiful doll for our child, regardless of our financial situation. In the past, as a single mother with my first princess, I was not financially well off, and the only pattern I could find at the time was for a UNICEF doll. But this time, I had more experience, so I could improvise more effectively and gradually adjust the patterns to suit my needs, ensuring the doll's final shape was exactly what I wanted for my second princess. So feel free to use this free pattern too! It's available for you.
I will also tell you, step by step, how I sewed the doll so you can avoid mistakes and make your cloth doll a success too.
What You'll Need to Sew a Handmade Doll
Body Fabric: Classic Cotton Canvas, 100% Cotton. Choose a natural shade; this will be your doll's future skin tone. 100% cotton canvas holds its shape well and is strong enough to hold the stuffing.
Stuffing Materials: I use hollow fiber for the pillow stuffing. It's soft, washable, and, most importantly, my daughter can't hurt herself with it. I could also use stuffing sand, but in that case, the doll would be heavier, and I wanted a doll for my daughter, not a dumbbell for exercise.
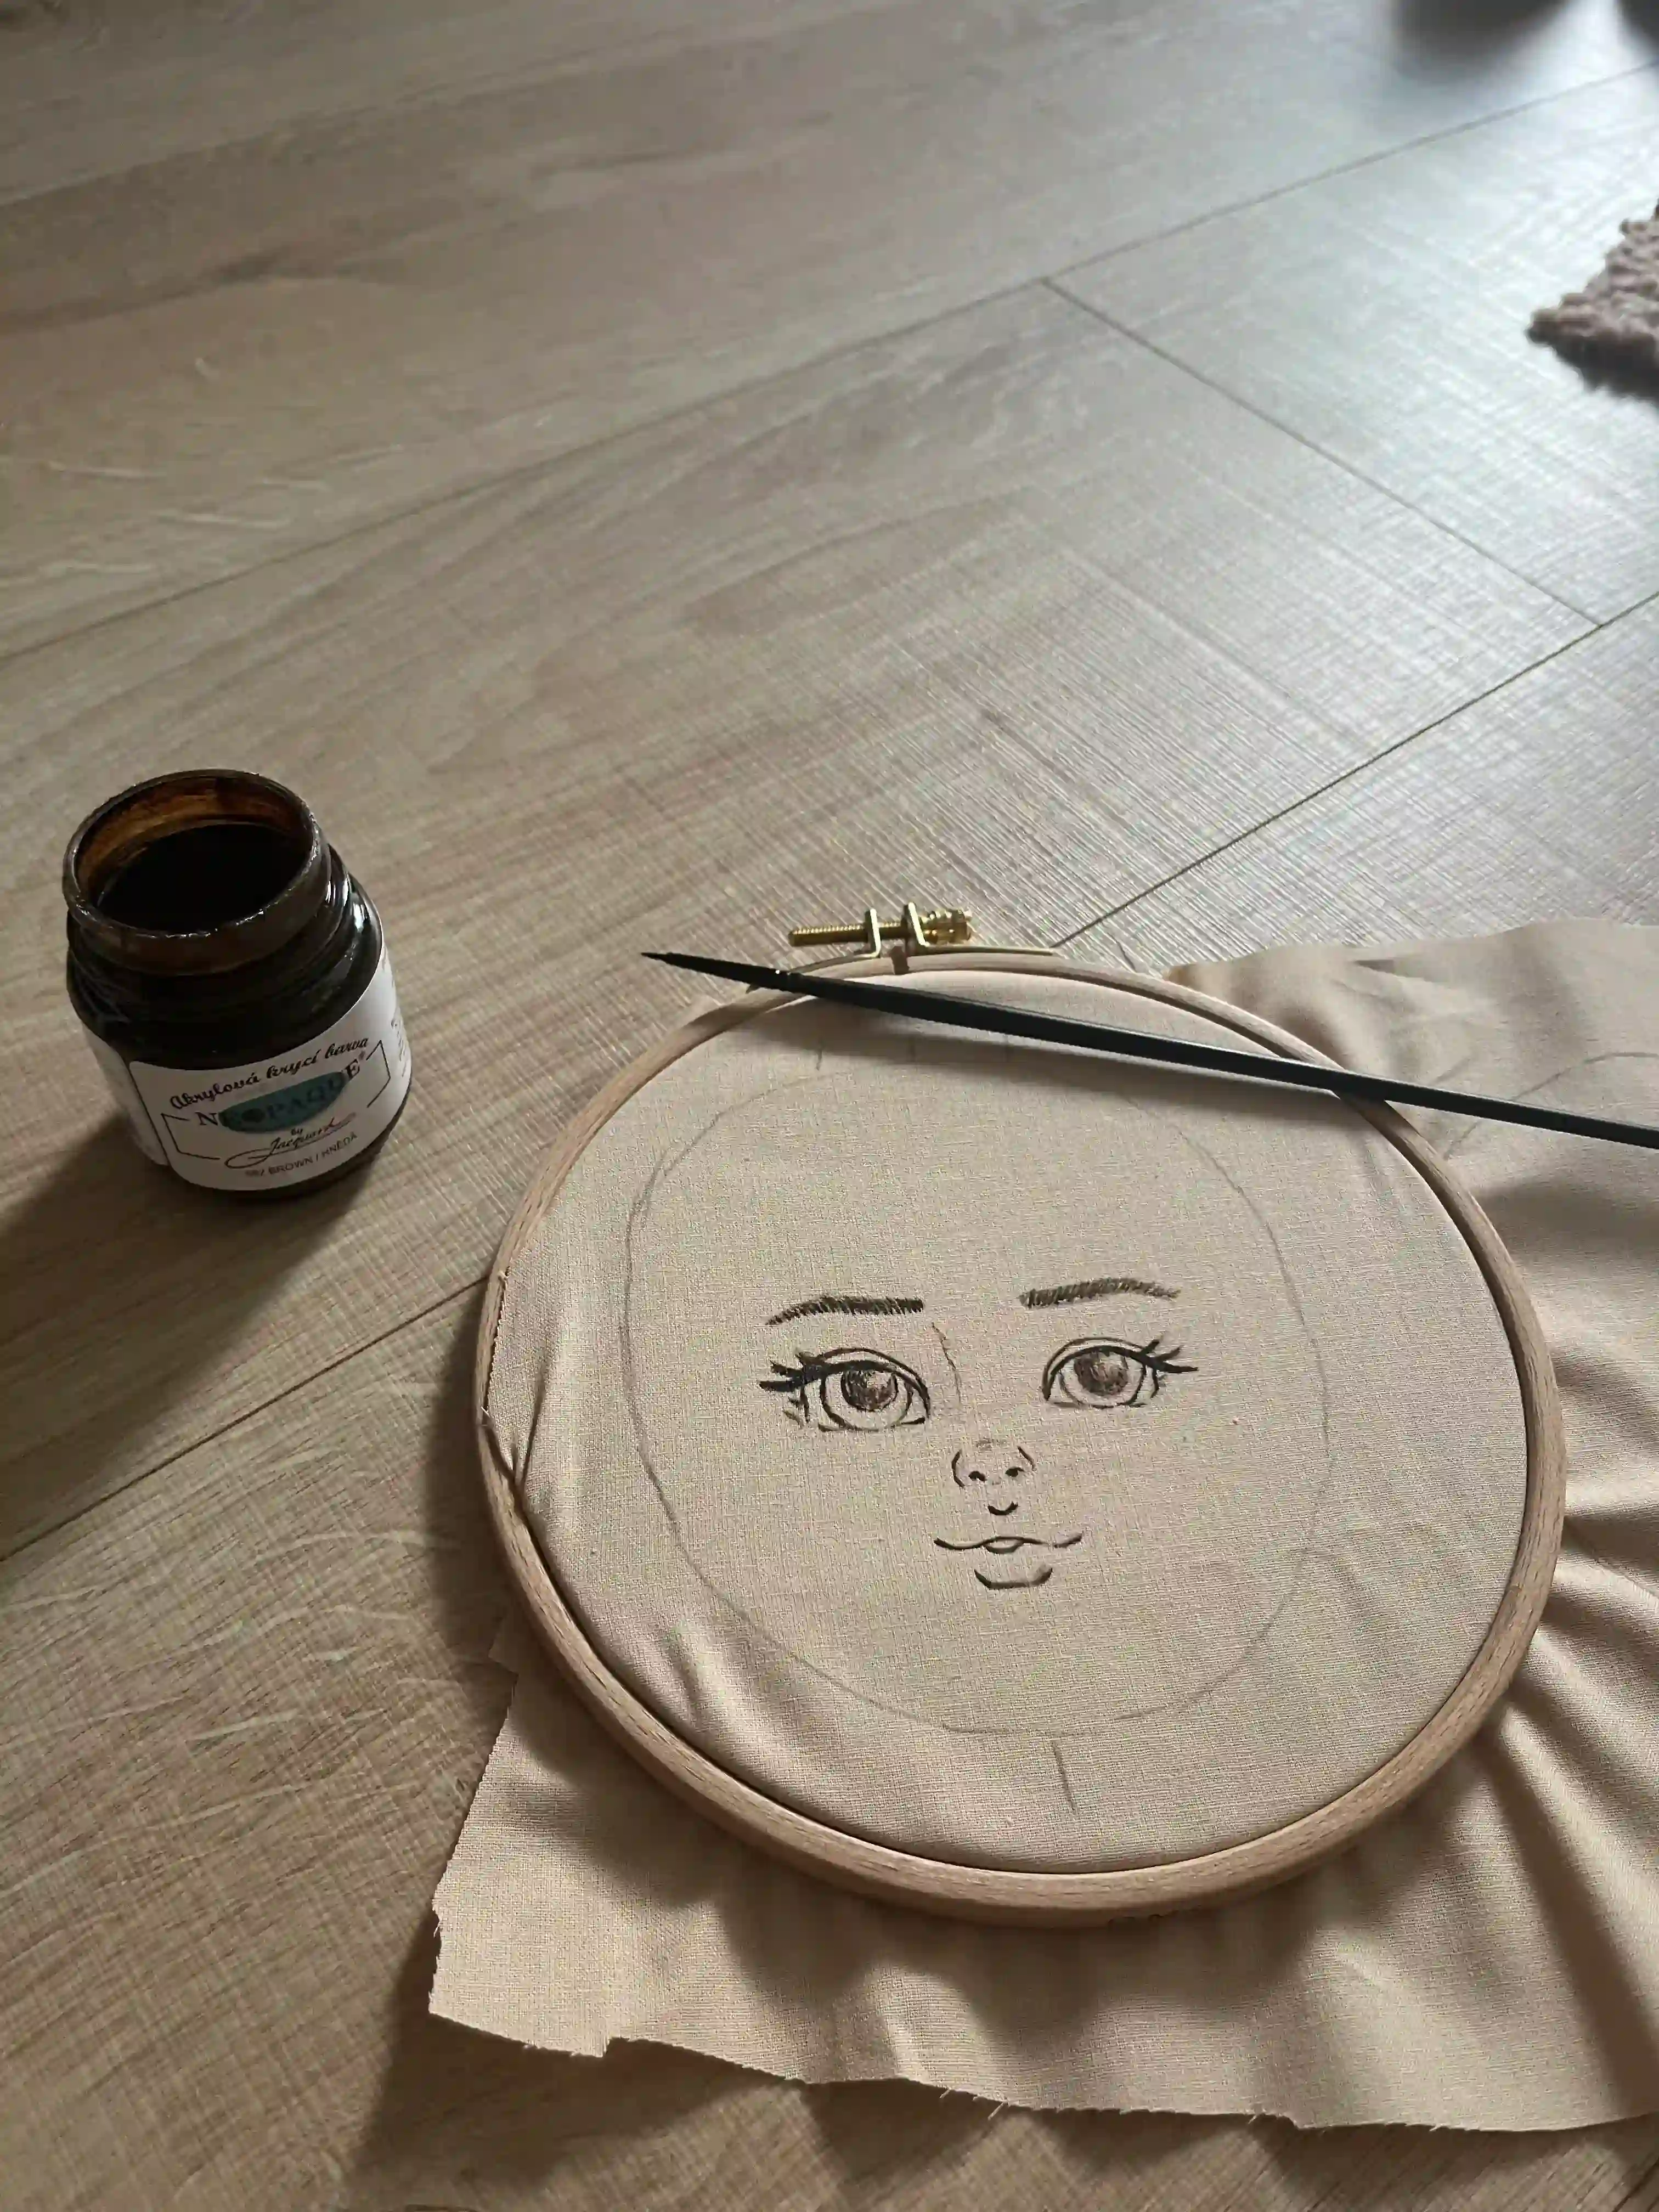
Fabric Paint: My doll's face is painted with fabric paint. You only need to buy four basic shades. Dark brown, white, red, and blue. You'll also need a paintbrush. I bought the thinnest one I could find so I could accurately depict the doll's face. If you don't have access to fabric paint, you can draw on the doll's face with fabric markers or embroider it; alternatively, you can sew the face parts on a sewing machine and then sew them onto the face by hand.
Hair material: Dyed linen fleece. If you want the hair to look different, you can use yarn or another material. Maybe even plush if you want the doll to have short hair. I wanted a doll for my princess that was a little rebellious, but still gentle and cute. That's why I chose dyed linen fleece.
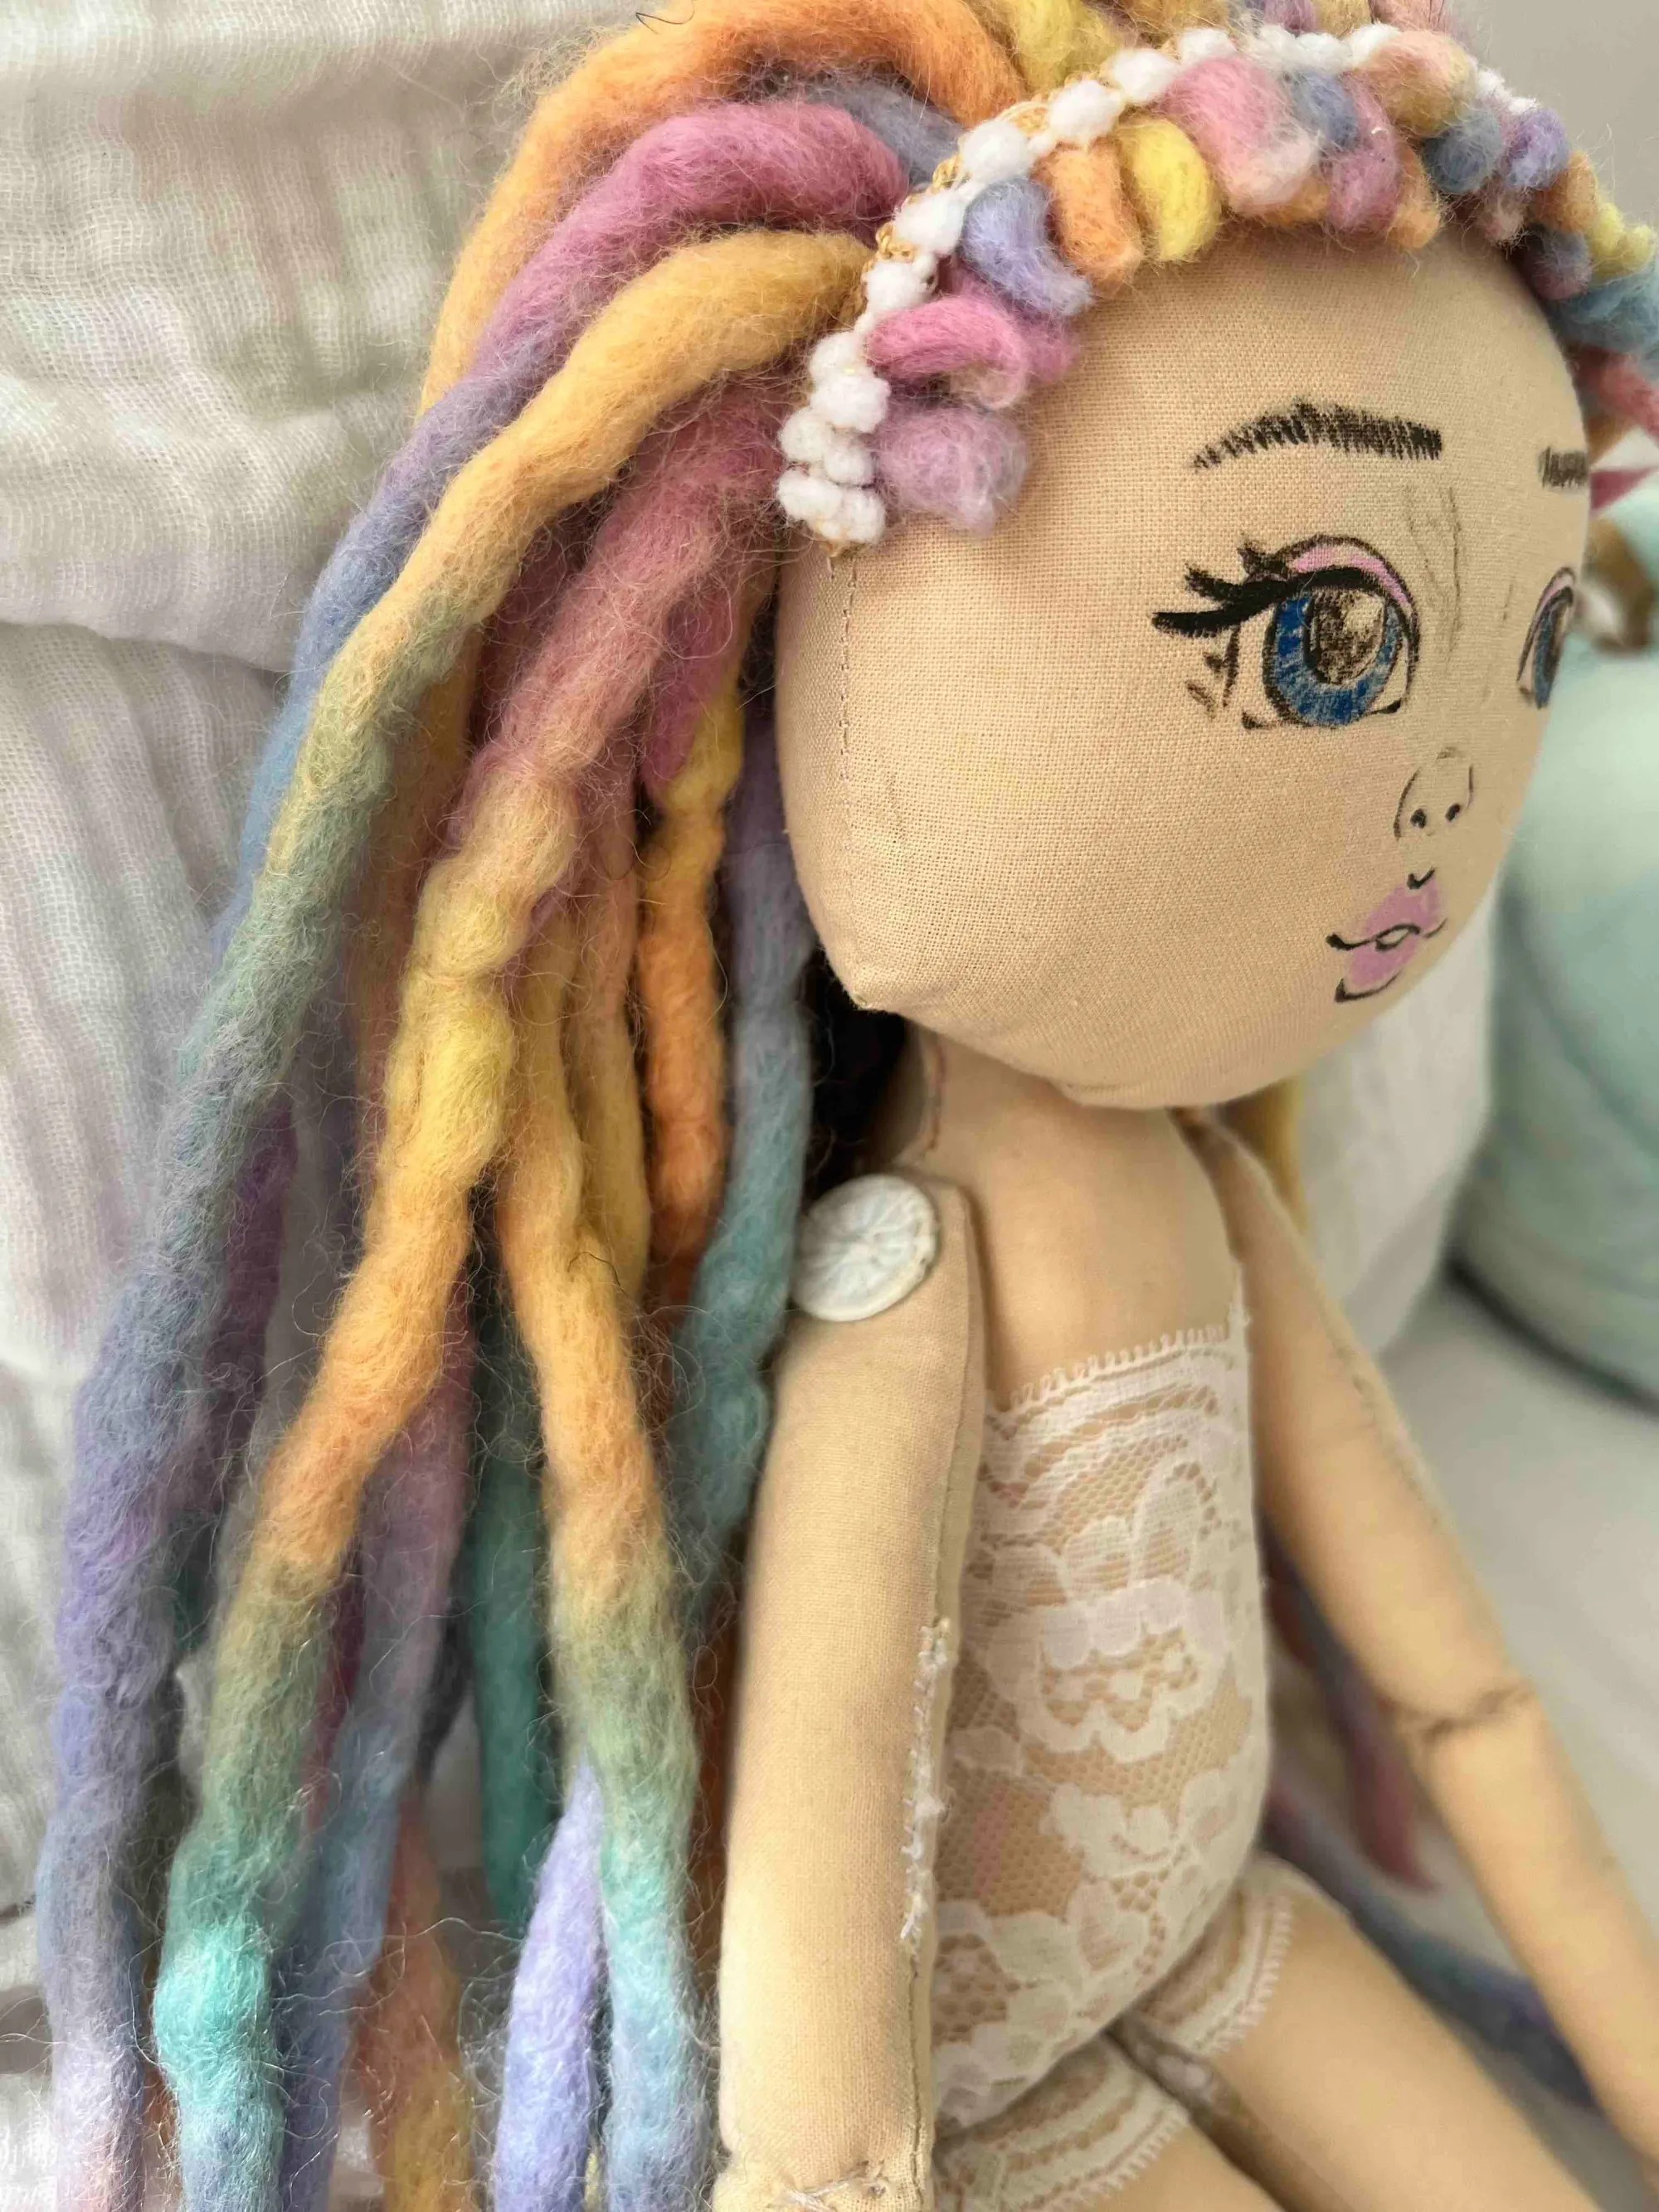
Accessories: Lace for the doll's underwear and a pearl ribbon from the haberdashery for the hair headband. Two buttons if you want the doll to be able to twist its shoulders.
Spool of matching thread
Tailor's Scissors
Tailor's chalk
Pins or clips - to catch fabric
Tailor's tape measure
Sewing machine
Estimated Time
Around 12 hours of your time.
Free Poseable Doll Pattern PDF
I prepared the free-posable doll pattern PDF on paper in a 1:1 scale. So just print it on A4 paper, and you don't have to worry about any other dimensions. Print the pattern on one side of each piece, as you will need to cut out the individual doll parts.
The sewn doll will be 47 cm (18.5 inches) tall.
Cut out the individual parts on the dashed line, which I added as a seam allowance. The doll's seam is marked with a full line. This easyposable doll pattern is suitable for beginners.
How to Sew a Posable Doll Tutorial Step-By-Step
Cutting The Fabric And Positioning The Cut on The Fabric:
Cut out all the doll cut parts along the dotted line.
Each part is marked with the number of times you need to cut it on fabric.
Each part has an arrow indicating how it should be placed on the fabric. The arrow should run along the weave of the fabric.
Head: Cut 2x for the front and back parts.
Body: Cut 2x for the front and back parts.
Hands: Cut 4x explanation: You are cutting a right and left hand, and each has an outer and inner side. Therefore, you need a total of 4 parts. The canvas fabric is the same on both sides. So then you can easily fold the parts. However, if the fabric you have chosen for the doll is different, cut out part 2x, then mirror it, and cut out 2 more parts so you have everything for the right and left hands.
Legs: Cut 4x explanation: You are cutting a right and a left leg, and each has an outside and an inside. That's why you need 4 pieces in total. The canvas fabric is the same on both sides. So then you can easily fold the pieces. But if the fabric you chose for the doll is different, cut the leg piece 2x, then mirror it, and cut out 2 more pieces so you have everything for the right and left legs.
Underwear: If your cloth doll will wear underwear, cut out 4x-larger strips for the panties and 2x-larger strips for the part that will cover the body.
My recommendation: Use 100% cotton canvas fabric. It is the same on both sides and will make it easier for you to make the doll.
Making Hair:
If you are making a doll with dreadlocks from sheep's wool like me, you have to start with the dreadlocks. They are made using the felting technique and are more time-consuming than simply sewing on another type of selected hair, such as yarn. However, I fell in love with dreadlocks made from mottled yarn because they make my daughter's doll absolutely unique.
I unpacked the mottled sheep's wool I had purchased and cut the strand to the desired length of the dreadlocks. I bought a 2× 50-gram package.
I soaked the pieces of cut sheep's wool in soapy water in a bathroom sink. I gradually took the individual pieces and felted them in my hands, over the bathtub in the bathroom. If you have never felted sheep's wool, this is done by placing the fleece between your palms and making a similar movement with your palms as if you were "begging," with the fleece between your palms. Repeat this movement until you are satisfied with the shape of the dreadlock. Once you have a piece of dreadlock finished, move on to the next one along the entire length of the prepared dreadlock. Because you are rubbing the sheep's fleece in your hands, drops of colored water spray from it. That is why I felt the dreadlocks for a doll over the bathtub in the bathroom. Did my hands hurt afterward? YES. My palms were a bit swollen because it really takes a while to make the fleece into dreadlocks. But the result is definitely worth it!
Do the felting in the bathroom because the dyed sheep's fleece bleeds, and you can get dirty. I also recommend that you wear a T-shirt while felting, which you can get dirty. Once you have knitted the individual dreadlocks, let them dry. Since they are made of sheep's fleece, it will take a while.
Drawing The Face of Doll:
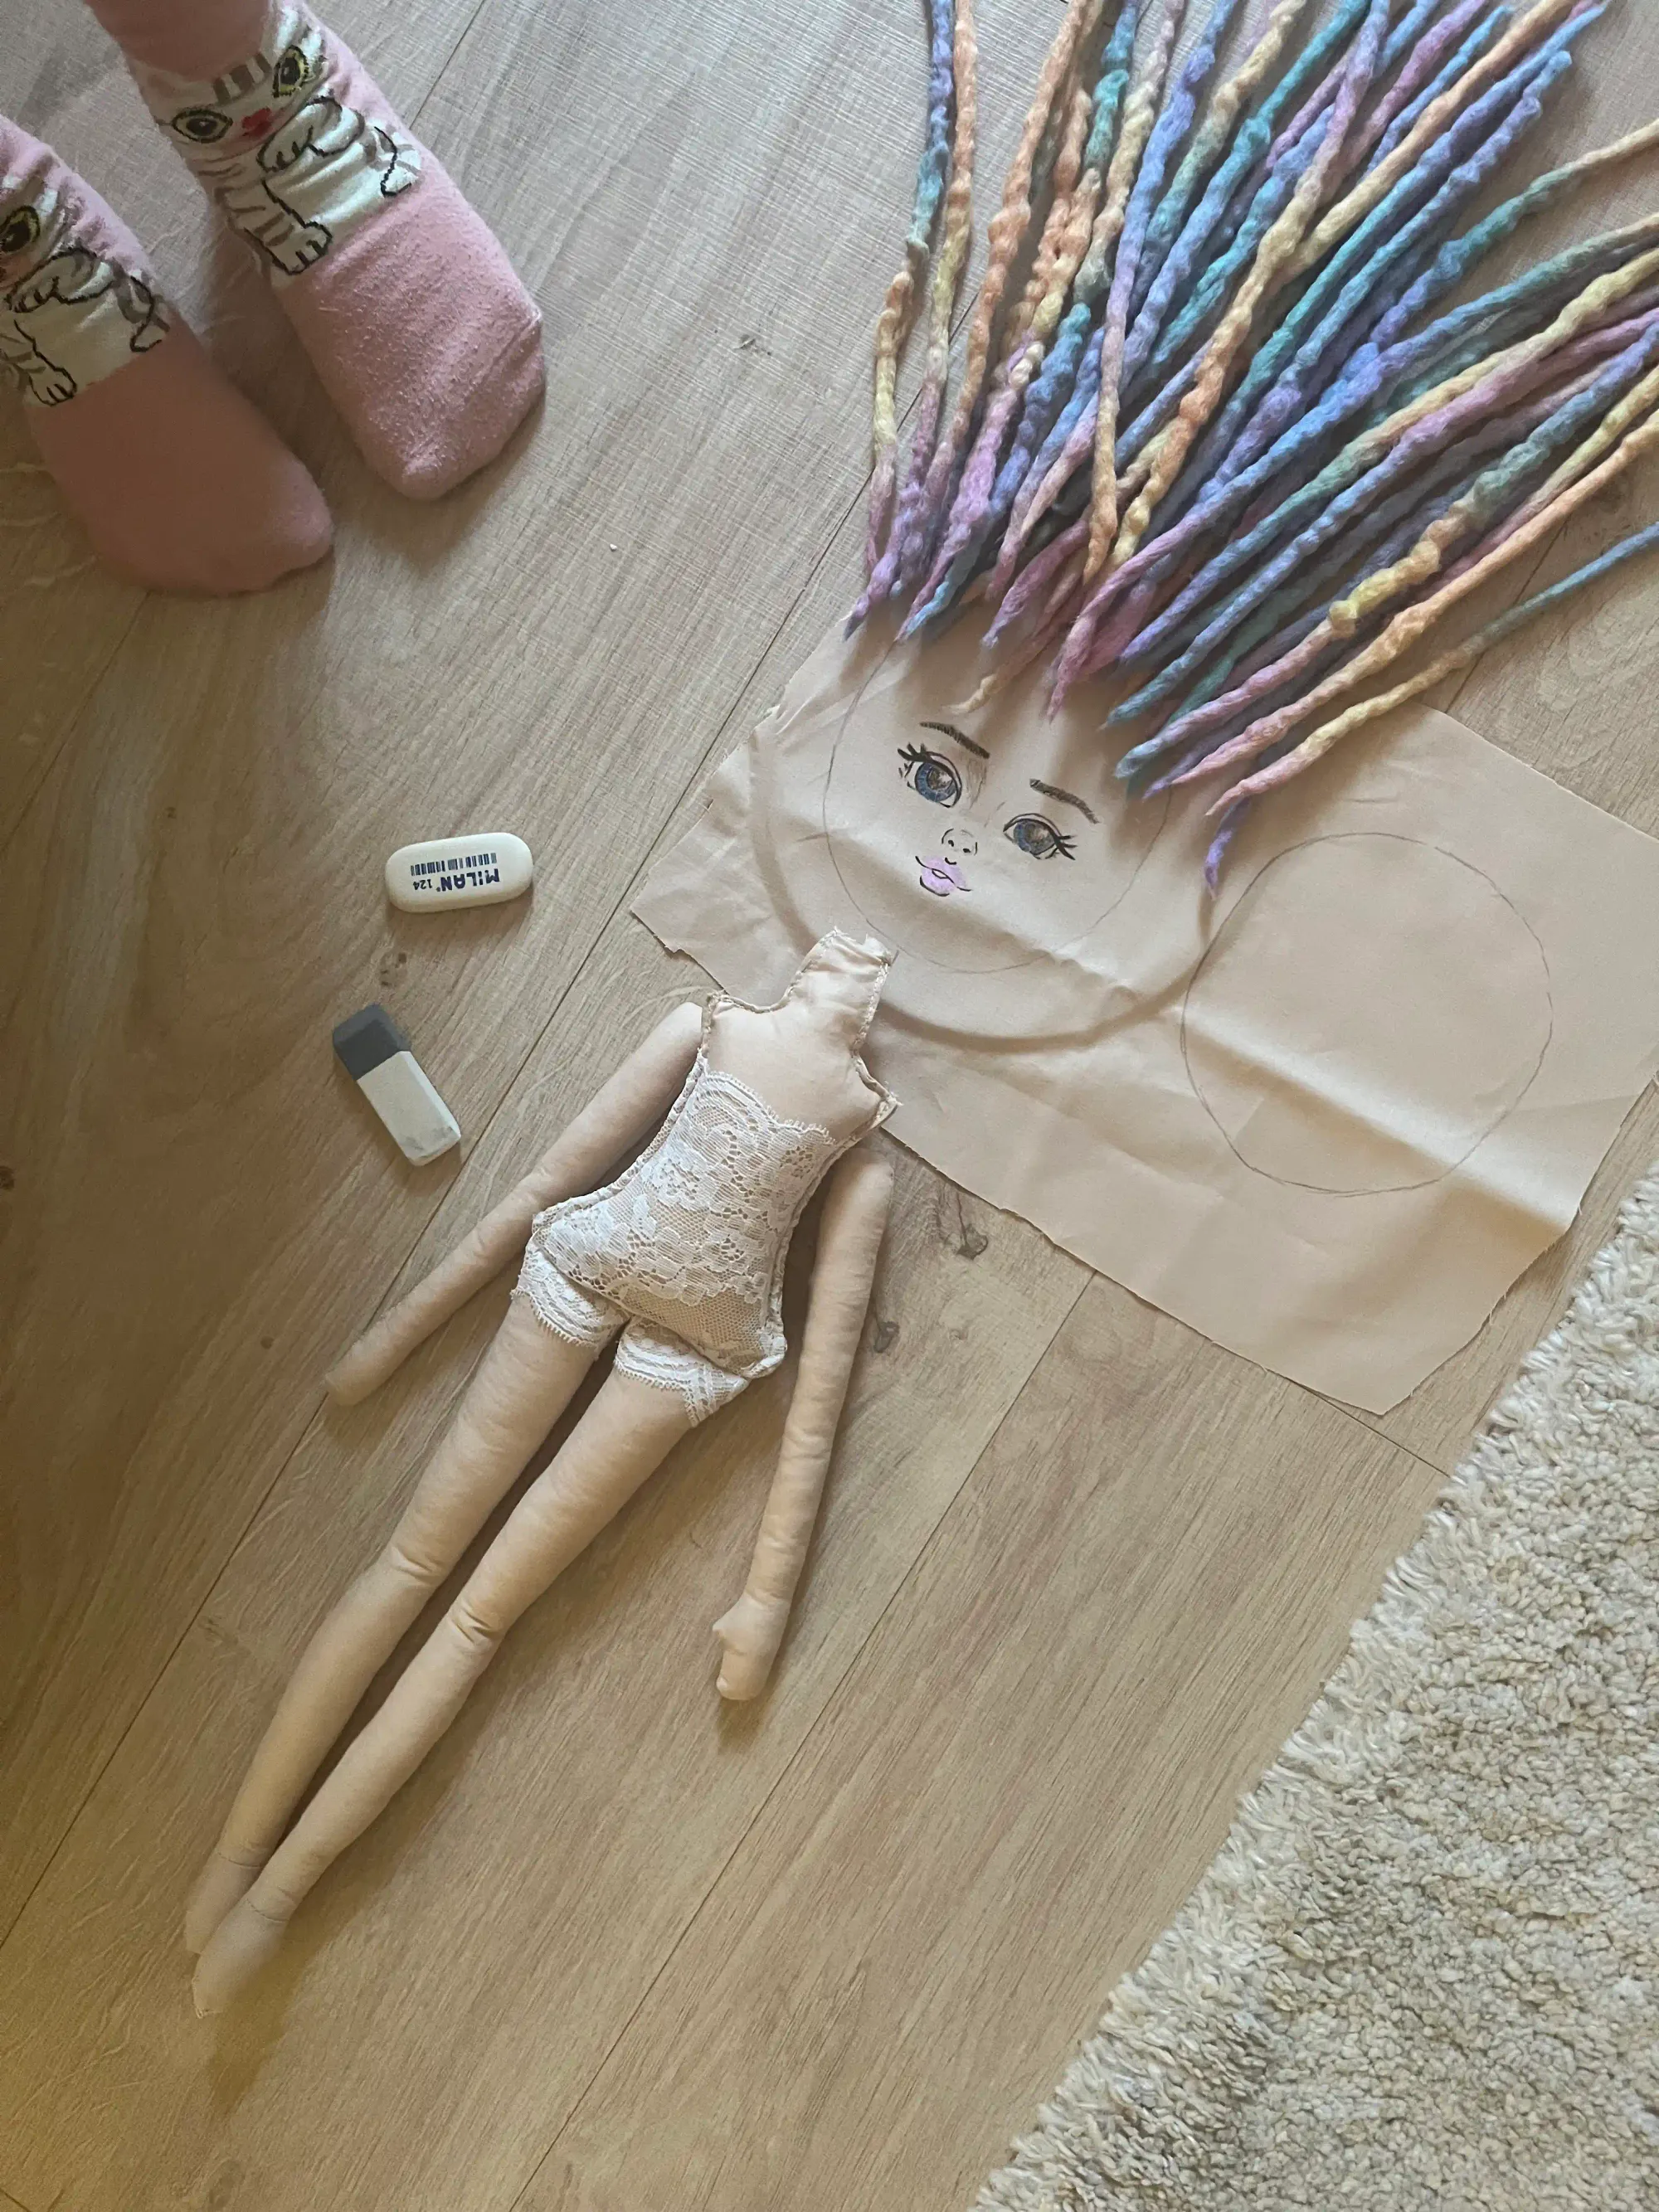
I drew the doll's face right after finishing the dreadlocks. I drew the face before sewing because if I didn't succeed, I could paint it again. If I draw until the finished doll and the face doesn't work out, I'll have to leave the doll with the wrong face or I'll have to do a lot of tearing and re-stitching. It's more practical to draw the face before sewing the doll, so you're happy with the face and the doll's expression.
I drew the face by pinning the fabric to the embroidery hoop so it wouldn't fray and I could draw comfortably. Only after the entire face was dry did I release the fabric and cut out the front and back of the head.
You can lightly draw the doll's expression with a pencil. You can also erase the fabric, so gently drawing it will help a lot. I also lightly sketched my face to make sure the result would turn out well. If you are not sure how to draw the face, use my head in the cut and place it on the window with the fabric. The light will show through the fabric, and you can lightly sketch your face on the fabric.
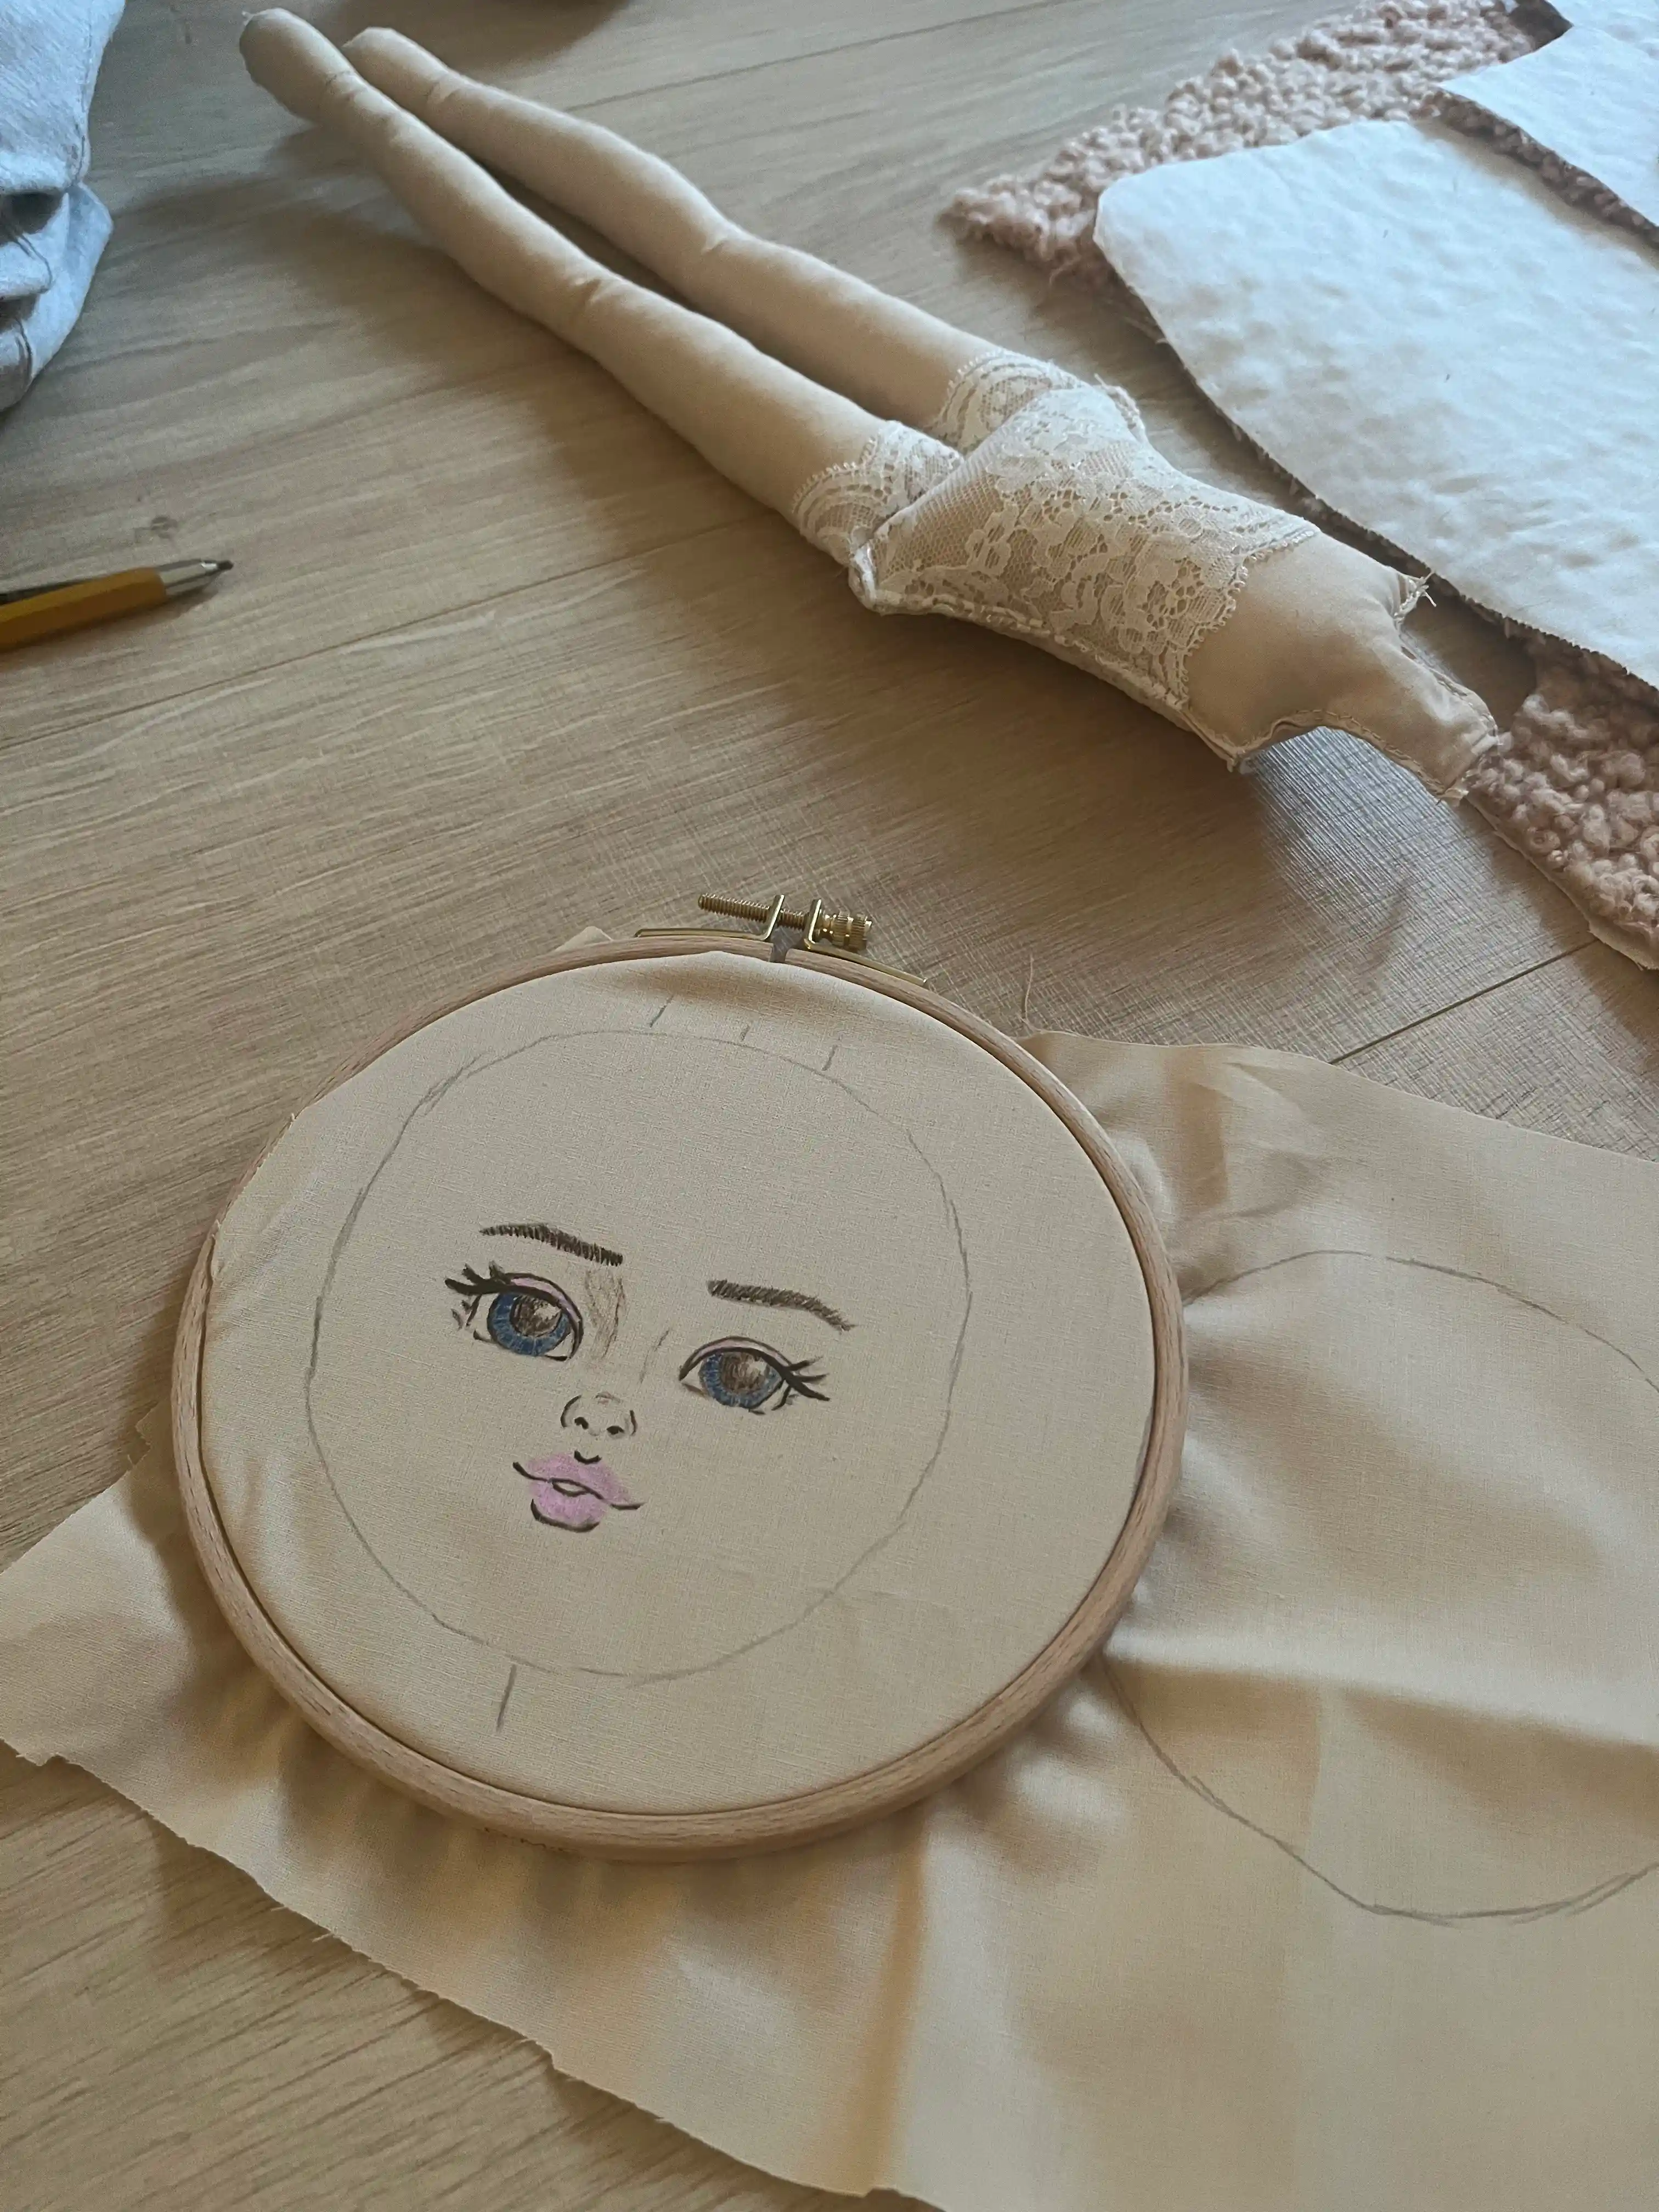
I drew the outlines and lines first. I drew the eye and lip colors only after the main outline color (dark brown) had dried. Always test the shade before you draw. I bought white paint to soften the red and blue into gentler shades that would give the doll a gentle touch.
Sewing And Stuffing the Cloth Doll:
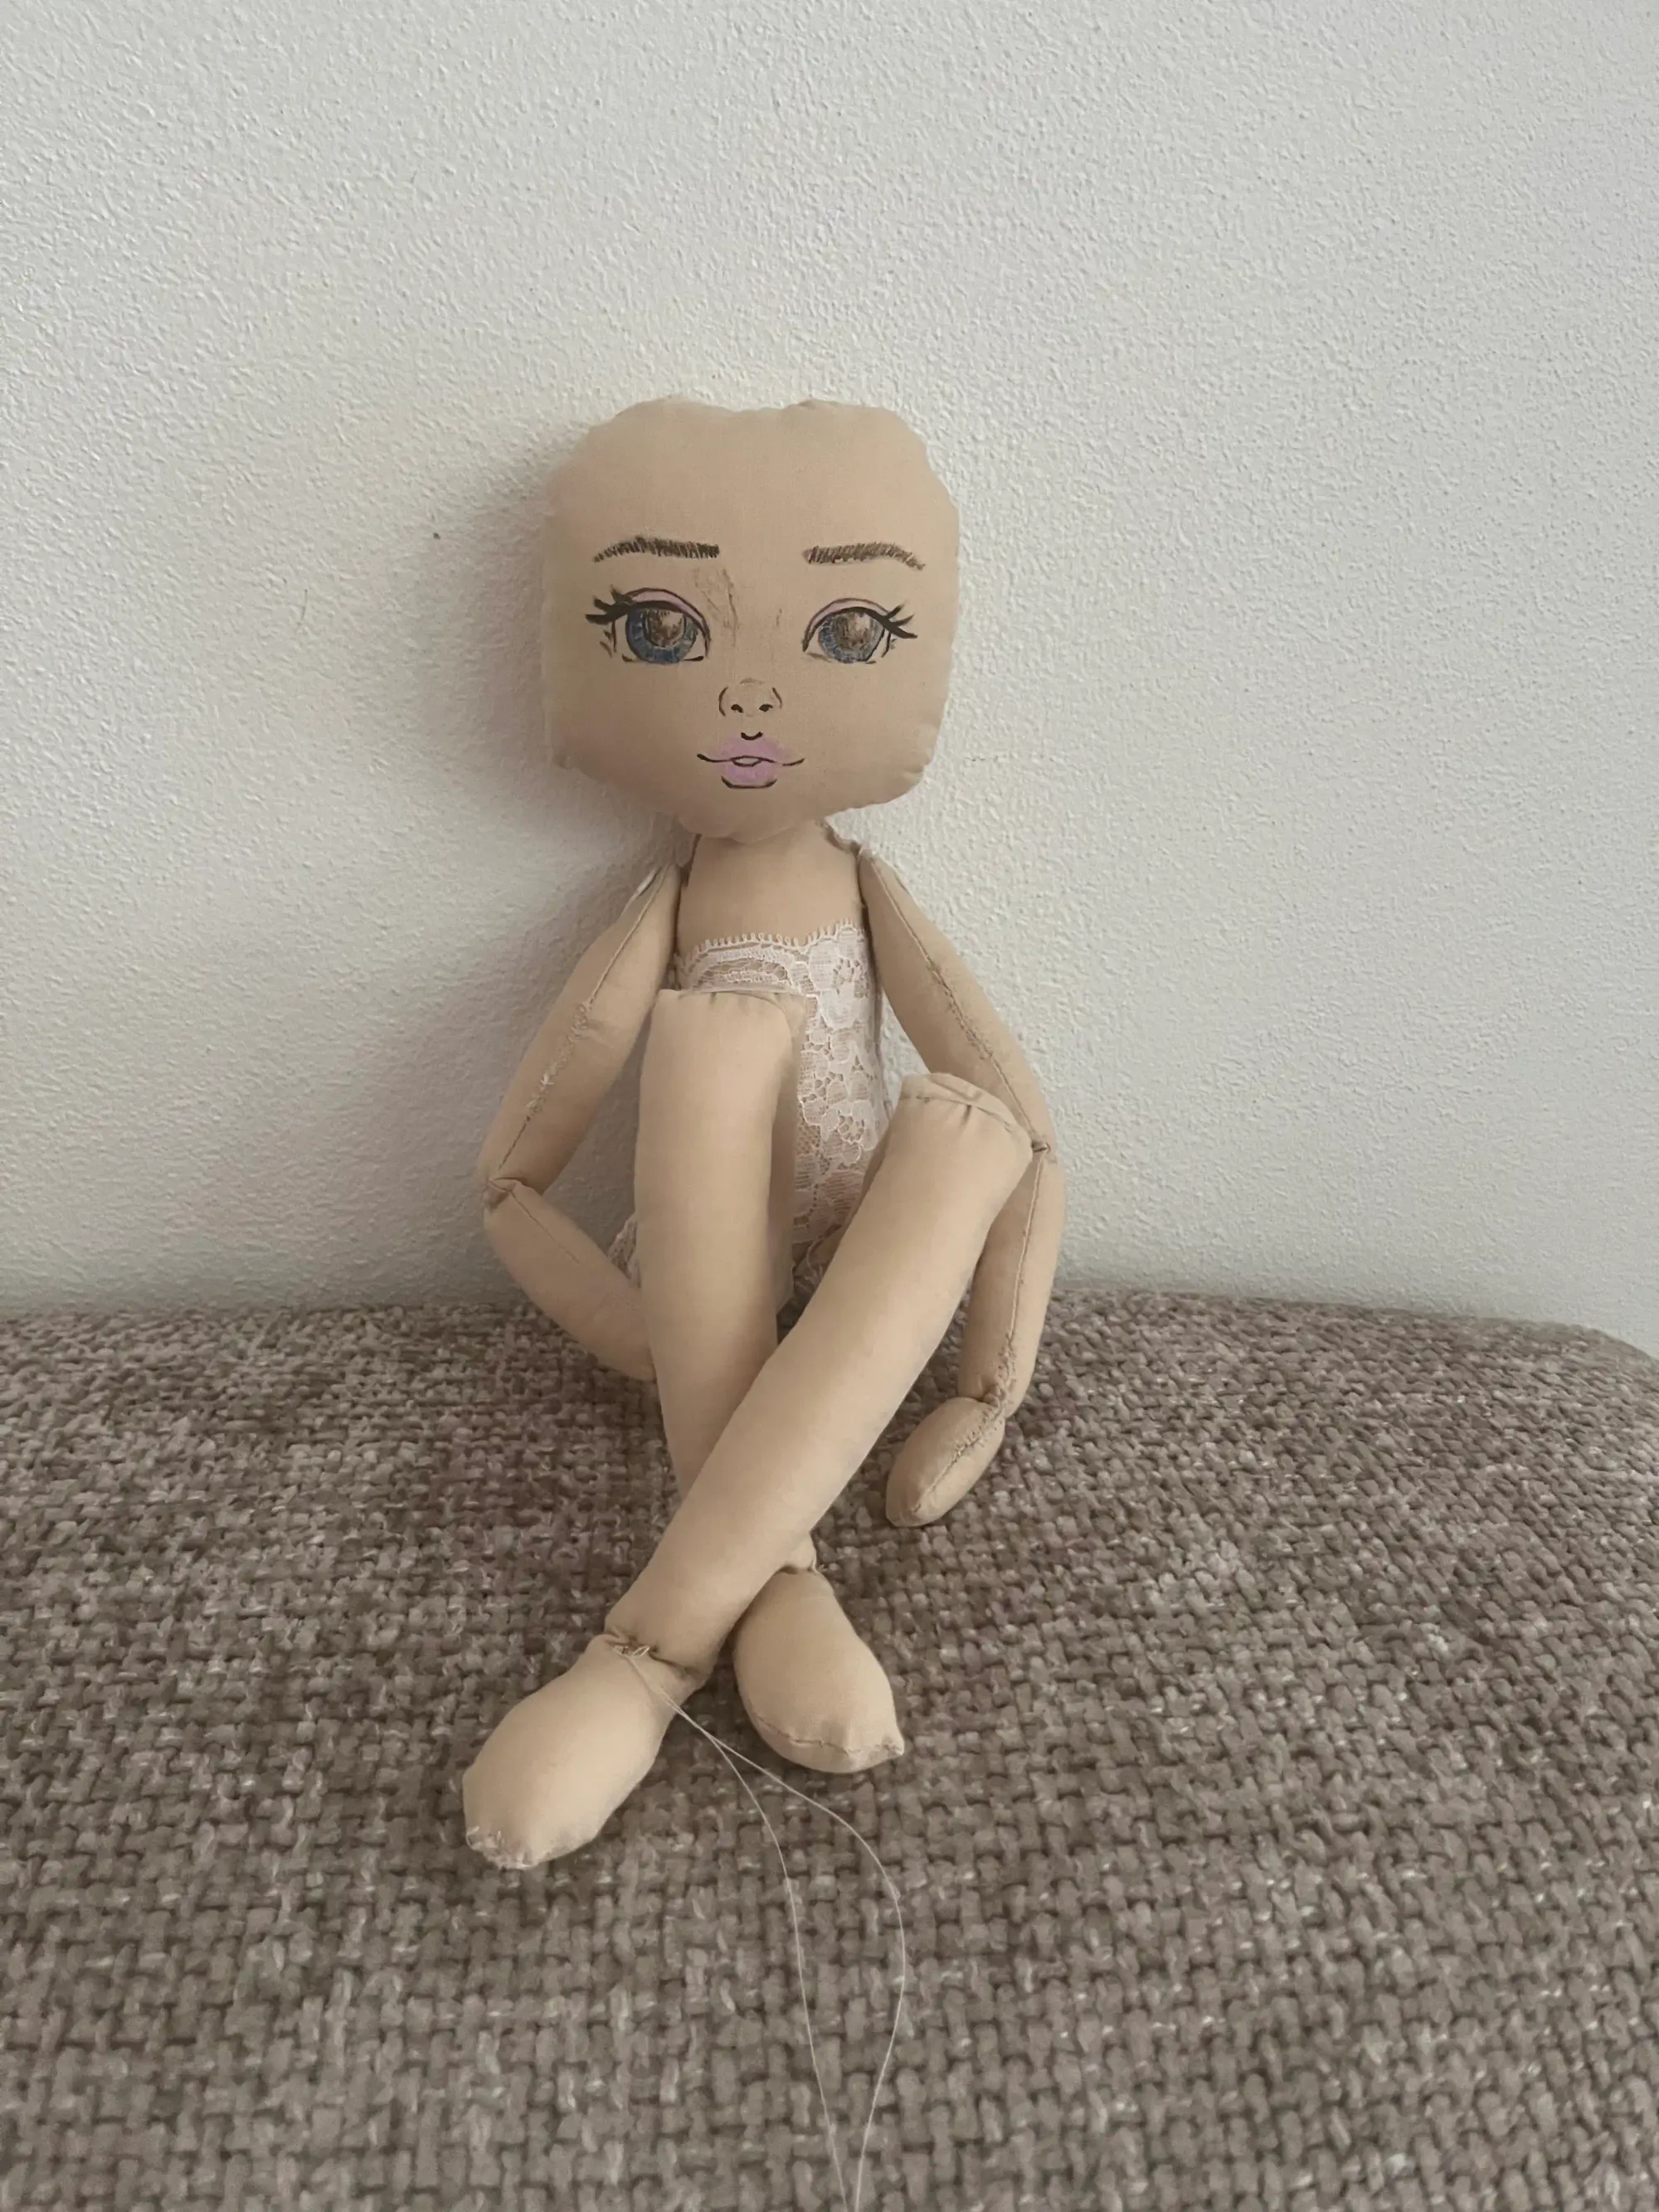
Stuffing and preparing the head: Place the front and back of the head together. Face in. Sew the fabric around the solid line with a straight stitch. Turn the head face out and fill the hole that you have left in the upper part of the head. Once the doll's head has the desired shape and is strong enough, sew the remaining hole in the upper part of the head by hand.
Hands: Place two parts together so that the doll's hands, including the thumbs, fit. Sew the full line and leave the hole open for stuffing. Once your hands are ready, turn them with the seam facing inward and fill them with stuffing. Be careful, the hands and legs you will finish later so that the doll can be posable. Therefore, it is necessary that the stuffing in the doll's limbs not be overfilled so the doll will have flexible limbs. After stuffing the hands, sew the remaining hole in each hand by hand.
Legs: If you want your doll to wear underwear like my fabric doll, cut 4 lace strips for her legs to make shorts panties. Take two pieces of lace and insert them between the two leg pieces. After the solid line, sew the leg through and then turn it inside out. Do the same for the other leg and do not stuff the legs at this point.
Body: If you want your doll to wear underwear like my fabric doll, cut out the body from the lace twice.
When sewing the body of your posable rag doll with movable limbs, you will also sew the legs that you prepared to the bottom.
Put the legs inside the body; there will be lace on both sides of the body from the inside, and the last layer is the body on both sides. The lace and legs are therefore inside the body when sewing. (After sewing the body, you will turn it out using the remaining hole) Sew the entire body along the full line, then turn it to the right side through the remaining hole.
Now you have a body with sewn legs ready for stuffing.
Fill the remaining holes in the doll's body and legs with hollow fiber. Then sew the holes by hand with a needle and thread.
Sewing the head: Carefully sew the head to the neck from the back. If you can't do this, you can buy a bent needle, which will be easier to handle when sewing.
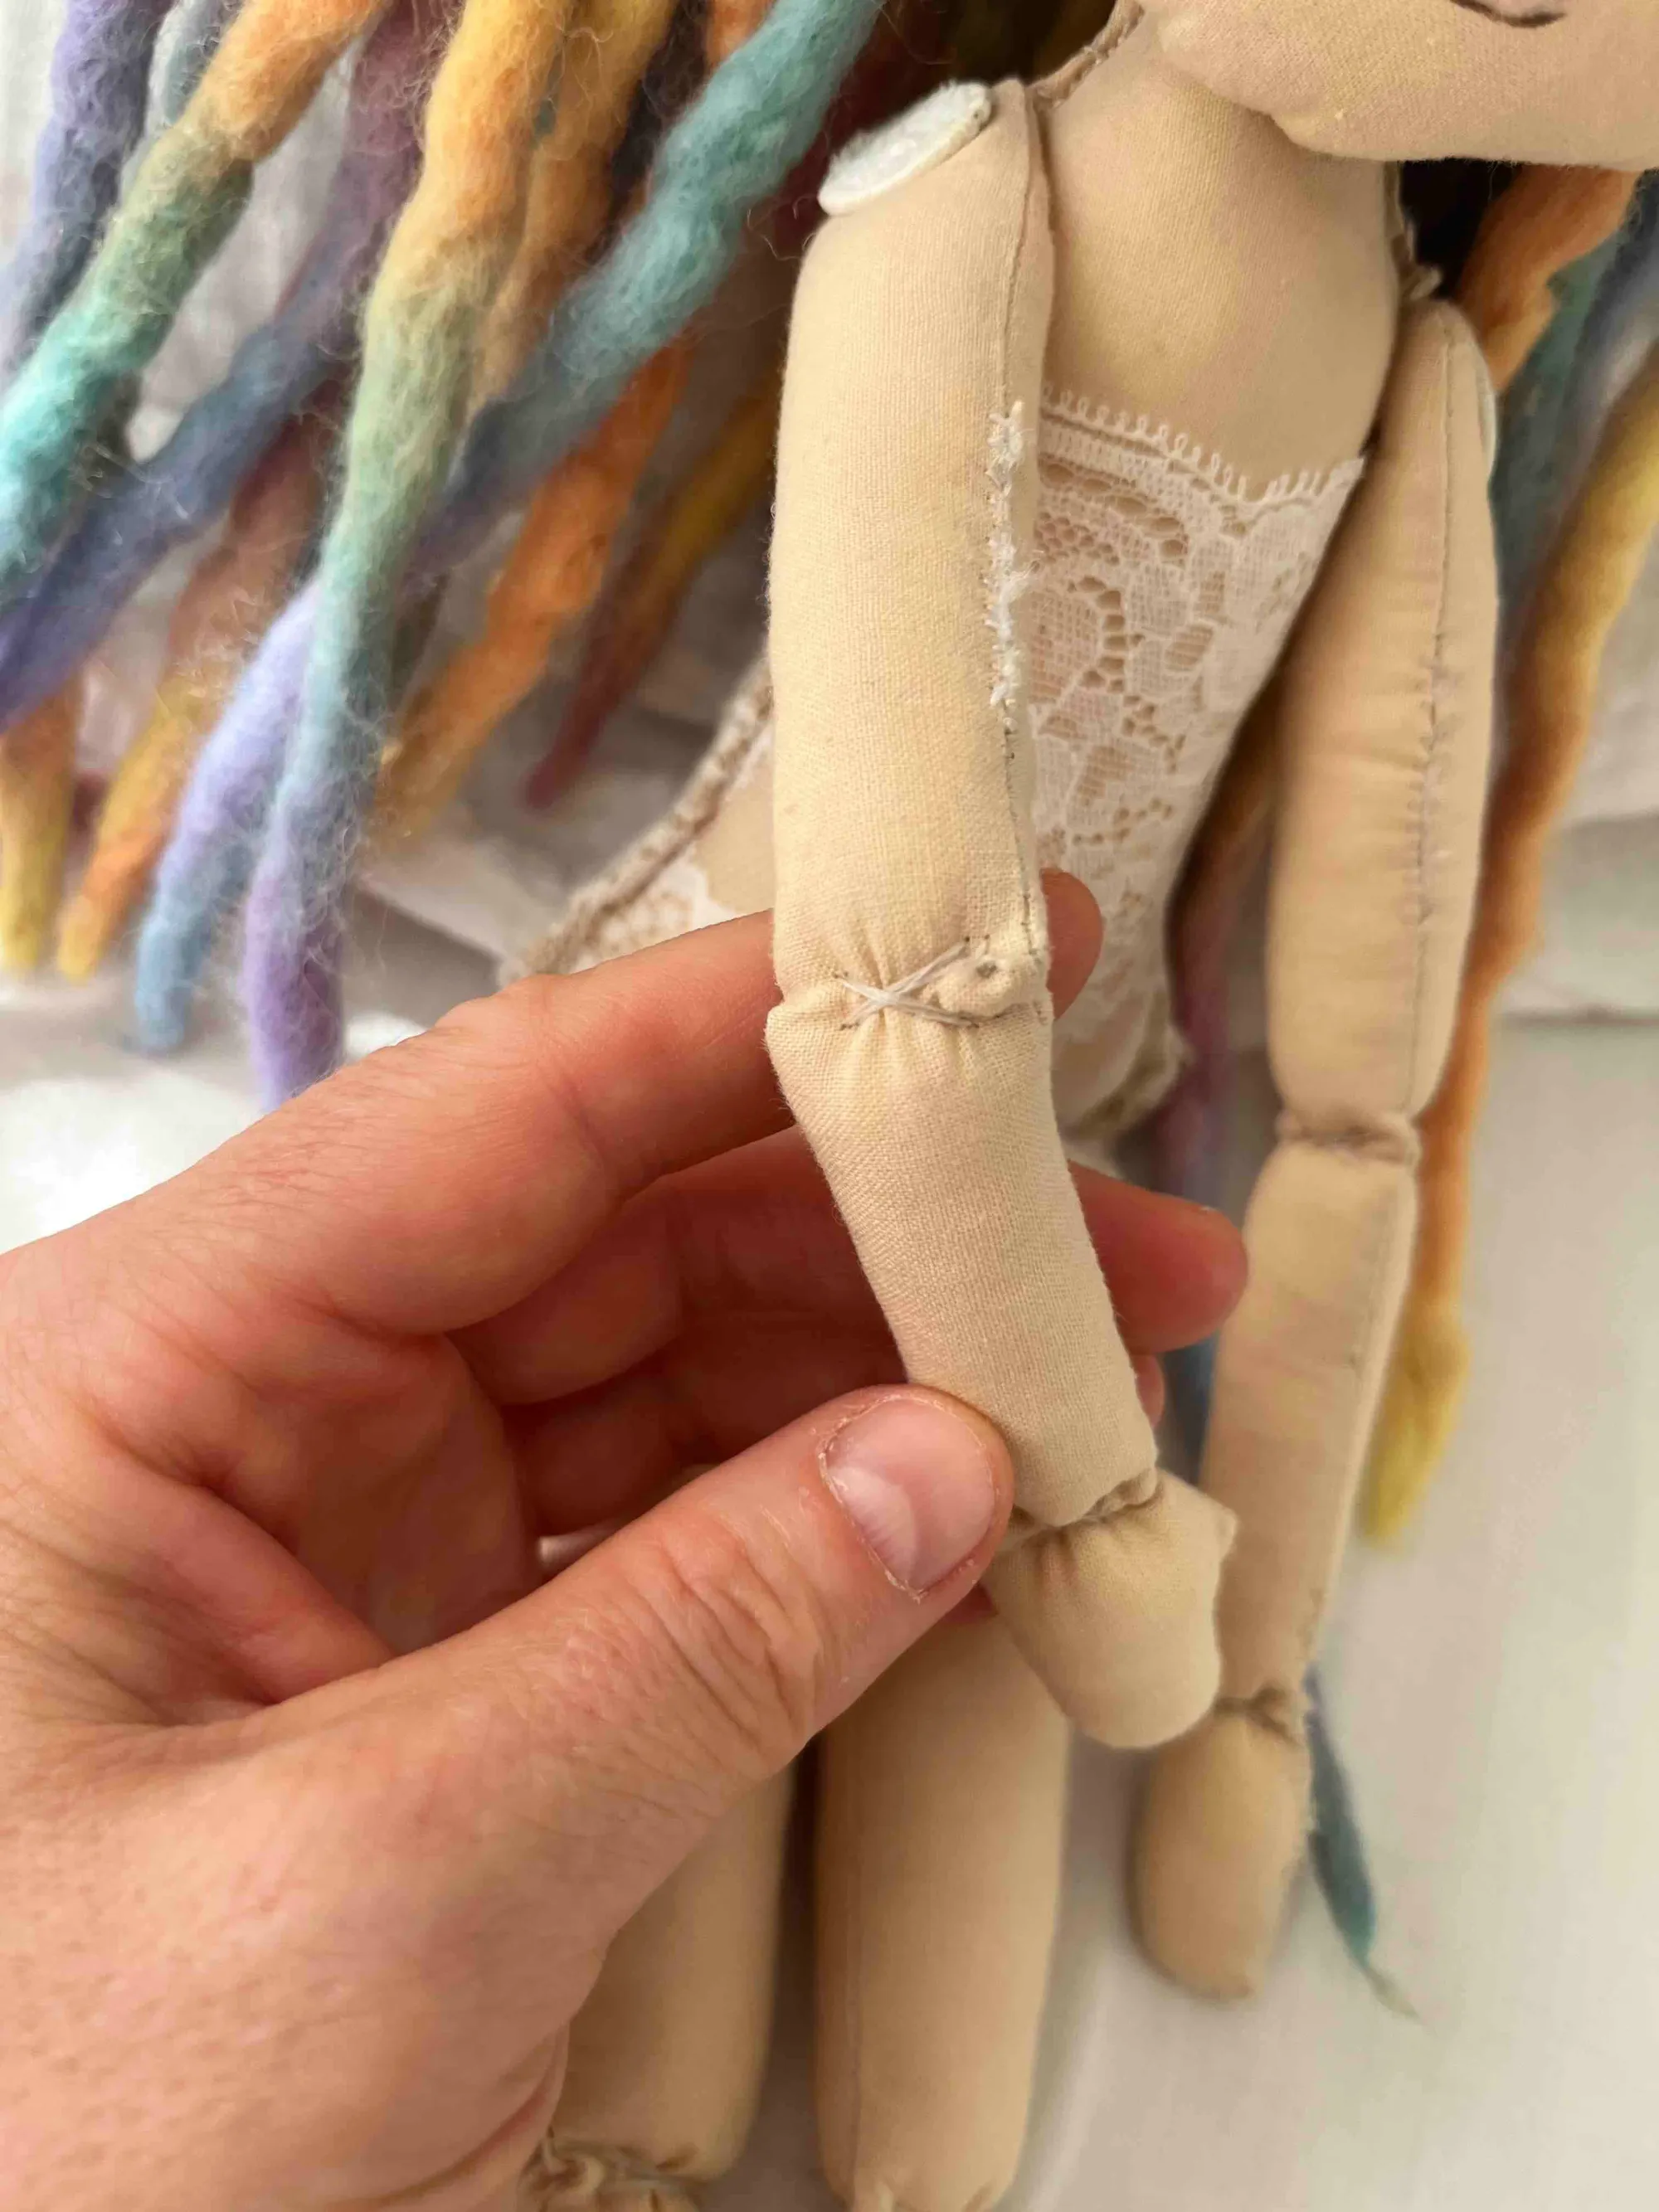
Creating the doll's joints: Sew the doll with an "X" stitch in the place where you want the doll's joints. This is where the doll's leg or arm will be flexible.
Finishing of Posable Soft Doll:
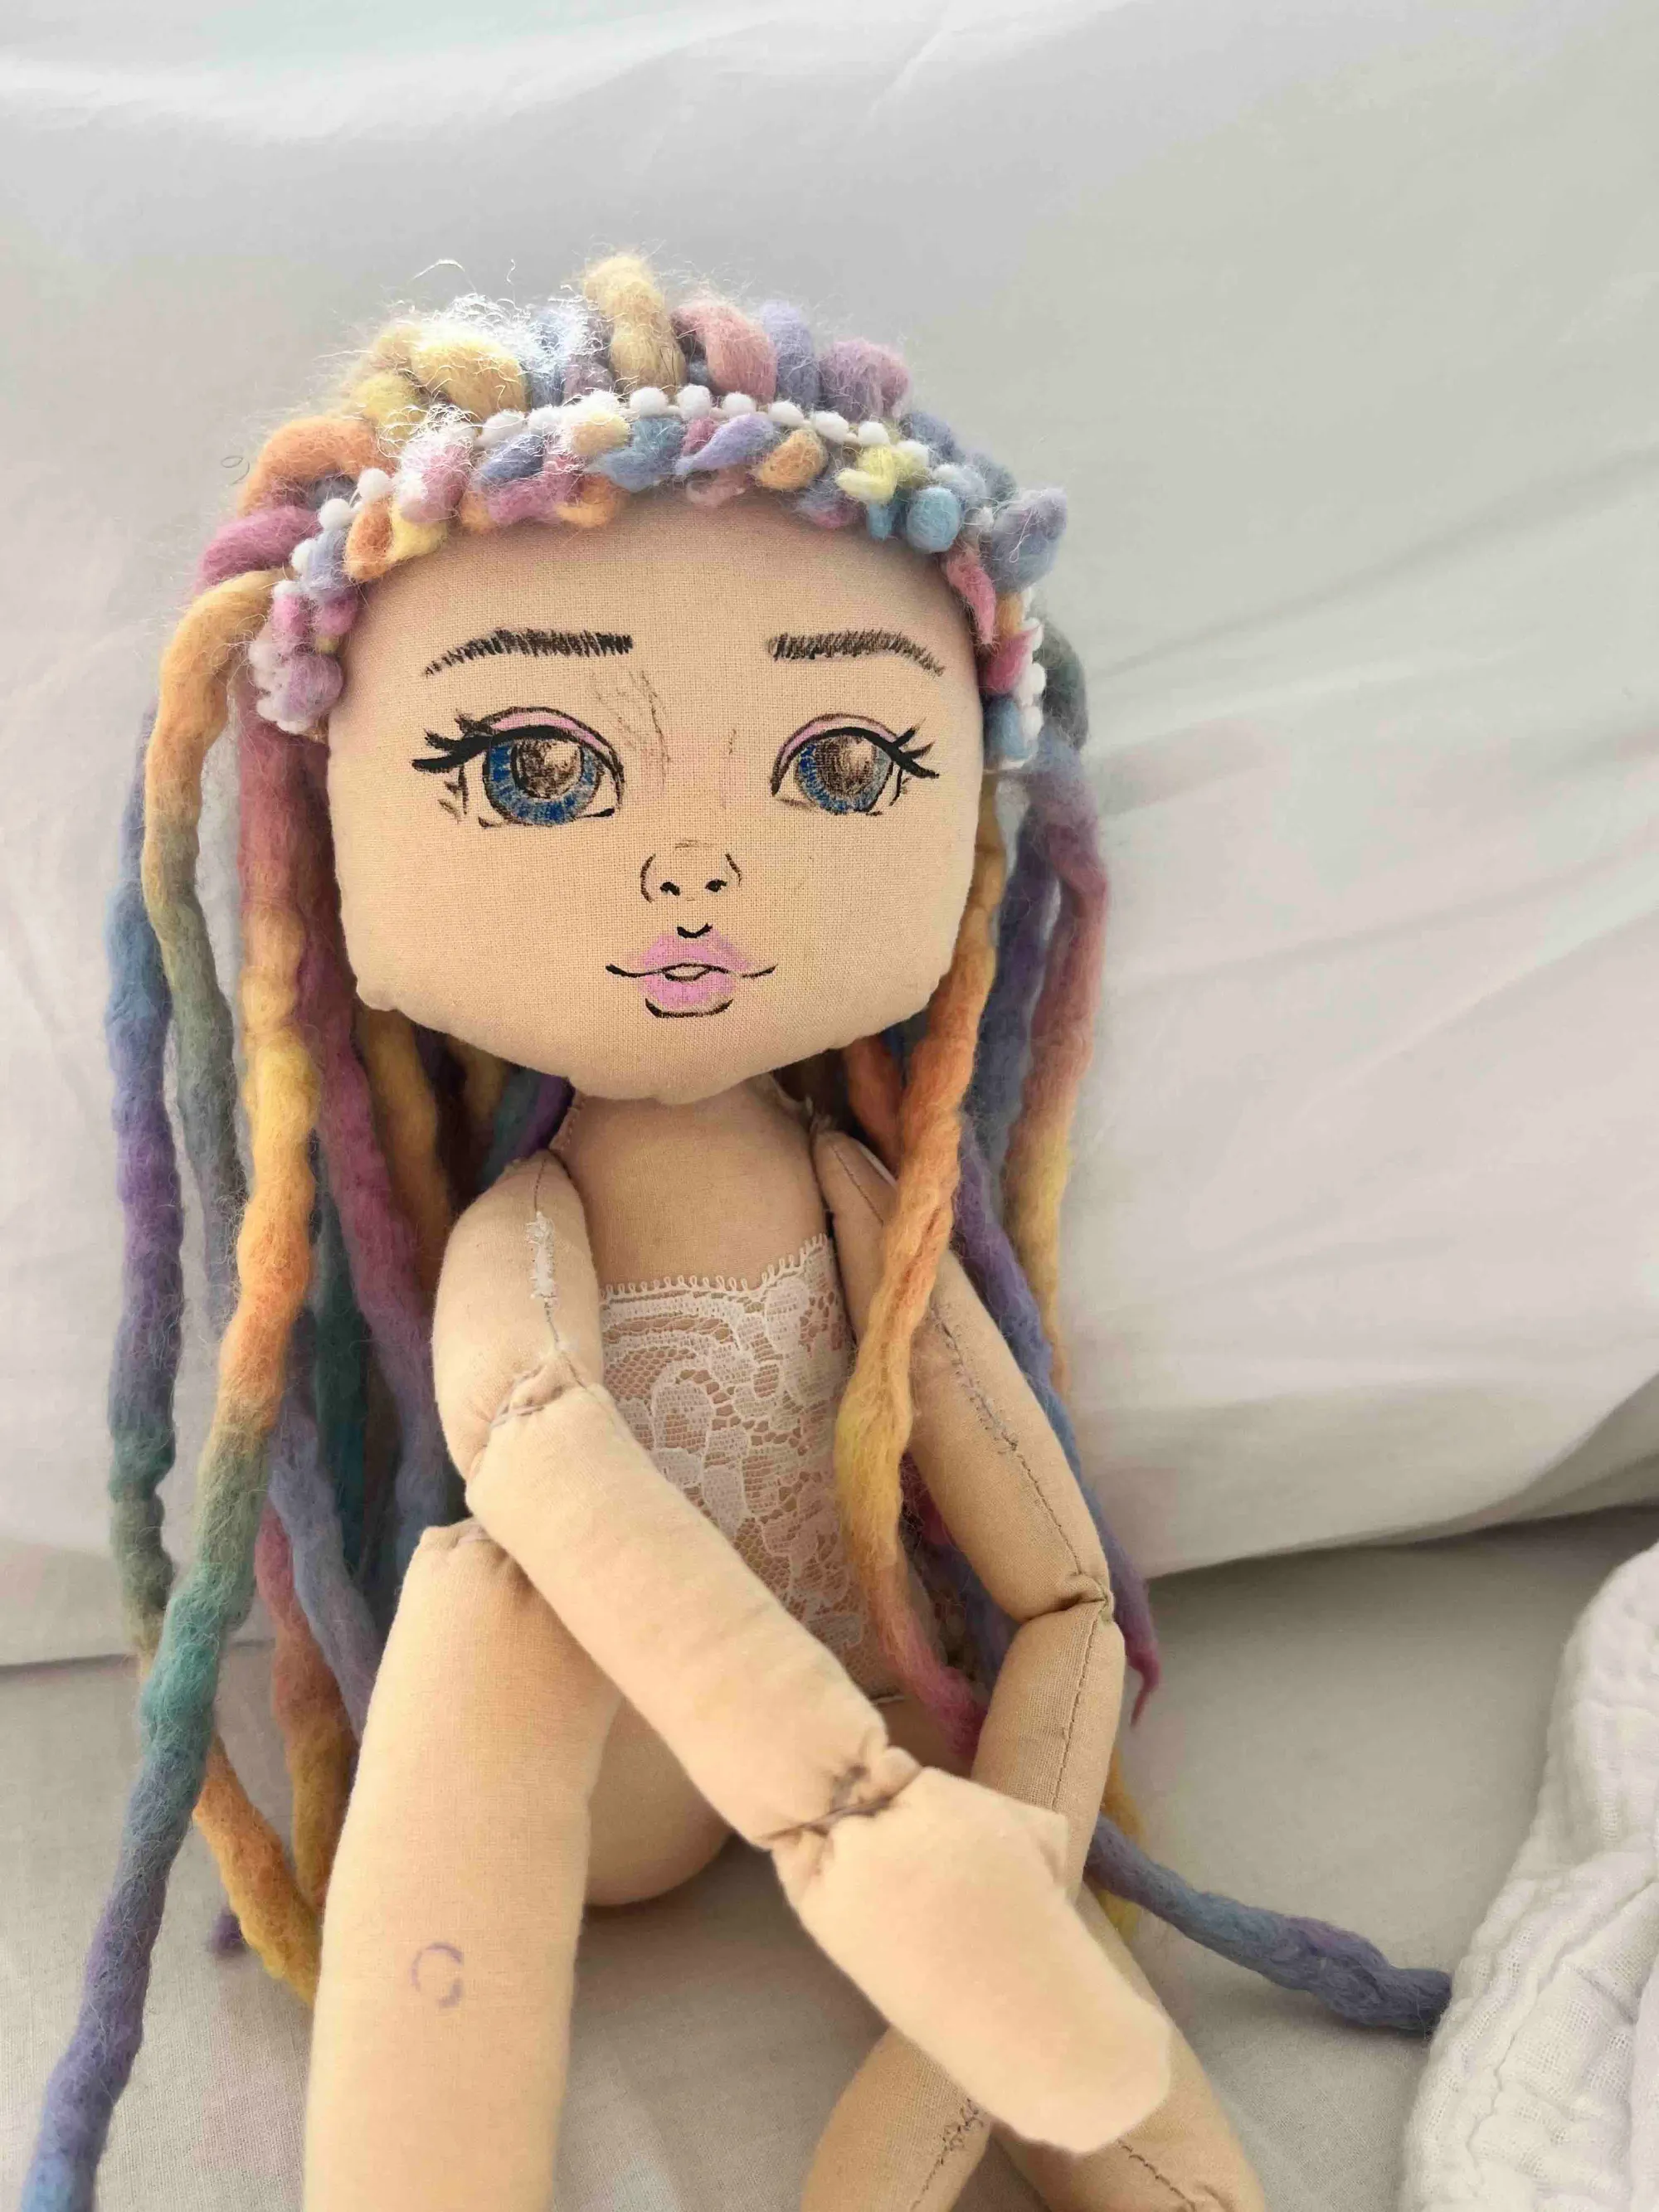
Sewing the hair. I gradually sewed individual dreadlocks onto the doll's head with a needle and thread. So that the stitch wouldn't be visible, I bought a decorative strip from a haberdashery and used it to make a headband for the doll to hide the hand seam that remained where the dreadlocks were sewn.
Voilà, a cloth adjustable posable doll for your little princess is born. Well done!
What will she be called? I will be happy if you let me know.
Let's Do the Math
For the posable doll, I needed material costing 50 EUR, which is around 58 USD. The doll for my princess is unique and made custom for her. From all my ❤️, I wish you success too. You can do that. It is also possible. You just have to start one day, 😊 and keep going.
If you need any help, do not hesitate to let me know in the comments. I'm here to help.
Dana