Table of Contents
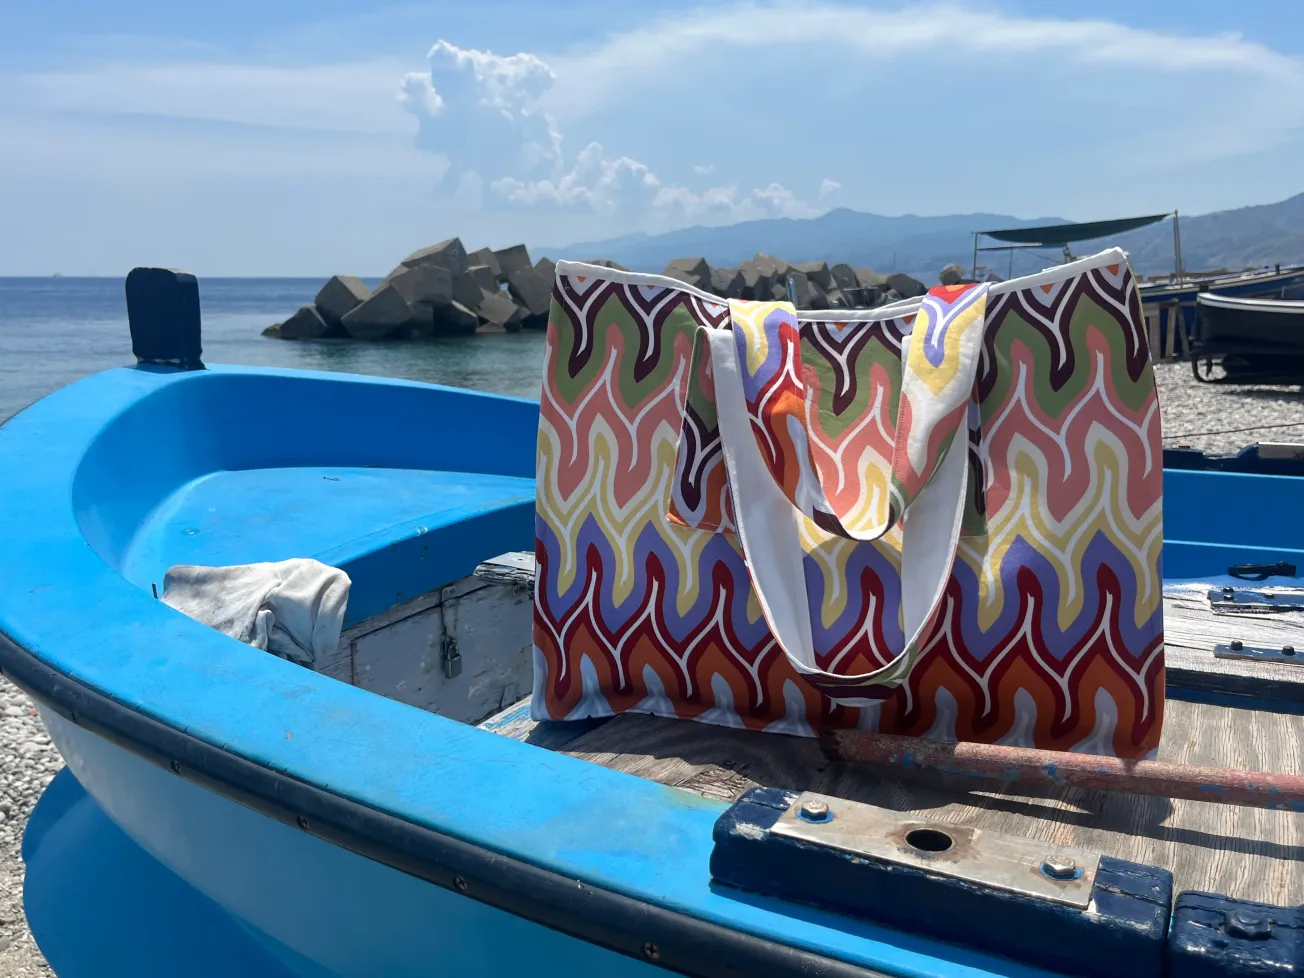
When my partner told me we could go to Sicily again, I was absolutely thrilled. I love the clear sea and the sound of the waves crashing over the pebbles on the beach. Sicily is beautiful. But at the same time, I knew from my last visit that I didn’t want to run around Sicily with a backpack; I wanted a comfortable bag to carry a water bottle, towels, and a change of clothes for the trip back home from the beach.
I wanted something that was both practical and sophisticated. I don’t need to shout logos. I like peace, quiet, and quality.
Why sew your own tote bag inspired by the dimensions of the Dior Book Tote?
I’ve always loved the large Dior Book Tote bag because of its perfect shape. It’s incredibly practical, but I also wanted to add my own ideas. That's why I decided to make my own bag, inspired by the dimensions of the popular Dior Book Tote Large, but using a different fabric and also making an inner pocket with a pocket for my mobile phone and another for my documents, so that my important things don't just fly around in the bag. If you want to personalize your version, there are lots of simple ways to make the design your own. It's all just about your own fantasy.
I found a masterpiece in my favorite fabric store.
The fabric from the fashion house Missoni would be an ideal choice. There are no logos, but the material's quality is legible from afar. Moreover, it was clear to me that the bag would be both cheerful and sophisticated. So I bought fabric from the fashion house Missoni for my luxury DIY beach bag, which is famous for its quality and creative pattern processing. Their famous zigzag patterns have exactly the Italian touch I needed.
I could also use the bag as hand luggage on the plane, which was great. The size is simply incredibly friendly. You can put everything in it for the beach or in the city, and easily tuck it under the seat on the plane when you travel.
You don't have to be an advanced seamstress. If you can sew a straight stitch with a regular sewing machine, you're good to go. The bag is suitable for beginners. Just follow the instructions step by step with me. All instructions are explained clearly in writing and include visual aids, such as photos, to help you along the way.
If you need help somewhere, feel free to contact me in the comments. I'll be happy to help you.
This bag reminds me that luxury is above all about the quality of materials and the joy of creating with your own hands. You don't need logos. What's important is knowing the bag is made of high-quality materials and that you enjoy wearing it every time. It will be your unique piece.
What you need to make a Dior-Inspired DIY Beach Bag
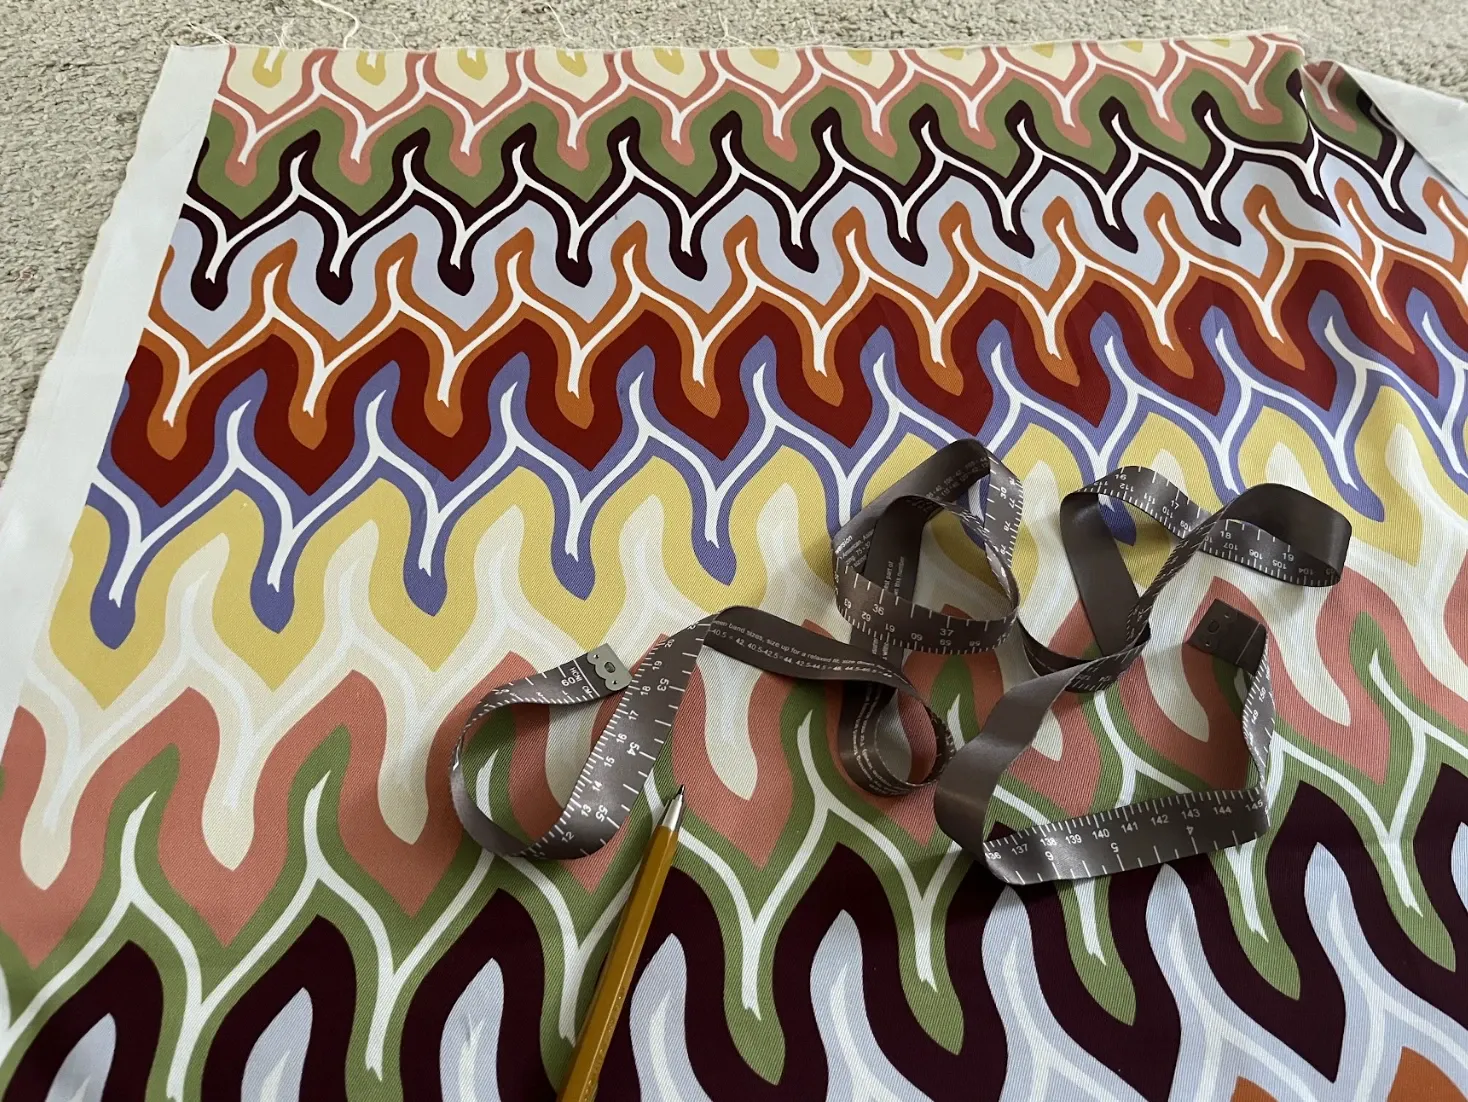
- Main cover fabric – choose a sturdier fabric, ideally a stiff canvas or 100% cotton gabardine. (I bought 1.2m wide by 1.44m / 47in x 56.69in)
- Interlining – the sturdiest you can buy. If you want the bag to stand on its own, you need to reinforce it. For the bag, just buy 0.8m / 31.5in of regular length. You only need the interlining to reinforce the bag's body. You don’t need to reinforce the handles.
- Material for the bag handles. If you want the same fabric as your main bag, the handles will fit into the fabric dimensions. If you want a different fabric (different color/pattern), you will need to purchase it separately. For two handles, you will need 12 cm × 100 cm / 2.4 × 39.37 in.
- Fabric for the inside of your beach or tote bag. Again, use a sturdier, 100% cotton canvas or gabardine. Buy the same amount as your main fabric.
- Two spools of thread
- Scissors
- Pin or clips - to catch fabric
- Tailor's tape measure
- Sewing machine
Summary of fabrics you need:
Main fabric: 1.2m wide by 1.44m / 47 in x 56.69 in
Firm interlining: 0.8m / 31.5 in regular length
Inner bag fabric: 1.2m wide by 1.44m / 47 in x 56.69 in
Note: You need a strong interlining to reinforce the entire fabric surface. But they are all over 1m / 39.37 in, so the mentioned width will be enough for you.
DIY Dior-Inspired Book Tote Bag in Missoni Style Free Pattern:
Download a conveniently drawn pattern for your bag from the link below. The pattern is available as a PDF, so you can easily print it at home. The paper format is A4. I have visually described all dimensions and instructions to make them understandable.
The bag is made of rectangles sewn together. We can all draw a rectangle, so in order to save paper and your time, I only pre-drew the individual dimensions of the bag parts, which you can draw directly on the inside of the fabric. If you are hesitant about measuring or marking on your fabric, don't worry; just take your time and double-check your measurements before you cut. For best results, use a chalk pencil or tailor's chalk to lightly mark your lines, and a ruler or measuring tape to keep edges straight. If you ever make a mistake with the marks, you can gently brush off the chalk and try again. These simple steps can help you feel more confident and ensure your rectangles are accurate.
In the process, I drew on the outside of the fabric only to ensure the pattern connected accurately, which was very important to me.
Video Tutorial How to Sew DIY Tote Bag:
Youtube Tutorial
Estimated Time
Around 11 hours of your time.
DIY Dior-Inspired Book Tote Bag Tutorial
Cutting the fabric pieces for the main part of the tote bag
- Wash both the cover and inner fabrics. Cotton tends to shrink, so if you plan to wash the bag in the future, you'll want it to hold its shape afterward.
- Once dry, iron both fabrics to make them nice and flat.
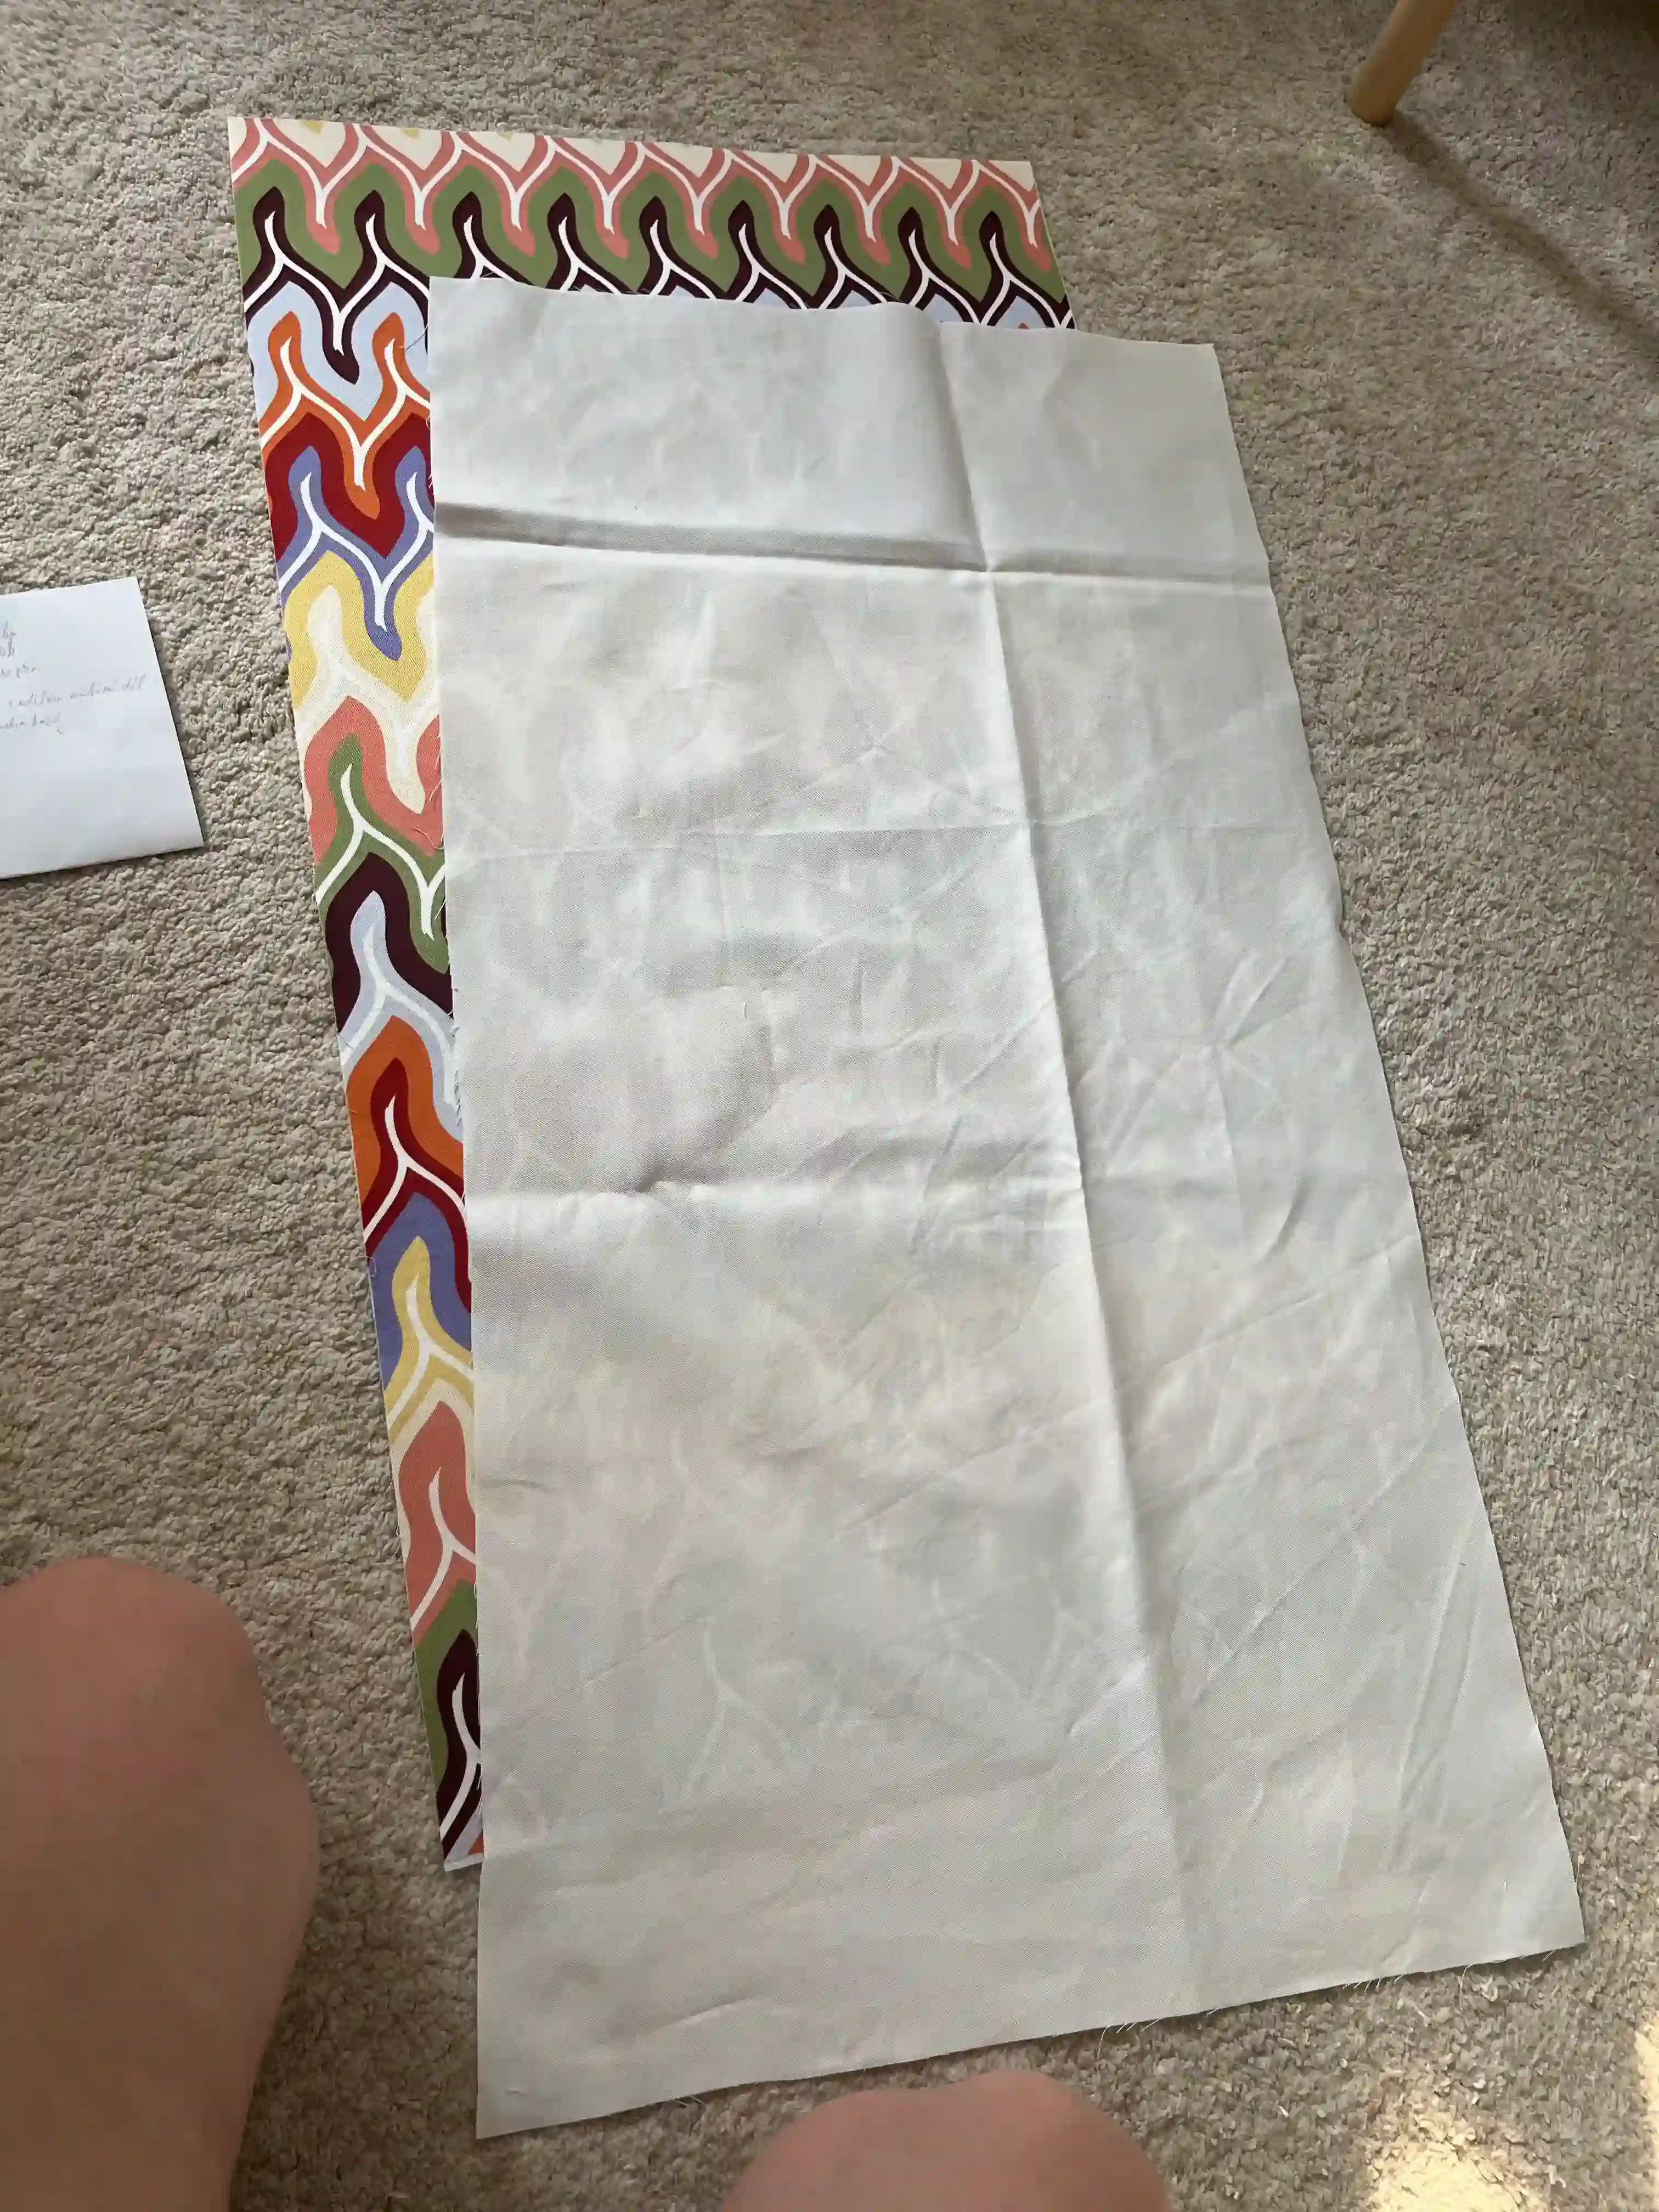
Cutting the main fabric pieces for the tote bag - On the inside (wrong side) of the main cover fabric, draw the main part of the bag.
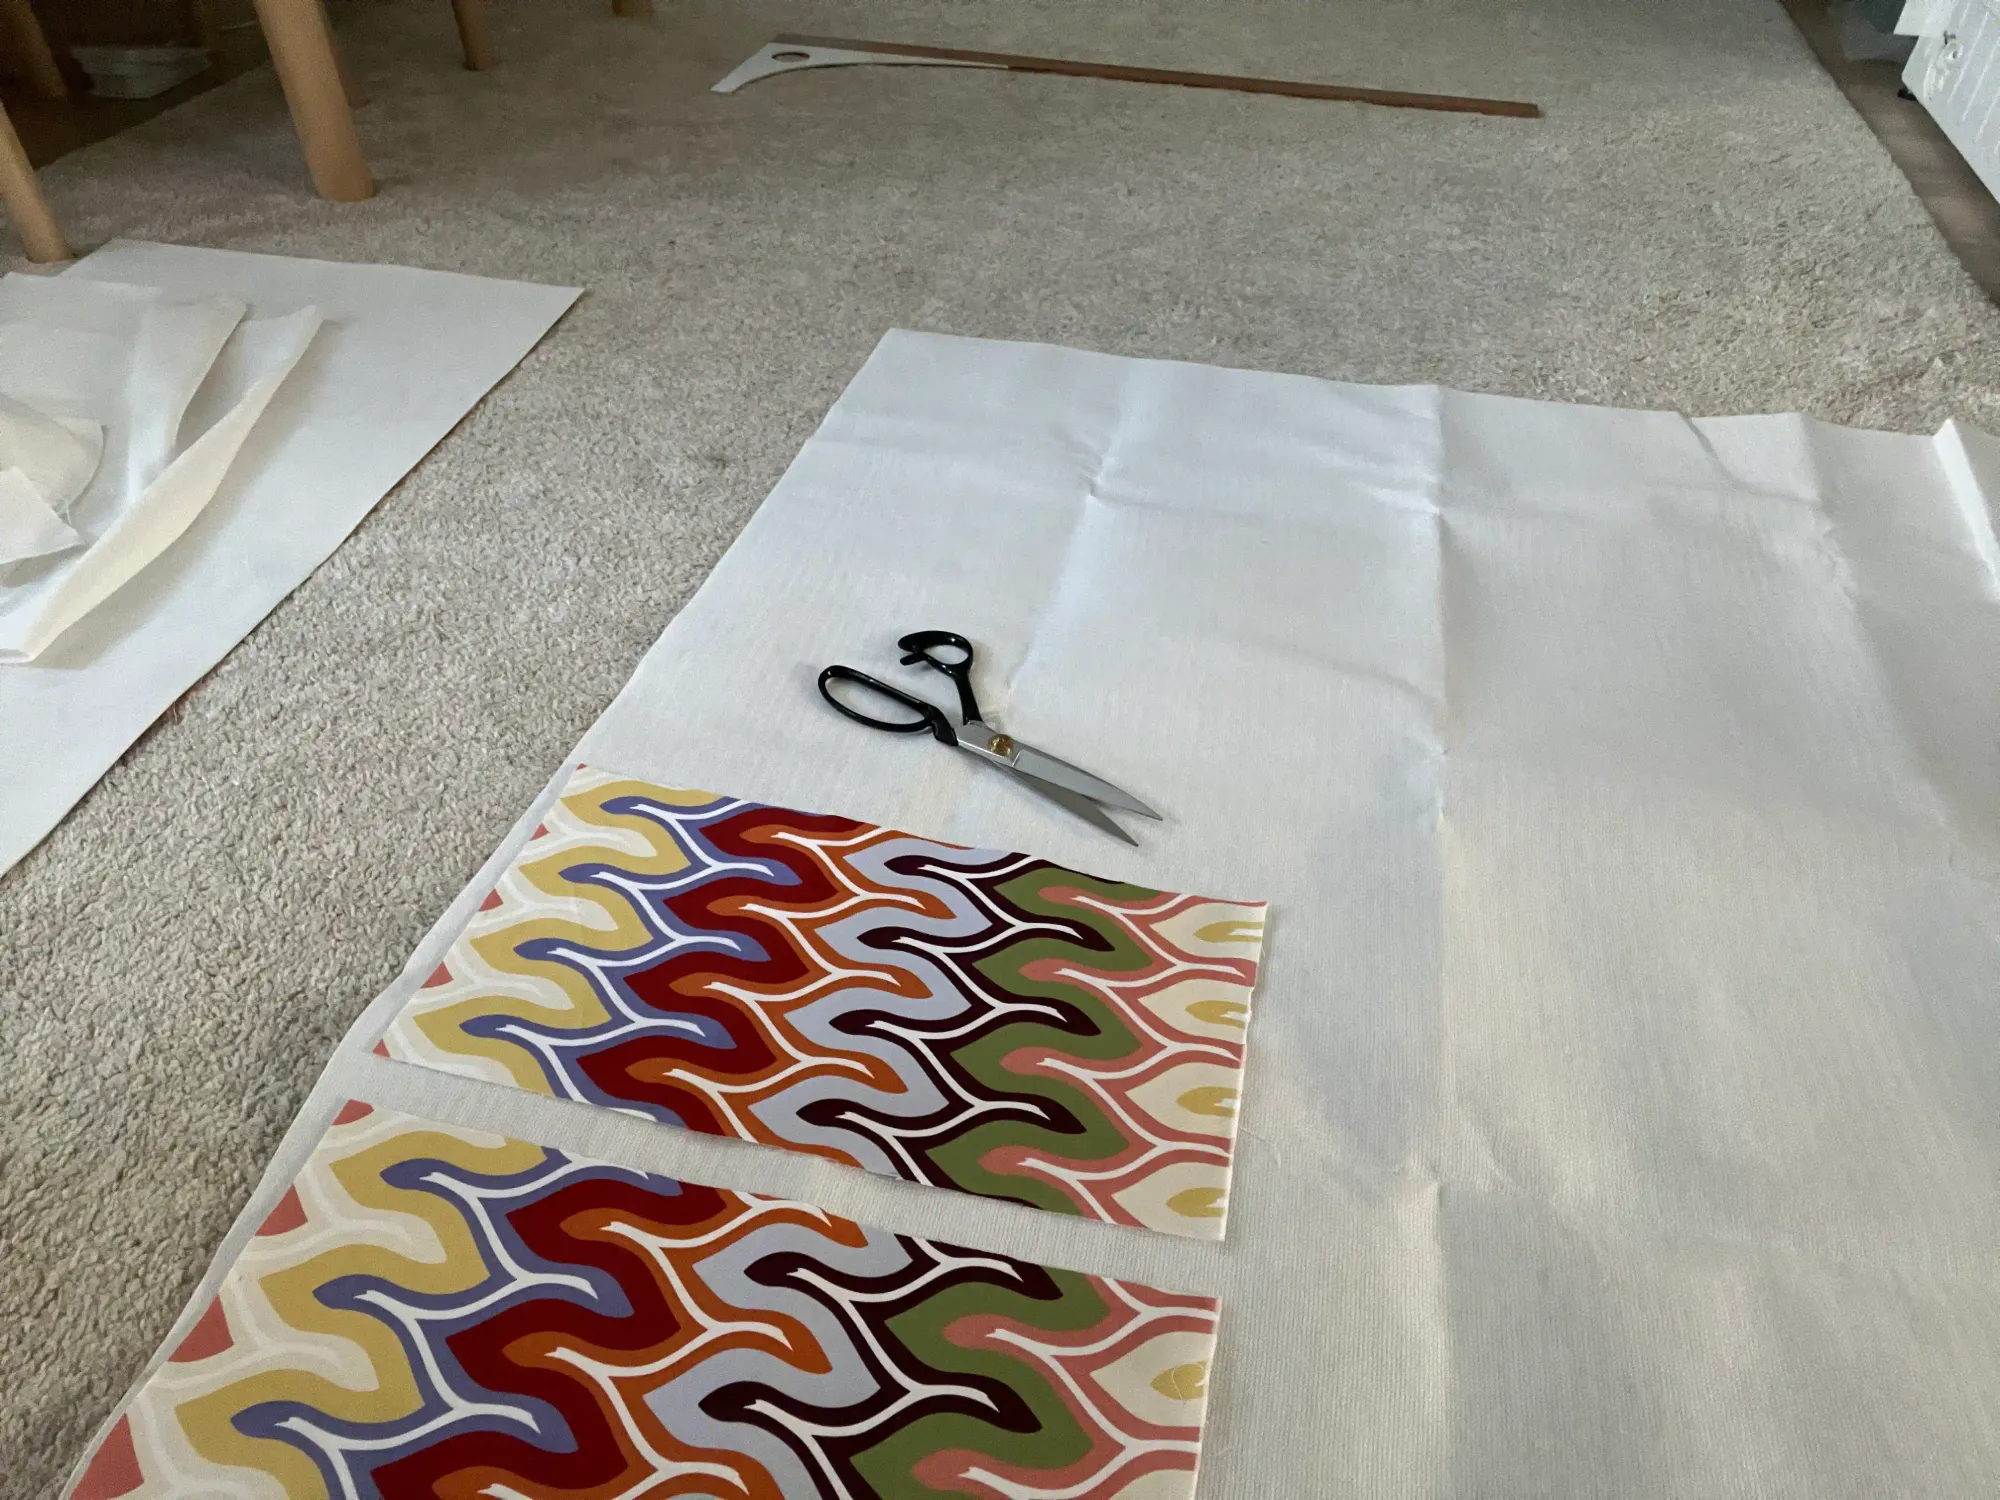
- On the inside (wrong side) of the main cover fabric, draw the two side pieces of the tote bag. (If you're working with a pattern and want the pattern on the bag to follow, place the two side pieces so that they fit into your pattern.)
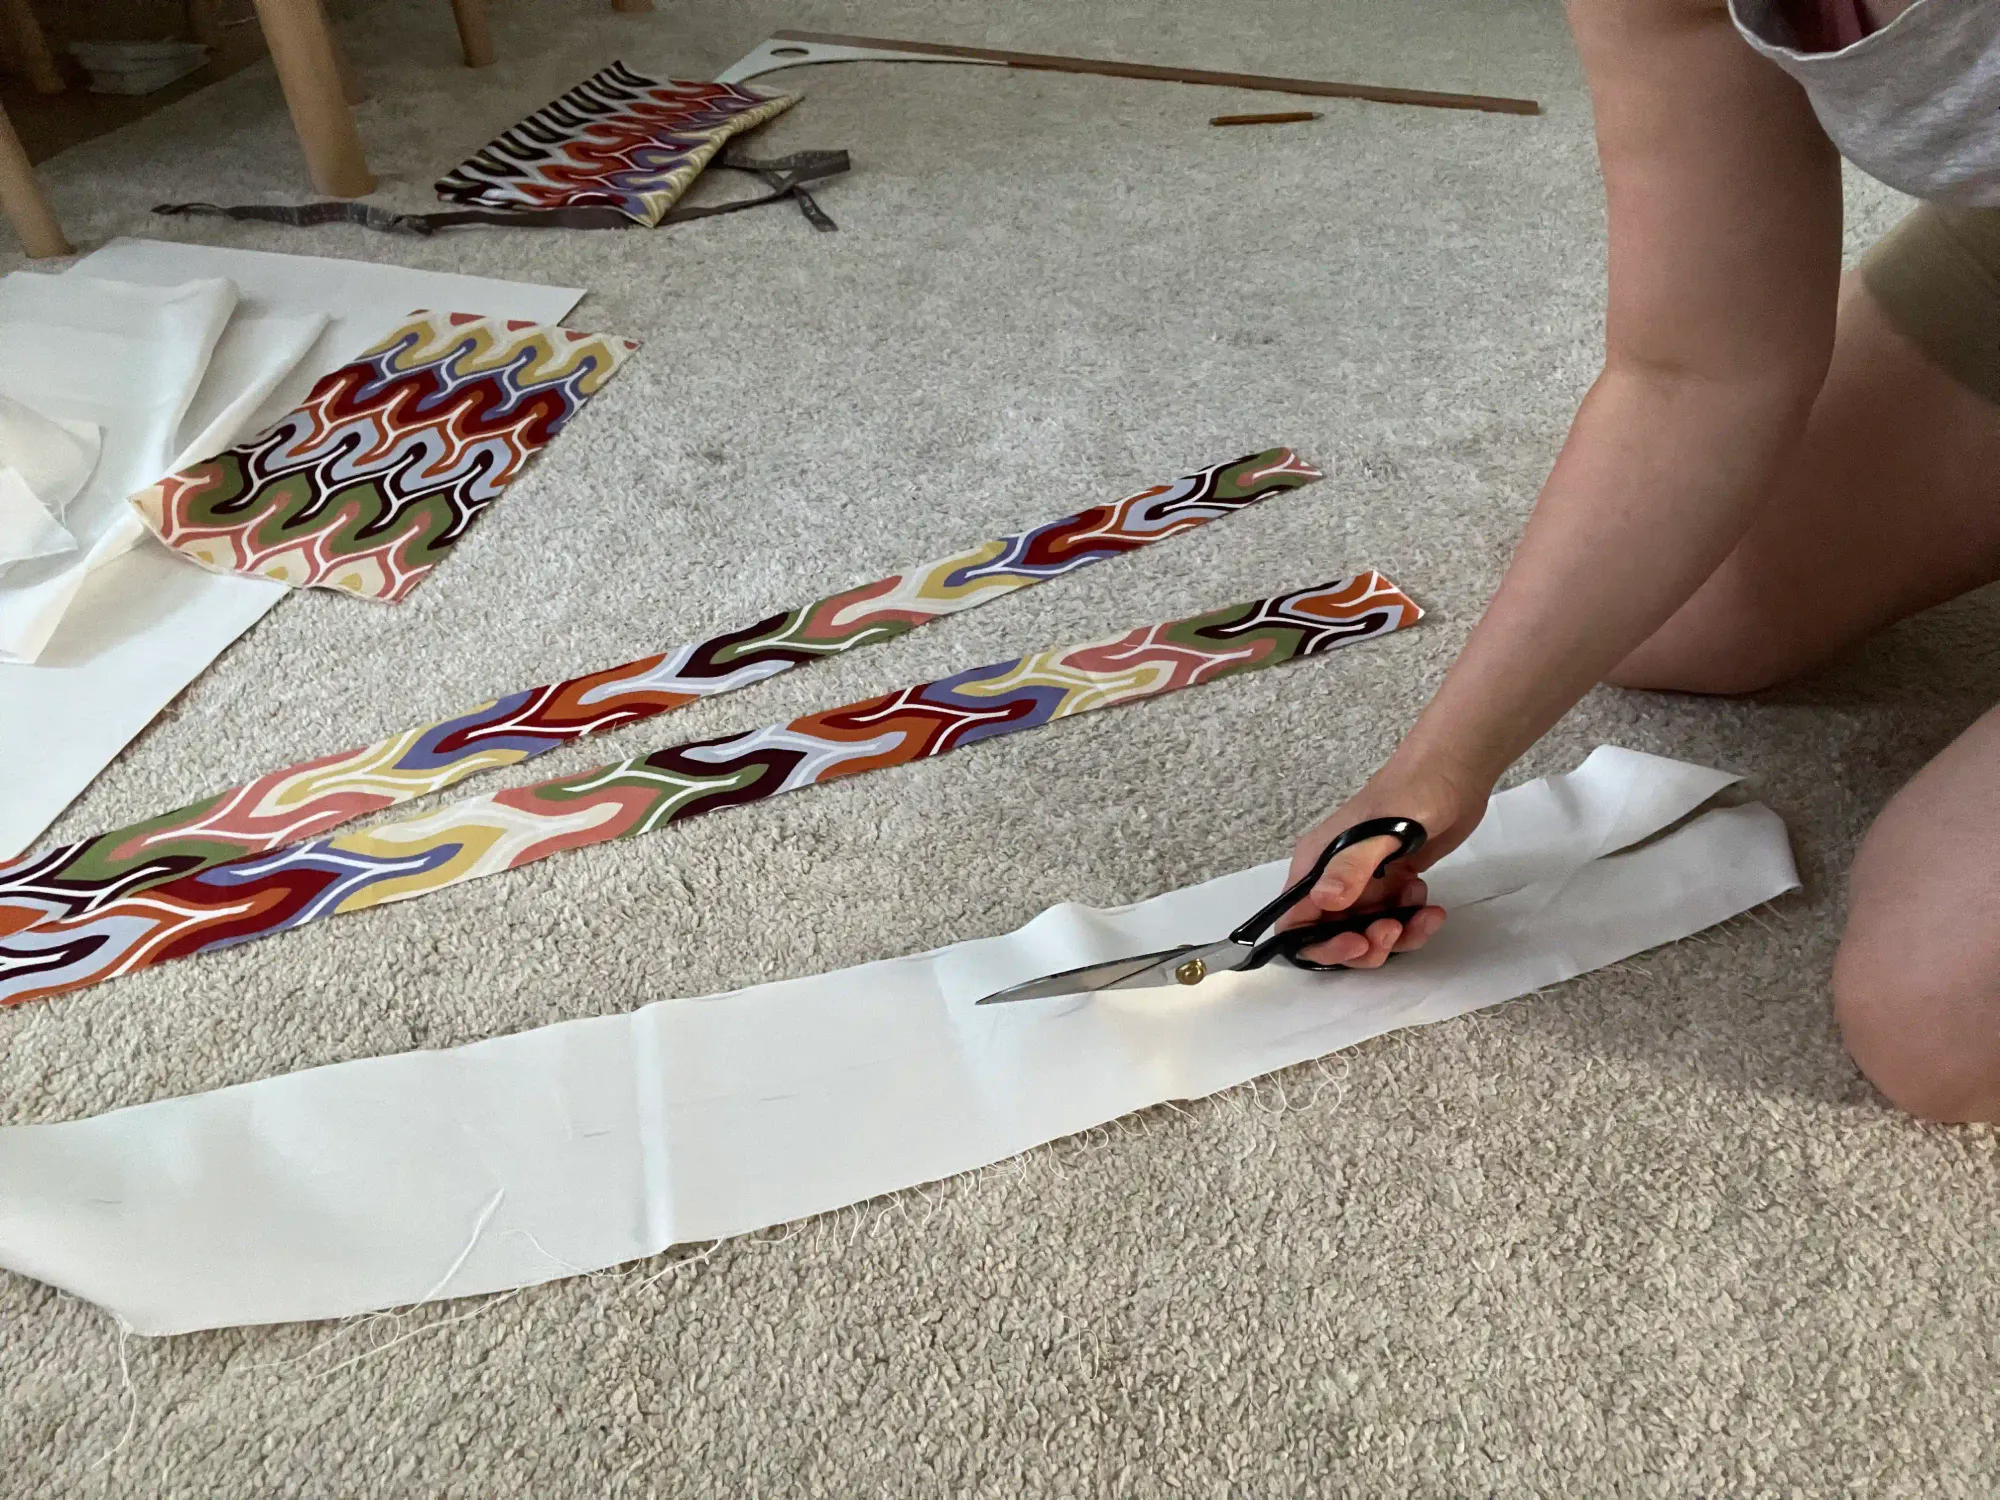
- On the inside (wrong side) of the main cover fabric, draw the bag handles next to each other.
- If you want to have the inner pocket for your mobile phone and documents lined with the main fabric, cut a strip 3cm / 1.2 in wide and the planned width of your inner pocket for your phone or documents.
- Cut out all the pieces.
Cutting the fabric pieces for the inner part of the tote bag
- Draw the main part on the fabric intended for the inner part of the bag
- Draw two side pieces on the fabric intended for the inner part of the bag
- Draw the dimensions of the inner pocket for your mobile phone and documents on the fabric intended for the inner part of the bag.
- Draw the loops on the fabric intended for the inner part of the bag
- Cut out all the pieces.
Cutting the interlining to strengthen the tote bag
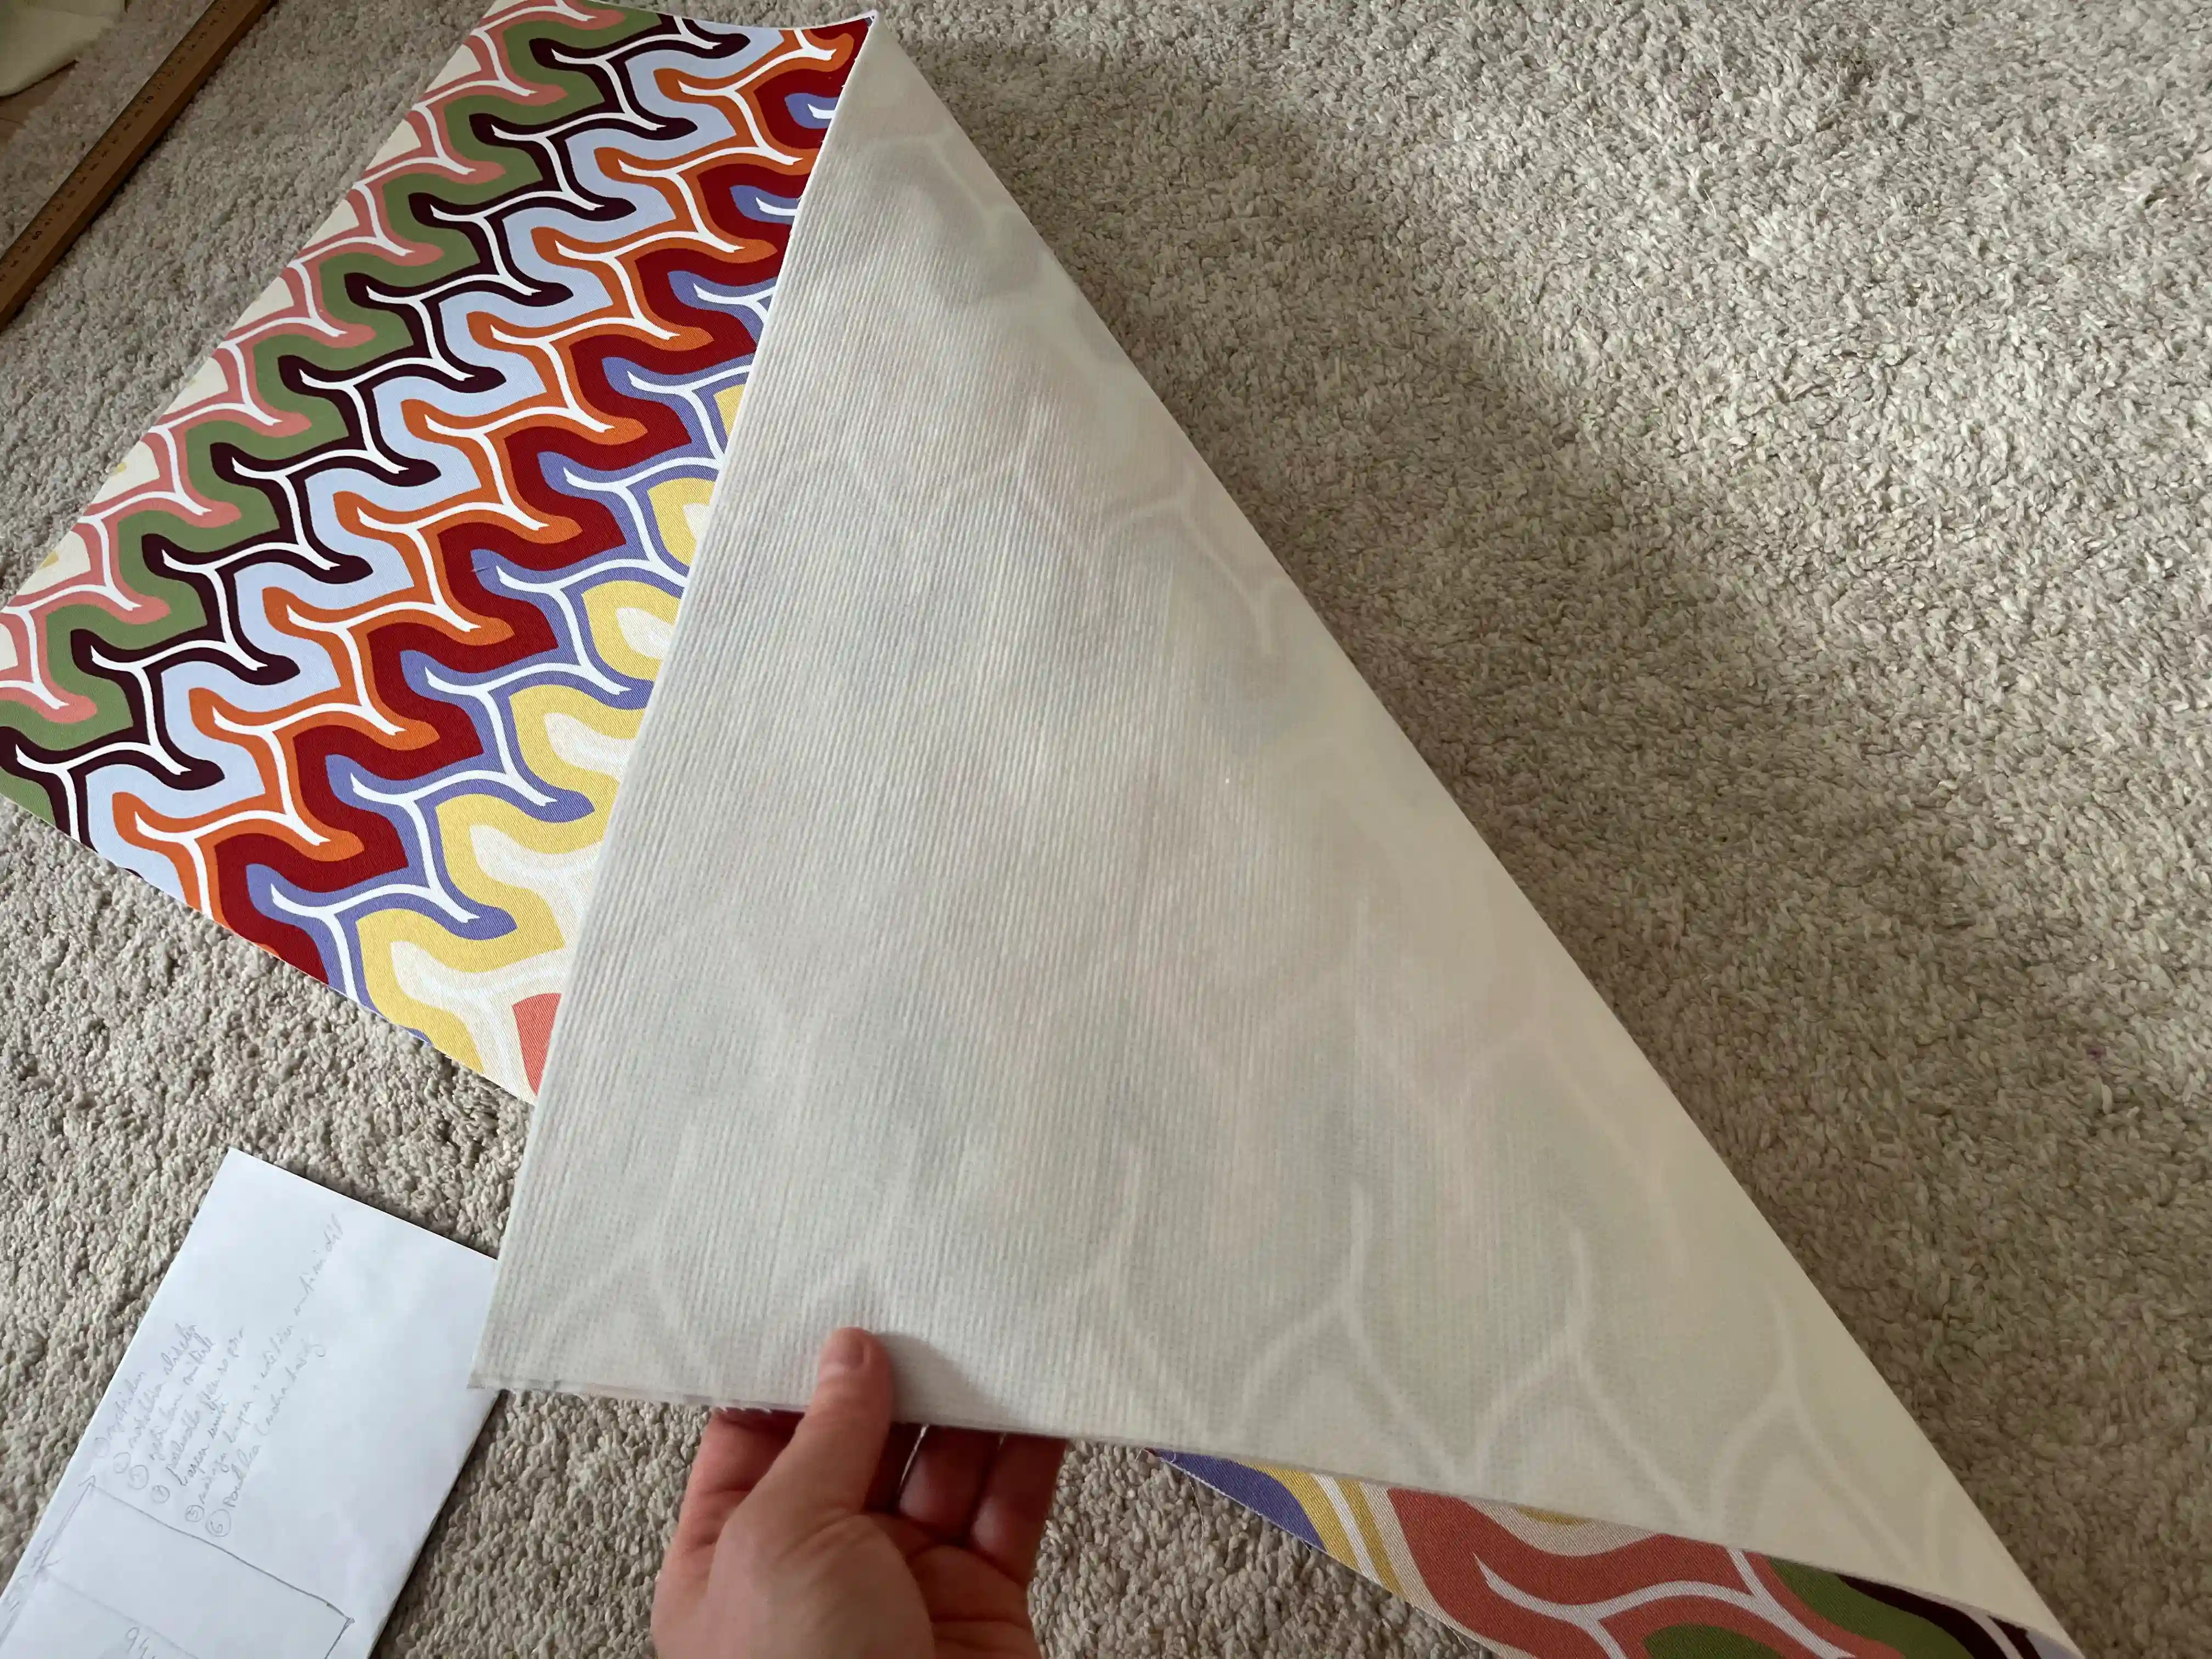
- Take the parts from the main fabric (the large main part and the side pieces) and trace them on the interlining.
- Cut out the individual parts and iron the iron-on side of the interlining to the inside (wrong side) of the main fabric to reinforce it.
- If you have any reinforcing fabric (interlining) left over, cut off the excess so the pieces fit perfectly.
Sew the bag handles and attach them to the main piece
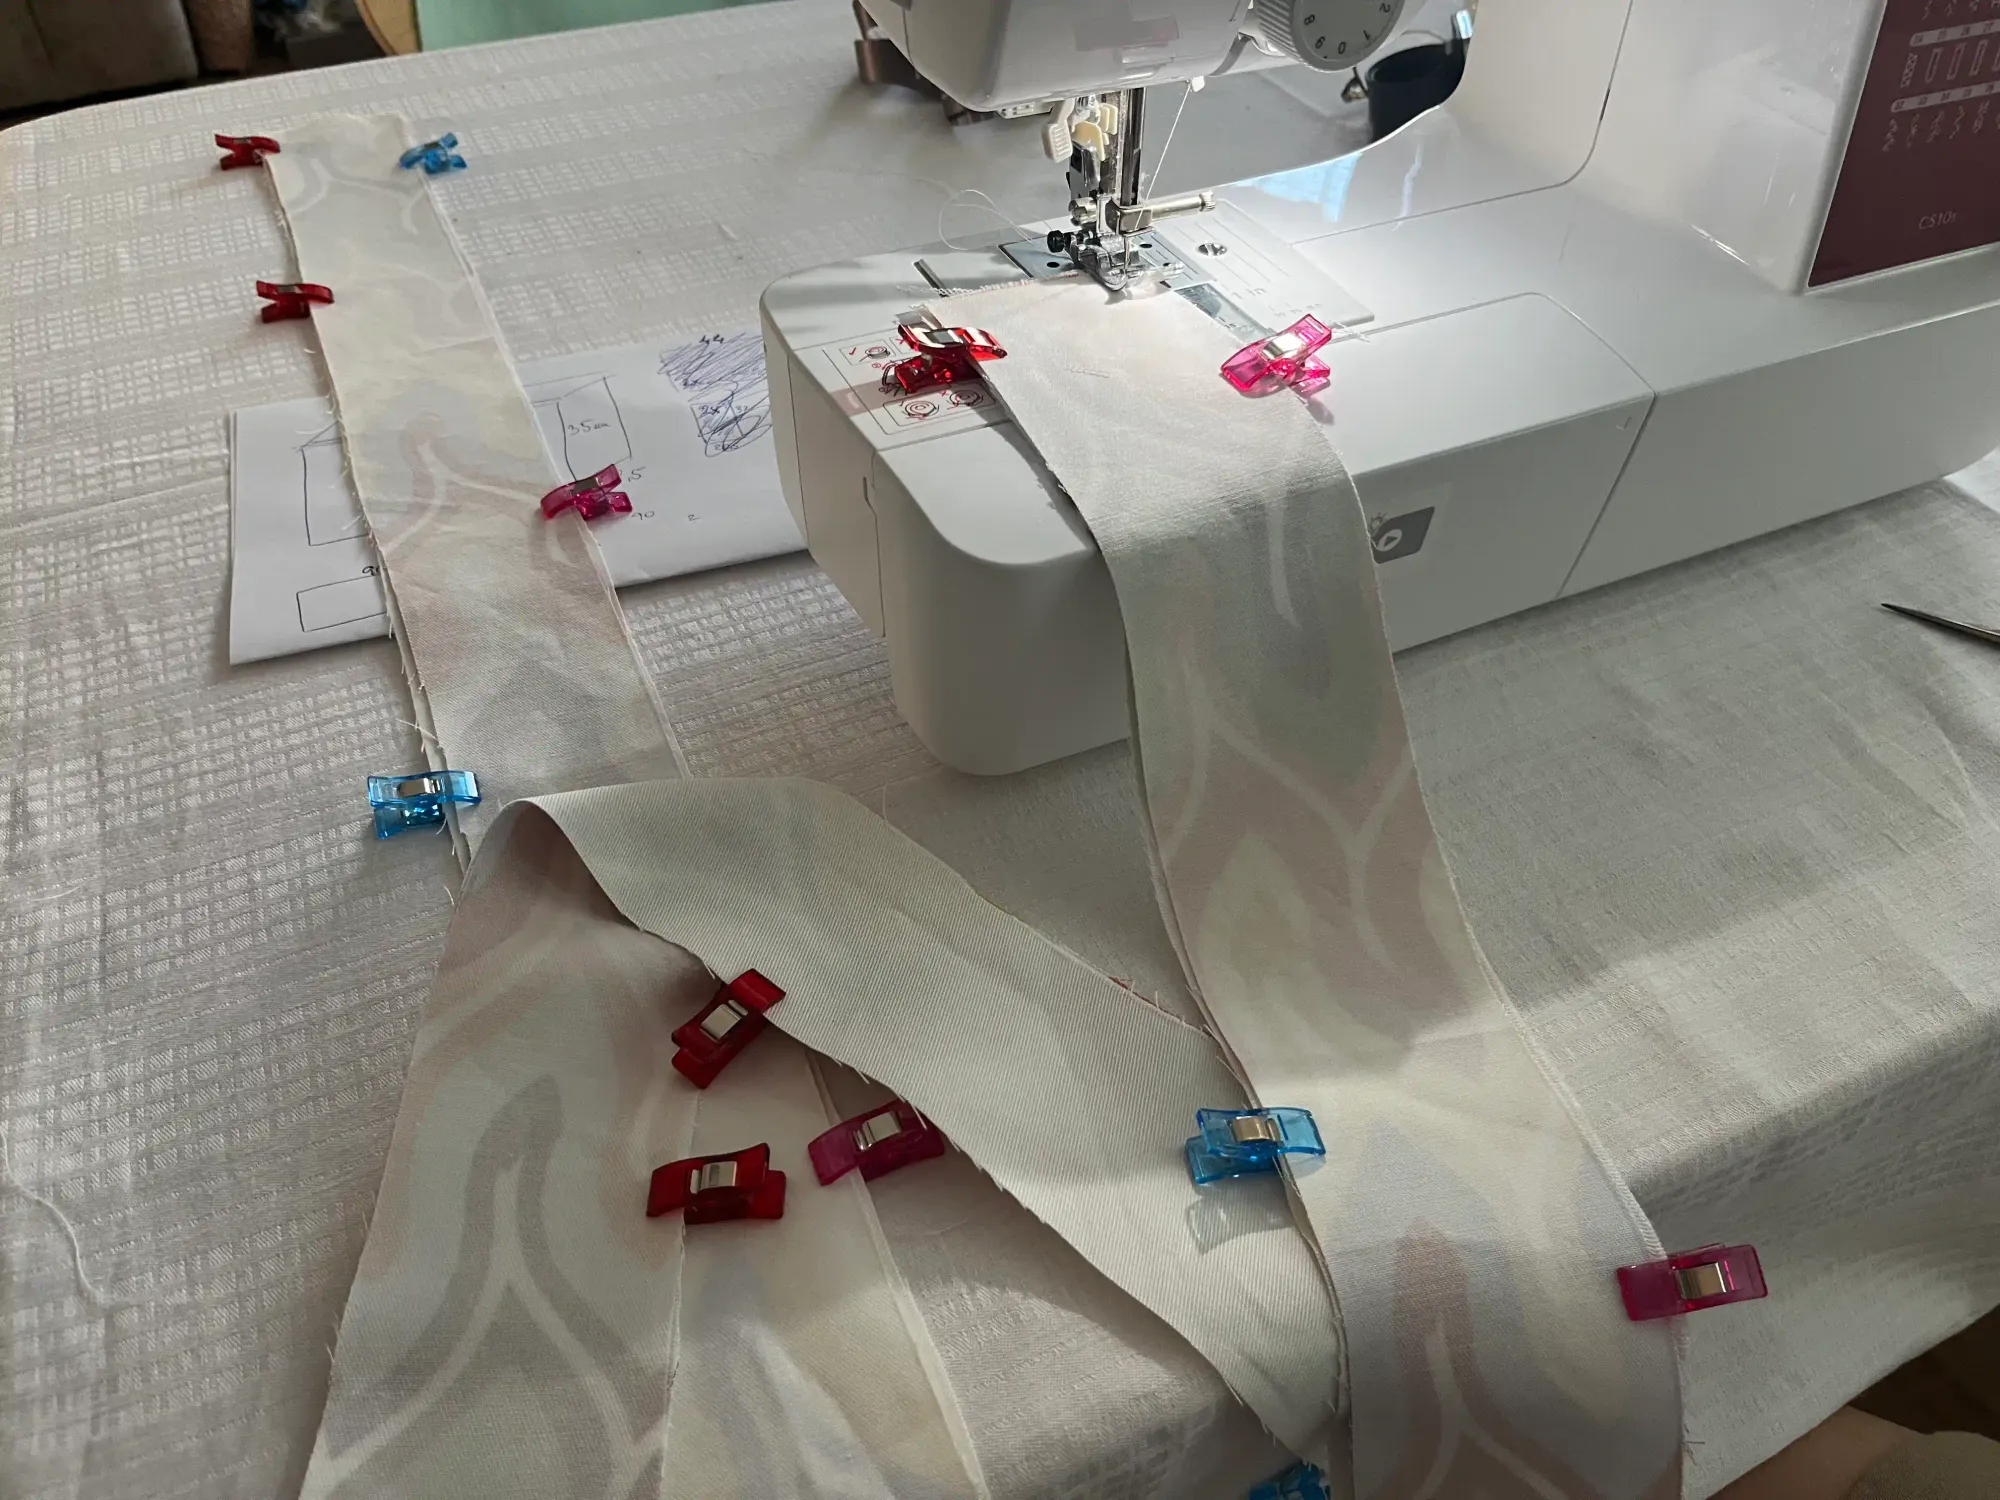
- Take one handle from the main fabric and one from the inner fabric and place them right sides together.
- Sew the handle around the perimeter on three sides (two long sides and one short side).
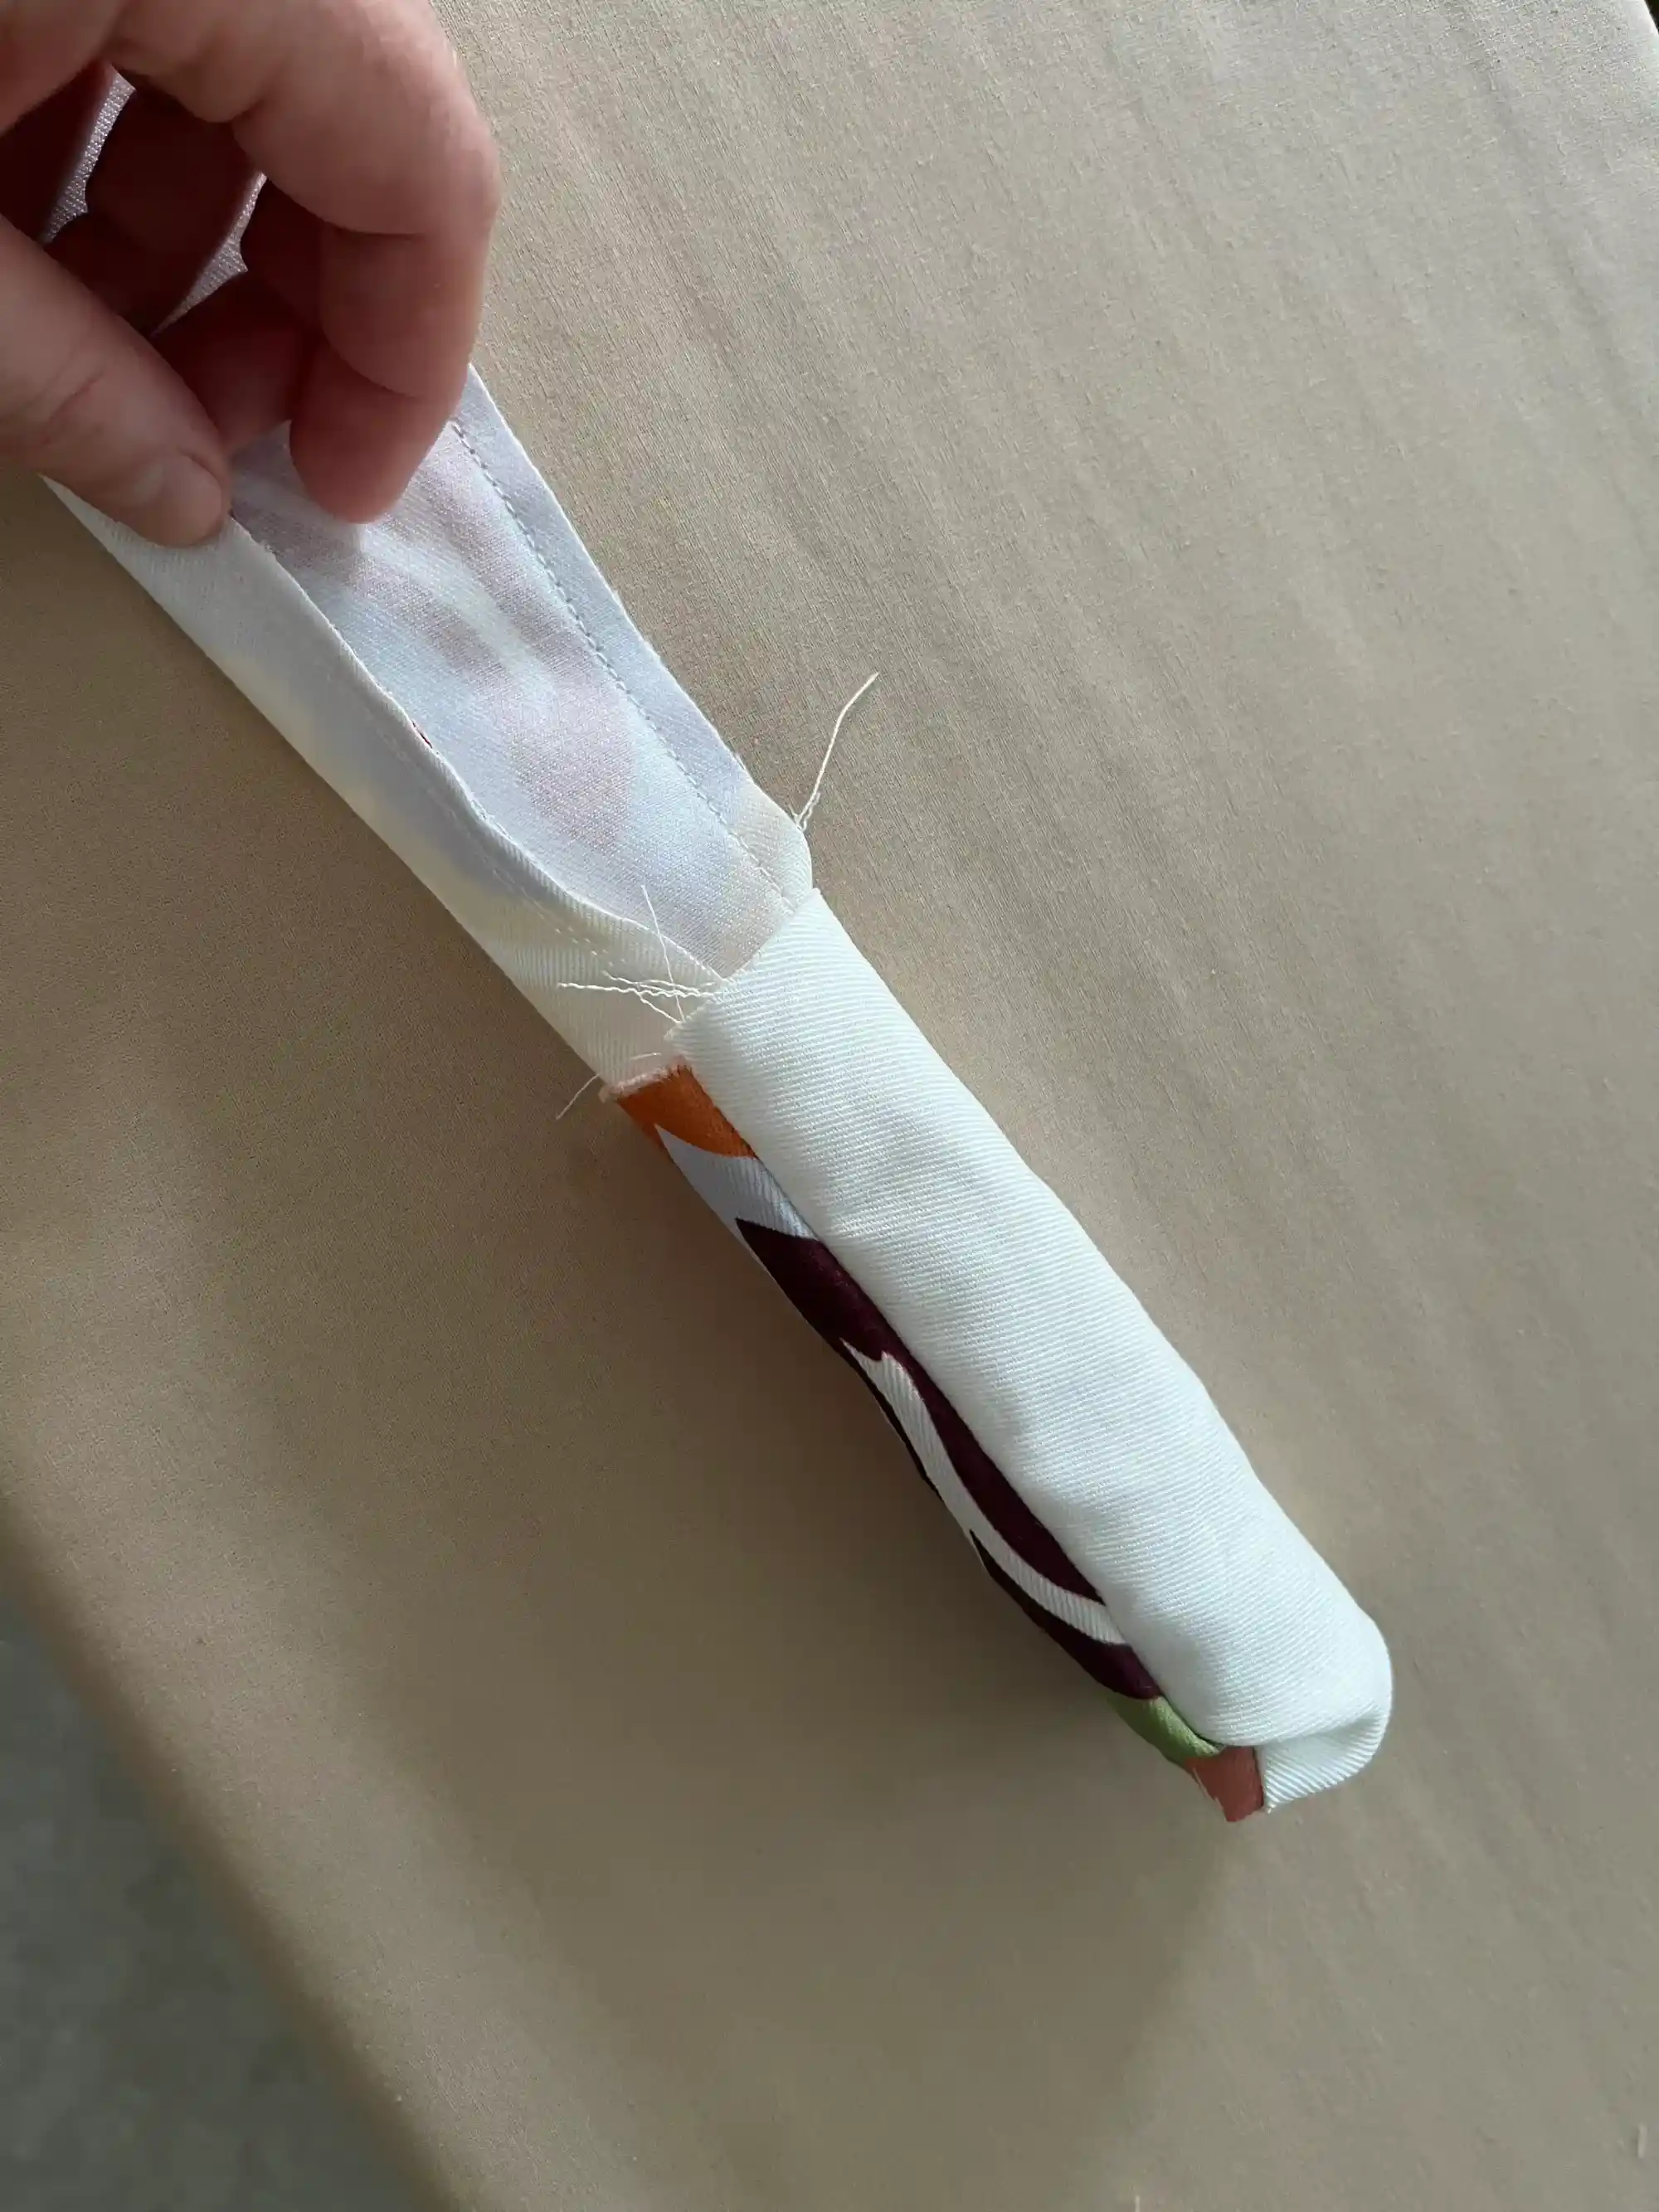
- Trim the corners slightly so the fabric doesn't crease when you turn it over to the right side.
- Turn the handle so the right sides are facing out.
- Flatten and iron the handle so the fabric fits nicely and the handle's shape stands out.
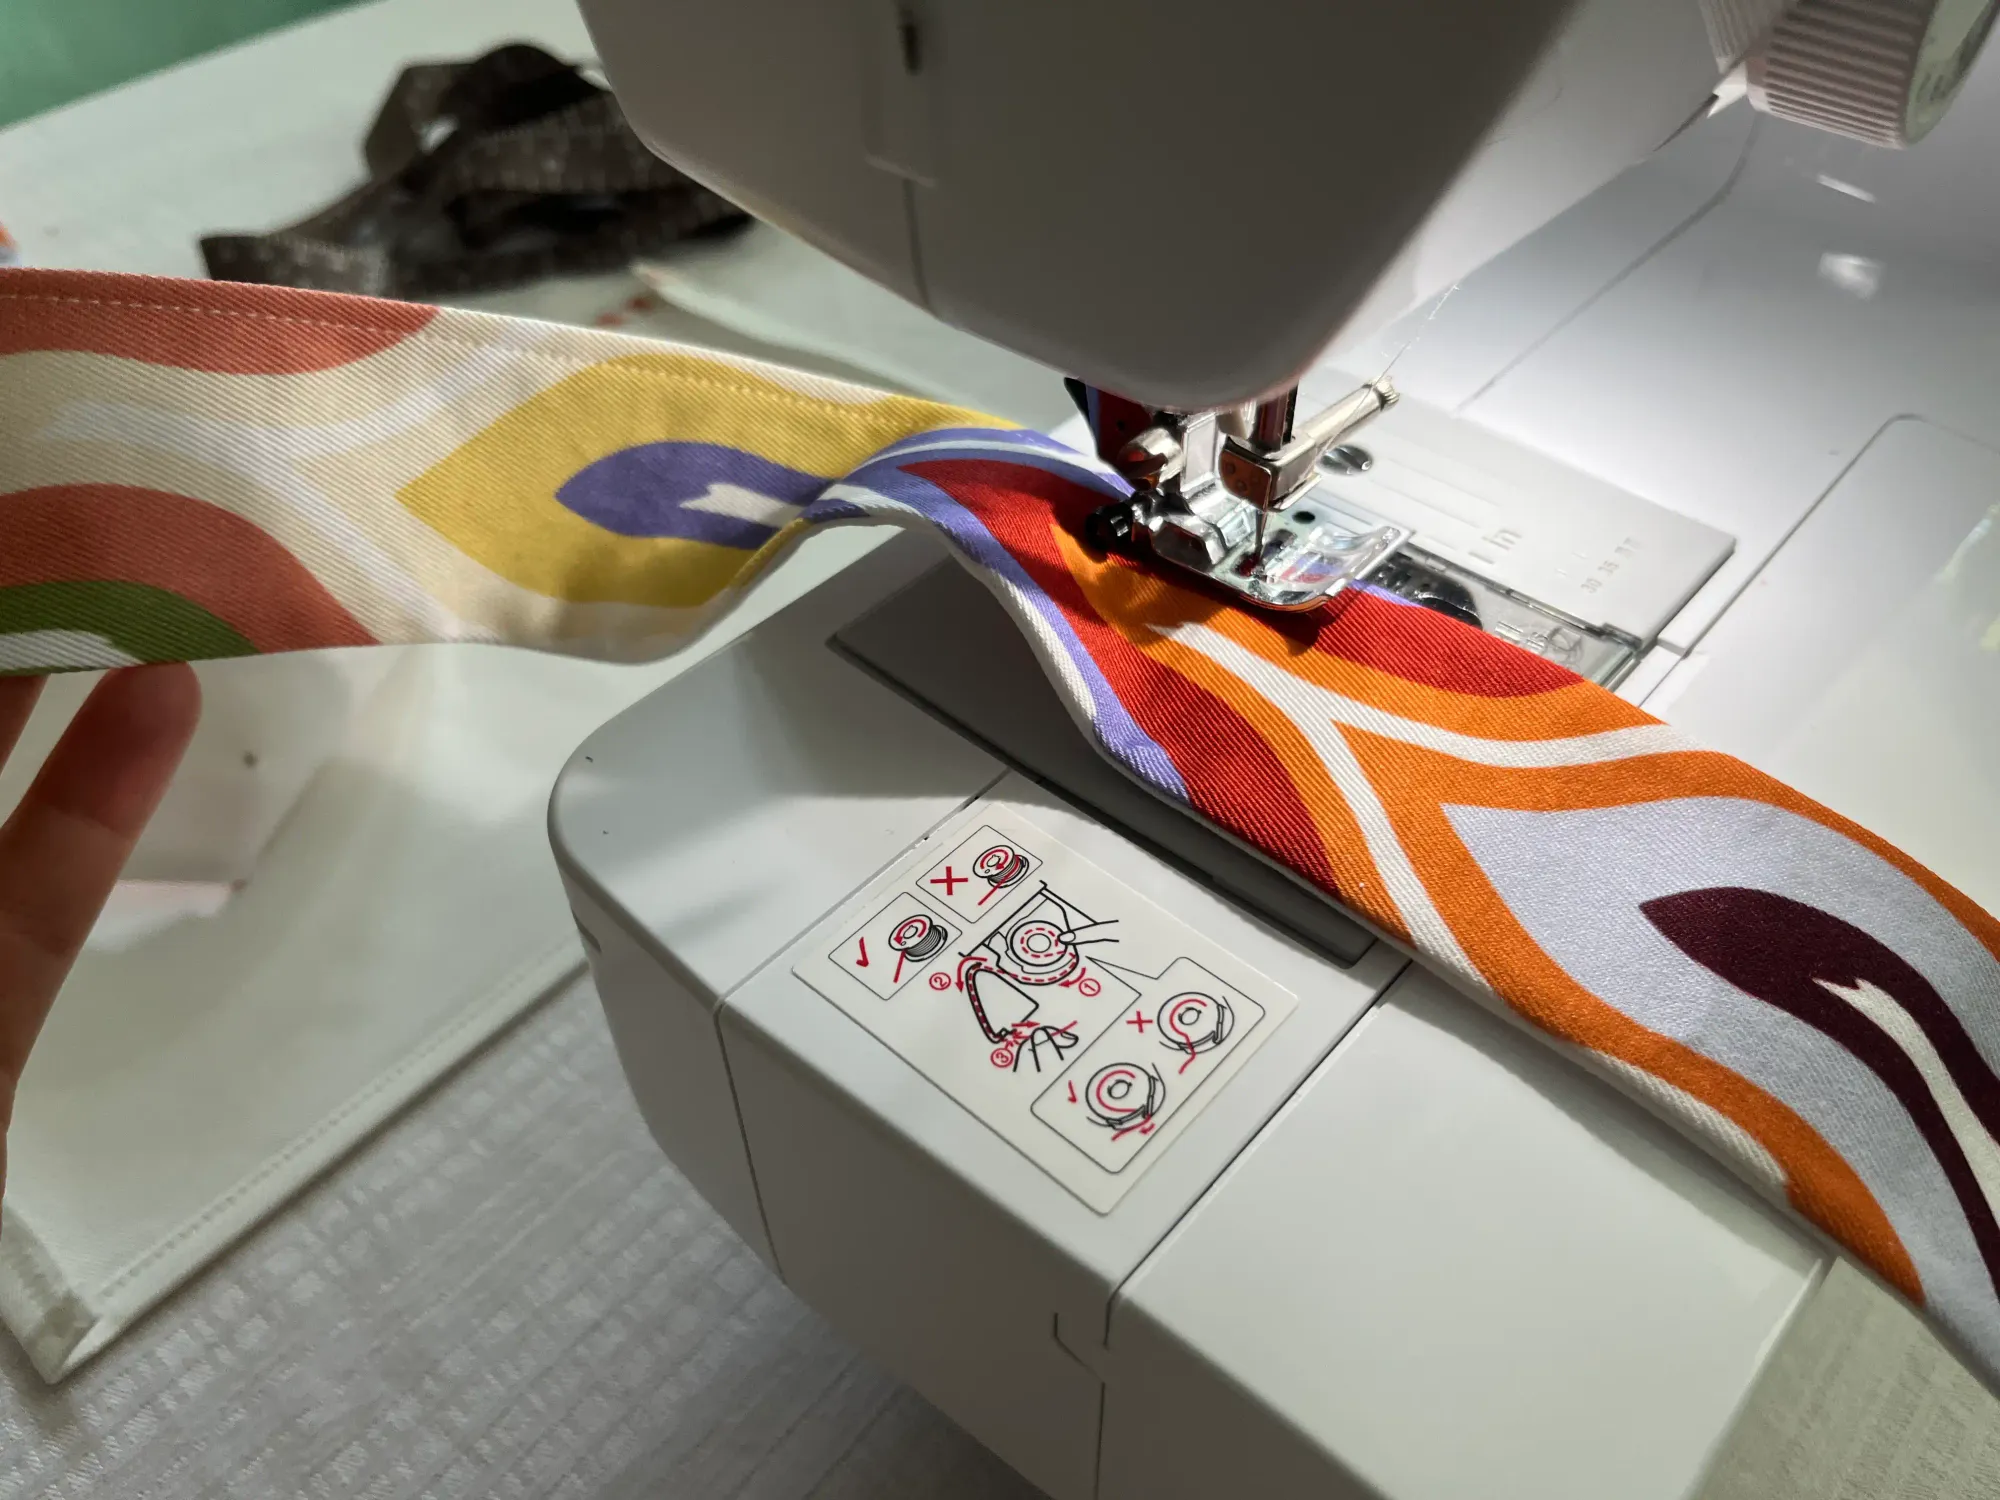
- Fold the remaining open part of the handle inwards and stitch.
- Iron the entire handle again and stitch it around the entire perimeter, approximately 3 mm / 0.1 in from the edge.
- Repeat the same procedure for the second handle. The loops need to be sewn on at the beginning, as the sewing work will be noticeably more difficult later.
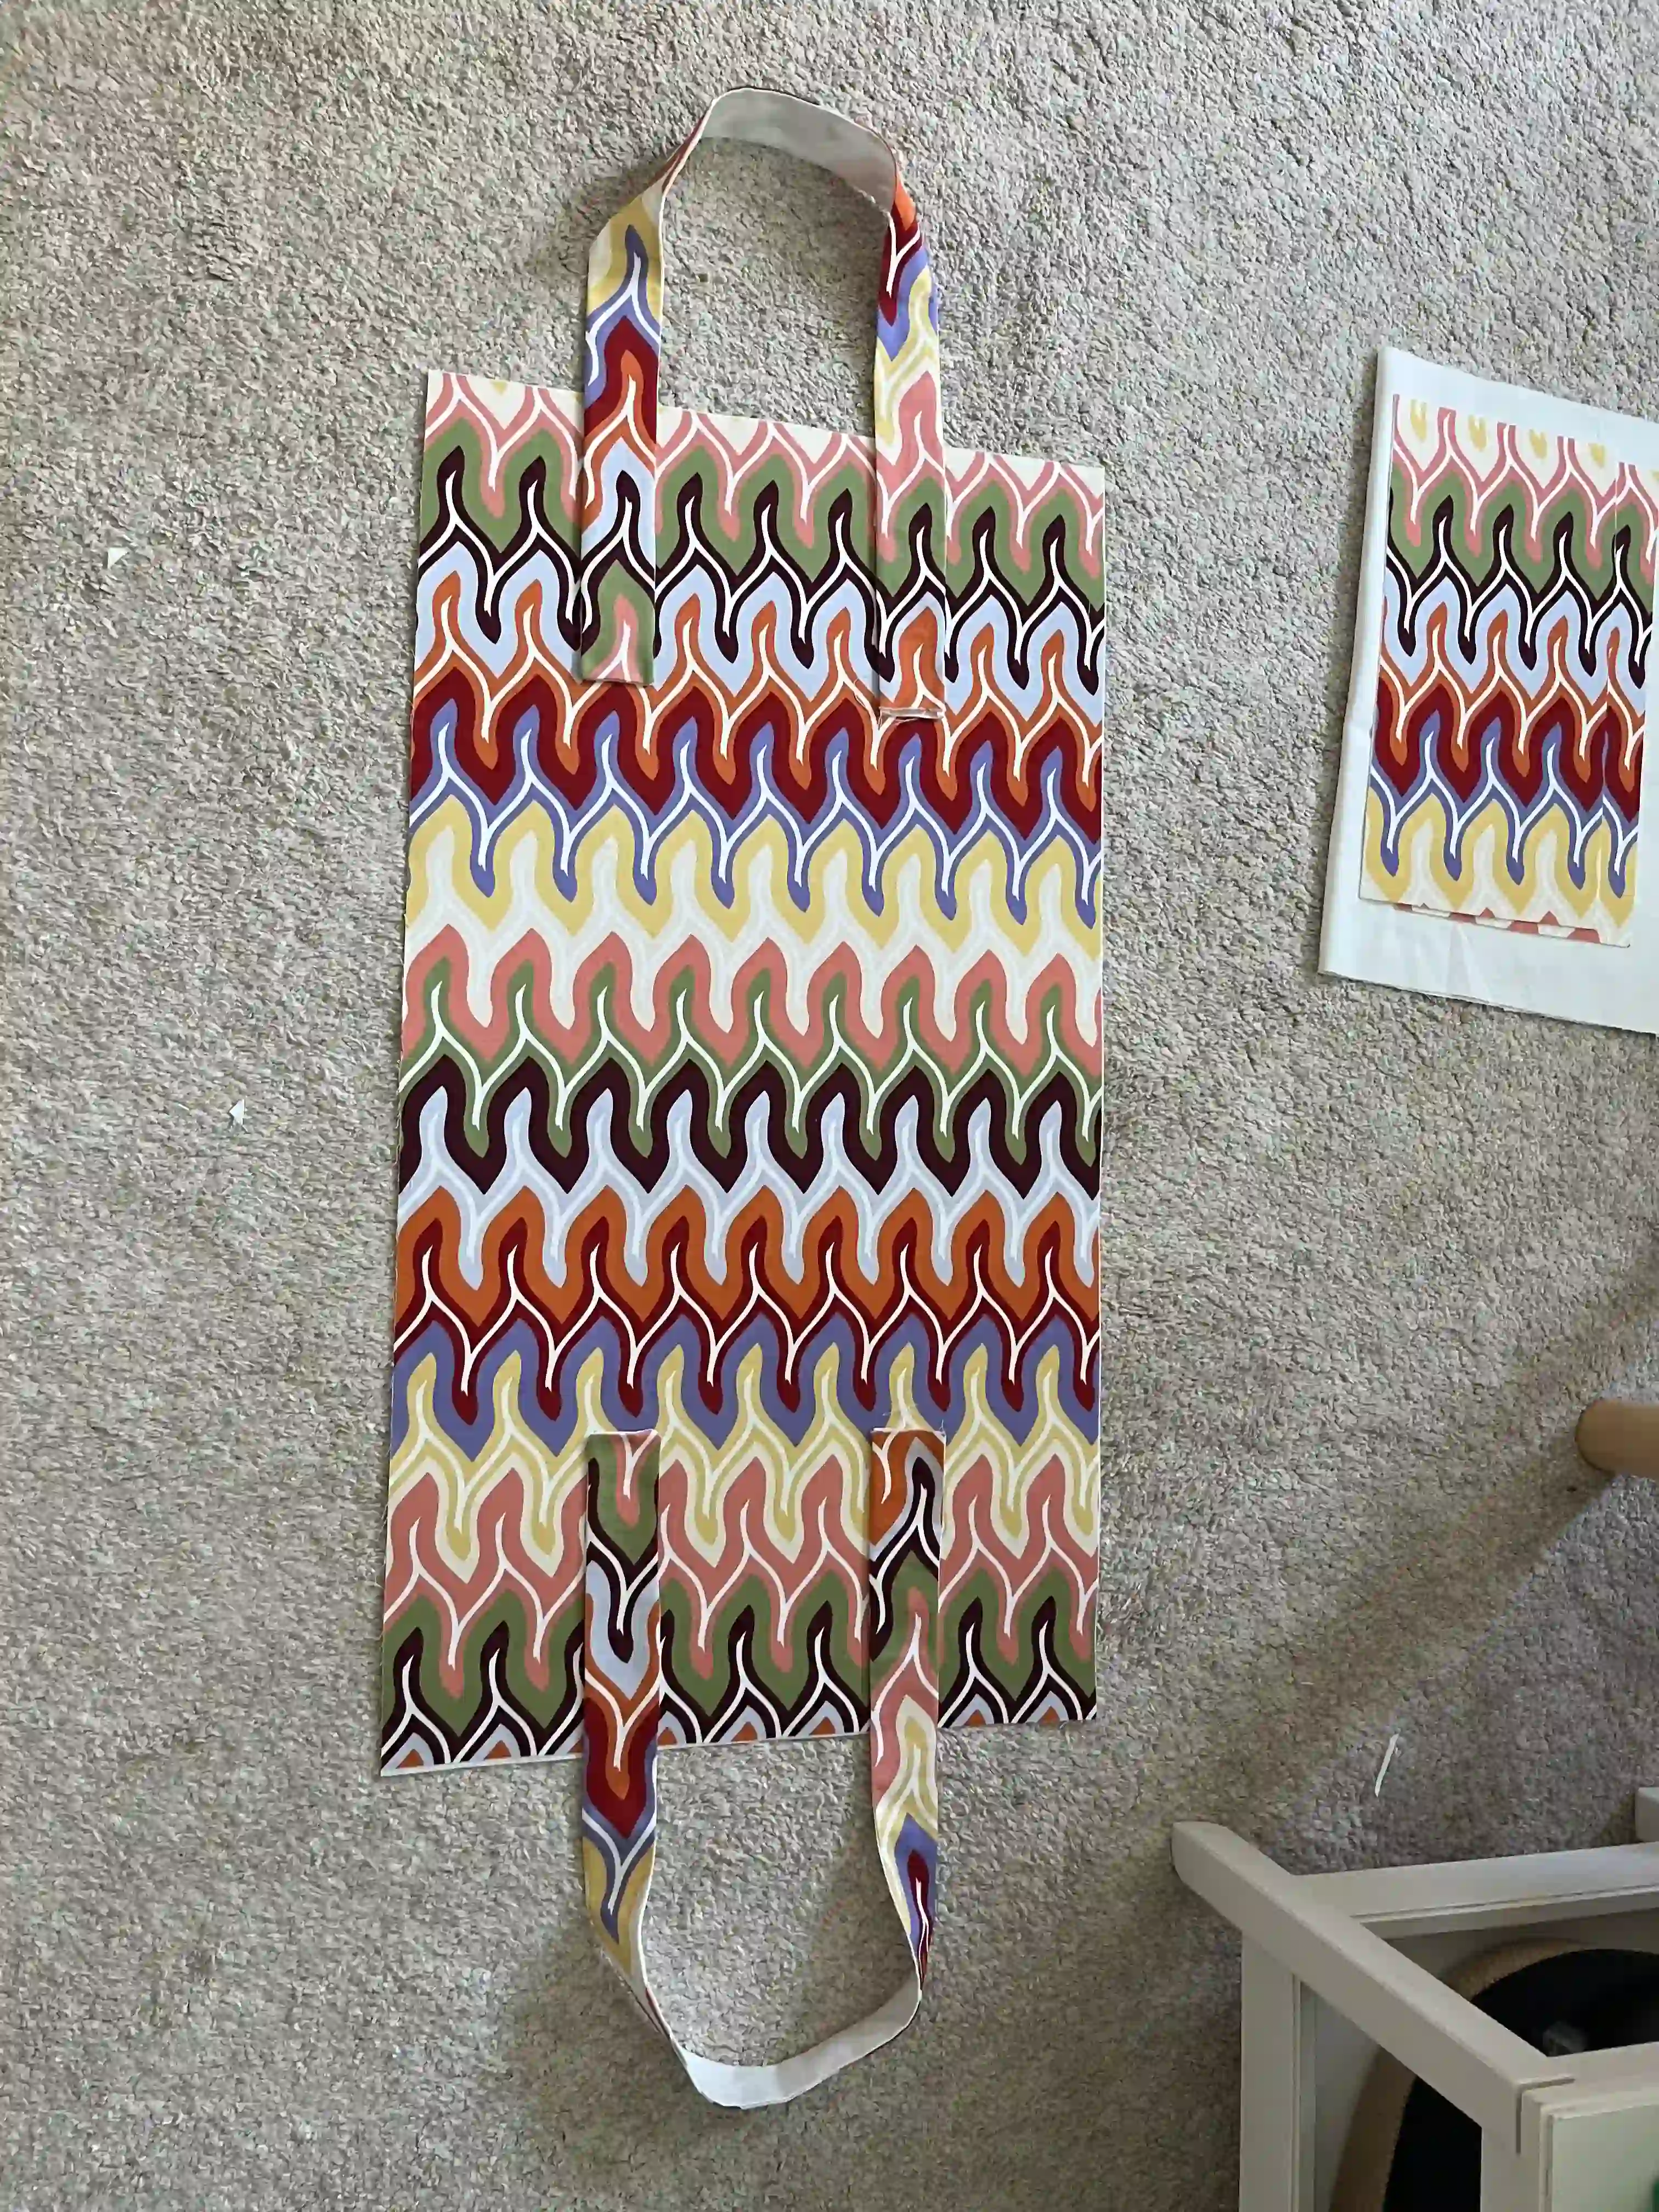
- Sew each loop to one of the main ends of the beach tote bag.
Position the loops by measuring 7 cm / 2.75 in from the center of the top of the bag on each side, then sew the loops on. The distance between the loops should be approximately 14 cm / 5.5 in. The sewn part of each end of the loops is approximately 19 cm / 7.5 in. If the distance is different for you, position the loops as you need.
When sewing the loops, always leave at least 3 cm / 1.2 in of space from the top edge of the bag at each end. I have a little more, but it's more about your preference.
You now have two loops sewn to each top edge of the bag.
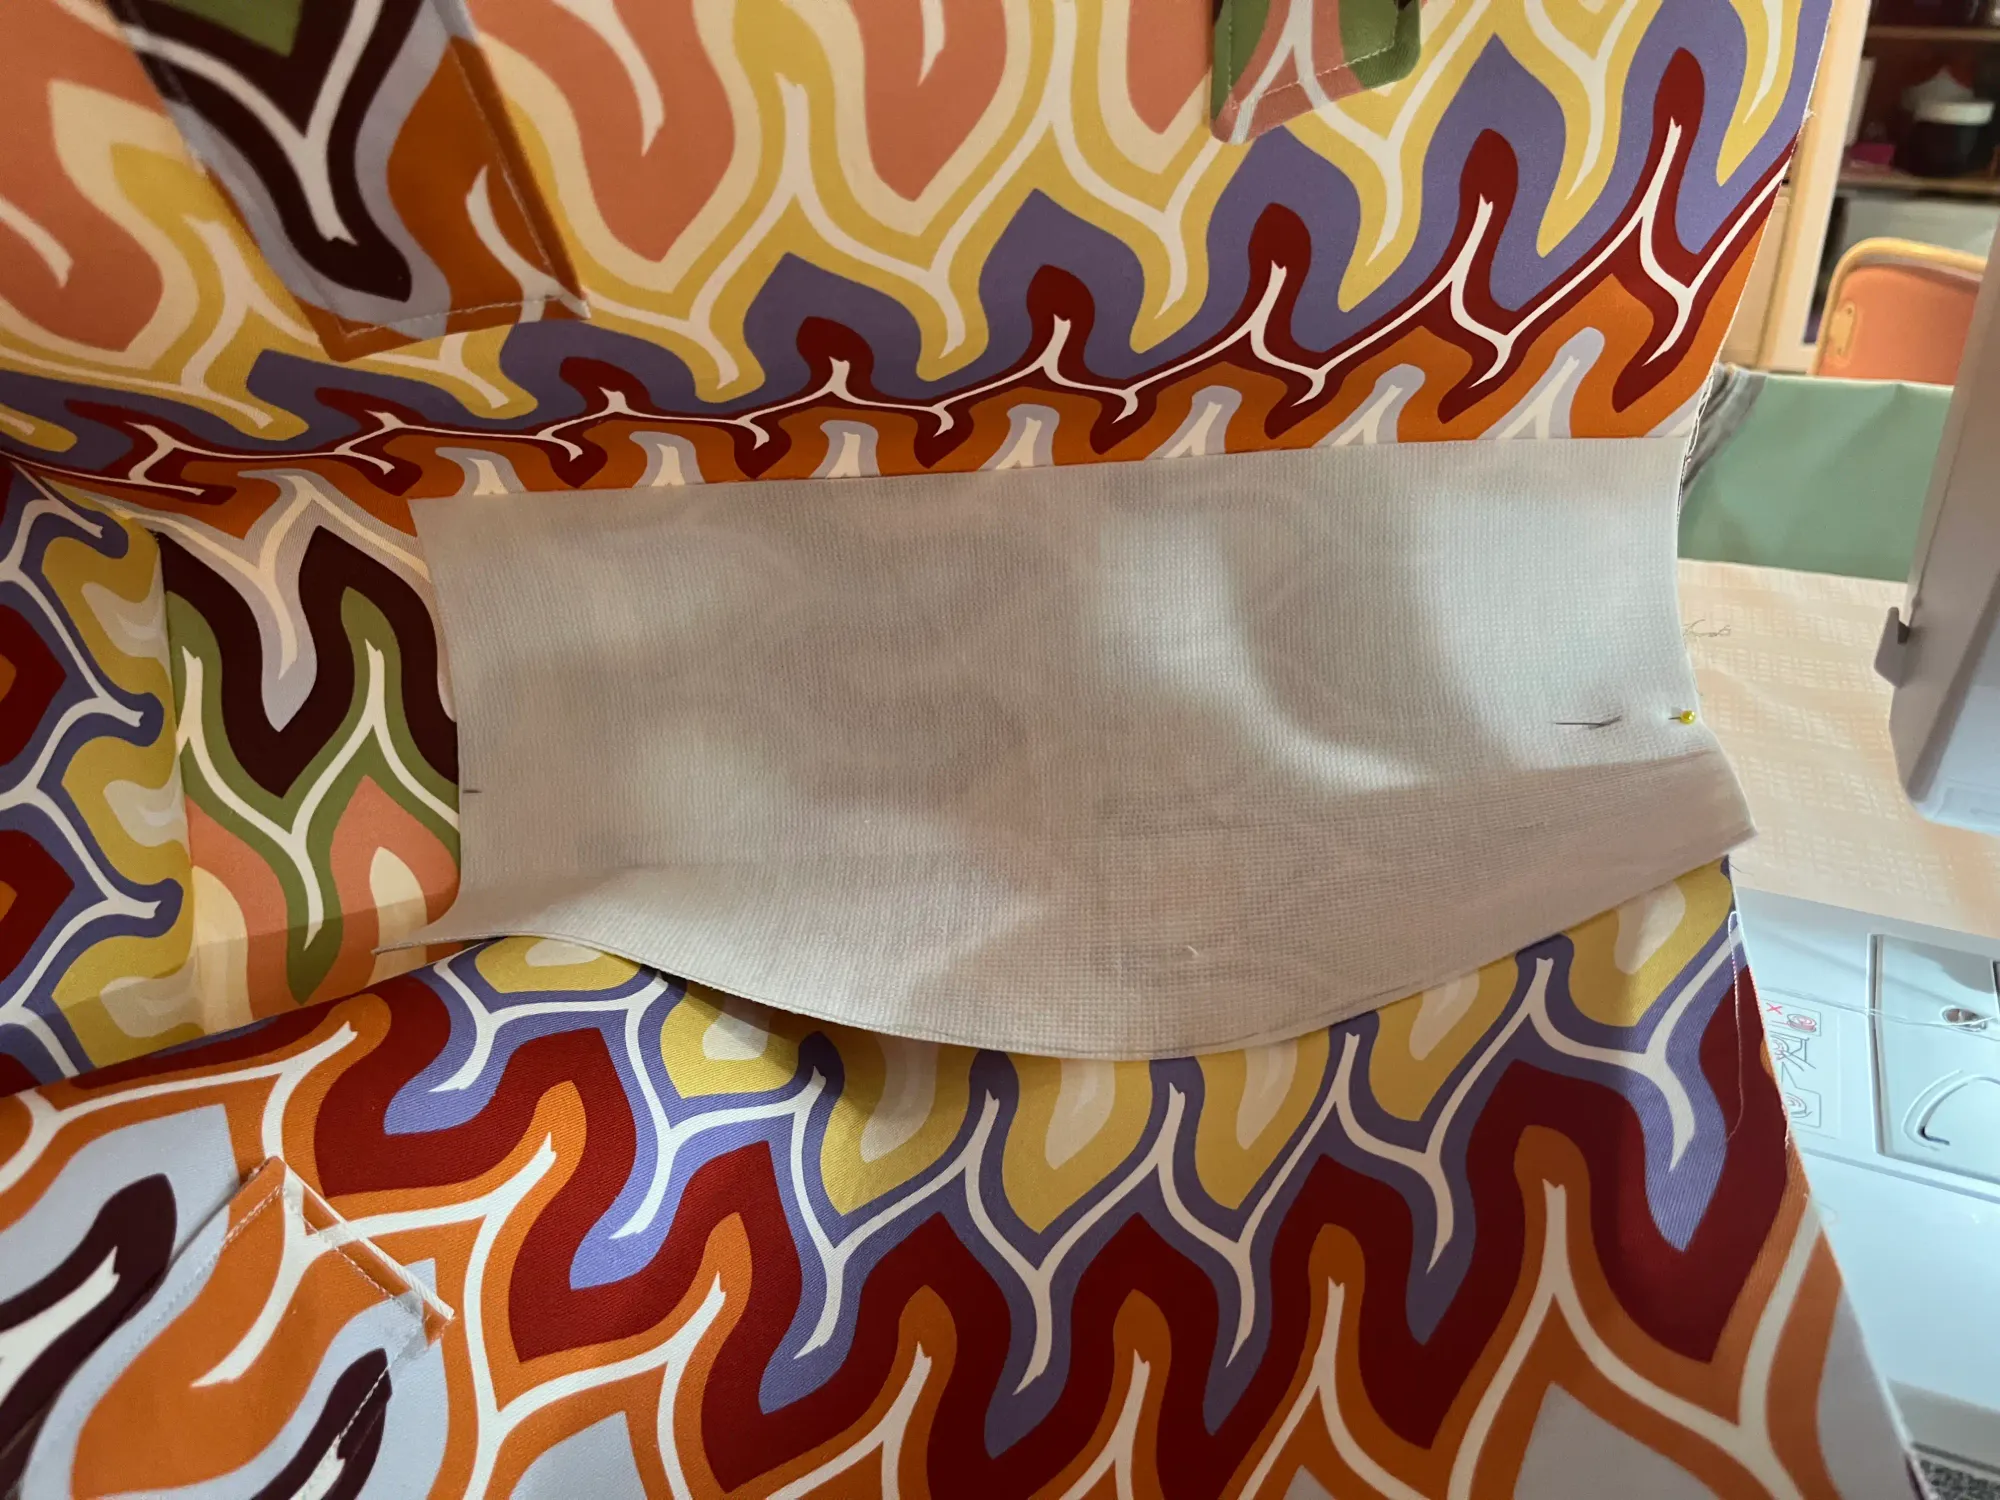
Sewing the Sides to the Main Part of the Bag
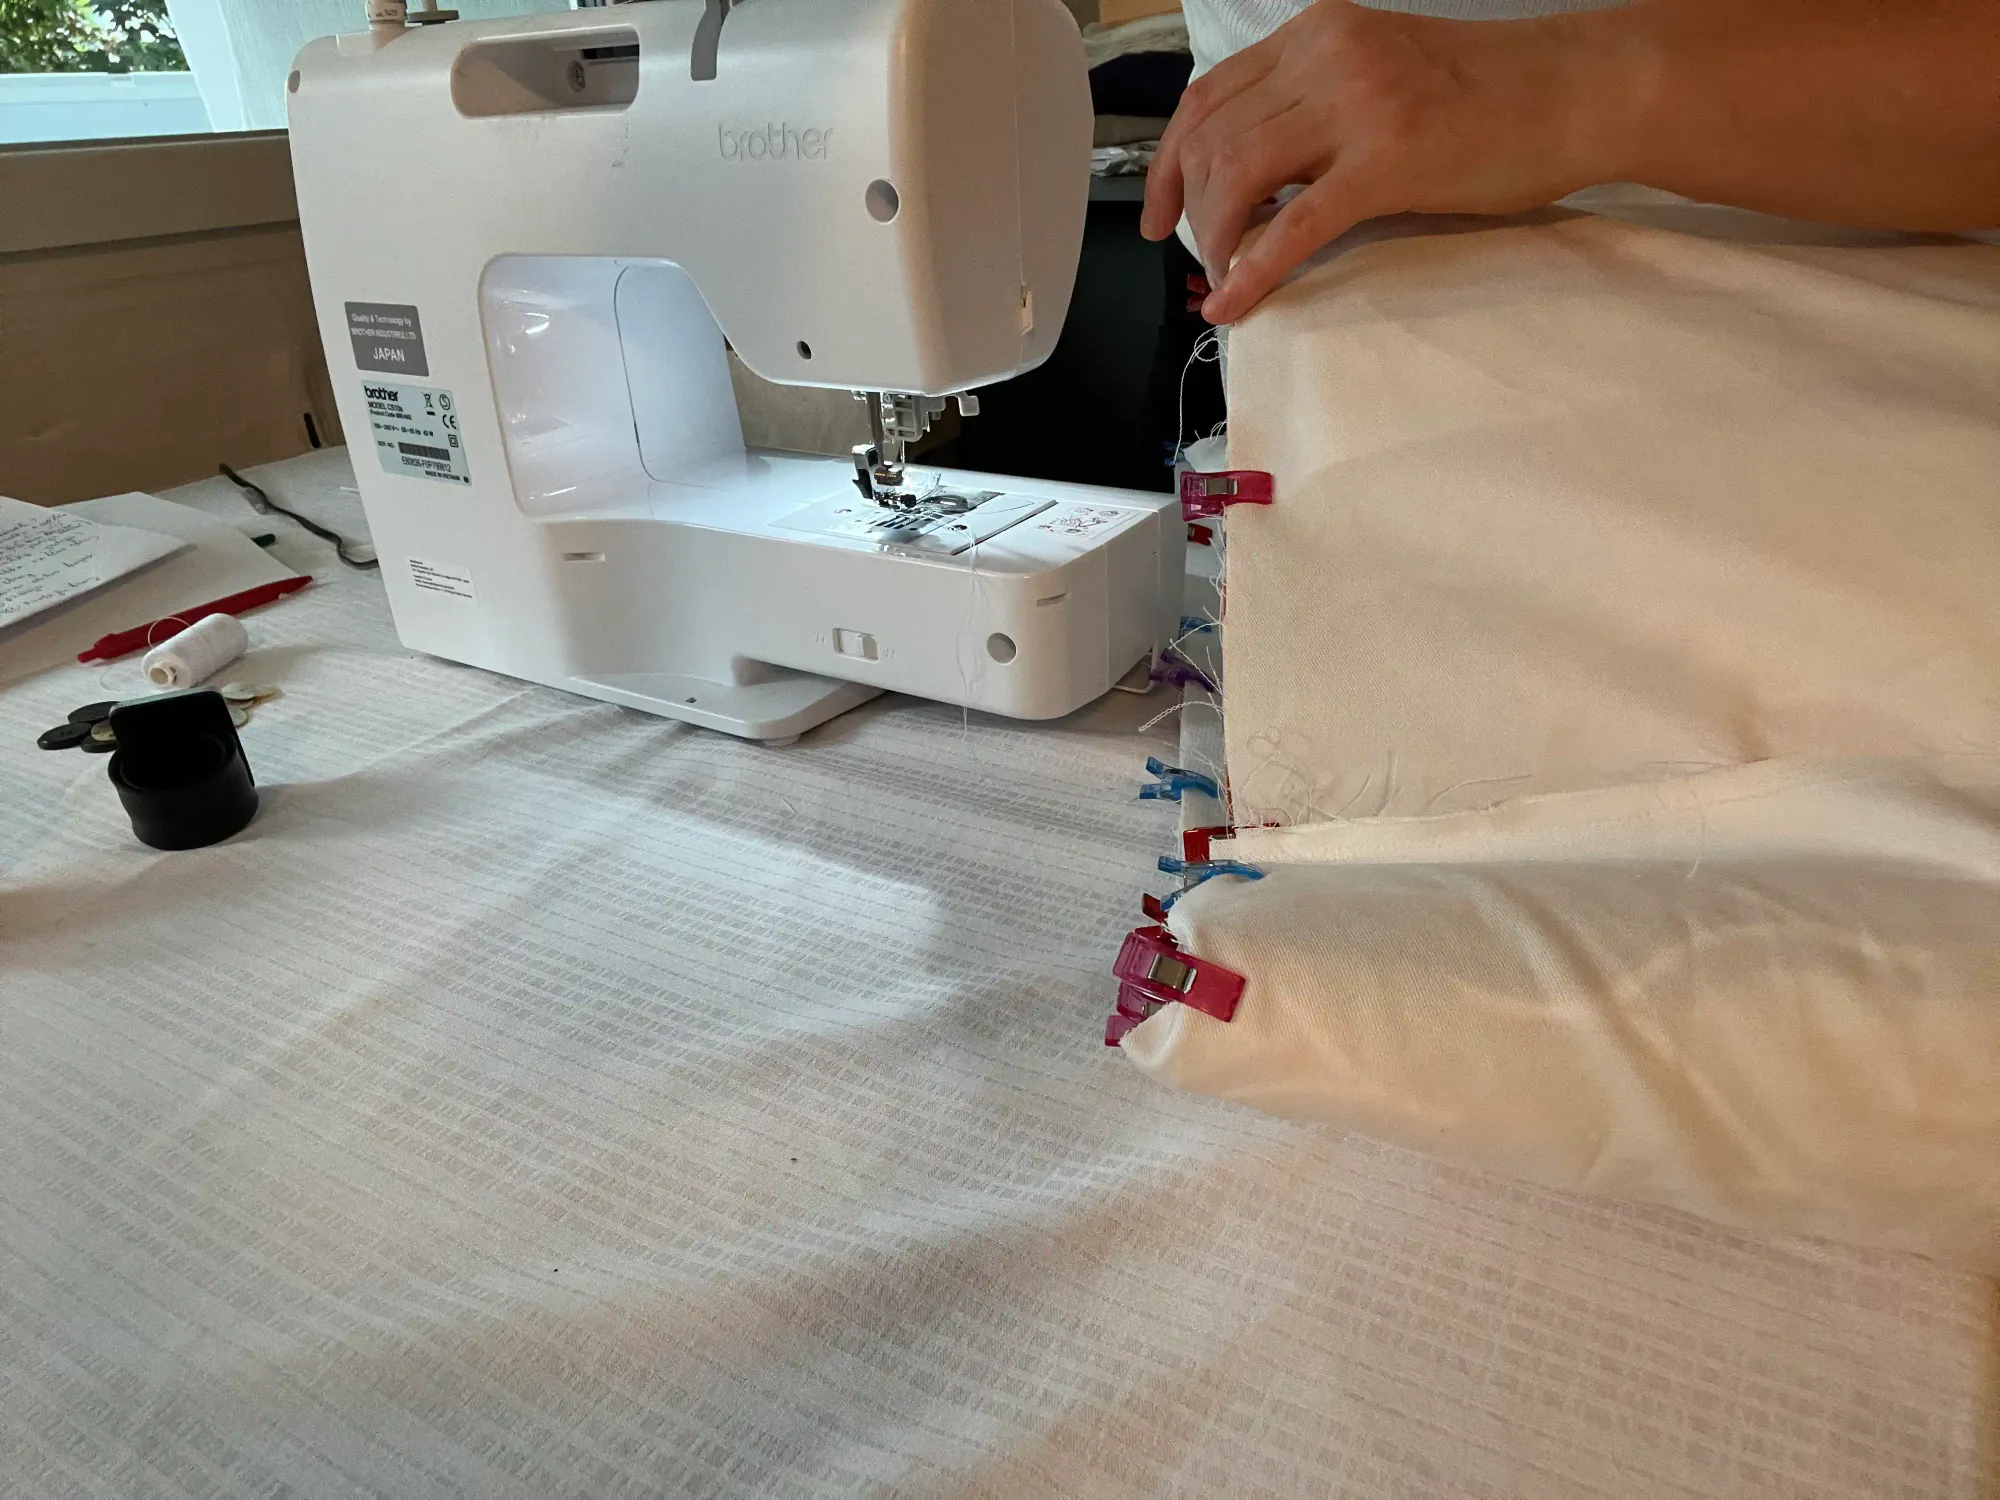
Sewing the side parts of the bag's reinforced sections requires good attachment of the individual parts you are sewing. The parts are a little more difficult to handle, so it is important to attach and pin everything properly so that the individual parts sew well and that you have them in the right place.
Precise placement of the side parts to the main part
- On each side of the longer edge of the main part, mark a point halfway.
- On the shorter side of the side part, find the middle and mark a point.
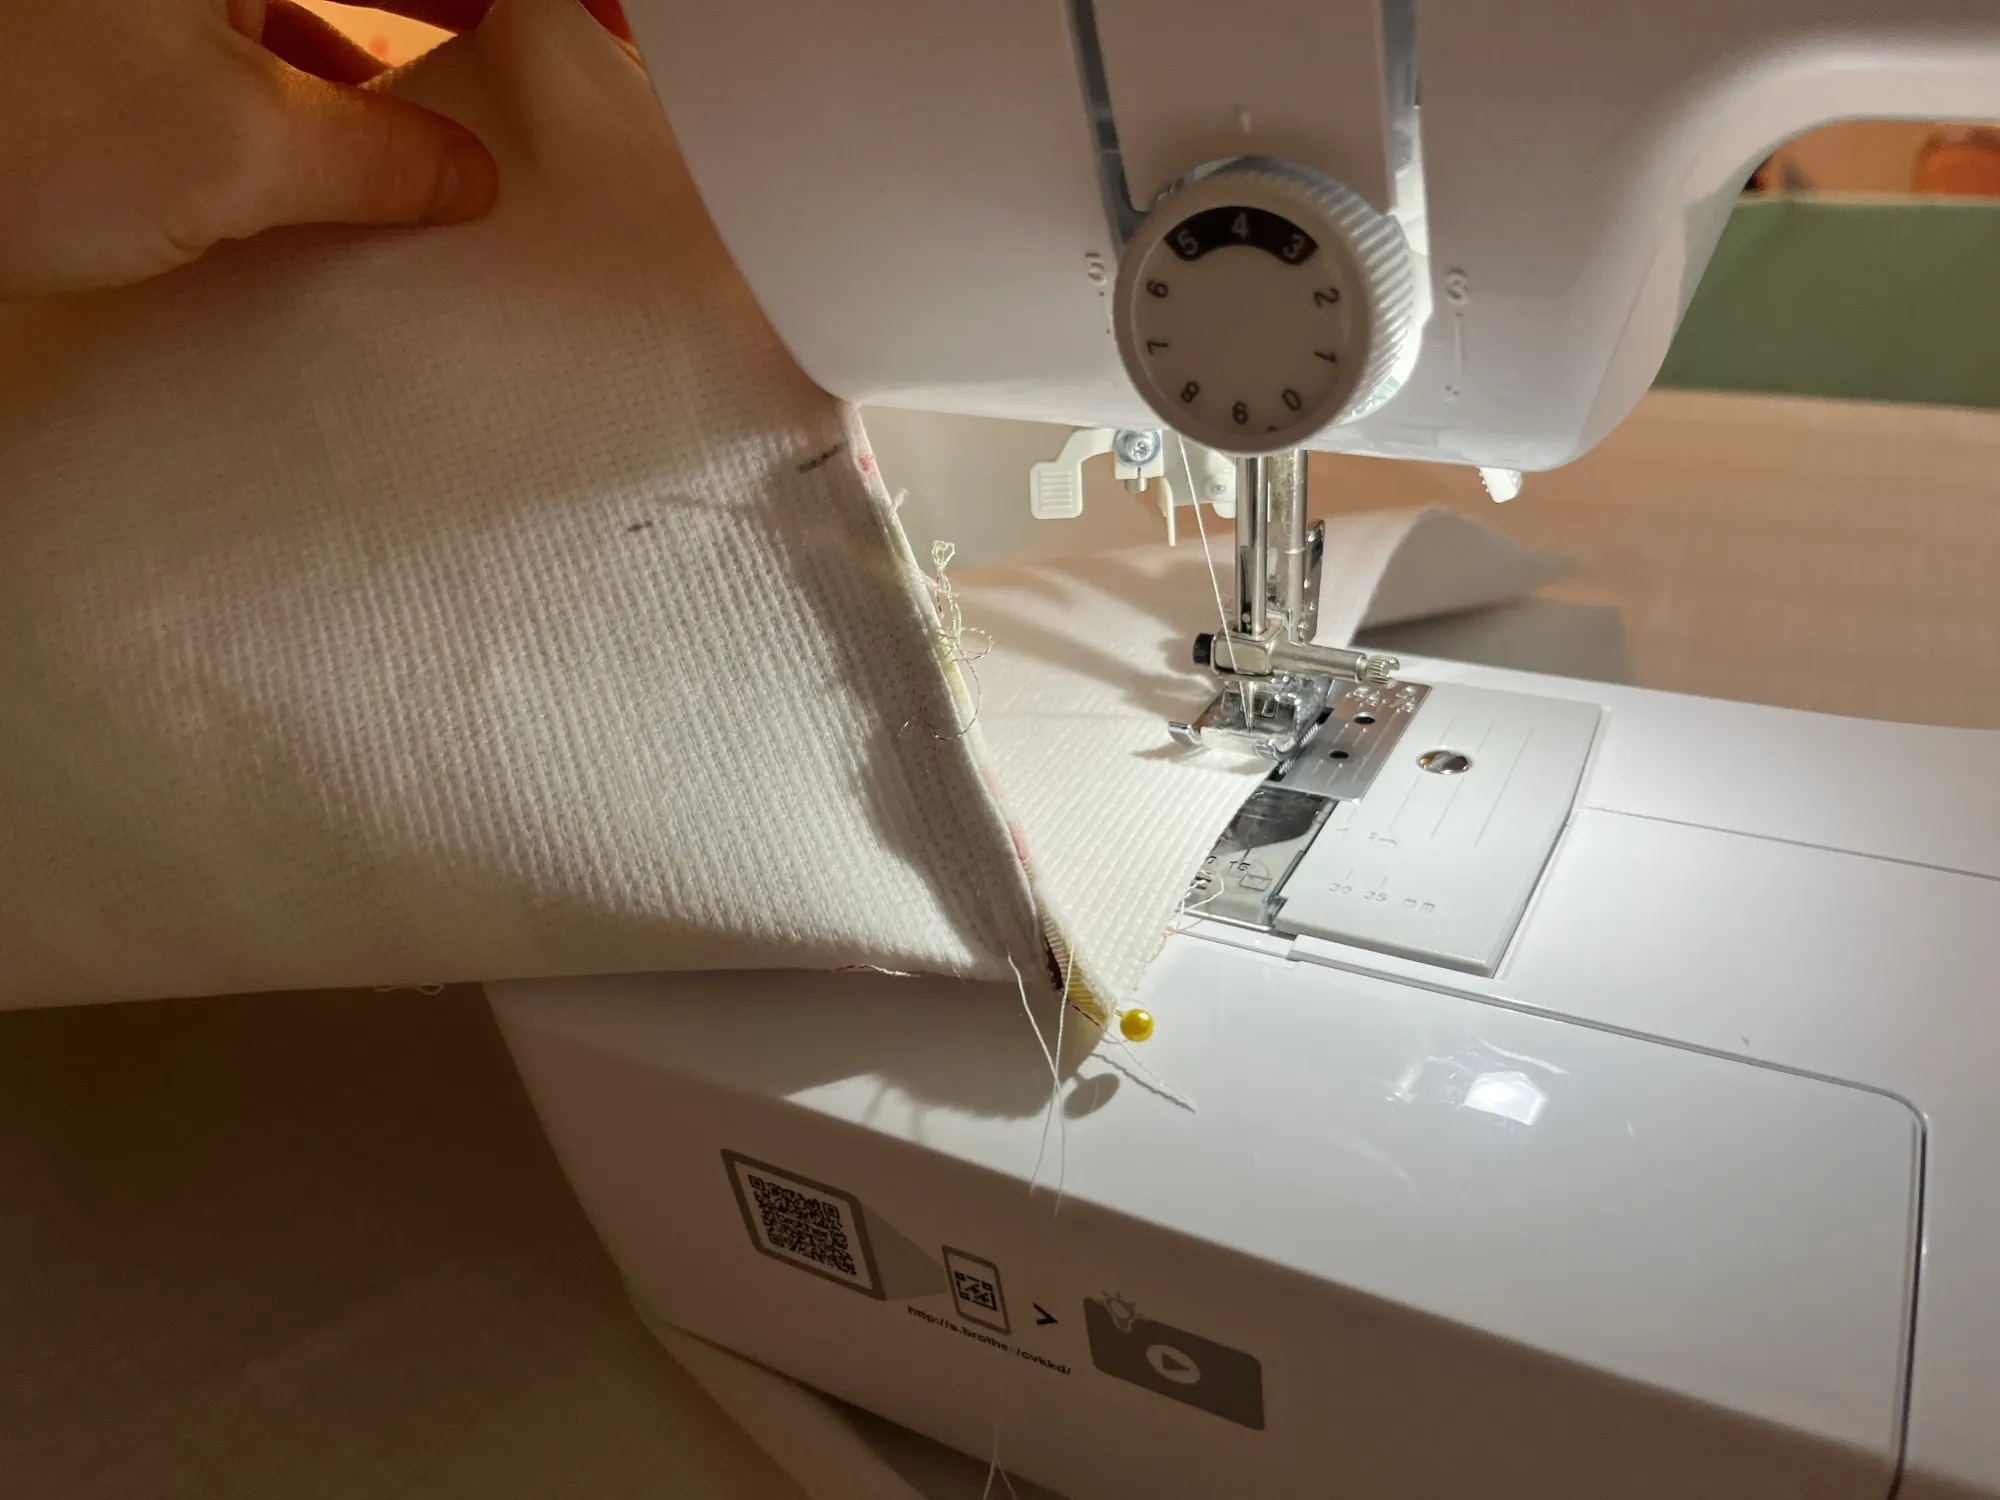
- Place both parts together, inside out, and pin carefully. My tip: The parts are larger, and if you have reinforced fabric, it is more convenient to pin the half you will sew through, then sew the fabric from the other half that is no longer moving. You can turn the bag for sewing as you like.
- Repeat the same procedure for the other side of the main part.
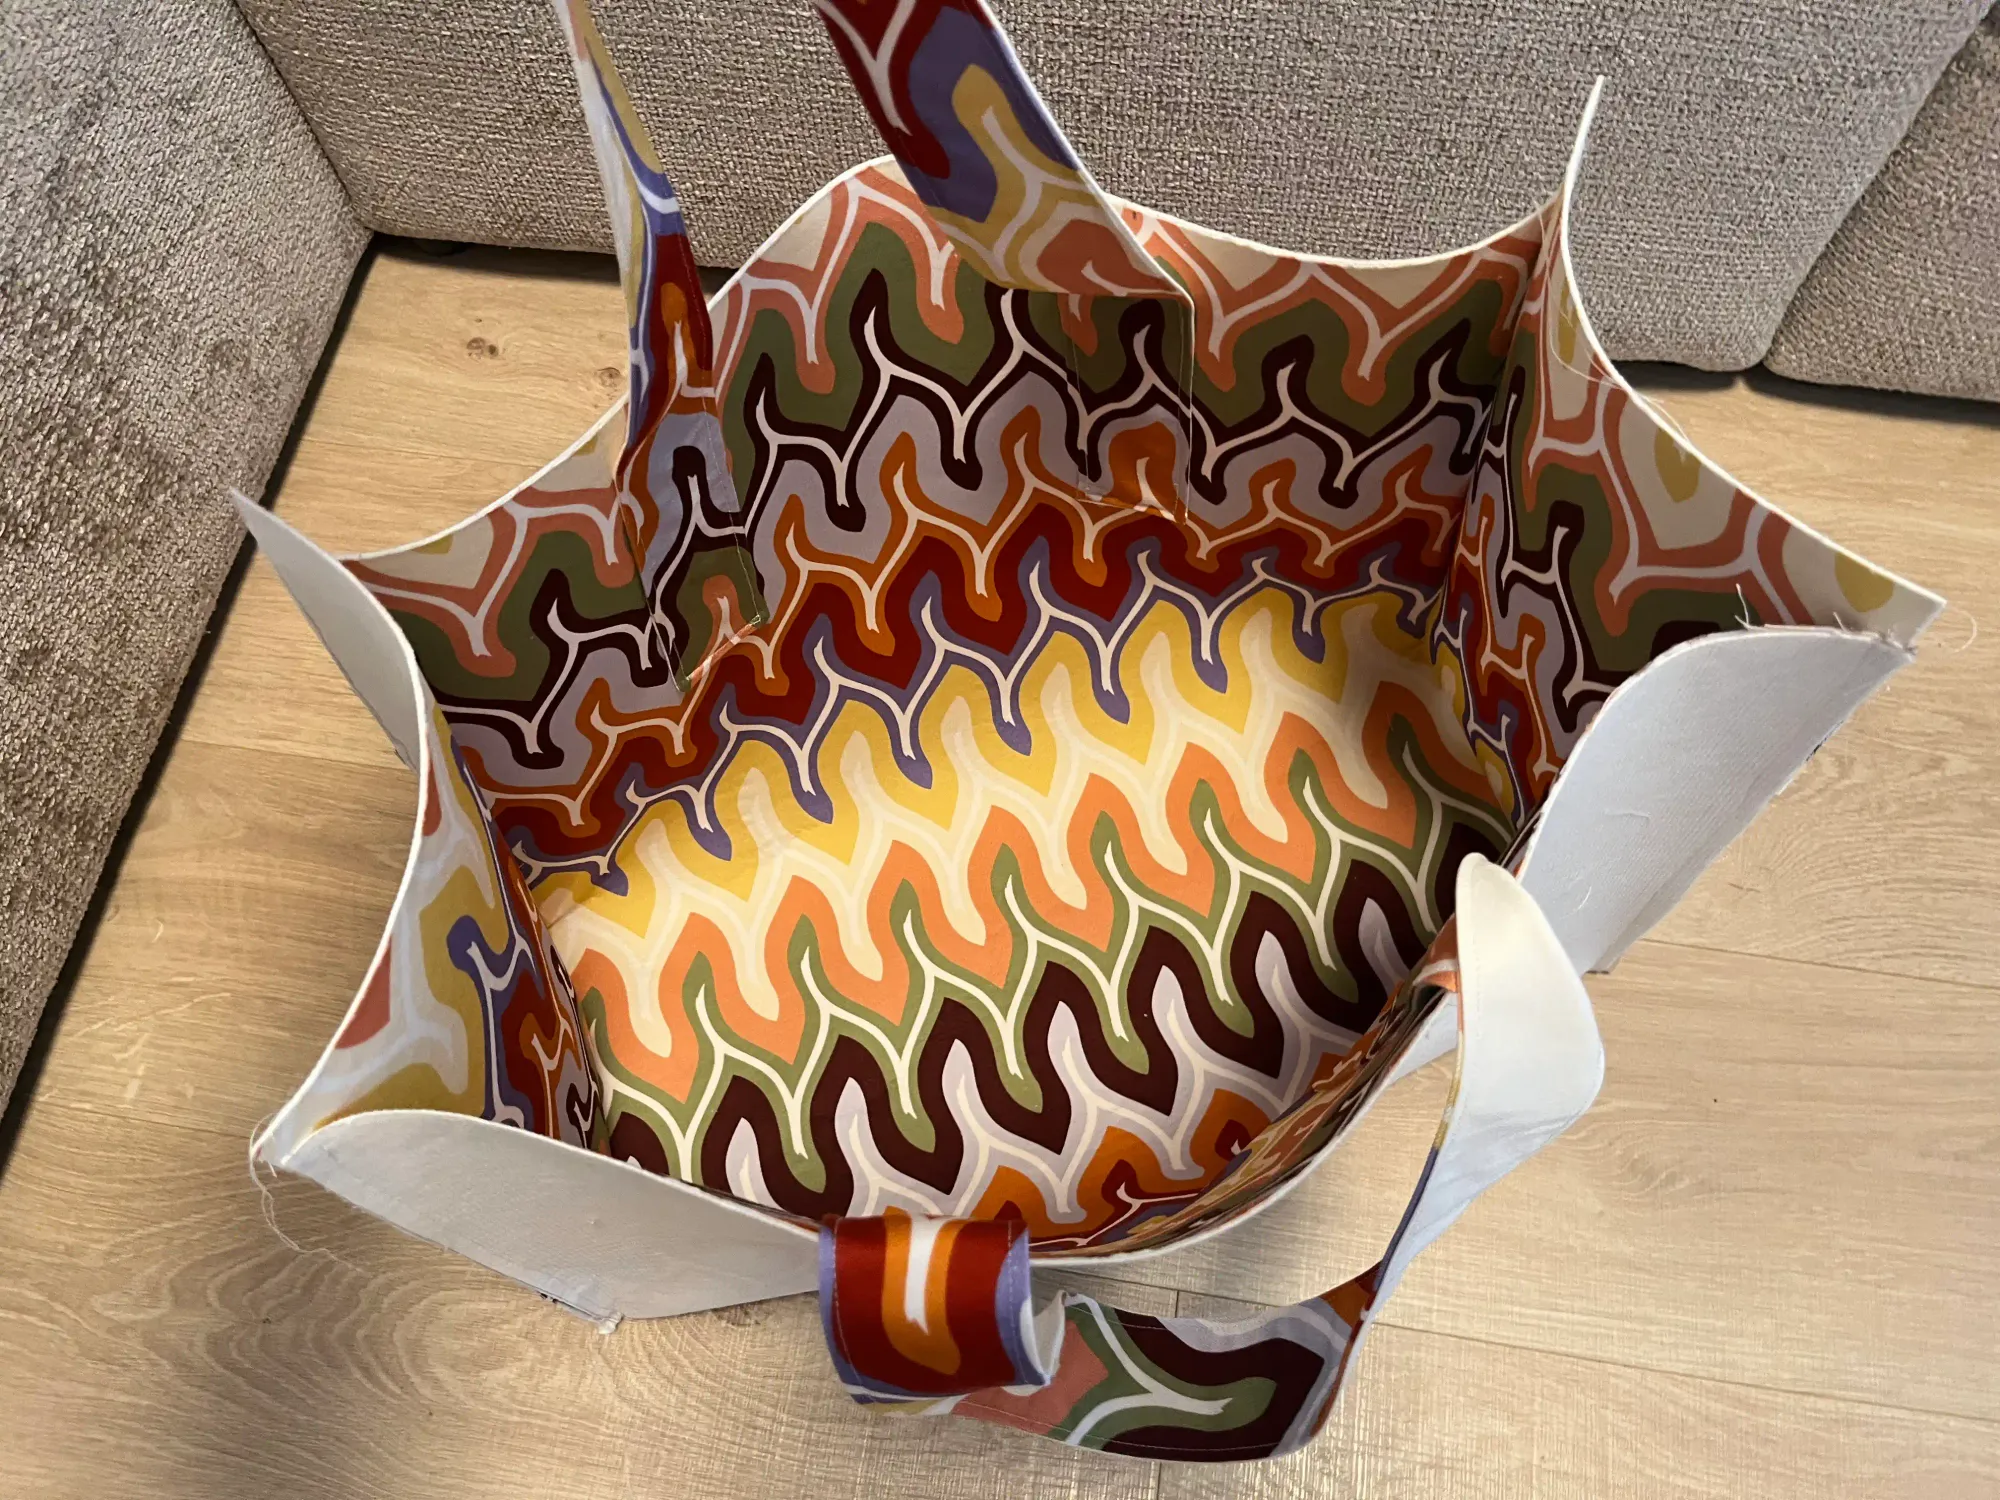
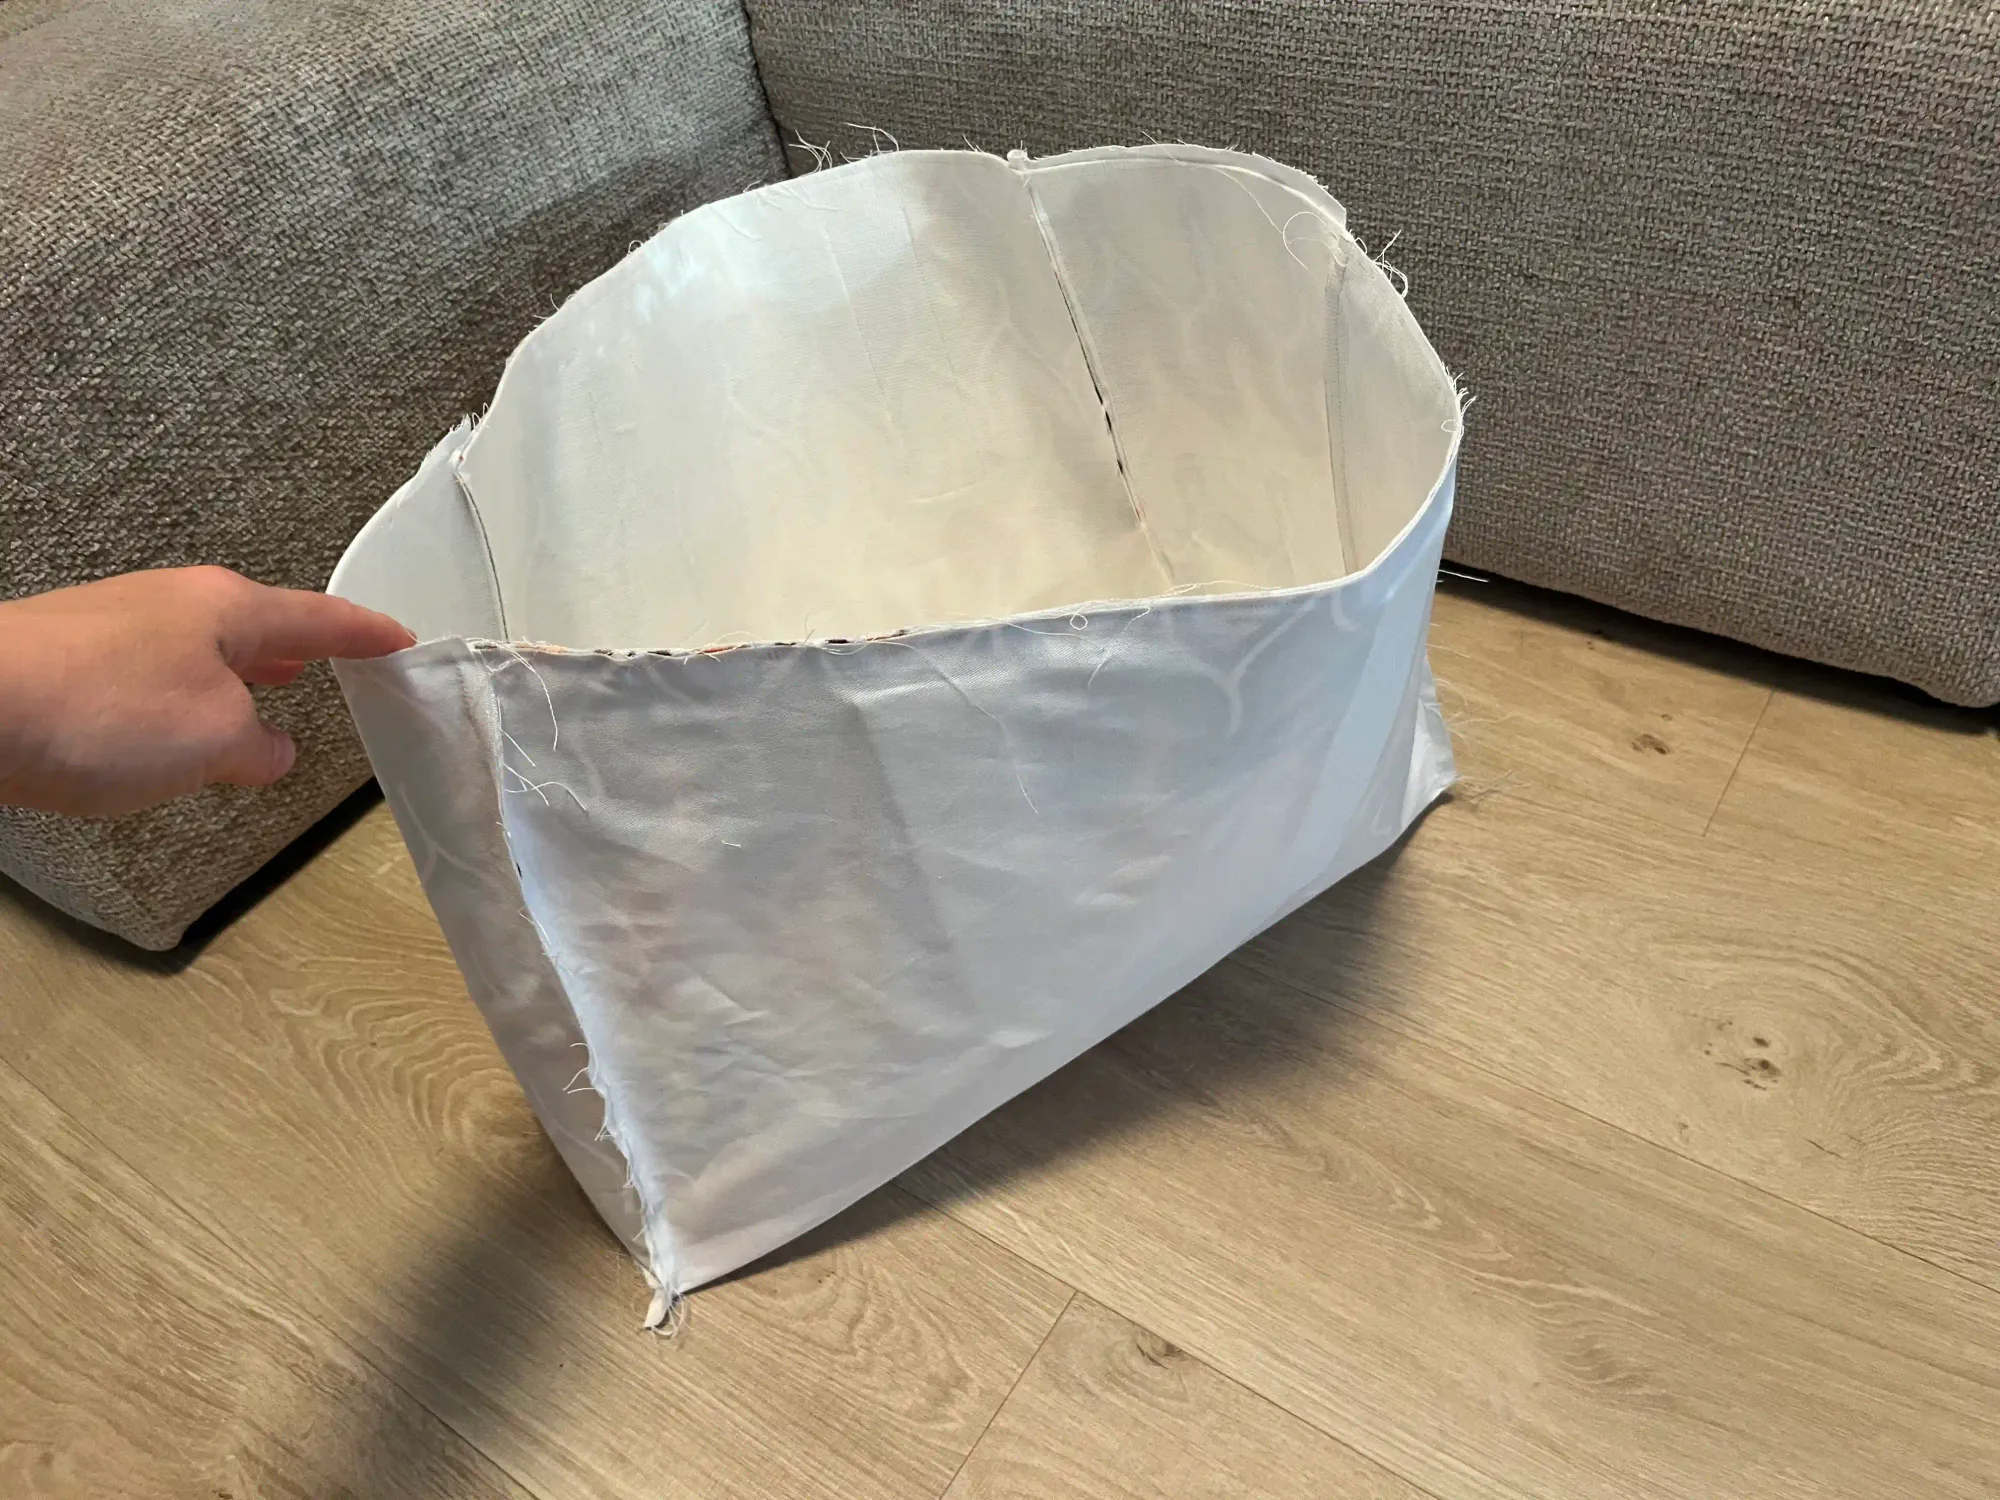
Now you have sewn the main cover of your future DIY Tote Bag.
Preparing the inner pocket for the mobile phone and documents
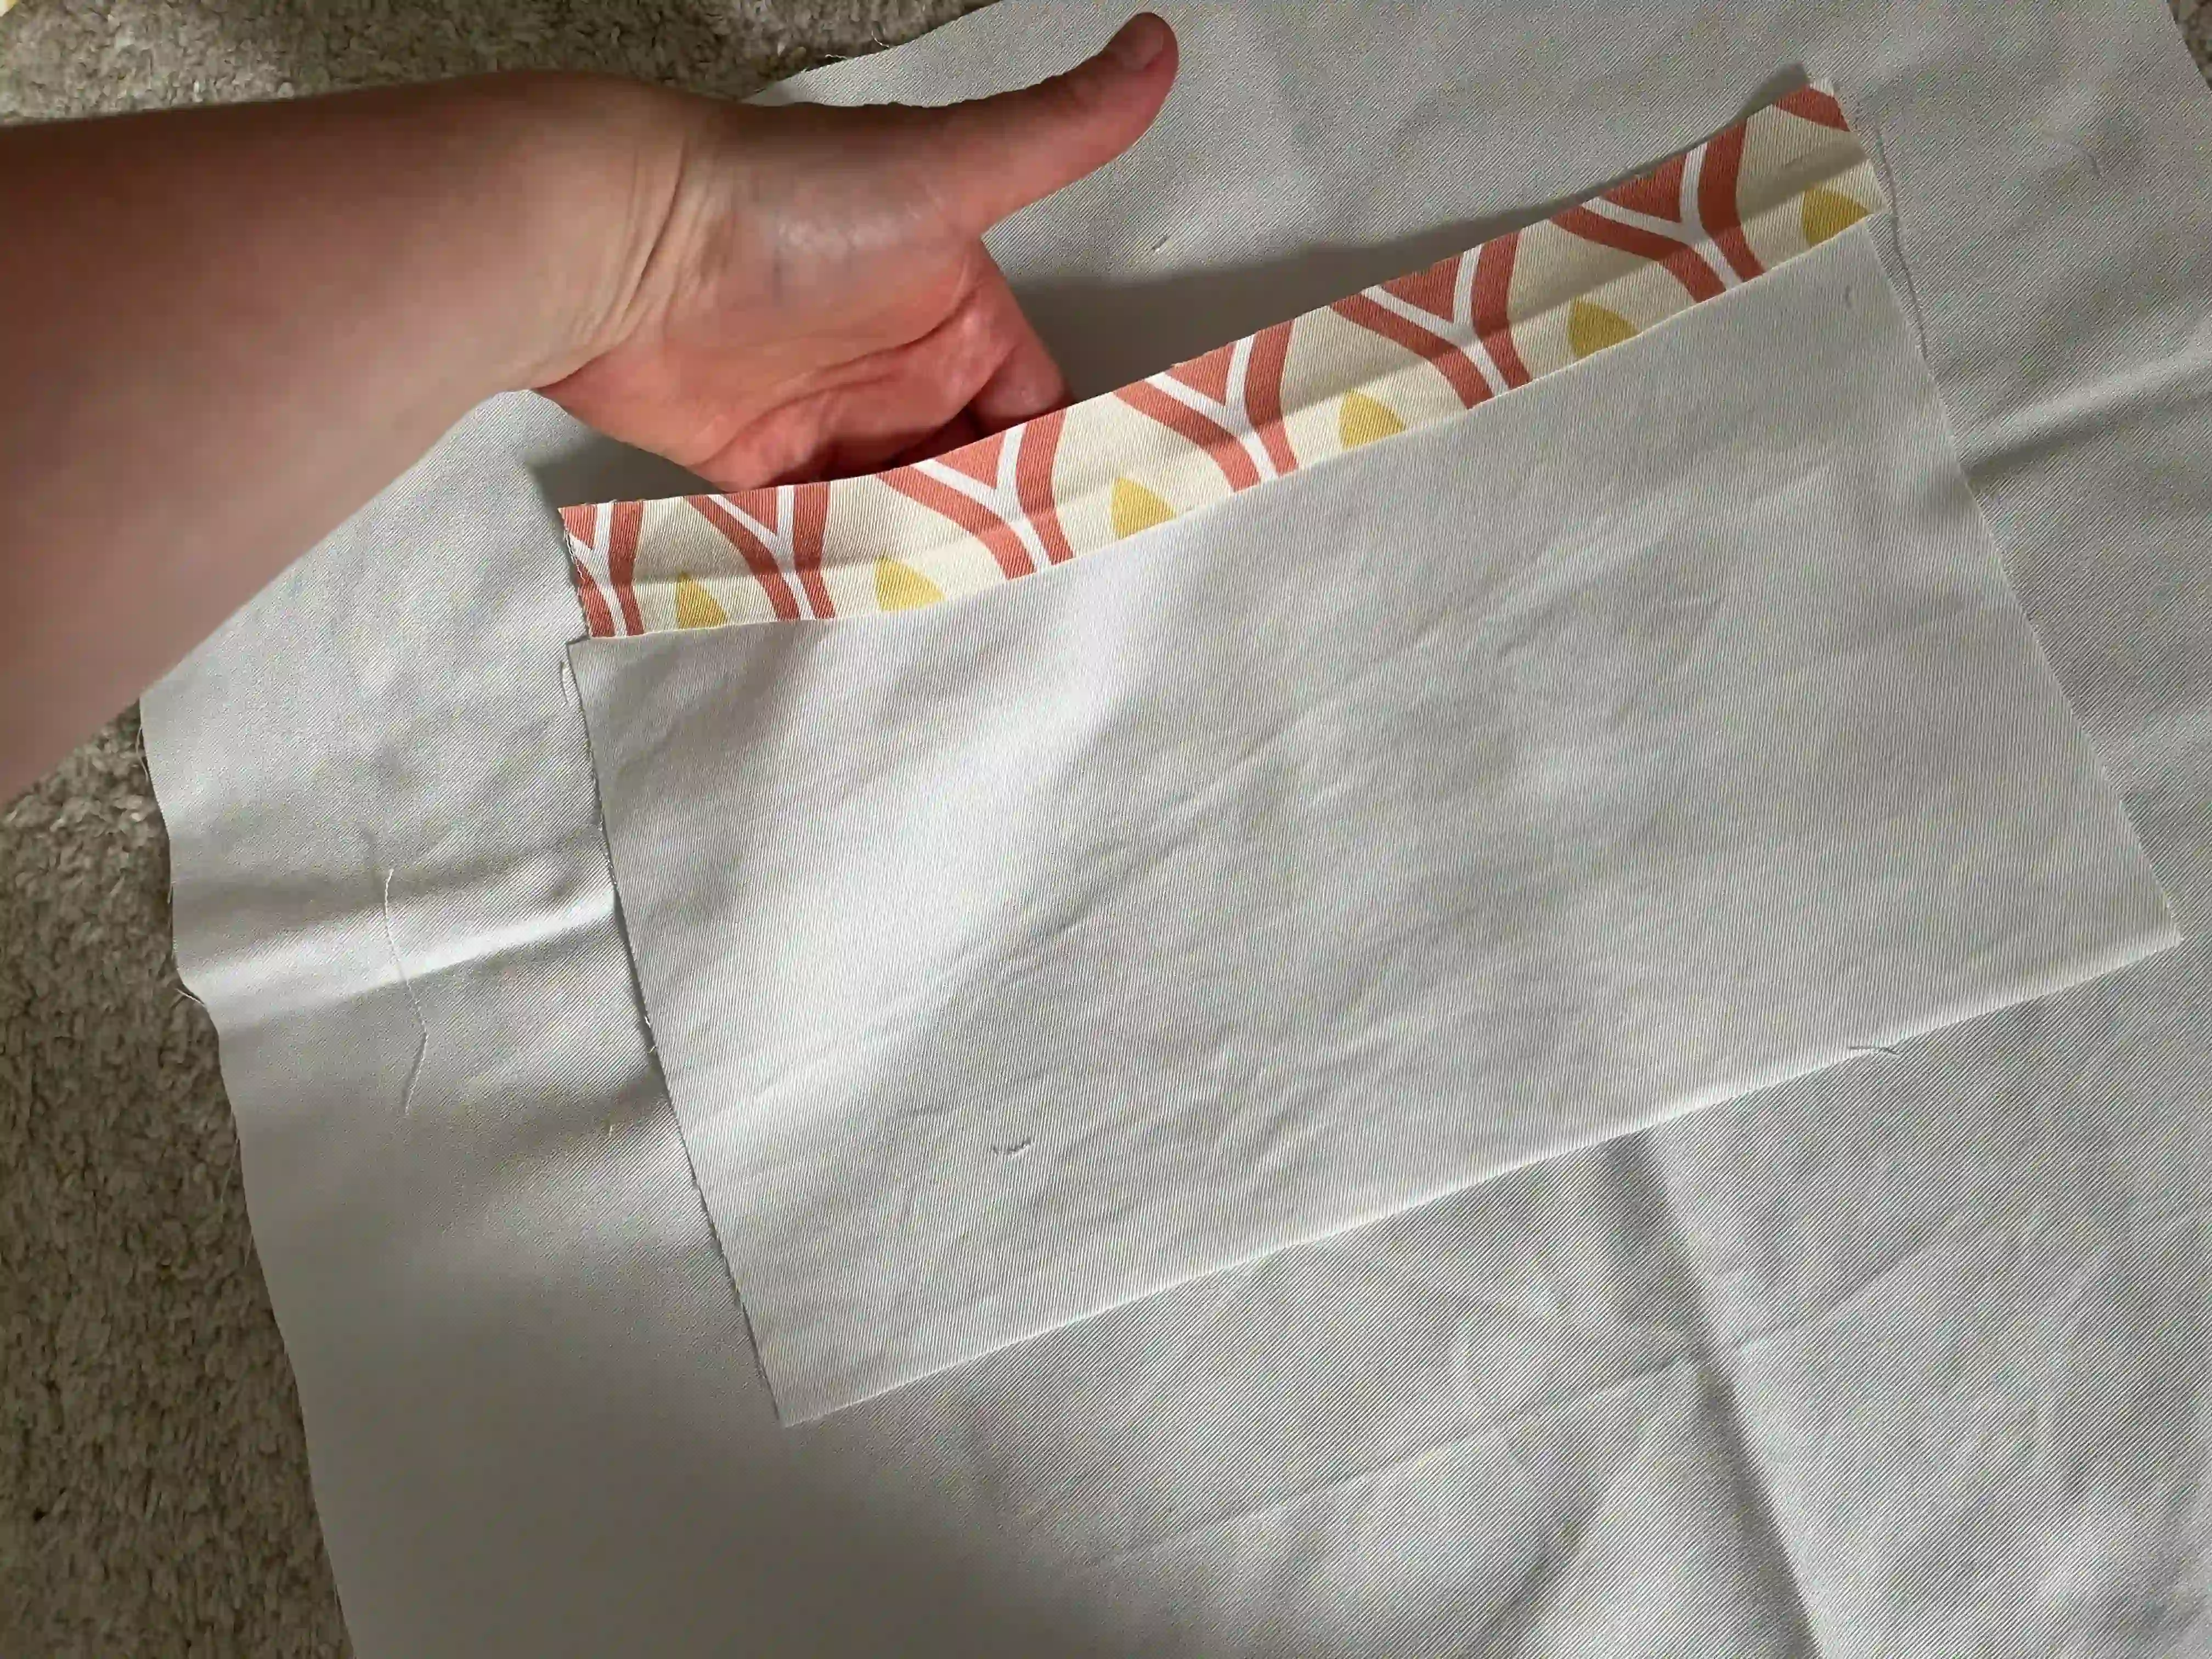
- Take the lining strip of the pocket for mobile phone and documents, fold it in half and in quarters. Iron this entire strip.
- Sew the pocket part with a zigzag stitch on 3 sides. (Two short and one long.)
- Place the main part of the pocket fabric with the unsewn side into the pre-ironed part of the lining strip and sew along the entire length.
- Pre-iron the fold on the remaining three sides with an iron.
- Place the pocket on the selected shorter side of the main inner part and sew along 3 peripheral sides (except for the decorative strip, which is located towards the edge).
- Mark the width for the mobile phone and sew the required width towards the upper hem strip to divide the pocket into a part for documents and another for the mobile phone.
Sewing the inner part with the pocket
- In the same way that you measured the exact location of the side pieces on the main outer part of the bag, measure the exact location of the side pieces for the inner part.
- Pin the individual pieces firmly so that they do not move while sewing. Pin the pieces so that the sewn-in pocket for your phone is on the inside. The seam will be on the outside, and you will later turn this piece over so that all the seams are inside and not visible.
- Sew the side pieces to the main part of the inner part of the bag, leaving a gap of approximately 10 cm on one of the side pieces. We will later thread the entire tote bag through this gap so that all the seams are professionally hidden.
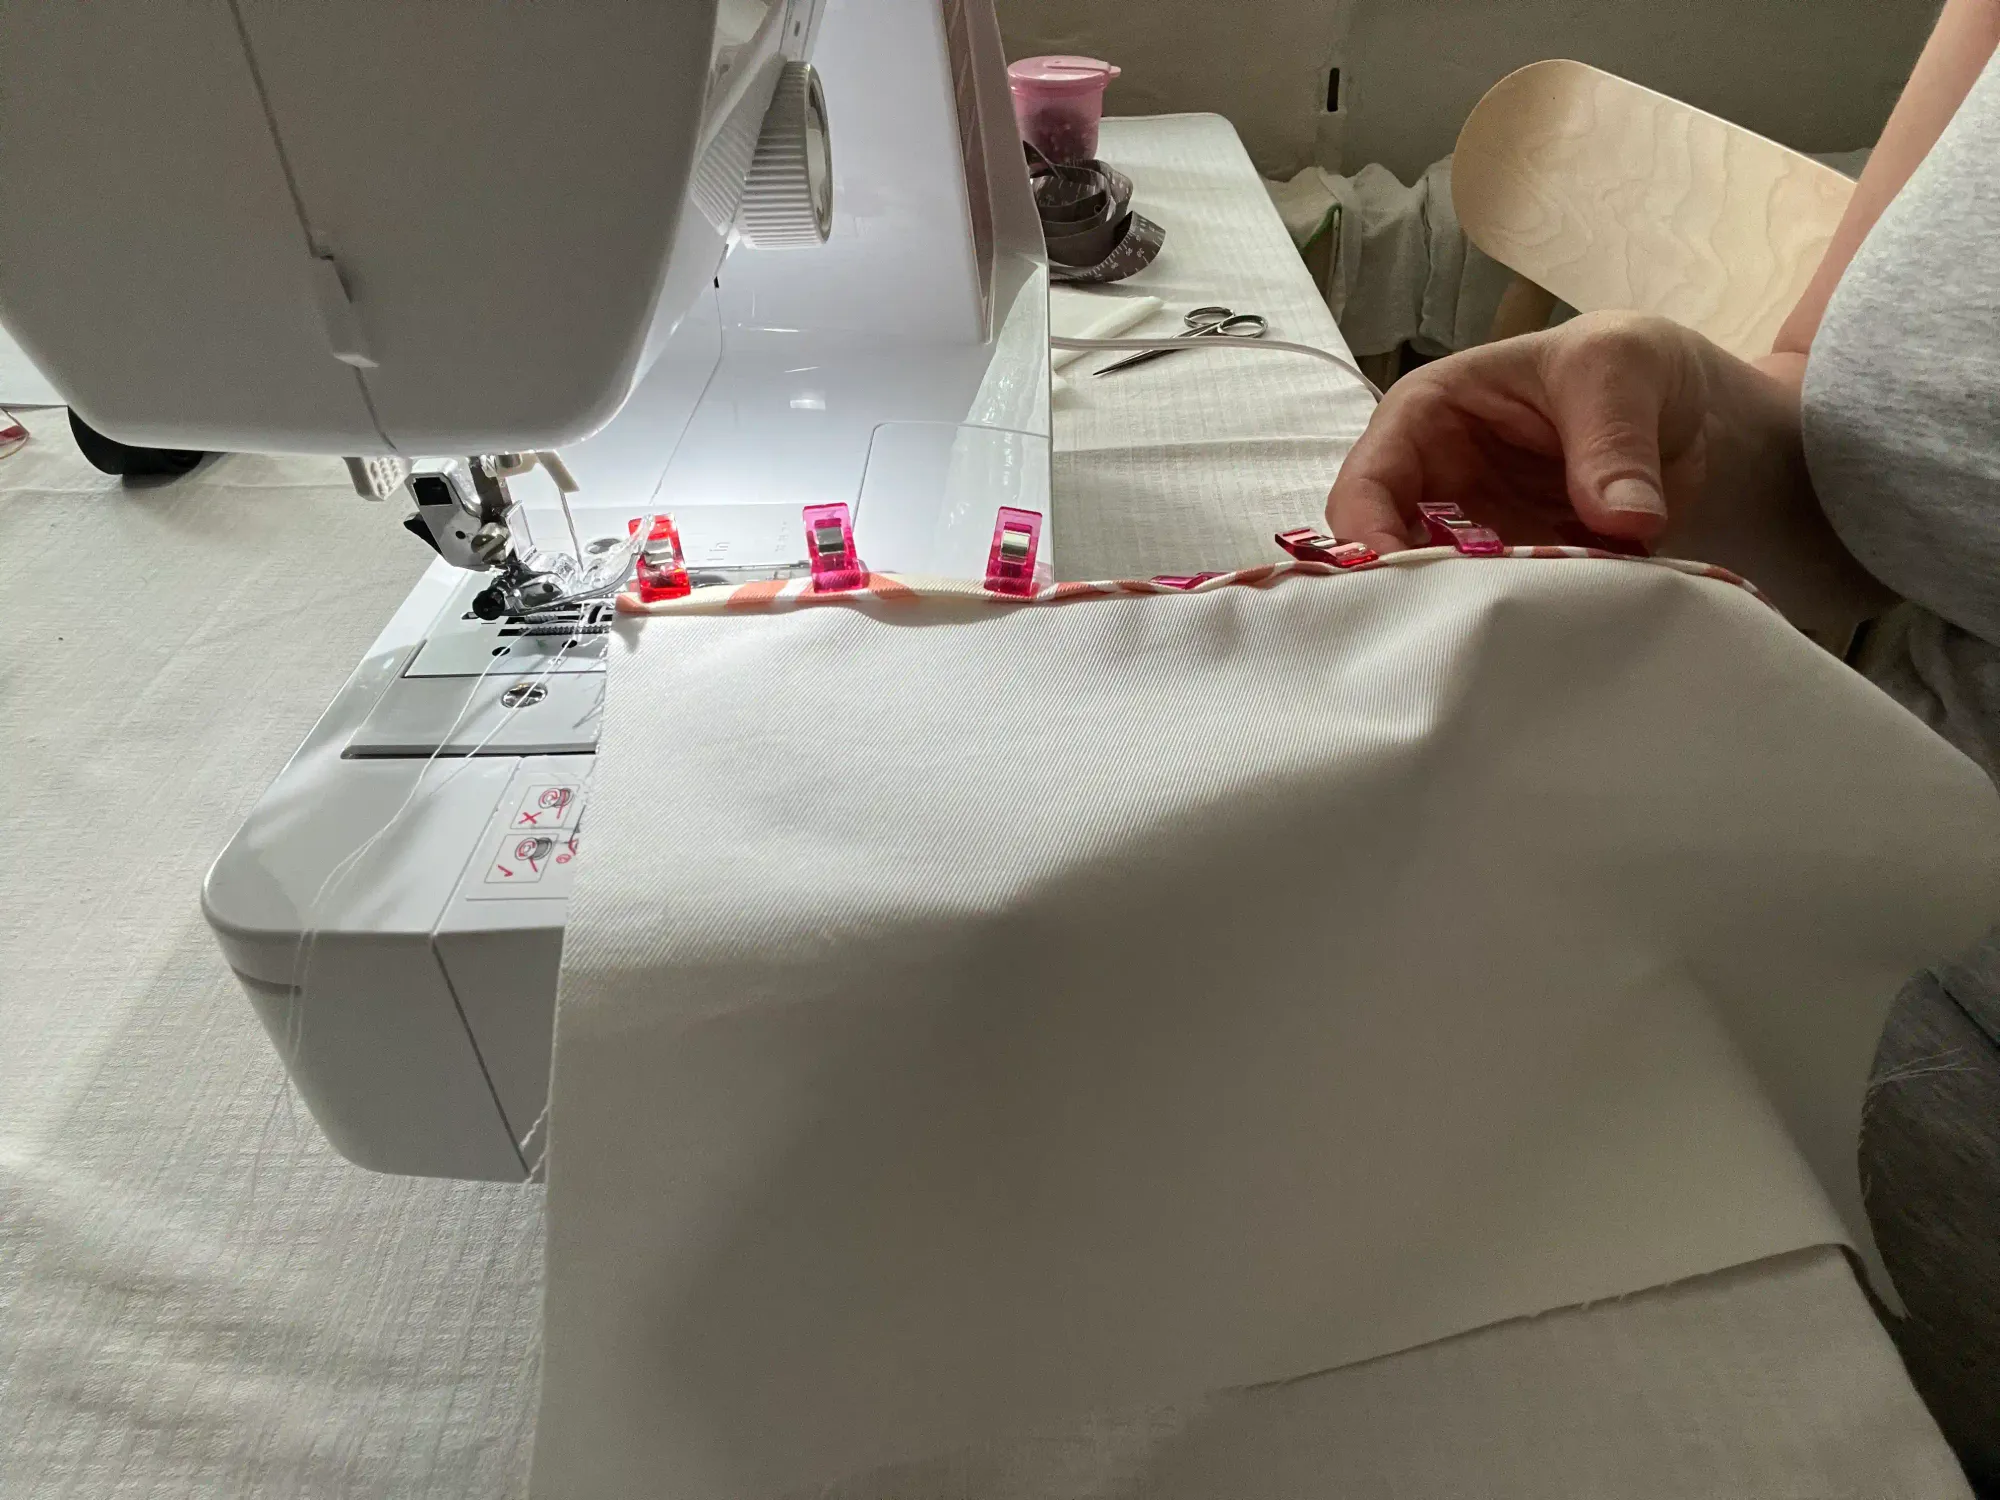
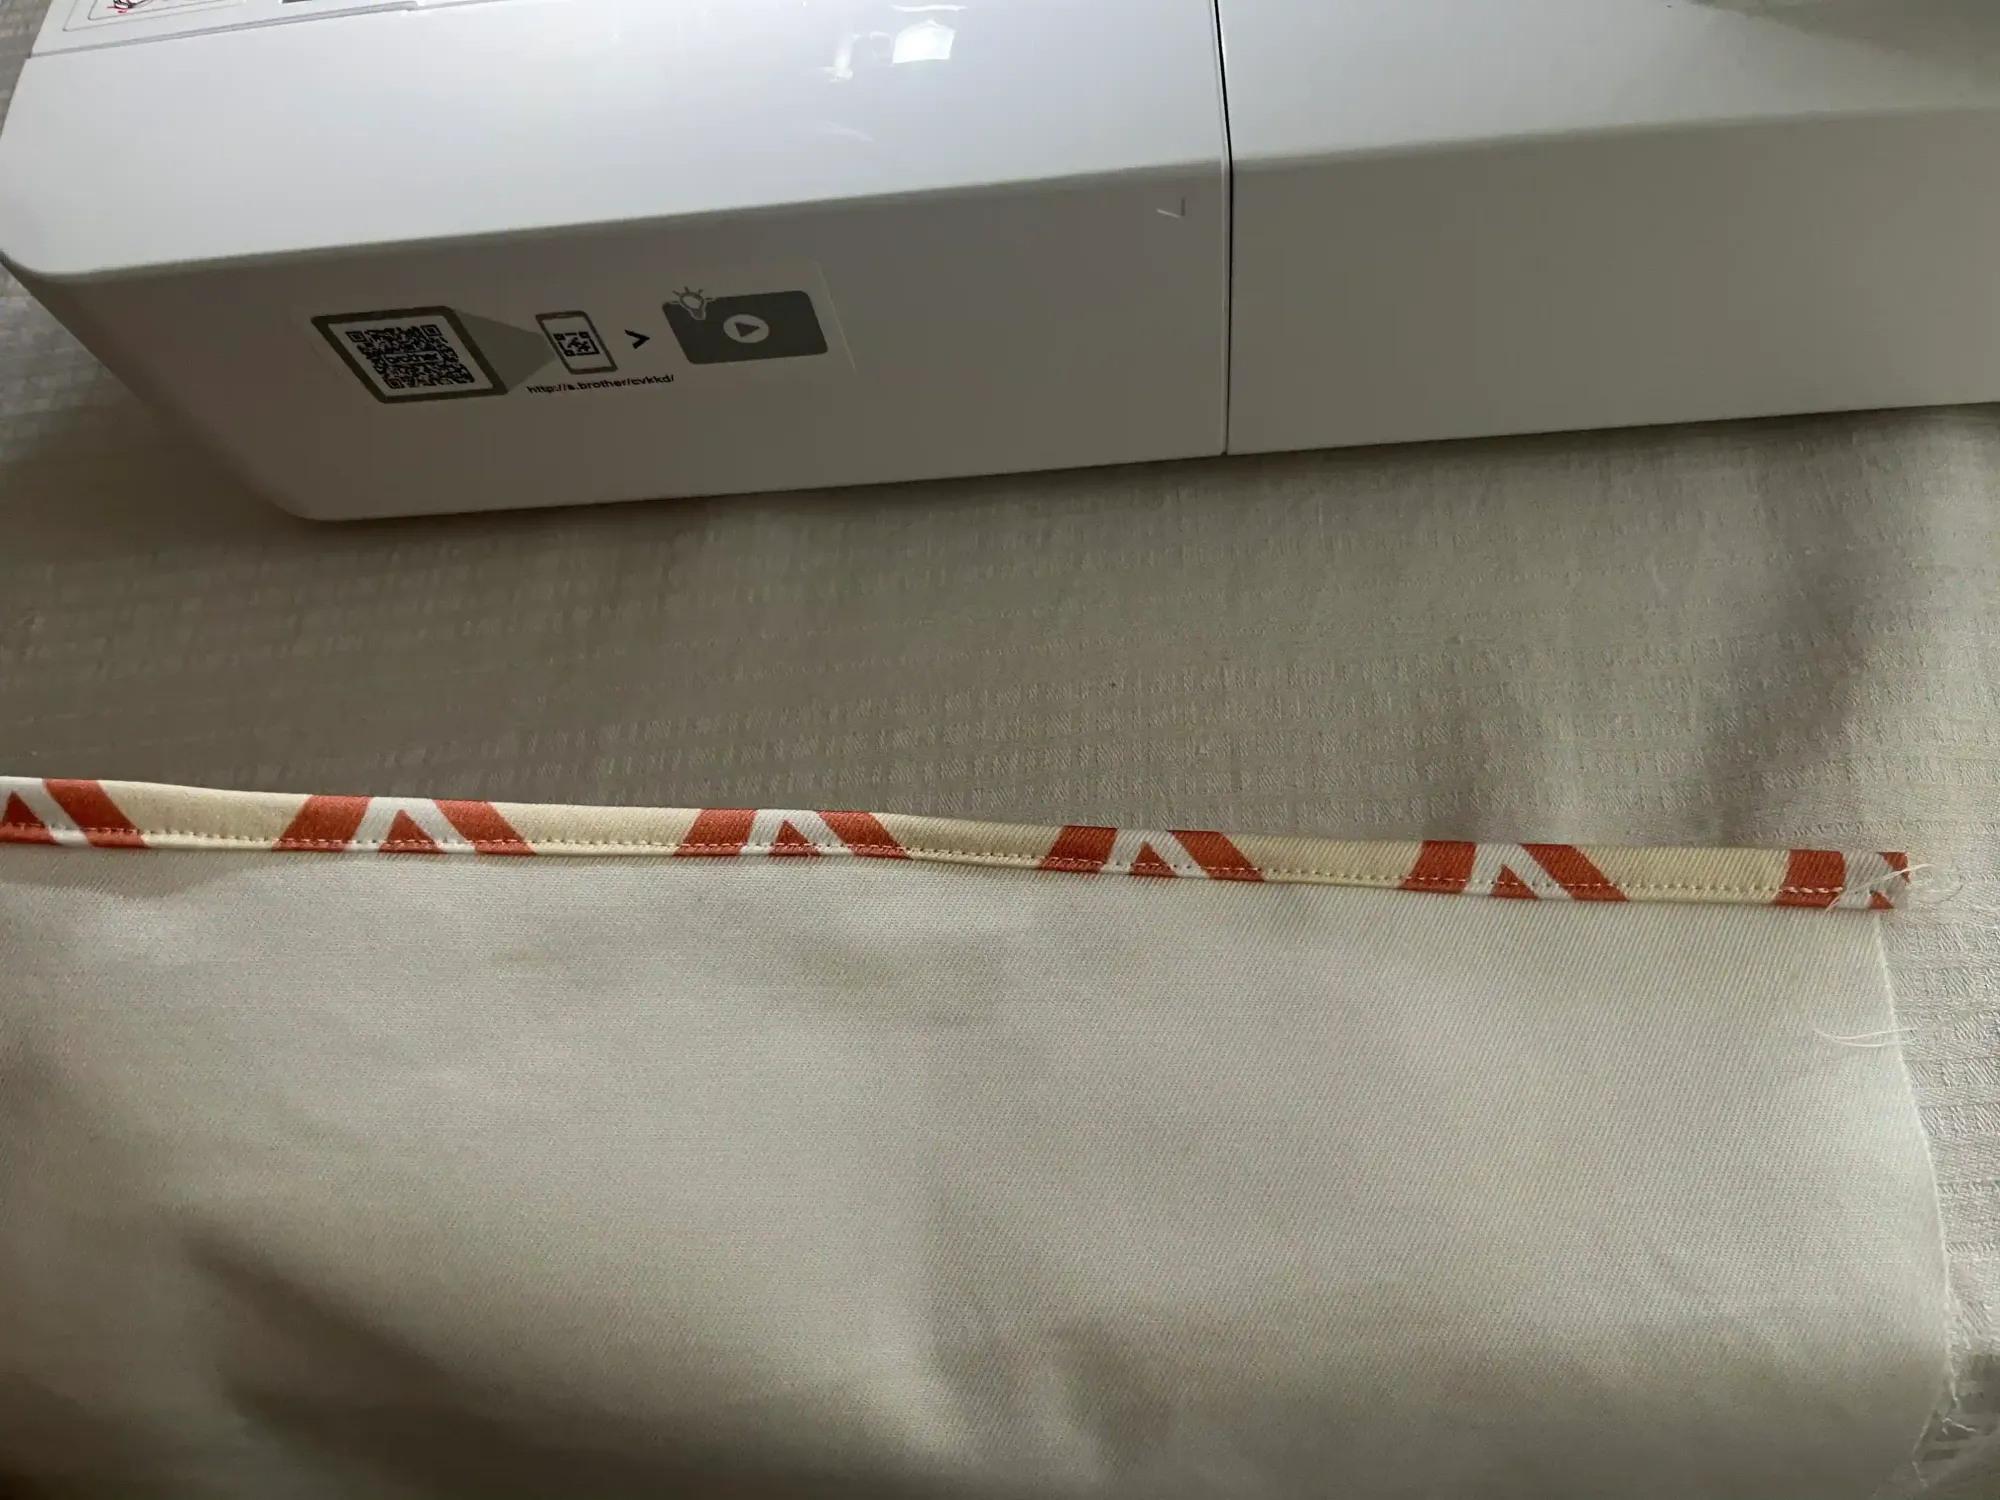
Now you have the main part of the tote bag's outer layer ready, and the inner part is ready. These parts now need to be sewn.
Sewing the main outer part of the tote bag and the inner part
Now we will sew the two parts of the tote bag together. Please follow the individual steps exactly.
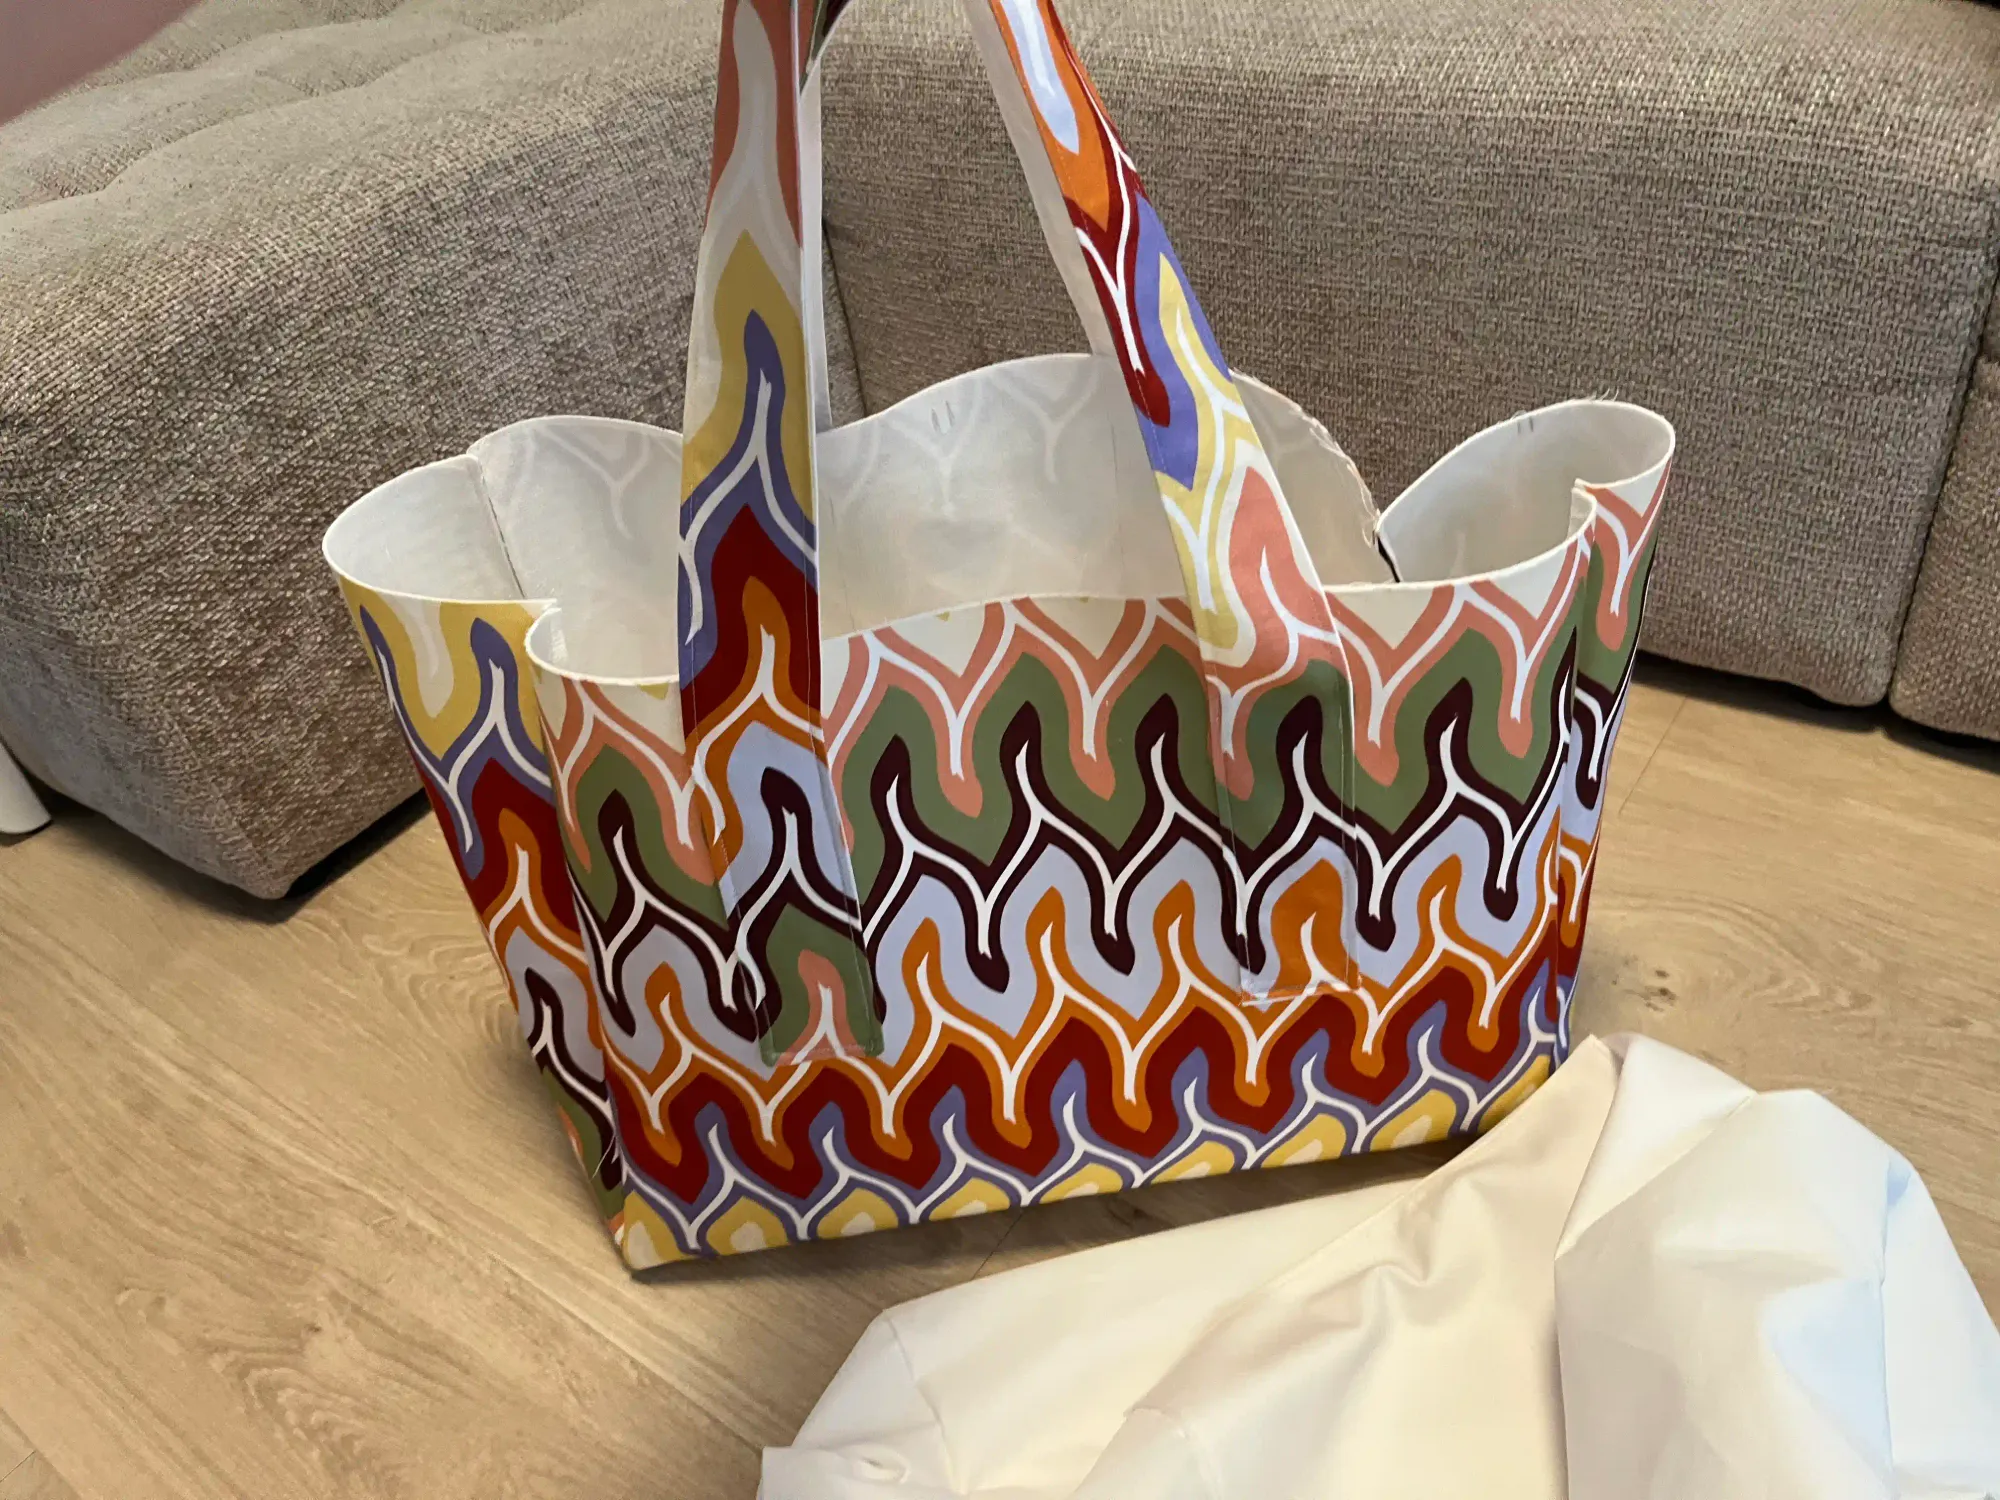
- Prepare the inner part of the bag with the seam facing outwards.
- Prepare the main outer part of the bag with the seam facing inwards.
- Place the main part of the bag inside so that the sides fit together.
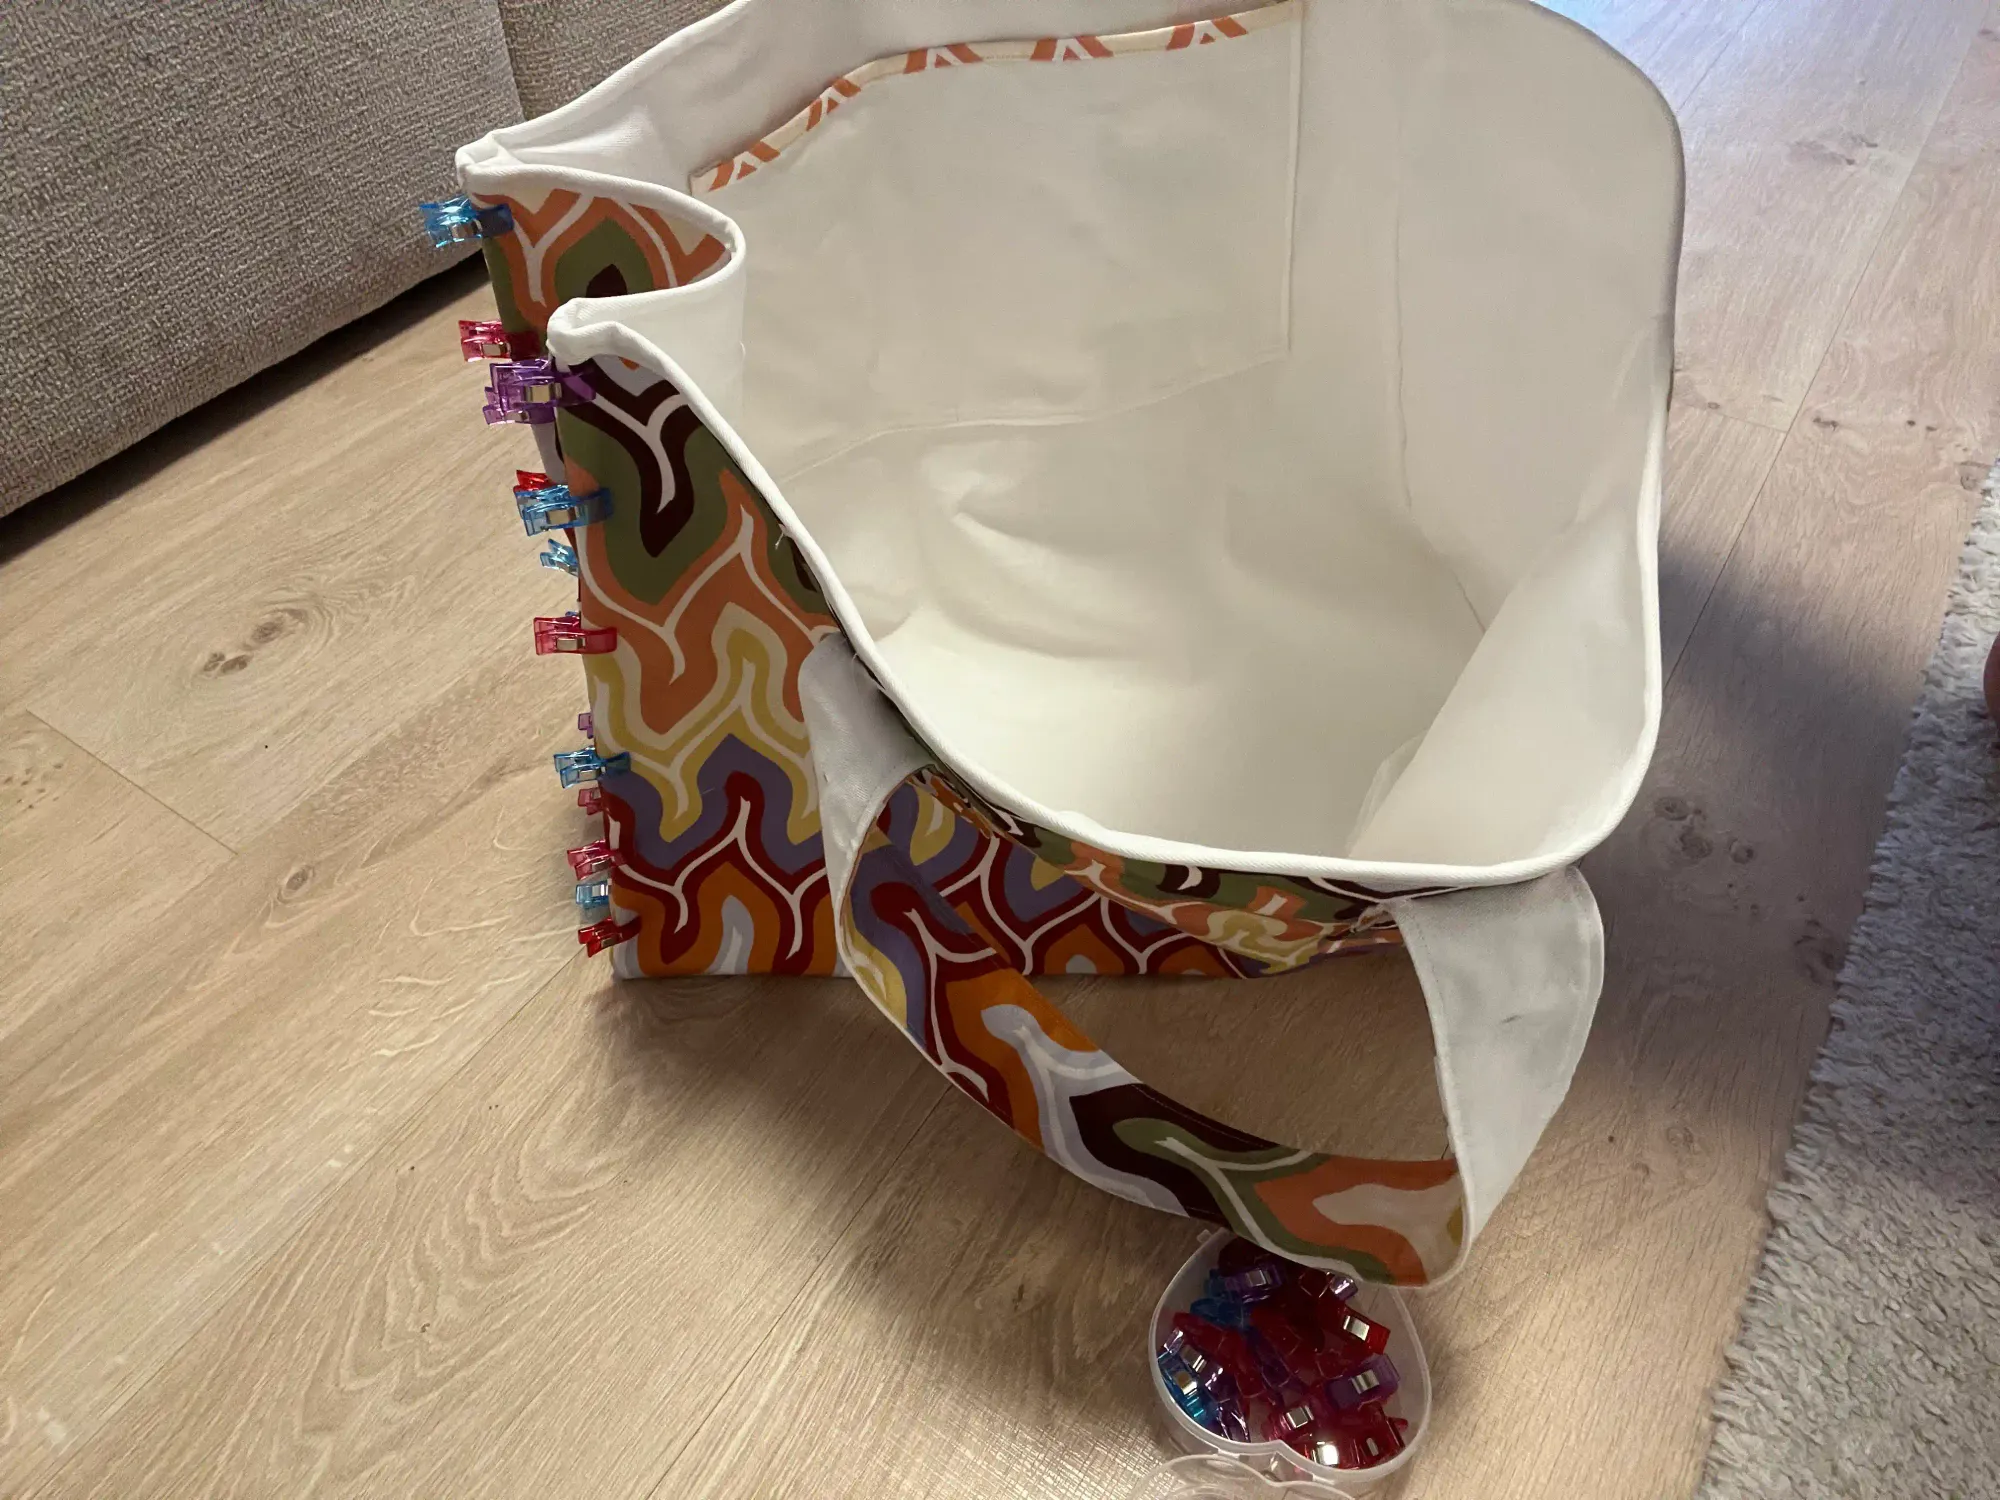
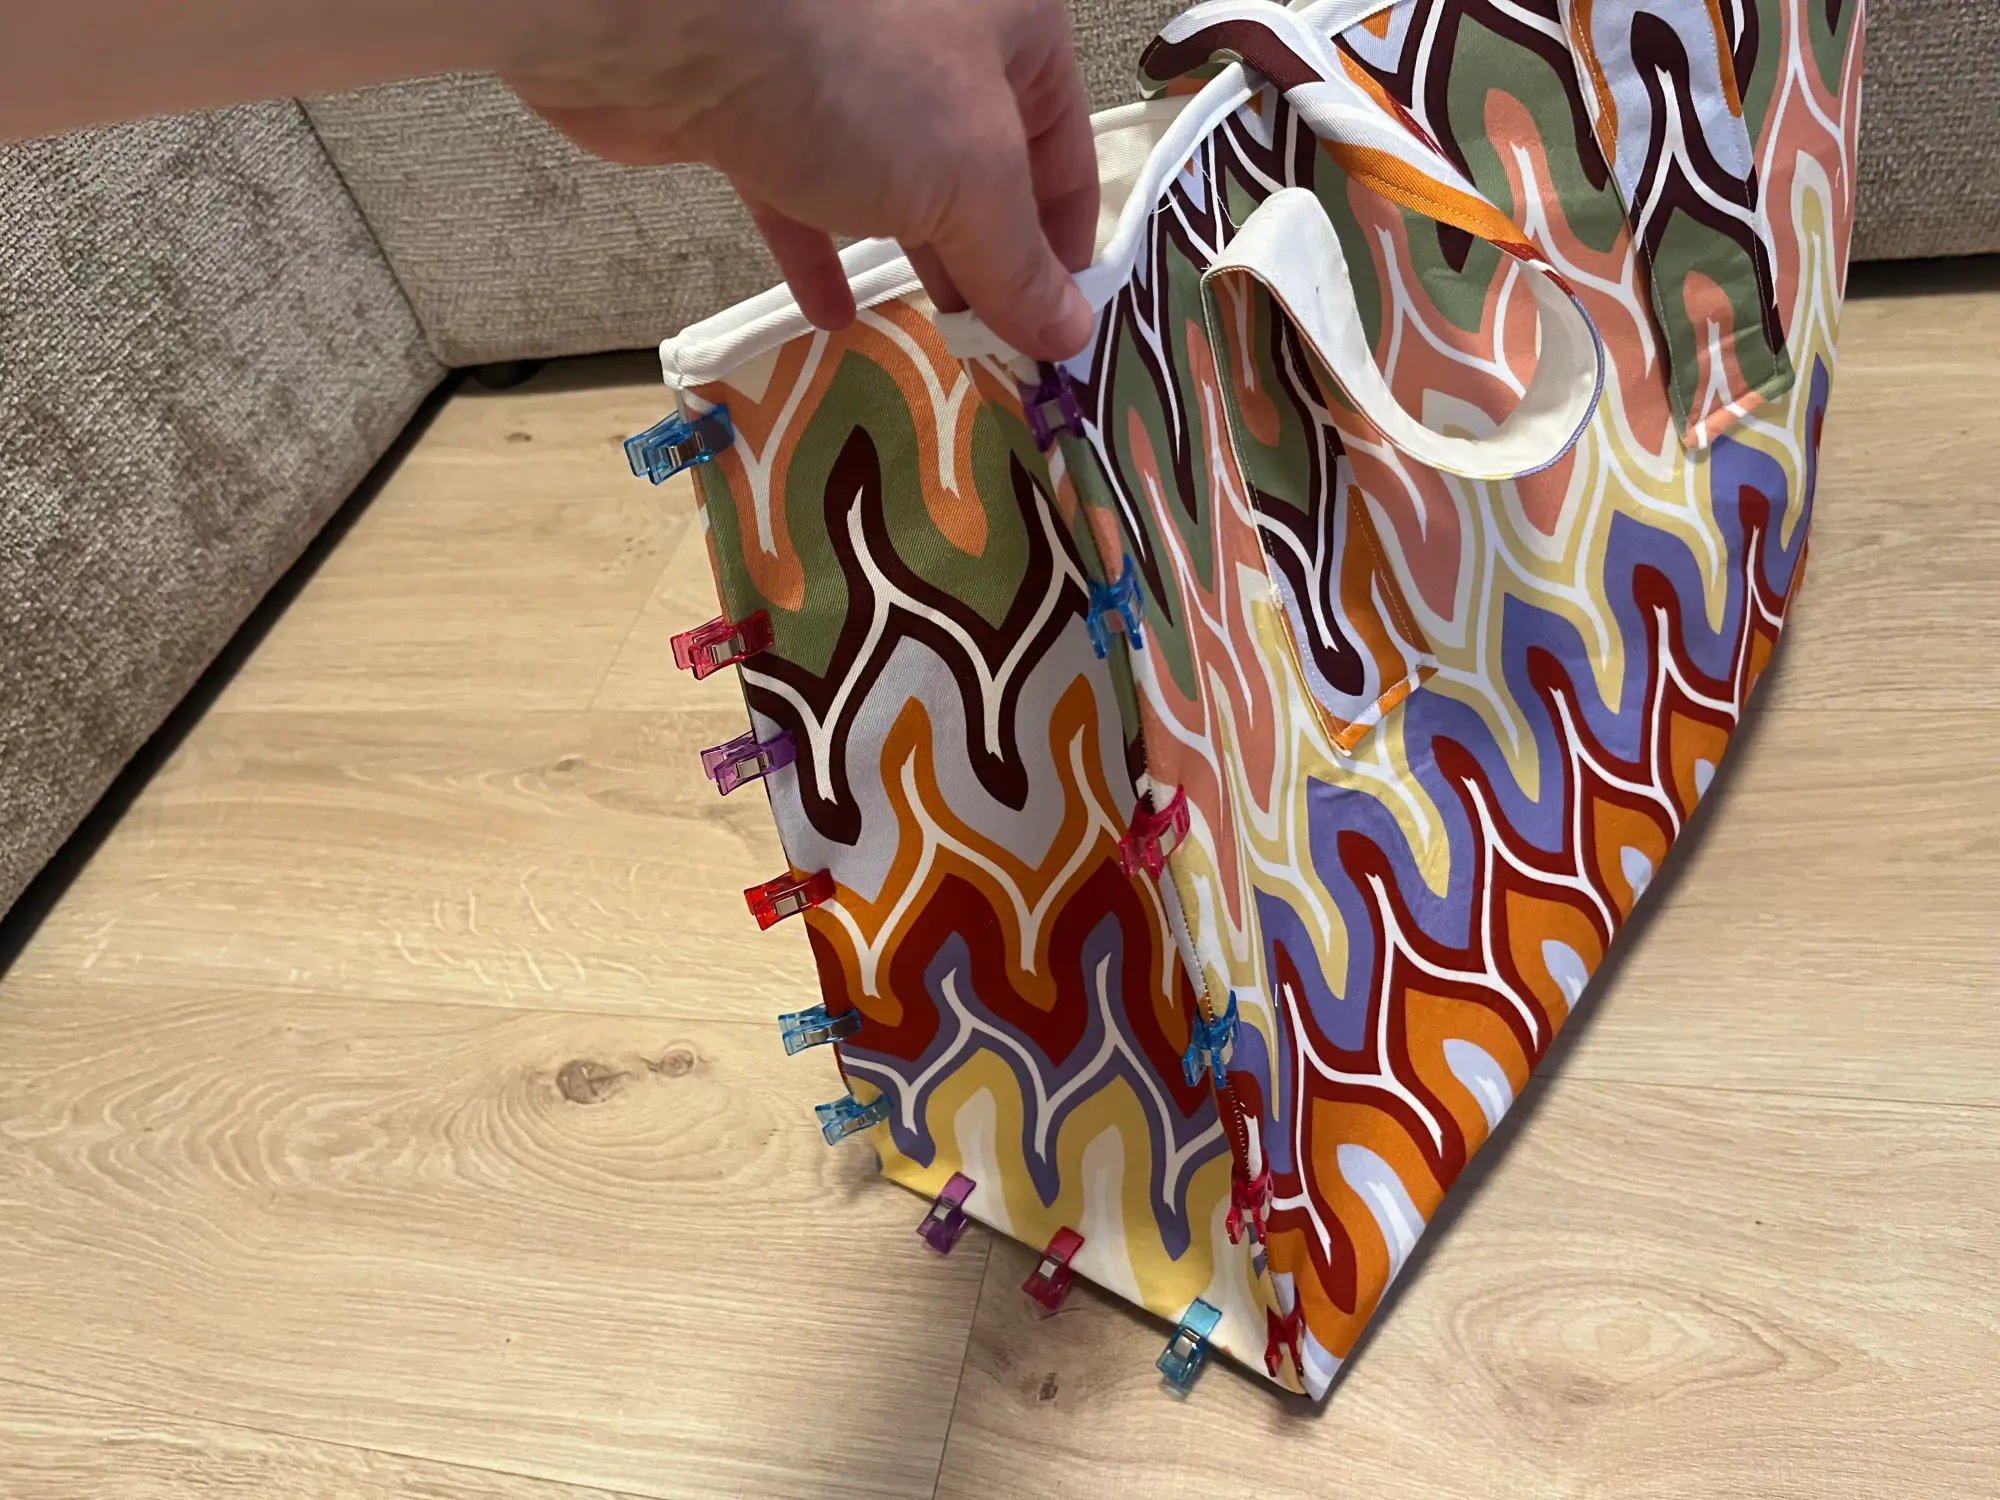
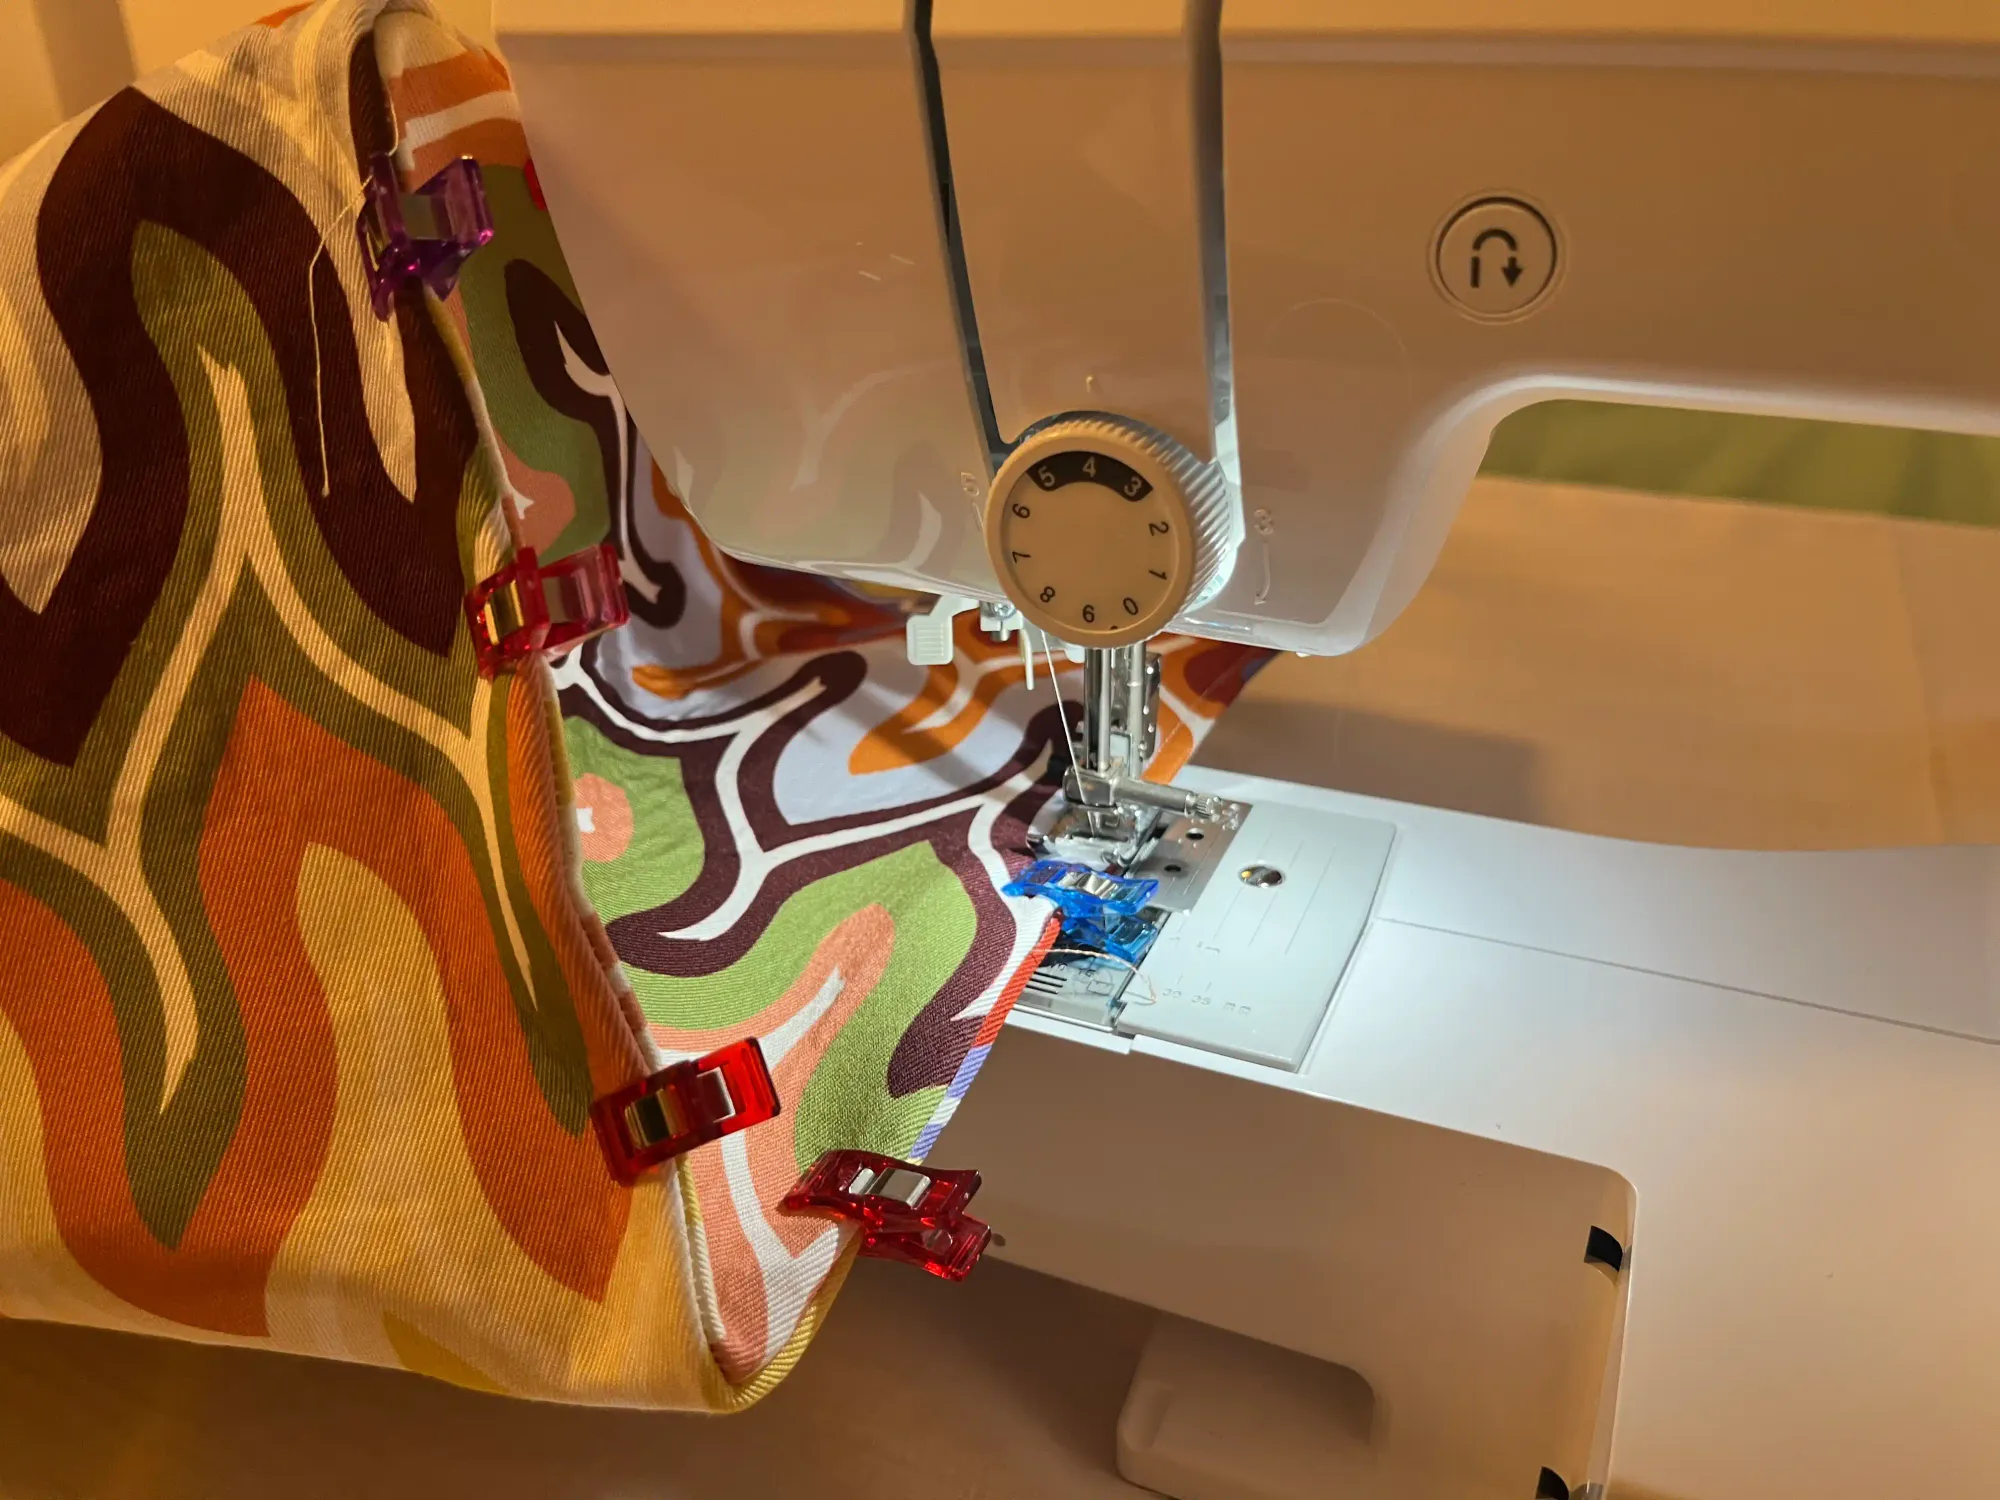
- Align everything nicely so that the parts fit together exactly around the perimeter, and stitch along the top edge all the way around.
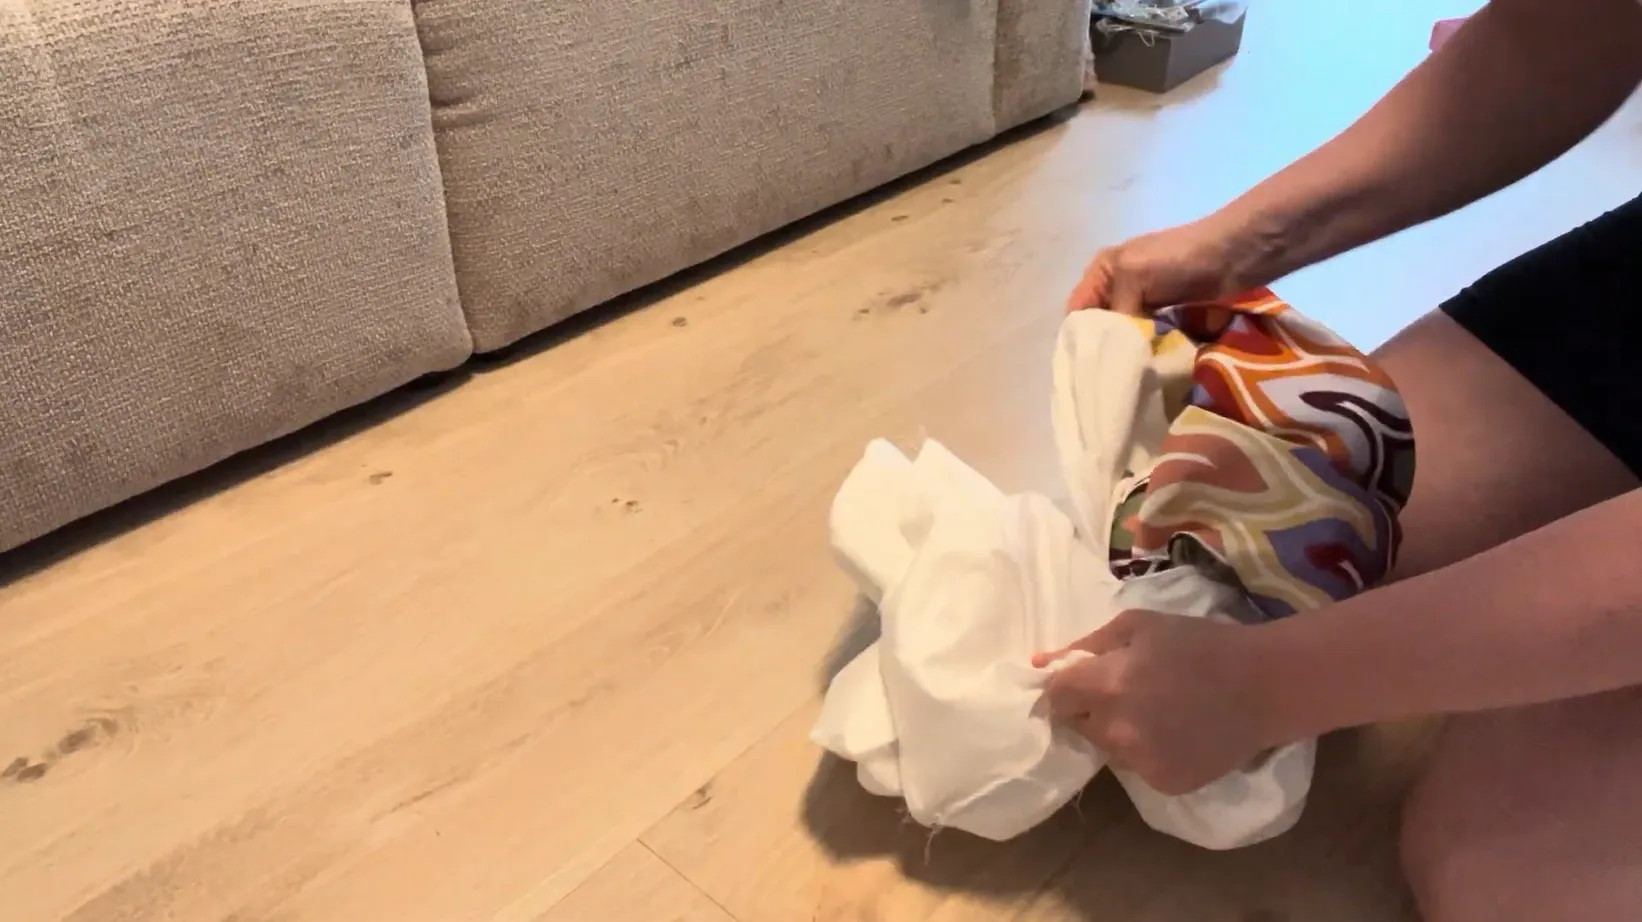
- Find the unsewn part of the inner part of the tote bag and gradually turn the entire bag over to the final, right side through this opening and align the individual parts nicely.
Setting and stitching the top edge and edges of the bag
- Stitch along the top edge so that you have a neat hemming strip.
- Along the edges from the outside (outside the top edge), shape the bag around its circumference and stitch a little bit from the edge so that you have a reinforced edge. Be careful, always stitch the relevant side along its entire length outside the corners. They are thick and stiff. You only need to use a straight stitch to always finish a little from the edge. The bag will still hold its shape beautifully.
Let's Do the Math
For the Missoni-style beach tote bag in the size of the Dior Book Large, I paid in total, 91 EUR / 105 USD for the fabric in the store.
I sewed this tote bag in 11 hours. Including an inner pocket for a mobile and all details.
On the Missoni website, I found a tote bag (not the same as mine, of course) priced at around 1065 EUR / 1228 USD.
I am certainly not denying whether the tote bag is well-made and how much we pay for the brand. I can appreciate that working on their bag takes a lot of time. On the other hand, I wanted to show you the raw cost.
Final Style
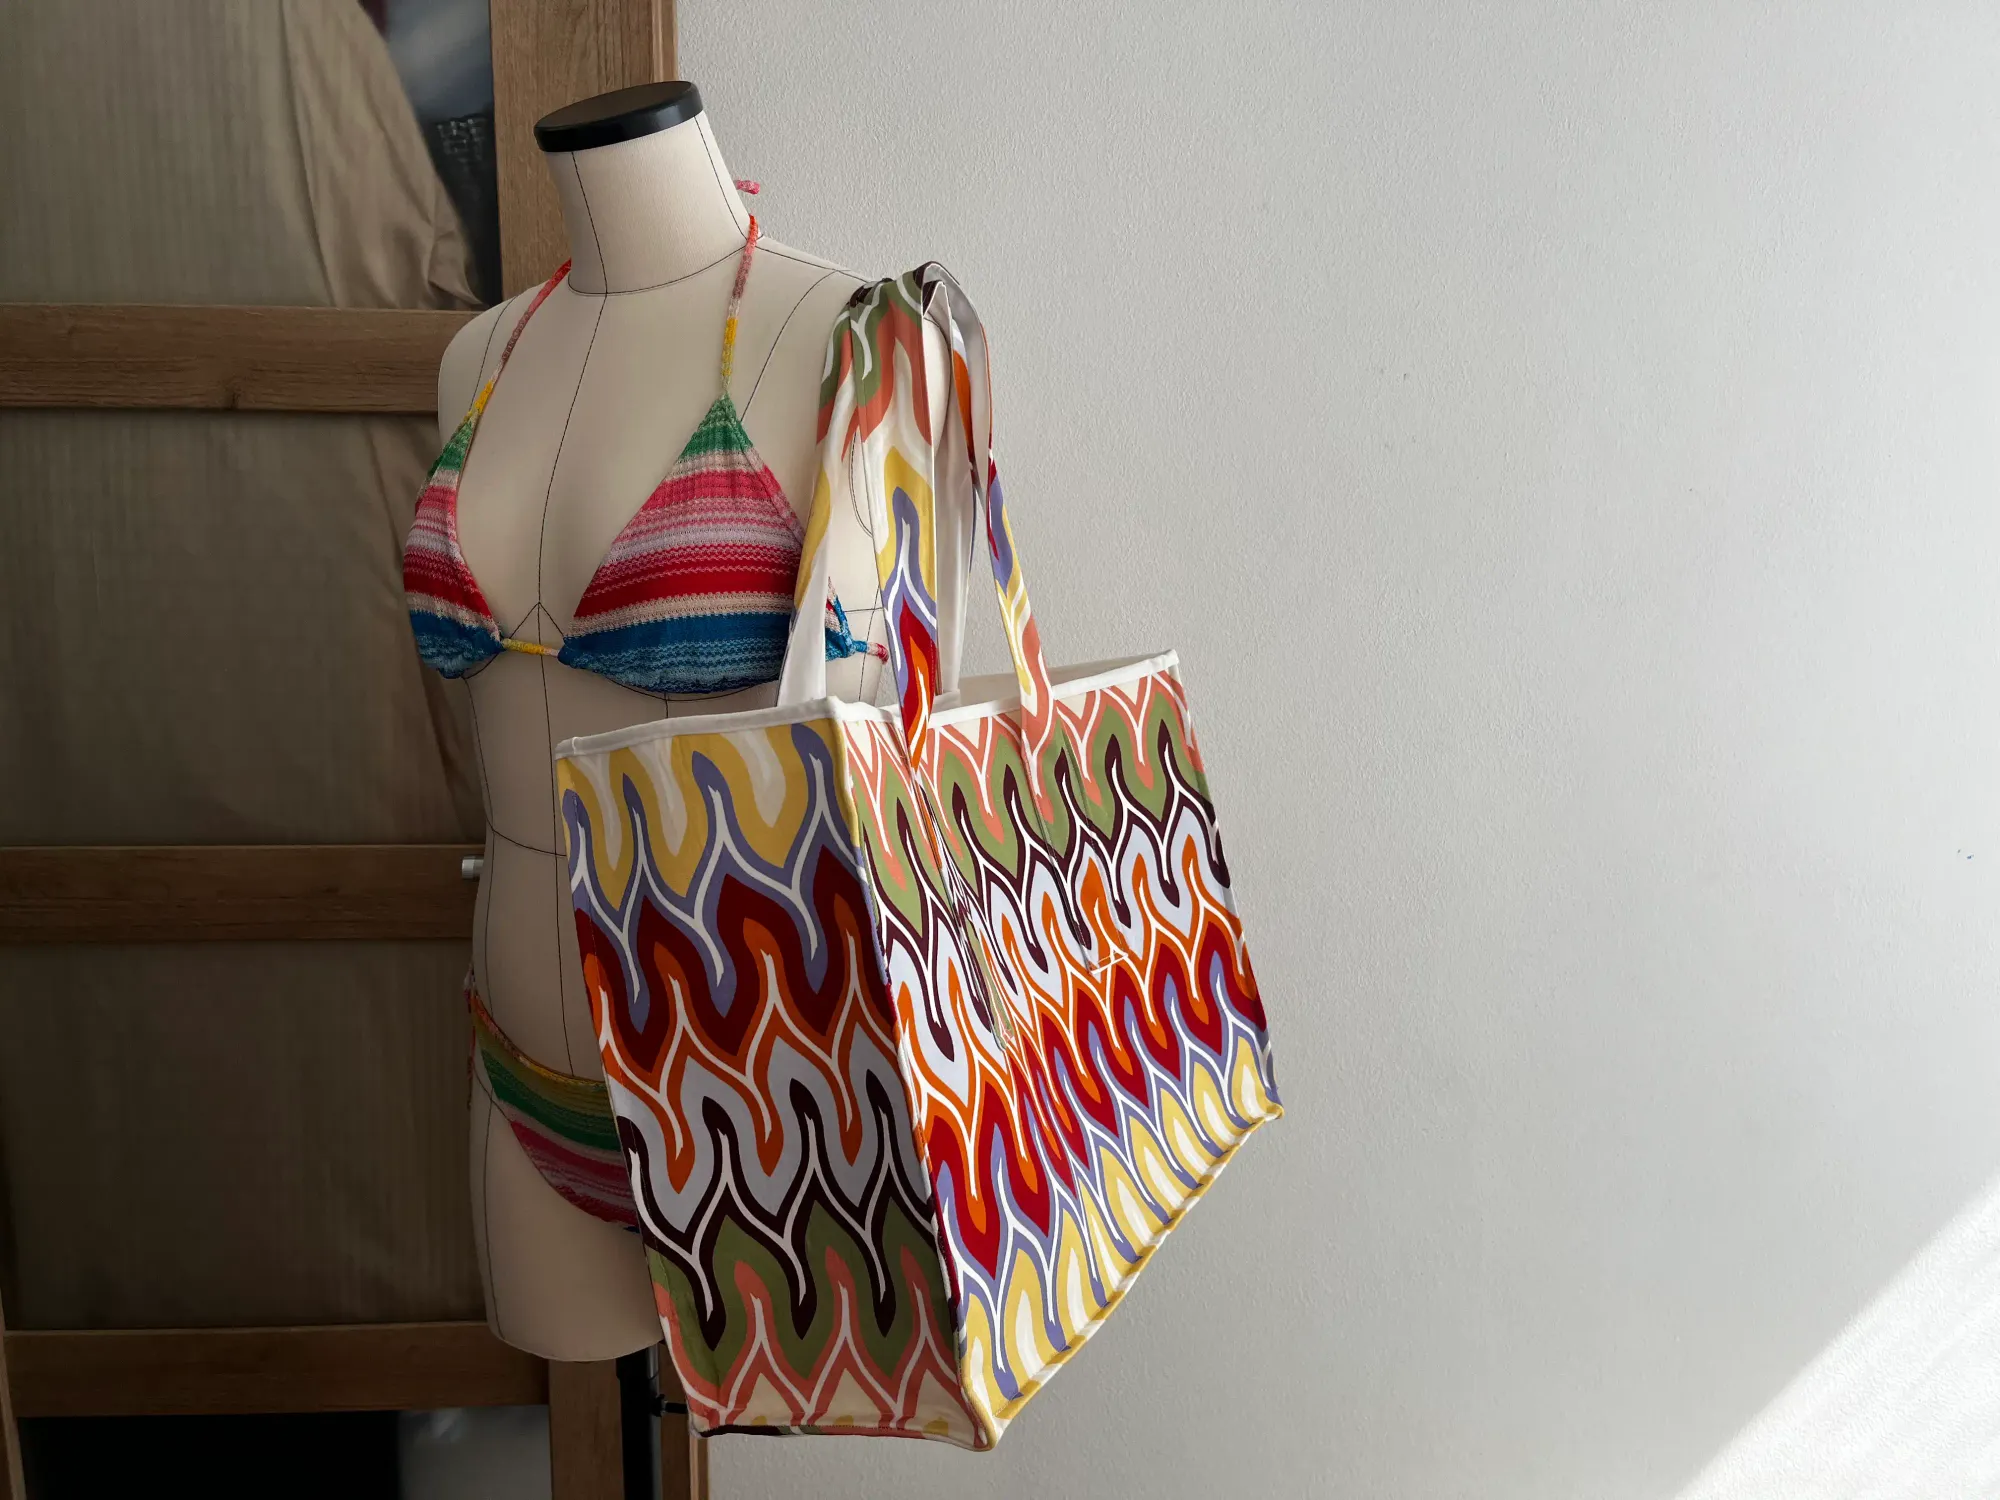
Now you are done. Enjoy your new DIY Tote Bag for the beach, the city, or on your way to the plane.
If you need to discuss anything about the bag, write to me in the comments. I will be happy to go through everything with you.
Happy sewing! 🧵✨
BTW: Don't forget to check out the Missoni-inspired dress, which you might also be able to sew. Or, if you prefer a more sophisticated style, you can pair this bag with a dress I sewed from a Loro Piana Linen.
Dana

)