Table of Contents
For many of us, an A-line dress with a romantic cut is a classic project for honing our sewing skills. That's why most of us are searching for beginner sewing patterns. I personally learned how to work with patterns and how different fabrics behave by making this style.
For a while, I looked for a pattern that didn't require darts, as I was a bit intimidated by them at the time. When I couldn't find one I liked after searching for a long while, I drafted my own. It falls somewhere between EU sizes M and L (38/40), but you can adjust the width at the fabric fold if you need a different size.
A-Line dresses are a very popular style. They are comfortable for everyday wear and create a beautiful silhouette, gracefully concealing areas where you might want a little more or less coverage. I love this cut and will definitely be making more dresses like this.
The romantic feel of this dress comes largely from the strap design; I made them as long as possible. I feel the tie straps add a delicate, feminine touch.
You can use this pattern with various fabrics. However, if you choose drapey materials, keep in mind that the fabric may shift while sewing. As an advanced beginner, I can confirm that cotton and linen work perfectly. I have sewn several versions of this dress. They all turned out beautifully, though I admit batiste fabrics were a bit more challenging because they are incredibly delicate and airy.
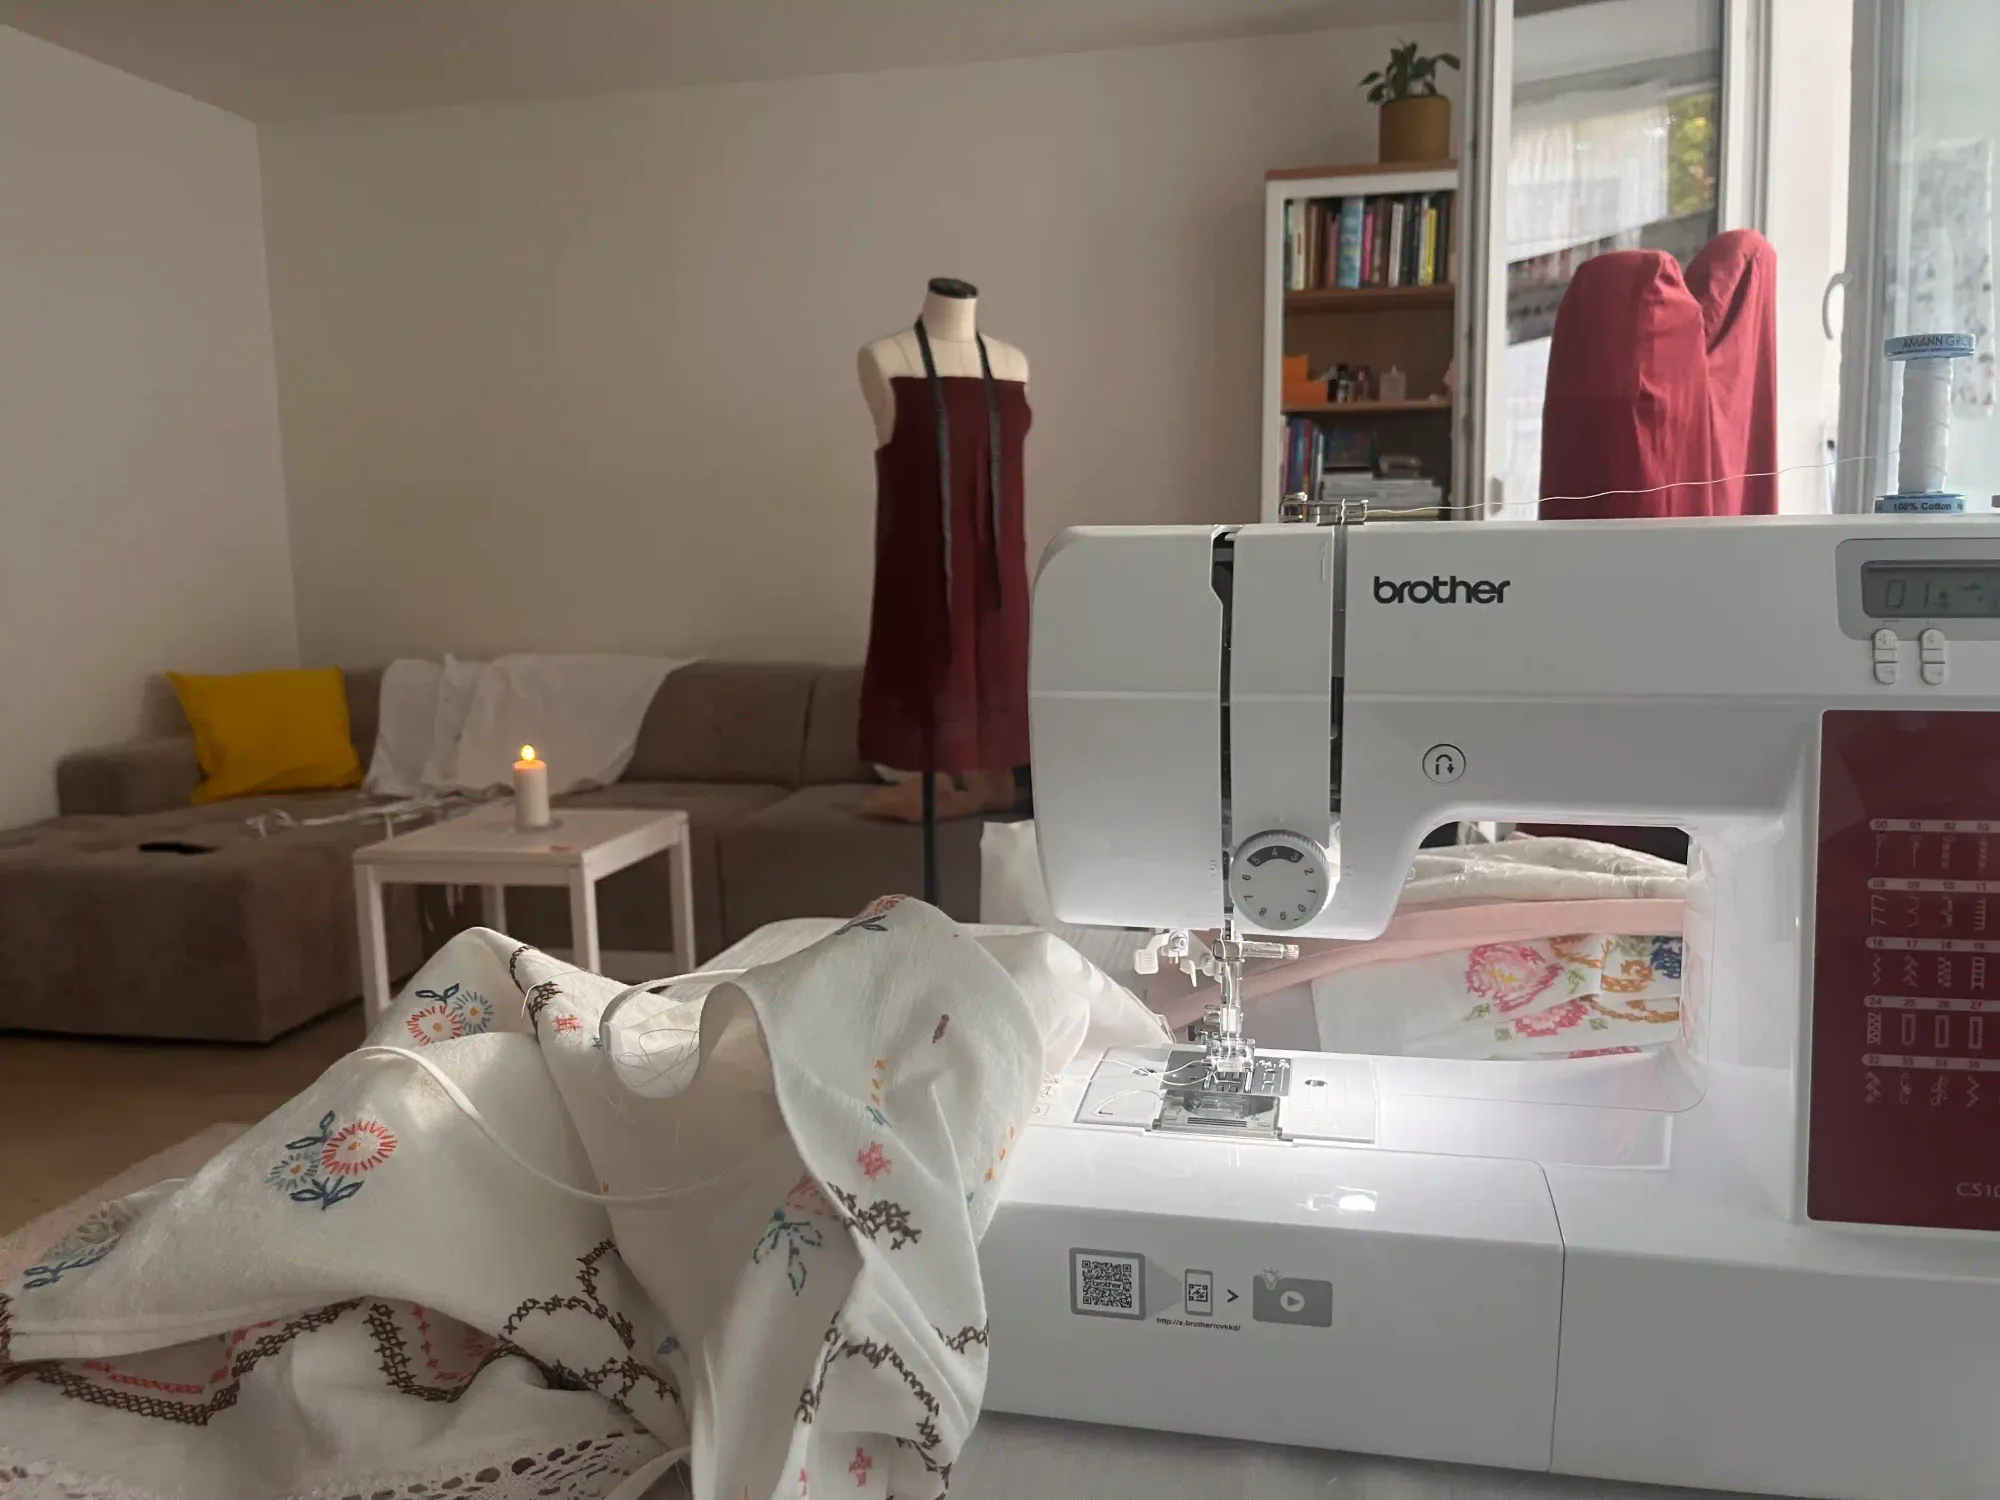
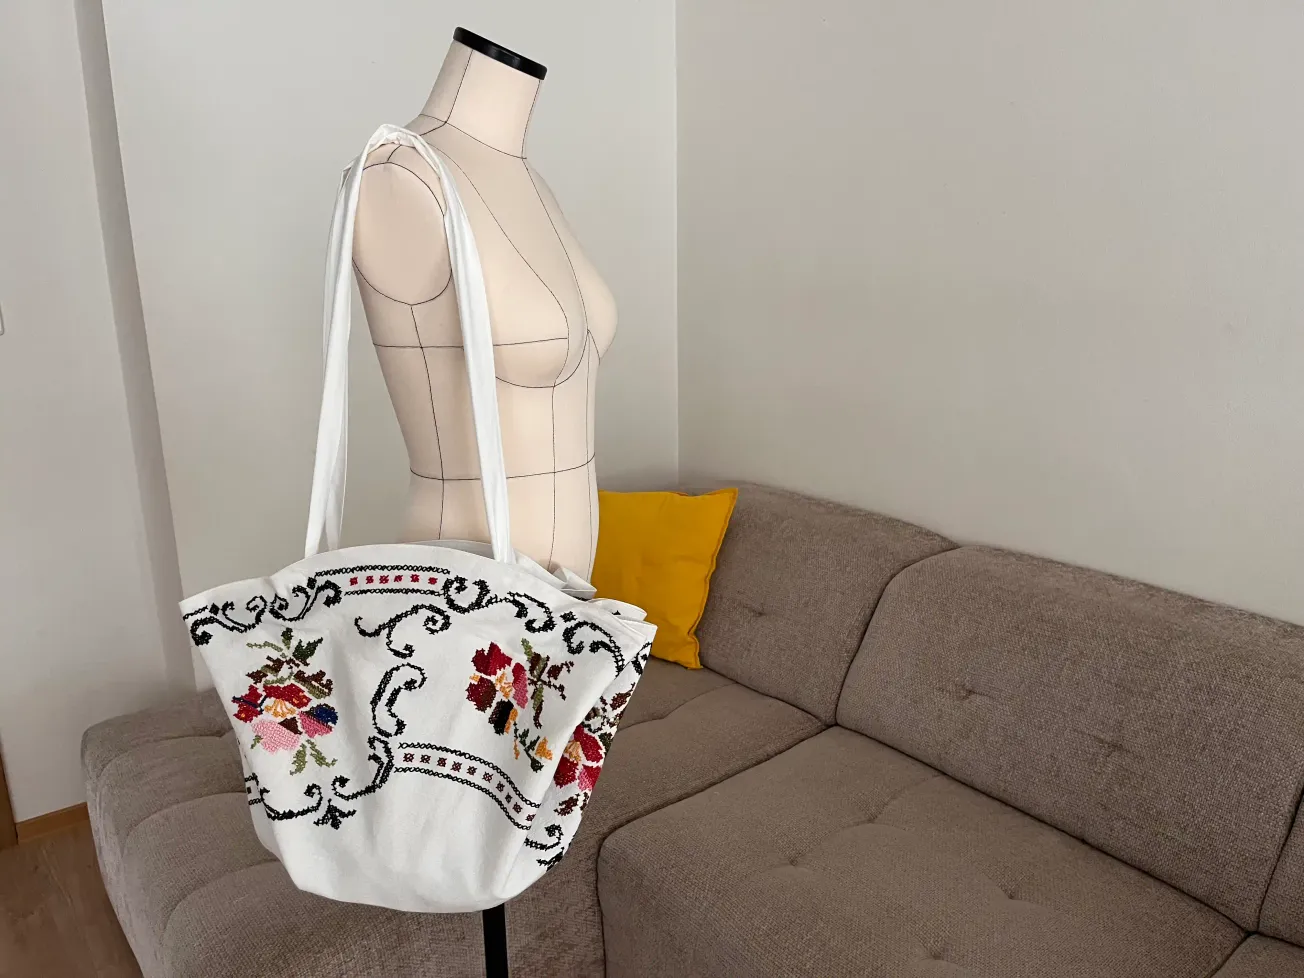
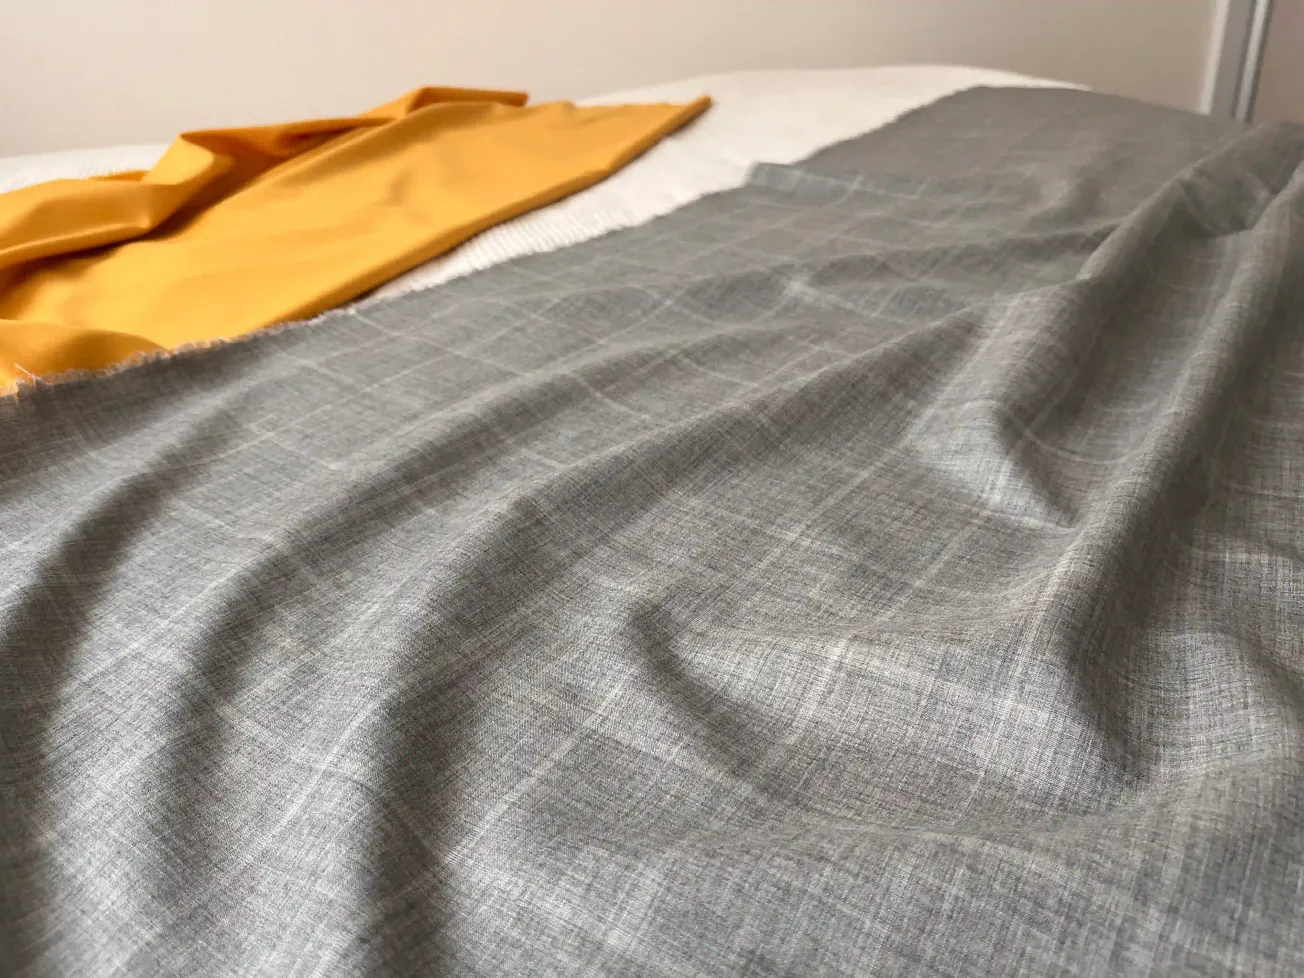
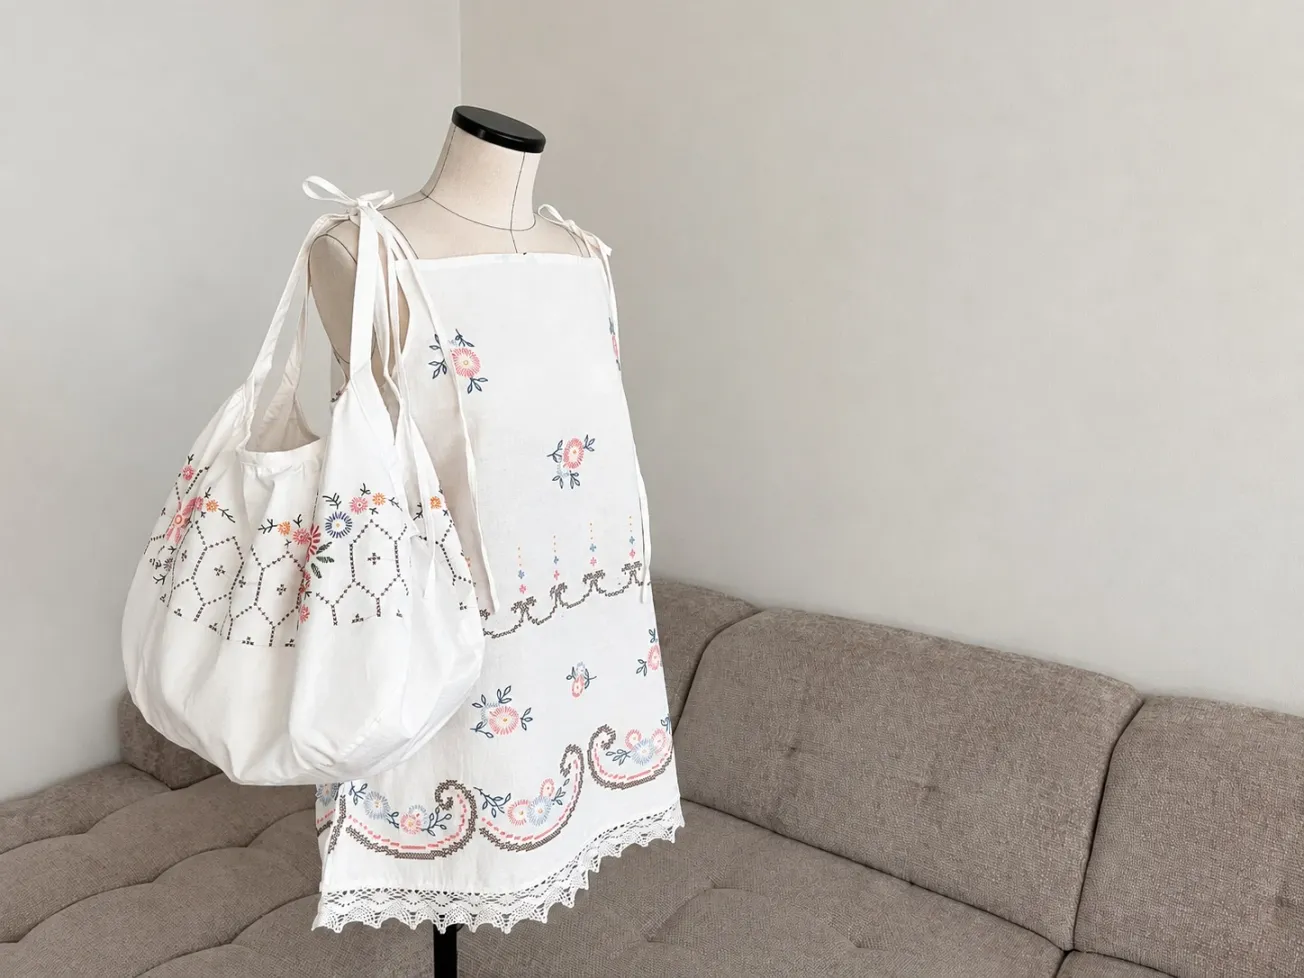
The pattern works equally well with standard fabrics and with rare or premium ones. I sewed some dresses using ordinary cotton and linen. Still, I also chose a few designs for special projects, such as upcycling a damaged, hand-embroidered tablecloth into a new dress, or working with linen from Loro Piana, one of the most prestigious "quiet luxury" brands (as seen in the dark blue dress). Personally, I love working with these rare, premium materials. Hand-embroidered pieces are always unique, truly one of a kind. It feels like creating something new out of a forgotten or damaged work of art. I feel the same way about premium fabrics. You can recognize a truly premium material by touch; often, you can see at a glance that it is a fabric apart. It has an elegant sheen and a stunning texture when the daylight hits it. You can even sense its character, like the distinct scent of cashmere or wool. In short, these are materials that don't need a logo to prove their worth, and the people who wear them don't need to hide behind logos. That's exactly what "Quiet Sewing" is all about.
What You’ll Need
Dress fabric
Matching thread
Bias binding tape (optional)
Sewing machine
Tailor's chalk
Pins
Measuring tape
Estimated Time
Approximately 6.5 hours of work
Specifics of the A-Line romantic dress
You need enough fabric for both the dress itself and the straps. I wanted the longest possible straps, so I bought extra yardage for some of the fabrics. Generally, you just need enough fabric to cover your circumference, measure your hips and add the width of your palm as a buffer; plus, you need 4 loops, each 3 cm (1.18 in) long. That determines the total length I buy.
If you want to add a pocket, allow extra fabric for it. This pattern is highly versatile, minimalist, and easy enough for a beginner to sew. Plus, the dress is wearable year-round: it’s light and airy for summer, while in autumn and winter you can wear a T-shirt or light sweater underneath, provided you choose the right material. For instance, I plan to sew this version in wool soon as an autumn/winter piece. It’s a way of repurposing the pattern; when something works, why not make the most of it?
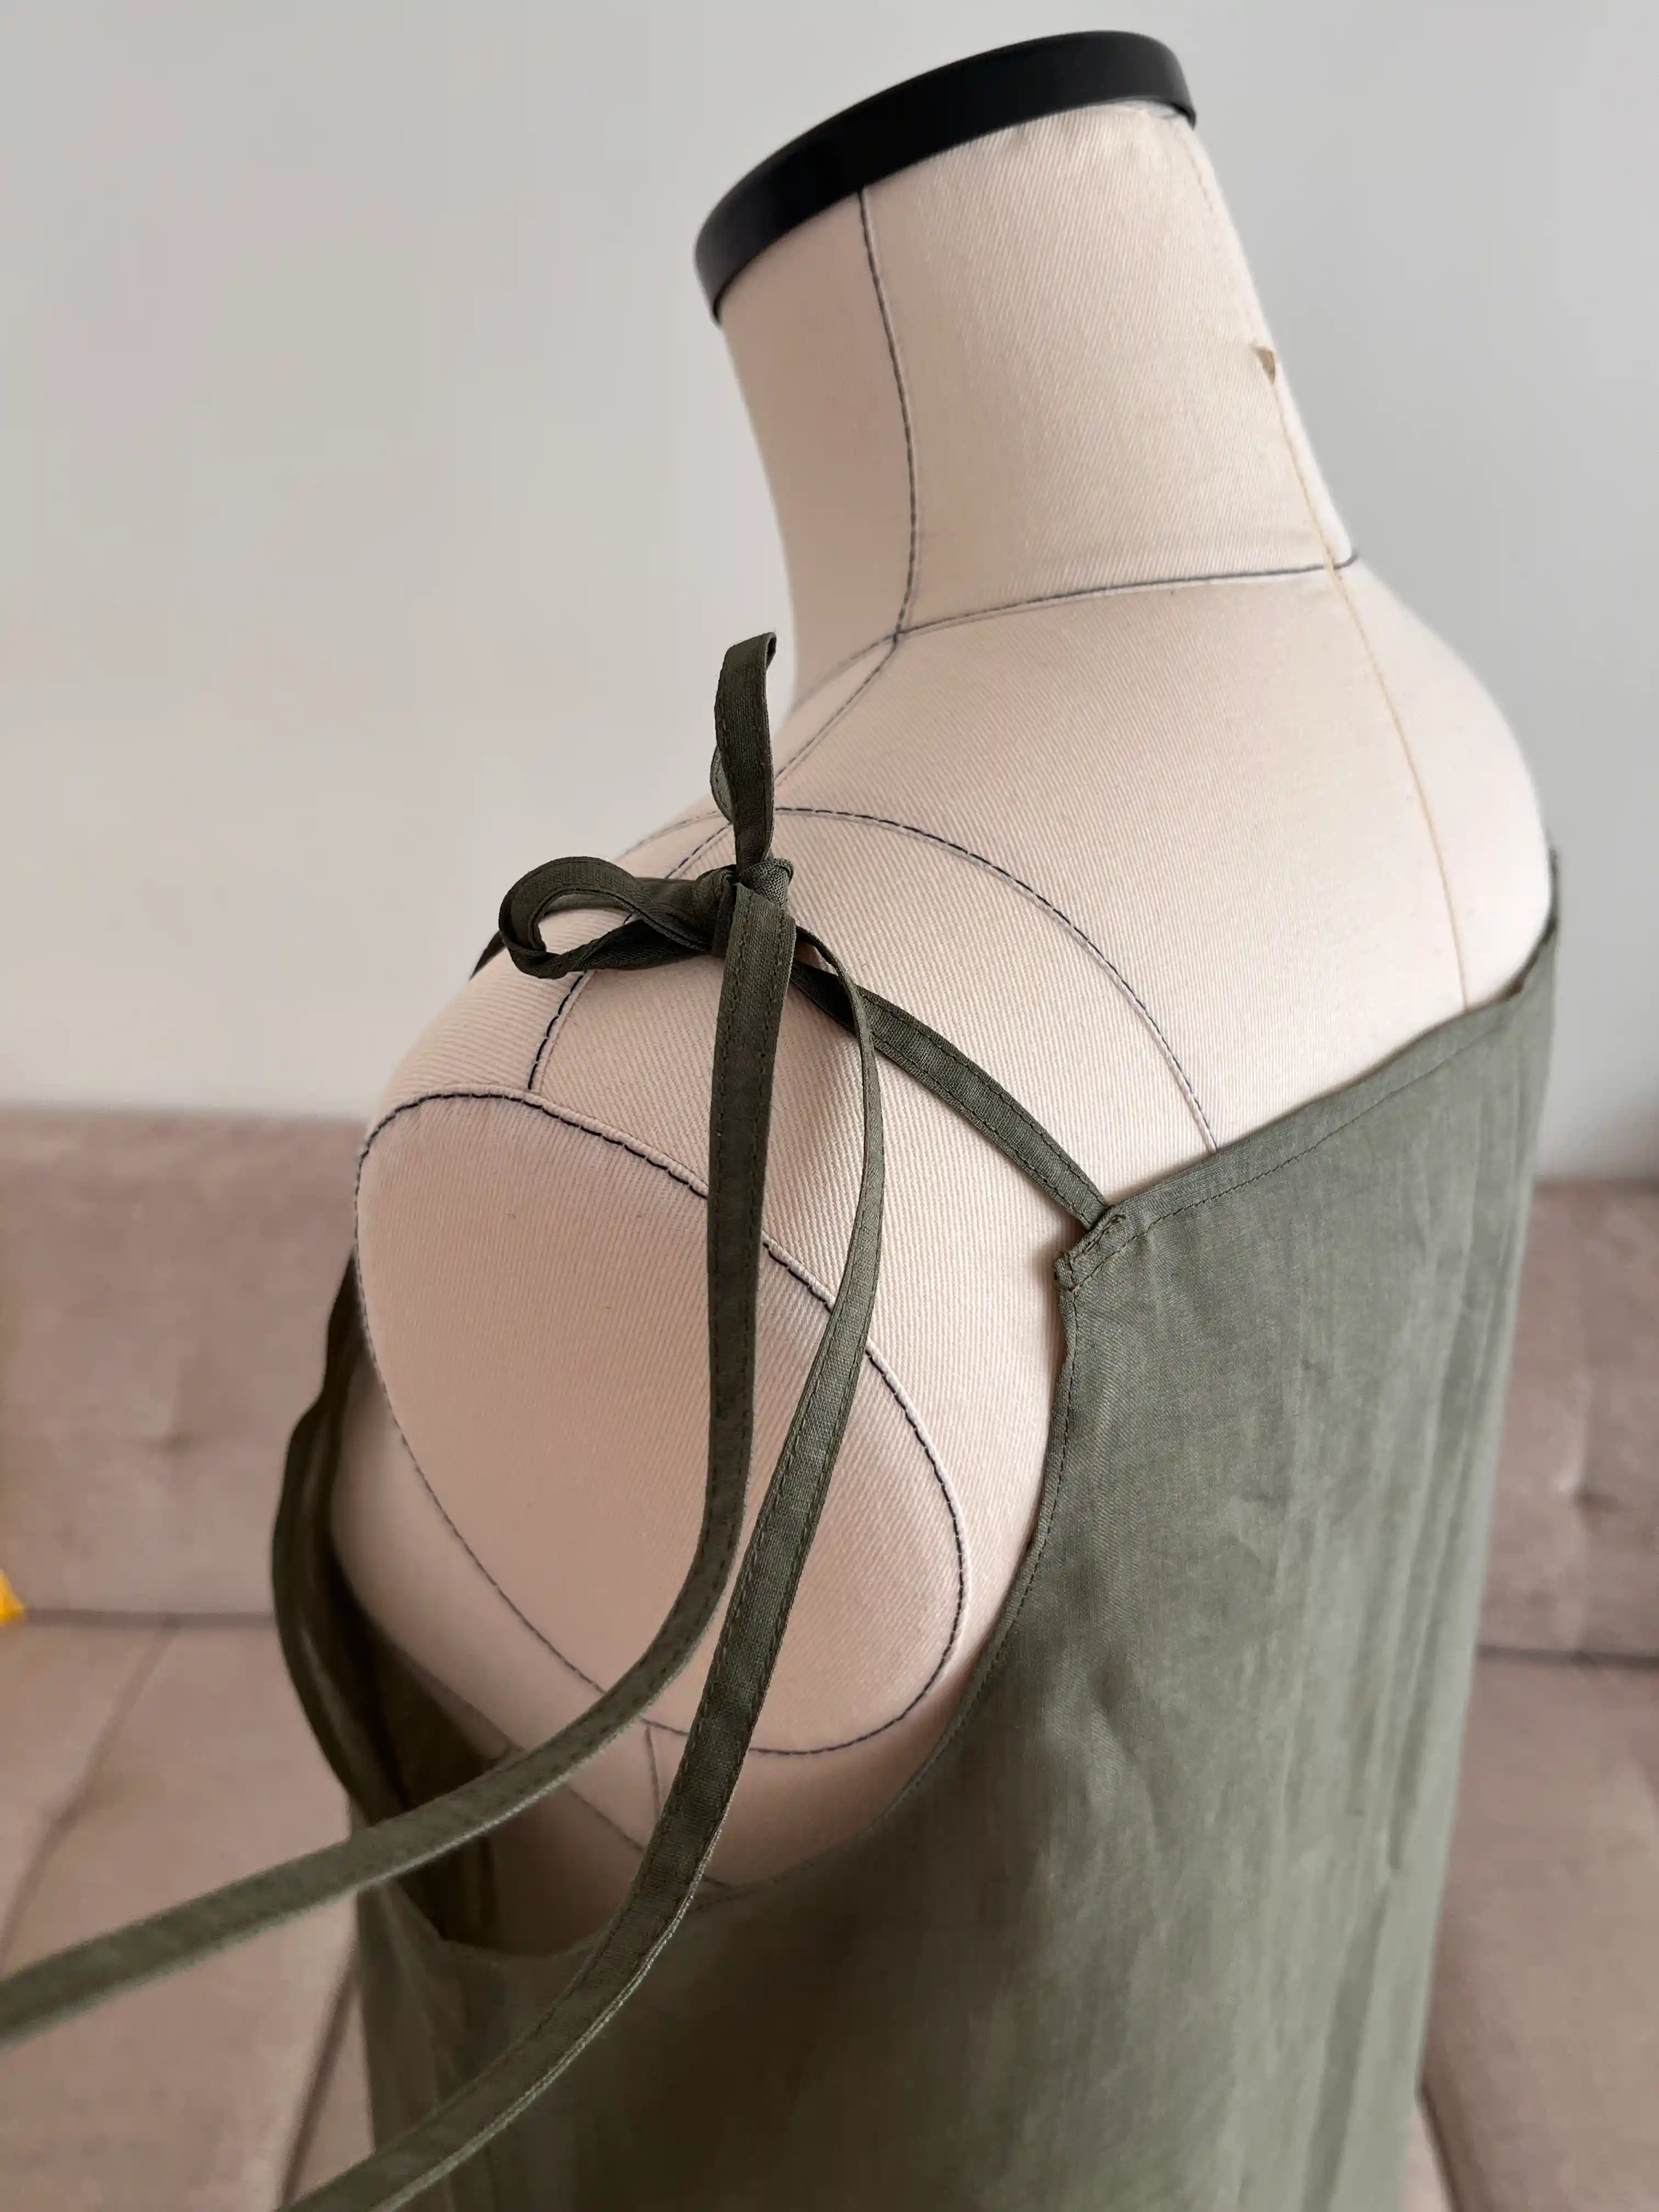
The dress has no darts, buttons, zippers, or snaps. It is therefore an ideal project for easy sewing.
Now let me show you how to sew a dress.
Download Your Free Romantic A-Line Dress Pattern
The free dress sewing pattern is available to download at the link below. The pattern is for FREE because I believe that everyone should have access to the creative process and the opportunity to sew their own clothes, regardless of their social or financial situation.
A-Line Dress Sewing Tutorial Romantic Version Step-by-Step
In this tutorial, you will see how to sew a dress. I made the dress using several different materials and colors, so you might see different fabrics at times, but the process remains the same.
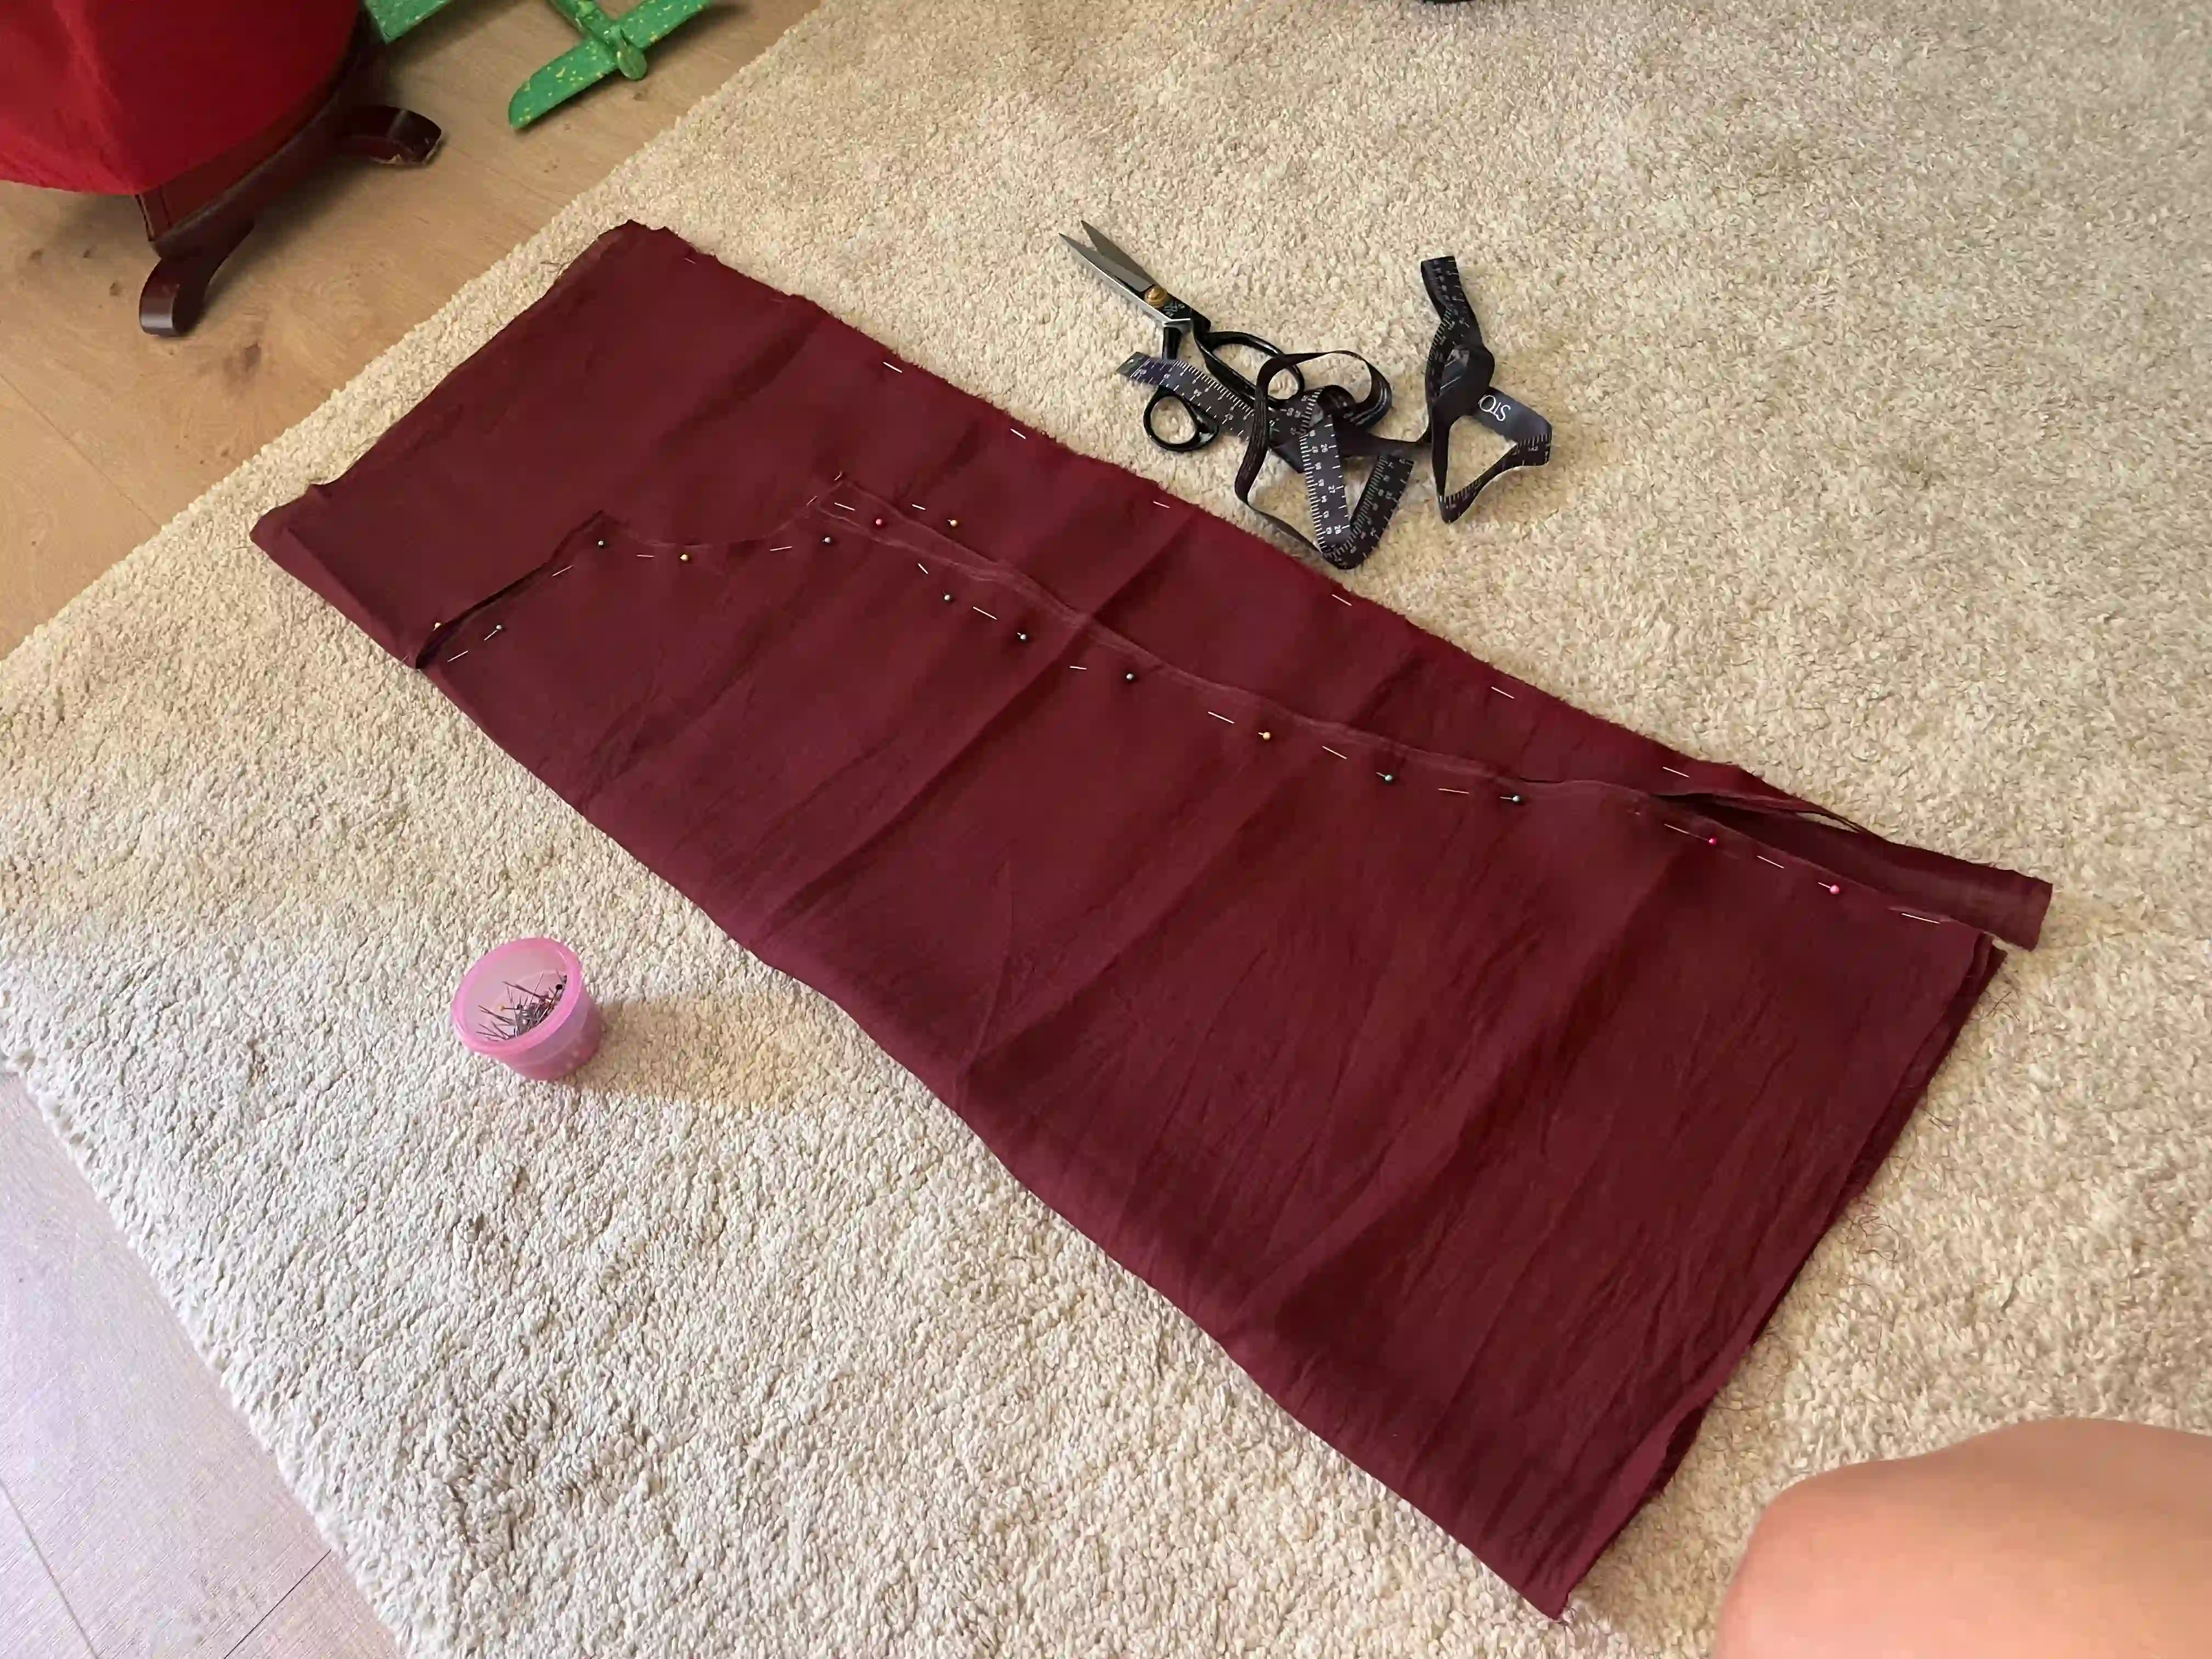
Draw the dress shape onto the fabric, then cut out the pattern. Don't forget to iron the fabric so that its shape is precise.
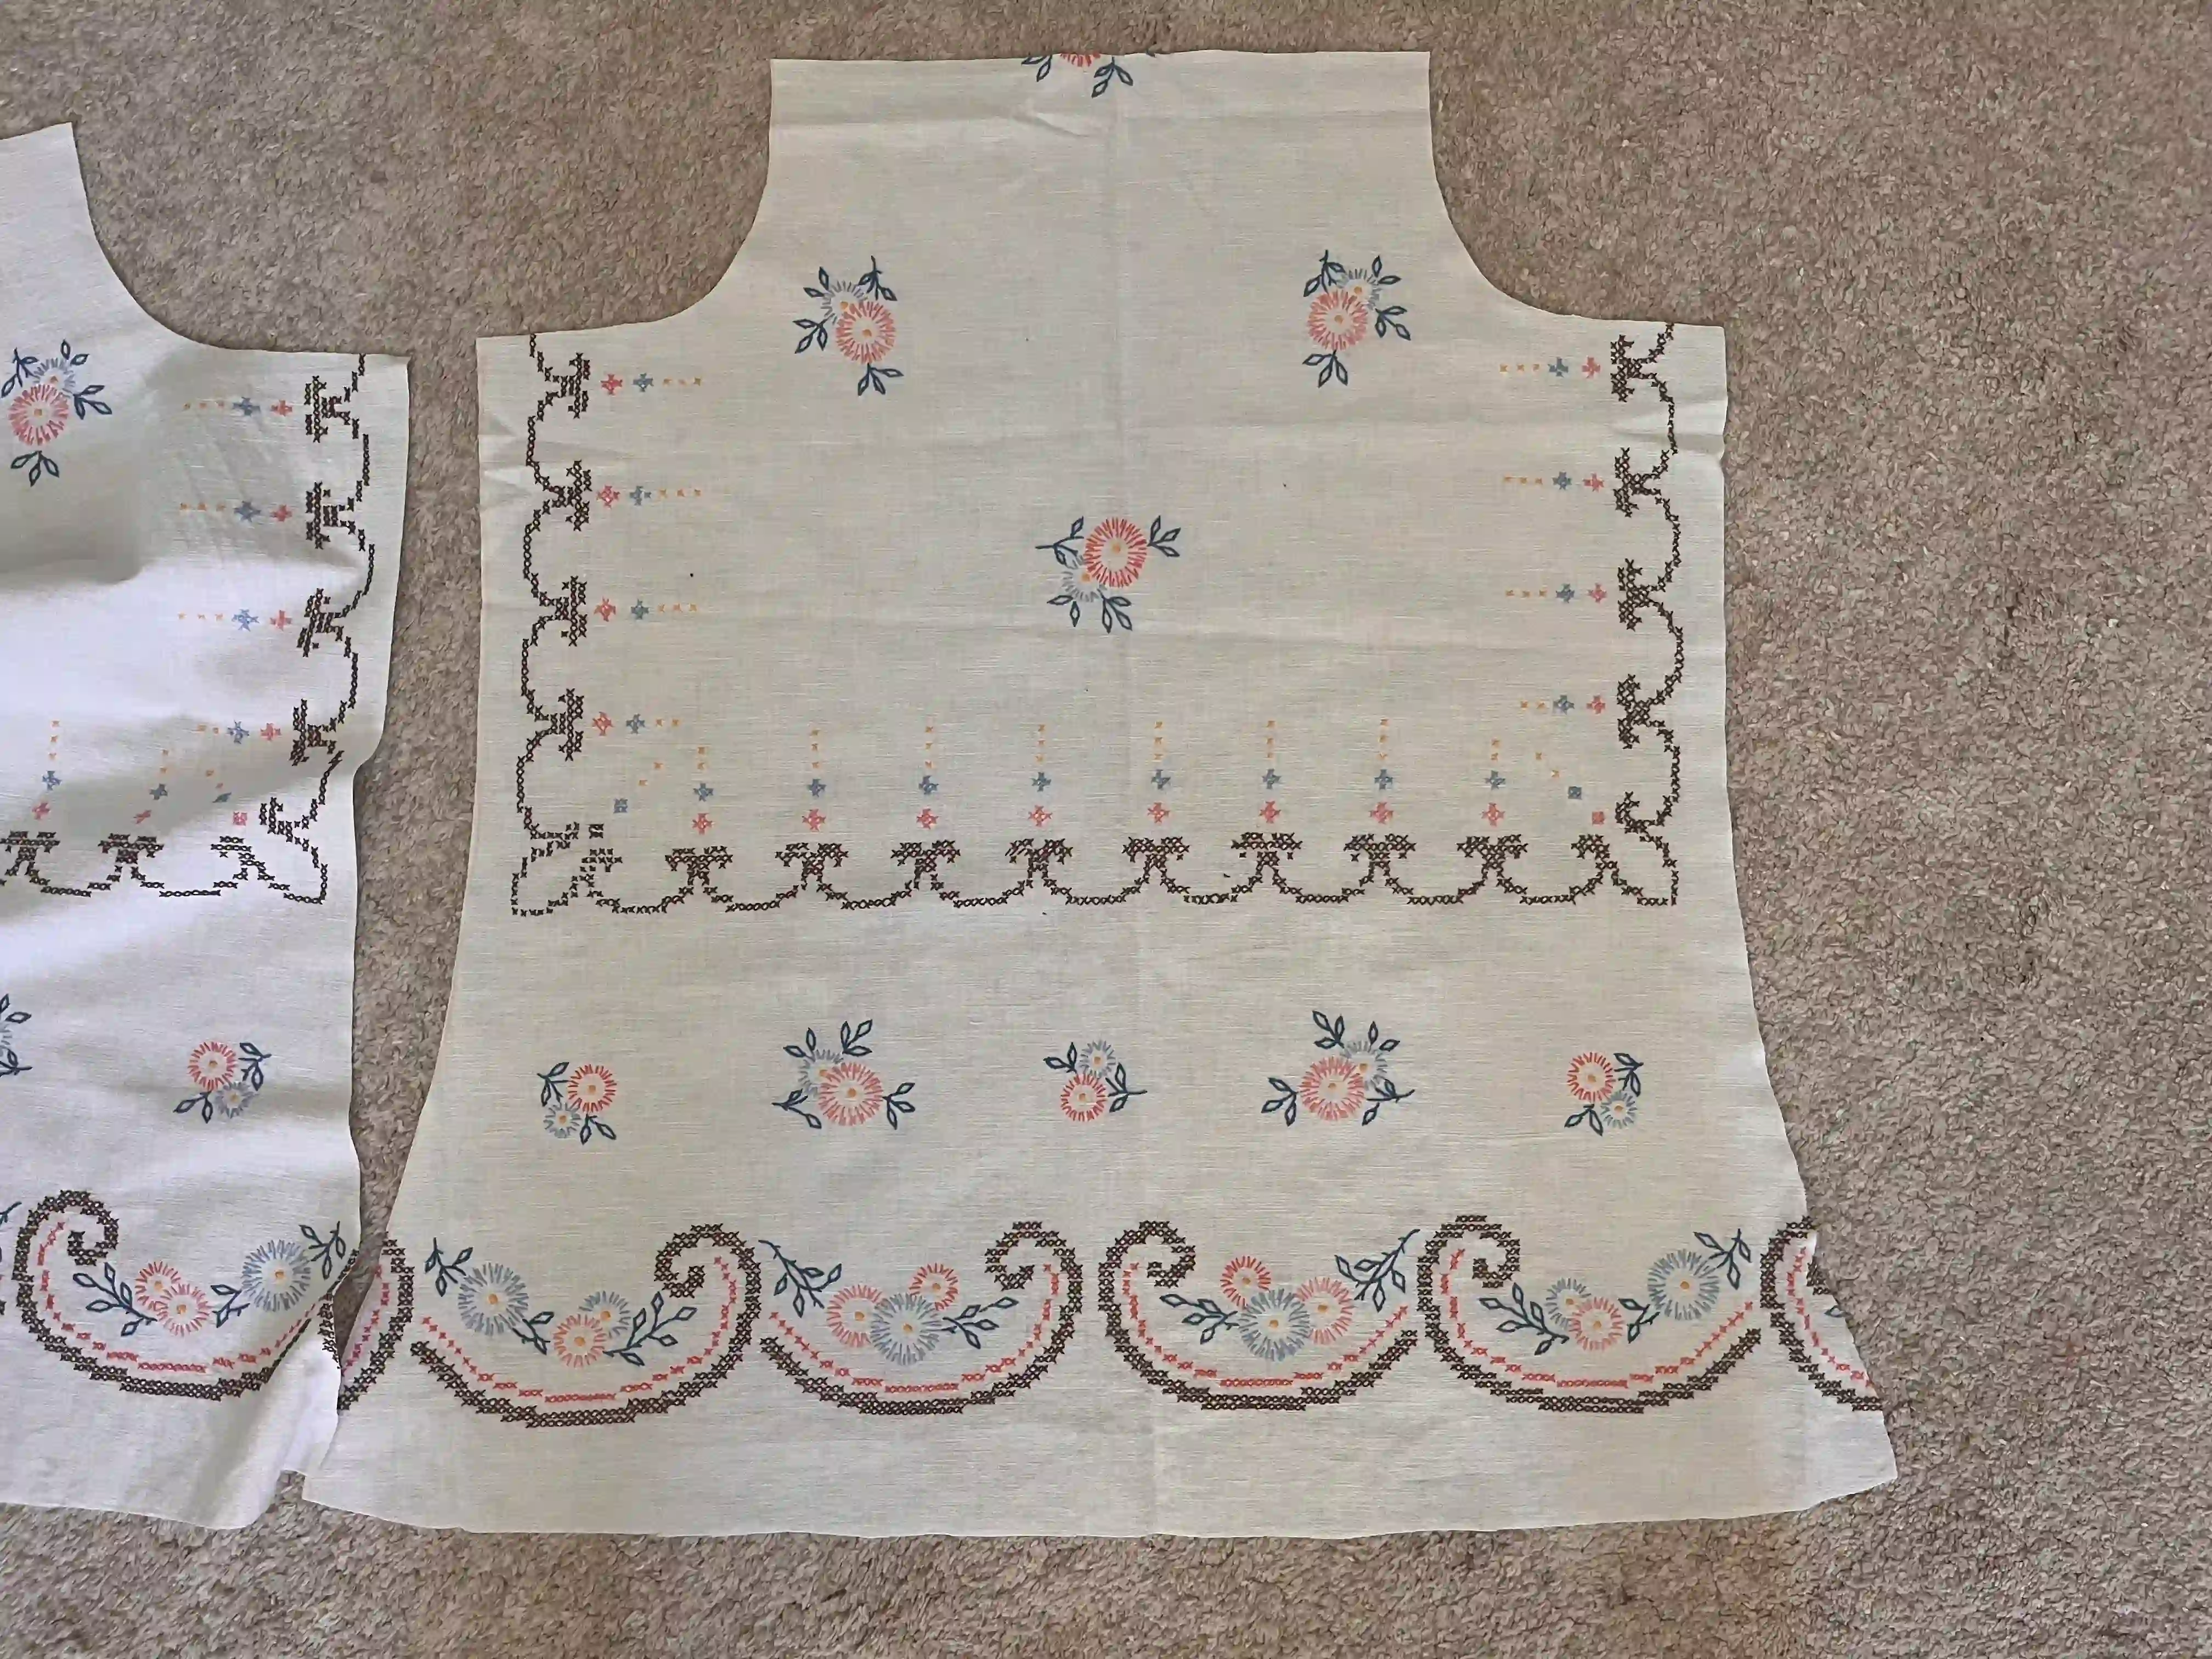
Sew the dress side seams with a French seam so the inside looks as beautiful as the outside.
French seam method: Place the two dress pieces right sides together and sew along the side edges using a straight stitch. Then turn the dress inside out and sew along the edges again with a straight stitch to create a neatly finished interior.
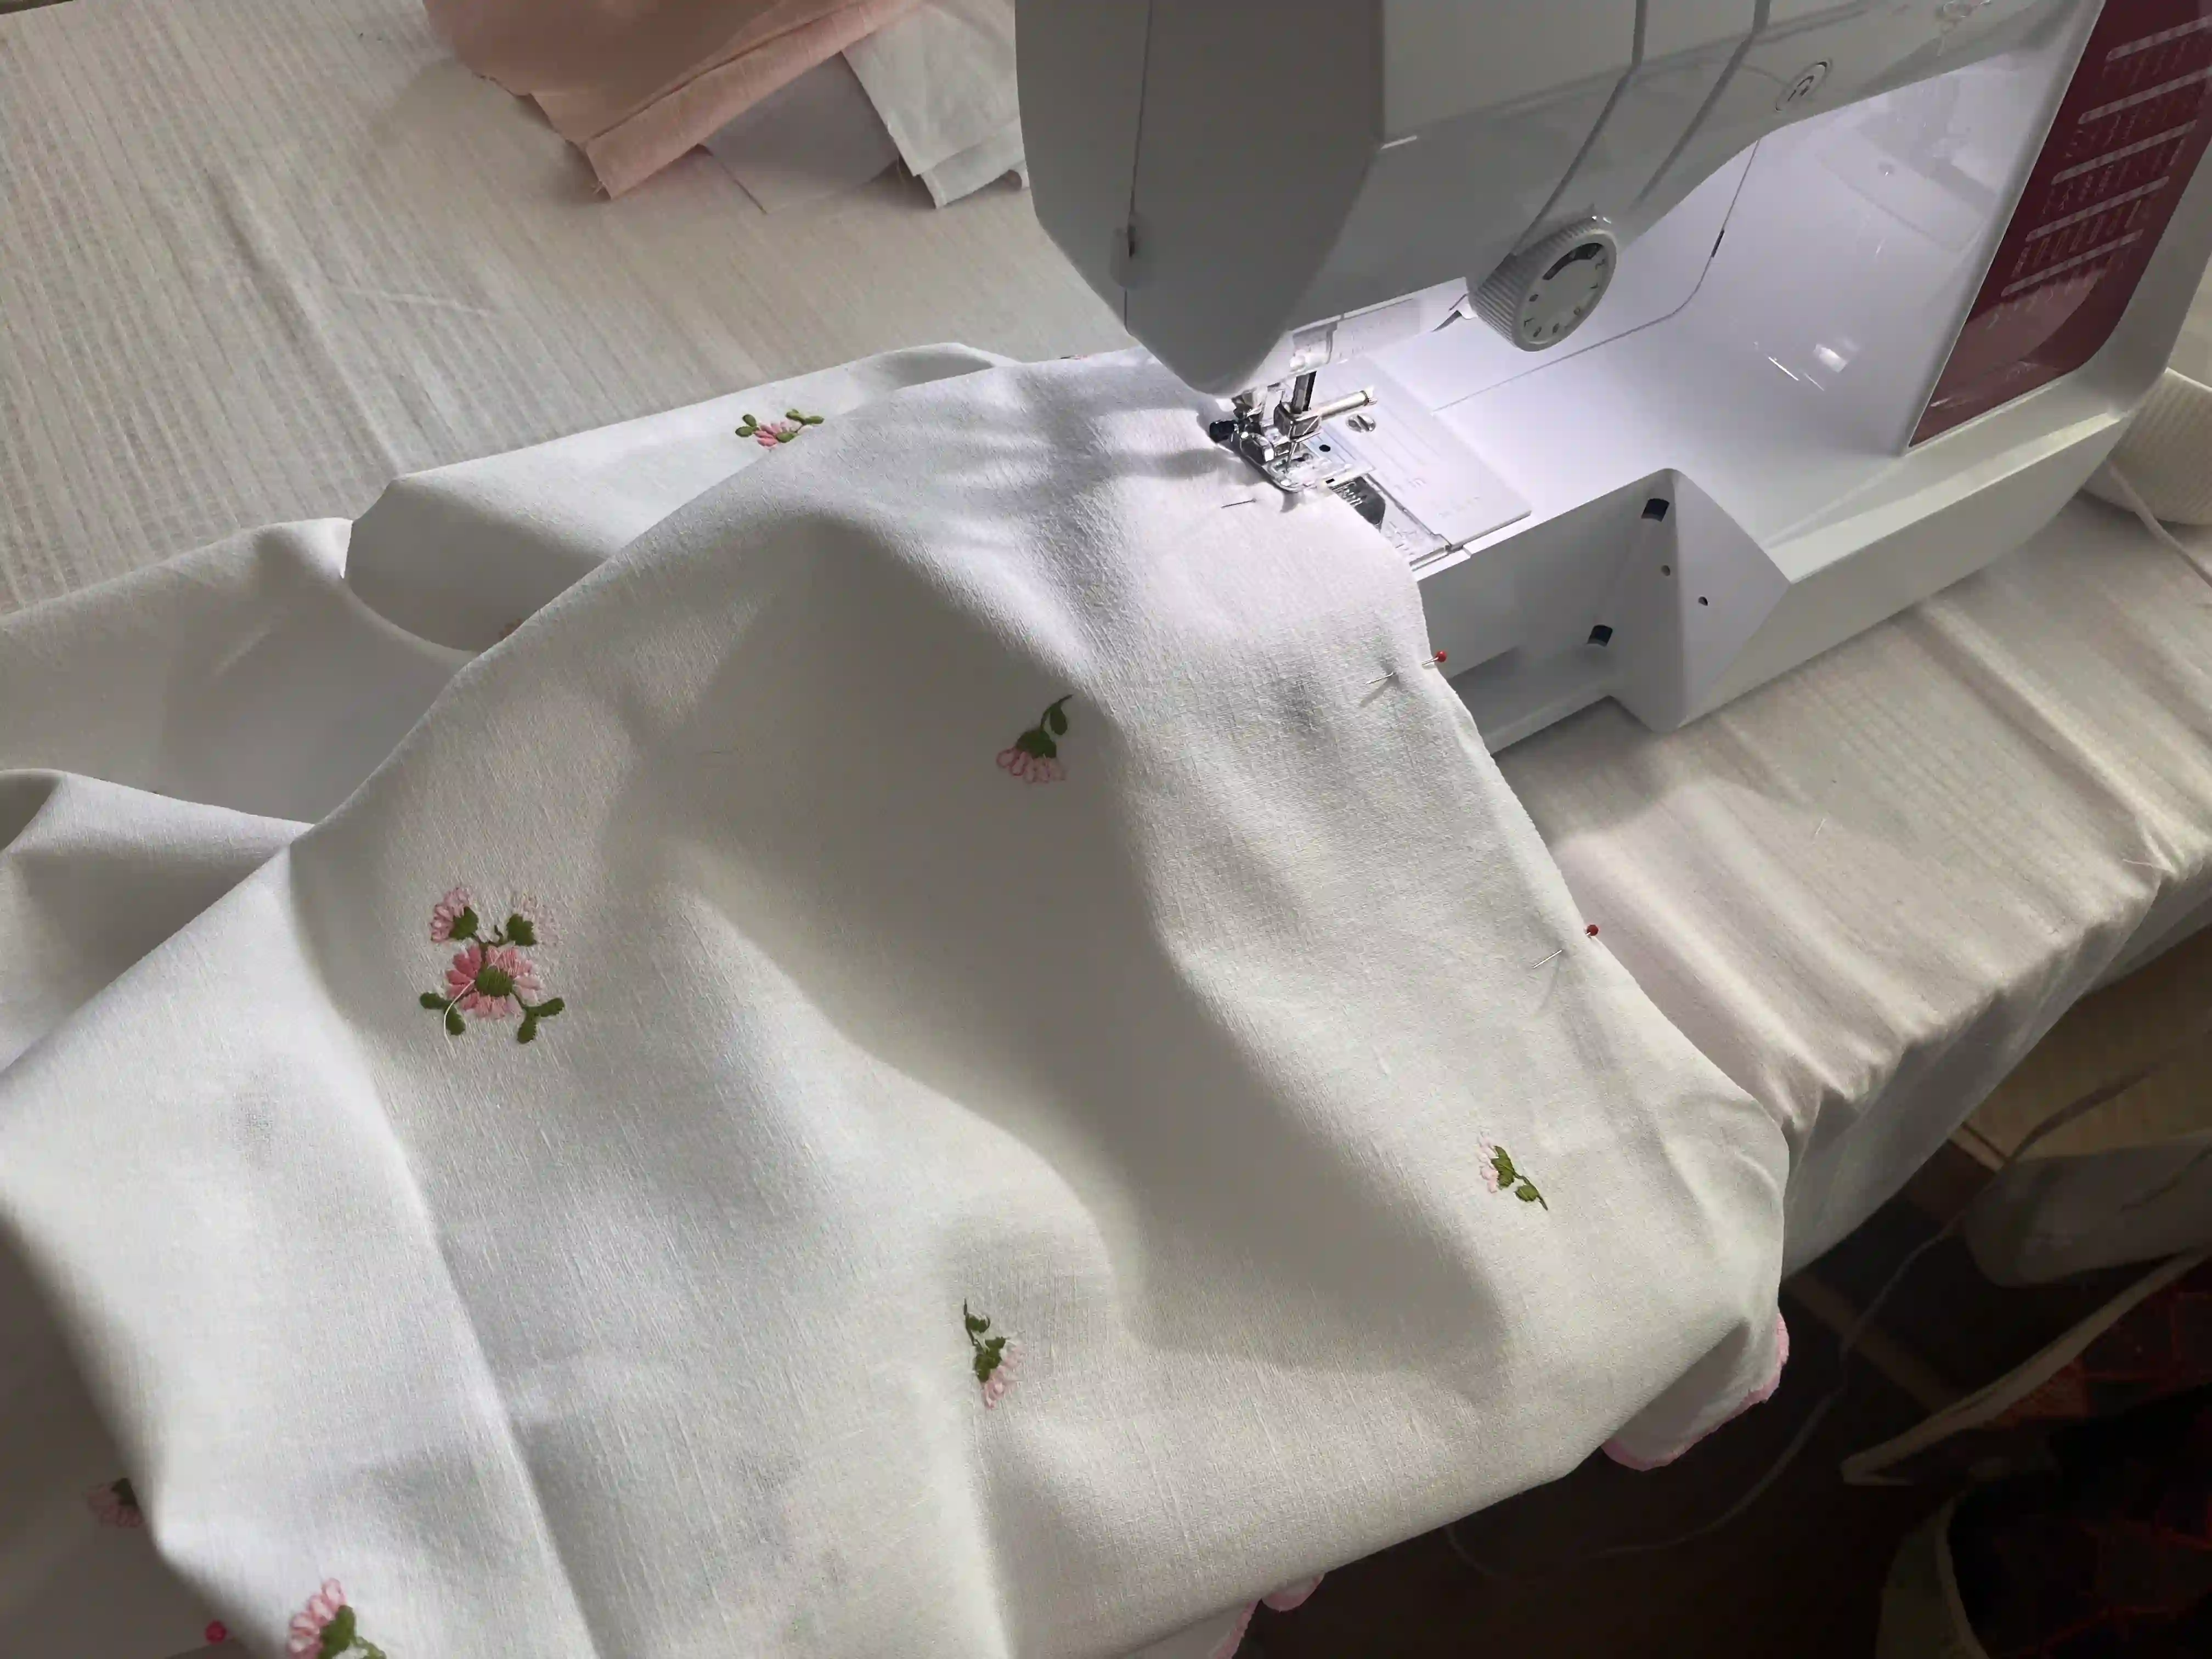
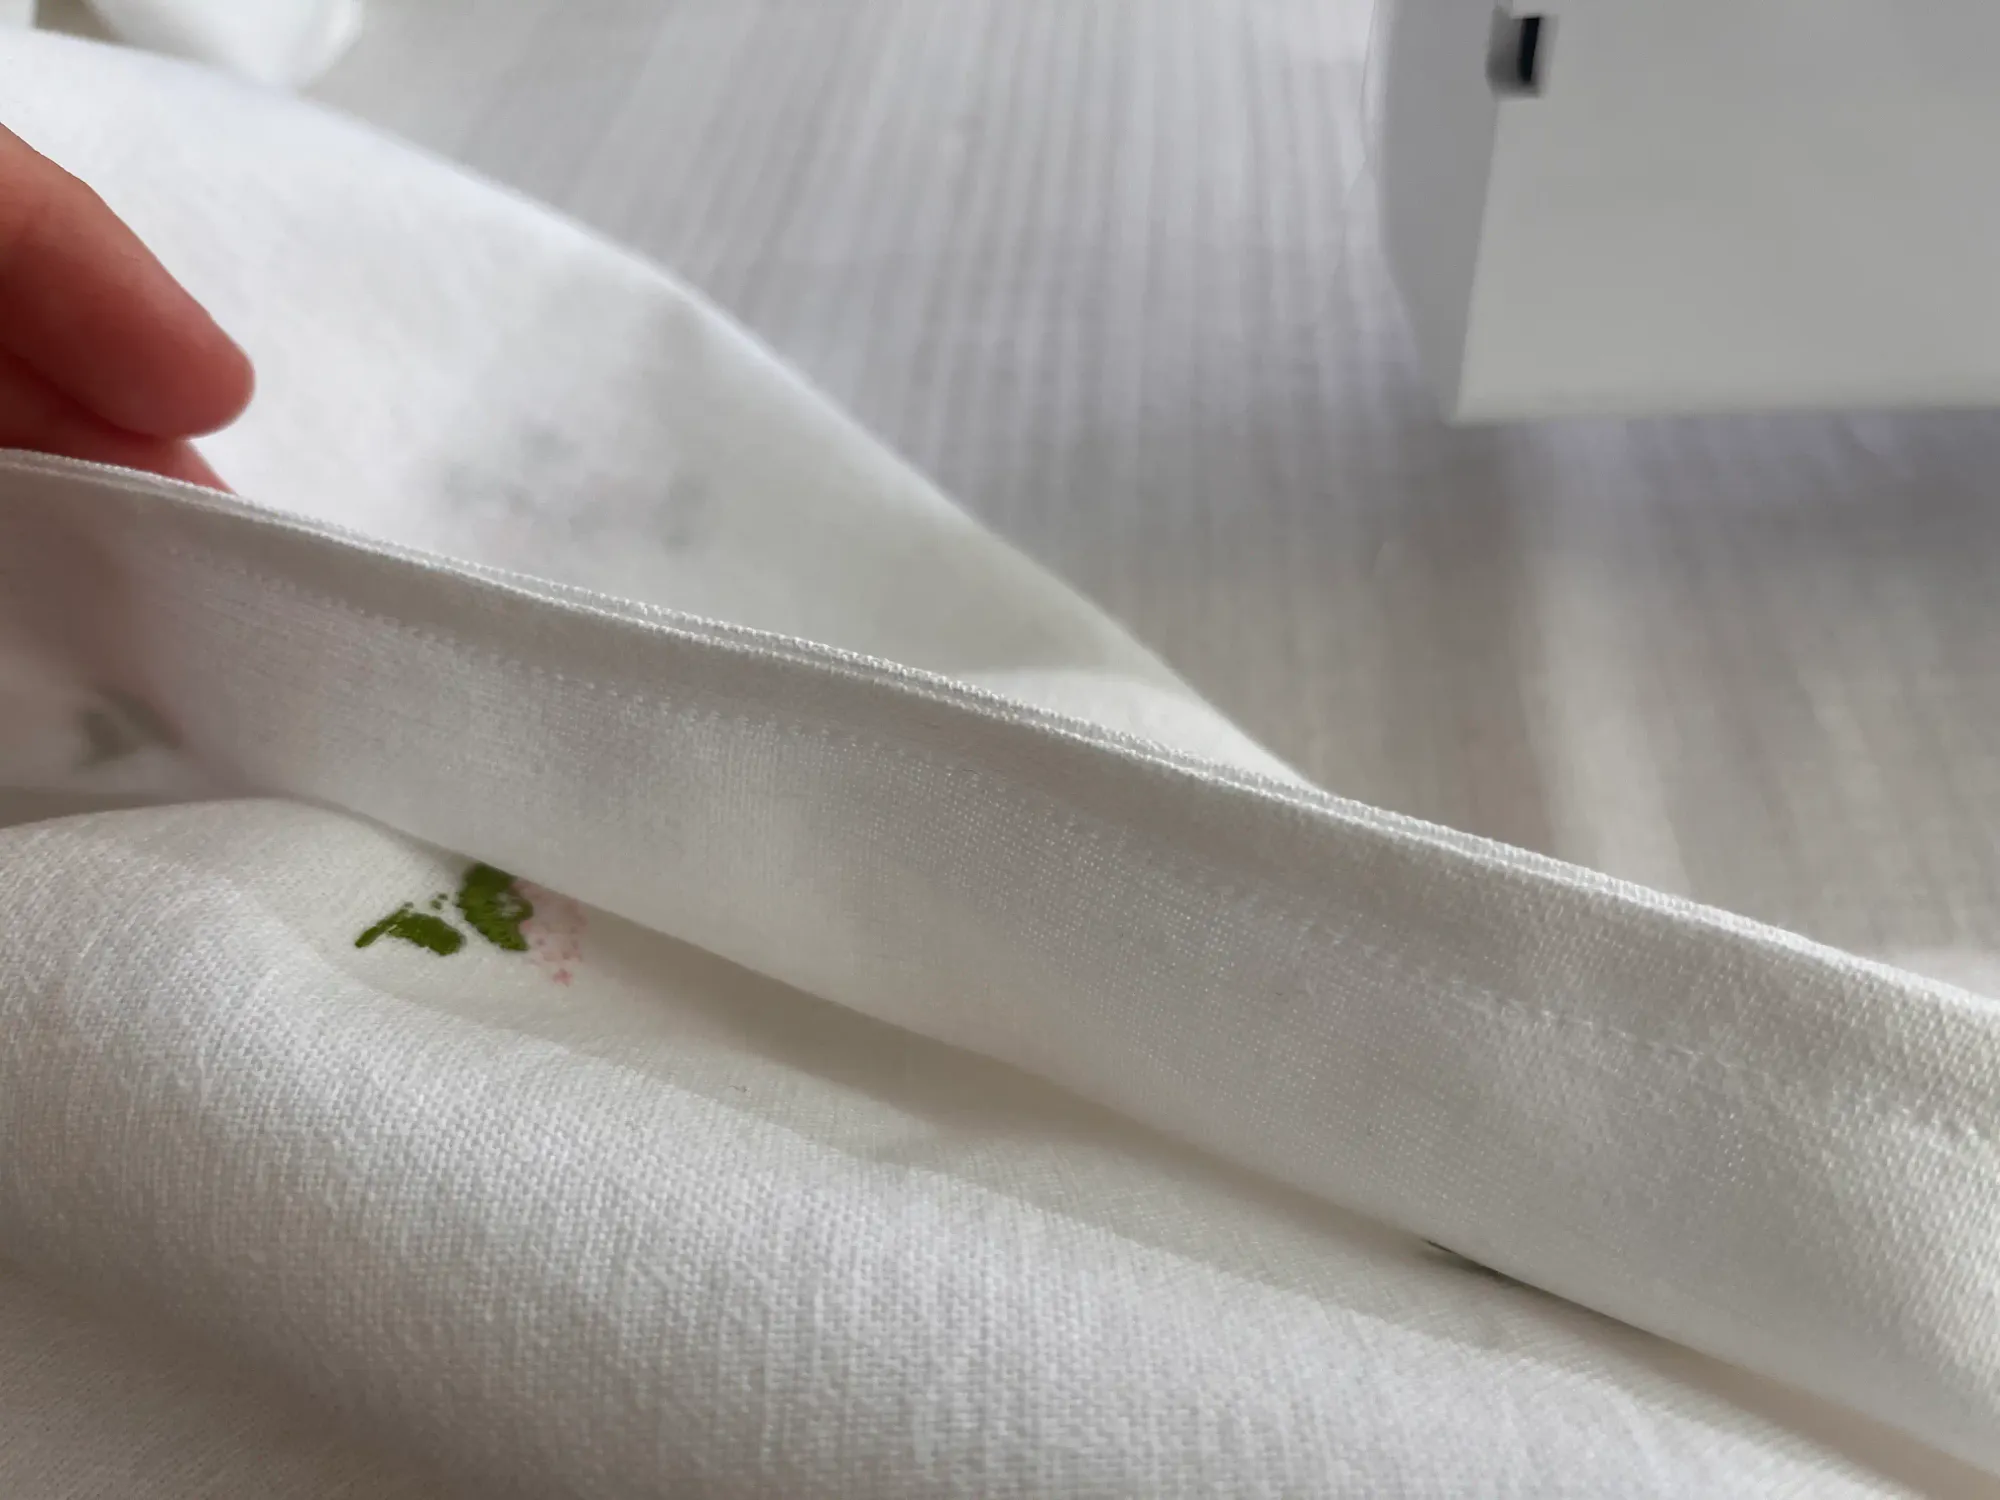
Now, lay the French seam flat against the inside of the dress and stitch along the edge to secure it. From my point of view, it's nice to do. It doesn't really matter for movement, but I personally prefer it this way because it makes the dress feel absolutely perfect and lovingly crafted. It’s not about rushing to churn out twenty dresses in three days; it’s about the creative process and taking time offline. Welcome to the world of Quiet Sewing, my friend.
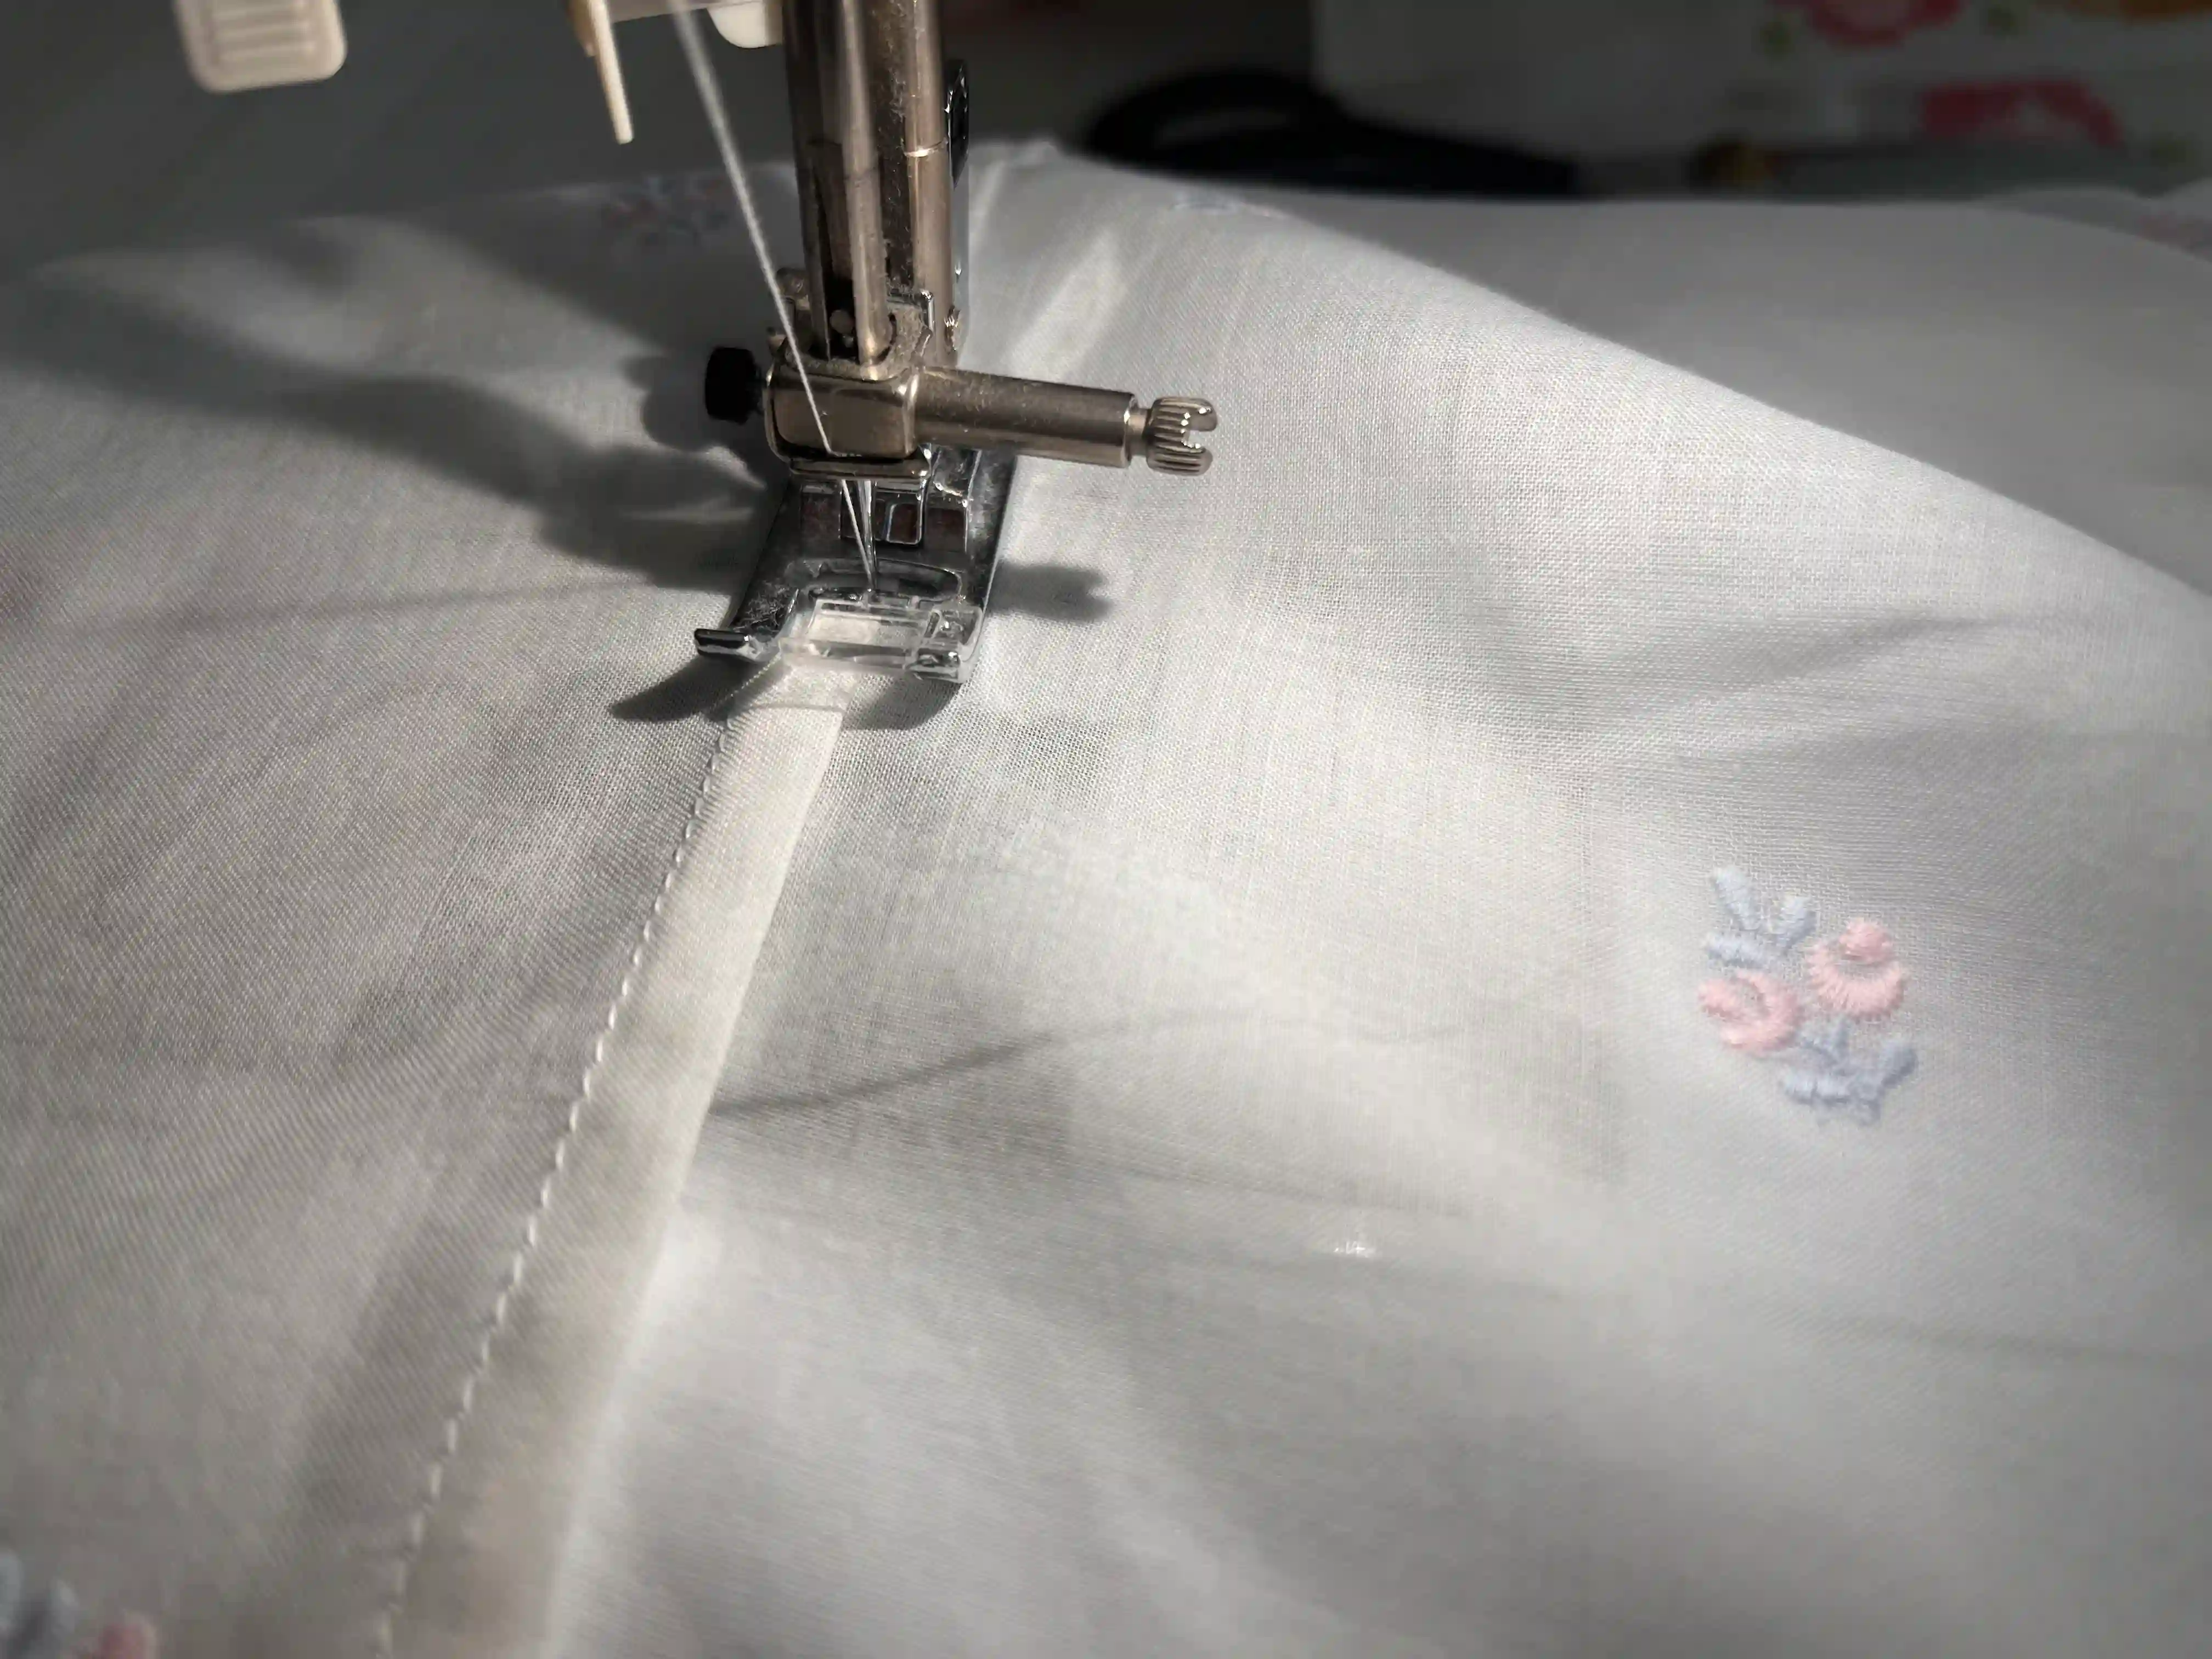
Now turn the dress right side out.
Take the bottom edge, fold in a small section, and stitch all the way around. Then fold it over again and stitch around the entire hem once more to create a neat finish for your beautiful dress.
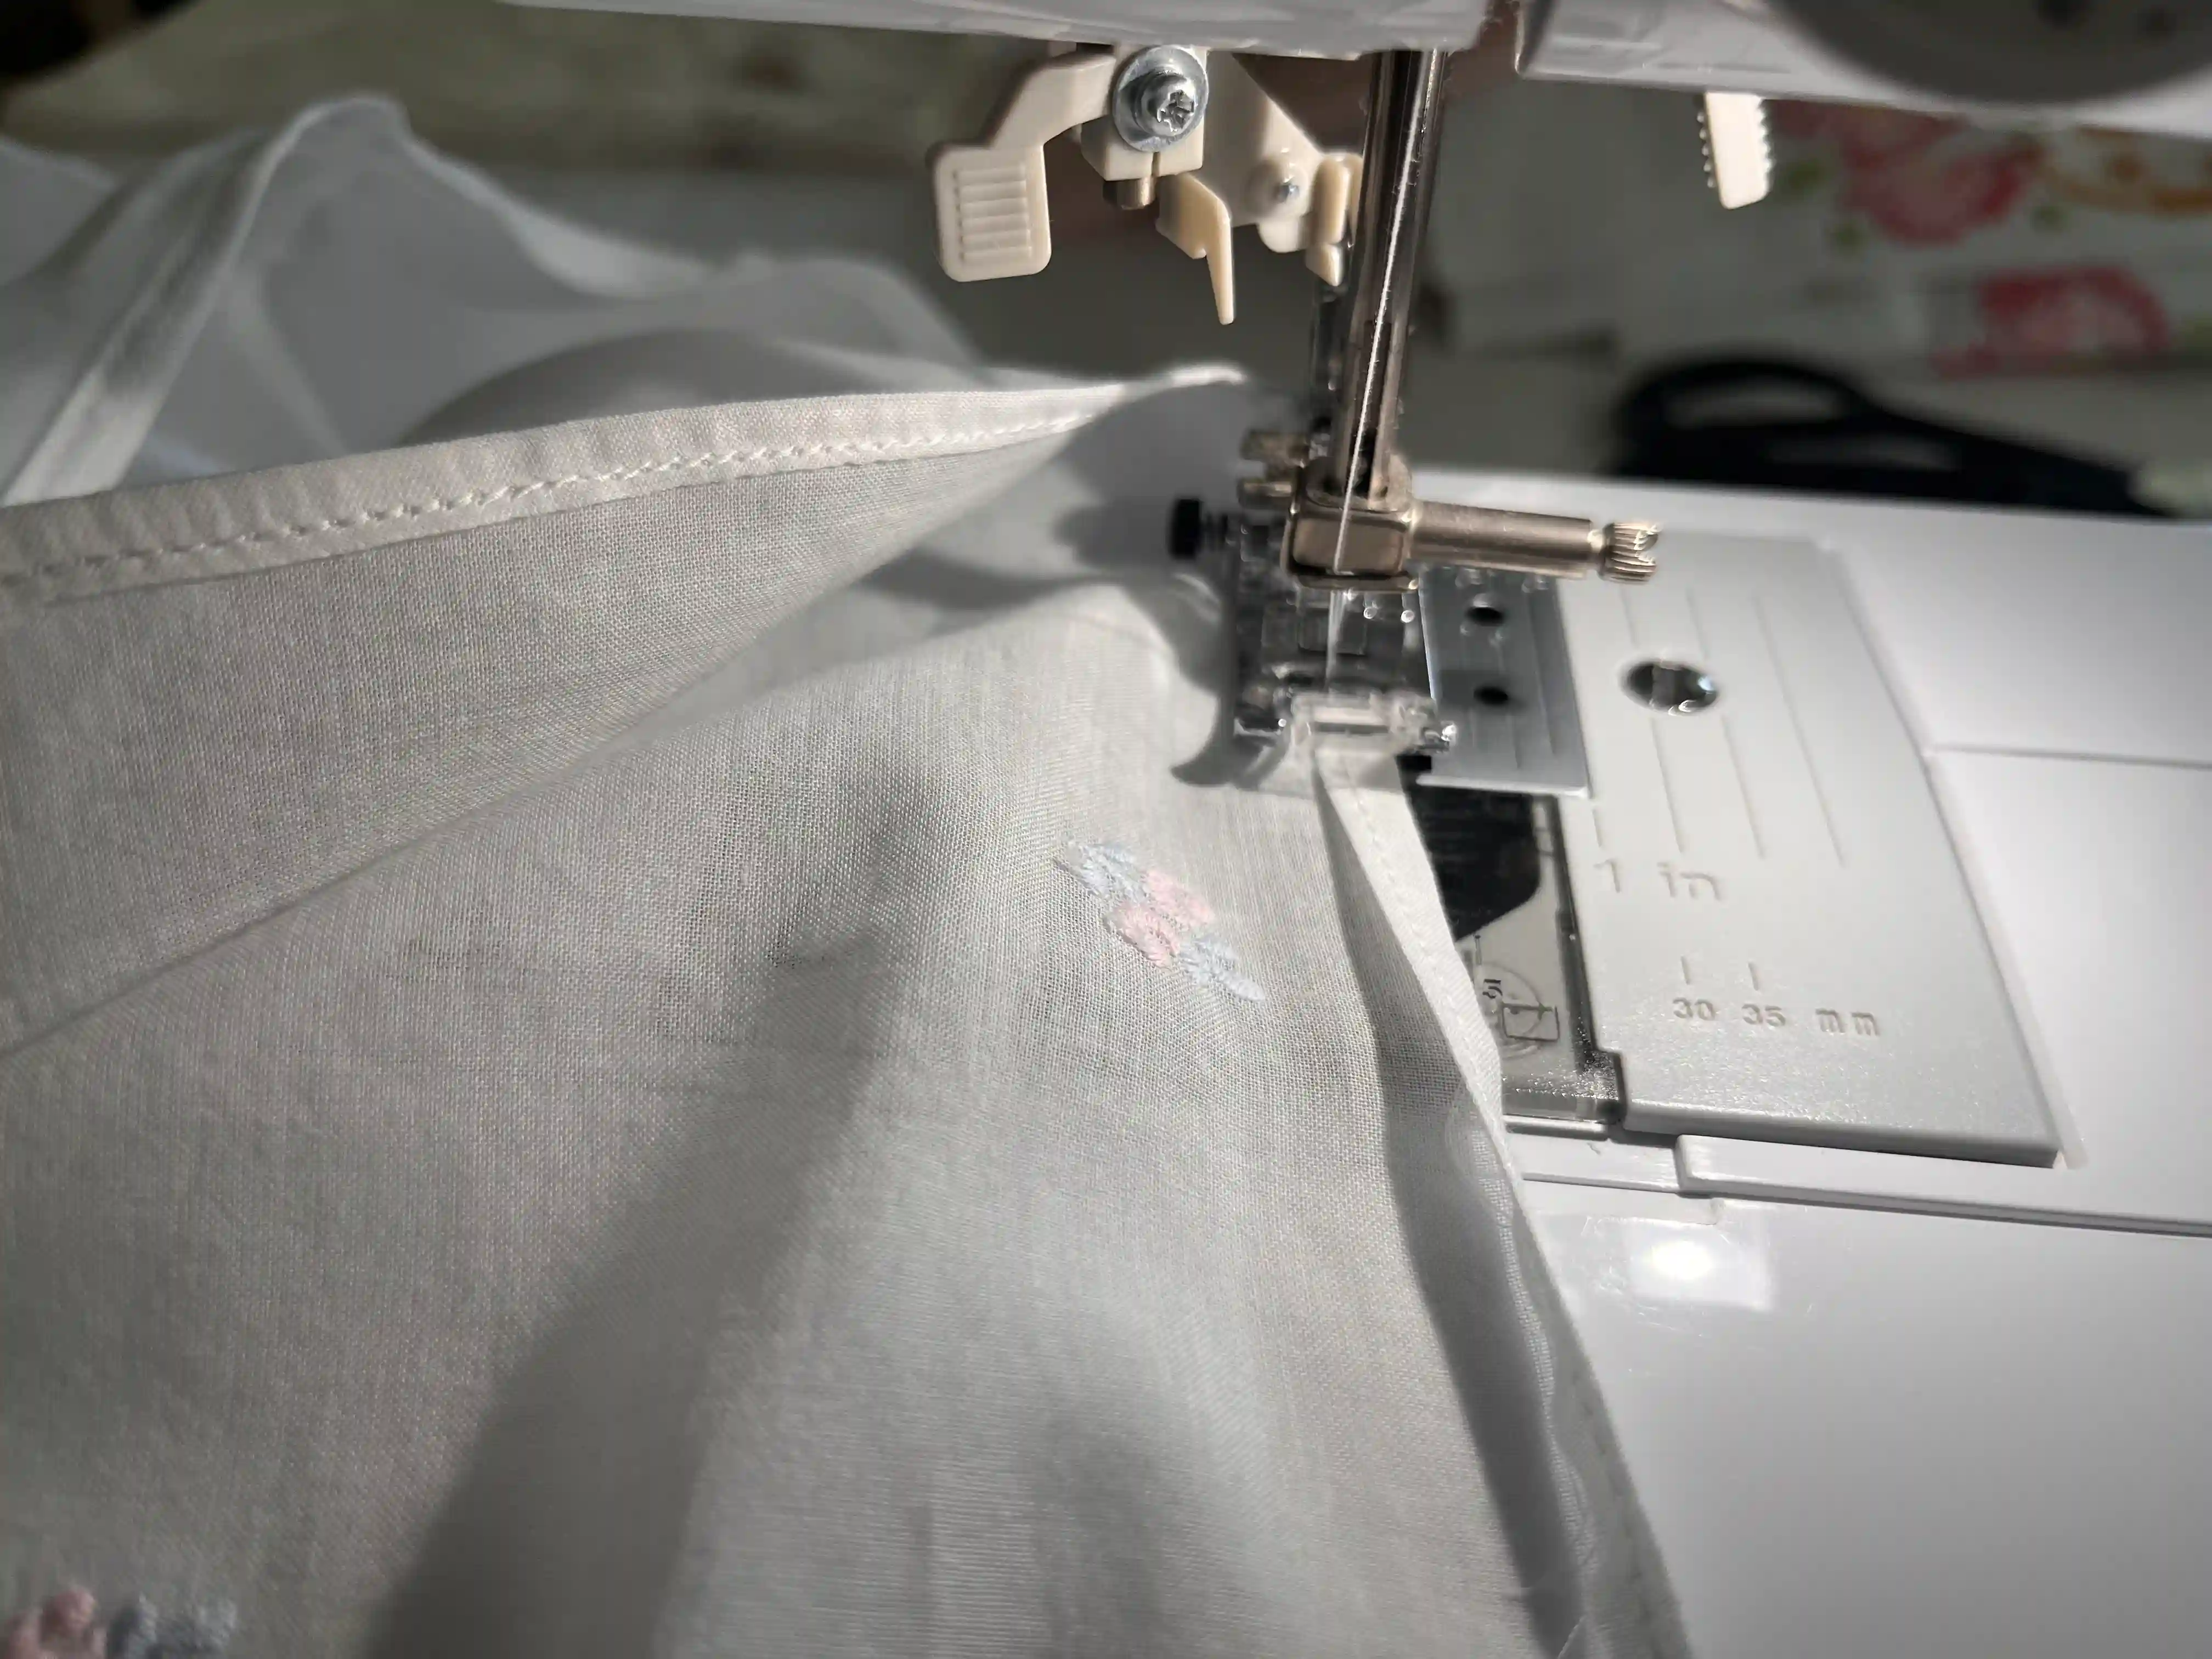
Now fold both armholes inward in the same way and stitch them.
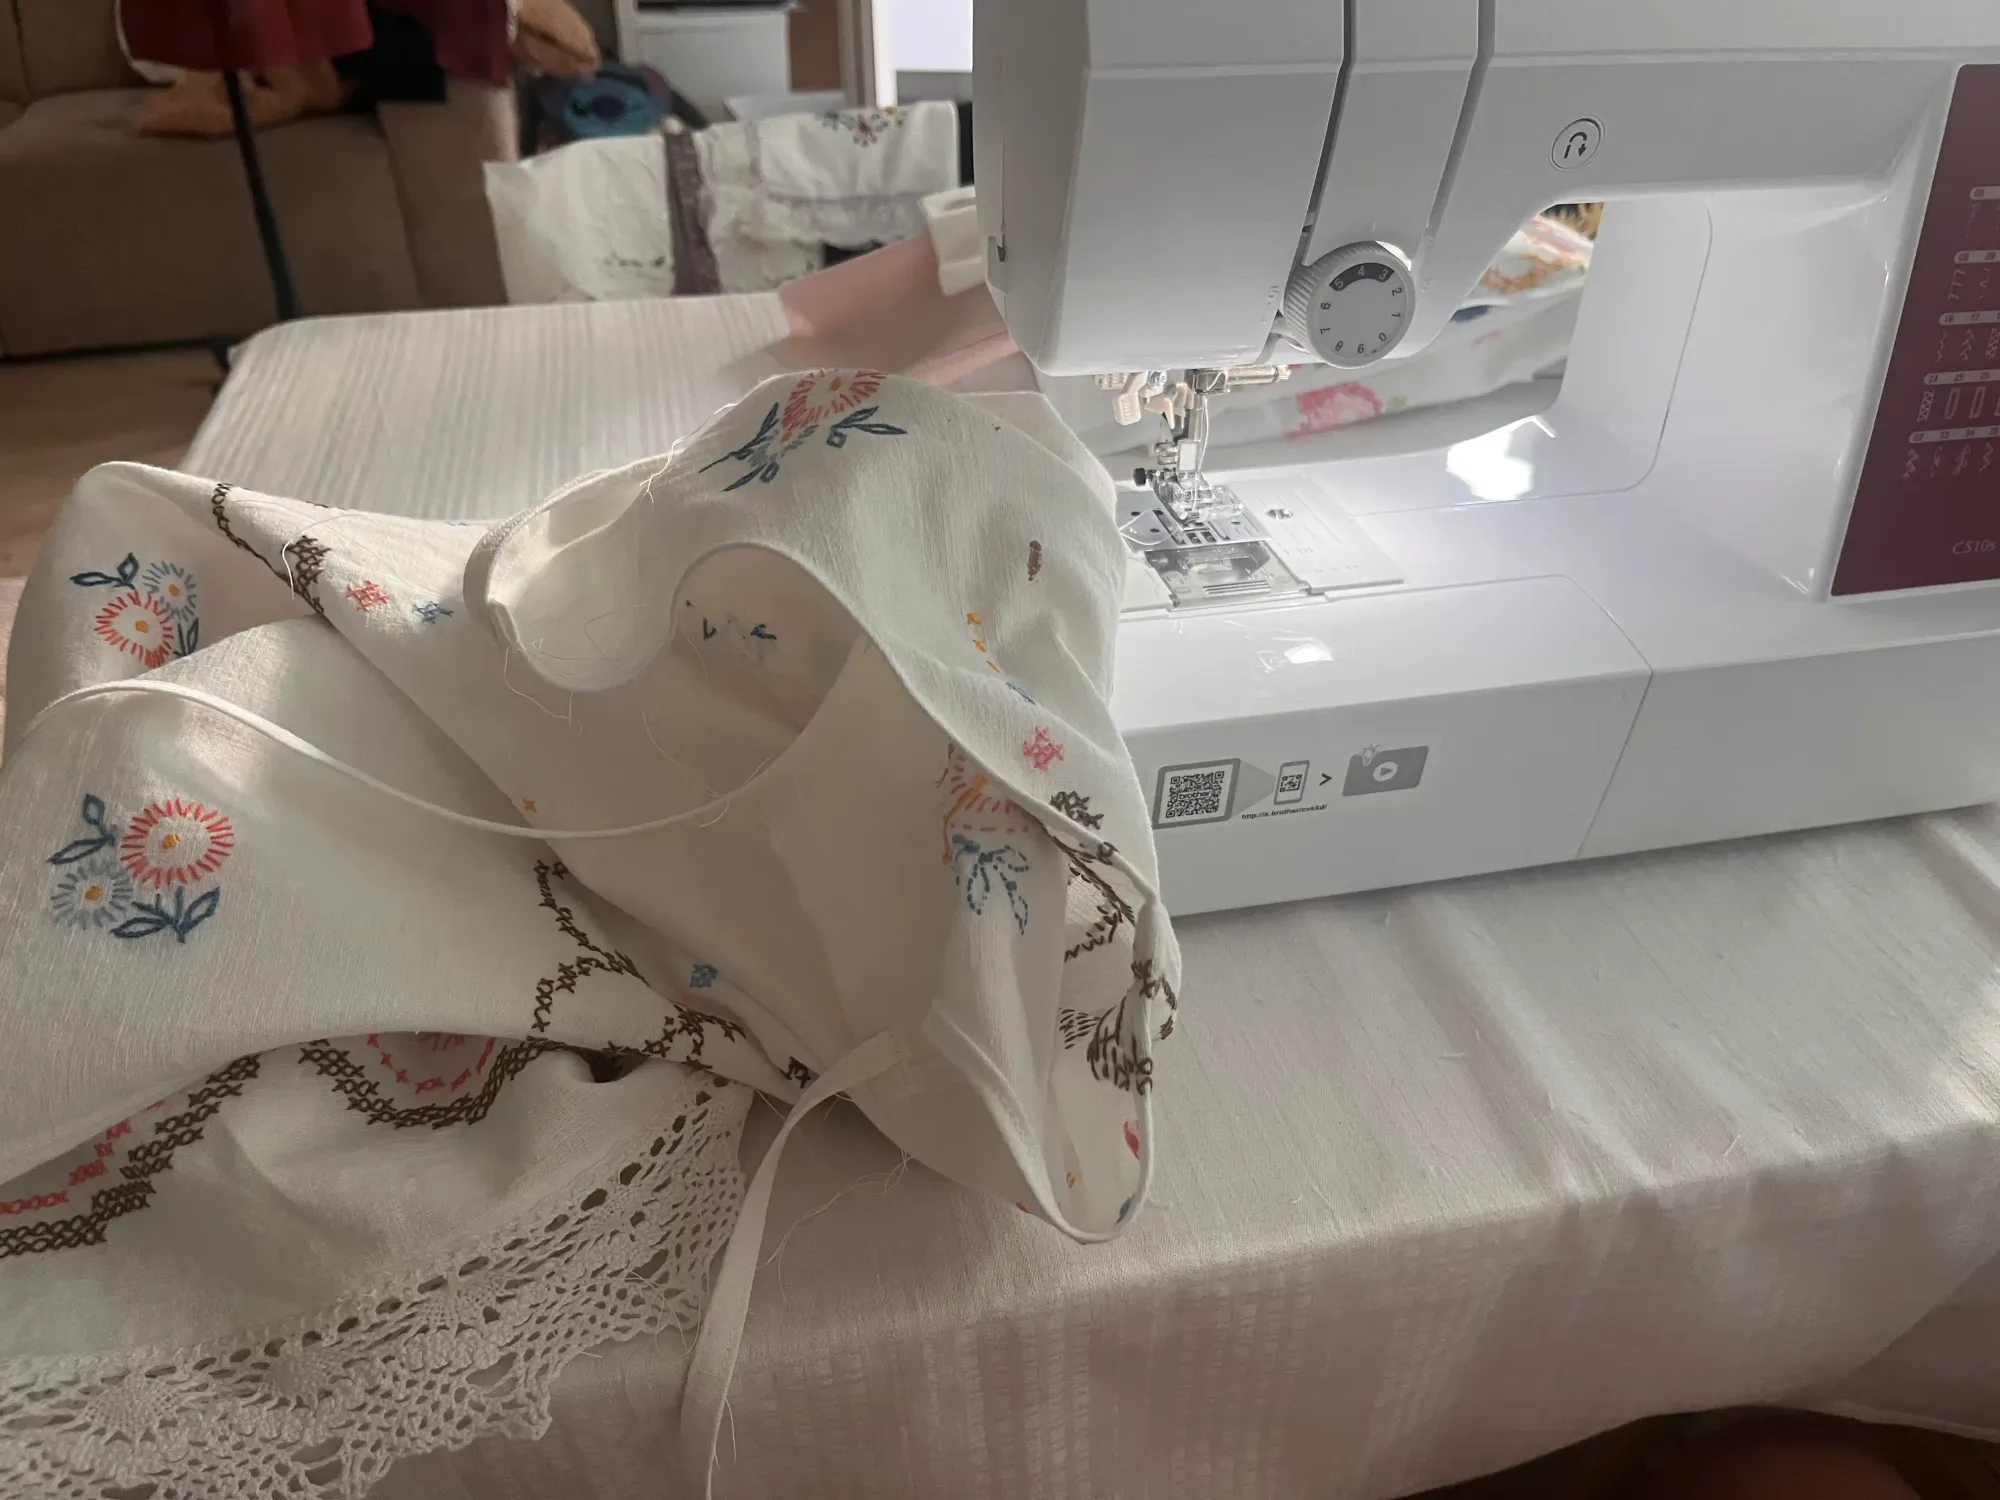
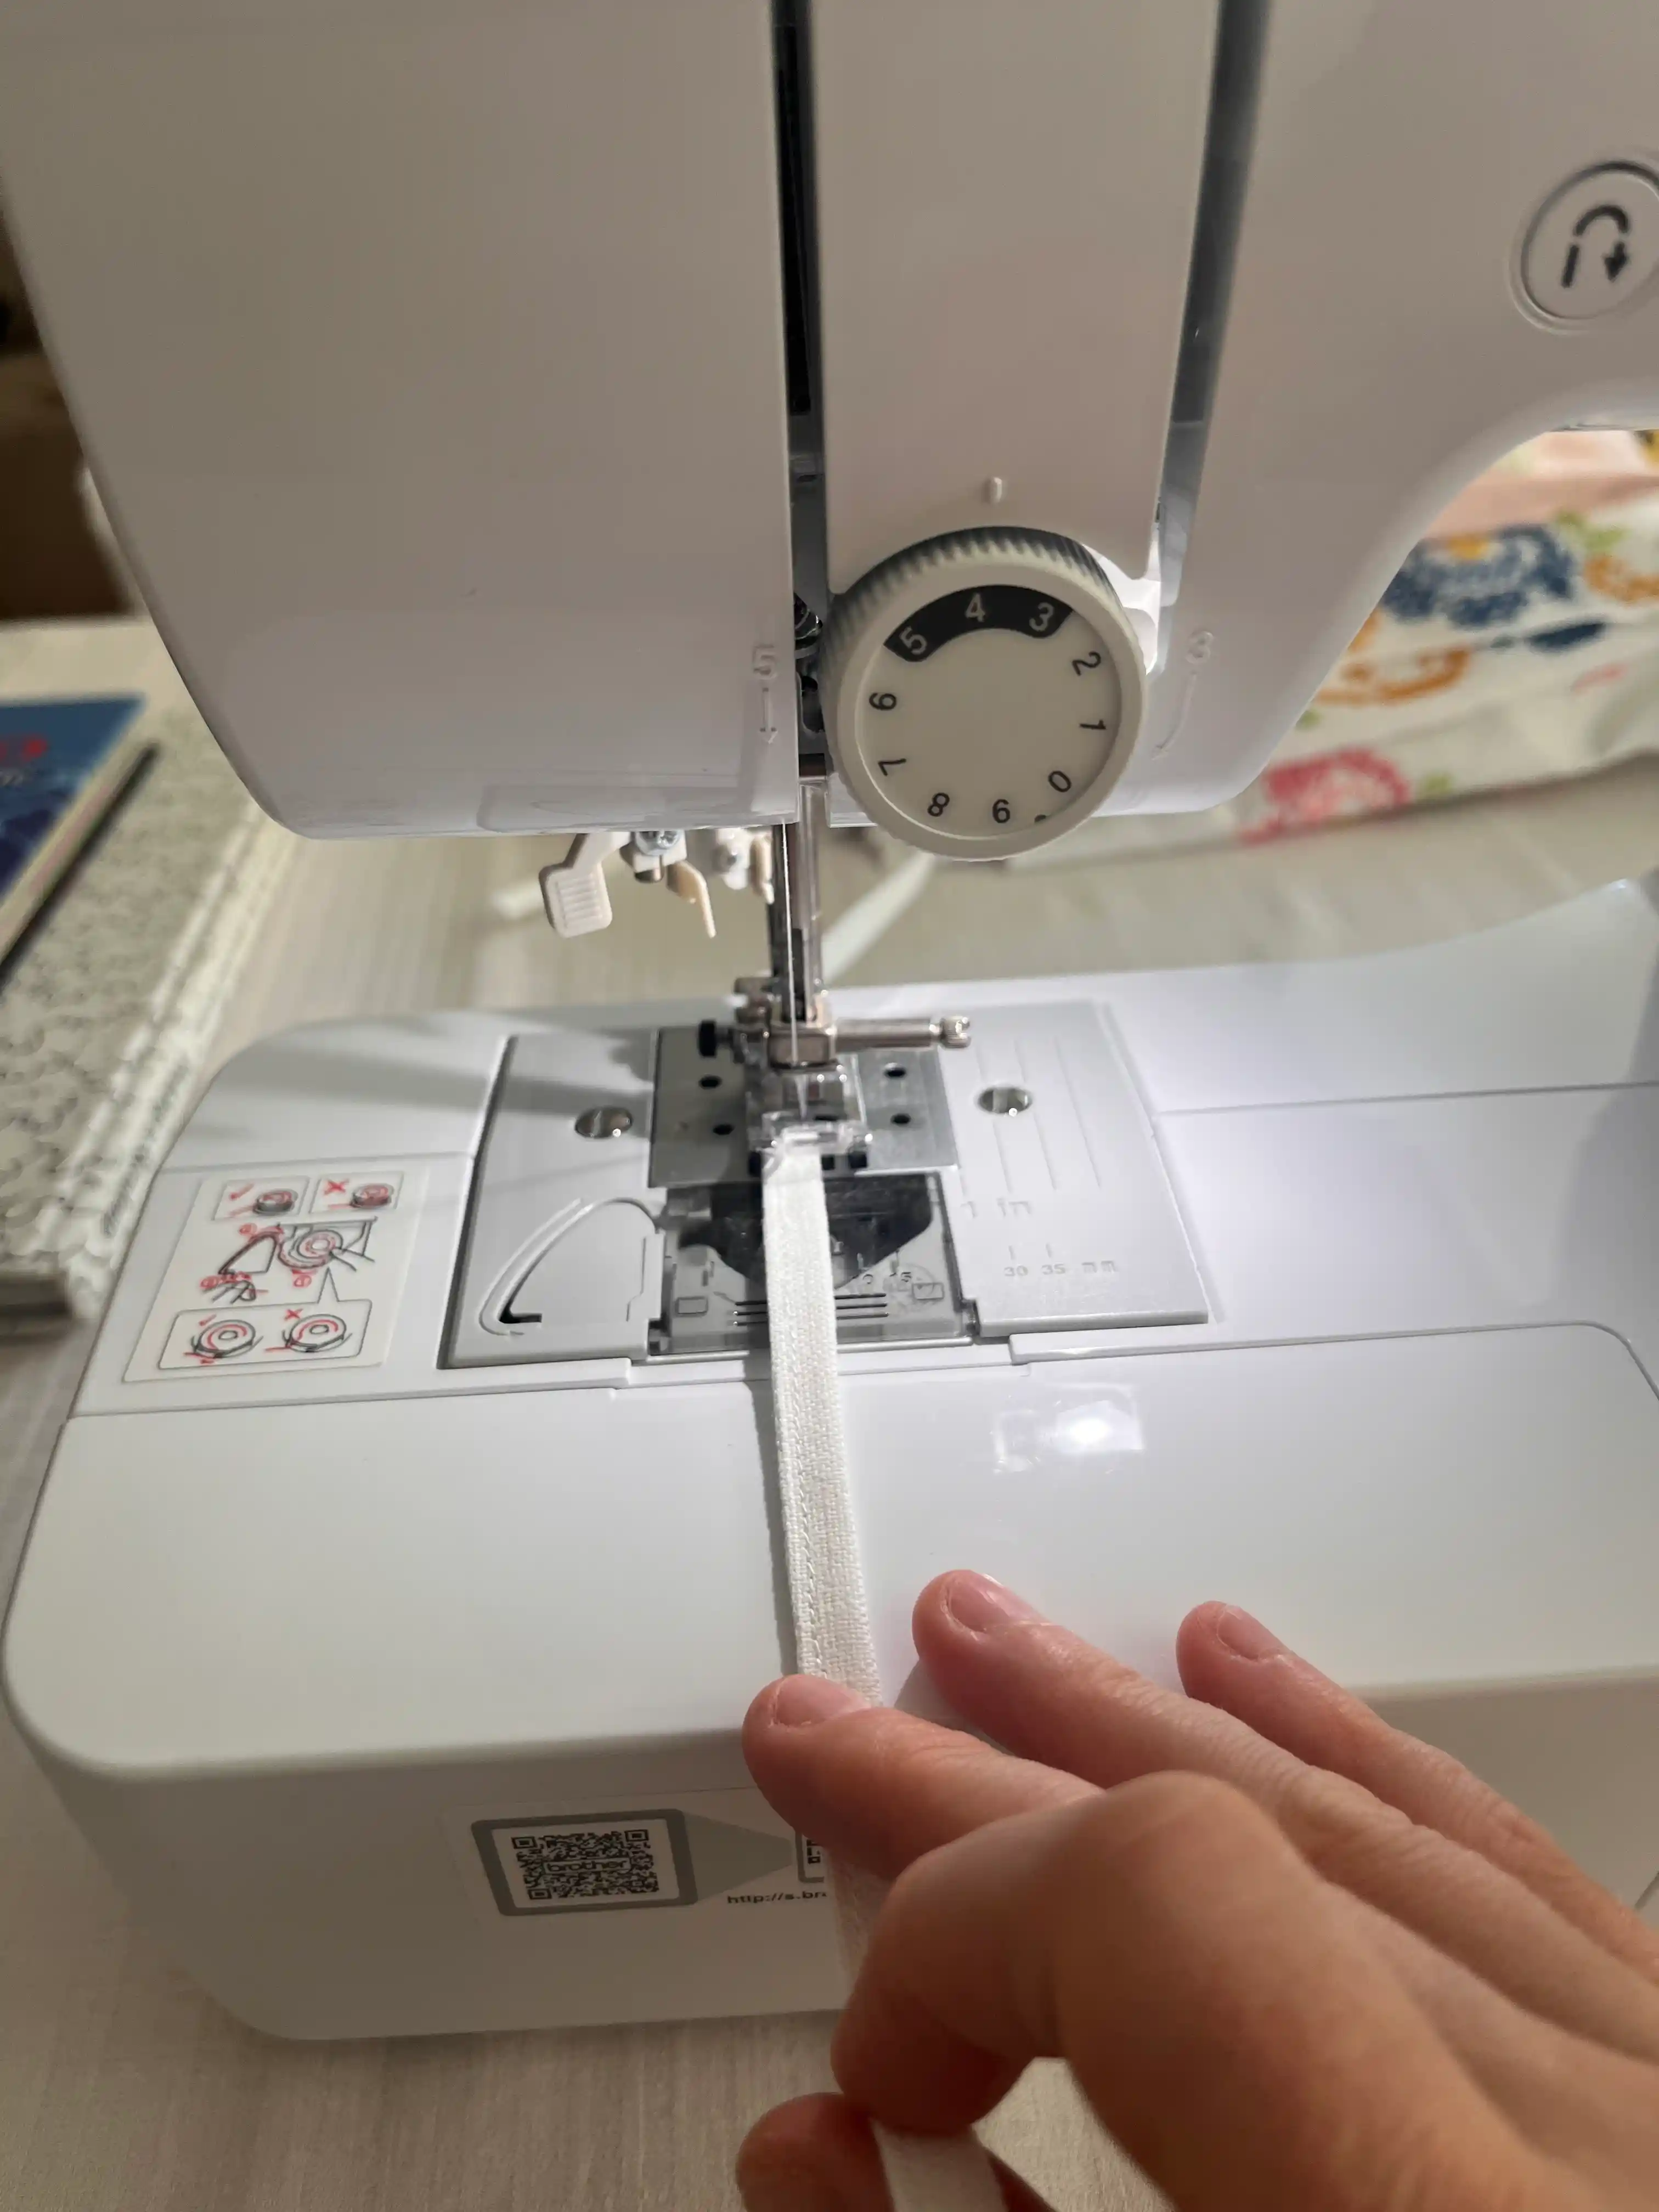
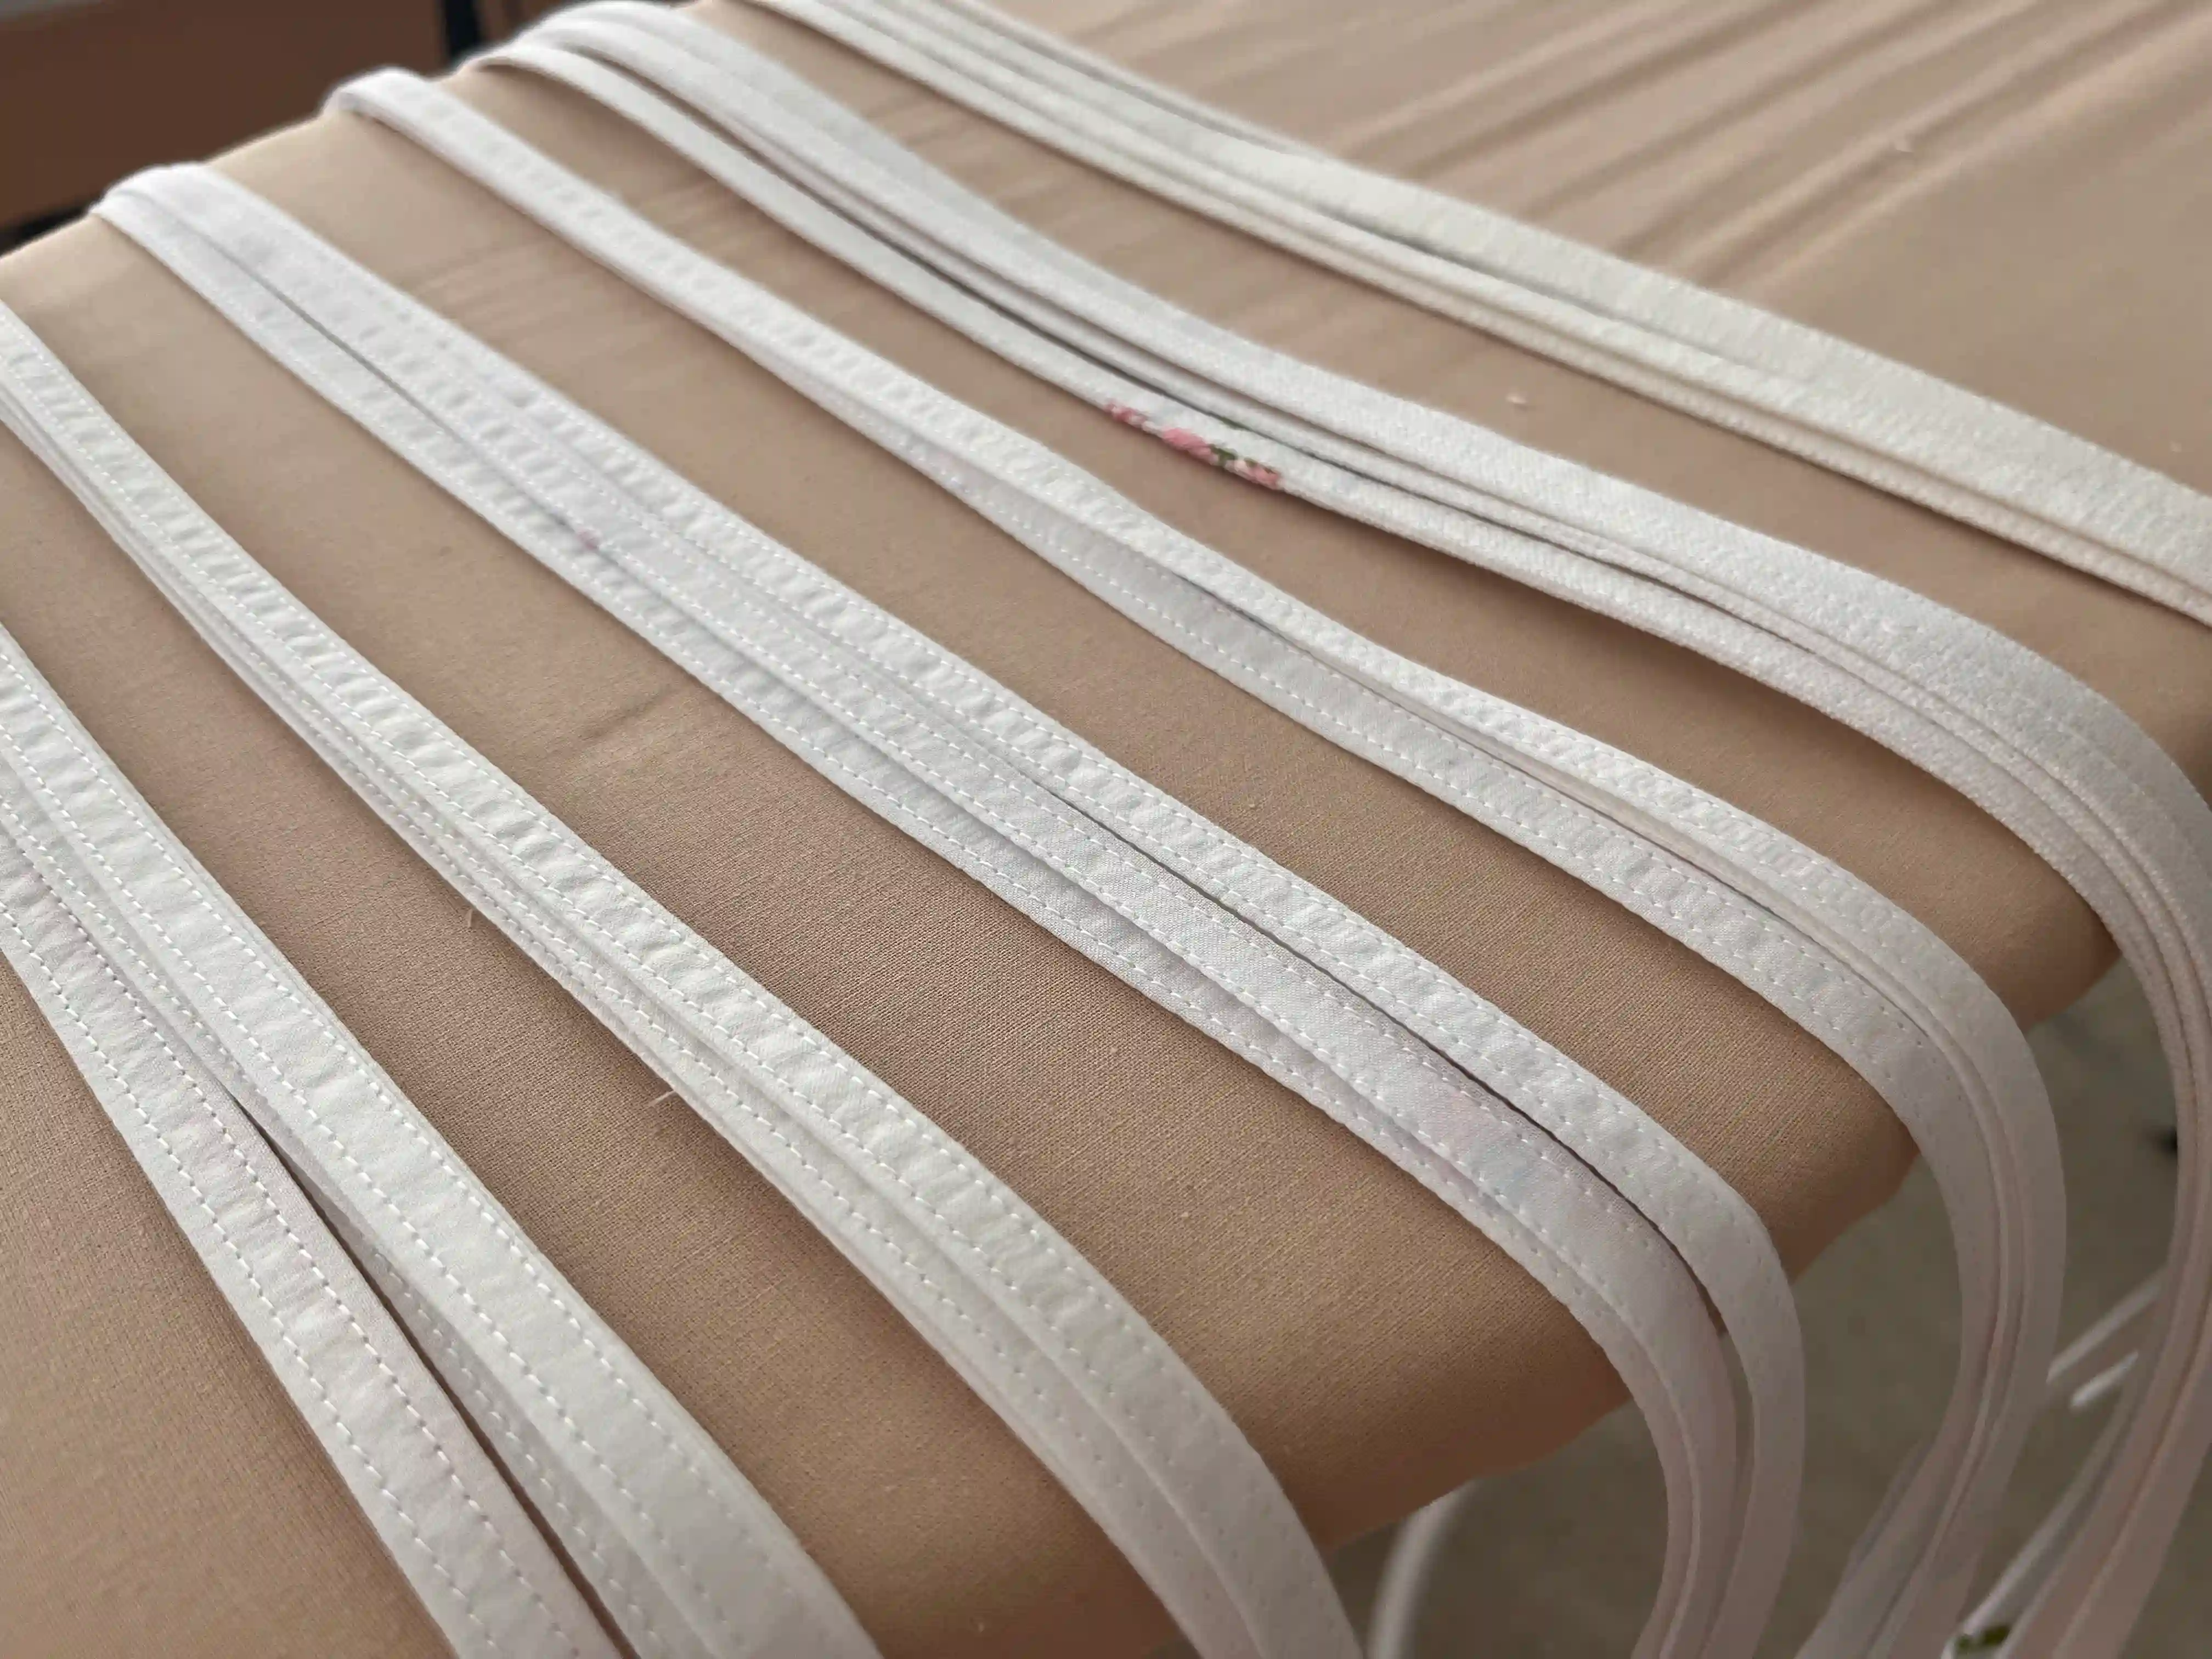
Prepare the shoulder ties. Cut the cord to the desired length, then fold it lengthwise first in half, then into quarters toward the center. Press it thoroughly so the cord holds its shape well during sewing.
Next, fold the cord along these lines and stitch along its entire length. Once stitched, repeat the process on the other long edge so both sides look neat.
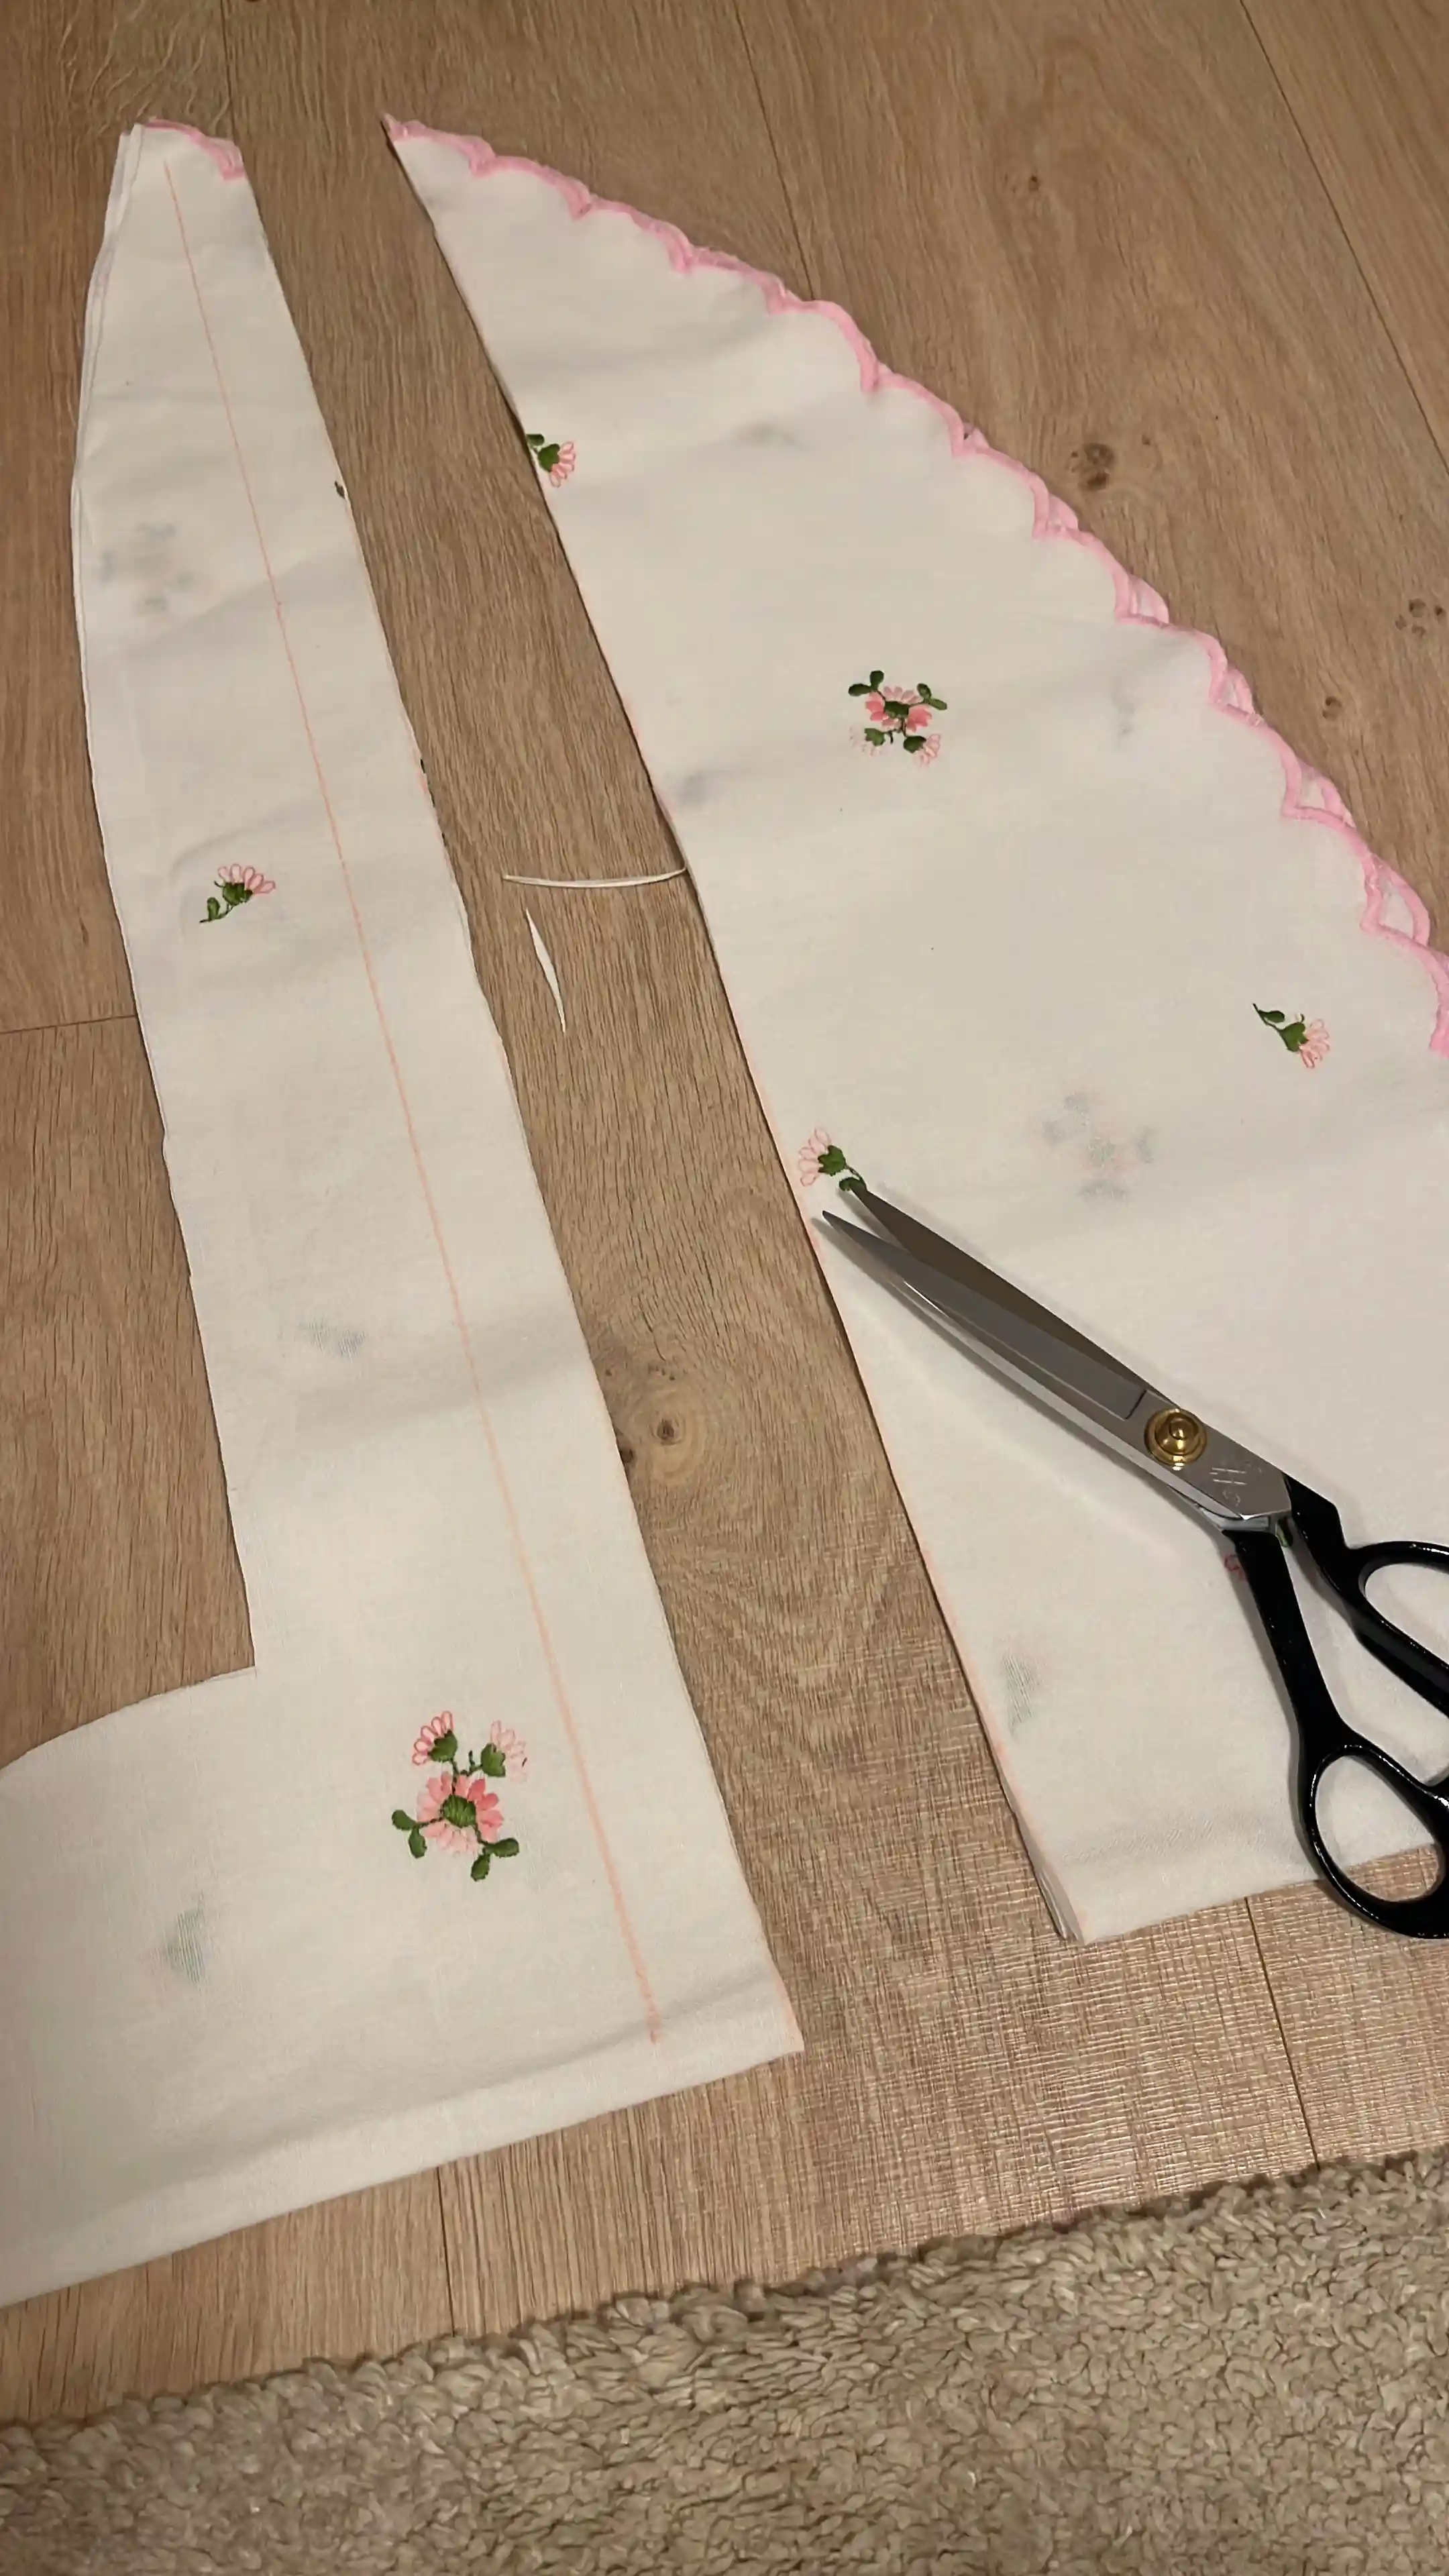
The dress is now right-side out. Stitch along the entire top edge and fold it inward.
Now, fold the edge inward again and stitch along it once more to create a neat finish for the top of the dress. When making this second pass of stitching, tuck all four ends of the tie-string underneath the folded edge so they sew onto the dress.
The strings will now be attached to the dress, pointing inward.
To finish the dress, take the string, fold it upward and out so it can be tied at the shoulders, and stitch it in place along the top edge of the dress.
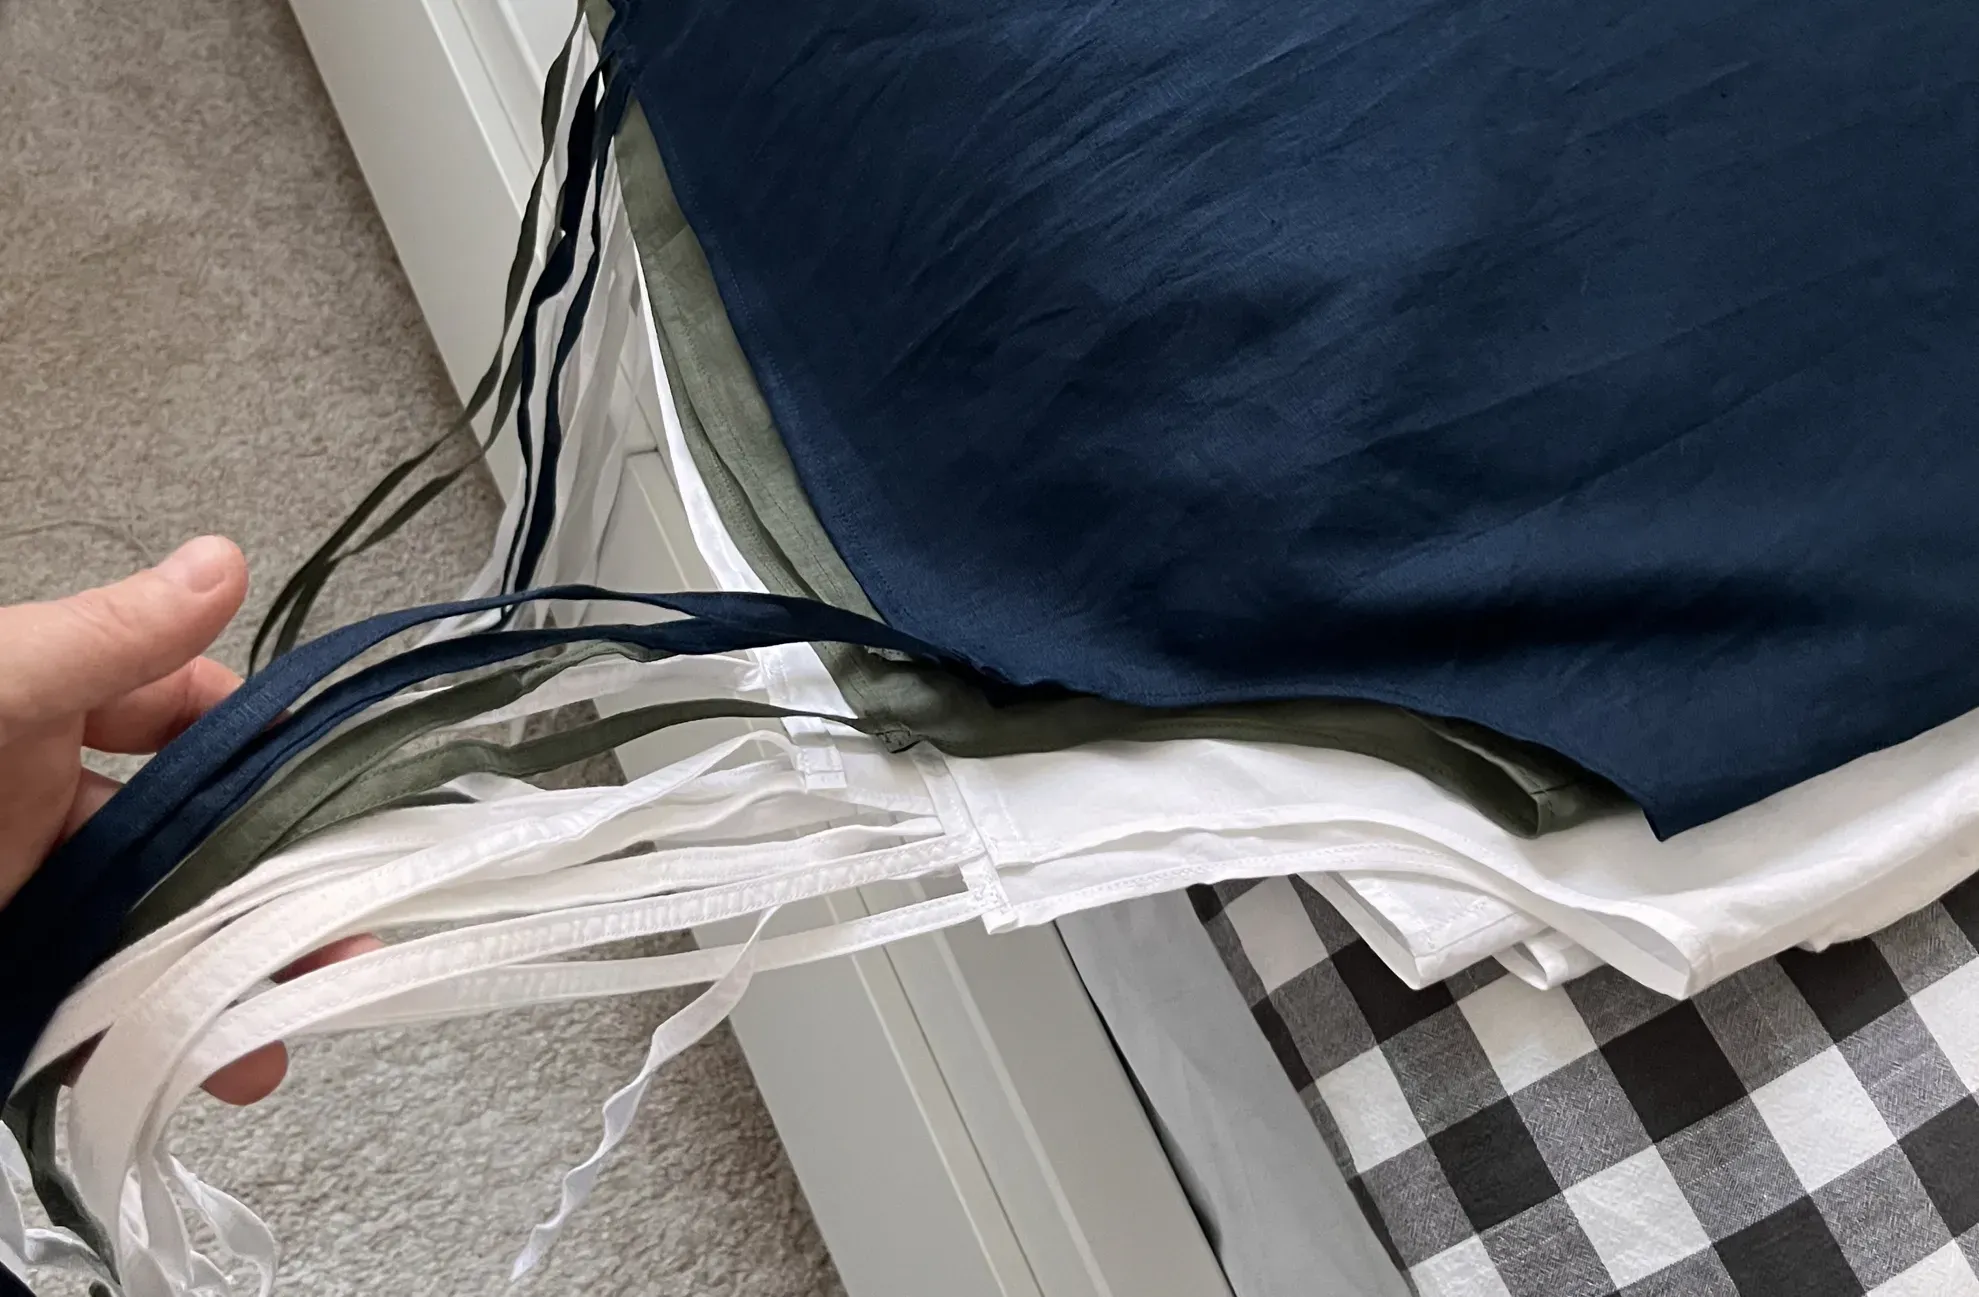
Yahooo, your new romantic dress is now ready to wear.
If you need any advice, feel free to contact me or the community by commenting below.
I am keeping my fingers crossed for you on this beginner-friendly project.
Remember, we are in this together, so if you need anything, feel free to reach out.
Happy Quiet Sewing 🌸
Dana