Table of Contents
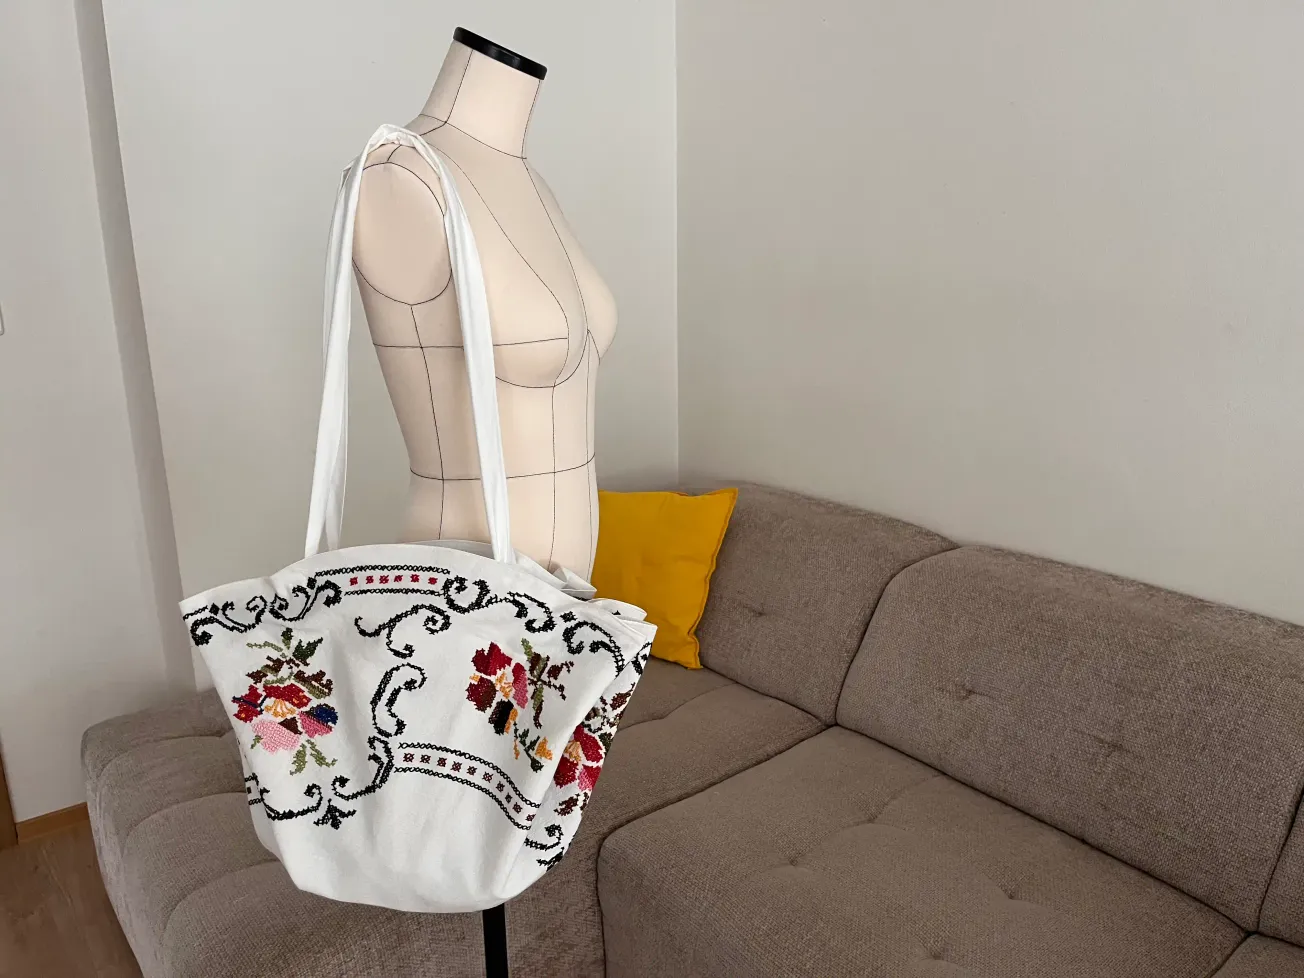
How to sew a round bag? Sometimes we need to quickly and conveniently put something into a bag, or take something out, without fumbling around to find it by touch. Bags are an integral part of our daily lives; we have heaps of them, yet somehow never quite enough. Occasionally, however, you need a bag with a unique shape, and that’s exactly what the Round Bag is.
It is a round bag featuring loops sewn along its inner or outer circumference, through which the bag's handle is threaded.
The main advantage is that you can easily open it into a circle, add or remove items, then pull the handles to close it and be on your way.
The round bag is a very simple sewing project, ideal for beginners. Plus, if you choose a lovely fabric, you can create a truly unique or even upcycled bag.
I decided to sew mine using an old, hand-embroidered tablecloth that had been sitting unused in a cupboard for years. I gave this old, precious tablecloth a new lease on life so it could see the light of day and shine once more.
Beautiful, special items like hand embroidery deserve to be seen.
It is also a wonderful example of upcycling and an eco-friendly approach to fashion, perfectly embodying the "Quiet Sewing" concept.
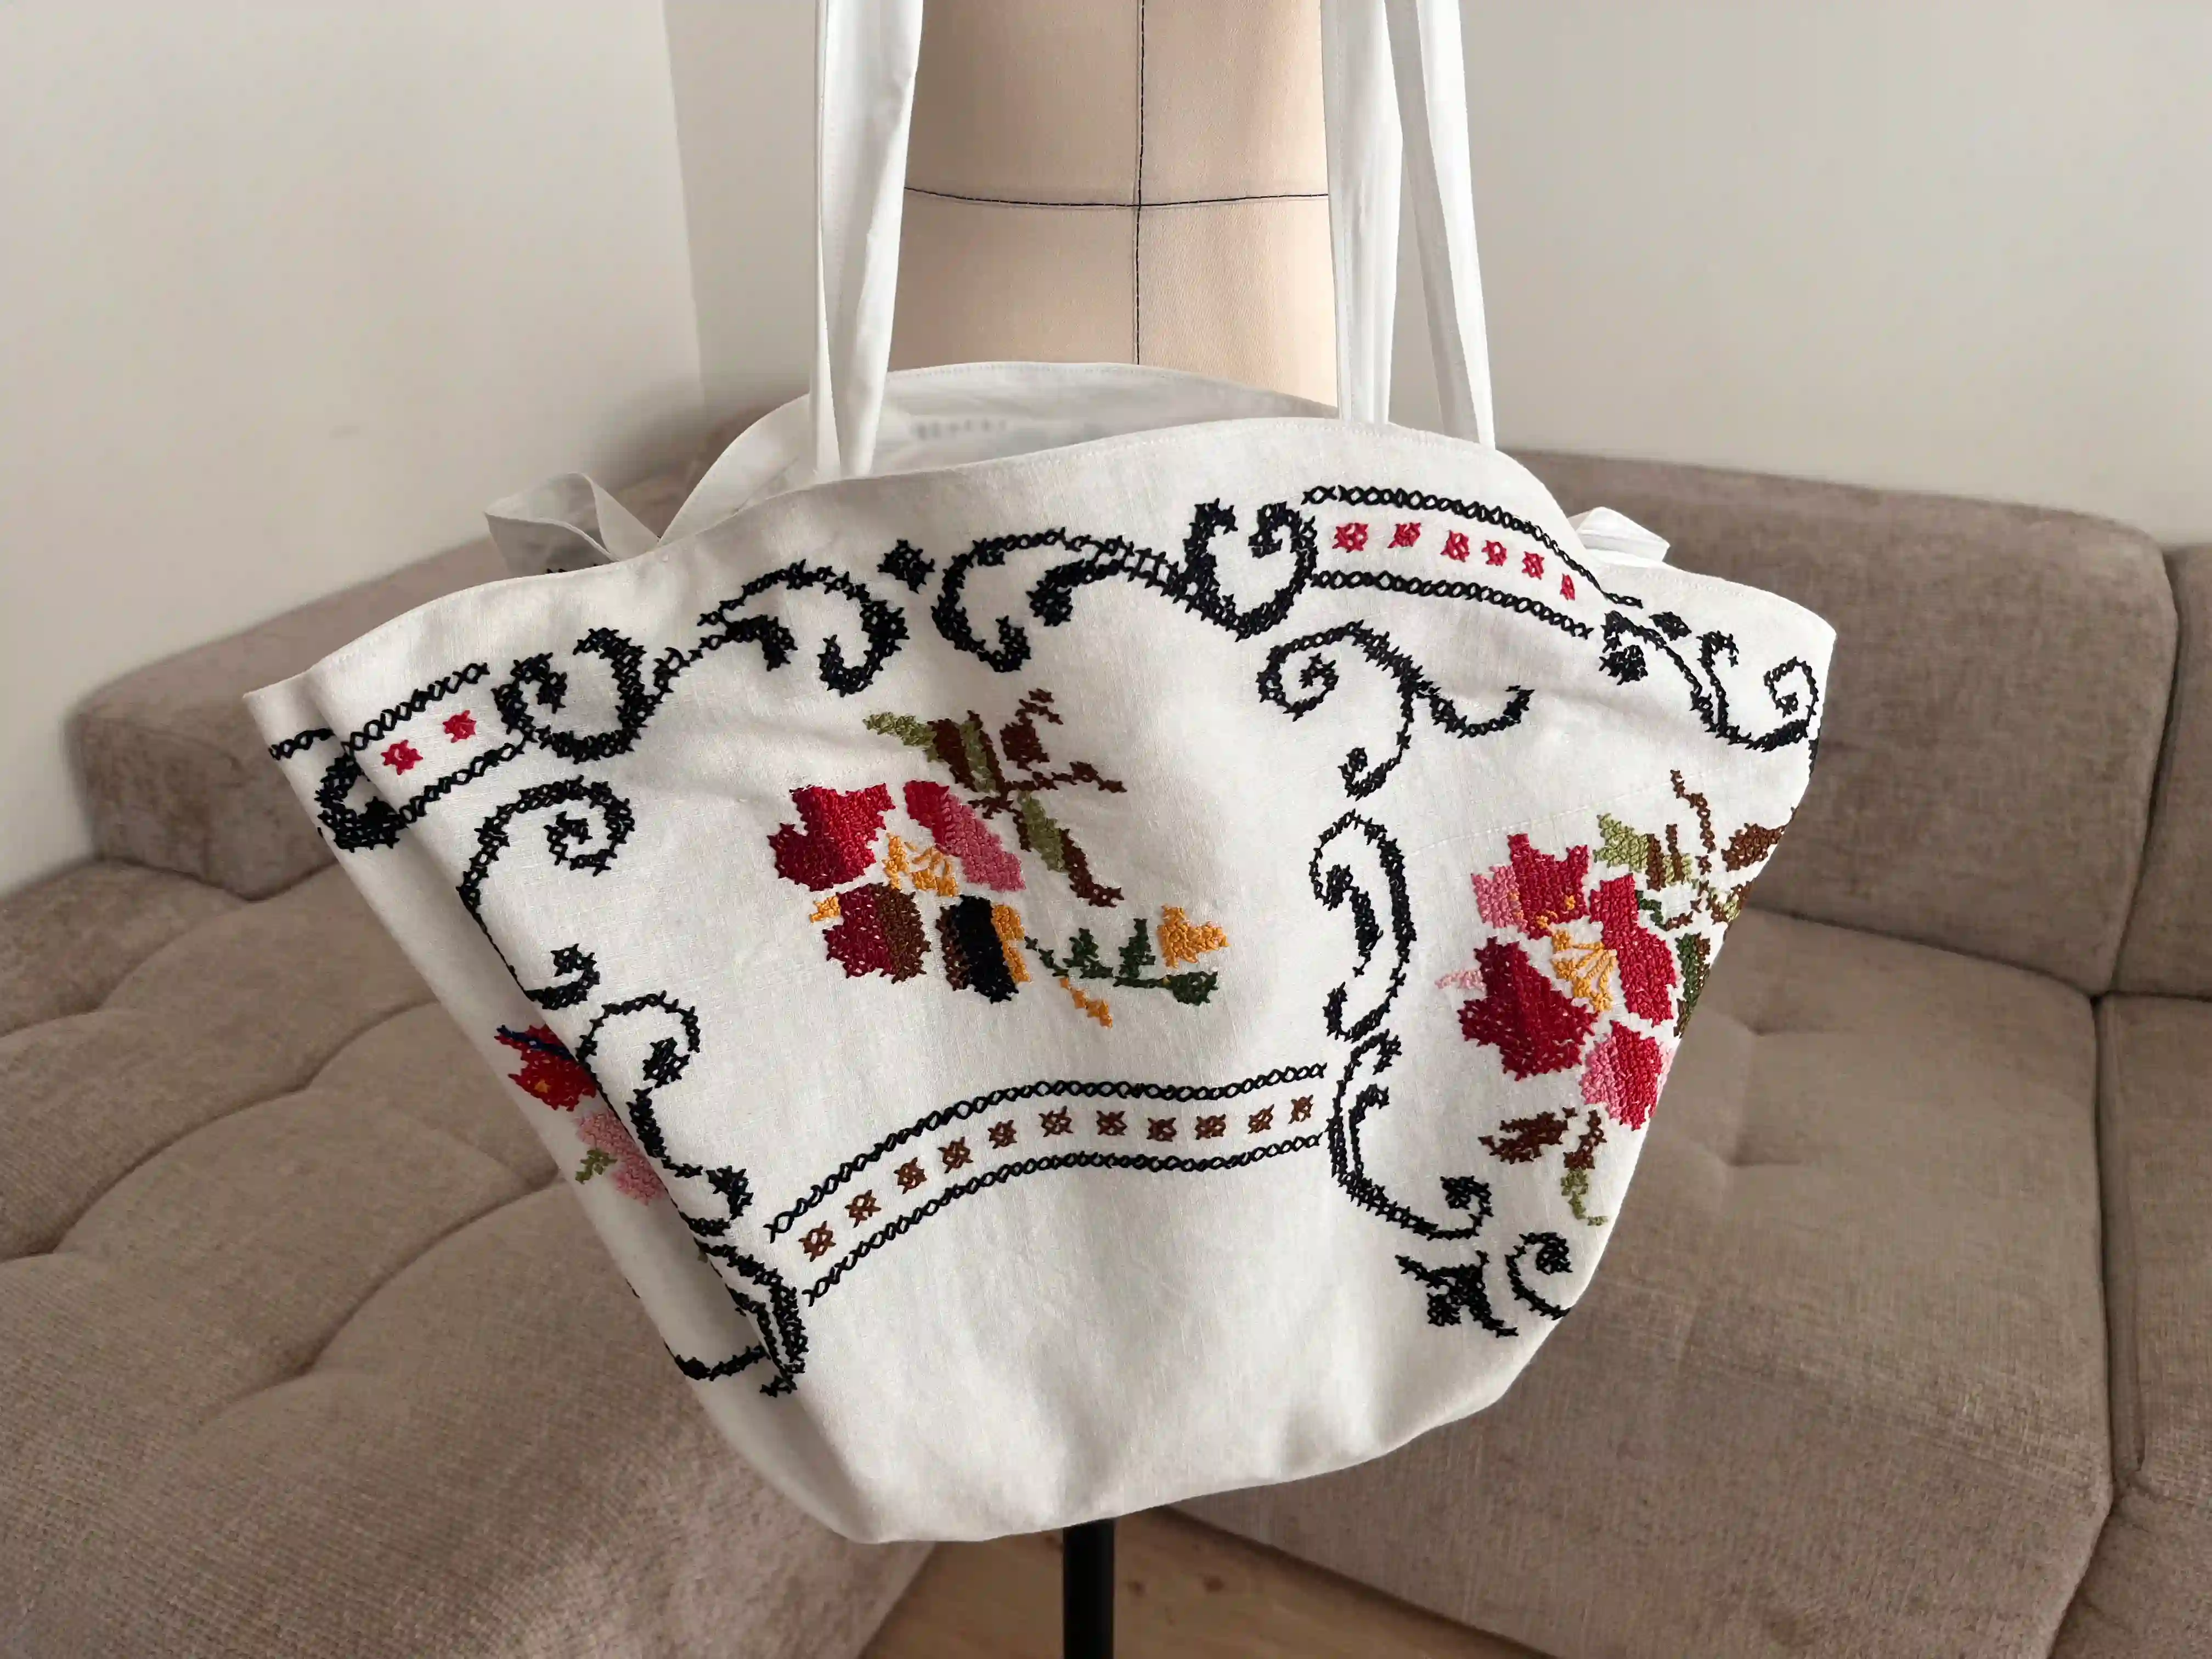
Whenever I see embroidery, I picture the endless evenings and long hours of meticulous work. Each embroidered piece holds the unique story of the person who sat quietly and created something beautiful in their own world. Whenever I get my hands on a piece like this, it is a tremendous honor to work with such material.
It wasn’t woven in a factory or even a small family workshop. It is a piece crafted by hand, representing hours upon hours of labor, effort that is clearly visible in that small stretch of fabric.
You could say I admire lacemakers, knitters, and embroiderers alike. One of my grandmothers sewed, while the other did embroidery. My mother used to knit in the evenings. I remember it from my childhood: we would be playing while she sat in her armchair in front of the TV, knitting something like a Christmas sweater. (Which, of course, the Baby Jesus would later bring us. 🥰)
That is why, when I had the chance to buy a round, hand-embroidered cross-stitch tablecloth, I didn’t hesitate; I bought it immediately. At home, I washed and ironed it, and then set to work.
What you’ll need for the Round Bag
Embroidered tablecloth (main fabric); I use an old cross-stitched tablecloth, but if you have another one, you can use it too.
Fabric for the interior (lining, loops, and strap)
Sewing machine
Tailor's scissors
Tailor's chalk
Thread matching the main fabric (so the seams blend in)
If the fabric is too soft, you can use a stabilizer (iron-on interfacing) to stiffen the main fabric and help the bag hold its shape better. I didn't need it for my project.
Estimated time
Approximately 4 hours of work.
Round Bag Tote Free Pattern
Preparing the Material
Wash the fabric. If you're working with a hand-embroidered tablecloth or another delicate fabric, wash it carefully by hand with mild soap. Never machine-wash handmade items, as they are very delicate and could be damaged by a standard washing machine, for instance, during the spin cycle. (Examples include handmade bobbin lace, hand-embroidered tablecloths, and knitwear.)
Always use a mild detergent; for example, I use a detergent designed for delicates or a baby soap. If the tablecloth features hand embroidery, the cotton thread may bleed color over time, so wash it only in lukewarm water. If, for instance, you have dark embroidery on a light background, rinse it carefully in lukewarm water and remove excess moisture by rolling the item inside a towel; this avoids twisting the material and ruining its shape. Lay the tablecloth or other fabric flat to dry. Carefully iron the tablecloth using the setting appropriate for the specific material.
Round Bag Size
If you have a piece of fabric in a different size that you’d like to use for the round bag, go ahead and use it. The only requirement is having enough fabric to cut out a circle, simply fold the fabric in half, then into quarters, and cut an arc.
You can make the bag larger or smaller as needed; that’s the beauty of this simple pattern. You could even create an elegant evening bag if you have a suitable dressy fabric on hand. Technically, it’s simply a matter of cutting out a circle.
Bag Pattern Layout Using a Tablecloth
A round, embroidered tablecloth is perfect for a round bag, provided it is the right size, ideally up to 90 cm (35.43 in).
If you are using a square tablecloth, aim for similar dimensions.
Troubleshooting
Are there stains or holes in key areas of your tablecloth?
If there are holes, you can cover them with another part of the tablecloth that isn't part of the main pattern. For larger holes, I like to place an embroidery motif over them and stitch it down so that the spot, or rather, the cover-up, becomes a highlight. It’s a way of turning a flaw into a feature! 😉 Placing embroidery over a hole solves the problem while creating an interesting visual effect. The same applies to stains: you can cover them, cut them out, hide them under the lining, or simply stitch over them. Alternatively, you can just leave them as they are. Stains are part of life, after all, aren't they?
Step by Step Guide How to Transforming a Vintage Tablecloth into a Round Bag
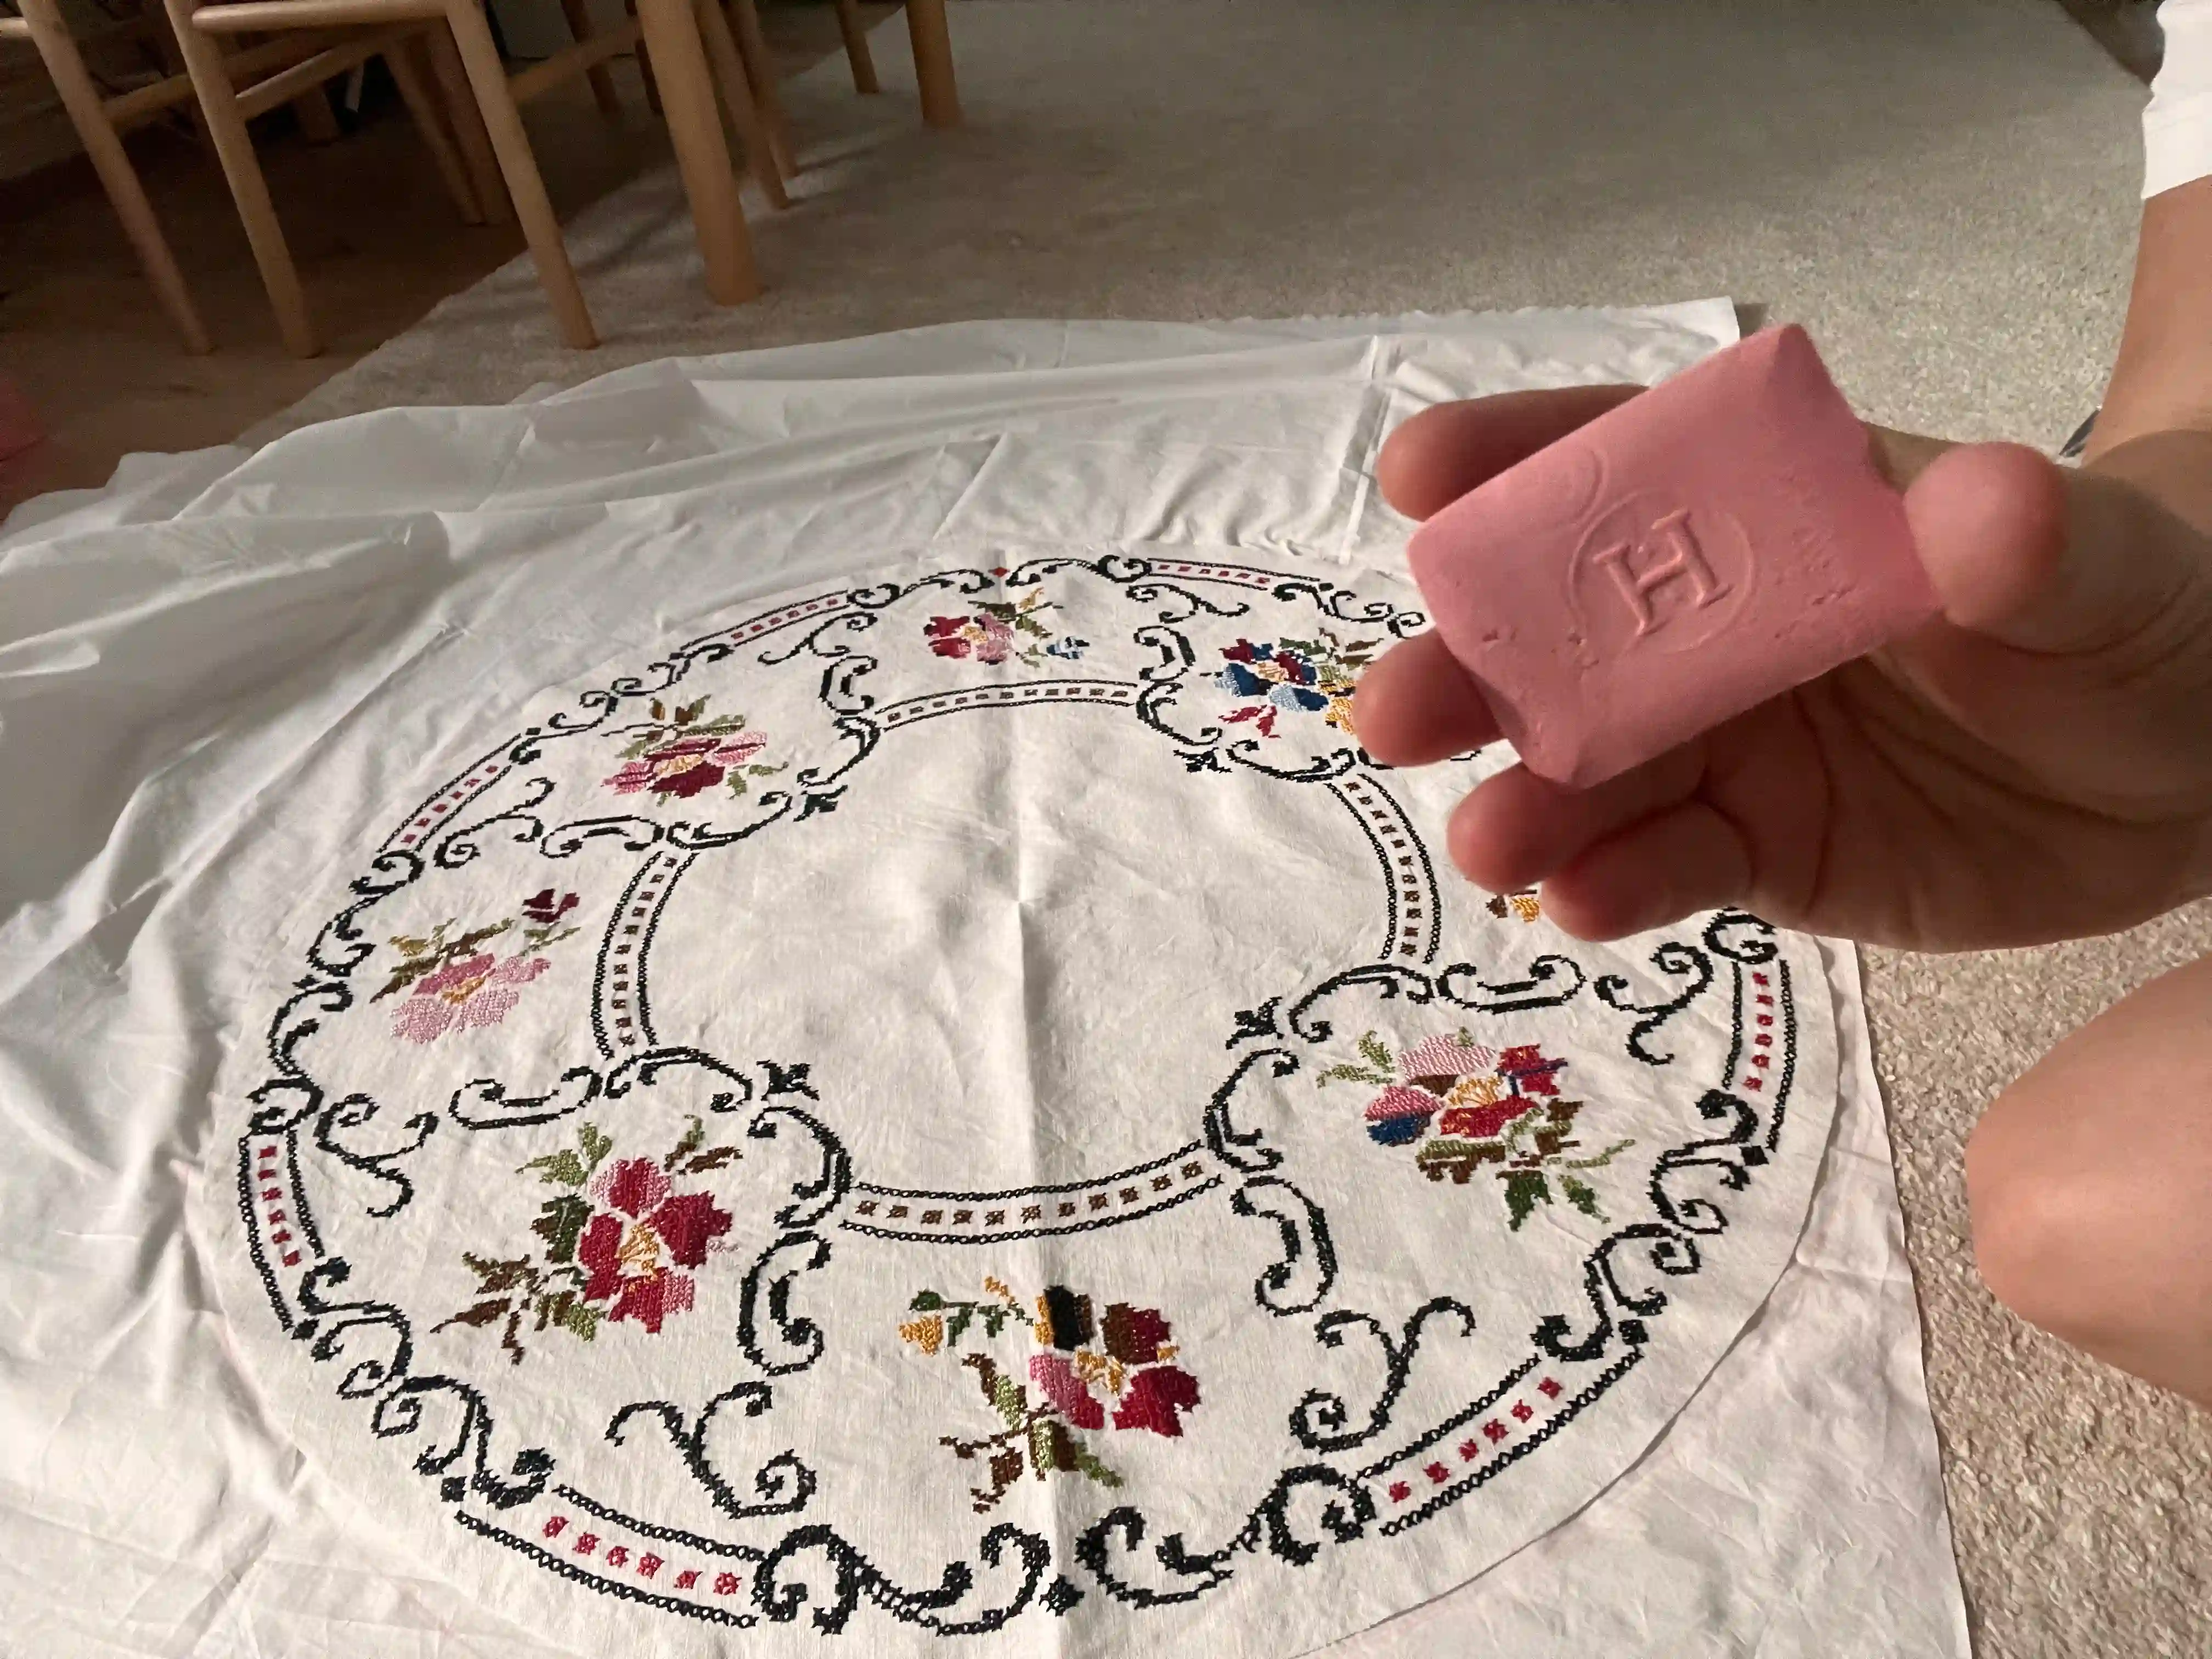
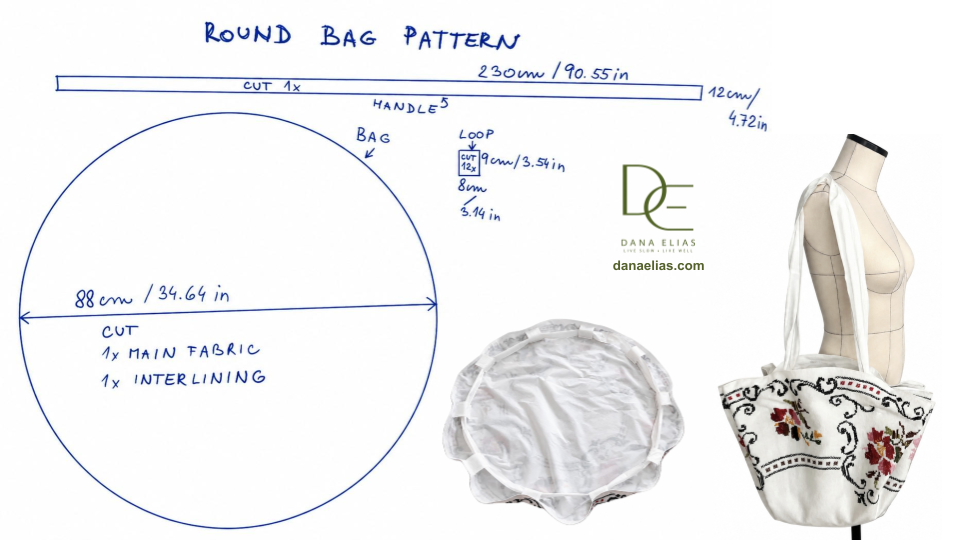
Fold the fabric in half, then into quarters. Using a tape measure, mark 44 cm (17.32 in) from the center toward the edge. Mark a series of points at this distance from the center using tailor's chalk, then connect them to form a smooth, curved line.
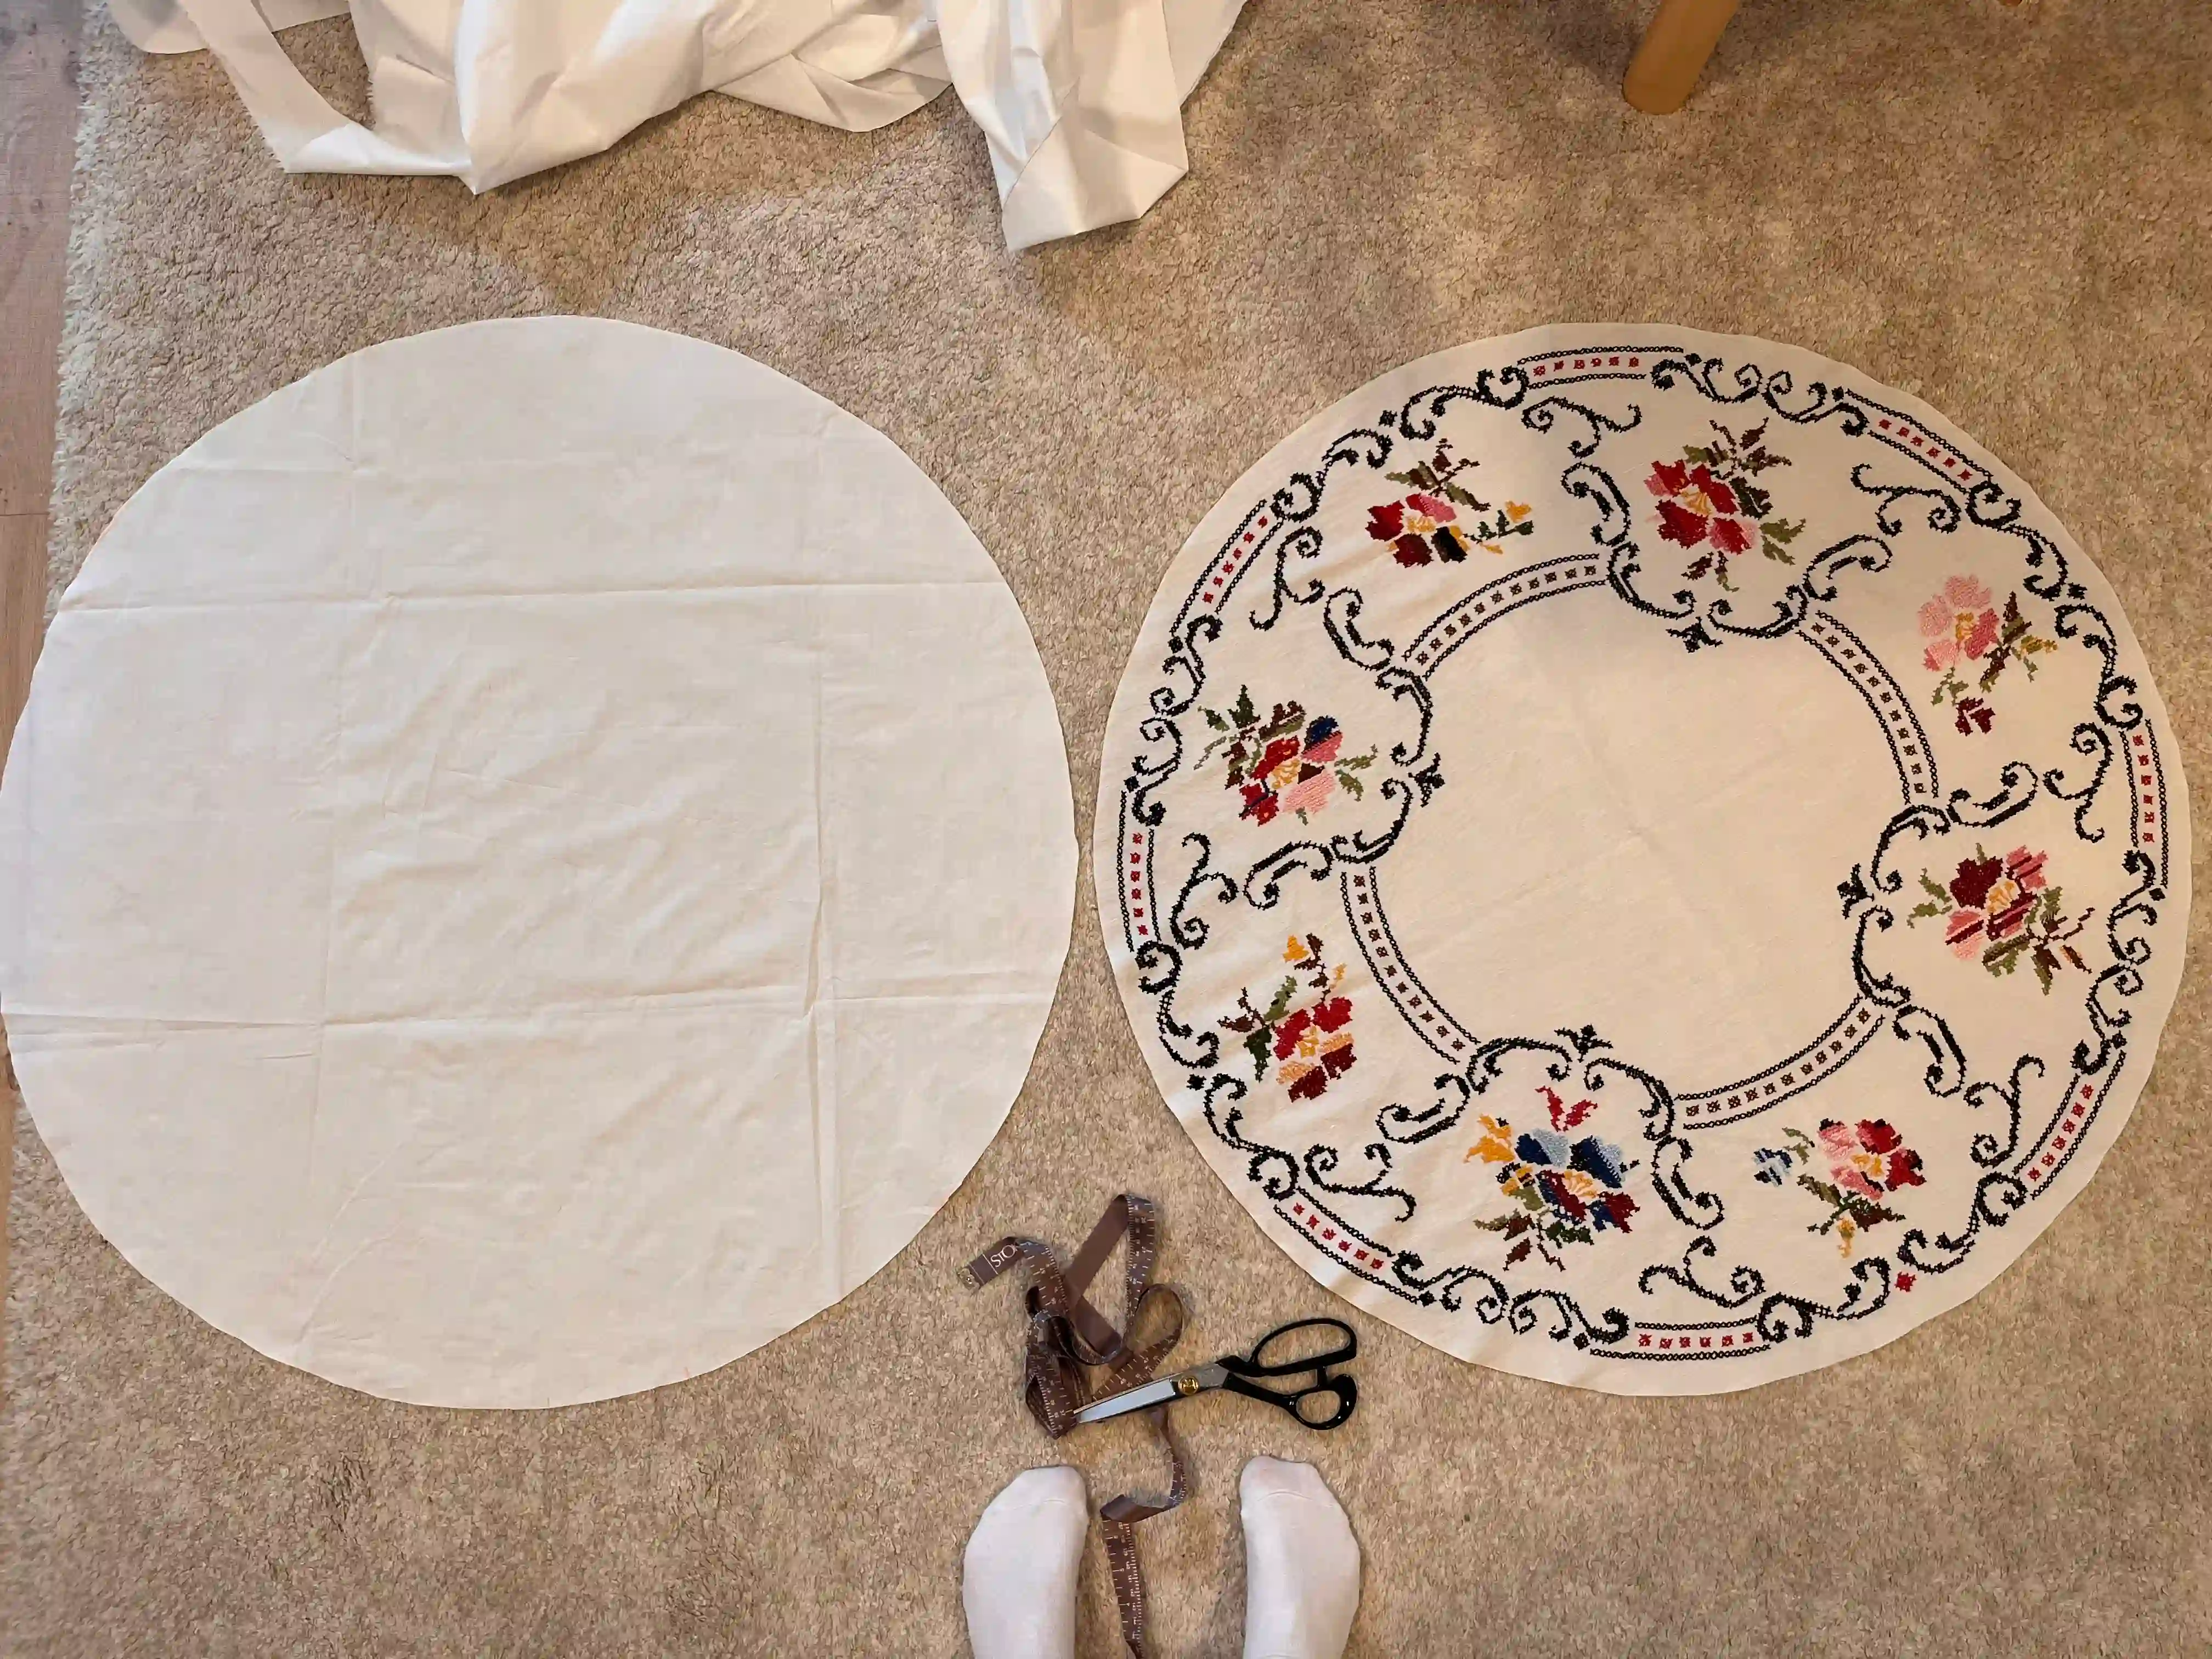
Cut out the desired circle shape with scissors. Repeat the same process for the inner part of the bag.
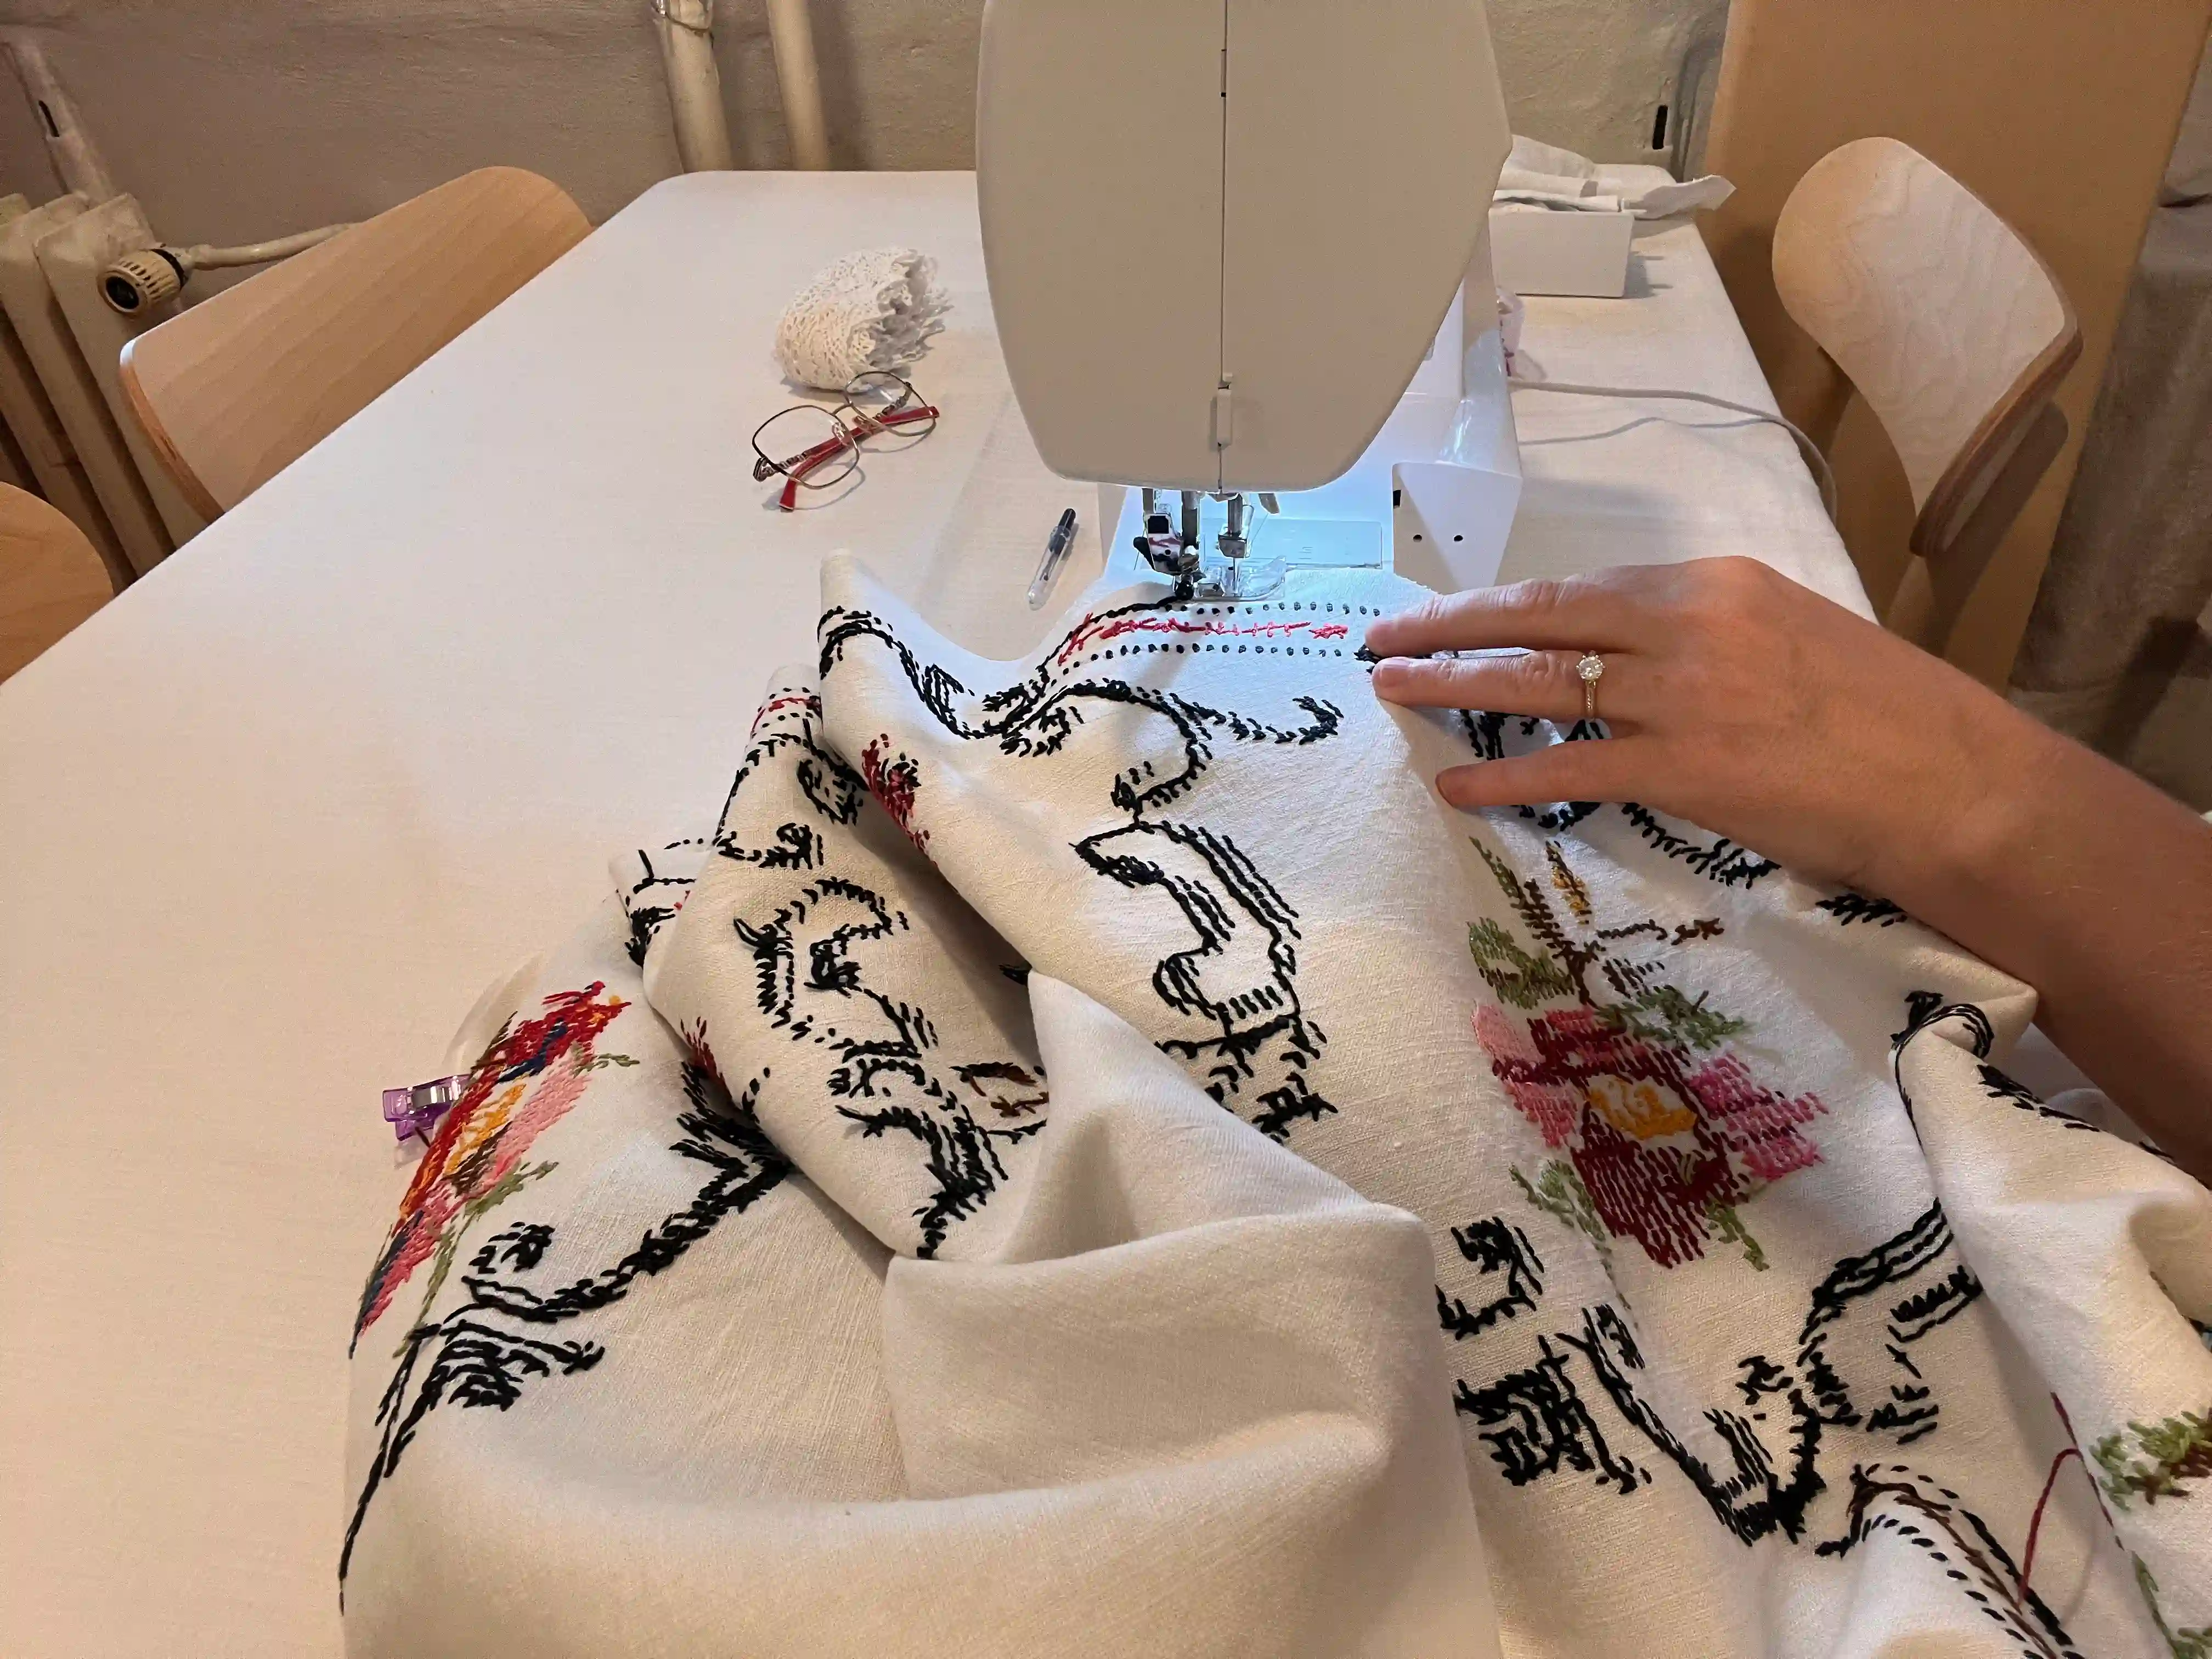
Turn both parts of the bag wrong-side out and sew along the perimeter, 1 cm (0.4 in) from the edge, using a standard straight stitch.
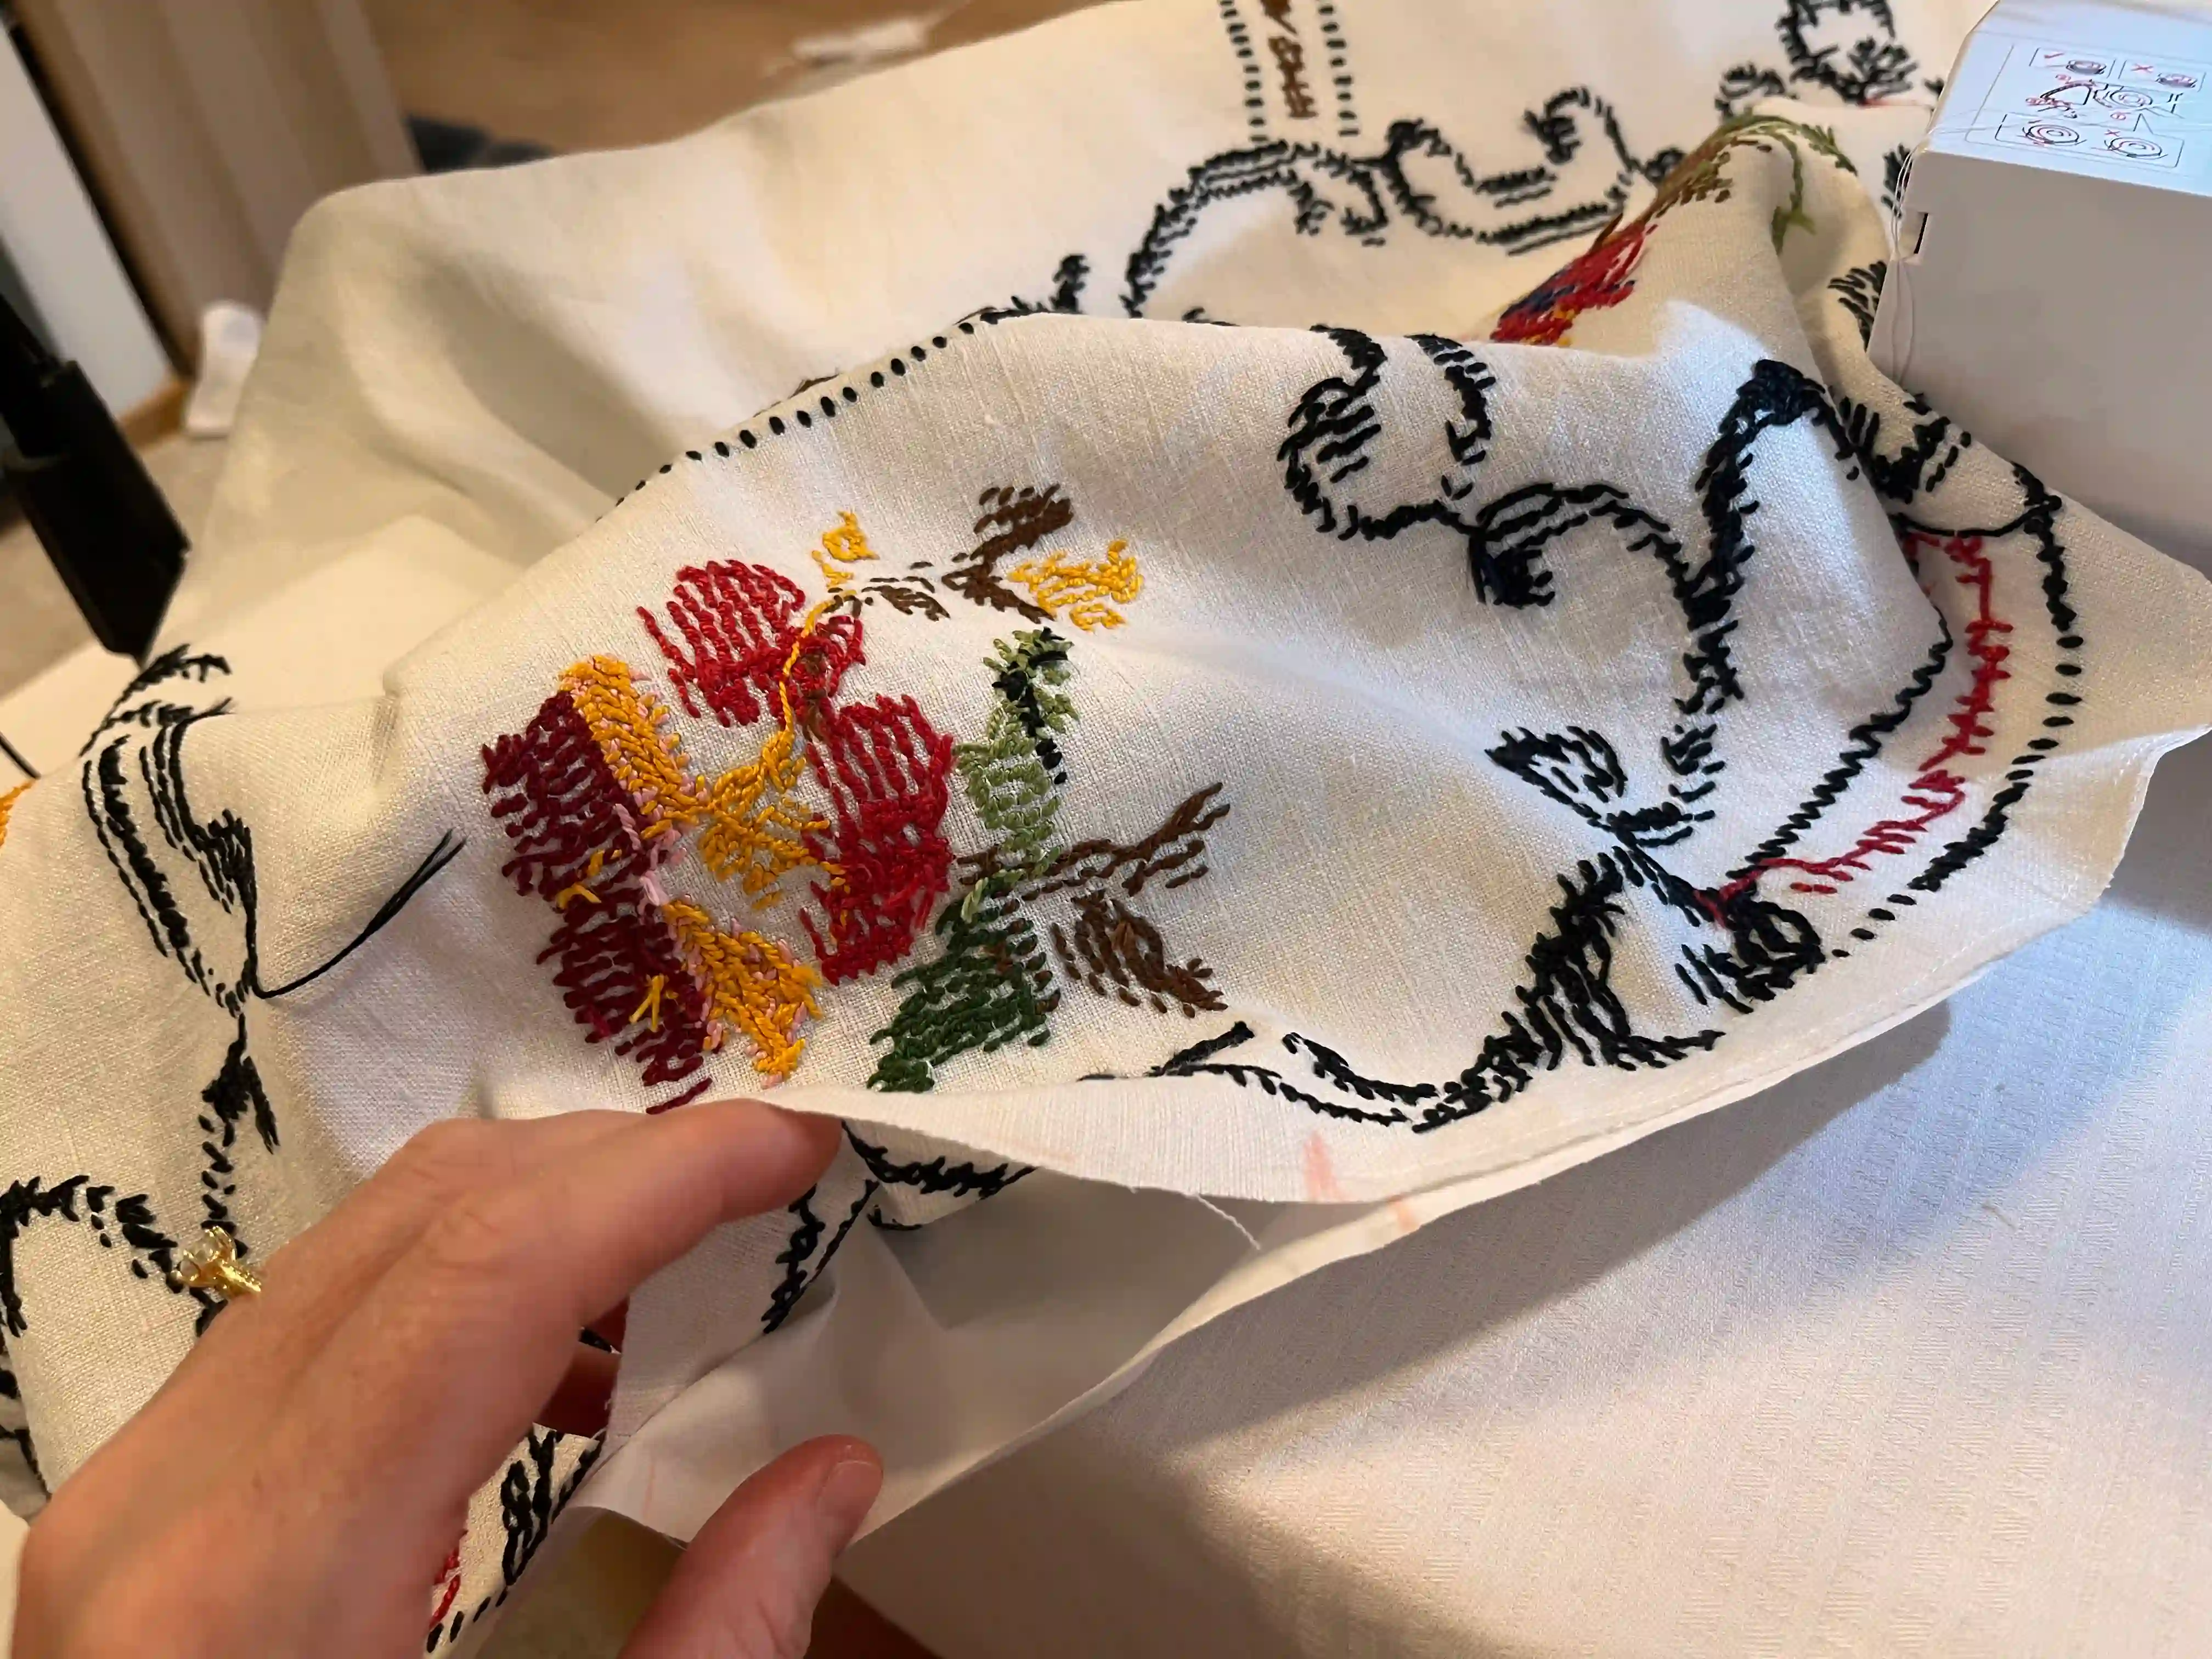
Leave an opening of approximately 10 cm (3.93 in) along the edge so you can turn the bag right-side out after sewing.
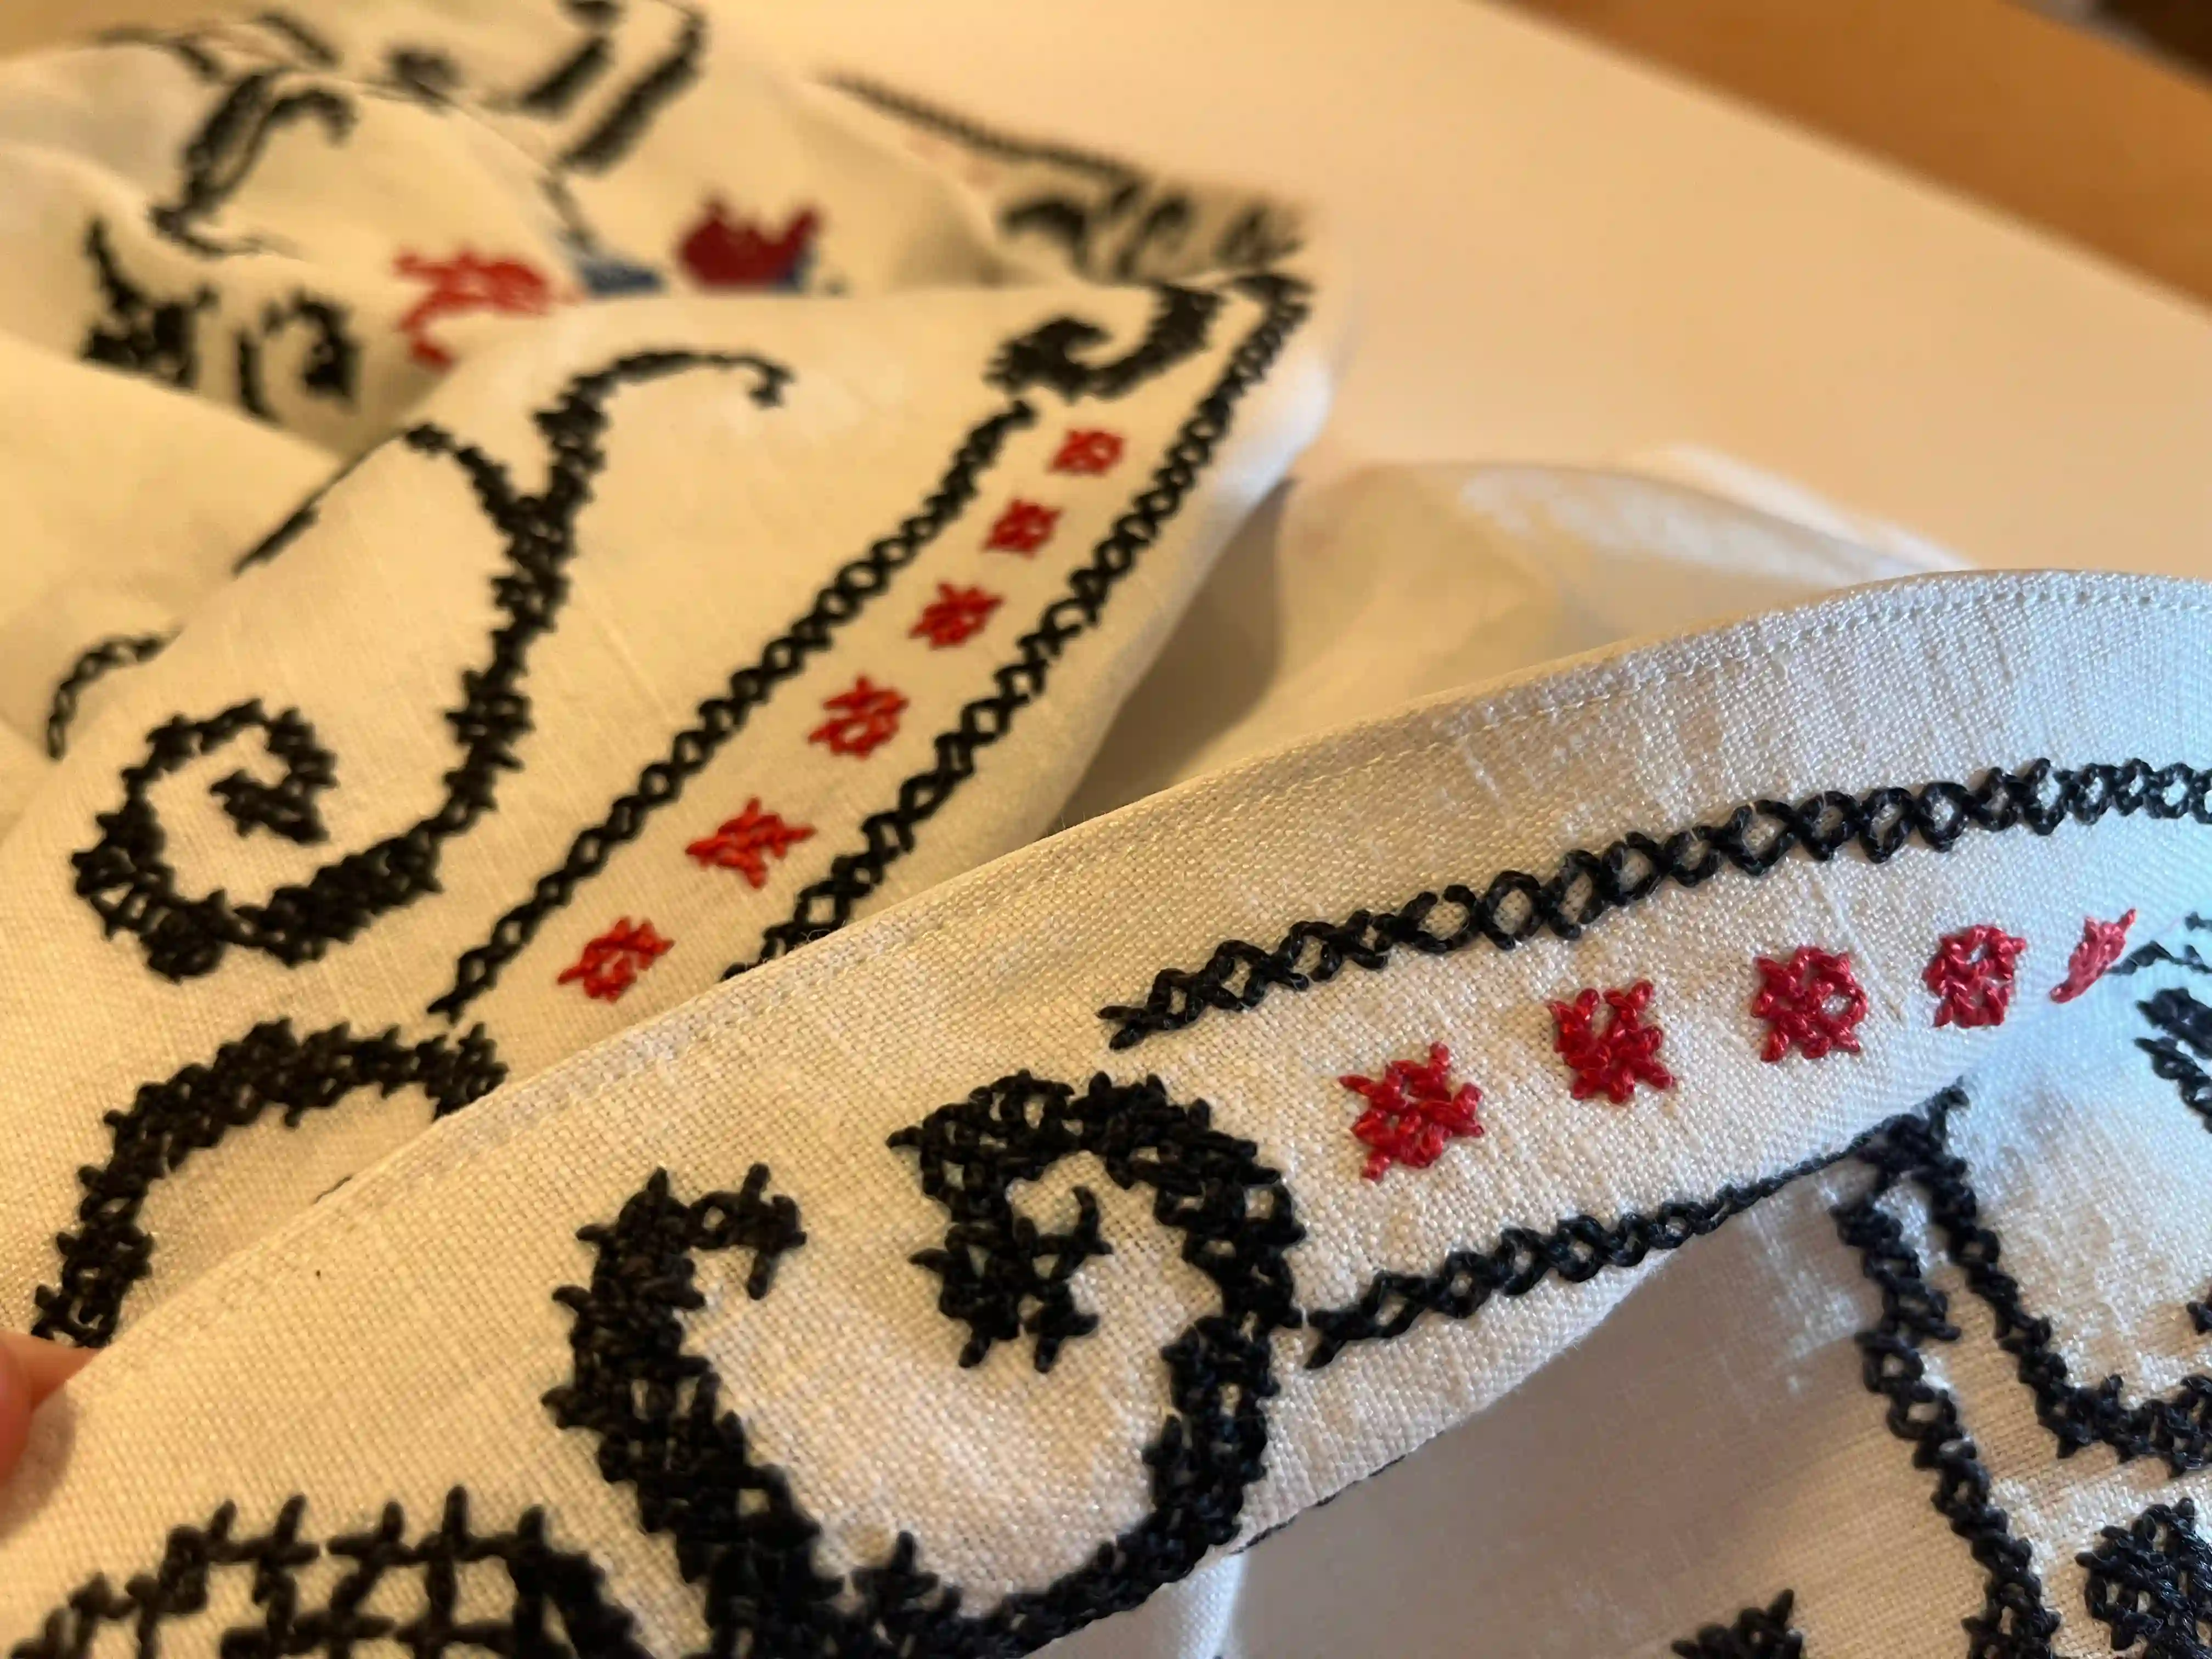
Turn the sewn bag right-side out, iron it, and topstitch along the edges to create a neat hem.
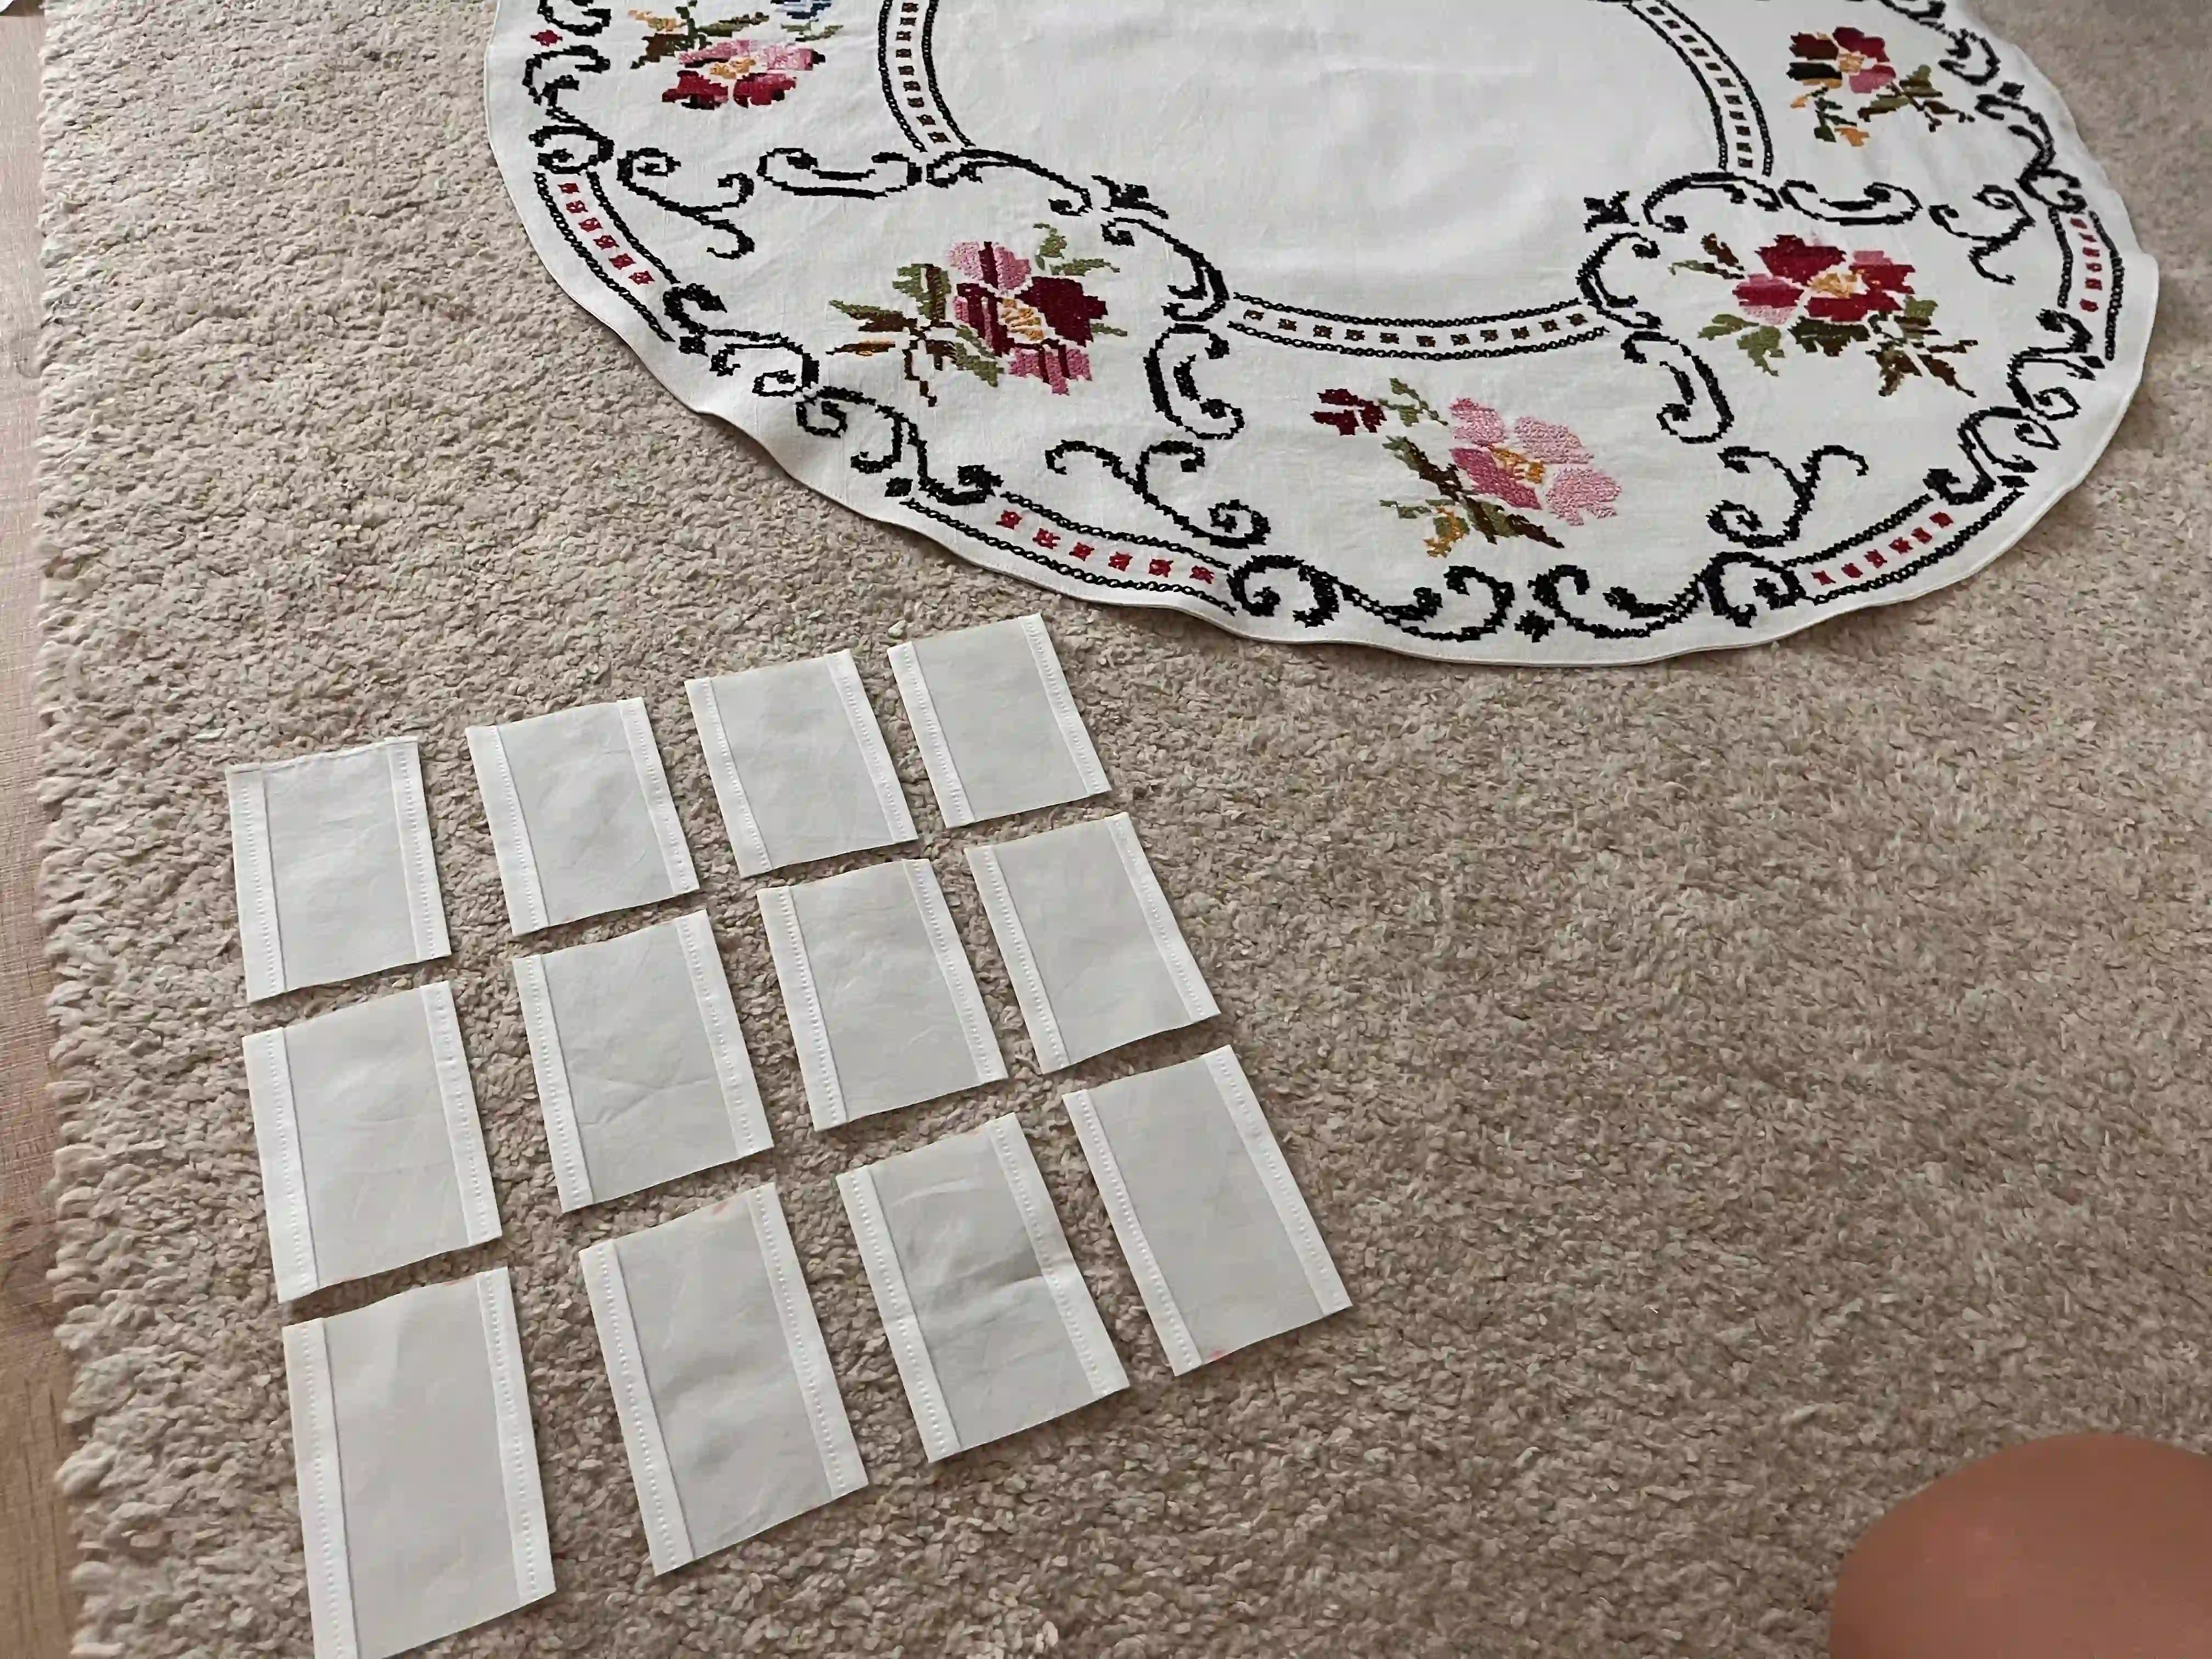
Now, prepare the loops for threading the main bag strap. You will need 12 loops in total, each measuring 8 x 9 cm (3.14 x 3.54 in). Fold and stitch the loop sides to prevent fraying.
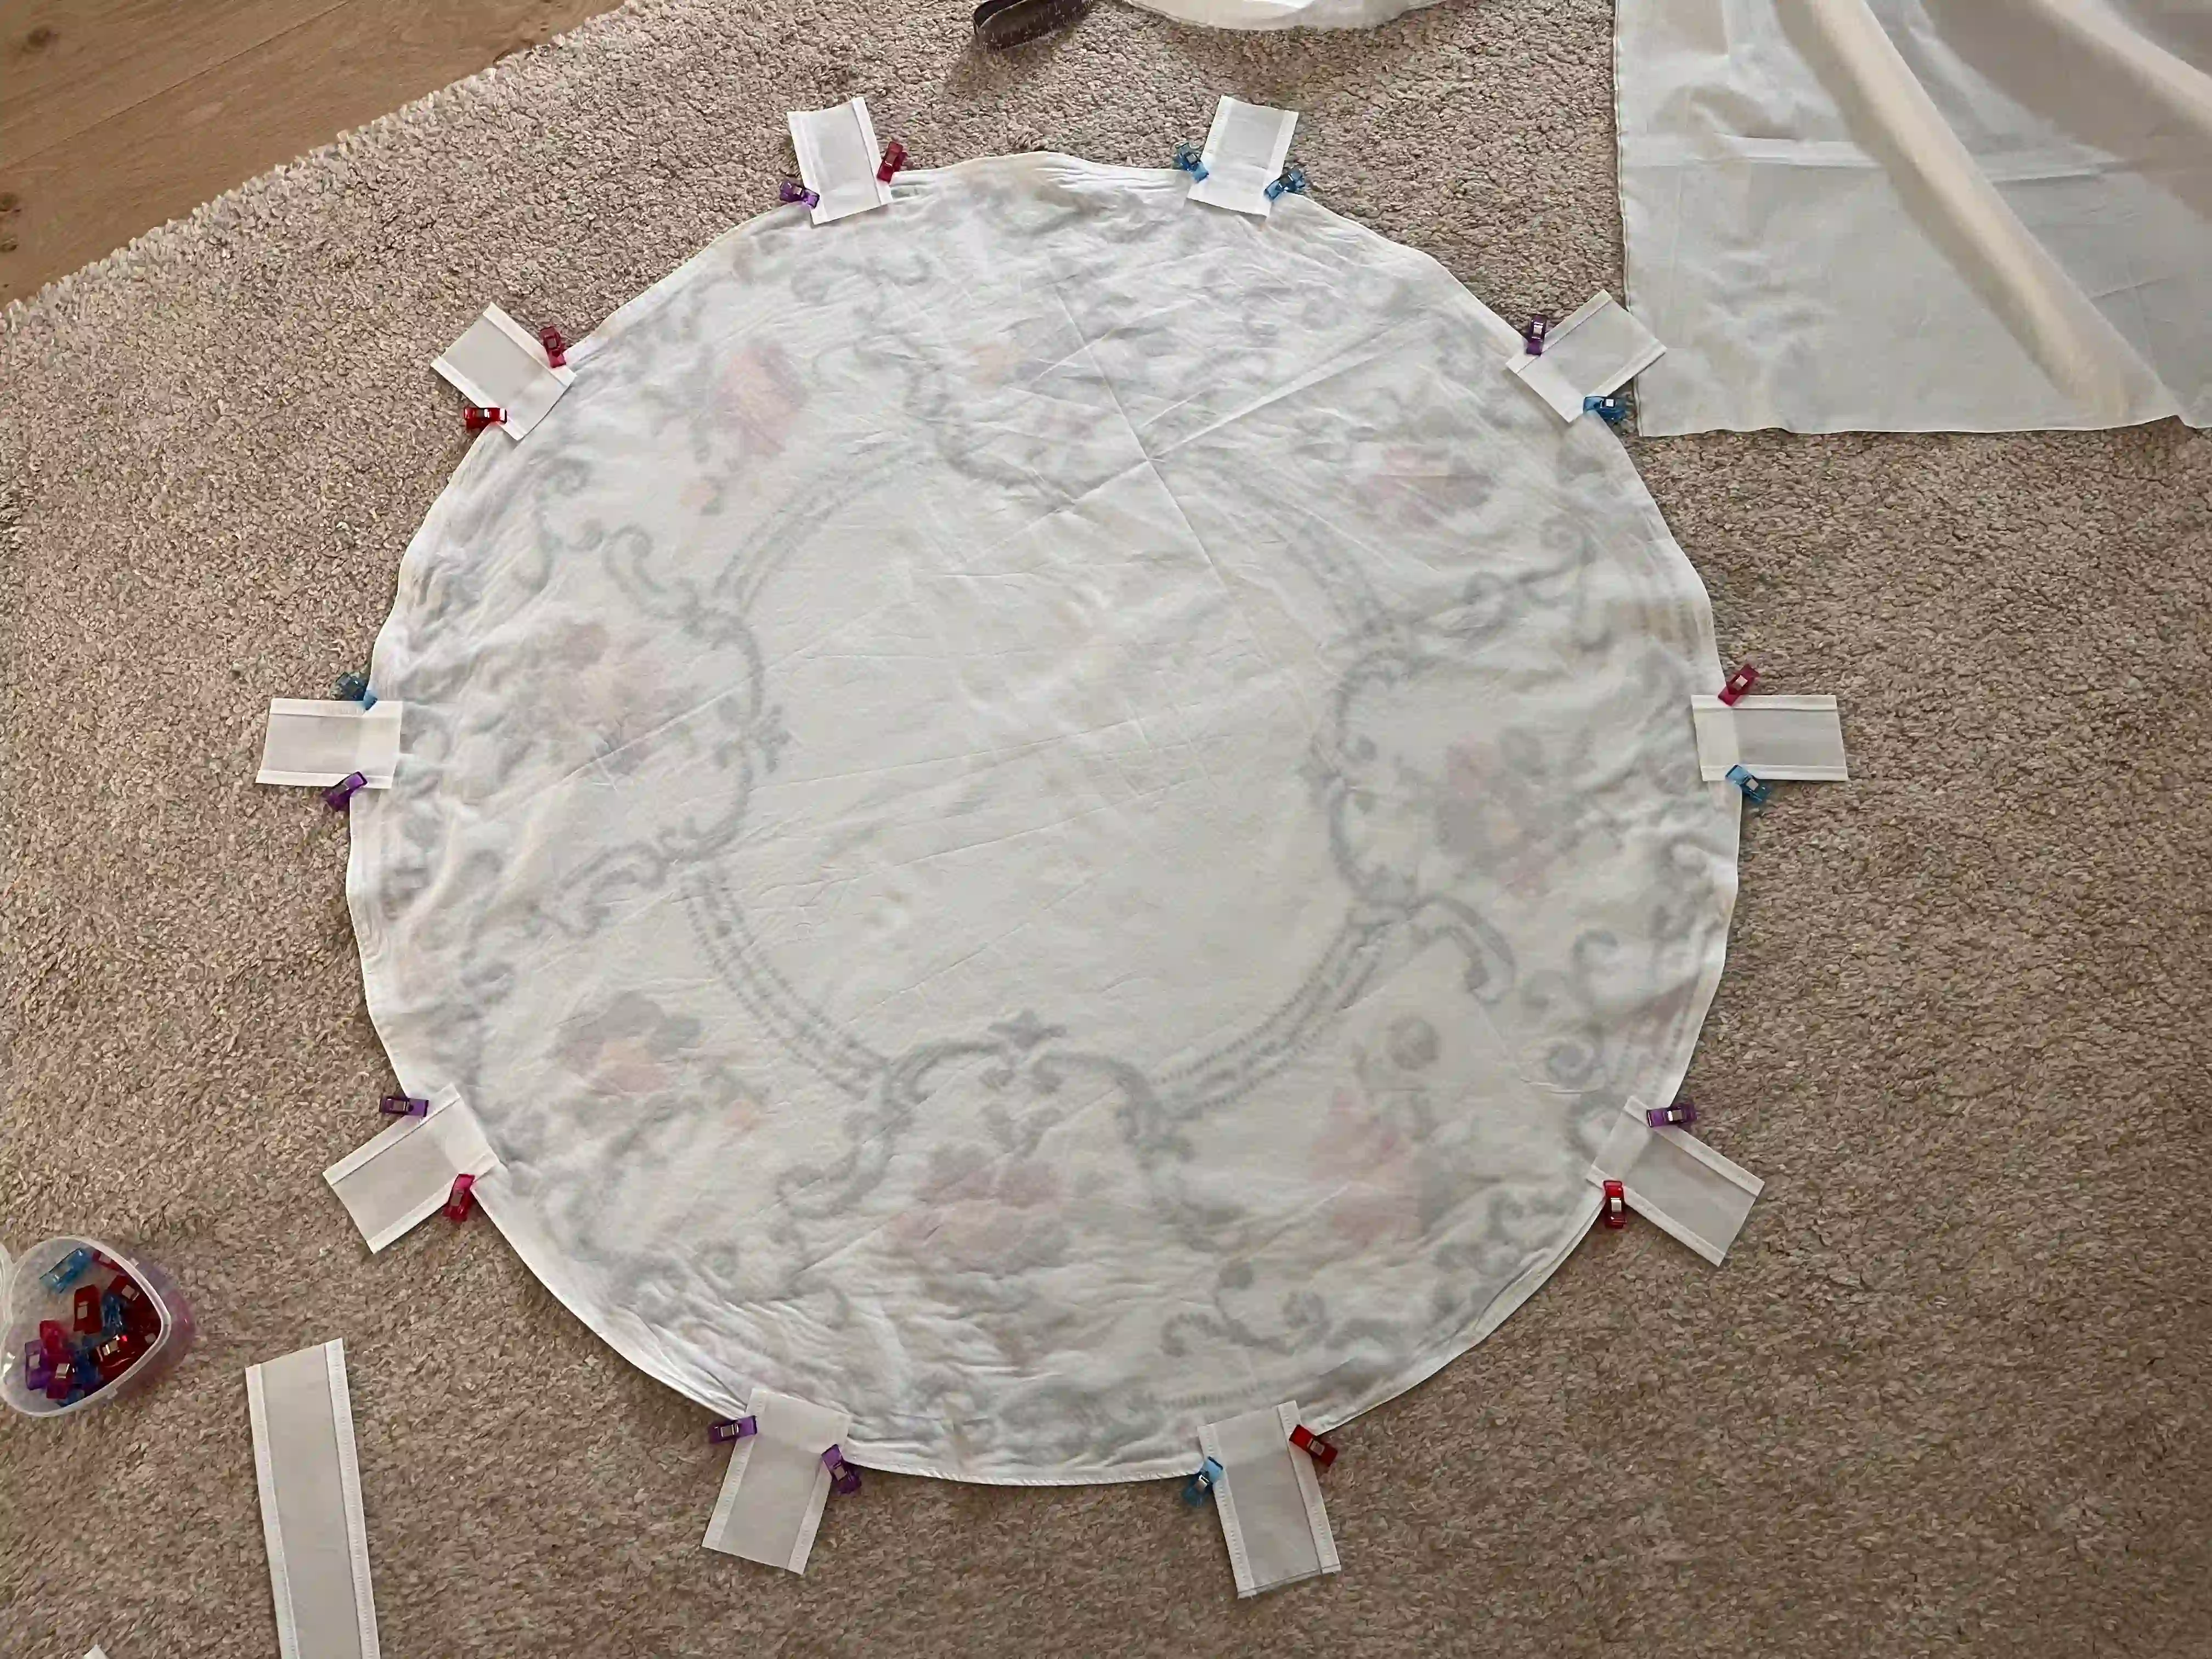
Space the prepared loops evenly around the bag.
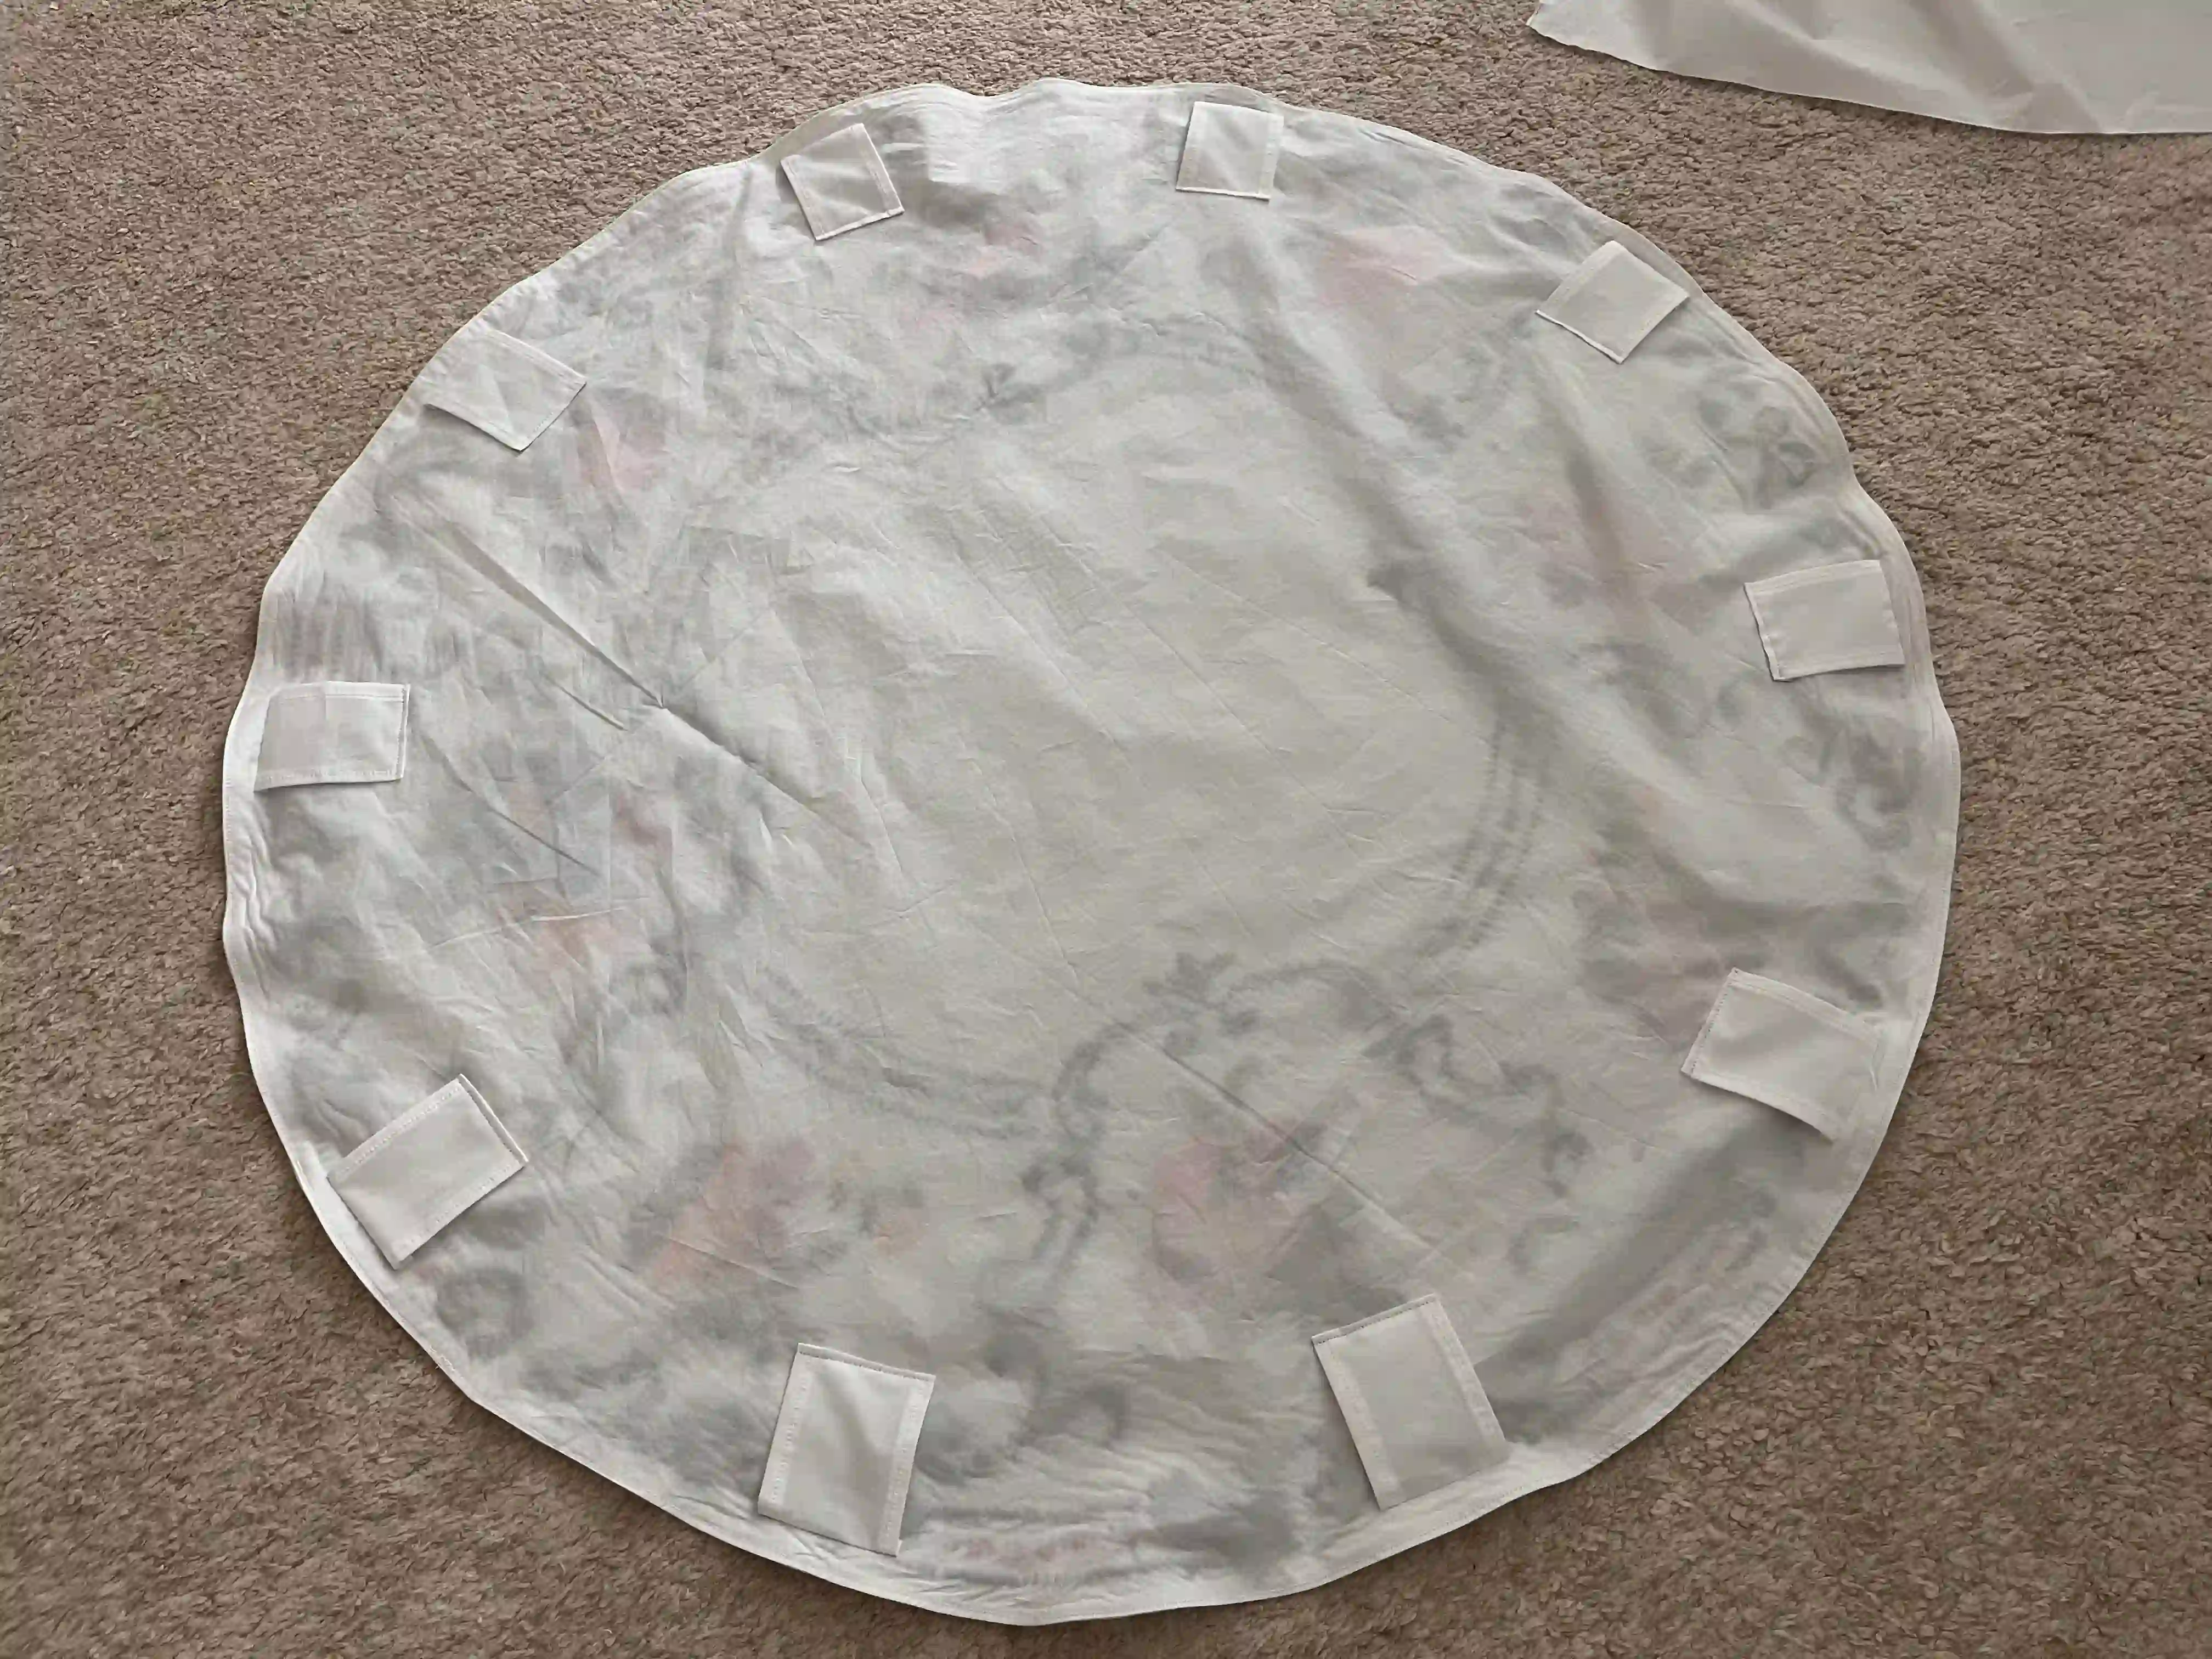
Sew the loops onto the bag, stitching through both the outer and inner fabric layers. This ensures the bag holds its shape, stays sturdy at the attachment points, and folds neatly when you pull the handle.
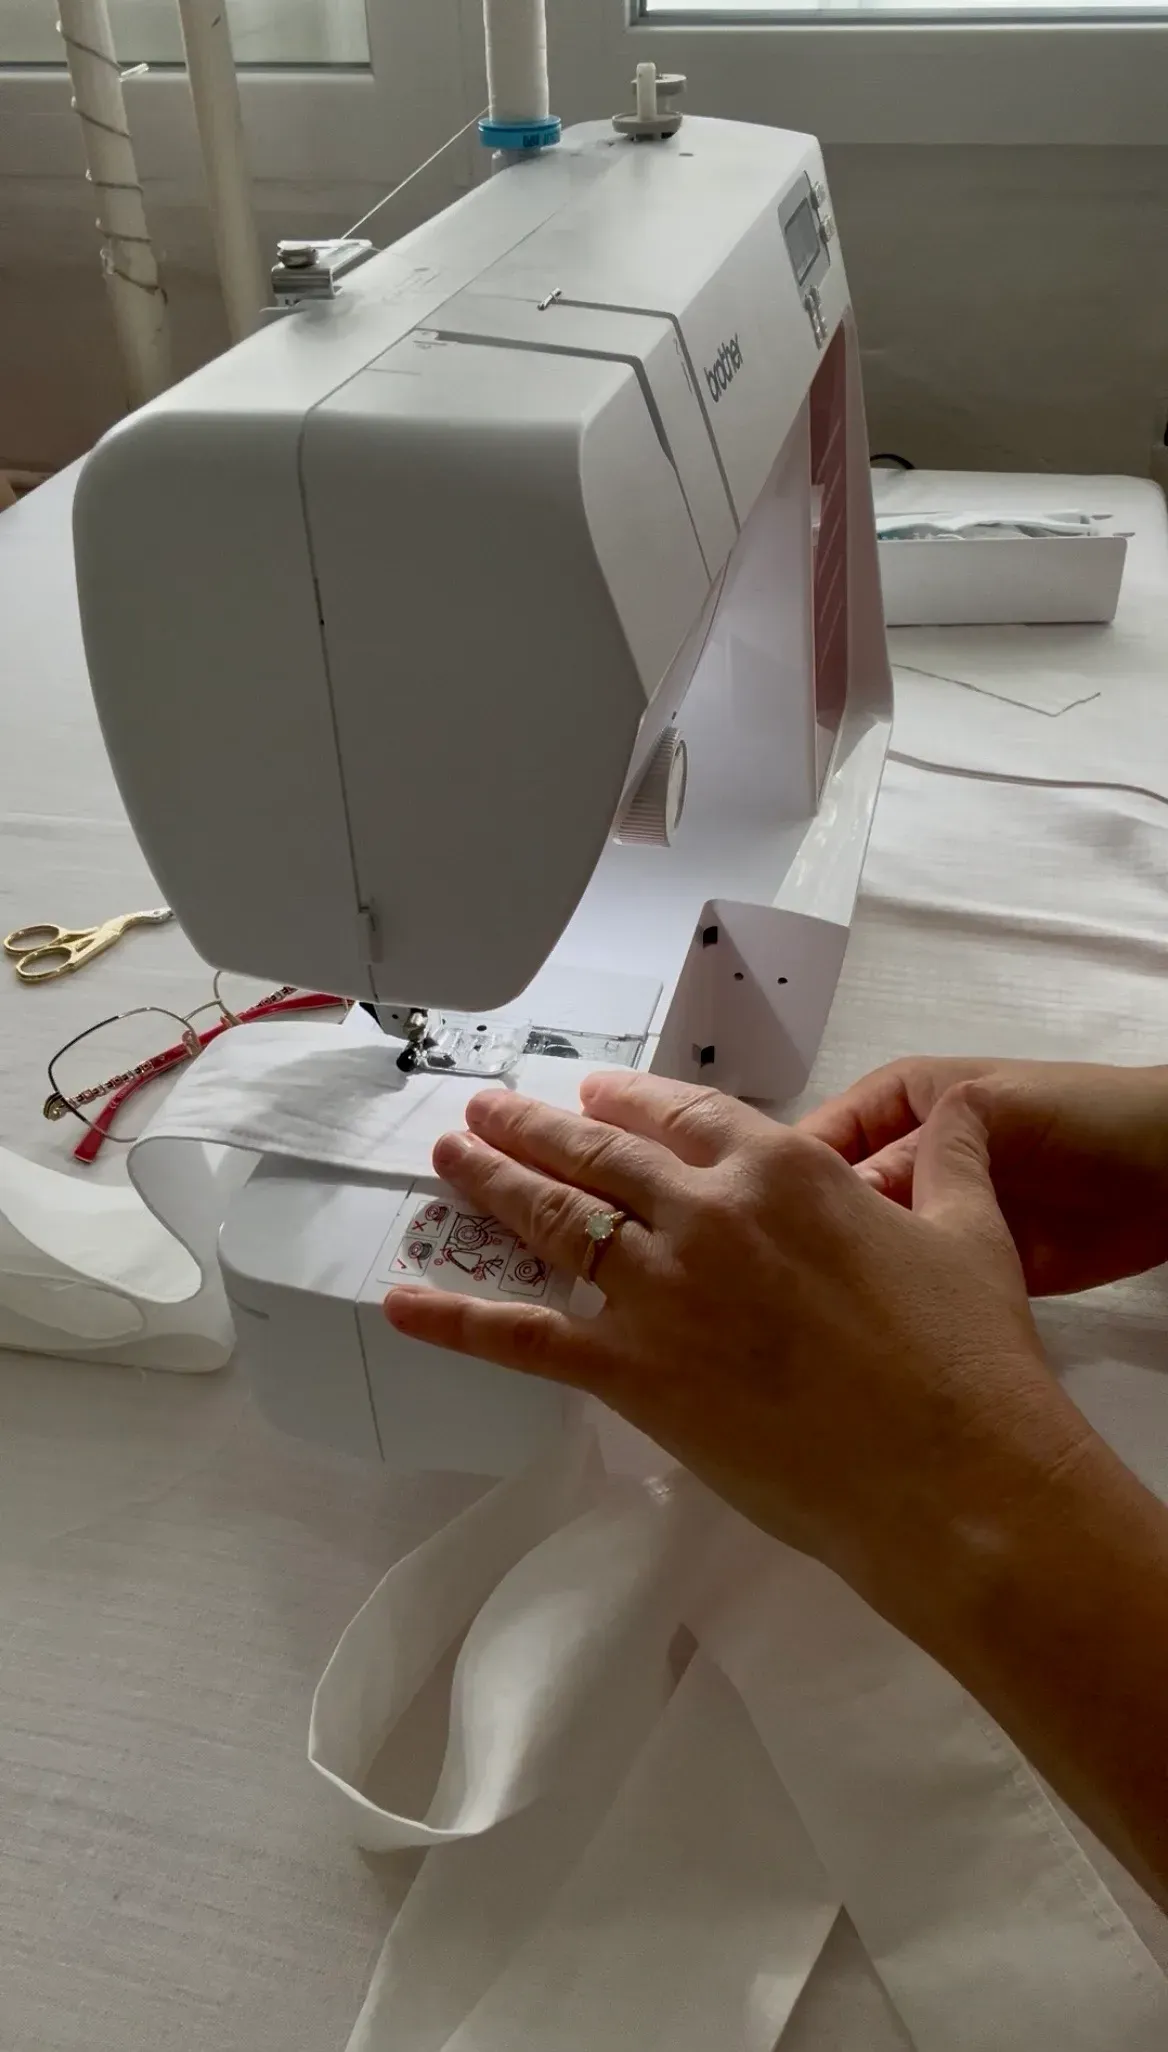
Sewing the handle strap. Prepare a long strip of fabric measuring 230 x 12 cm (90.55 x 4.72 in). The fabric strip is intentionally shorter than the bag circle's circumference. If you make the strap length match the bag's circumference exactly, the bag will hang too low and be awkward to carry, so don't worry about the shorter length. It is perfectly fine to make the strap shorter.
Before sewing, fold the strap in half lengthwise to create a narrow strip of fabric. Sew along the open edges with the wrong side facing out, then turn the fabric right side out.
Stitch along both edges of the strap for its entire length to create a neat, reinforced finish.
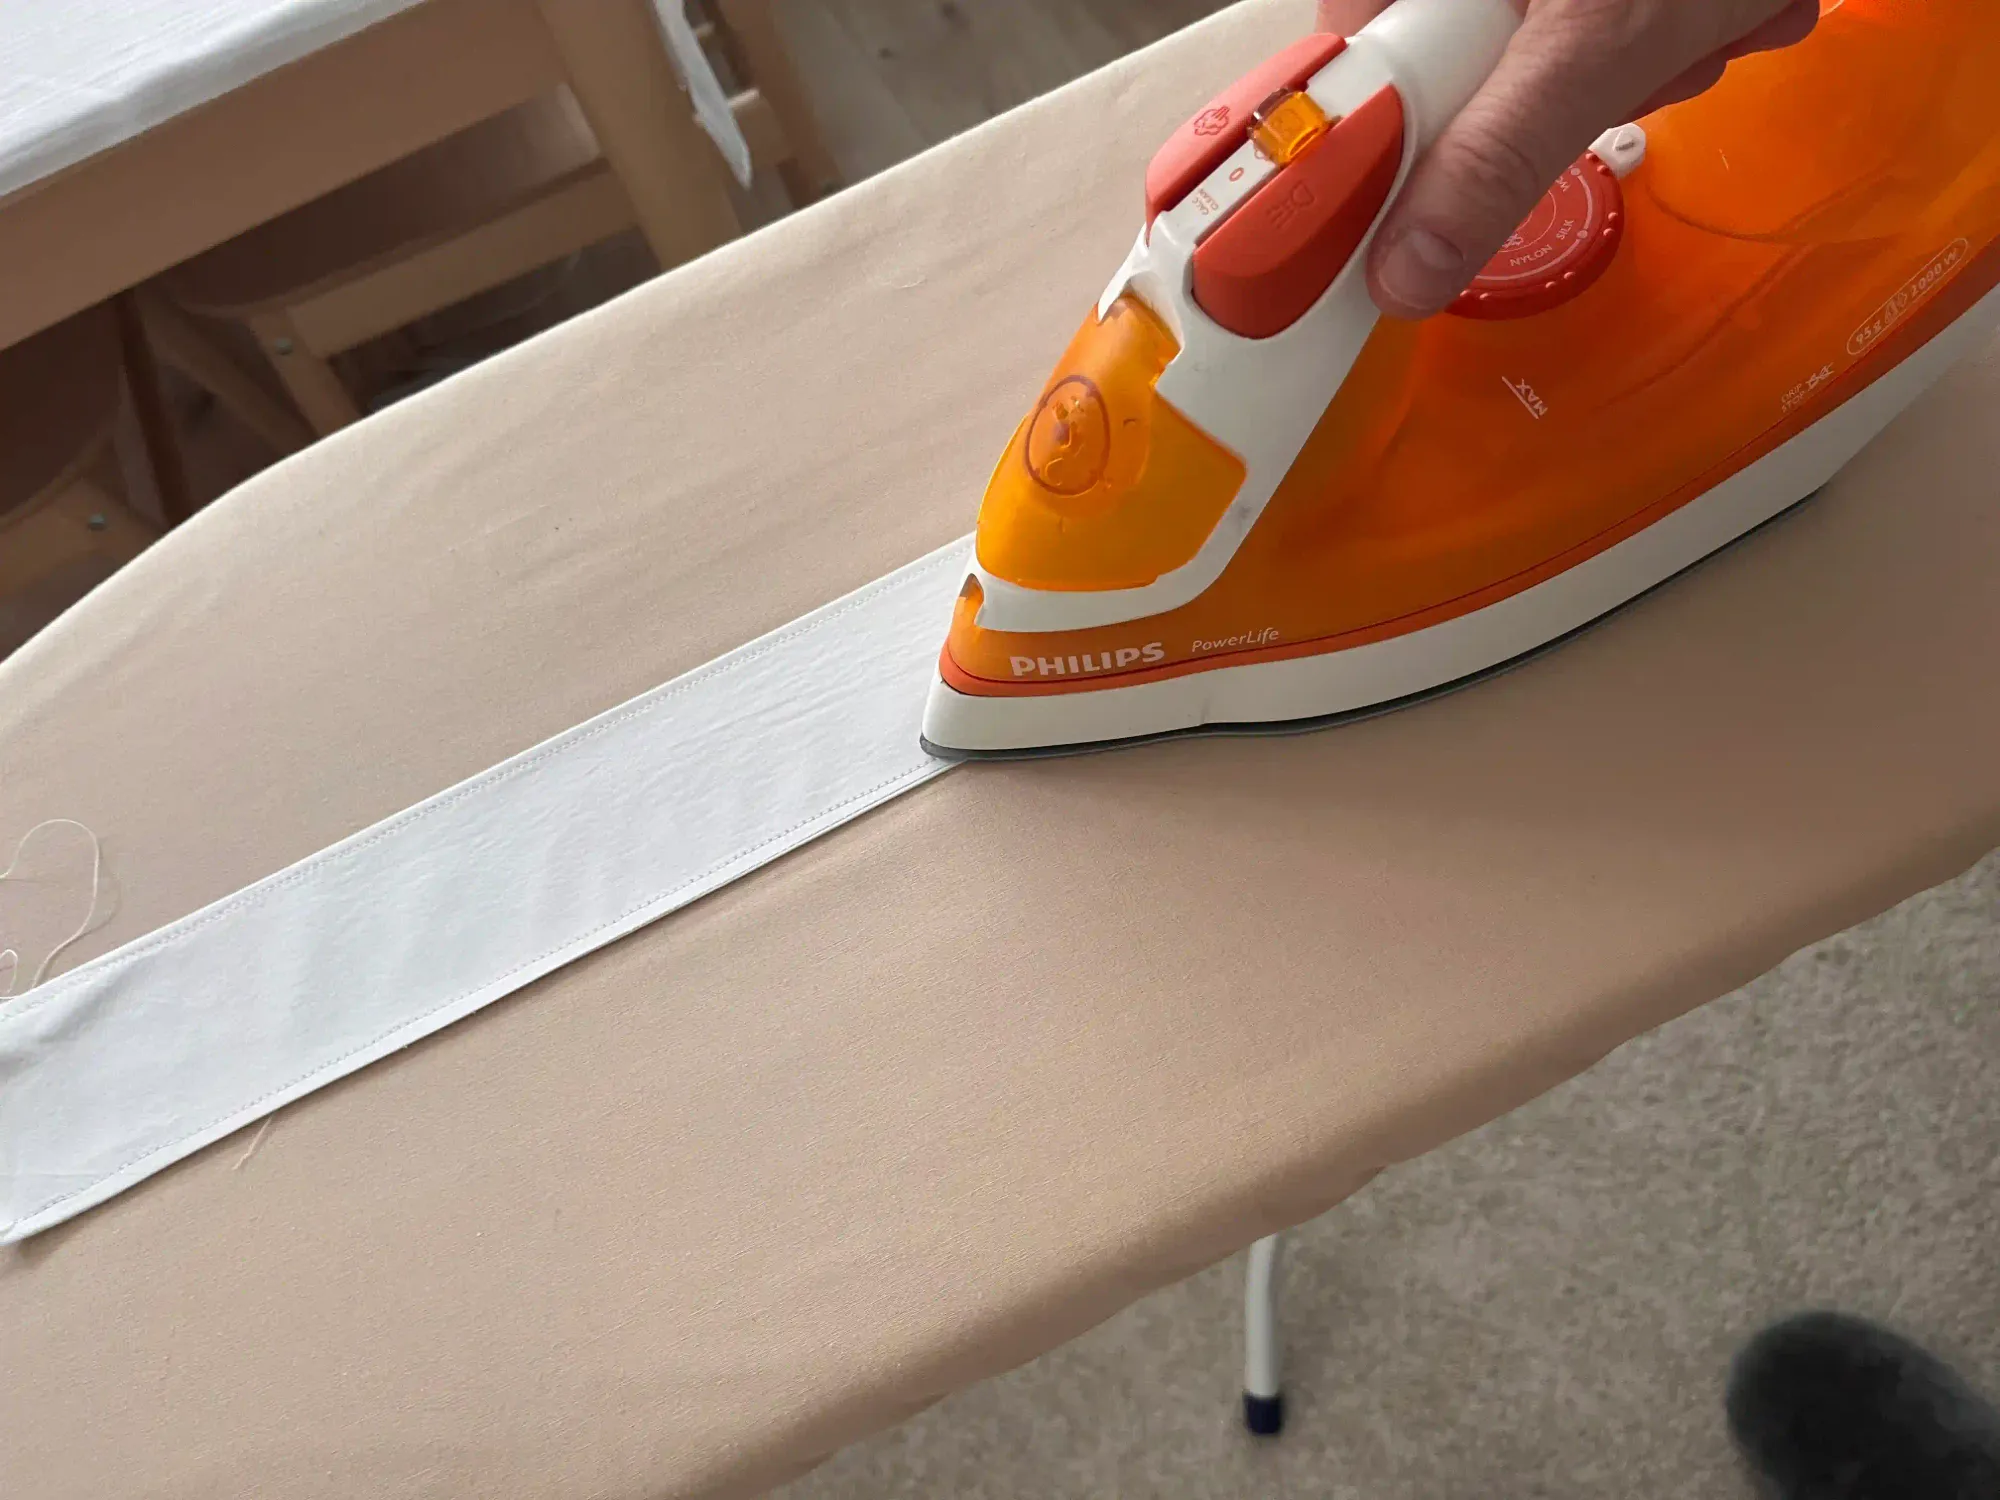
Now, you need to iron the entire strap so it holds its shape.
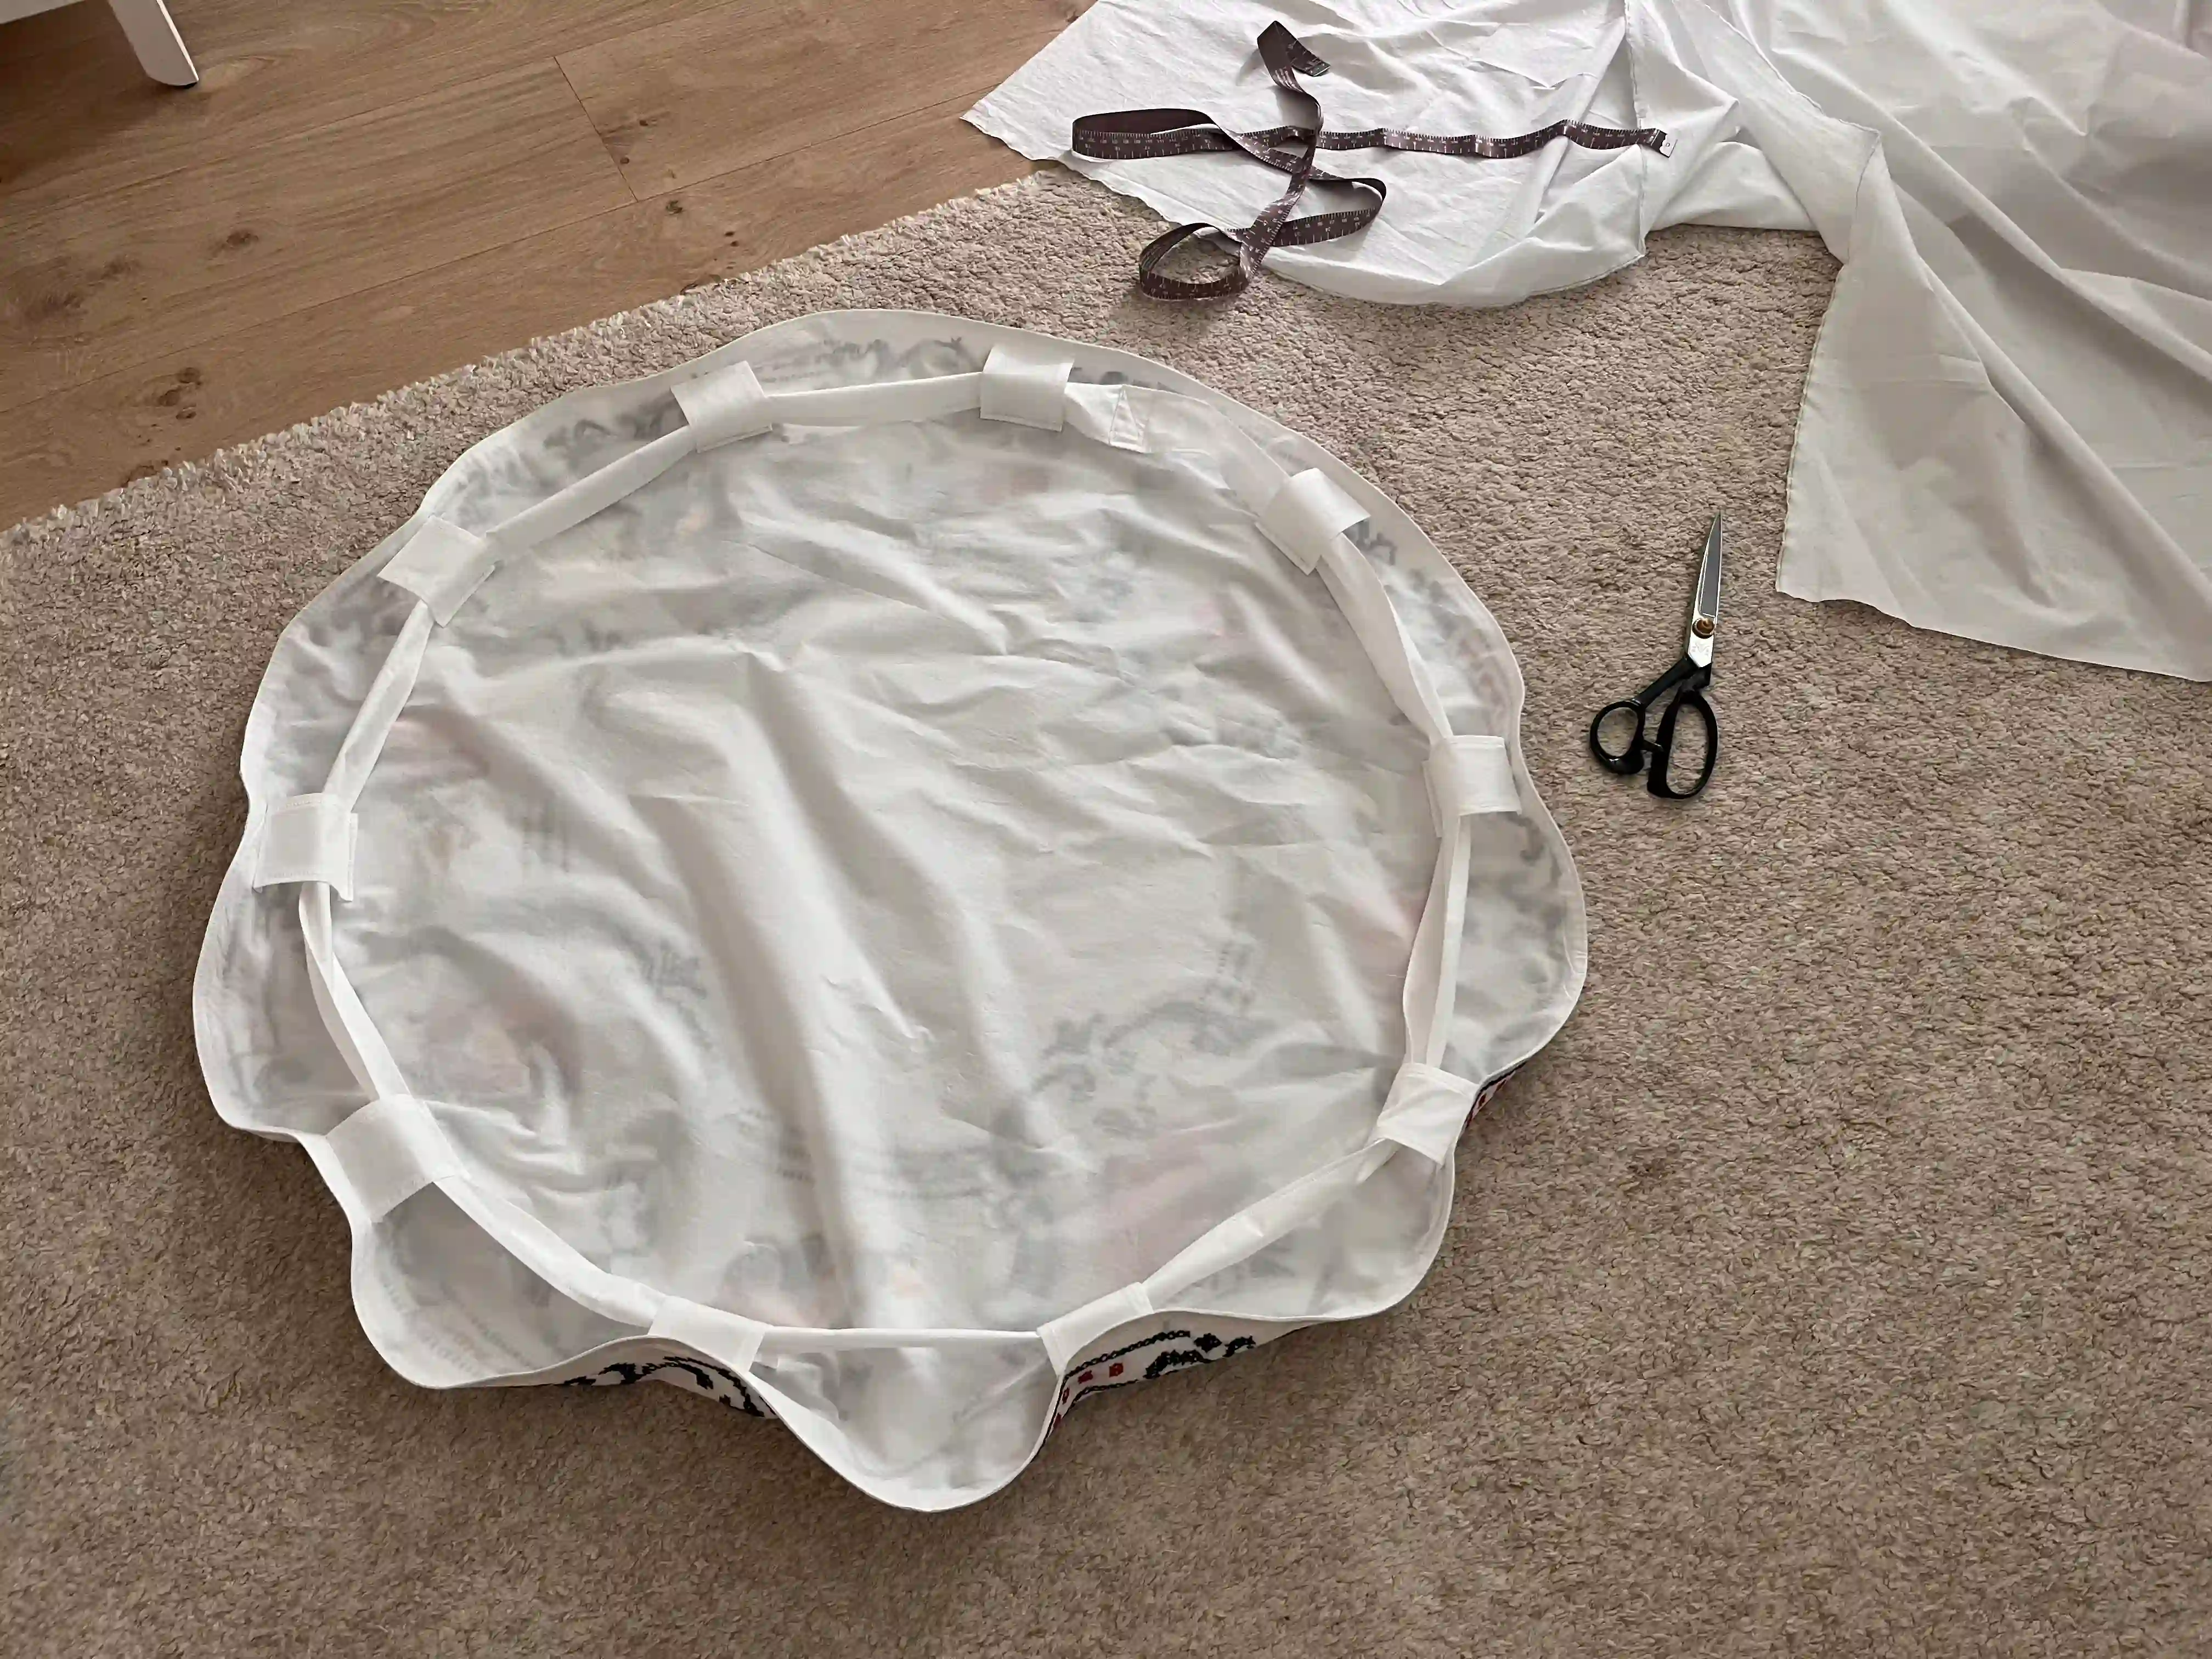
Thread it through the bag. Join the two ends and sew them together.
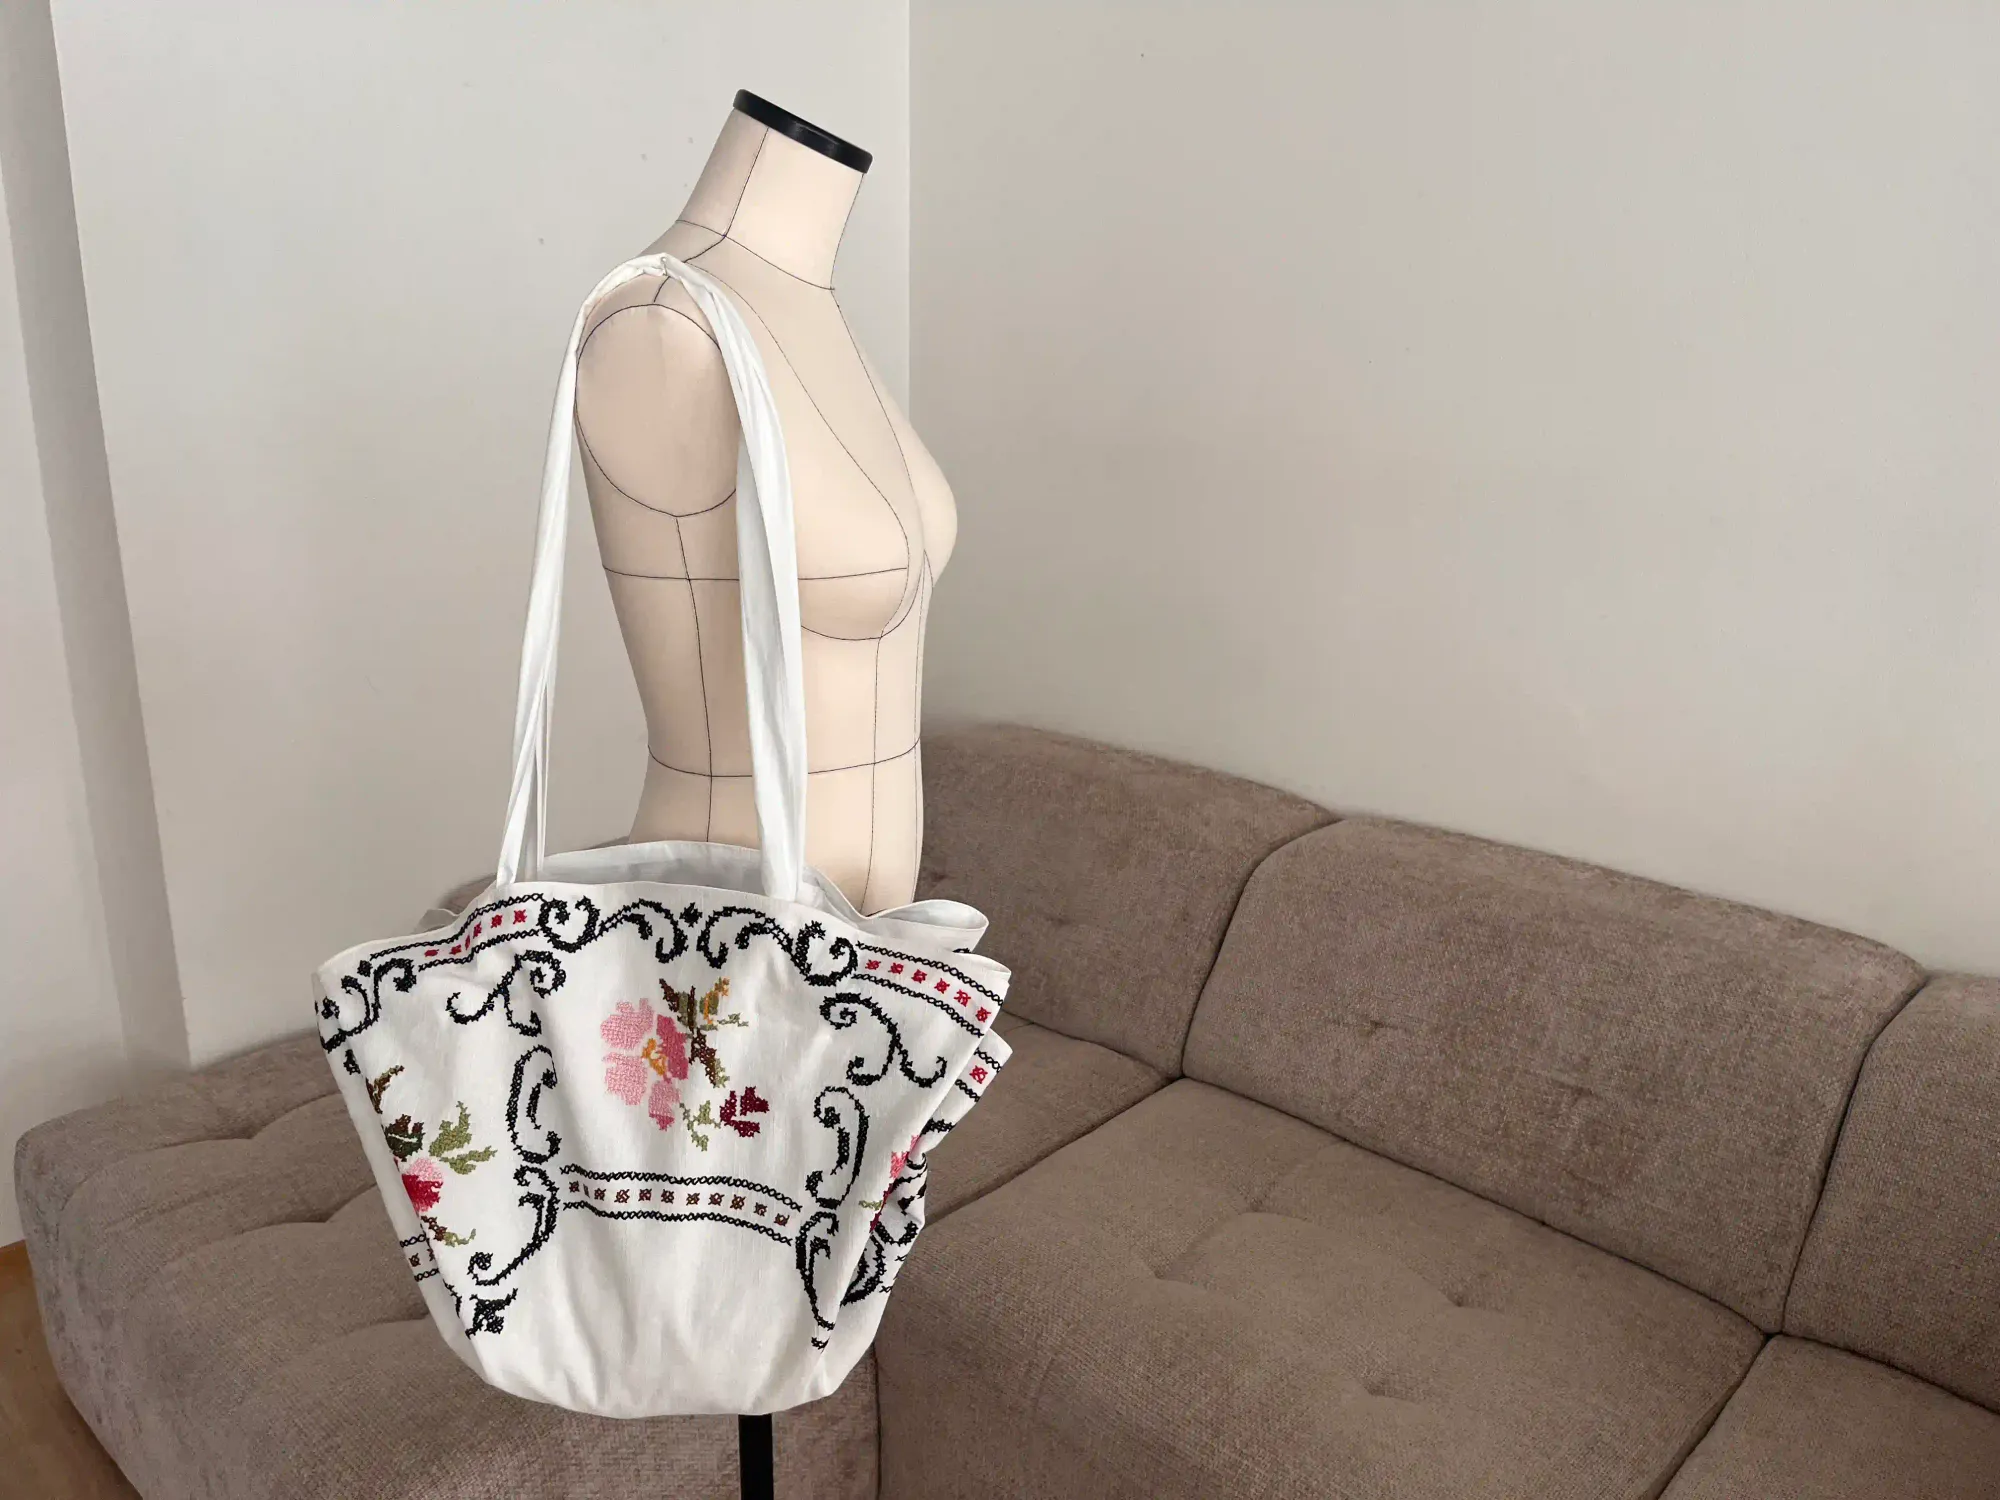
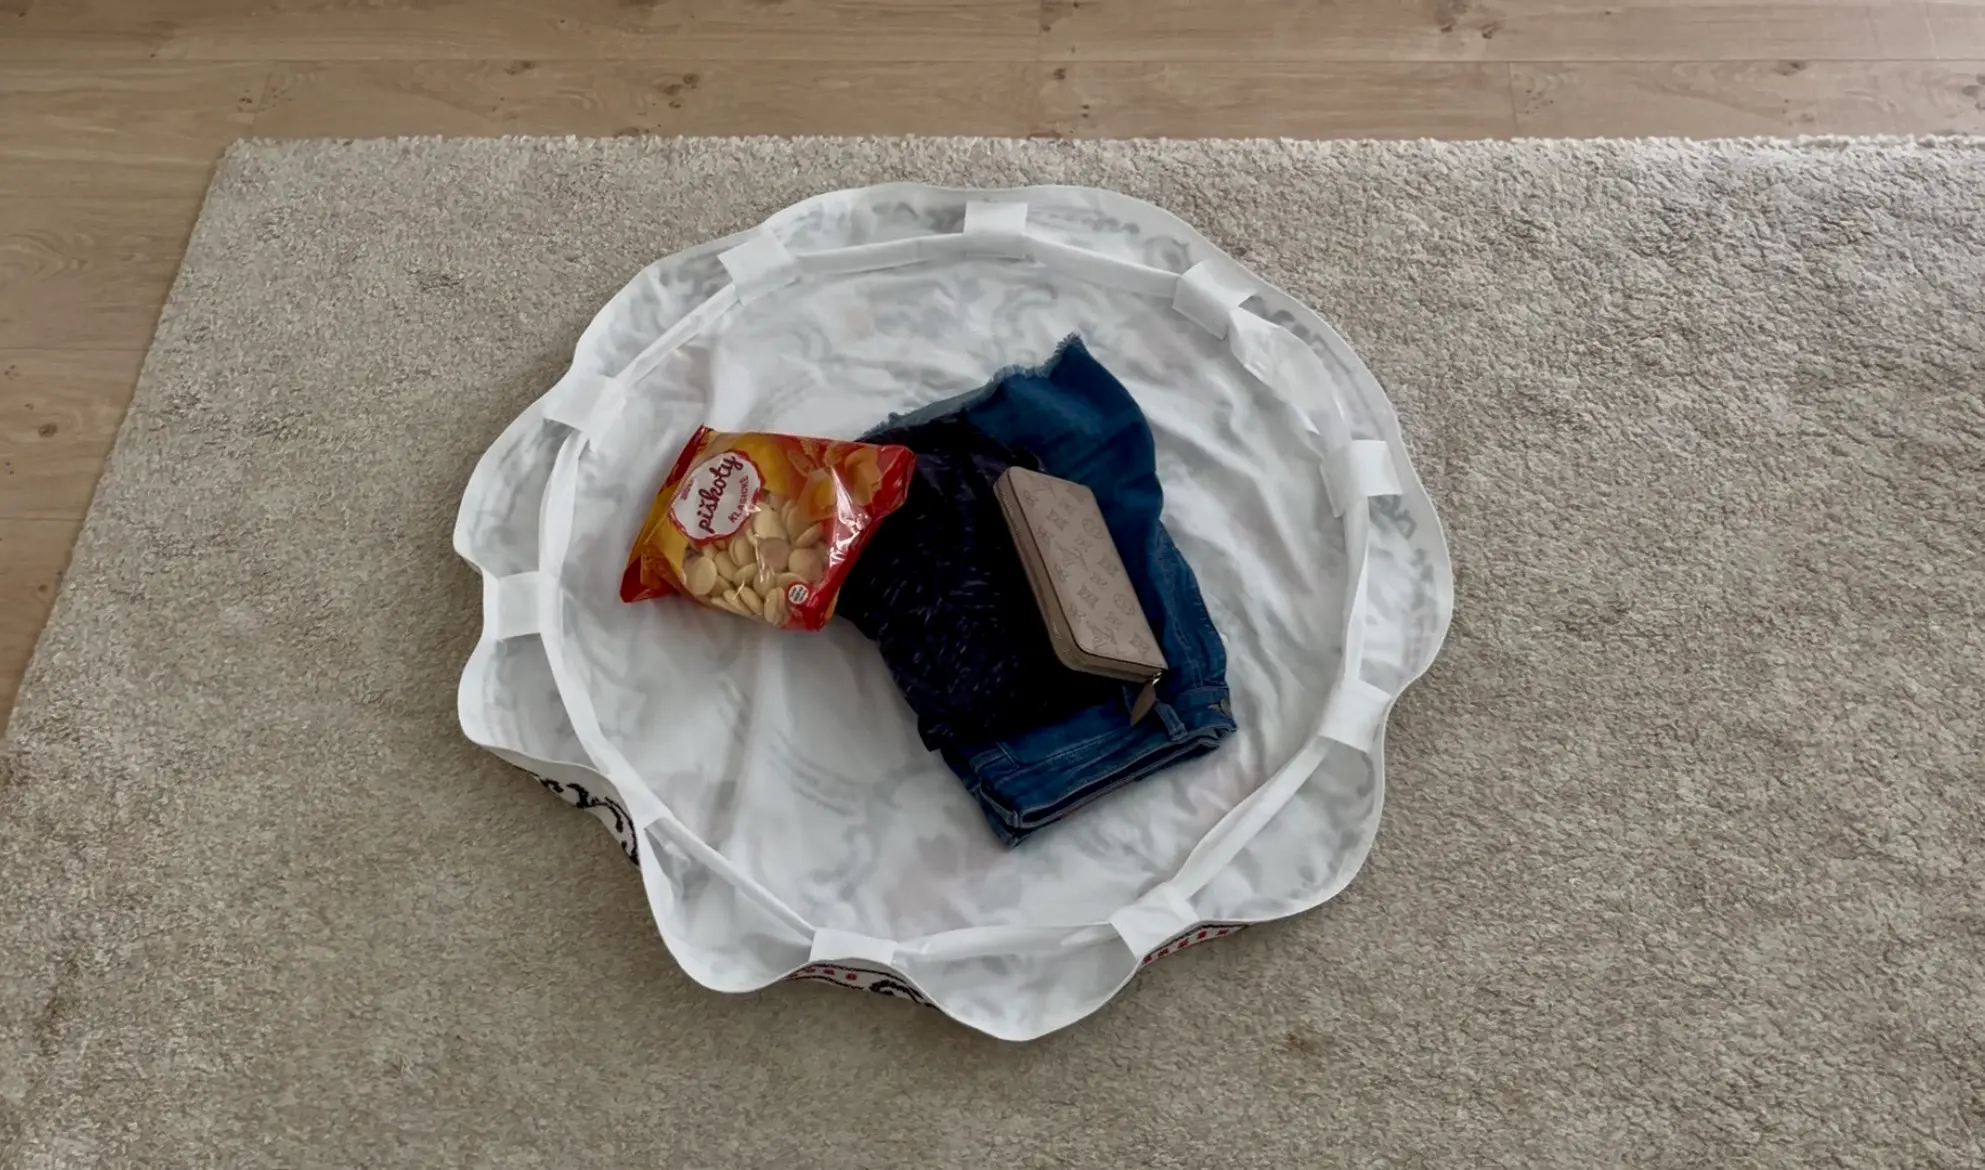
Now simply put whatever you need into the bag, and you're ready to go.
If you need any advice, feel free to contact me or the community by commenting below the article.
I am keeping my fingers crossed for you on this beginner-friendly project. Remember, we are in this together, so if you need anything, feel free to reach out.
Happy Quiet Sewing 🌸
Dana