Table of Contents
Stories woven into every stitch
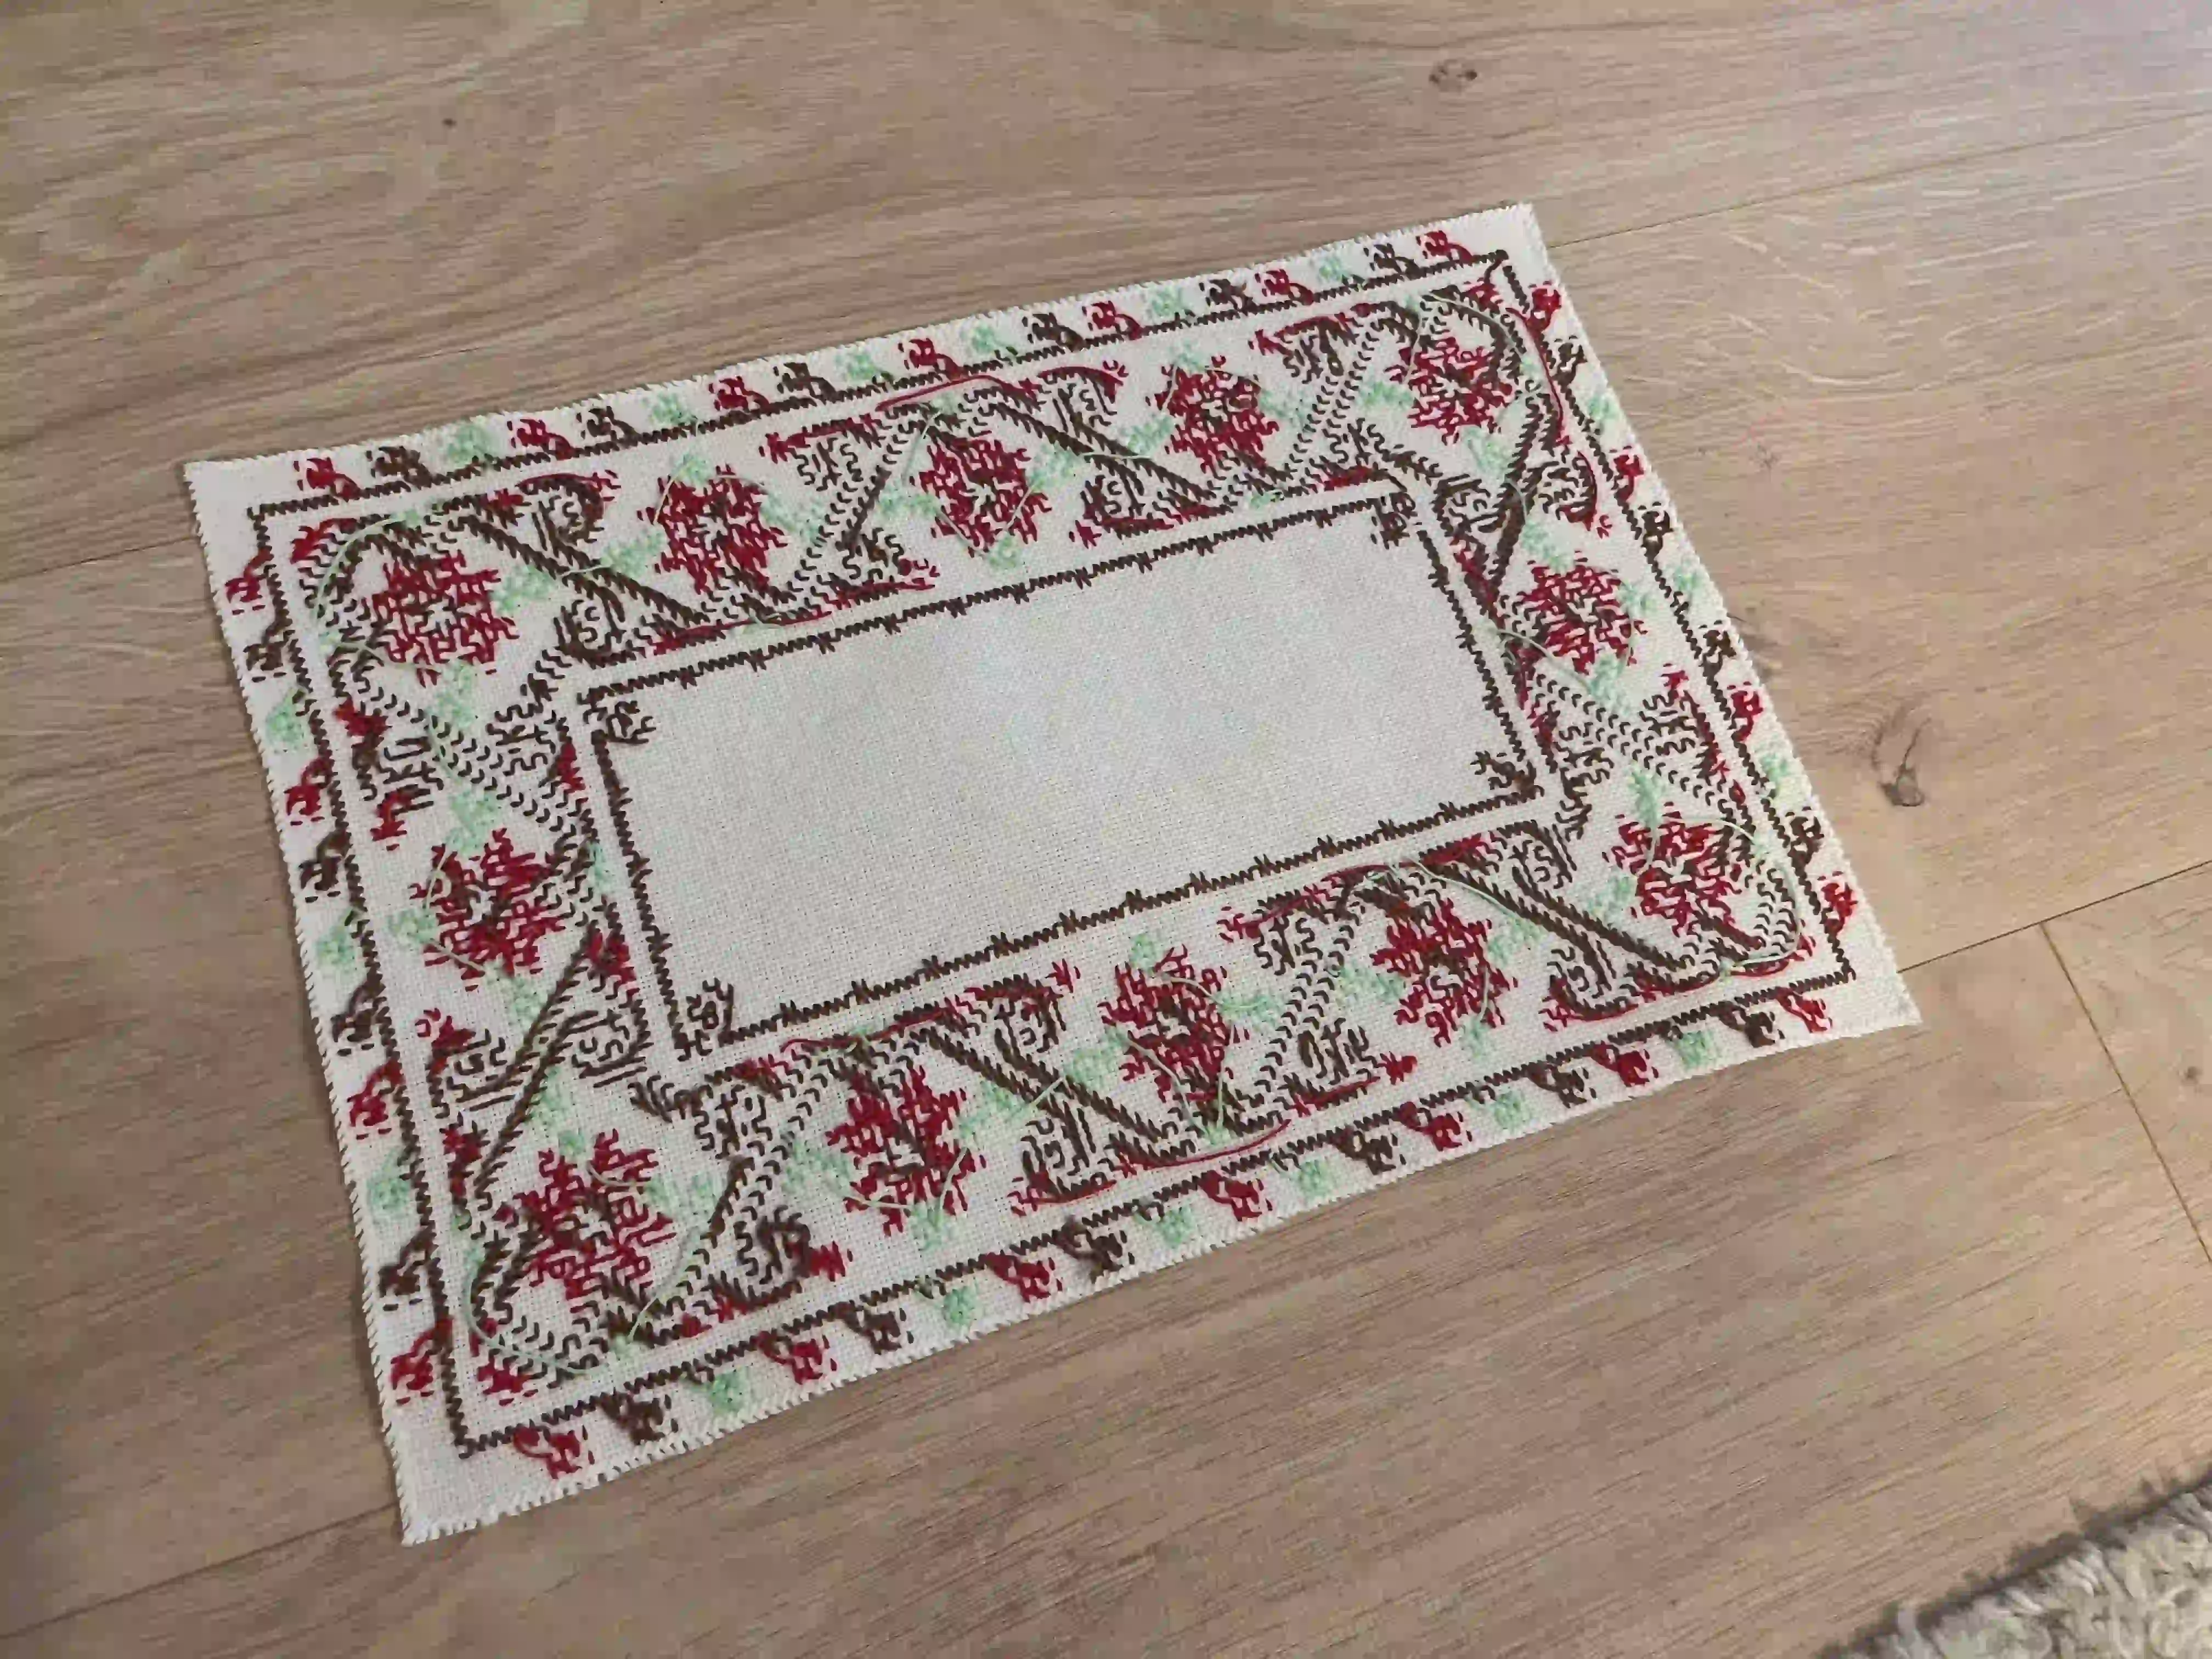
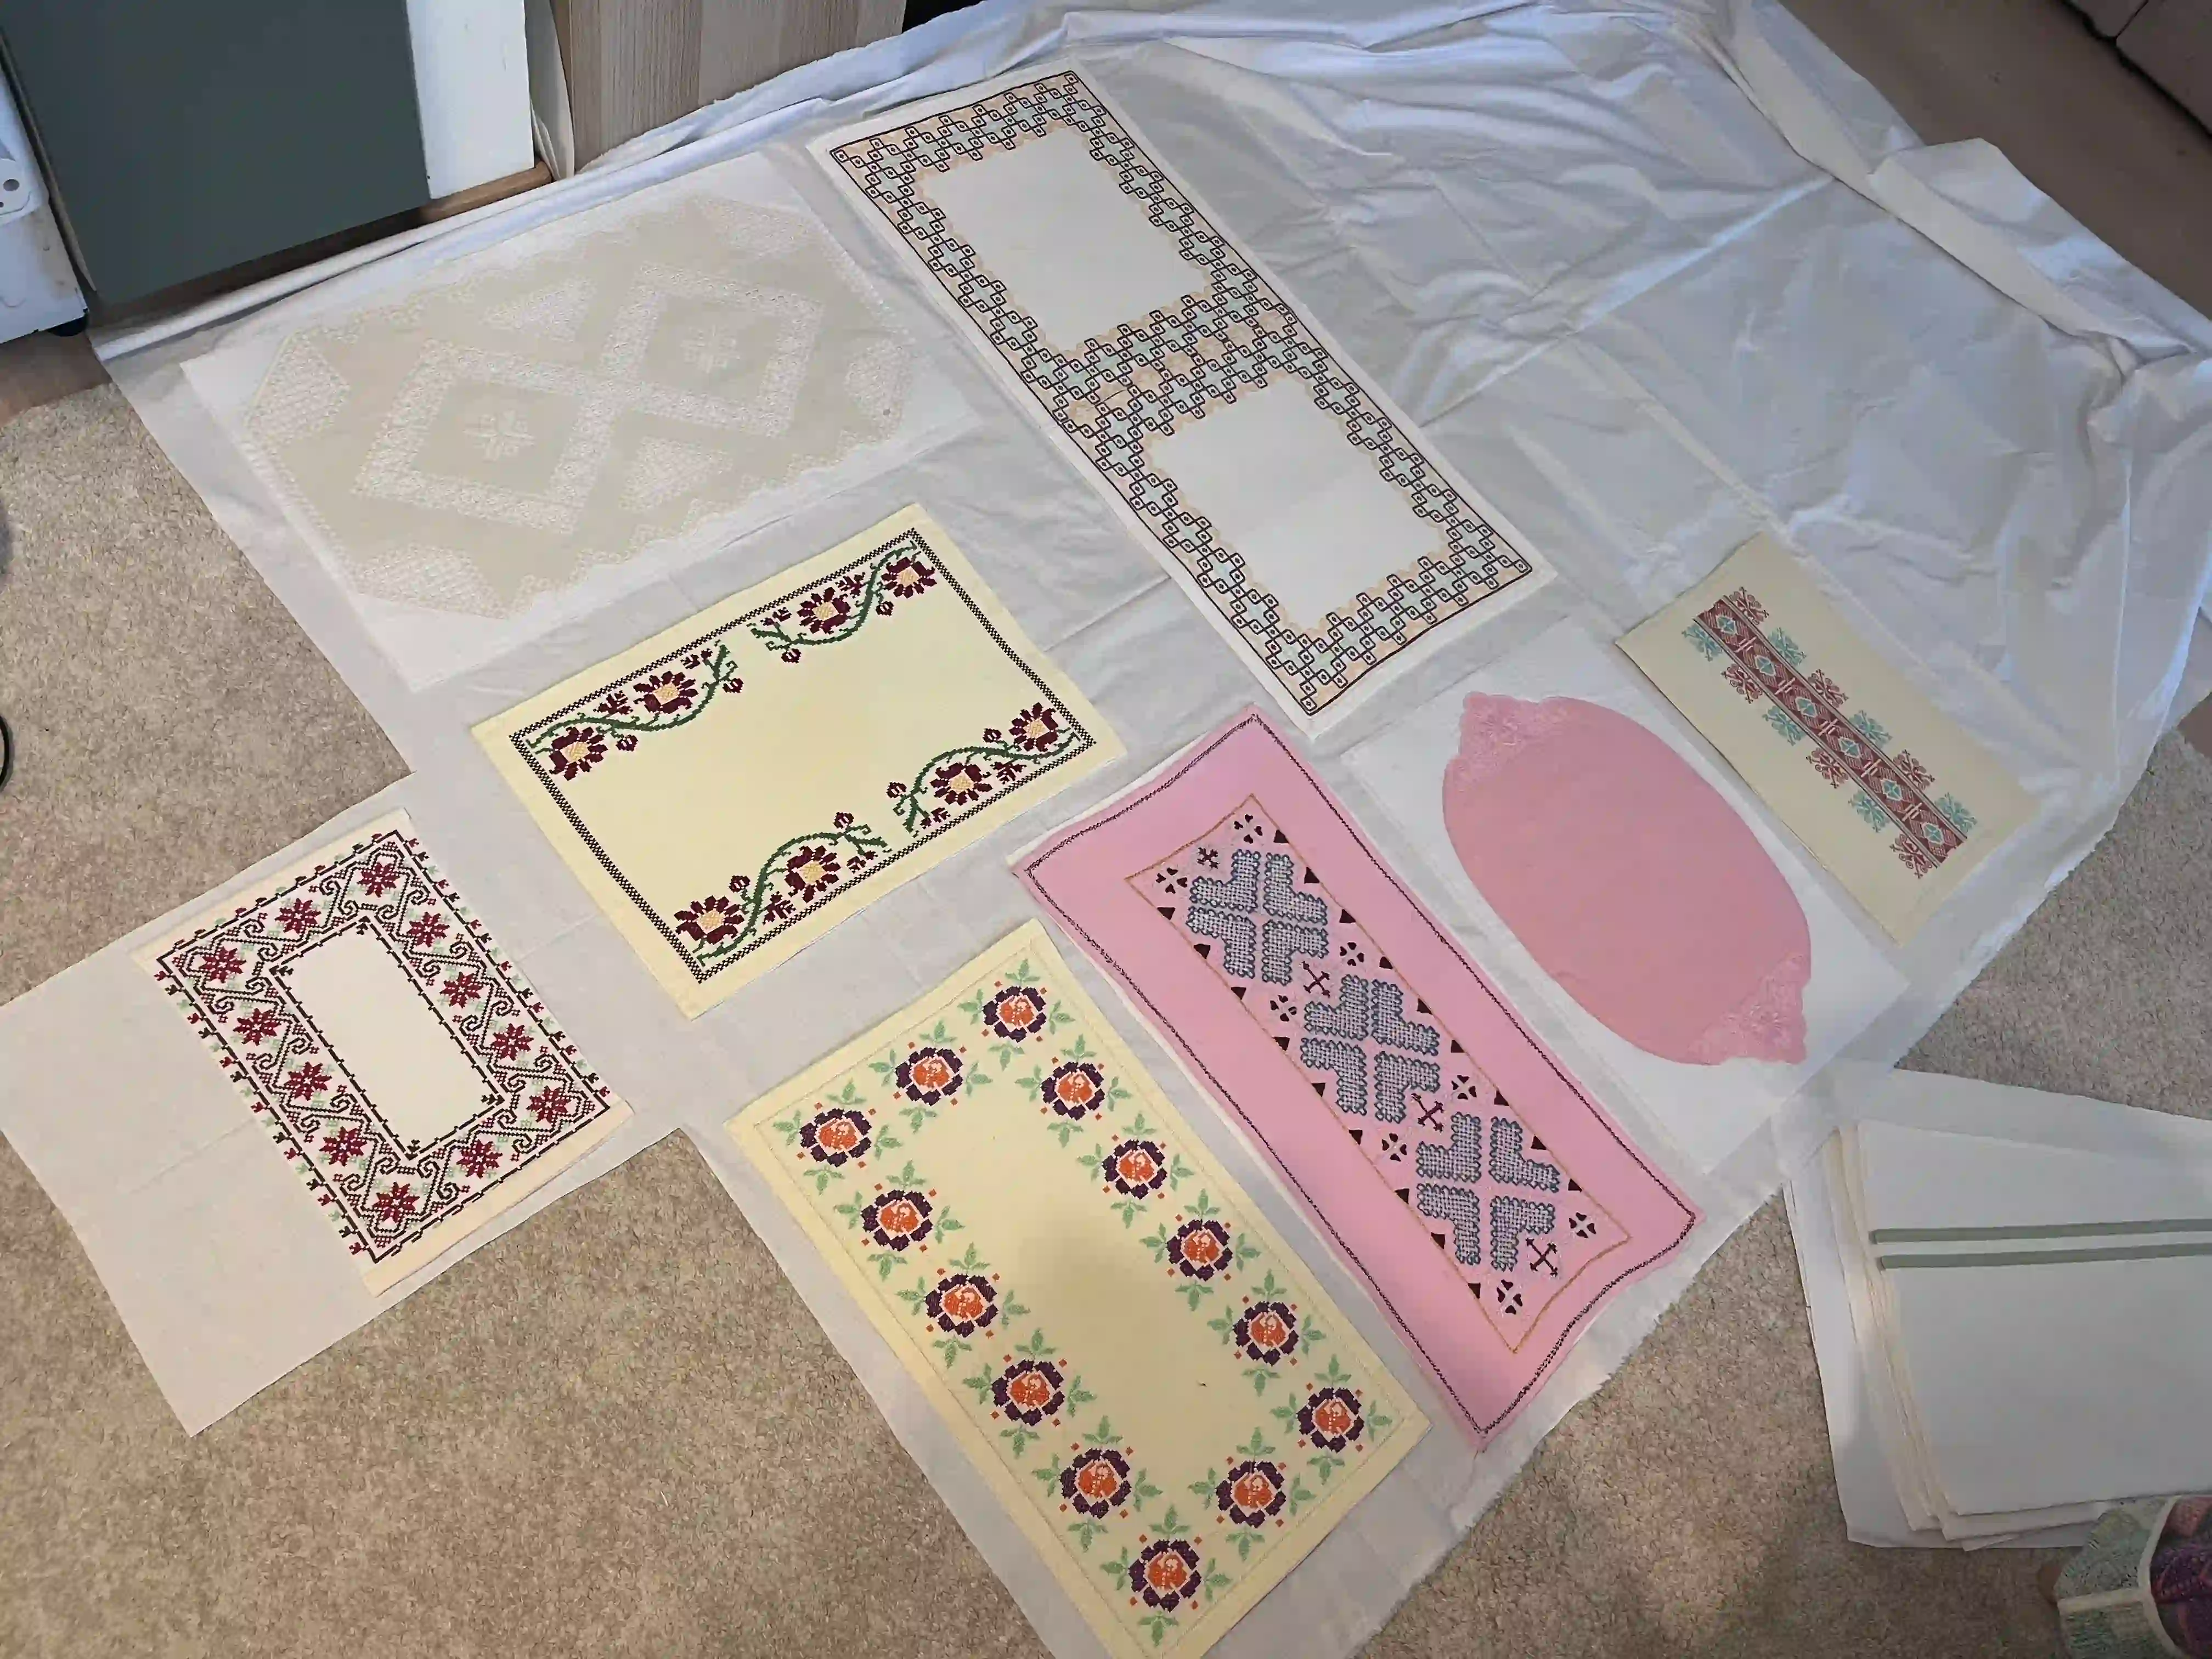
A few days ago, I visited a long-time friend of mine. It was a truly lovely get-together; I’m very fond of her. She knows that I sew, and she’s also familiar with my values; she fully resonates with the concept of "Quiet Sewing." At one point during my visit, she stepped away and returned with a collection of small decorative cloths, asking if I might know what to do with them.
She didn’t want to throw them away; they were beautiful pieces, mostly hand-embroidered, and she felt it would be a shame to discard her grandmother’s hard work.
I knew exactly what to do with them; one thing led to another, and before long, I was heading home with these pieces in hand.
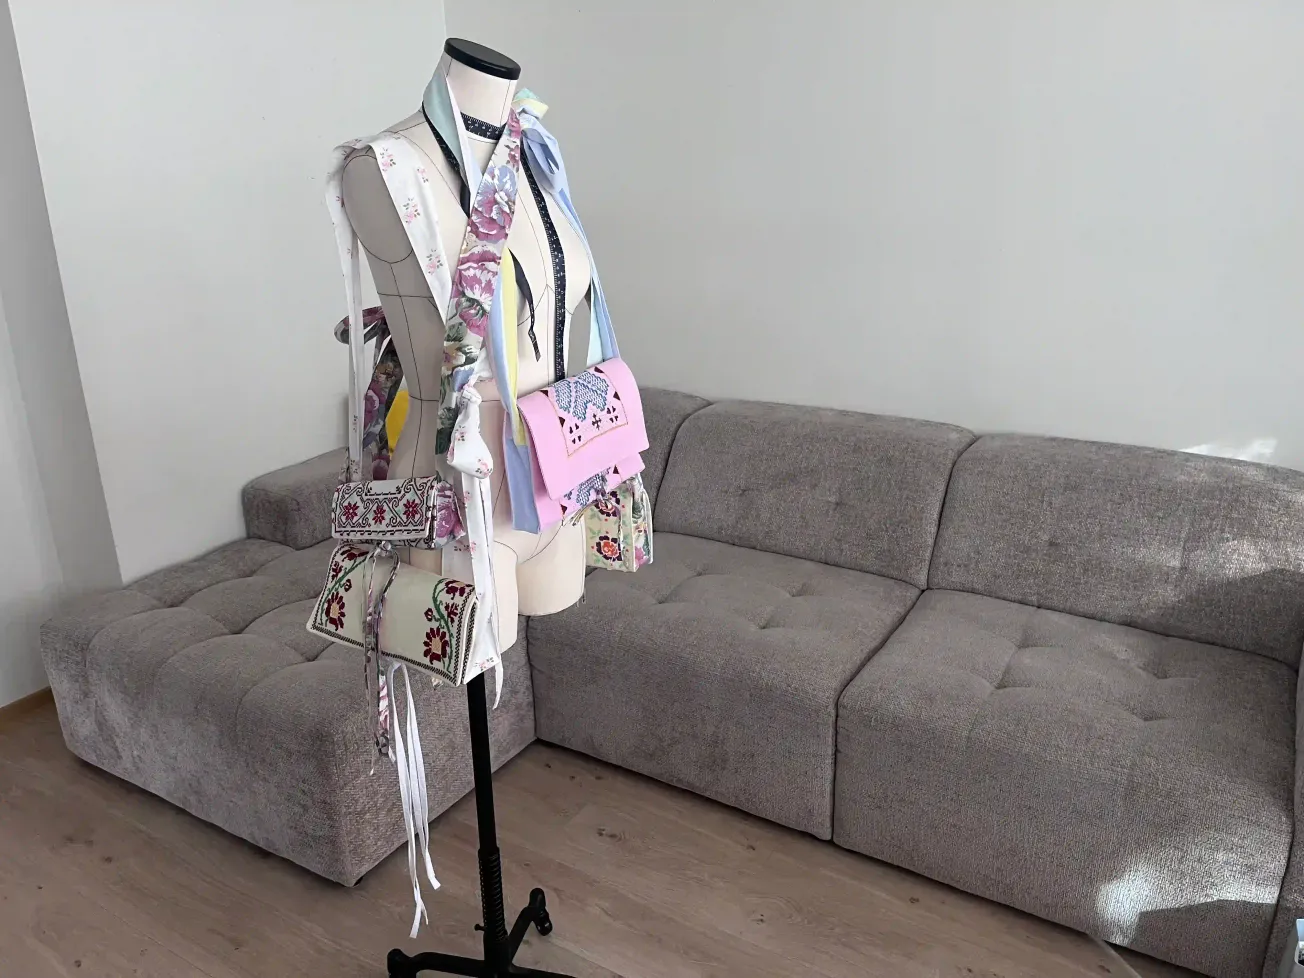
I immediately envisioned turning them into beautiful handbags. I spent the entire journey home thinking about them, and as soon as I arrived, I got straight to work.
Now, I’ll show you how and why I crafted these handbags the way I did, so that you can make your own if you’d like.
And if you don’t have the time to sew but still love the bags, you can find a few available in my online shop.
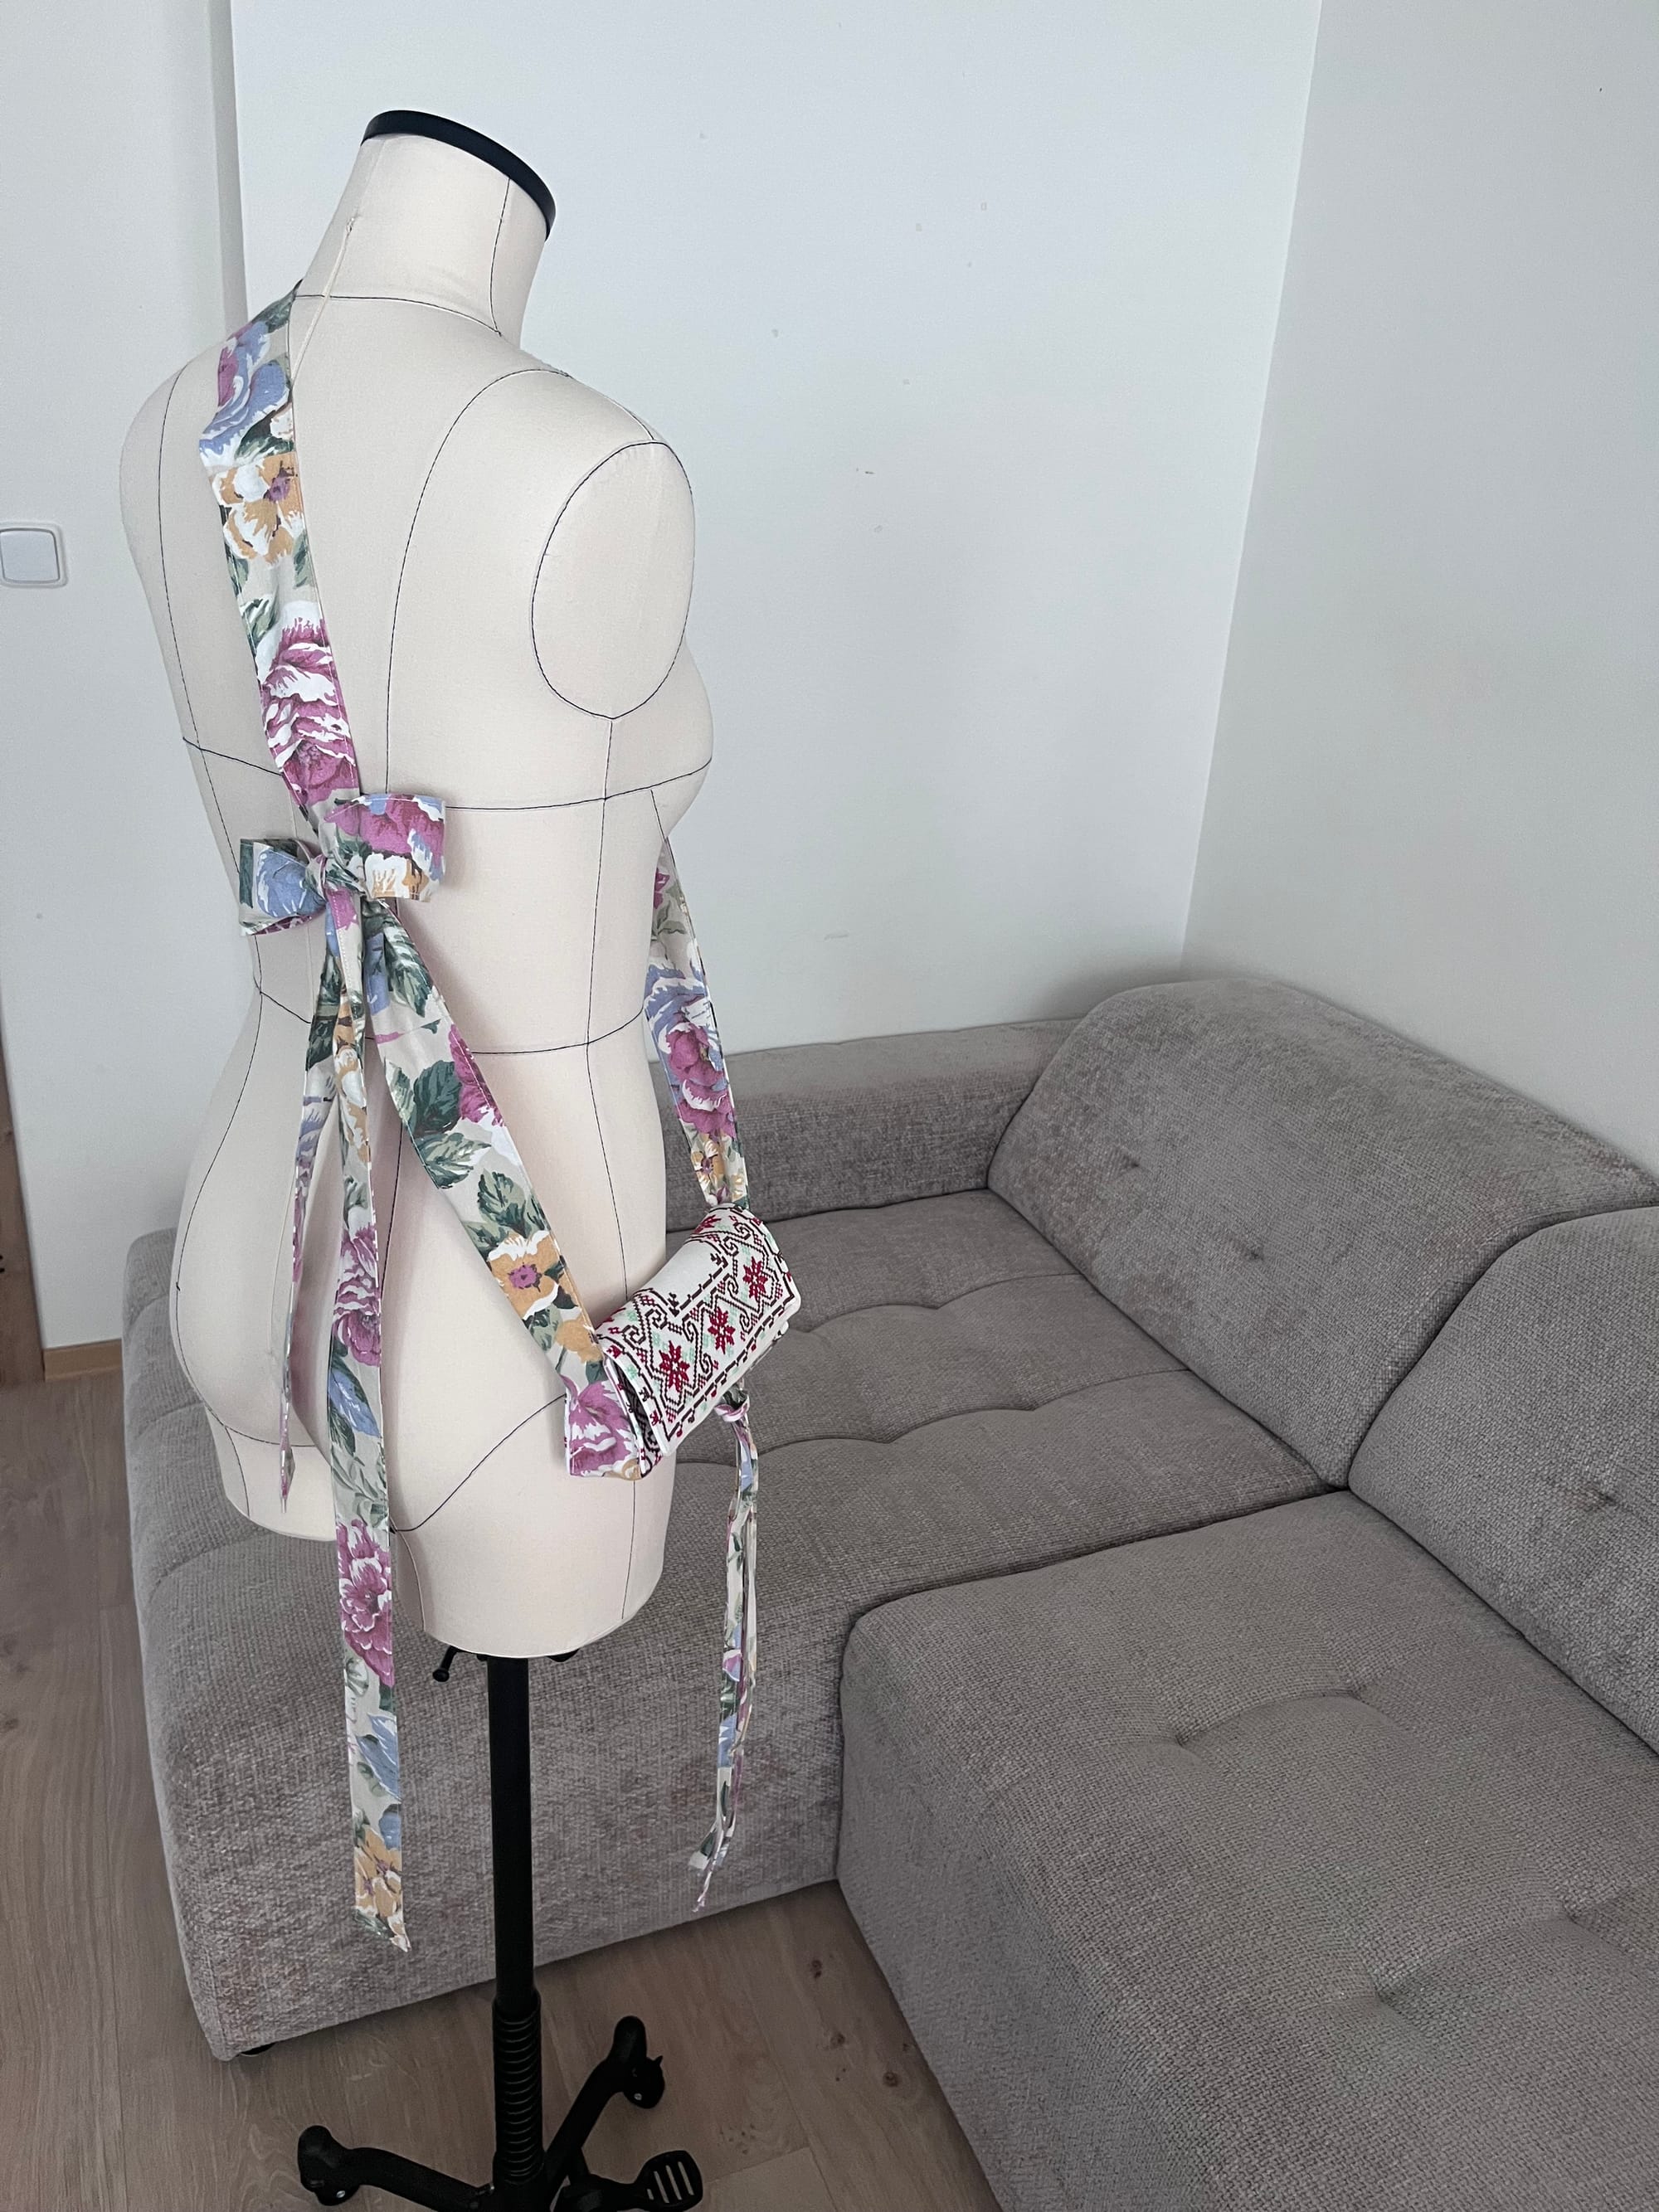
Upcycled Vintage Embroidery Mini Bag
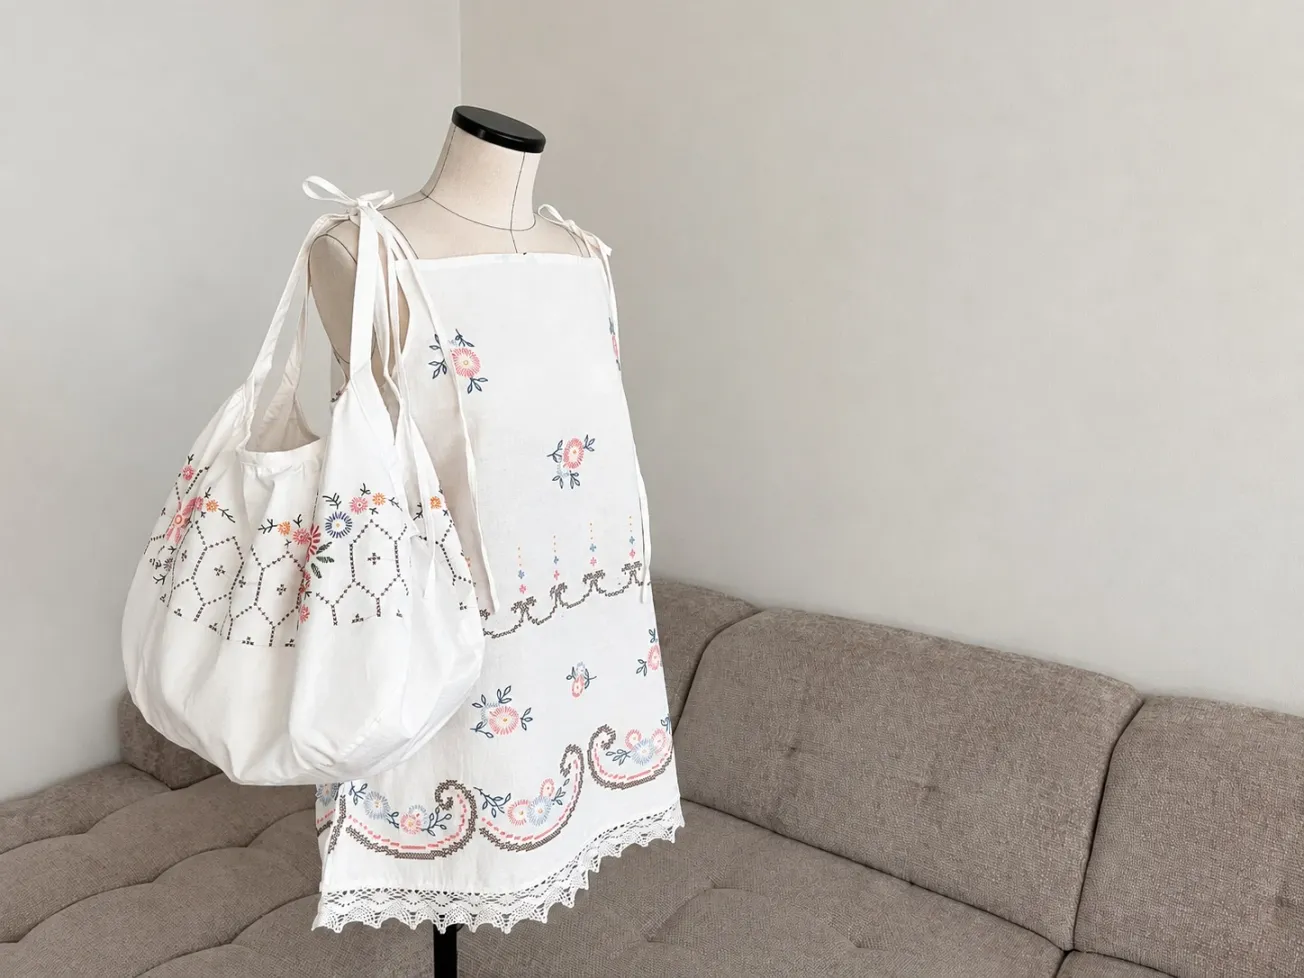
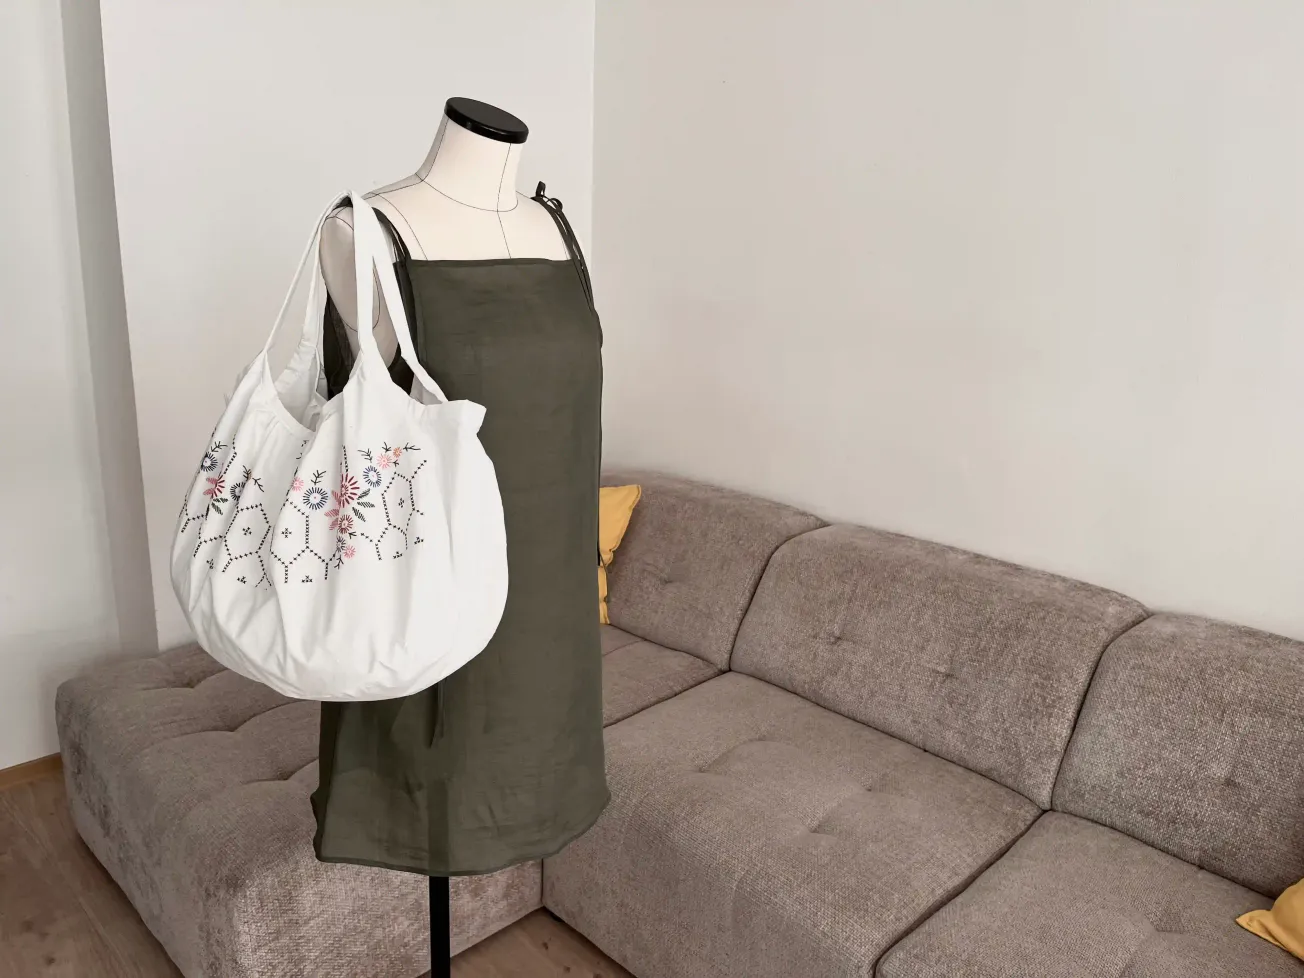
✨ One-of-a-kind wearable textile art filled with history and a new soul. This exquisite shoulder bag seamlessly blends the beauty of hand-embroidered heritage with modern, sustainable luxury. ✨
There is only ONE available in the entire world. ❤️
The Bow Bag Concept
I firmly believe that handmade work deserves to be seen. There is nothing sadder than when the result of days, or even weeks, of labor ends up in a chest, never to see the light of day again.
Our grandmothers and mothers used to spend long evenings at home embroidering, creating beautiful tablecloths and even more exquisite doilies. All of these pieces deserve the deep respect; the hours of love and care poured into them make each one unique, often the only one of its kind in the world. I believe this craftsmanship is part of a nation’s cultural heritage, a legacy that should be visible and celebrated.
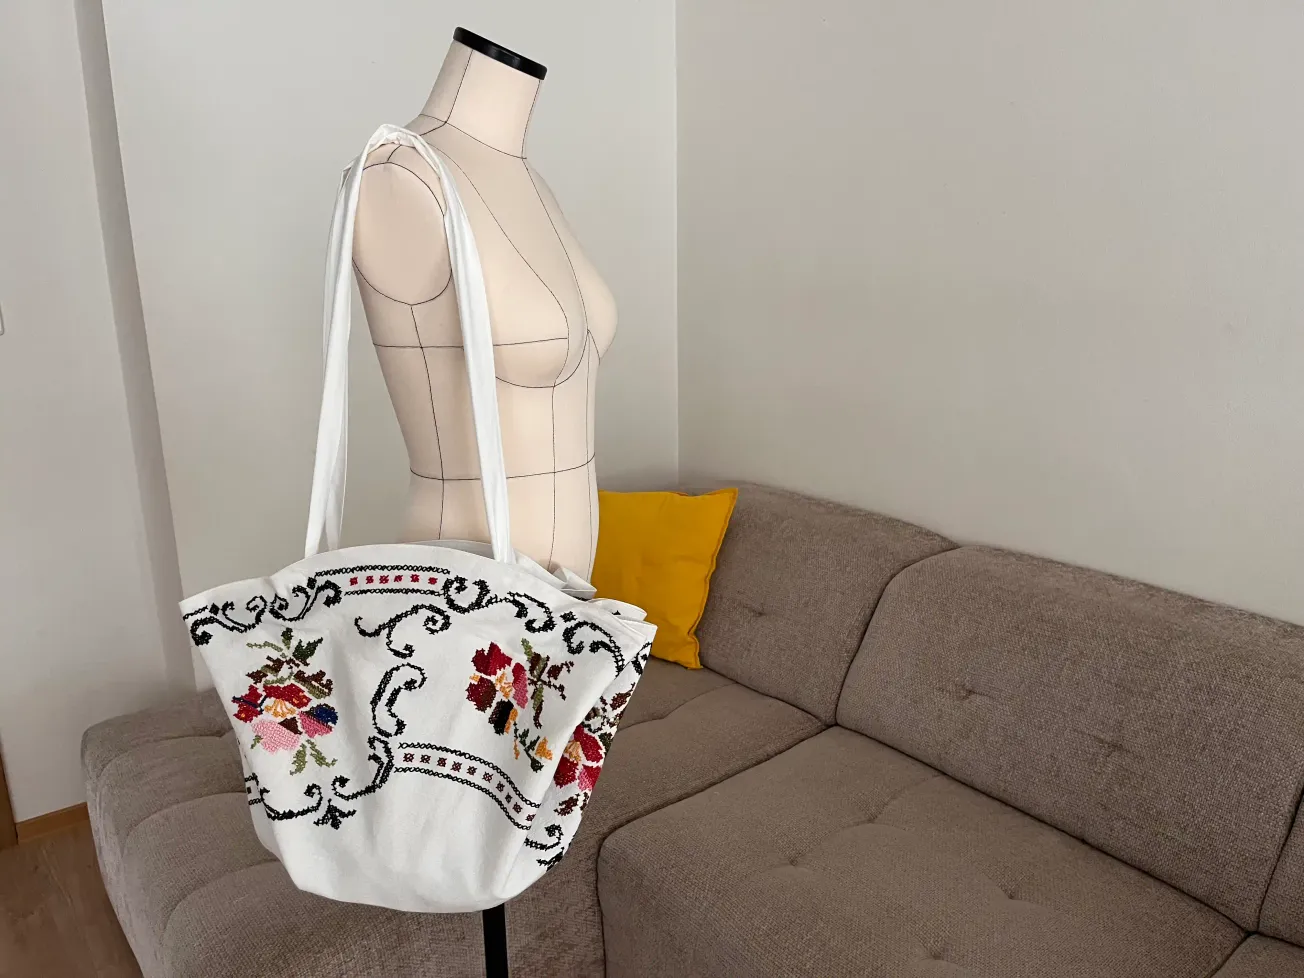
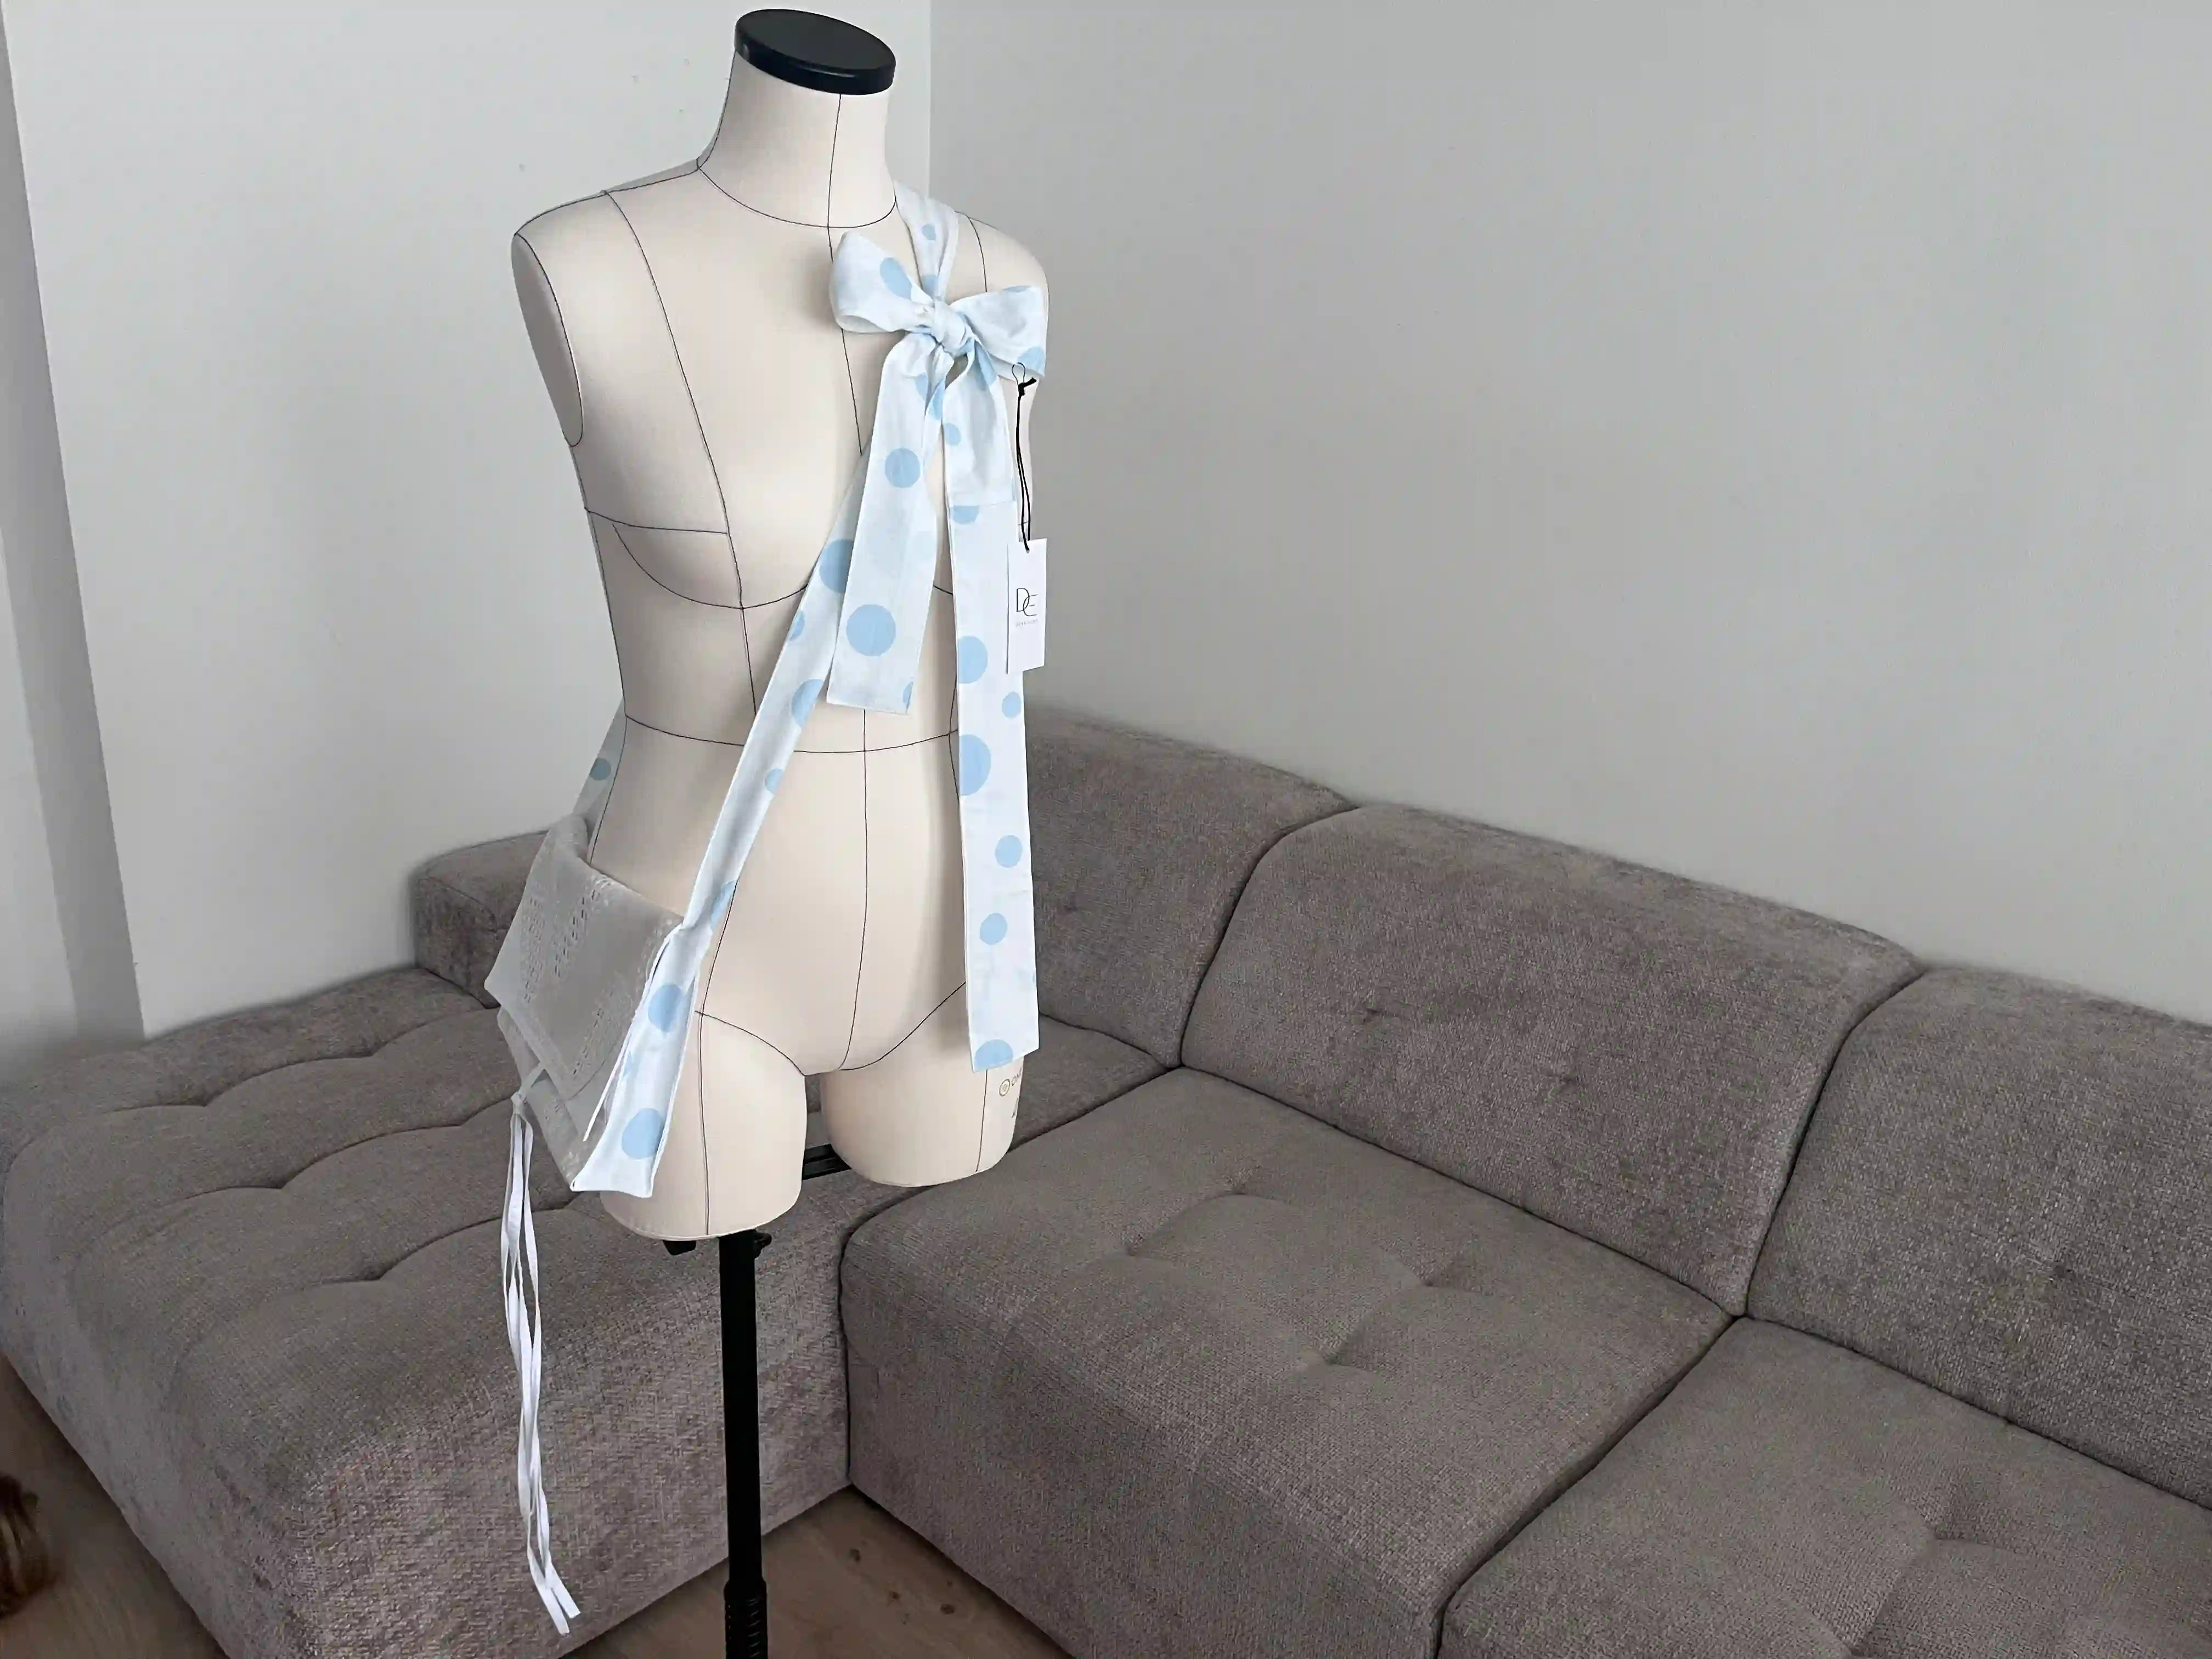
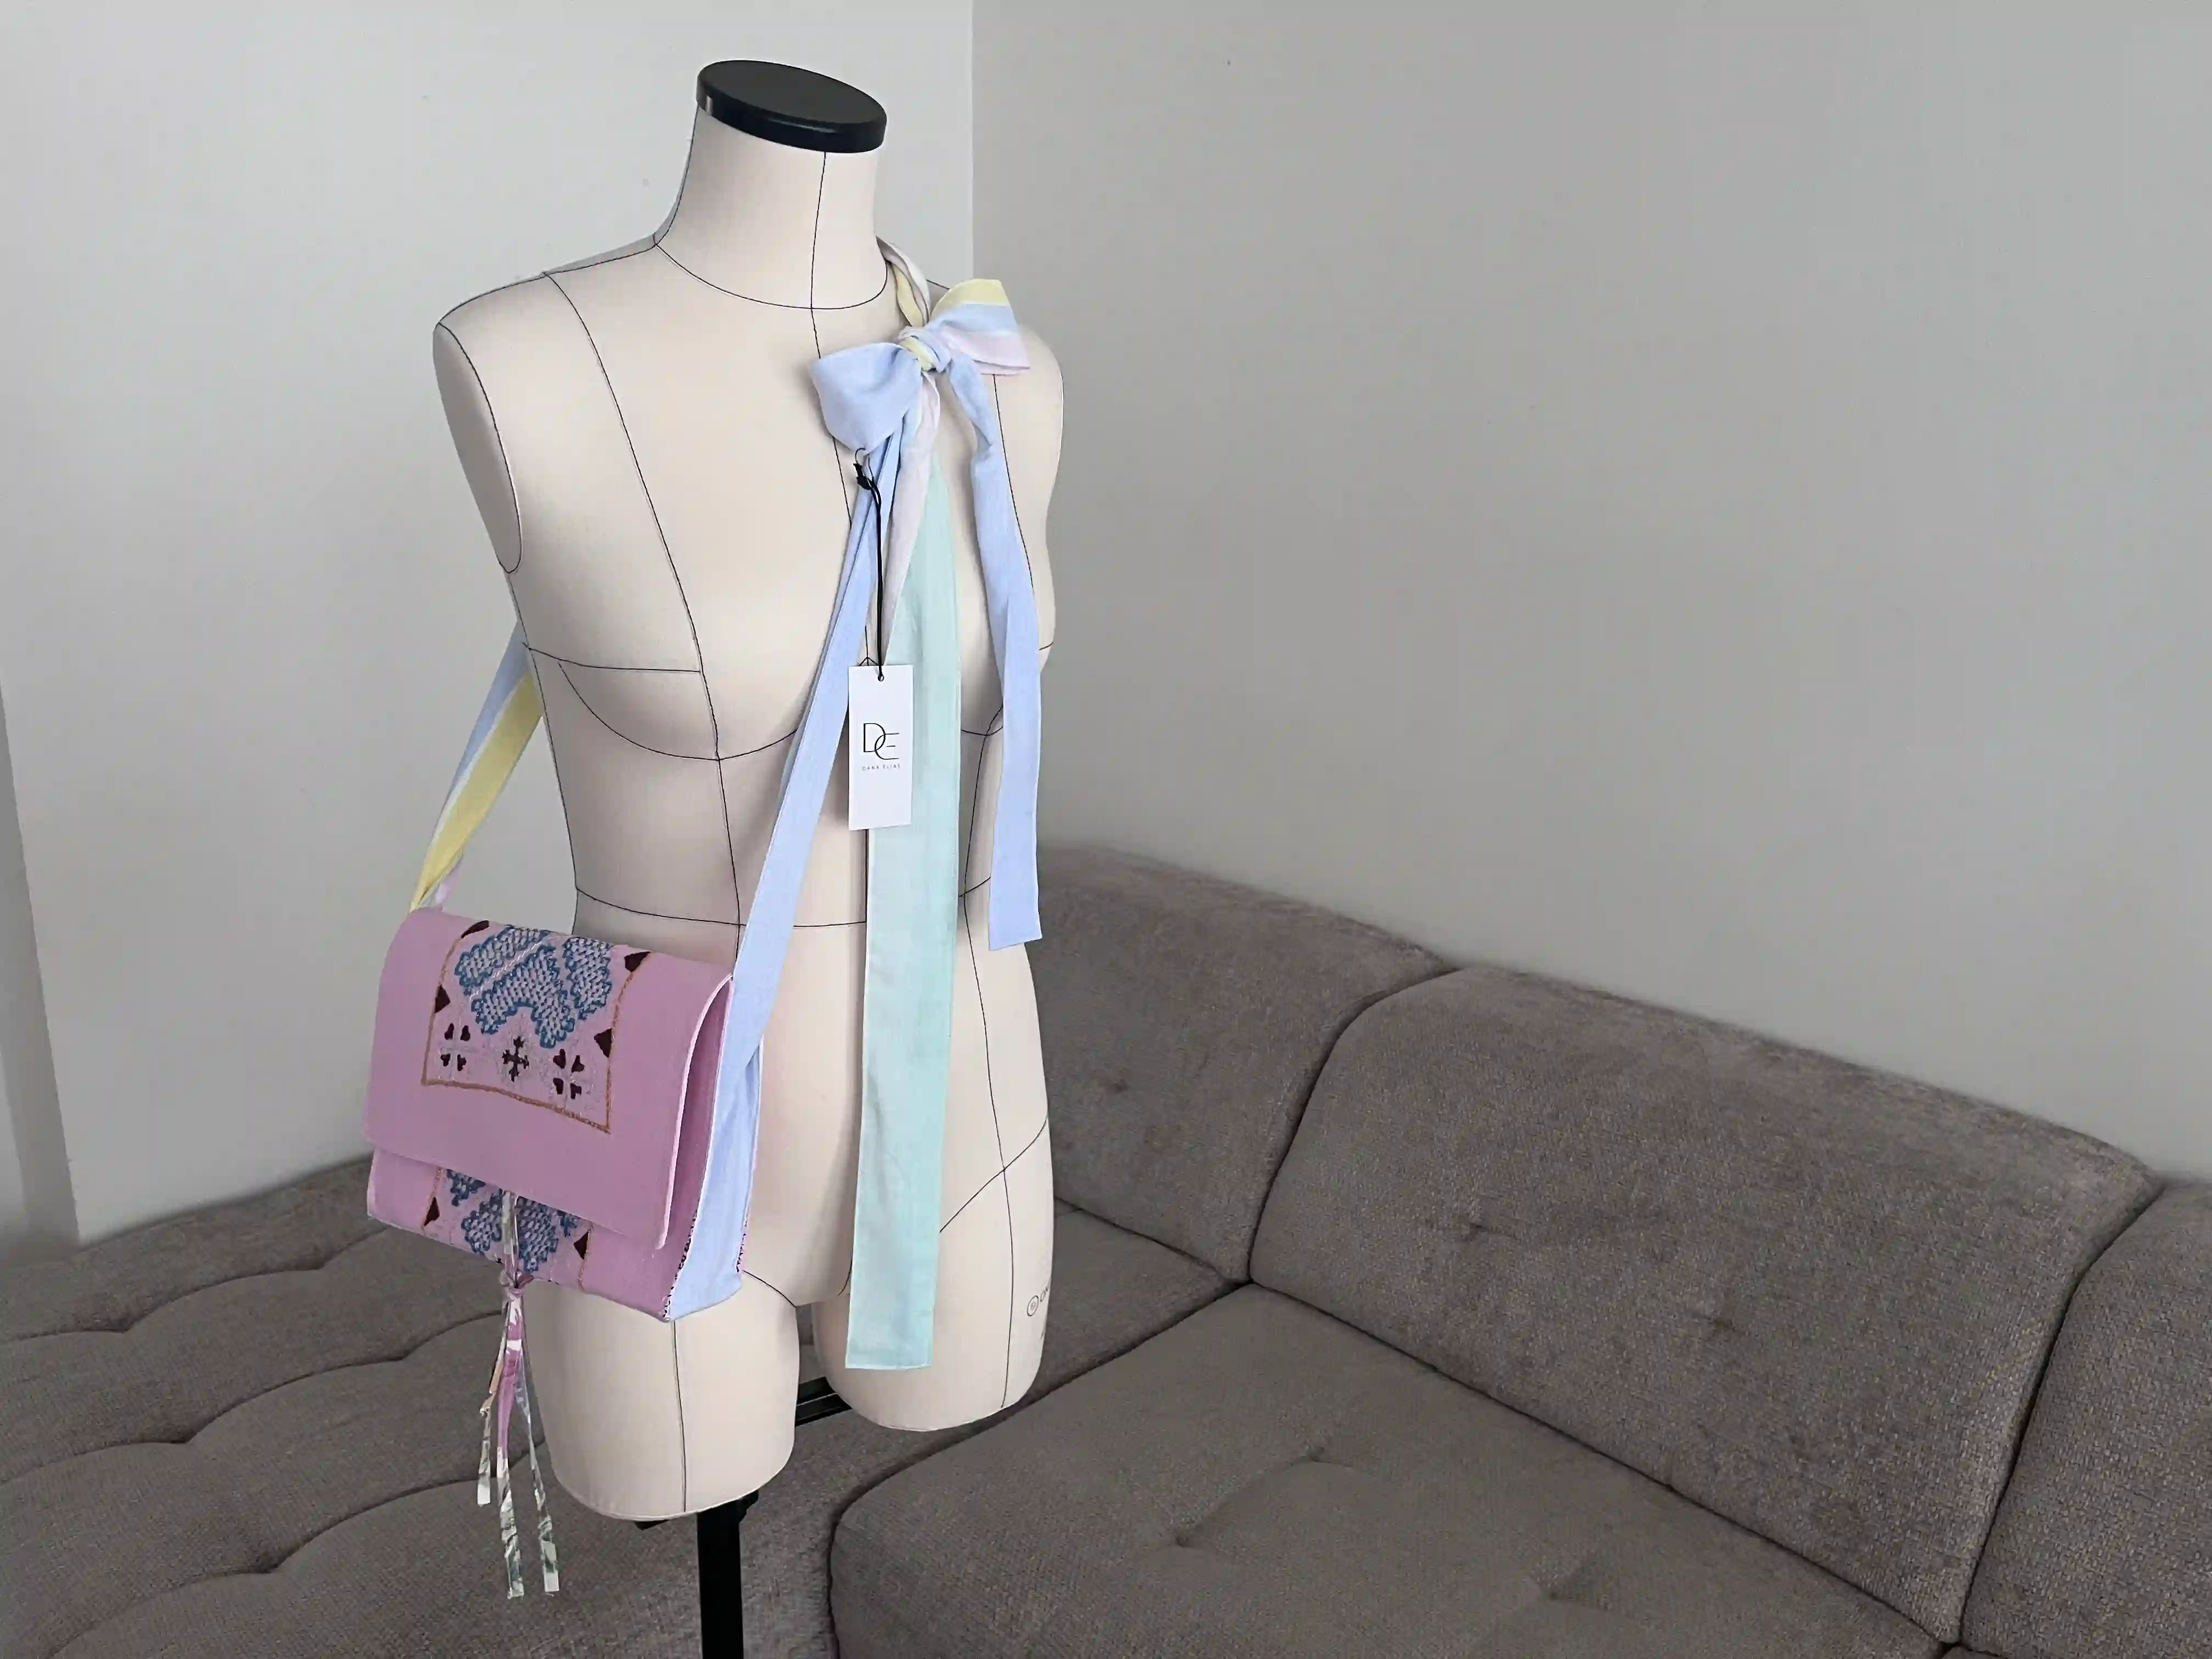
The bag features straps crafted from repurposed fabric. The entire strap is fully adjustable to suit any figure or height, and it ties into a romantic bow, a celebration of femininity and tenderness. You could say this handbag was inspired by both cultural heritage and my own gentle side, giving this vintage embroidery a modern, striking new look.
When I first saw the finished bag, I felt immense joy.
For me, this bag is more than just another accessory; it is a zero-waste design project that helps preserve cultural heritage, all without creating any waste.
Quiet Sewing concept
I crafted this handbag in the spirit of "Quiet Sewing", an approach that may seem slow to some, yet is defined by such meticulous care that the result is a genuinely well-made piece, crafted with deep respect for the trade. For me, Quiet Sewing is a world of its own. It is a tranquil space where I can listen to my ideas and thoughts, then lovingly transform them into beautiful, one-of-a-kind pieces. Today’s world is built on rapid consumption; through Quiet Sewing, we go against this current. It is a pure celebration of a magnificent craft, a celebration of the joy of creation, respect for human labor, and reverence for the materials themselves. In essence, this mindful approach to sewing is part of the "slow fashion" movement.
You don't need to prove anything to anyone; it's about the joy of creativity and the opportunity for self-expression, a celebration of our unique identity.
Tools & Materials Needed for Sewing a Cottagecore Bag
Main body of the bag – ideally an embroidered doily or piece of fabric.
Interlining– the firmer it is, the better your bag will hold its shape. In my experience, using a stiffer material works best for this project.
Interfacing
Matching thread
Fabric strap (12 cm wide, 3.5 meters long)
Sewing machine
Tailor's chalk
Pins (or clips)
Measuring tape and ruler
Estimated Time
Approximately max. 5 hours of work
Cottagecore Bag Pattern
For this project you dont need any pattern. I will explain all easy step-by-step in tutorial. This project is very friendly for beginner.
Things to watch out for
I always wash cotton fabrics before sewing. They tend to shrink by about 10%, and in the past, I’ve had instances where a garment I’d worked so hard to create changed shape after washing, making it unwearable (after all, I didn’t shrink by 10% myself!).
I always wash handmade textile pieces in lukewarm water. My mother taught me to dry them laid flat so that the dye from the embroidery threads wouldn’t bleed onto the fabric. I also never wring out these handmade items; they are too delicate, and the fabric could lose its shape over time. I wash a doily or tablecloth in lukewarm, soapy water, then place it on a dry towel, roll it up, and gently press or tread on the roll so the towel absorbs the excess water. I then lay the piece on a drying rack and let it air-dry. I never put them in a tumble dryer.
How to Sew Zero Waste Cottagecore Bag from Upcycled Embroidered Textiles
Step 1: Reinforcing the Embroidered Fabric
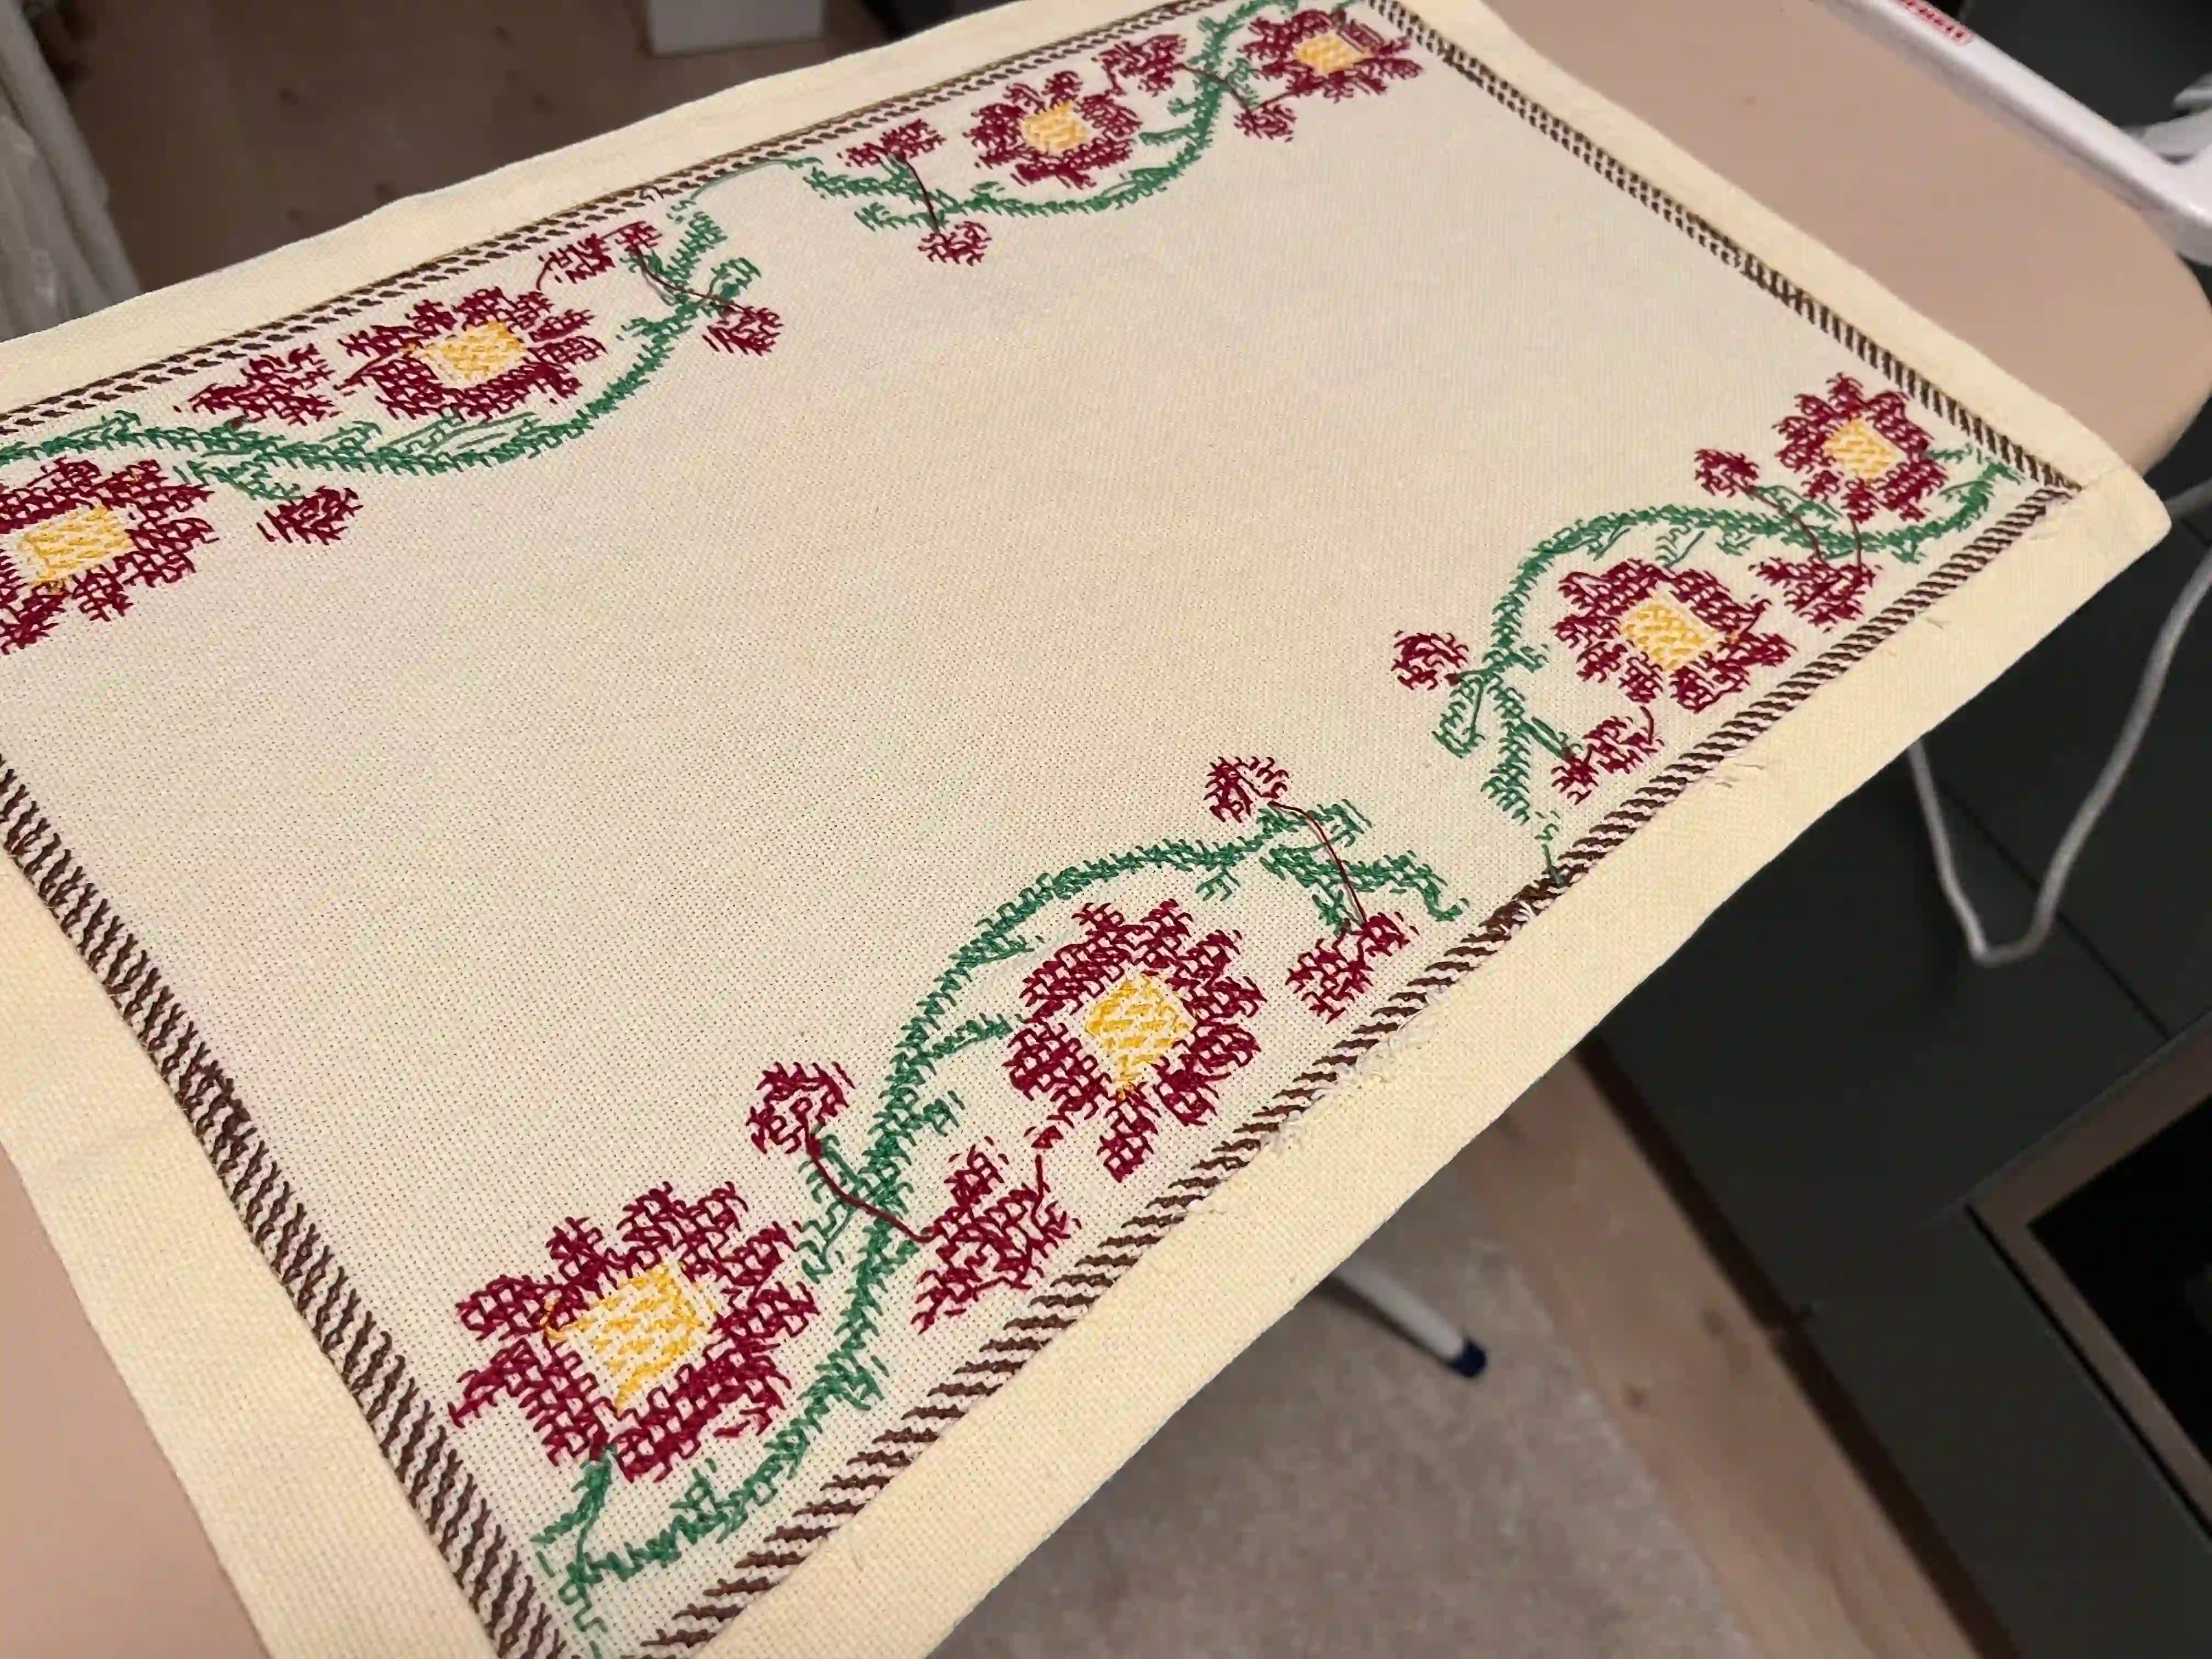
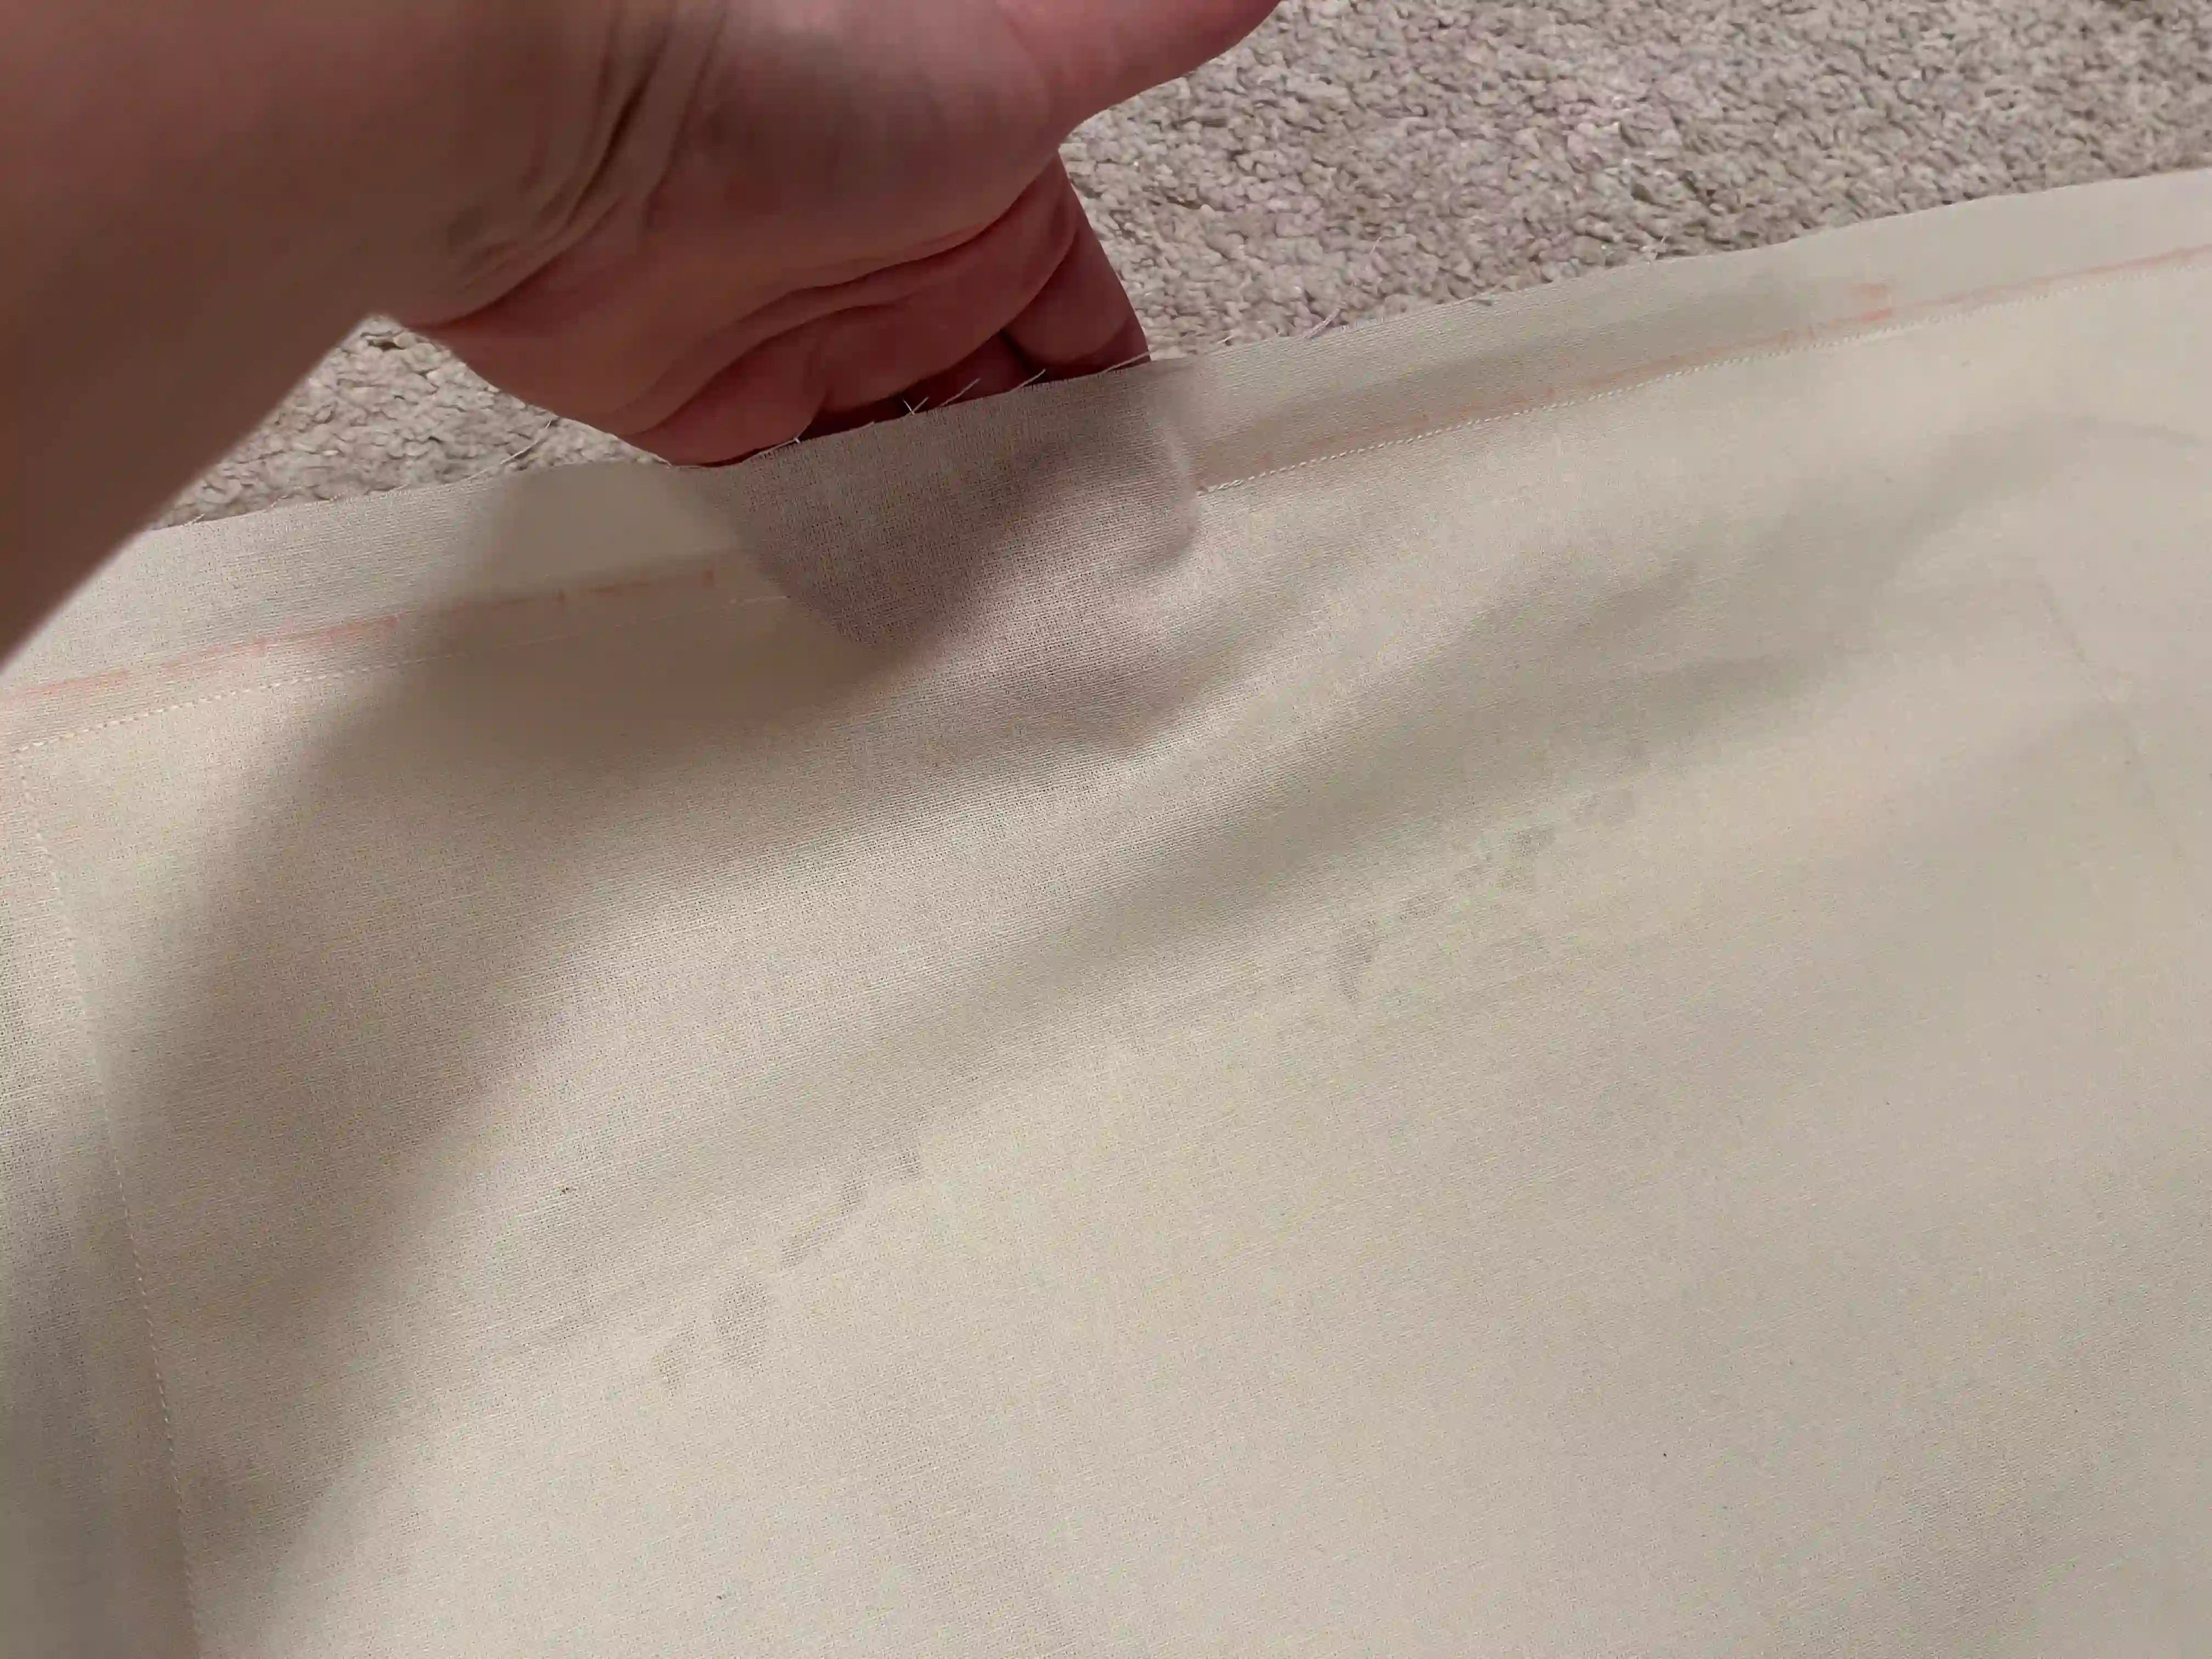
Once your vintage textile is clean, dry, and carefully ironed, measure its exact dimensions. Cut a piece of sturdy fusible interfacing (stabilizer) to match the main area of the fabric, leaving out any delicate lace or fringe you want to stay soft and loose. Fuse or baste the interfacing onto the wrong side of the embroidered fabric. This provides the delicate vintage material with the right structure, ensuring the bag retains its shape.
Step 2: Prepare the Romantic Ties for the Bottom of the Bag
I added these ties not only as a romantic detail but primarily as a functional security feature.
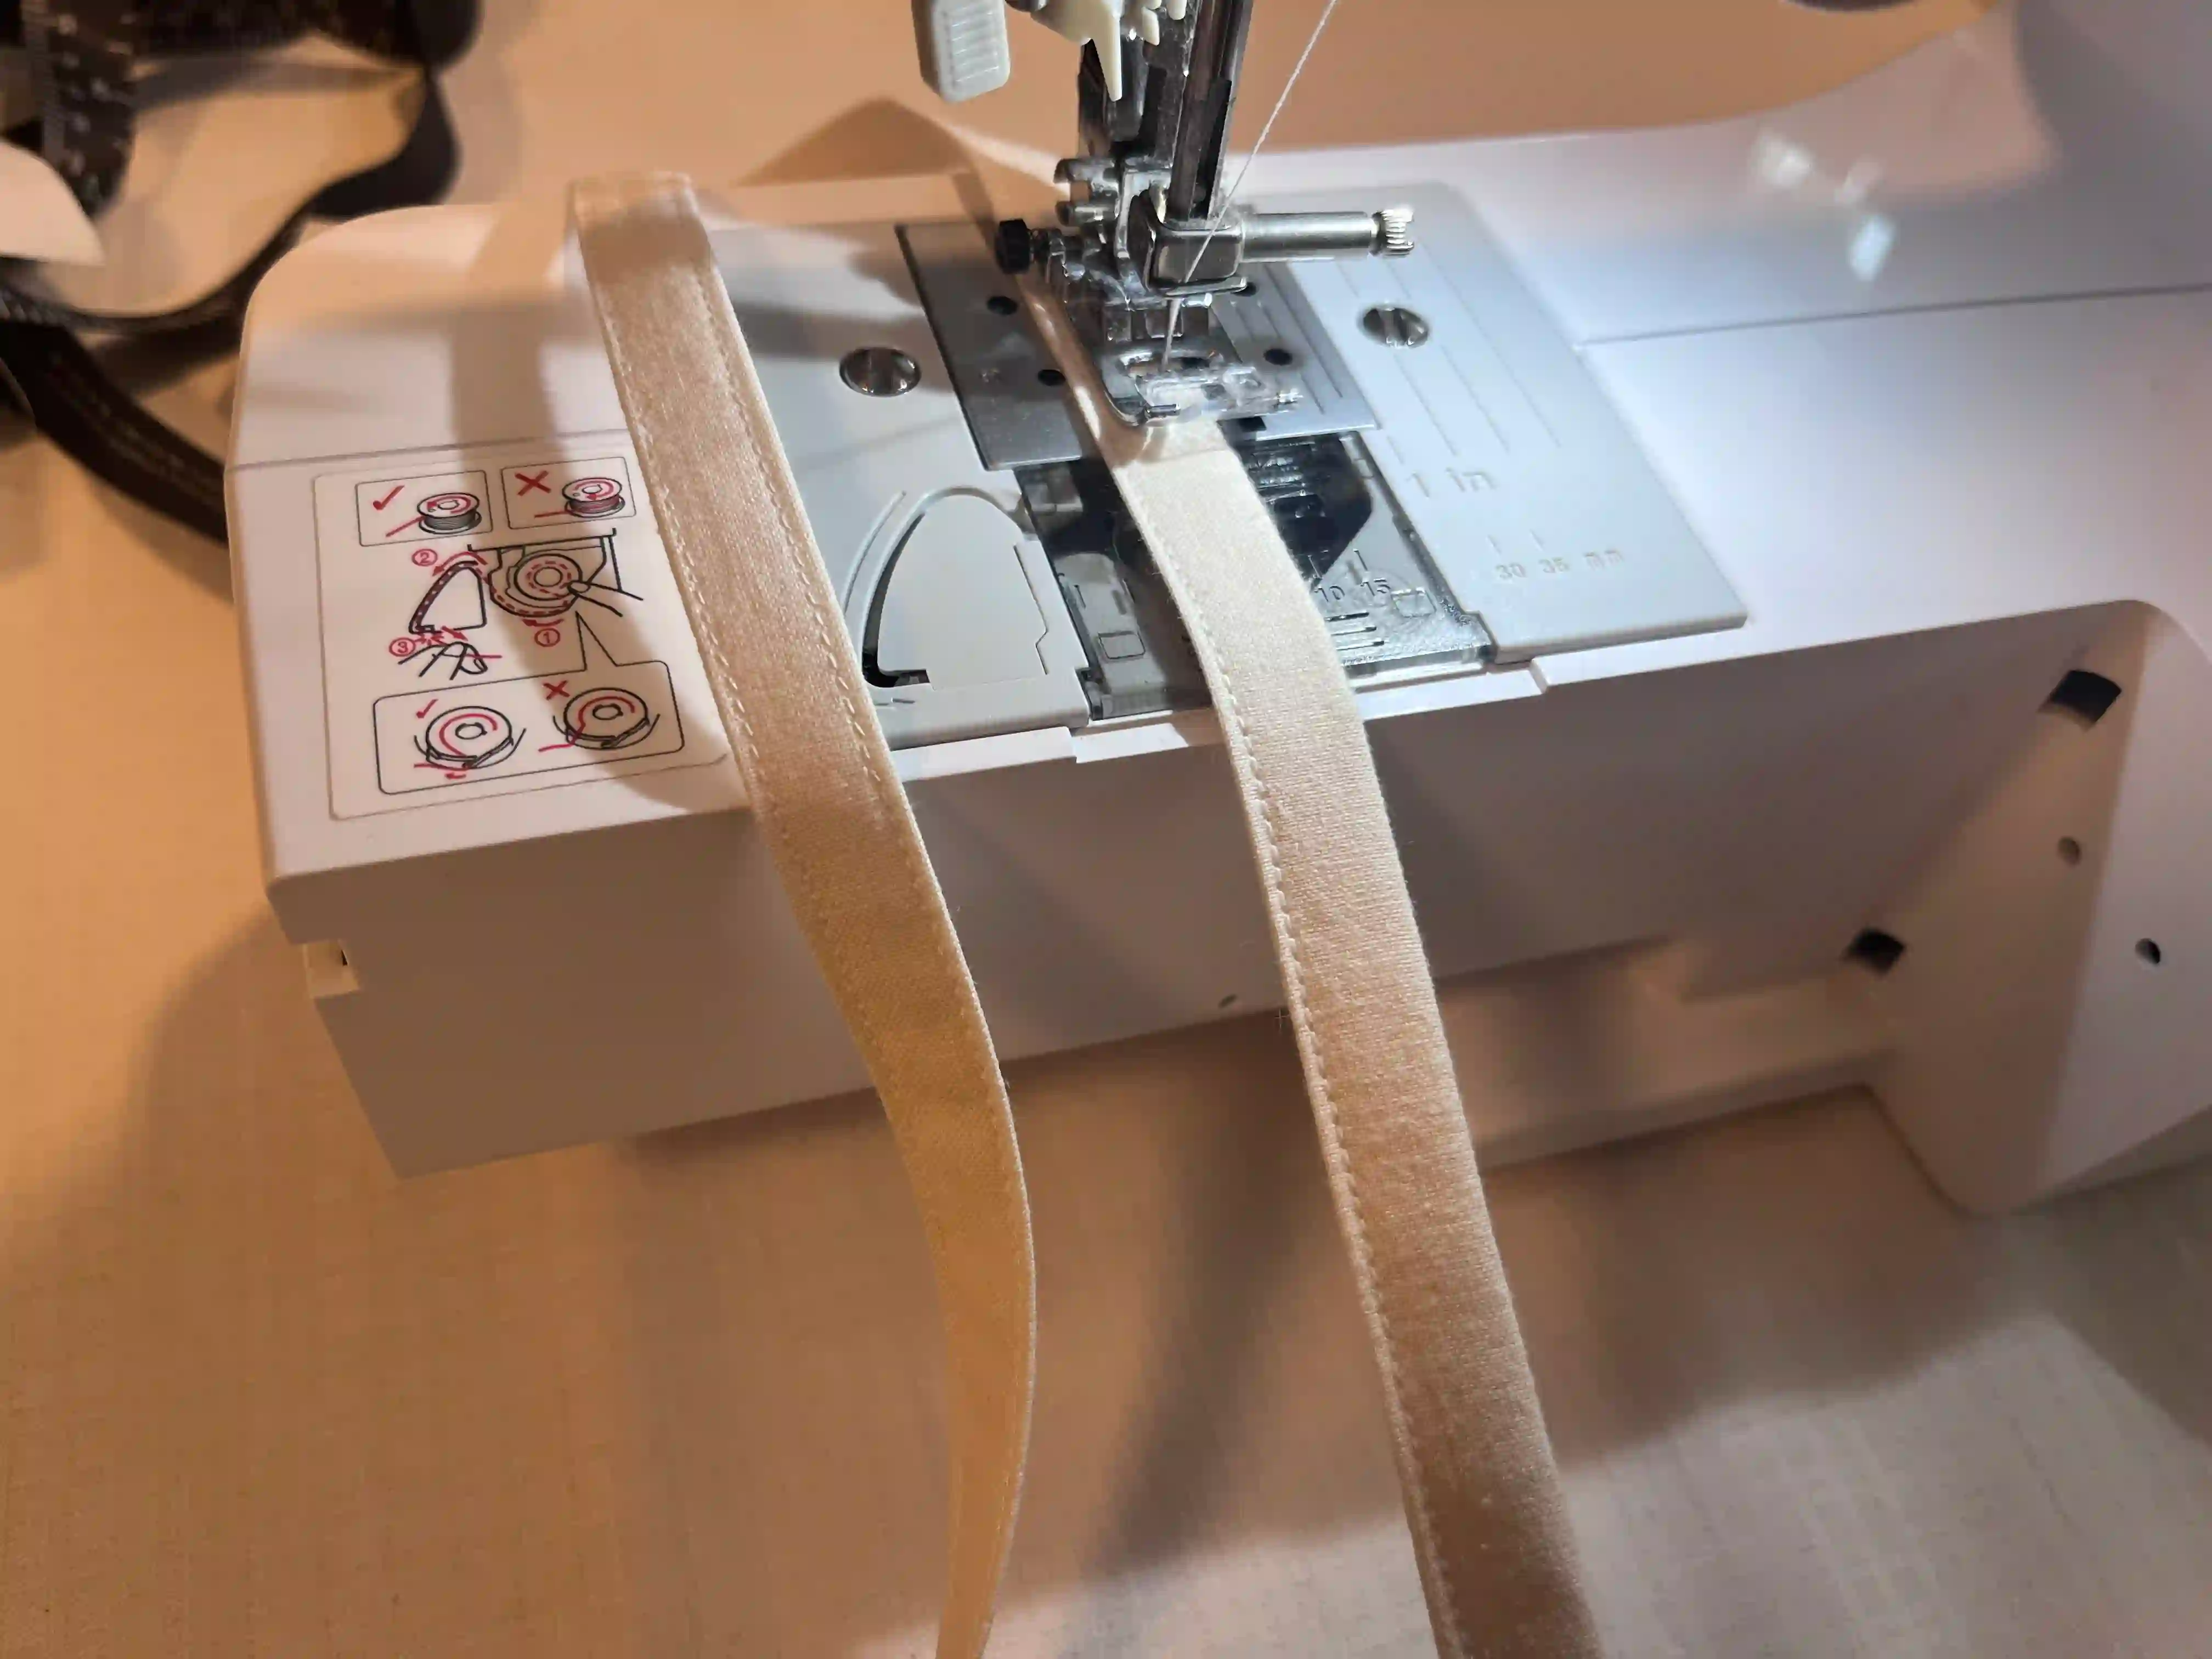
Cut two strips of fabric, each 5 cm (1.97 in) wide and 84 cm (33 in) long.
Fold each strip in half lengthwise, right side out, and press.
Next, unfold the strip (wrong side up), fold the outer edges inward toward the center, and press again. This creates a neatly finished strip.
Fold the strip back together and sew a straight stitch along both long edges to create a clean, finished strap. Repeat this process for the second strap.
Step 3: Attaching the Romantic Ties to the Main Body of the Bag
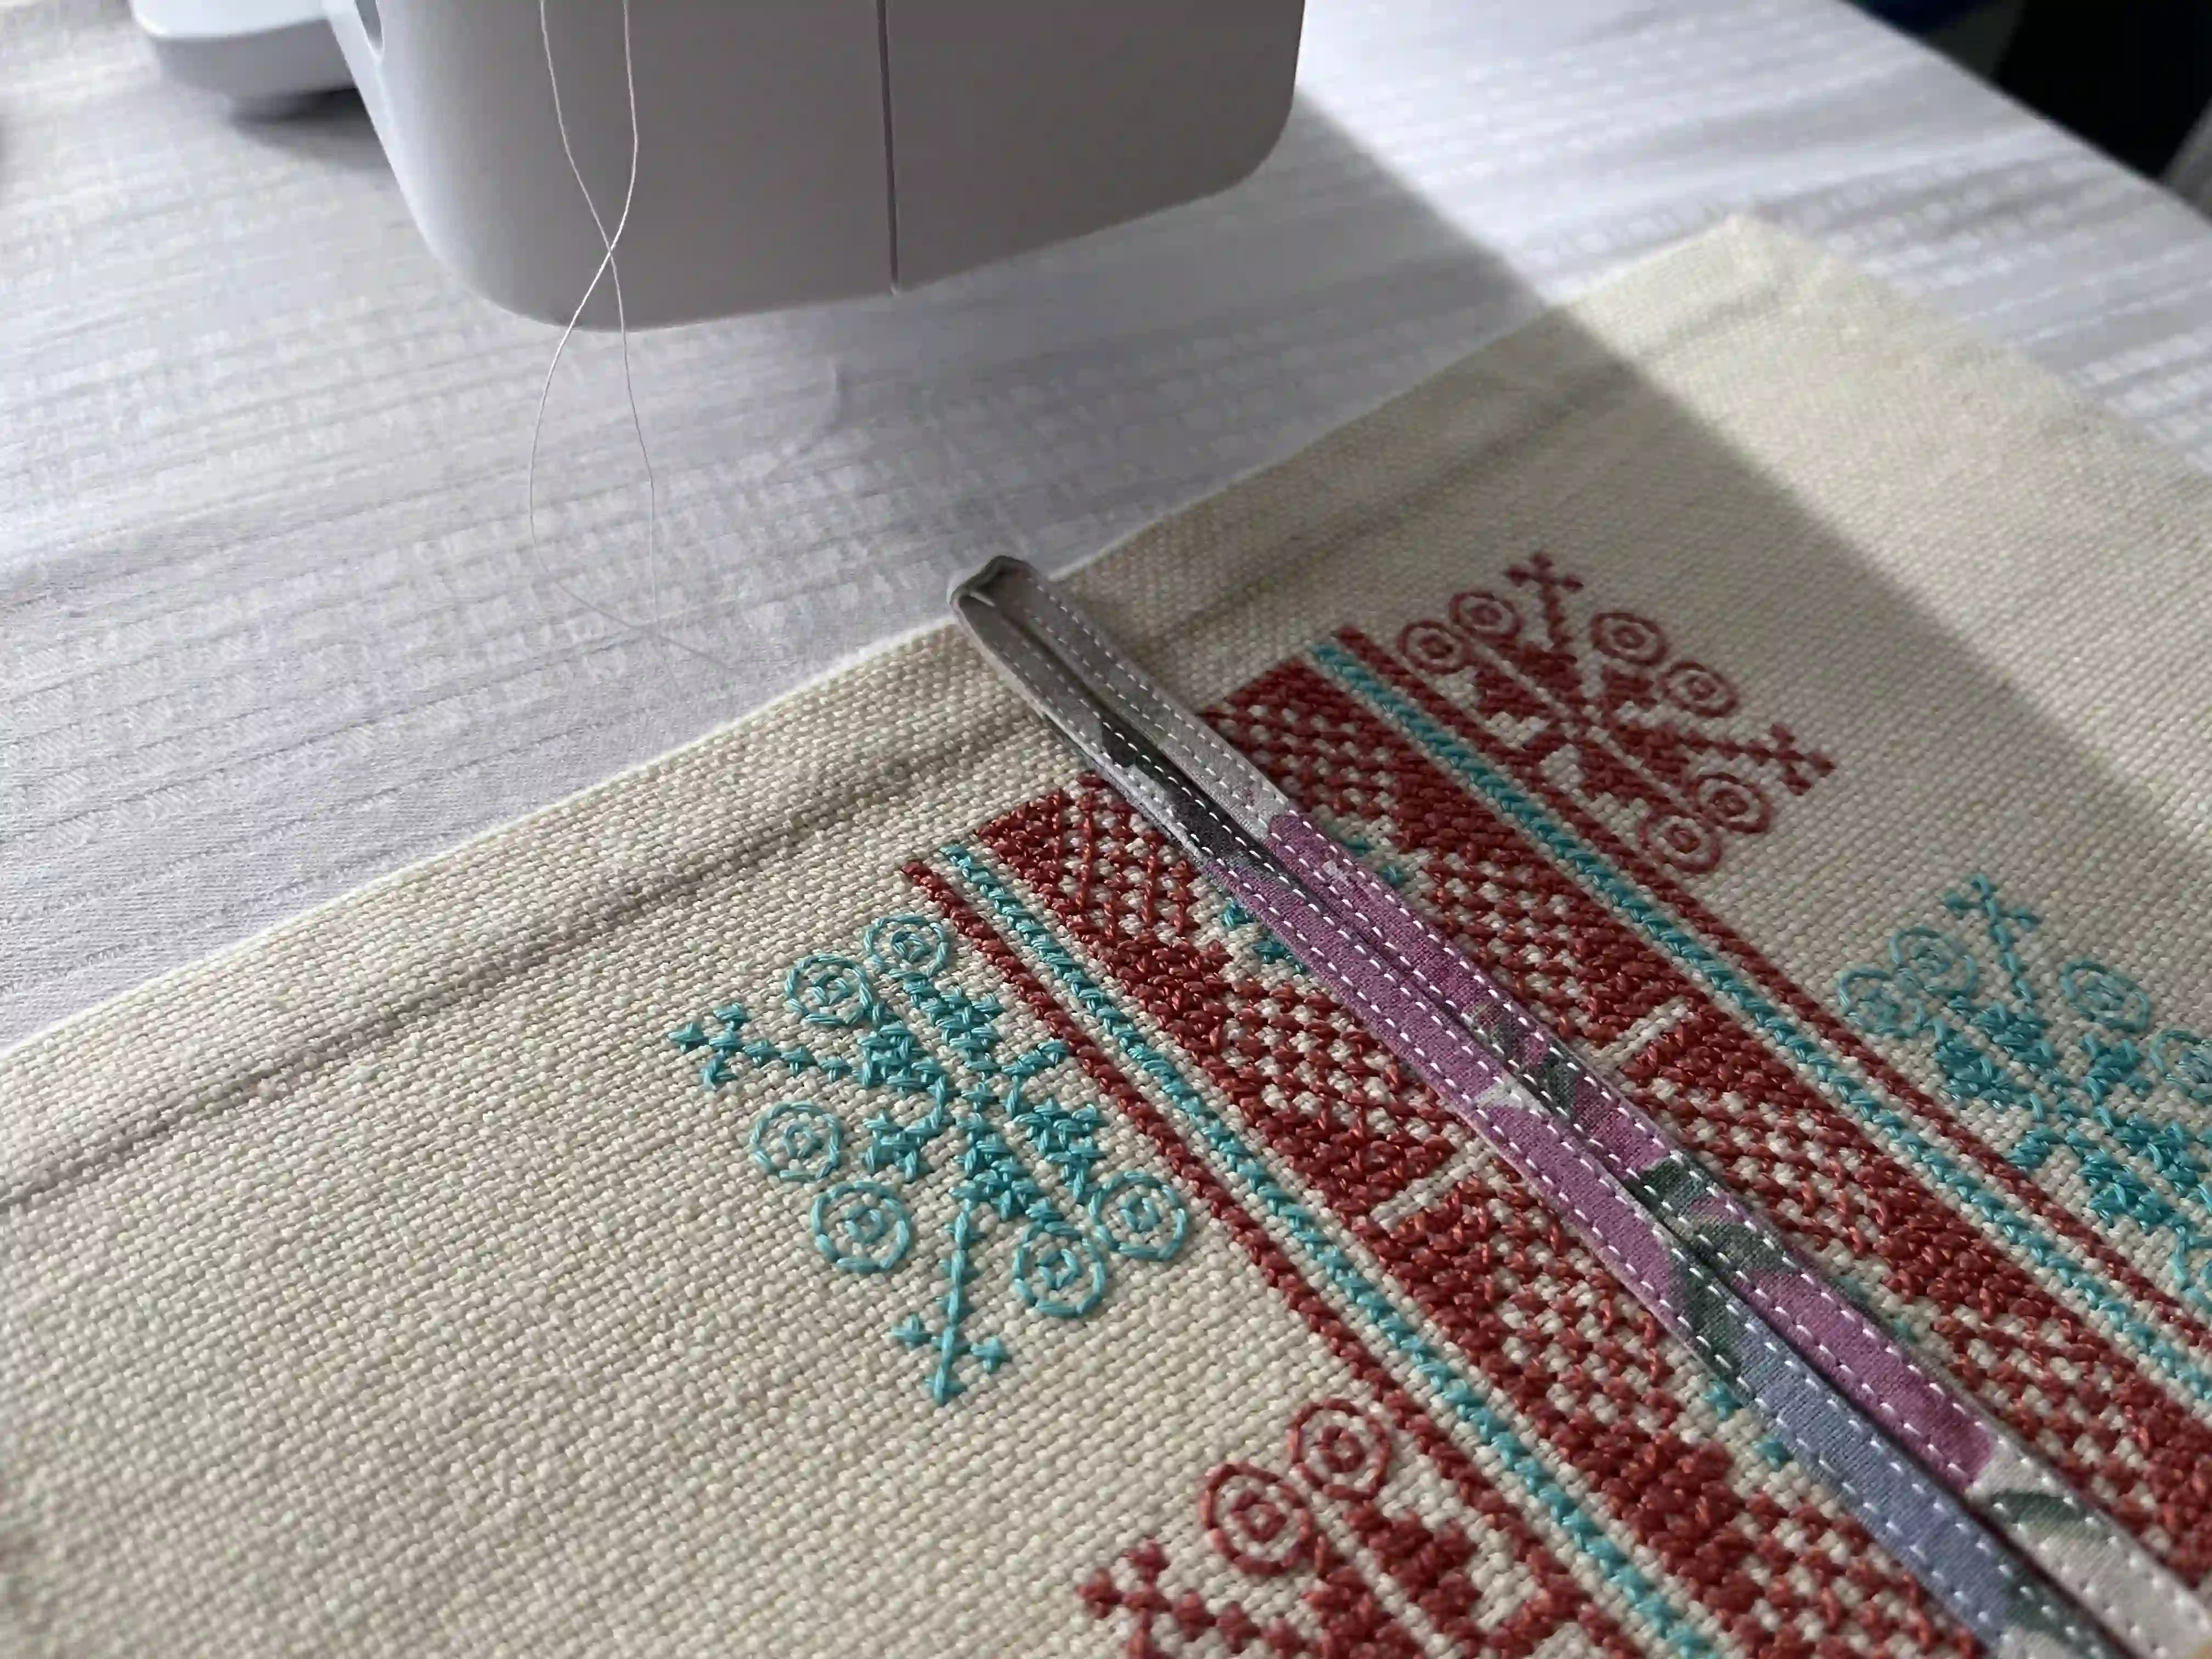
On one of the shorter sides, sew a tie to the center; fold the tie in half to form two separate strands.
When attaching, fold the tie inward at its midpoint to form a small point at the end.
Place this folded tie in the center of the bag’s "right" (outer) side, ensuring the pointed end faces outward, and secure it with a straight stitch.
Step 4: Sew the Lining Fabric to the Right Side of the Main Fabric
Stitch around the perimeter using a straight stitch, leaving an opening about the width of your hand; you will use this gap later to turn the main part of the bag right side out.
Once the lining is attached to the main piece, carefully trim the corners and turn the bag right side out through the opening you left.
Adjust the layers so the edges sit neatly, then press with an iron.
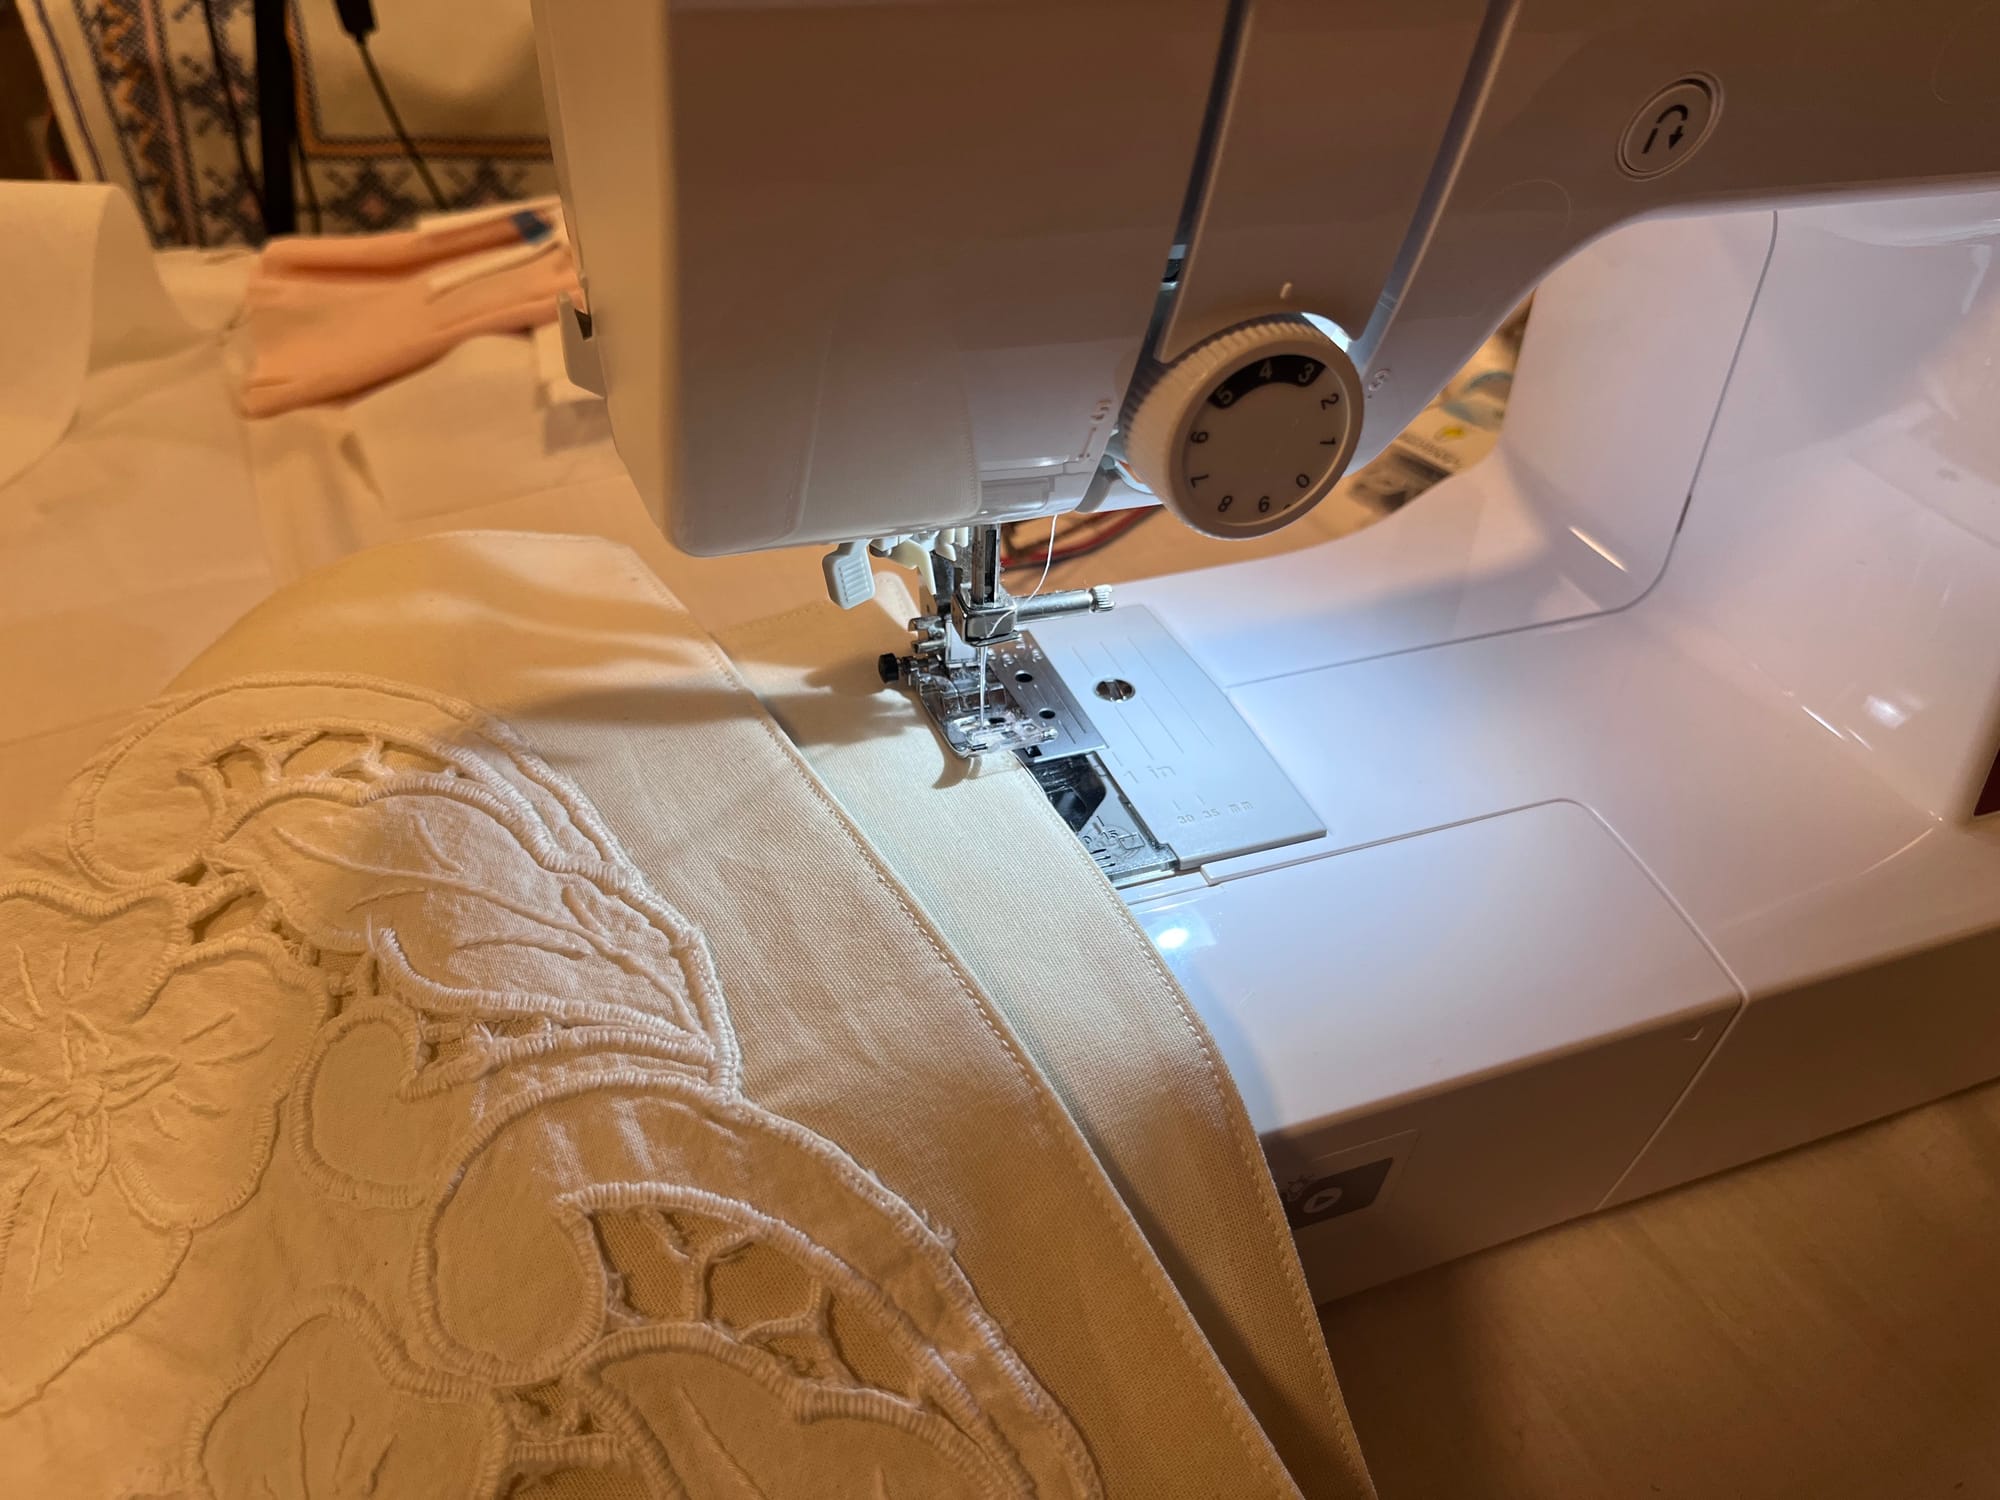
Now, topstitch around the entire perimeter of the main bag piece using a straight stitch.
Step 5: Preparing the Romantic Tie Strap
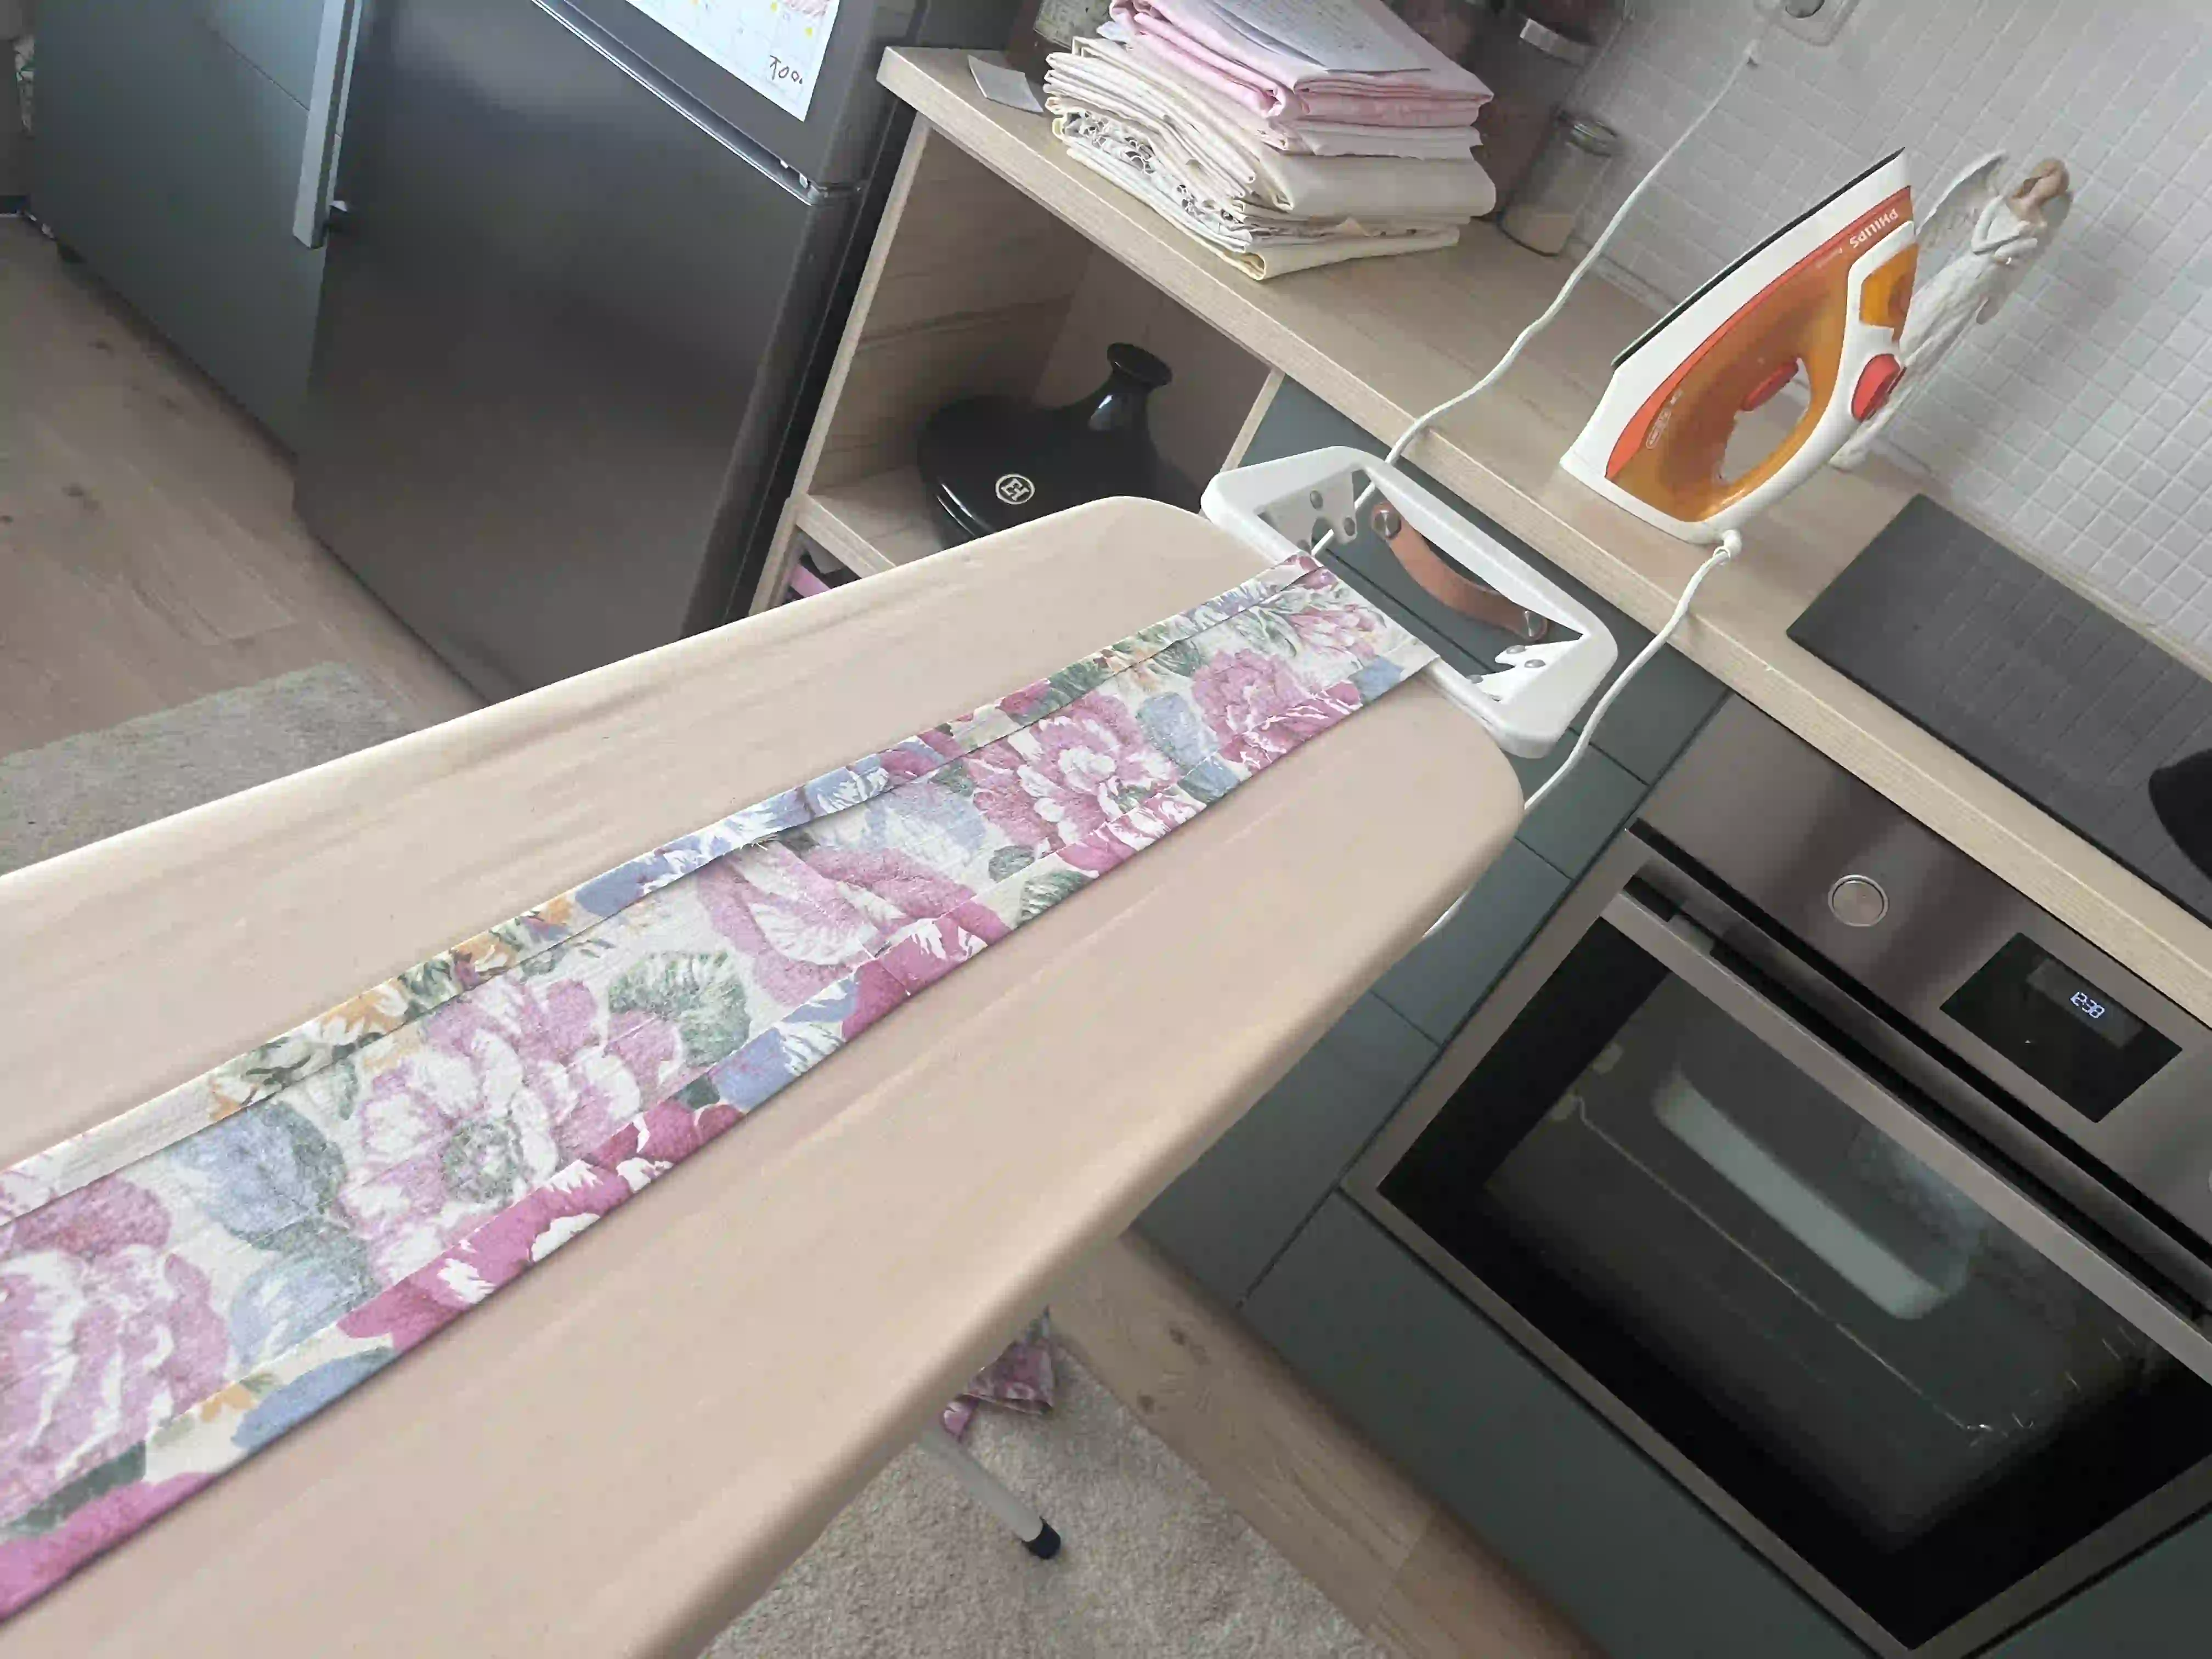
Take the prepared strip of fabric, measuring 12 cm (4.72 in) wide and 3.5 meters (137.80 in) long. You only need one such long strap. Place it on your ironing board, right side down, and press. Then, fold it in half lengthwise and press again.
Unfold the strip; you will now clearly see the center line. Fold both long edges inward by approximately 1 cm (0.4 in).
Now, stitch all the way around the perimeter of the strap. Don't forget to fold the two short ends inward as well, so they are tucked inside.
Step 6: Attaching the Main Strap to the Bag Body
Now decide which side of the bag you want the bow on. Place the shorter end of the strap on that side. I’ve found that 120 cm (47 in) from the bottom edge of the bag’s side works well. The bow will be located on the side with the shorter end. If you prefer the bow to sit on top of your shoulder, center the strap.
Place the strap against the outer side of the bag. Before sewing the bottom of the bag to the main body, insert a second, thinner cord between the strap and the main body; fold this cord the same way you folded the first one (into a point) and tuck it inward.
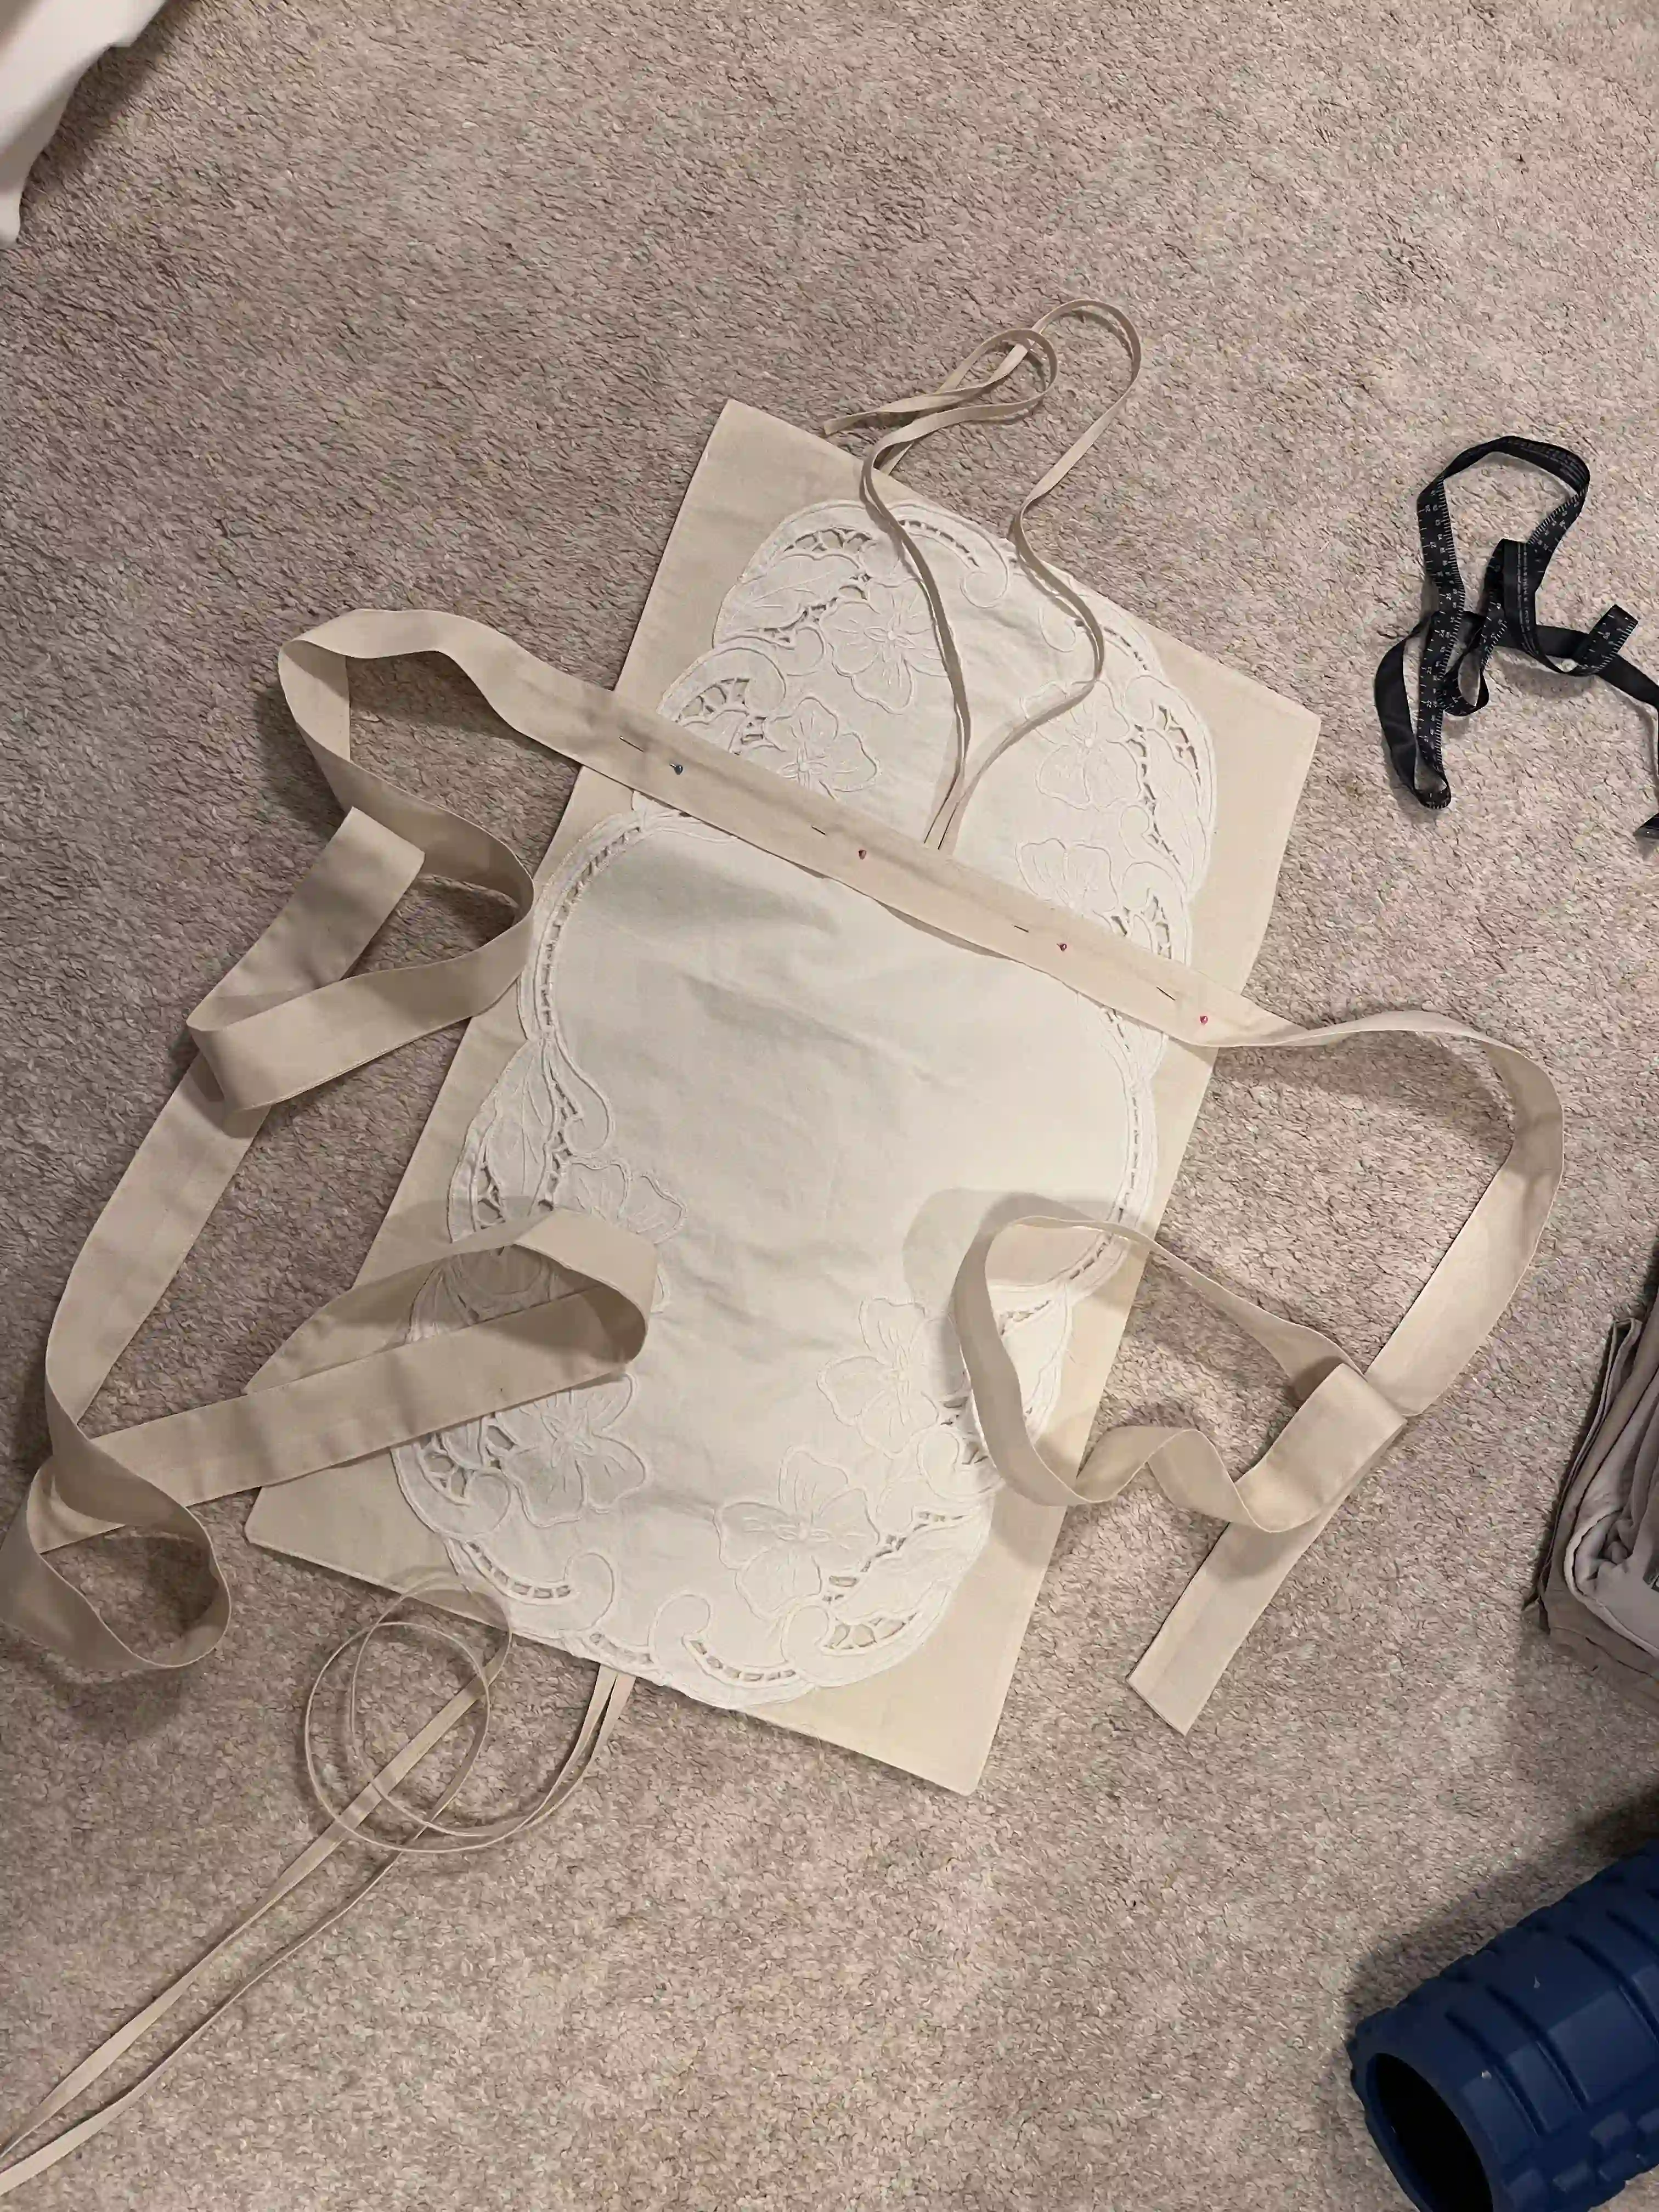
Position the bottom section halfway between the two parts that form the sides of the bag.
When you are ready, sew the strap, along with the decorative cord, around the bag's bottom perimeter.
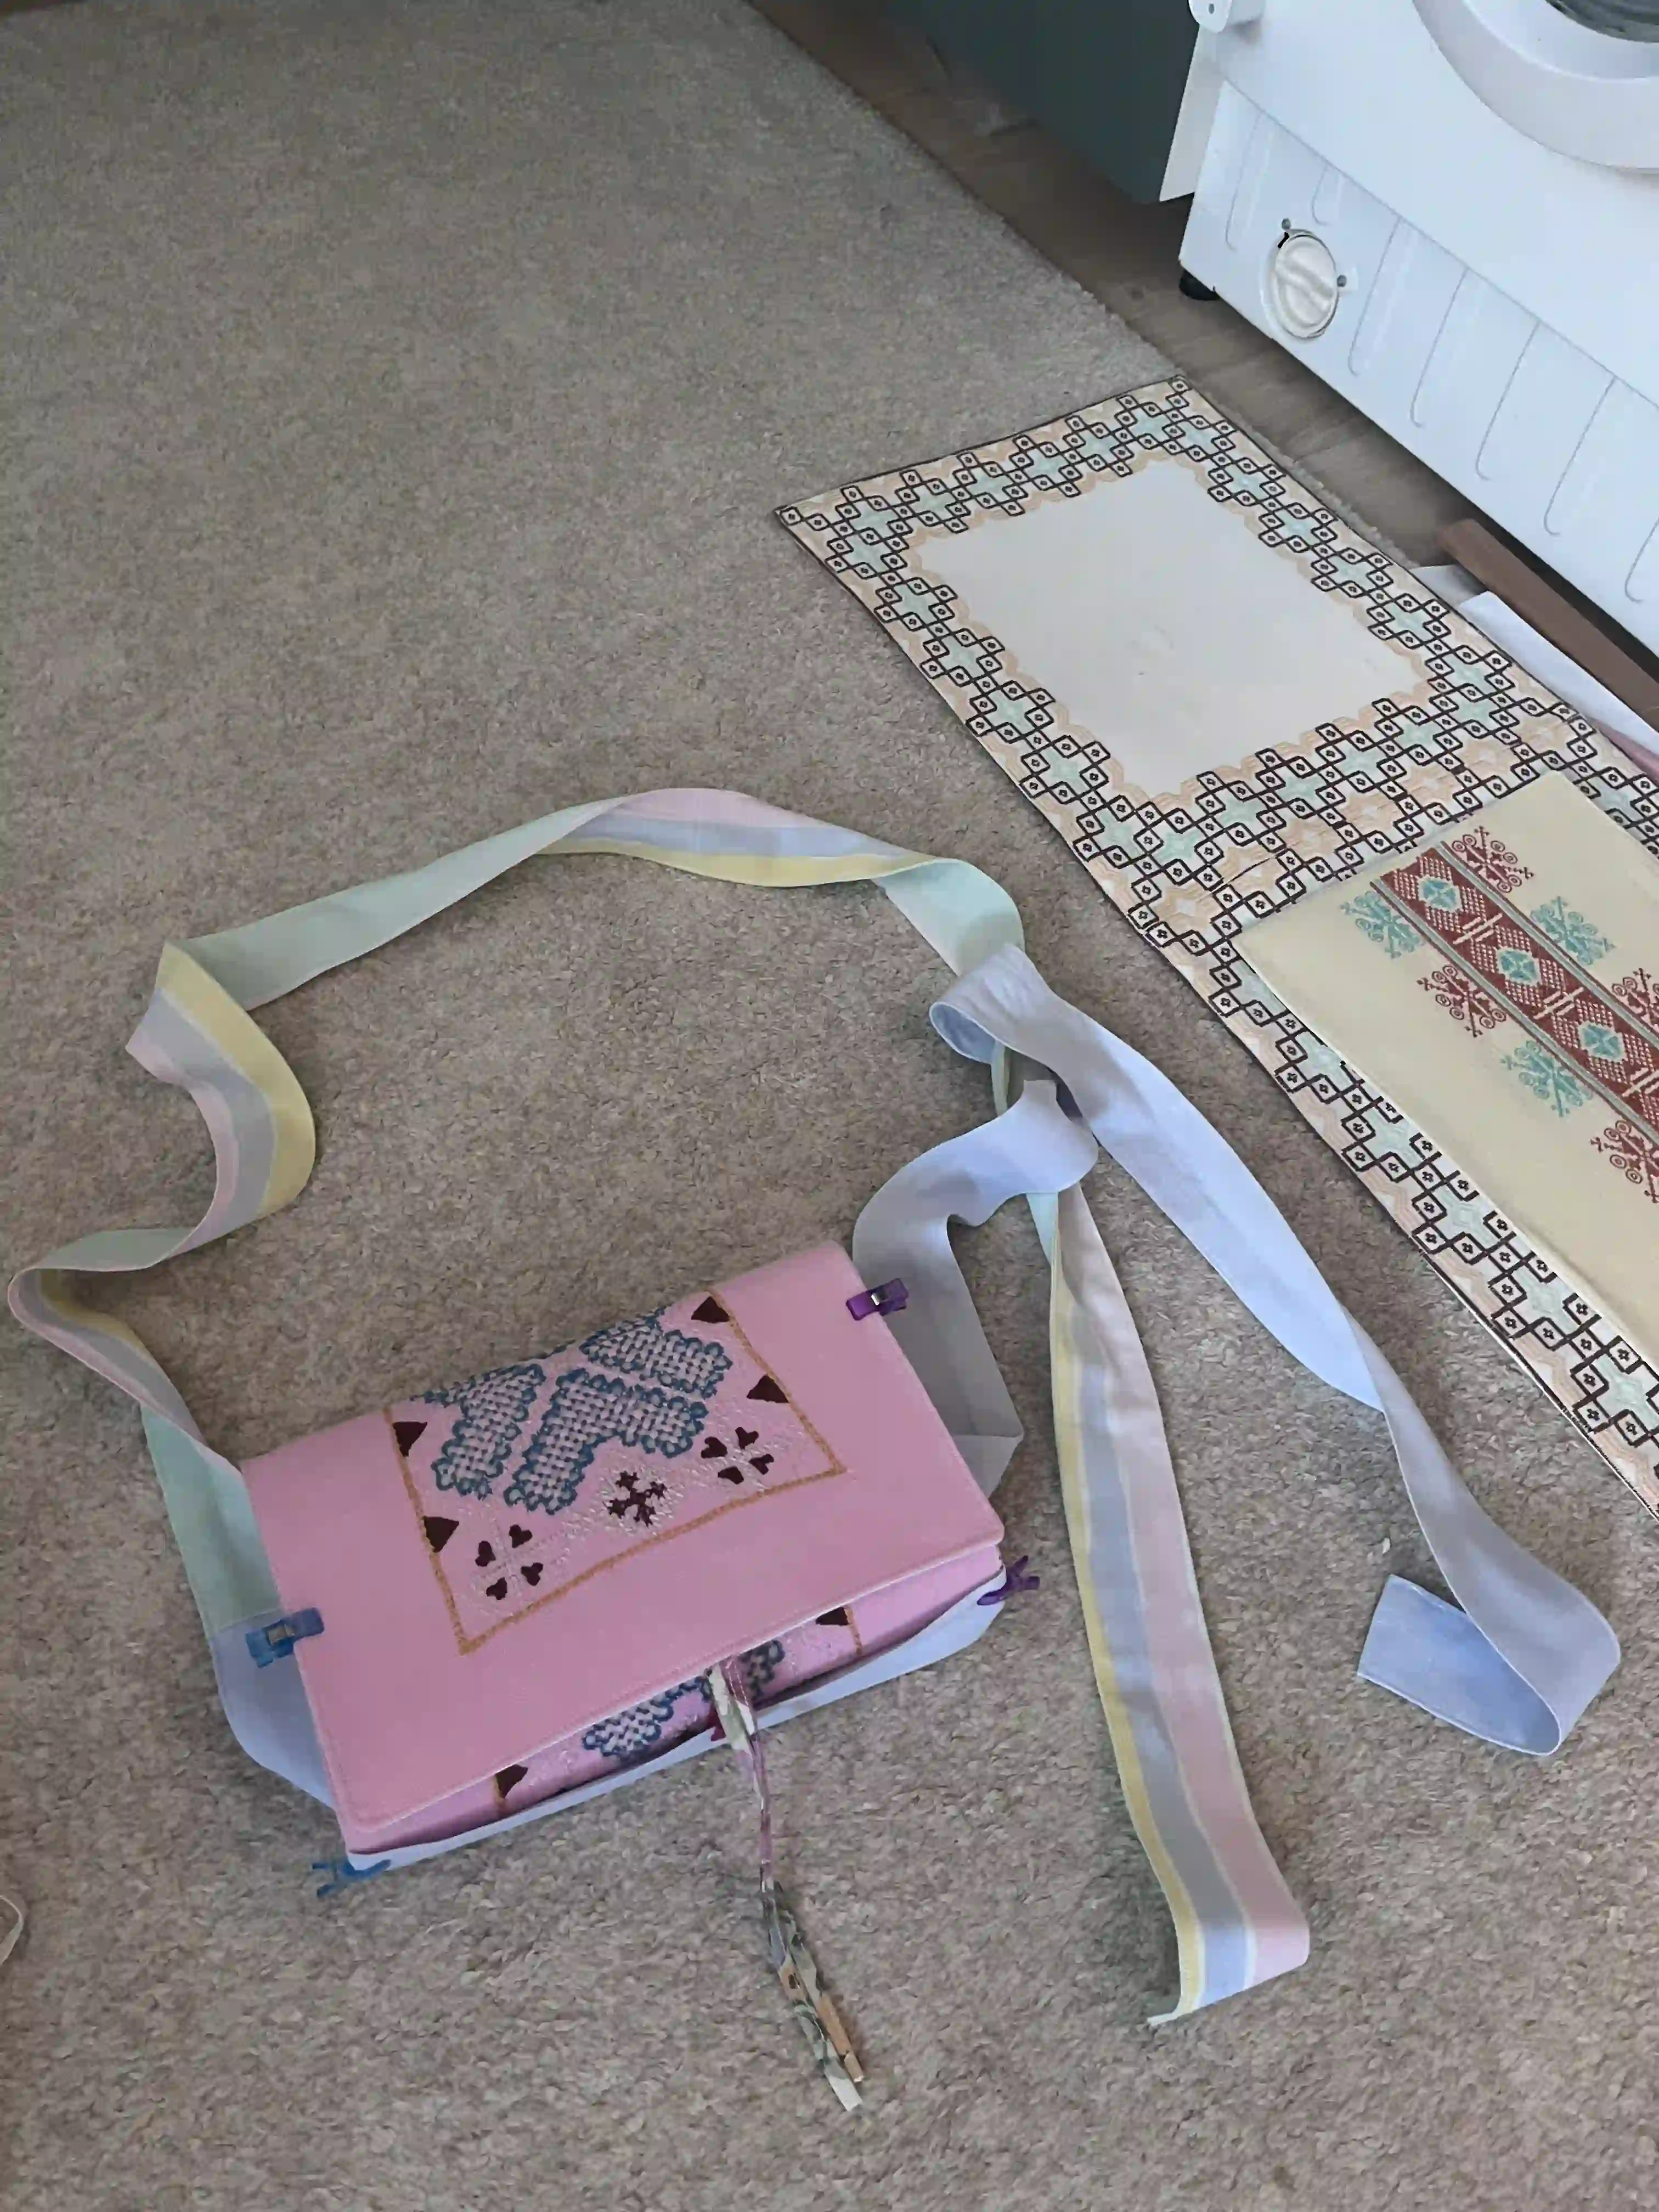
Step 7: Bag Final Shaping
Fold the bag into its basic shape (creating a pocket from the two identical sections) and sew the sides together using the strap, which will form the side panels of the bag.
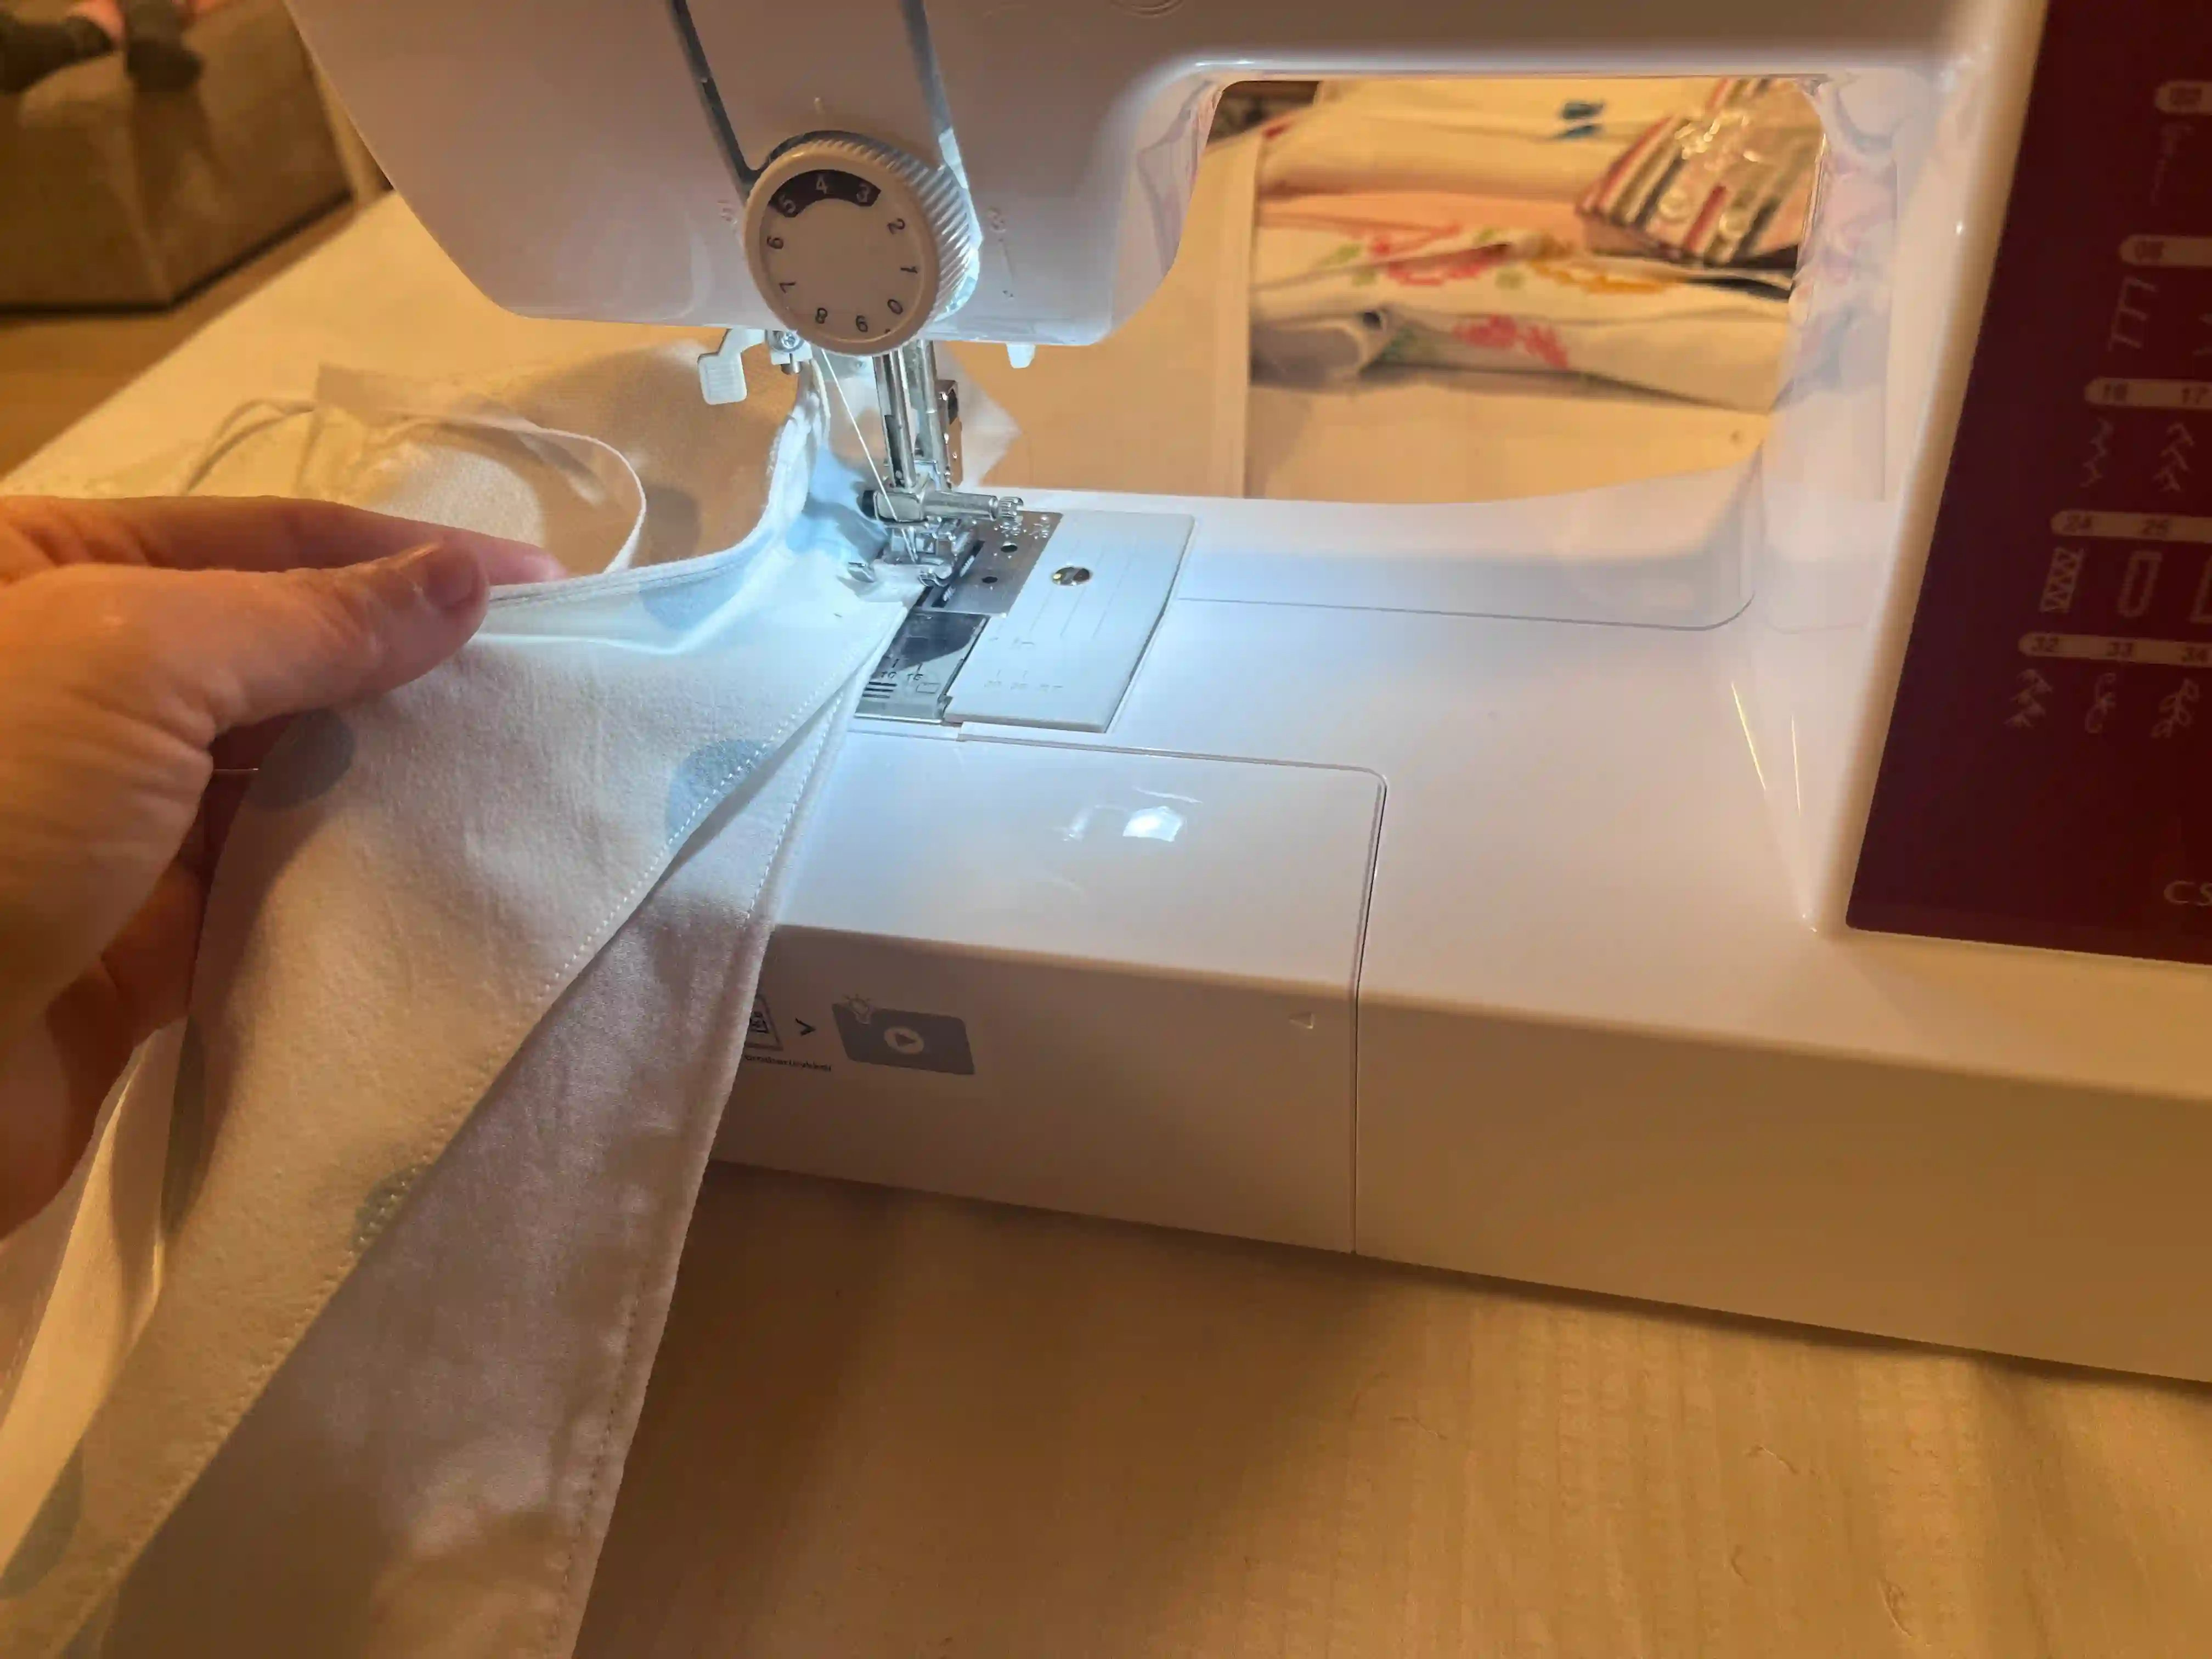
Step 8: Bow Finish
You're almost done. Just tie the bow in a position that feels comfortable for you, ensuring the bag is easy to carry. Fold the main flap over to the correct side, and you are finished.
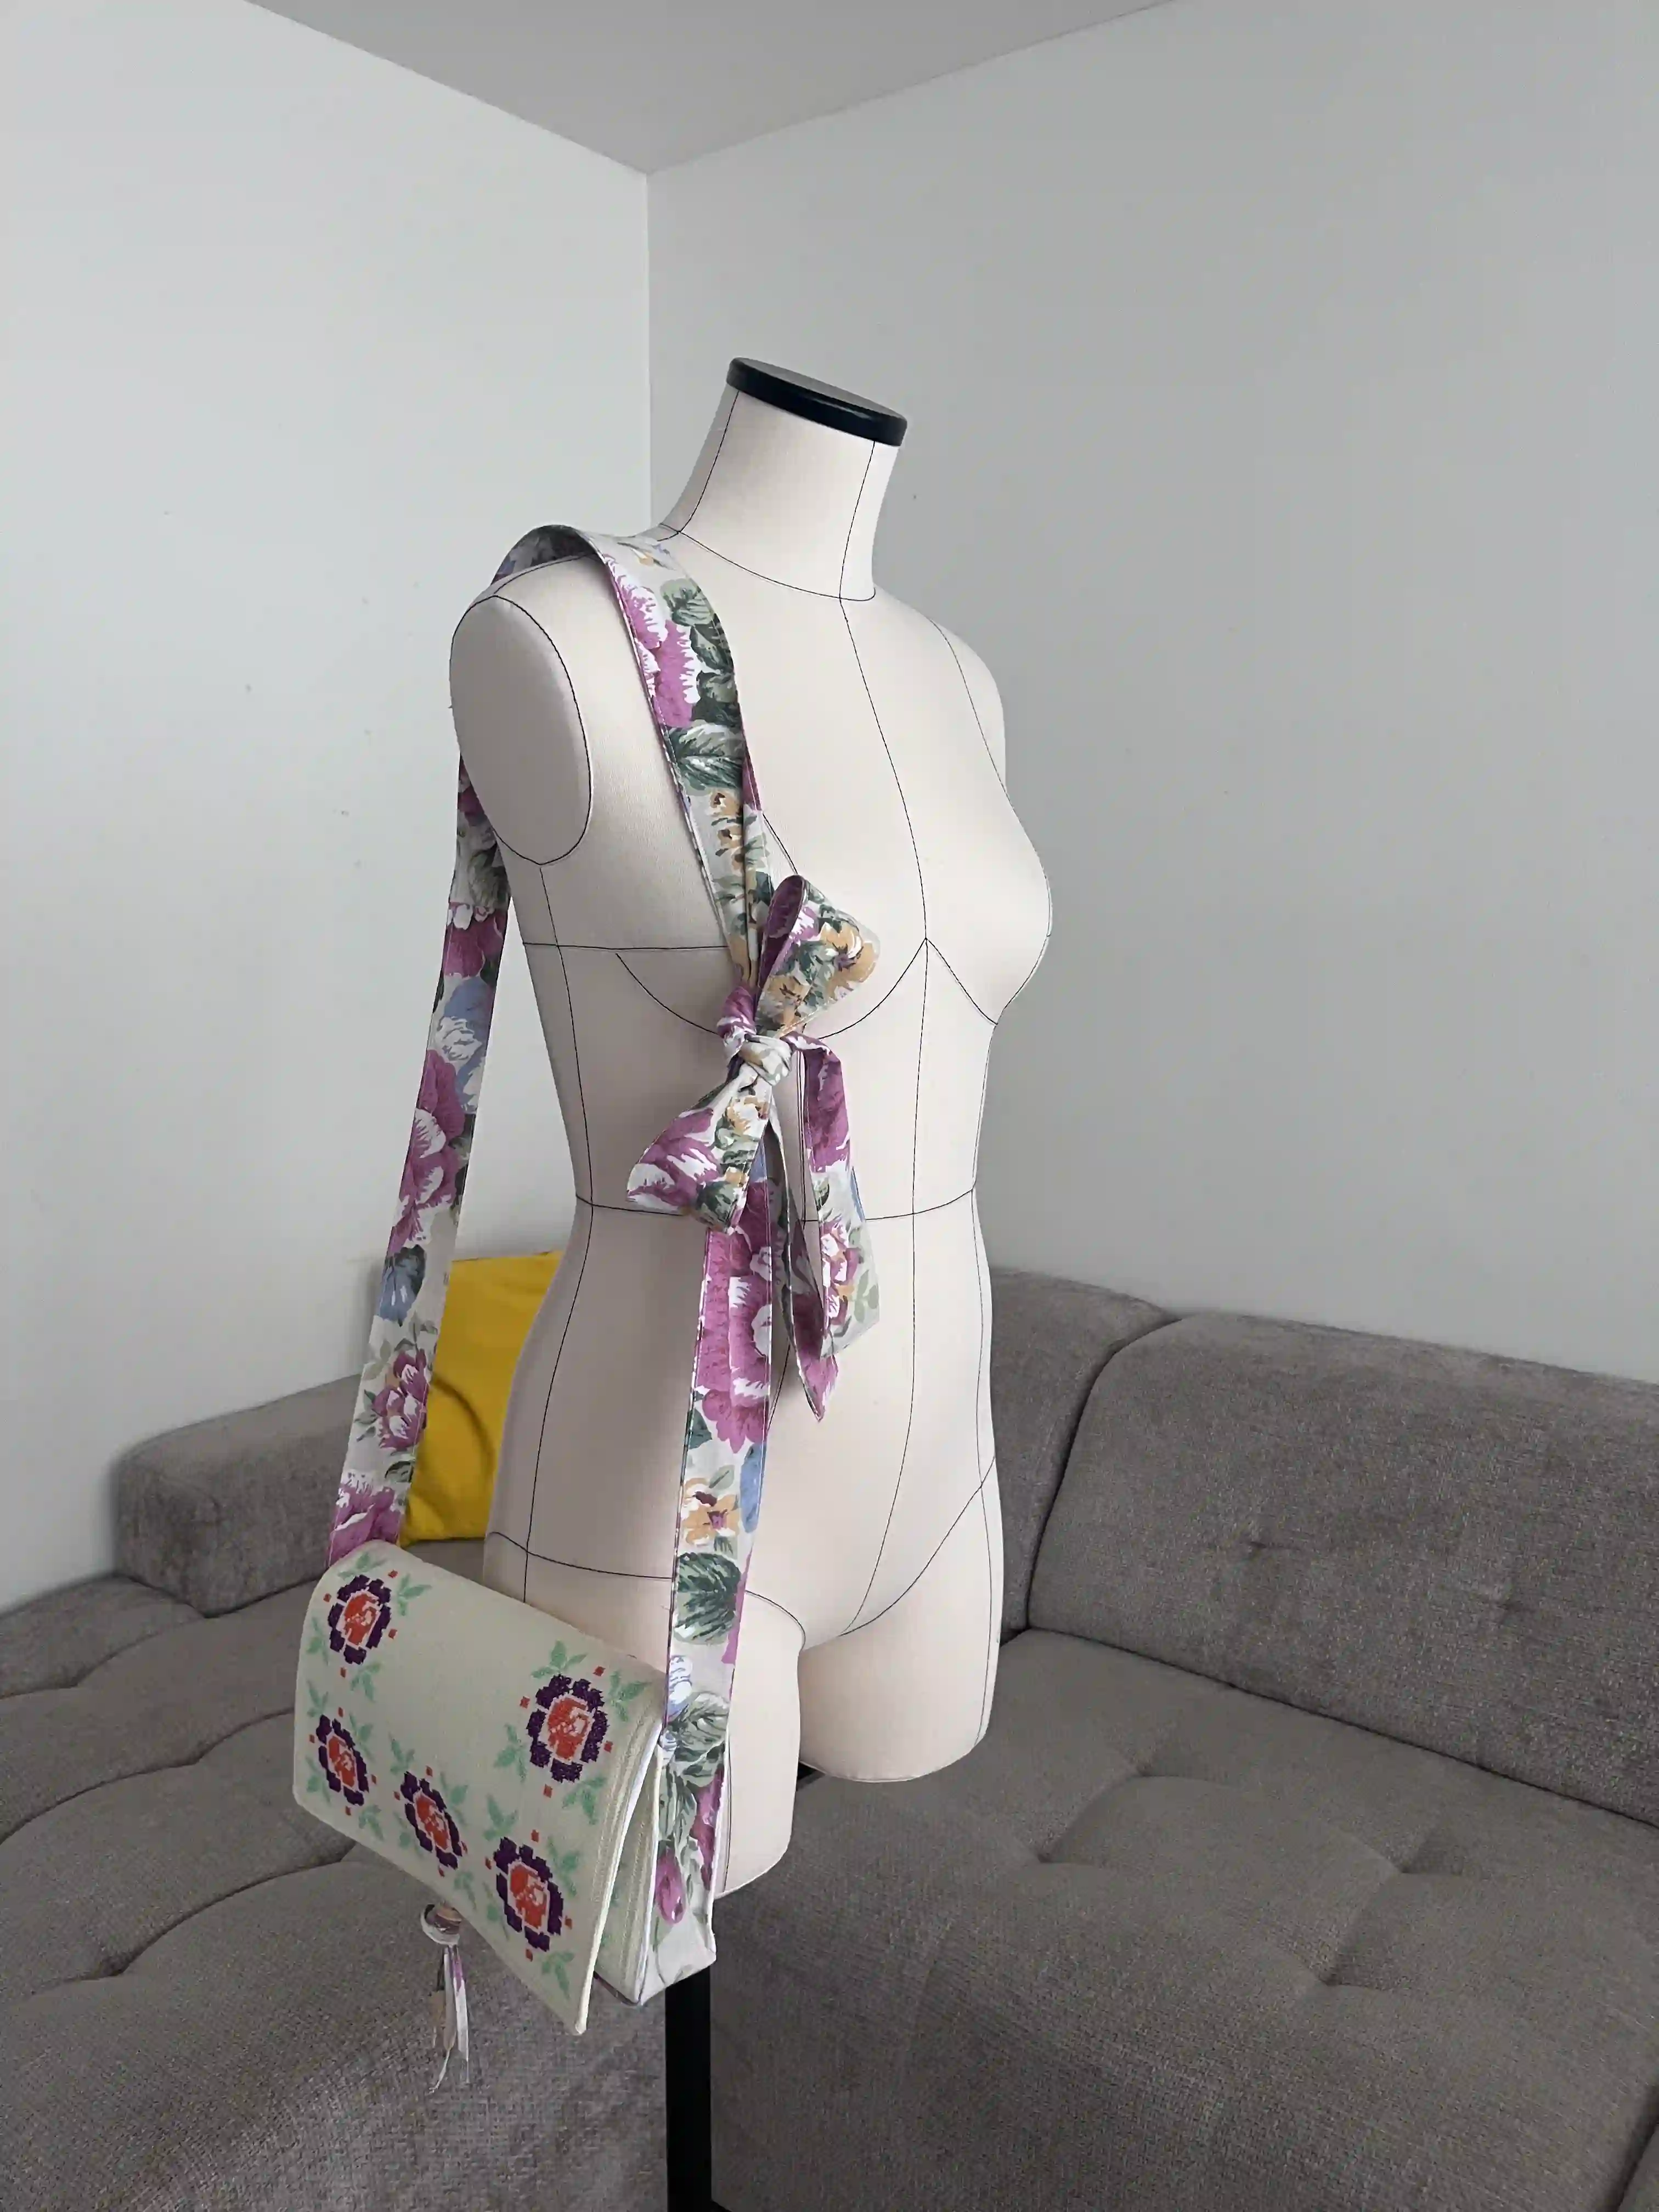
If you have any questions while sewing, please don’t hesitate to reach out in the comments. I’m here to help! 🫶
Happy Quiet Sewing 🌸
Dana