Table of Contents
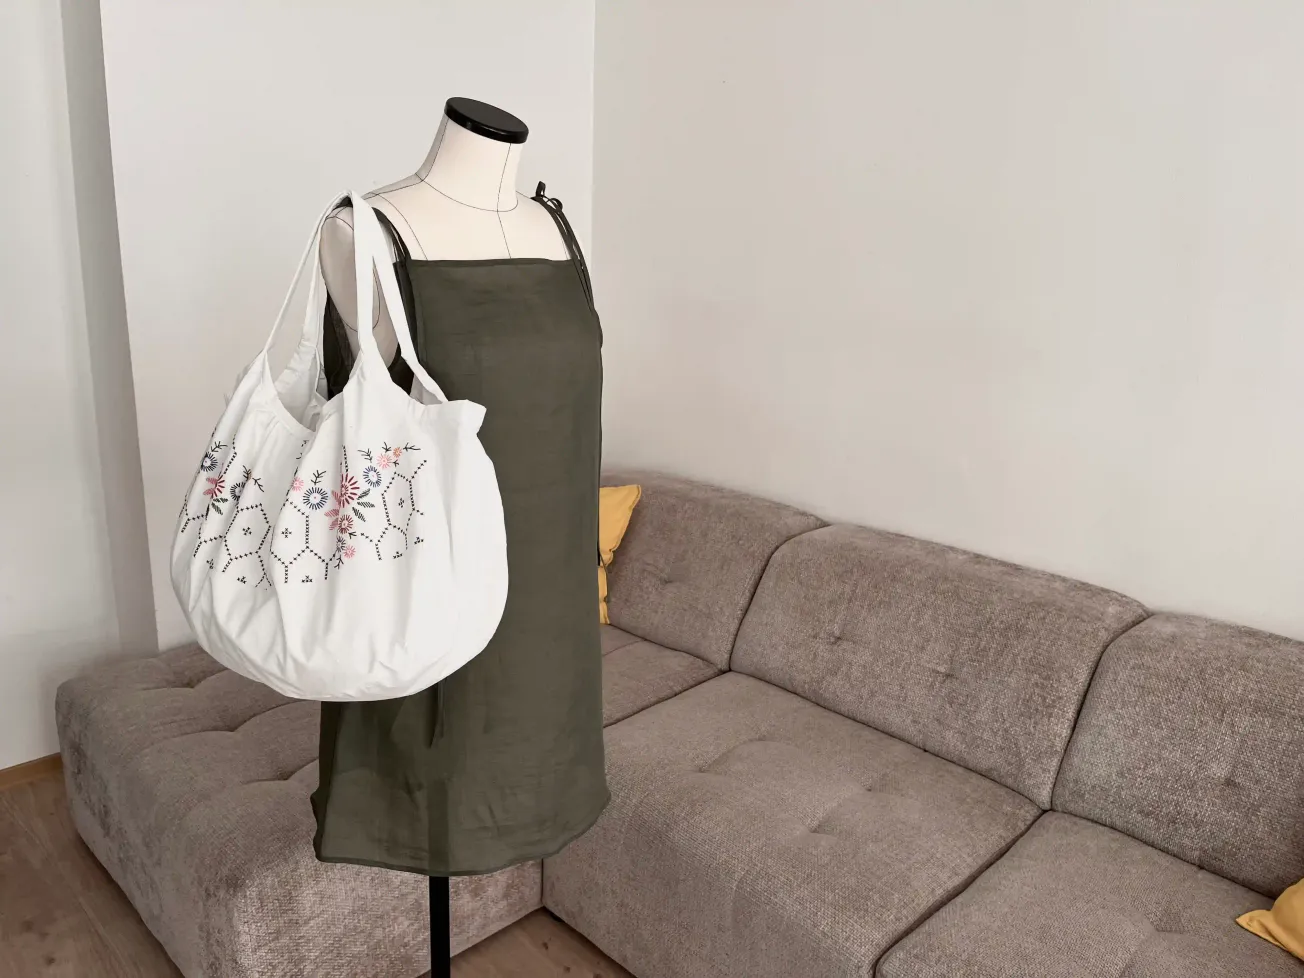
Tote bags have long fascinated me. I’ve sewn quite a few myself; after all, you can never have too many bags, right? I also enjoy exploring new ways to sew this type of tote bag at home.
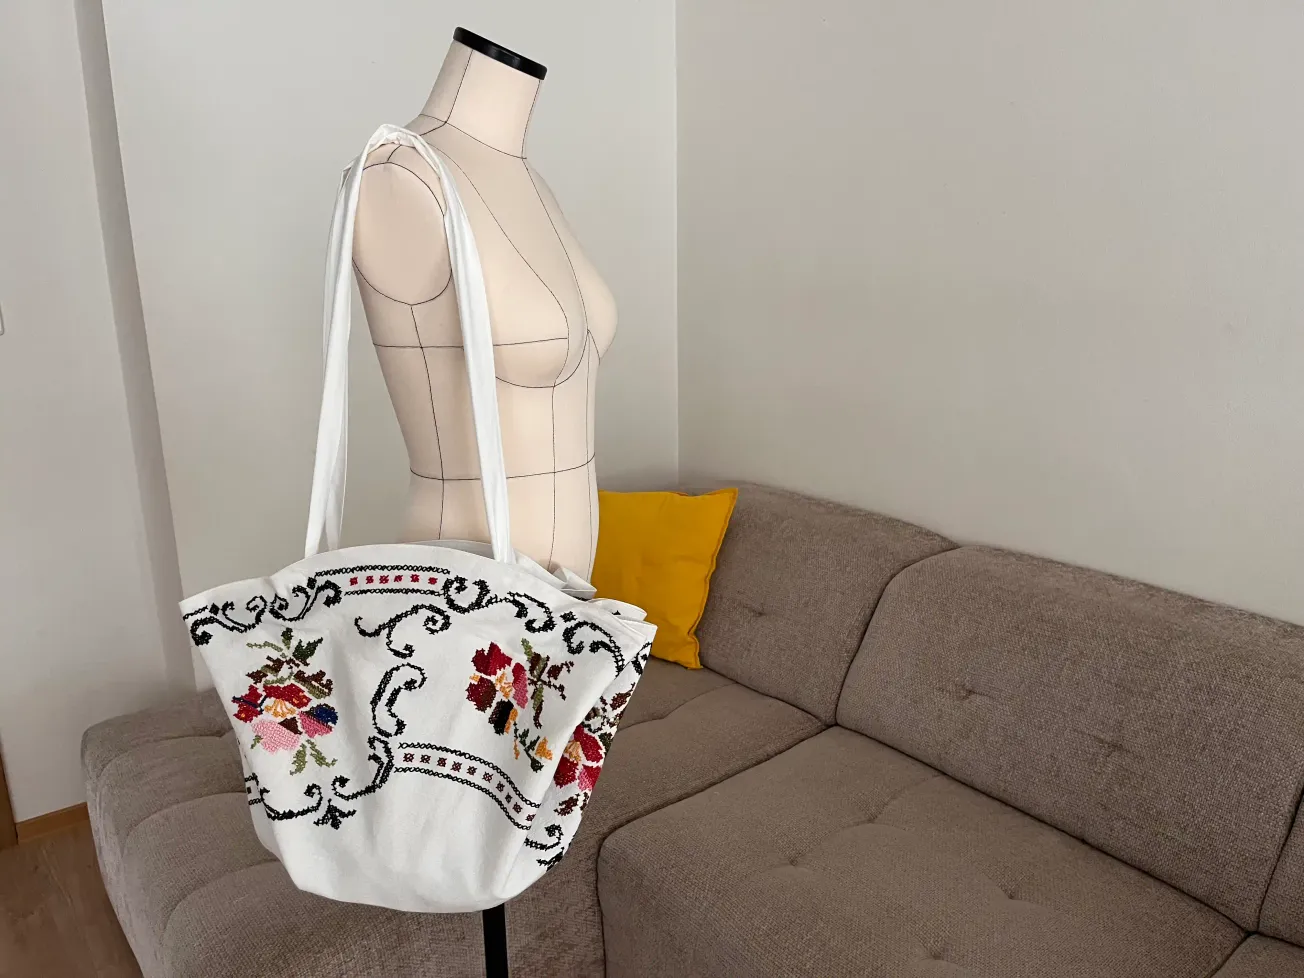
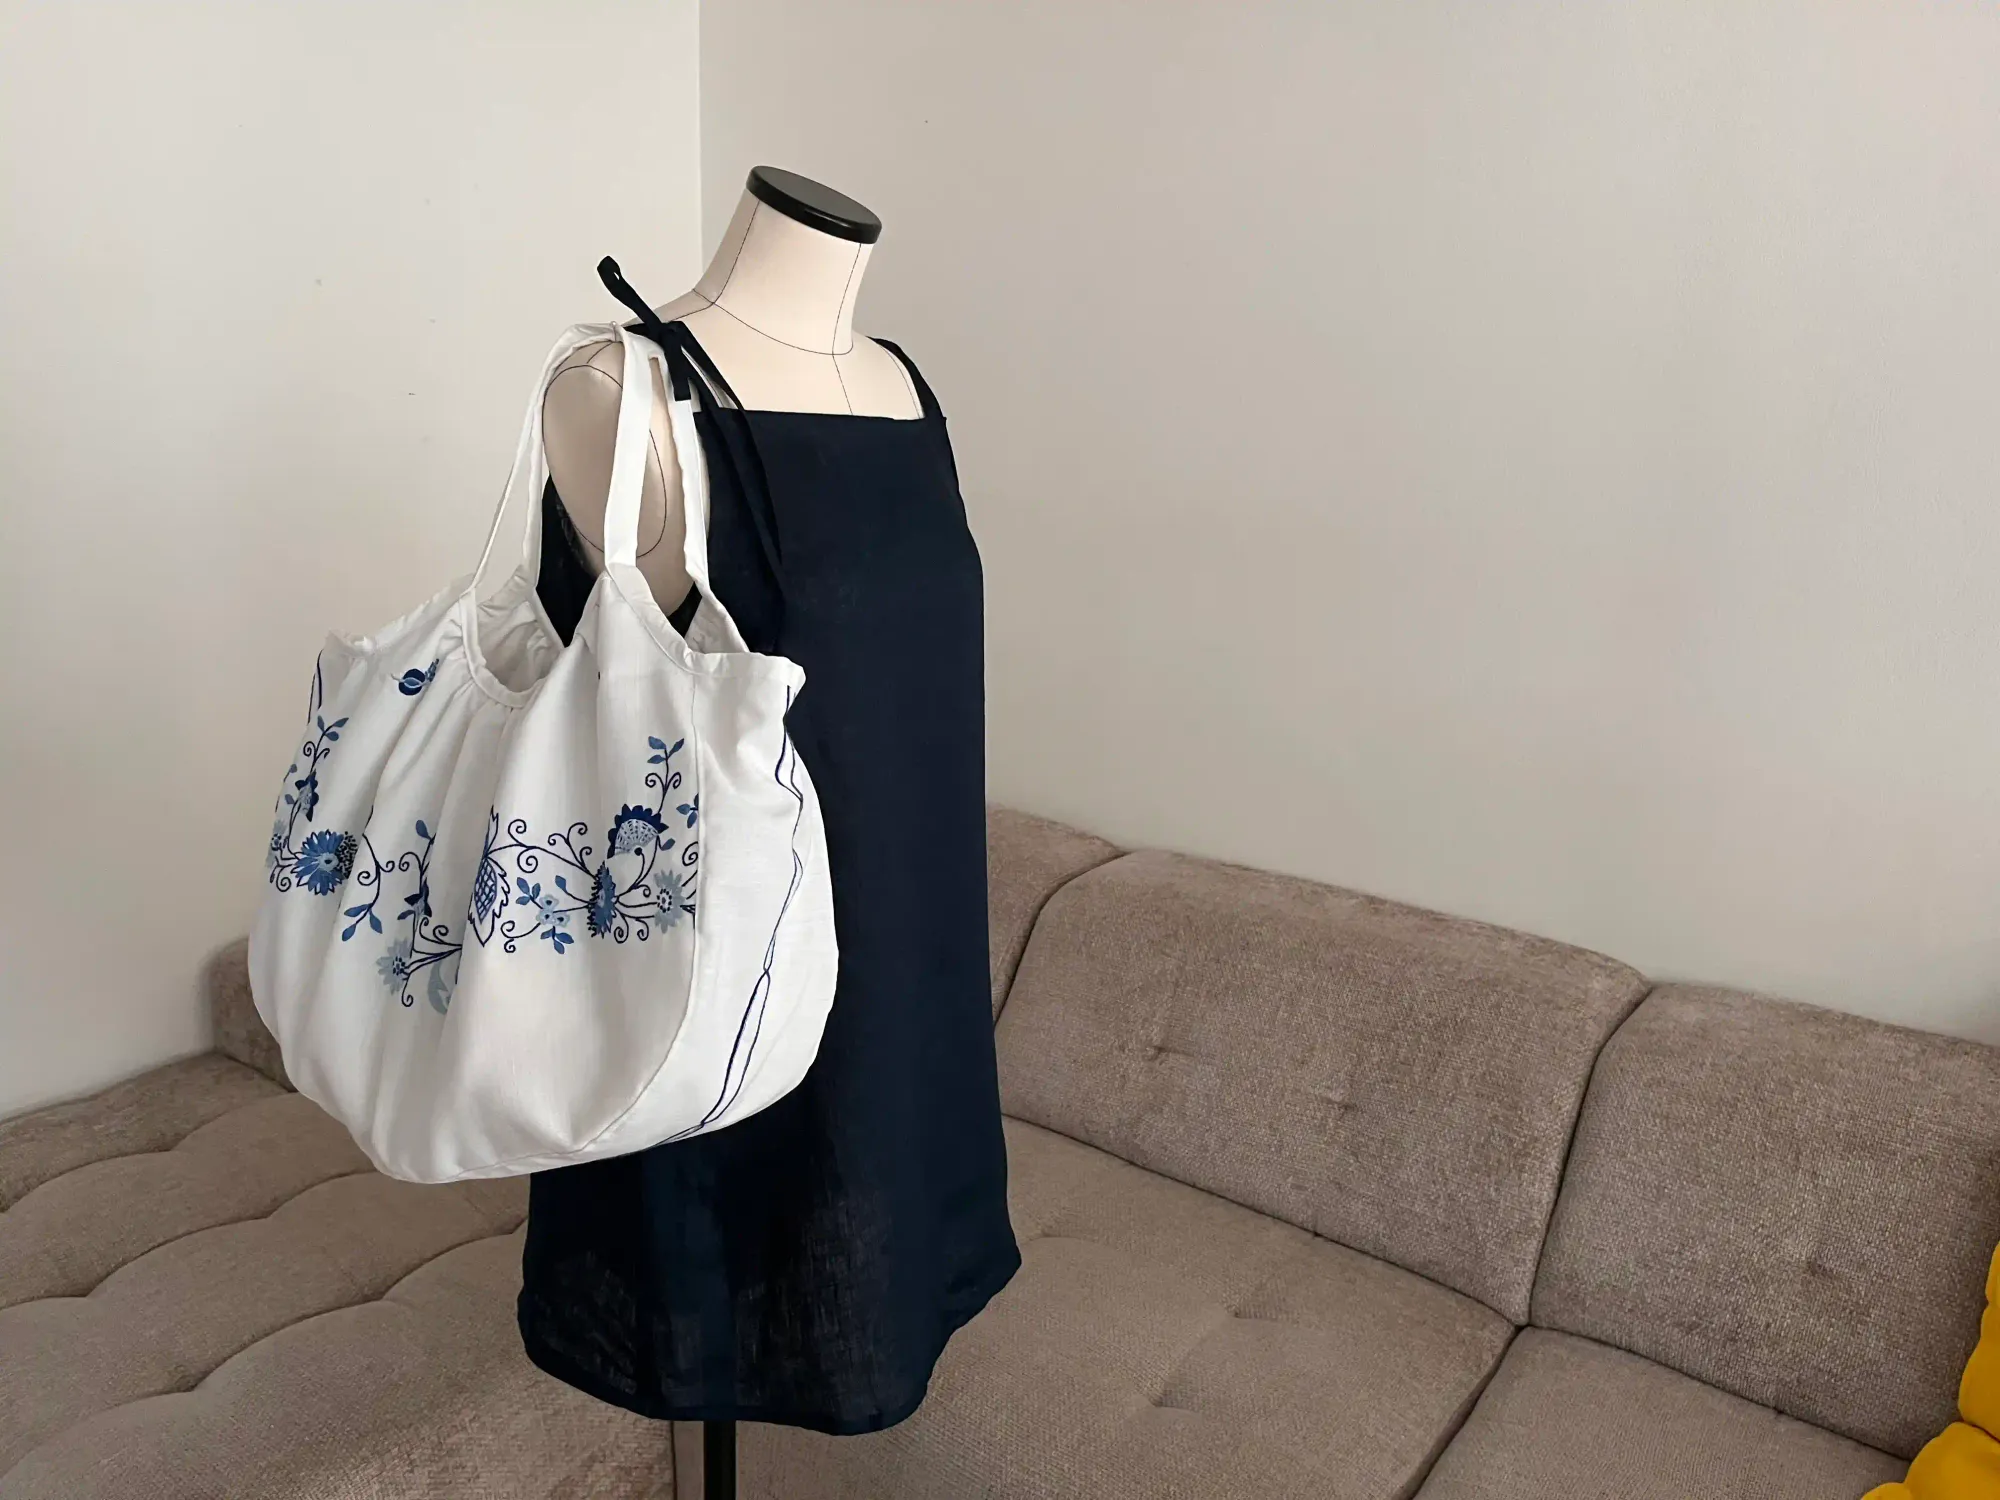
Large bags are among the best first projects for beginners; they were a fantastic starting point for me. They typically feature long, straight seams and minimal complex folds that might be tricky to navigate on a sewing machine. Plus, most can be sewn in just a few hours, offering tangible results quickly. In short, large bags are, and always will be, a popular topic. So, I recently experimented with a new shape, which I’m sharing in this article, complete with a step-by-step tutorial and a free pattern, as always.
Tote Bag Upcycled from a Vintage Hand-Embroidered Tablecloth
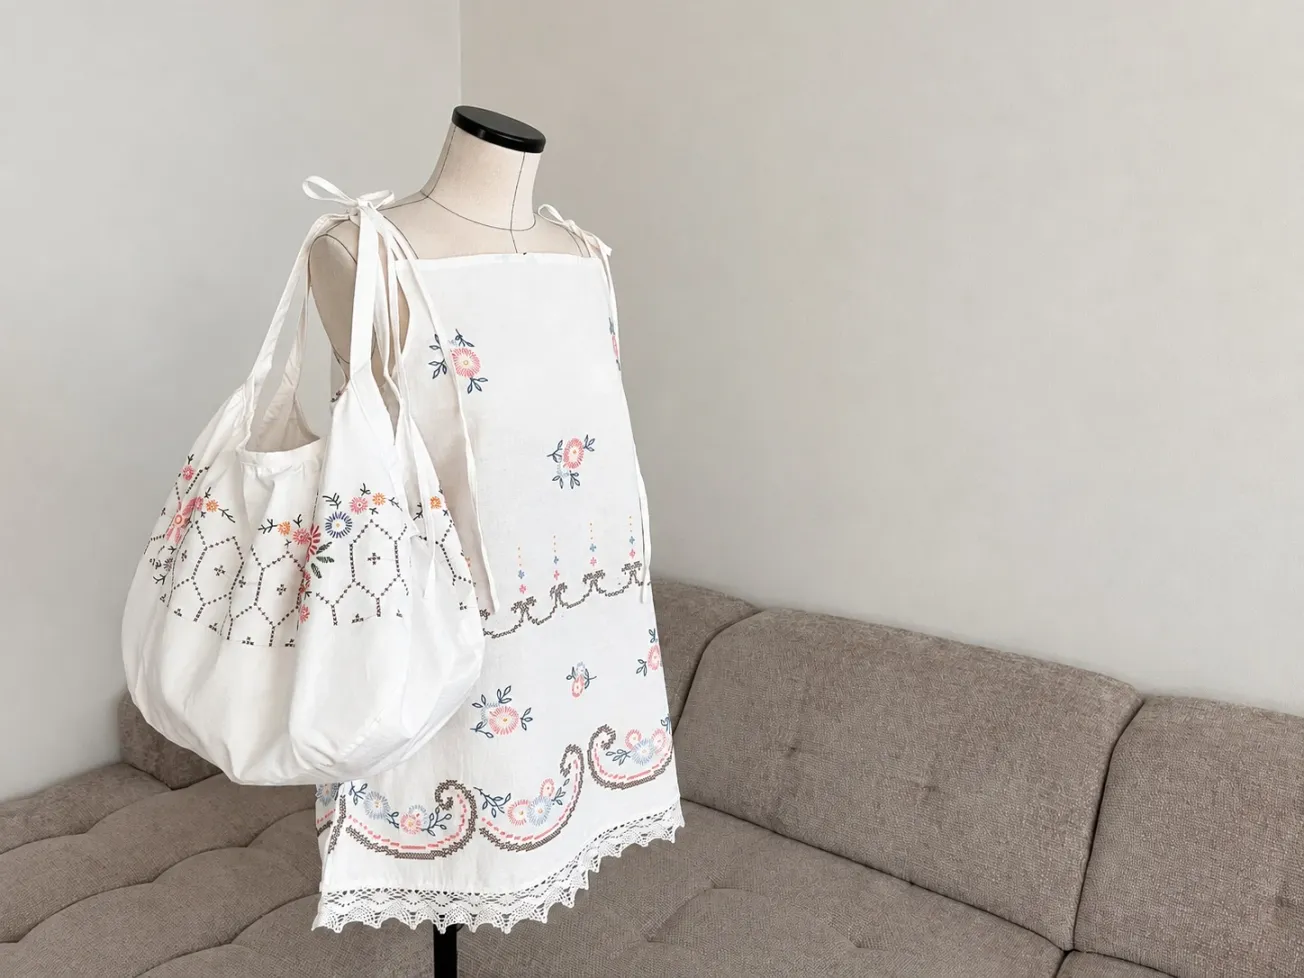
Every now and then, we come across an old, hand-embroidered tablecloth, sometimes with small stains, tears, or holes. I understand why people wouldn't want to use a "damaged" tablecloth when hosting guests. Personally, however, I see great potential for repurposing this kind of rare, special fabric. These pieces represent hours of handiwork, often created with love for someone the maker knew. That’s why, whenever possible, I buy these tablecloths or doilies and breathe new life into them through upcycling.
Every hand-embroidered tablecloth is unique. Even when we encounter similar patterns, each piece remains one-of-a-kind. That is what I love most about the creative process. It isn’t mass production. We take a story and give it a new chapter so it can shine again.
For me, upcycling through handcrafting is deeply meaningful.
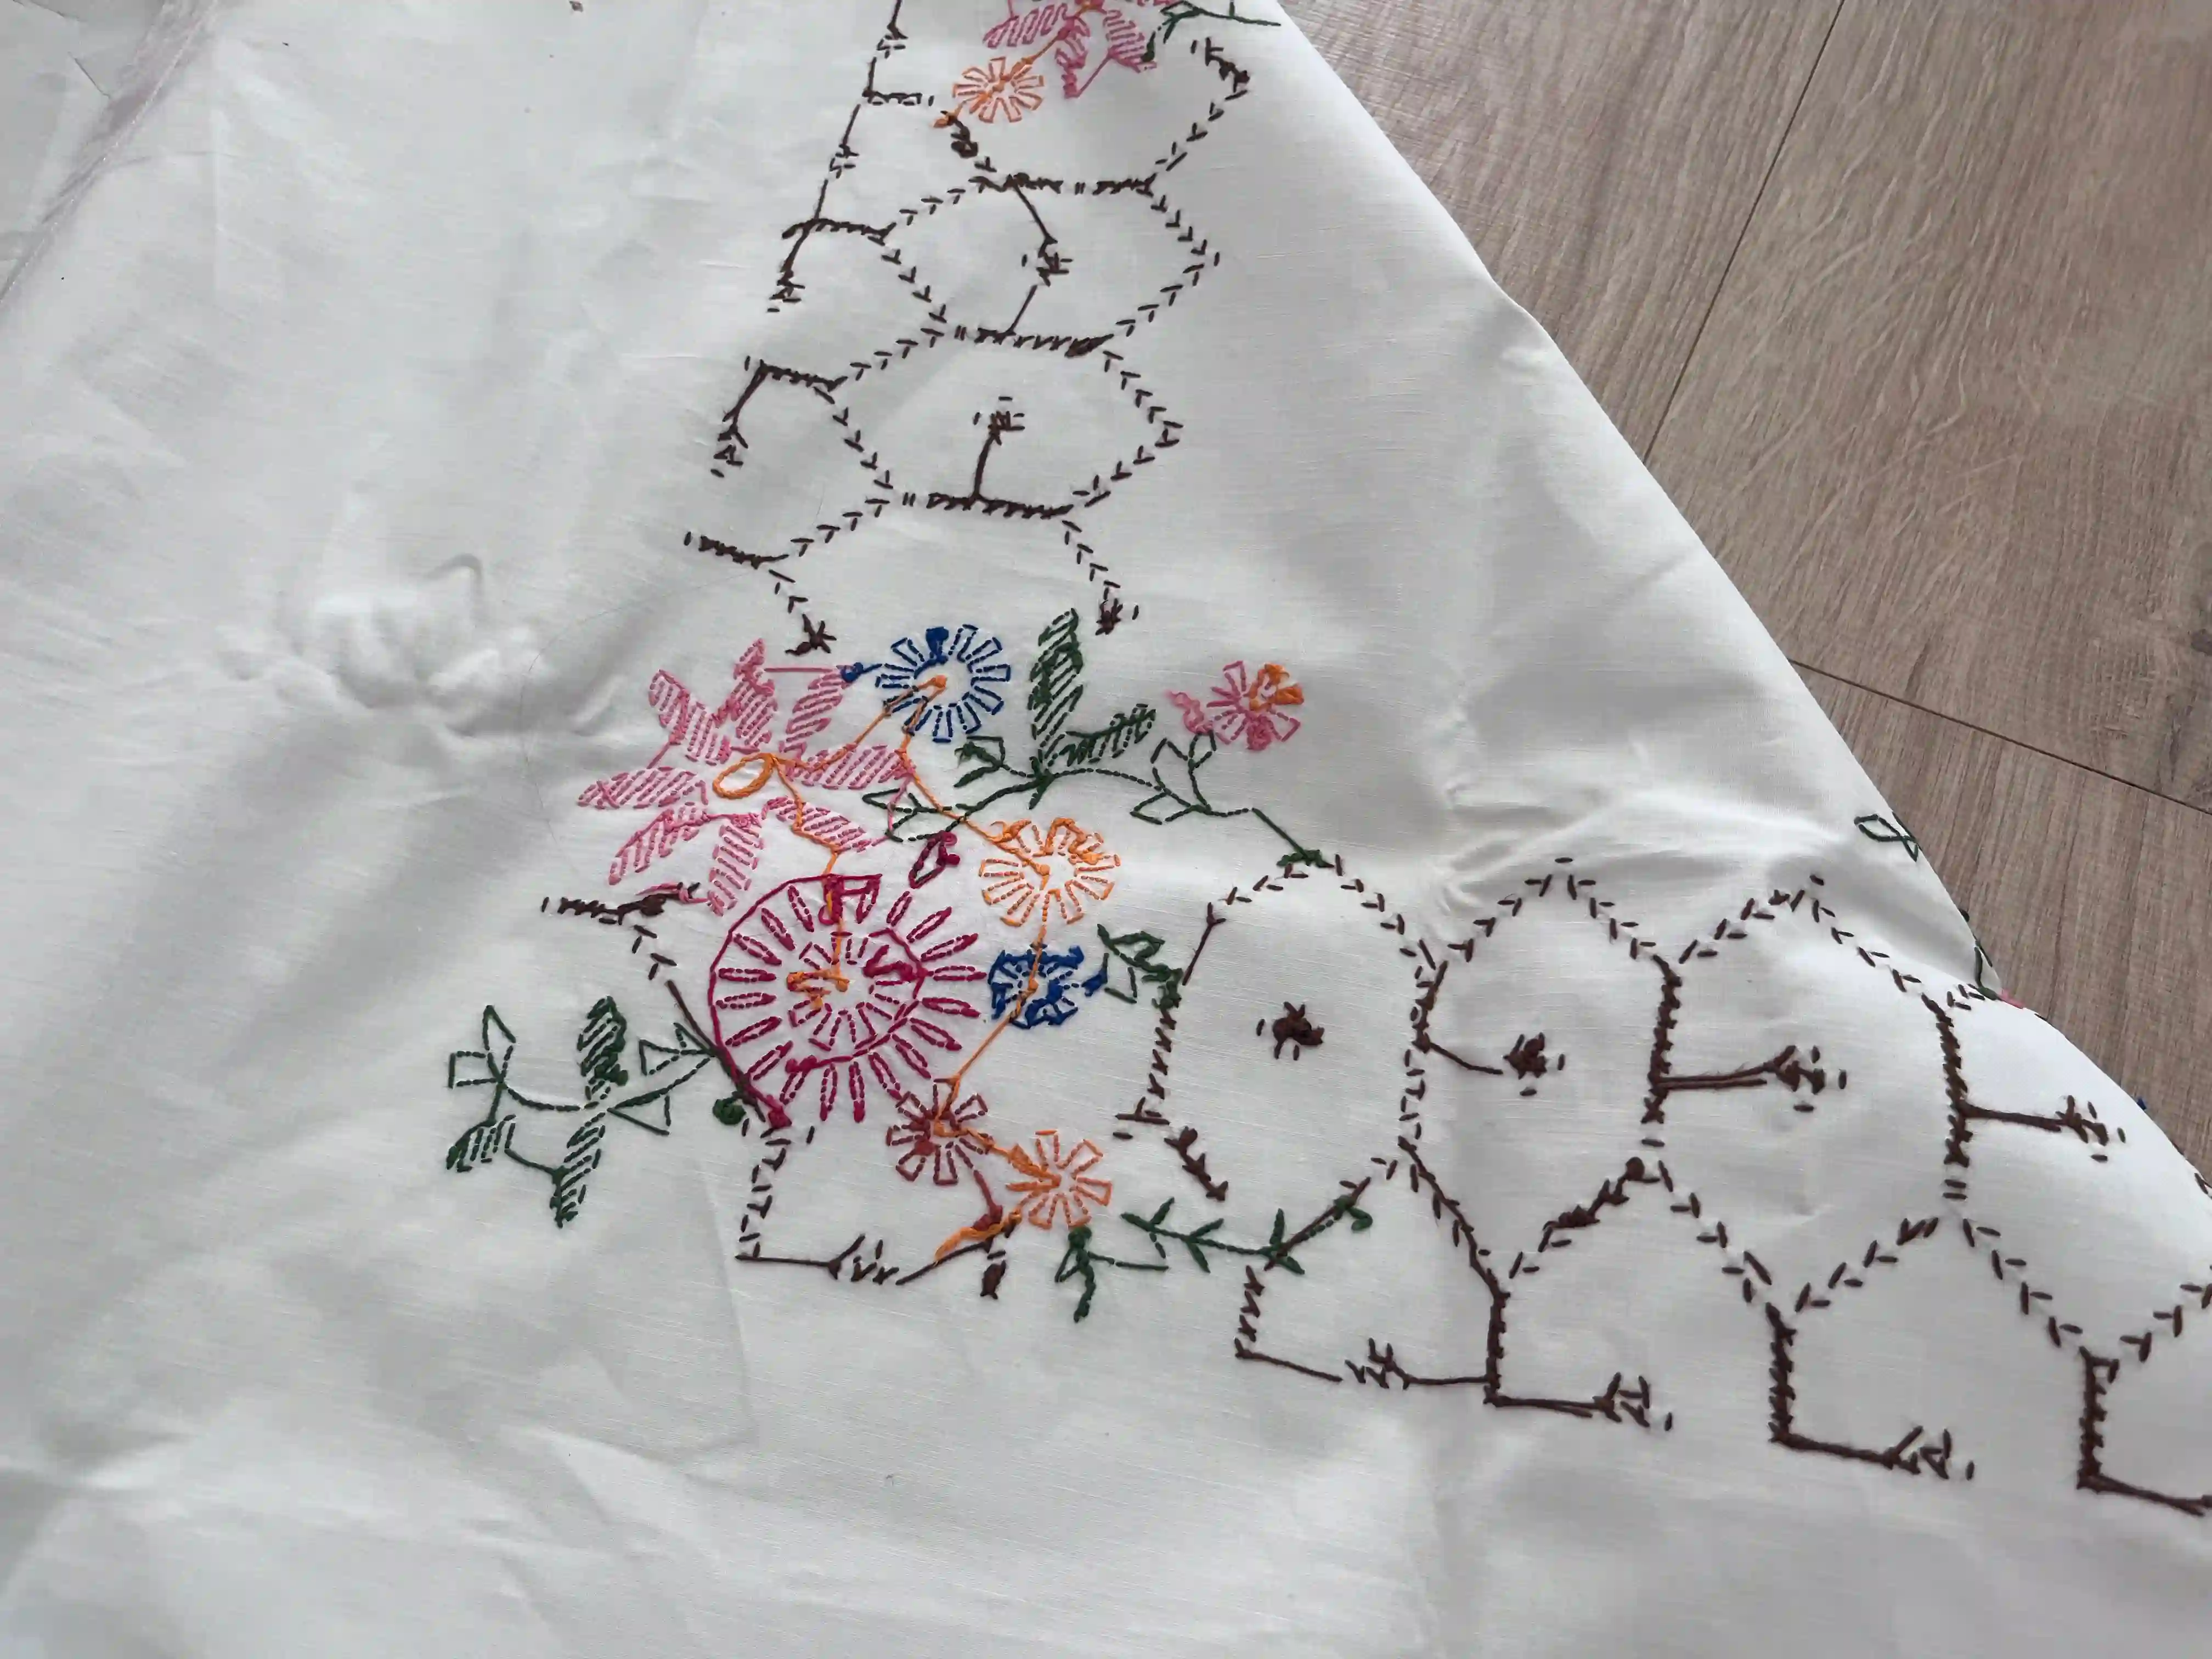
For me, upcycling through handcrafting is deeply meaningful. I see breathing new life into objects as a wonderful opportunity. I have immense respect for the value of human craftsmanship, whether it involves sewing, embroidery, knitting, bobbin lace making, or any other form of creation. Working with something so precious feels like meditation. I love the world of "Quiet Sewing", playing some soothing background music, brewing a cup of tea, and turning on the sewing machine. After all, we don’t have to be constantly "online" to feel alive.
What you will need:
An embroidered tablecloth (main fabric); I use an old cross-stitched tablecloth, but feel free to use a different fabric if you have one.
Fabric for the interior (lining)
Sewing machine
Fabric shears
Tailor's chalk
Thread matching the main fabric (so the seams blend in); one spool is enough.
Pins
Tape measure
If the fabric is too soft, you can use interfacing (iron-on fusible interfacing) to stiffen the main fabric and help the bag hold its shape better. I didn't need it for my project.
Estimated Time
Approximately 6 hours of your work.
Tote Bag Free Pattern
Below, you can download your free pattern, including all necessary instructions.
Preparing the Material
Wash the fabric. If you are working with a hand-embroidered tablecloth or other delicate textile, wash it carefully by hand using a gentle soap. Never machine-wash handmade items; they are very delicate, and a standard wash cycle could damage them (for example, handmade bobbin lace, hand-embroidered tablecloths, or knitwear).
Always use a mild detergent; I personally use a product designed for delicates or a baby soap. If the tablecloth features hand embroidery, the cotton thread may bleed color over time, so wash it only in lukewarm water. For instance, if you have dark embroidery on a light background, rinse it carefully in lukewarm water and remove excess moisture by wrapping the item in a dark towel; this prevents the material from twisting or losing its shape. Lay the tablecloth or other textile flat to dry. Finally, carefully iron the tablecloth at a temperature suitable for the material.
If you want to use embroidery on your bag that bleeds color during washing, choose a suitable color for the bag's lining as well to prevent the interior from staining during future washes.
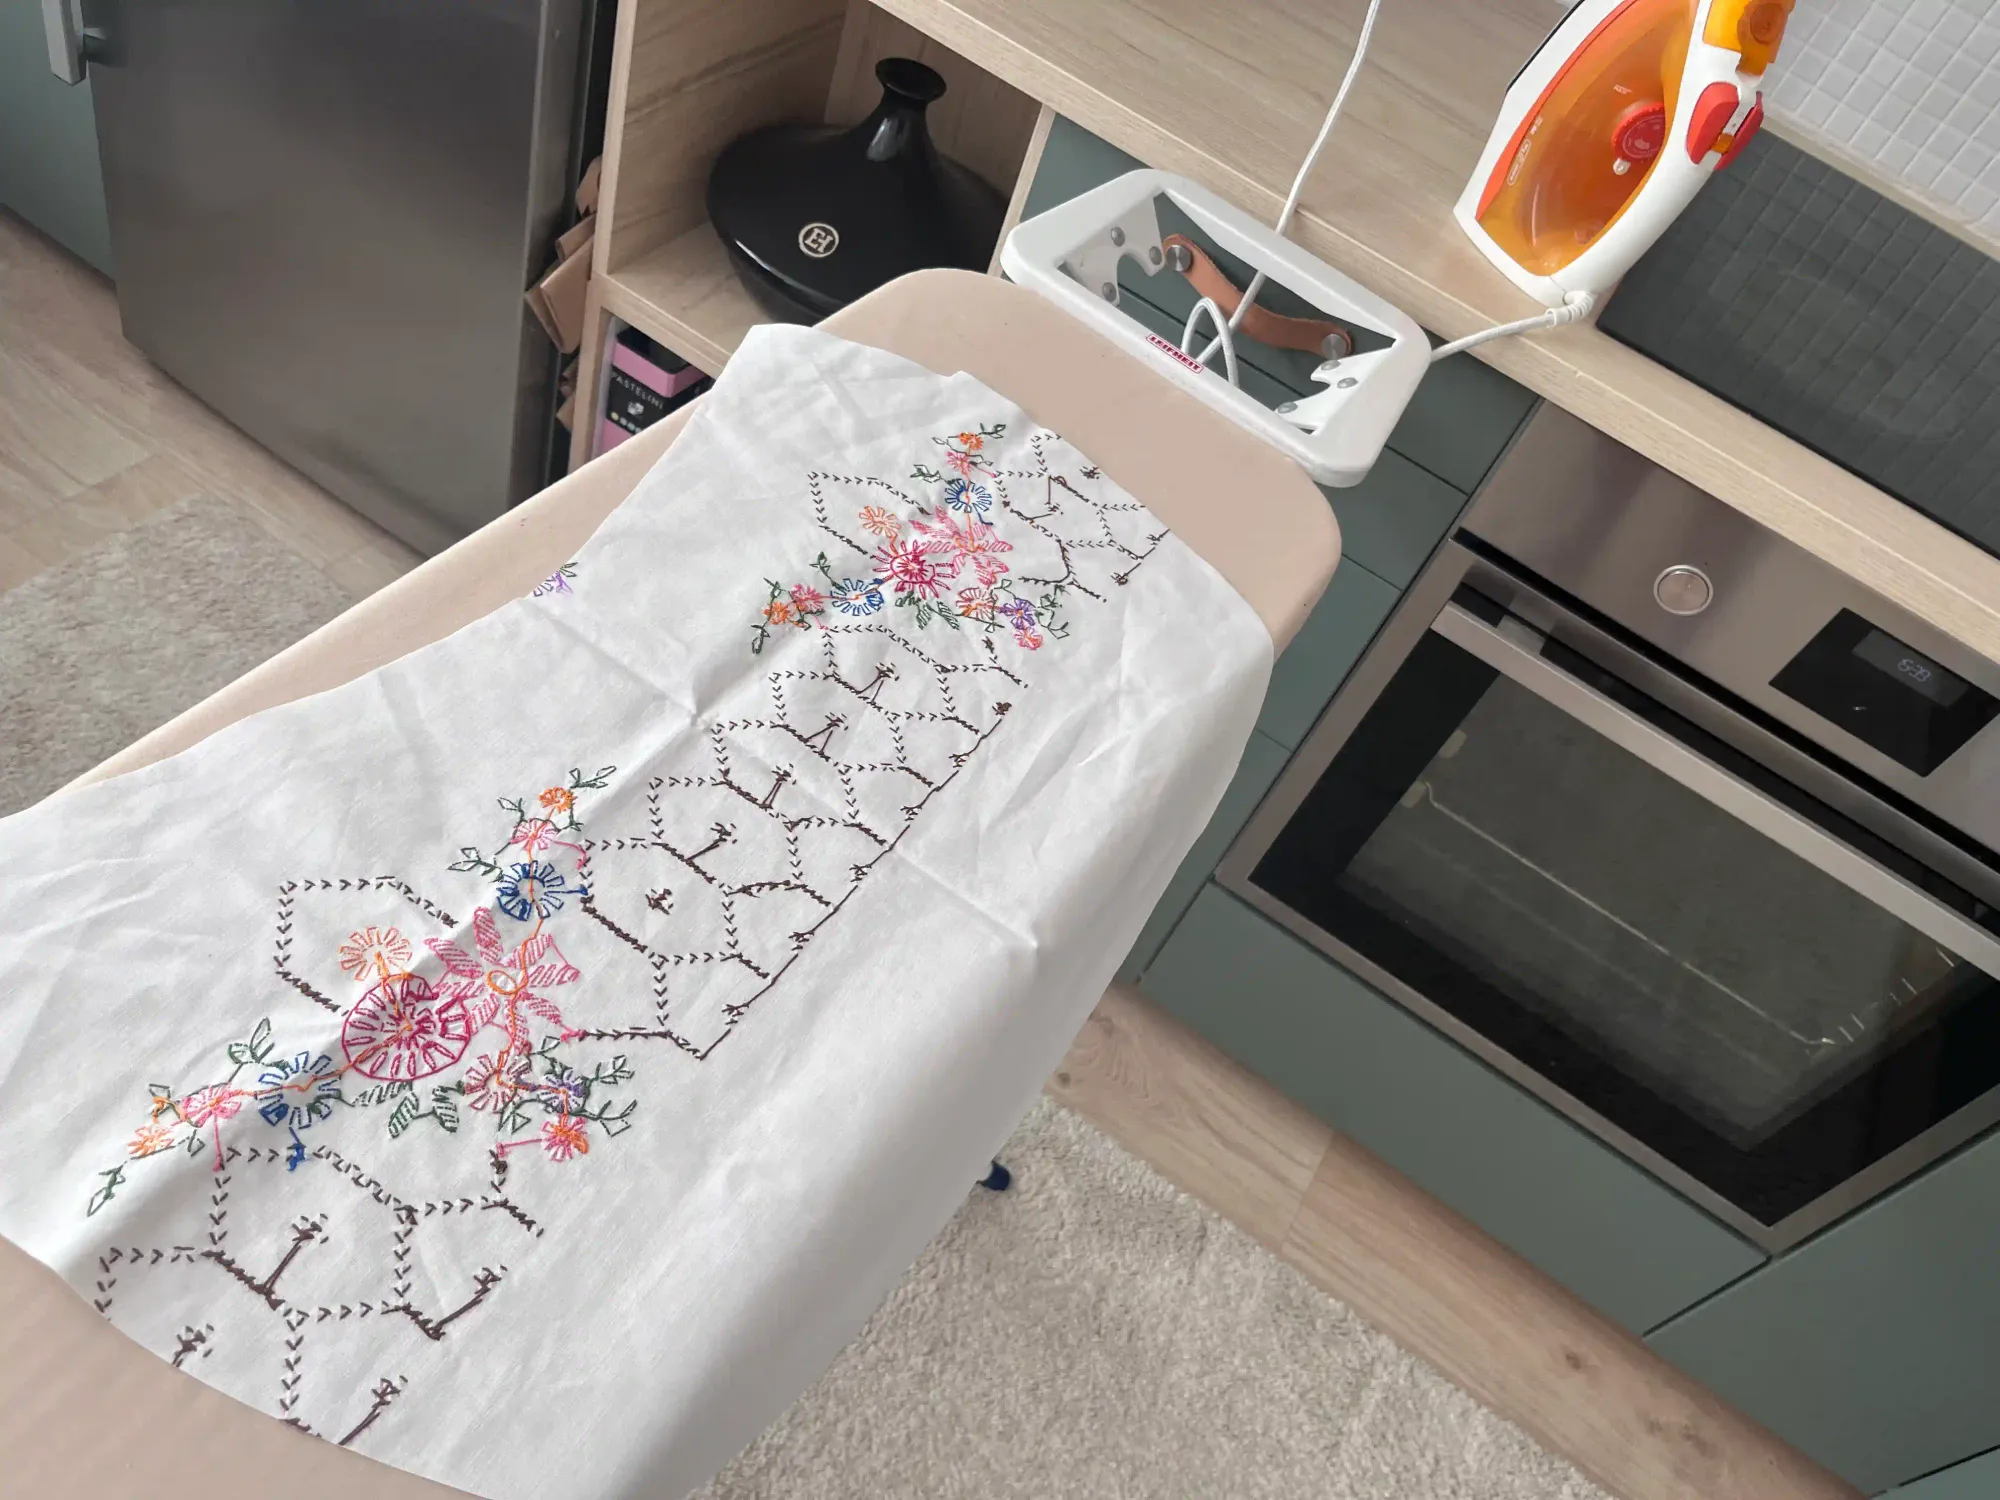
Troubleshooting
Are there stains or holes in key areas of your tablecloth? When working with a damaged tablecloth (which is usually the case), I try to position the pattern pieces to avoid those spots. If that isn't possible and the damage falls within an area that will become part of the new garment or bag, there are several ways to handle it:
If you encounter holes, you can cover them with another section of the tablecloth that isn't part of the main design.
For larger holes, I like to place an embroidered motif over them and stitch it down so that the spot, or rather, the covering itself, becomes an interesting feature. It’s a way to turn a flaw into an asset! 😉 Placing embroidery over a hole solves the problem while creating an interesting visual effect.
The same applies to stains: sometimes I like to cover them. Sometimes I hide them under a lining, or simply stitch over them. Alternatively, you can leave them as they are. After all, stains are a part of life, aren't they?
Tote Bag Step-by-Step Tutorial
Place the washed and ironed fabric on a large, flat surface (such as a table or the floor), then position the bag pattern so the embroidery is exactly where you want it. Cut out all the pieces one by one. You can make up to two bags, one small and one large, from a single tablecloth.
At the same time, cut out the inner bag pieces, making sure you have the same number as the pieces cut from the main fabric.
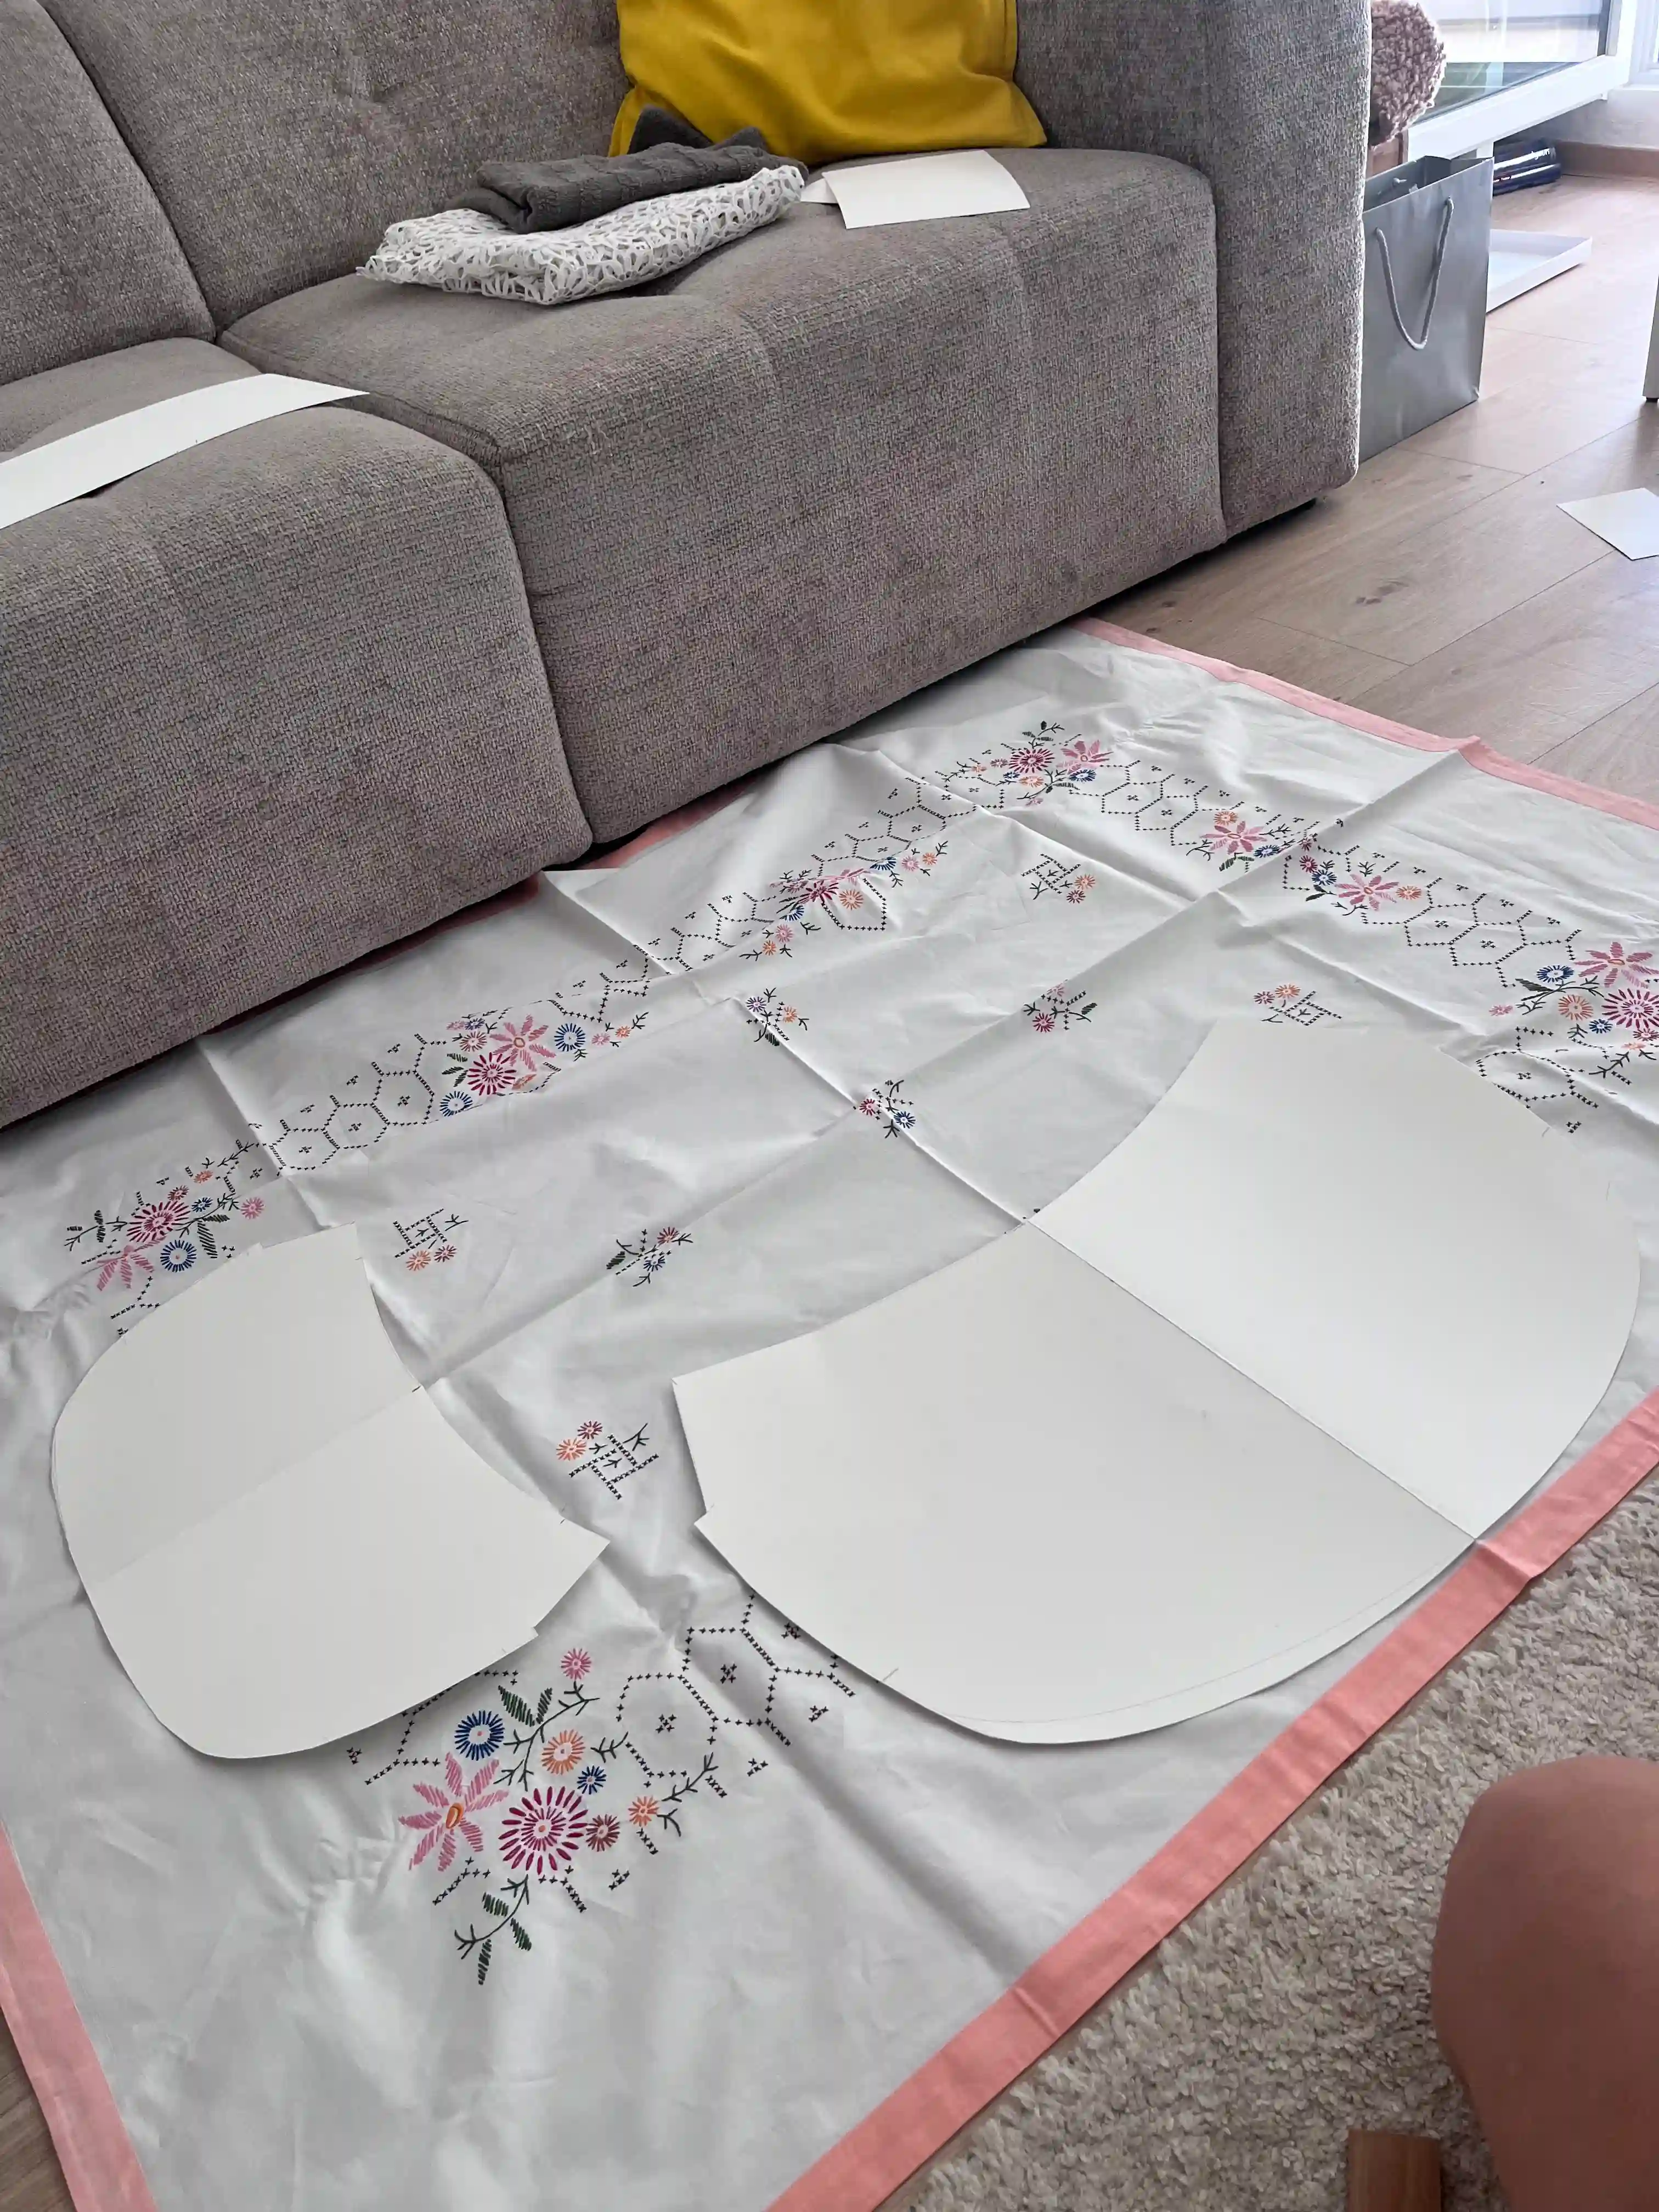
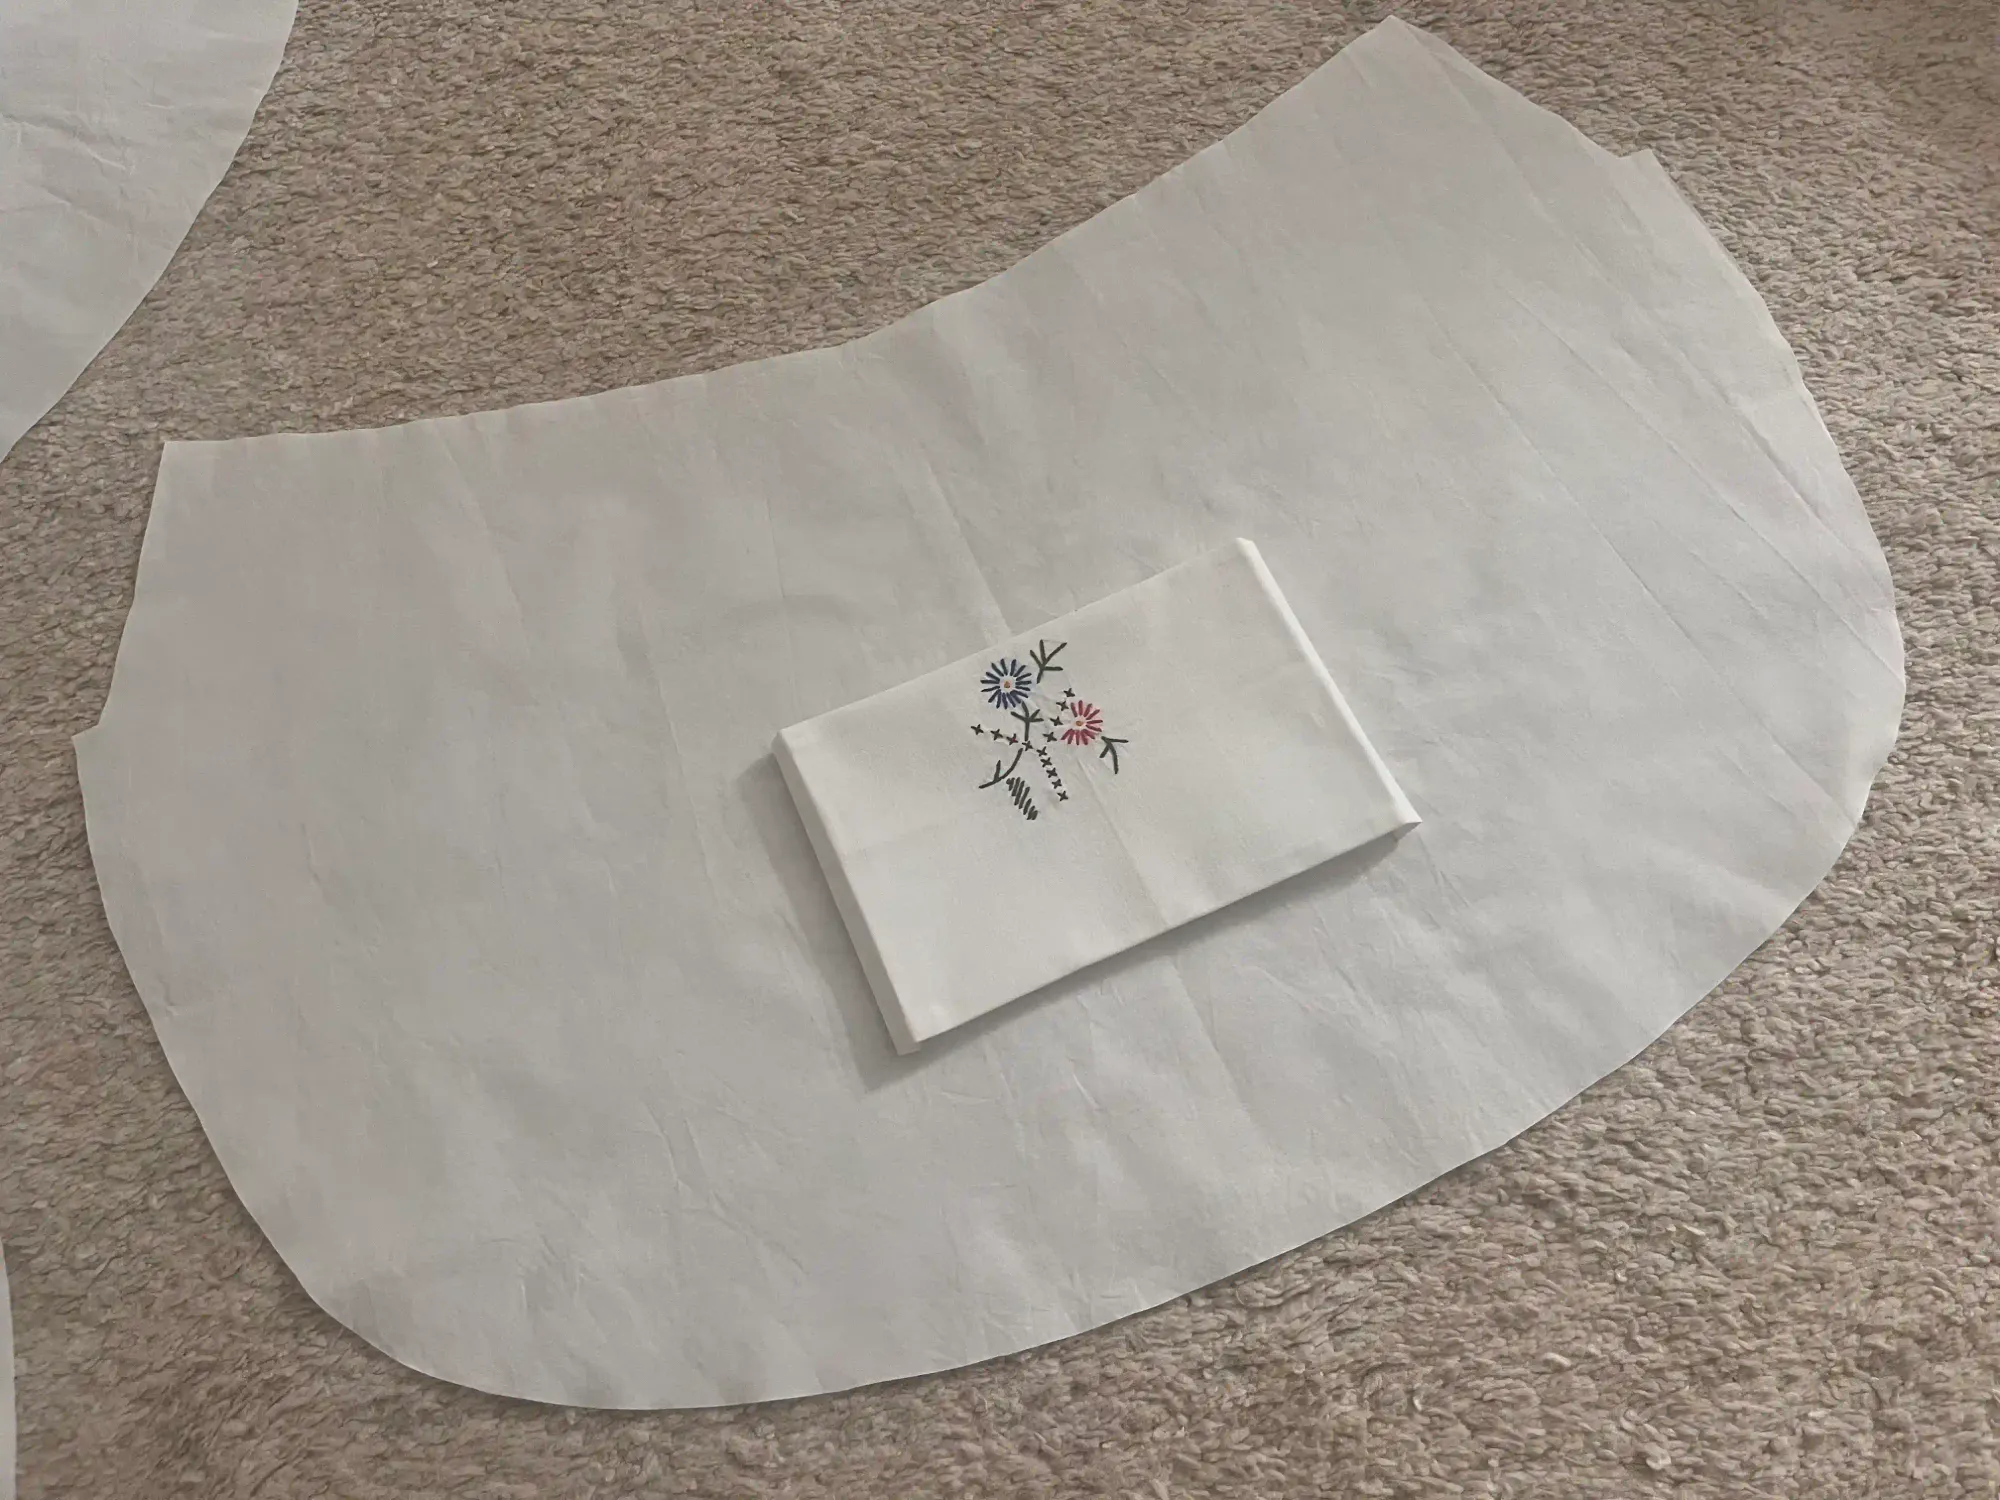
If you want your bag to have a small pocket for a mobile phone, a small wallet, or documents, cut it out as shown in the instructions. The pocket fits the pattern for both the large and small bag. For my pocket, I chose a piece featuring part of the embroidery; I thought it looked delicate and romantic. Cut out the pocket and press the edges so it is easier to sew onto the inside of the bag. Position the pocket roughly in the center of the bag and sew it on, leaving the top open.
Take the main bag panels, including the center strip, and sew them together with the wrong sides facing out. Leave the top section of the bag open on both sides.
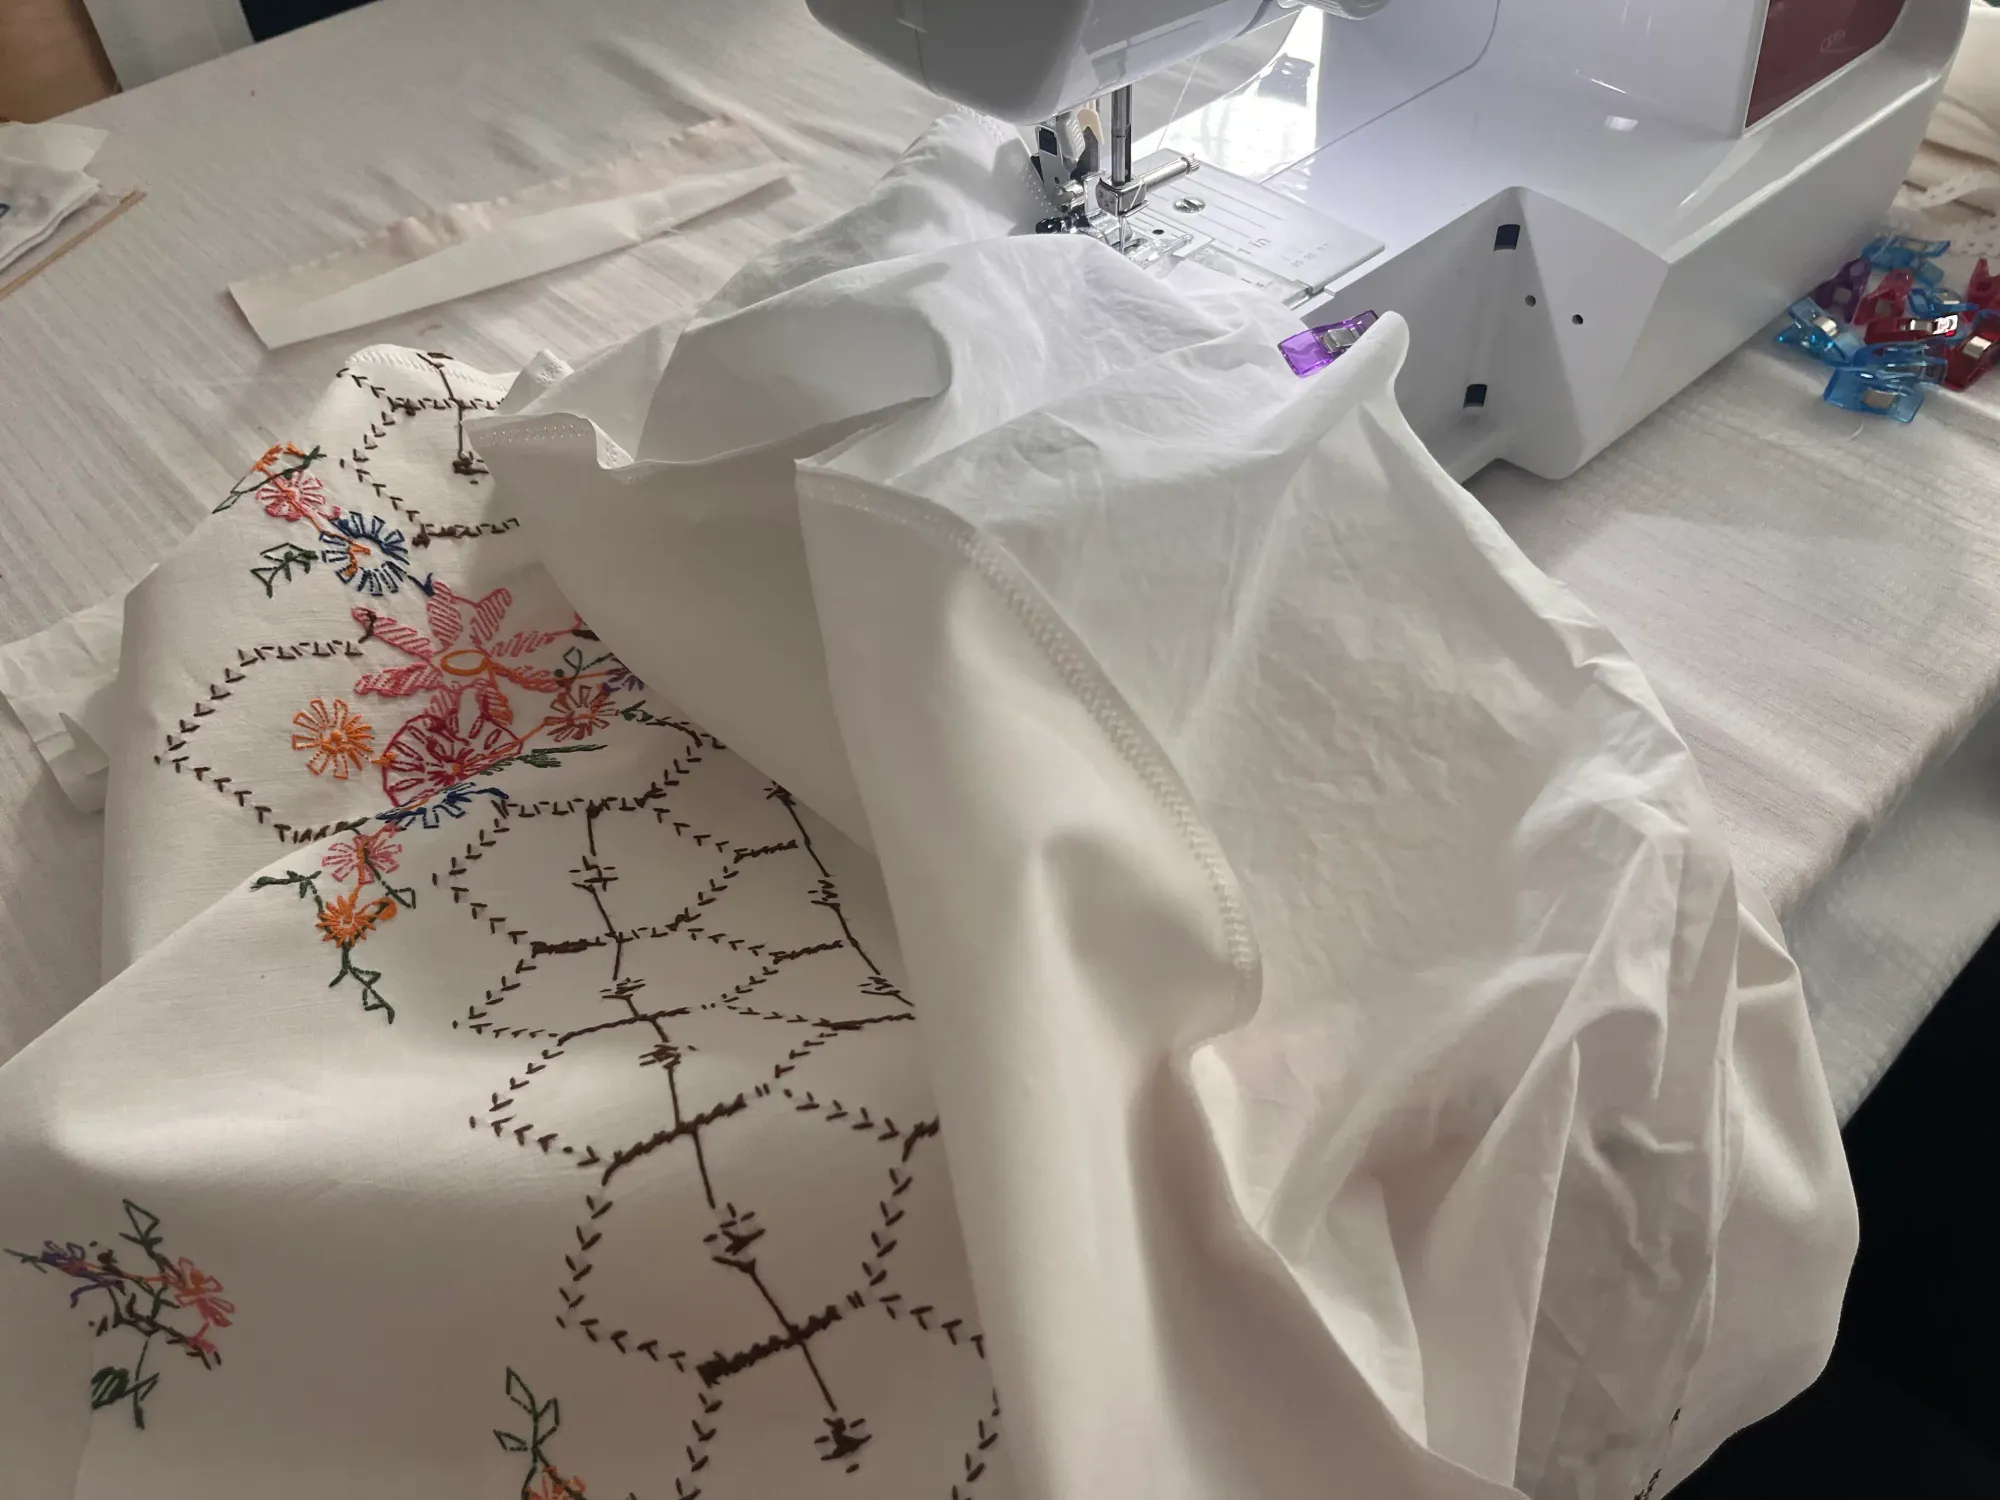
Follow the same procedure for the bag's inner part. You will end up with two large "pockets."
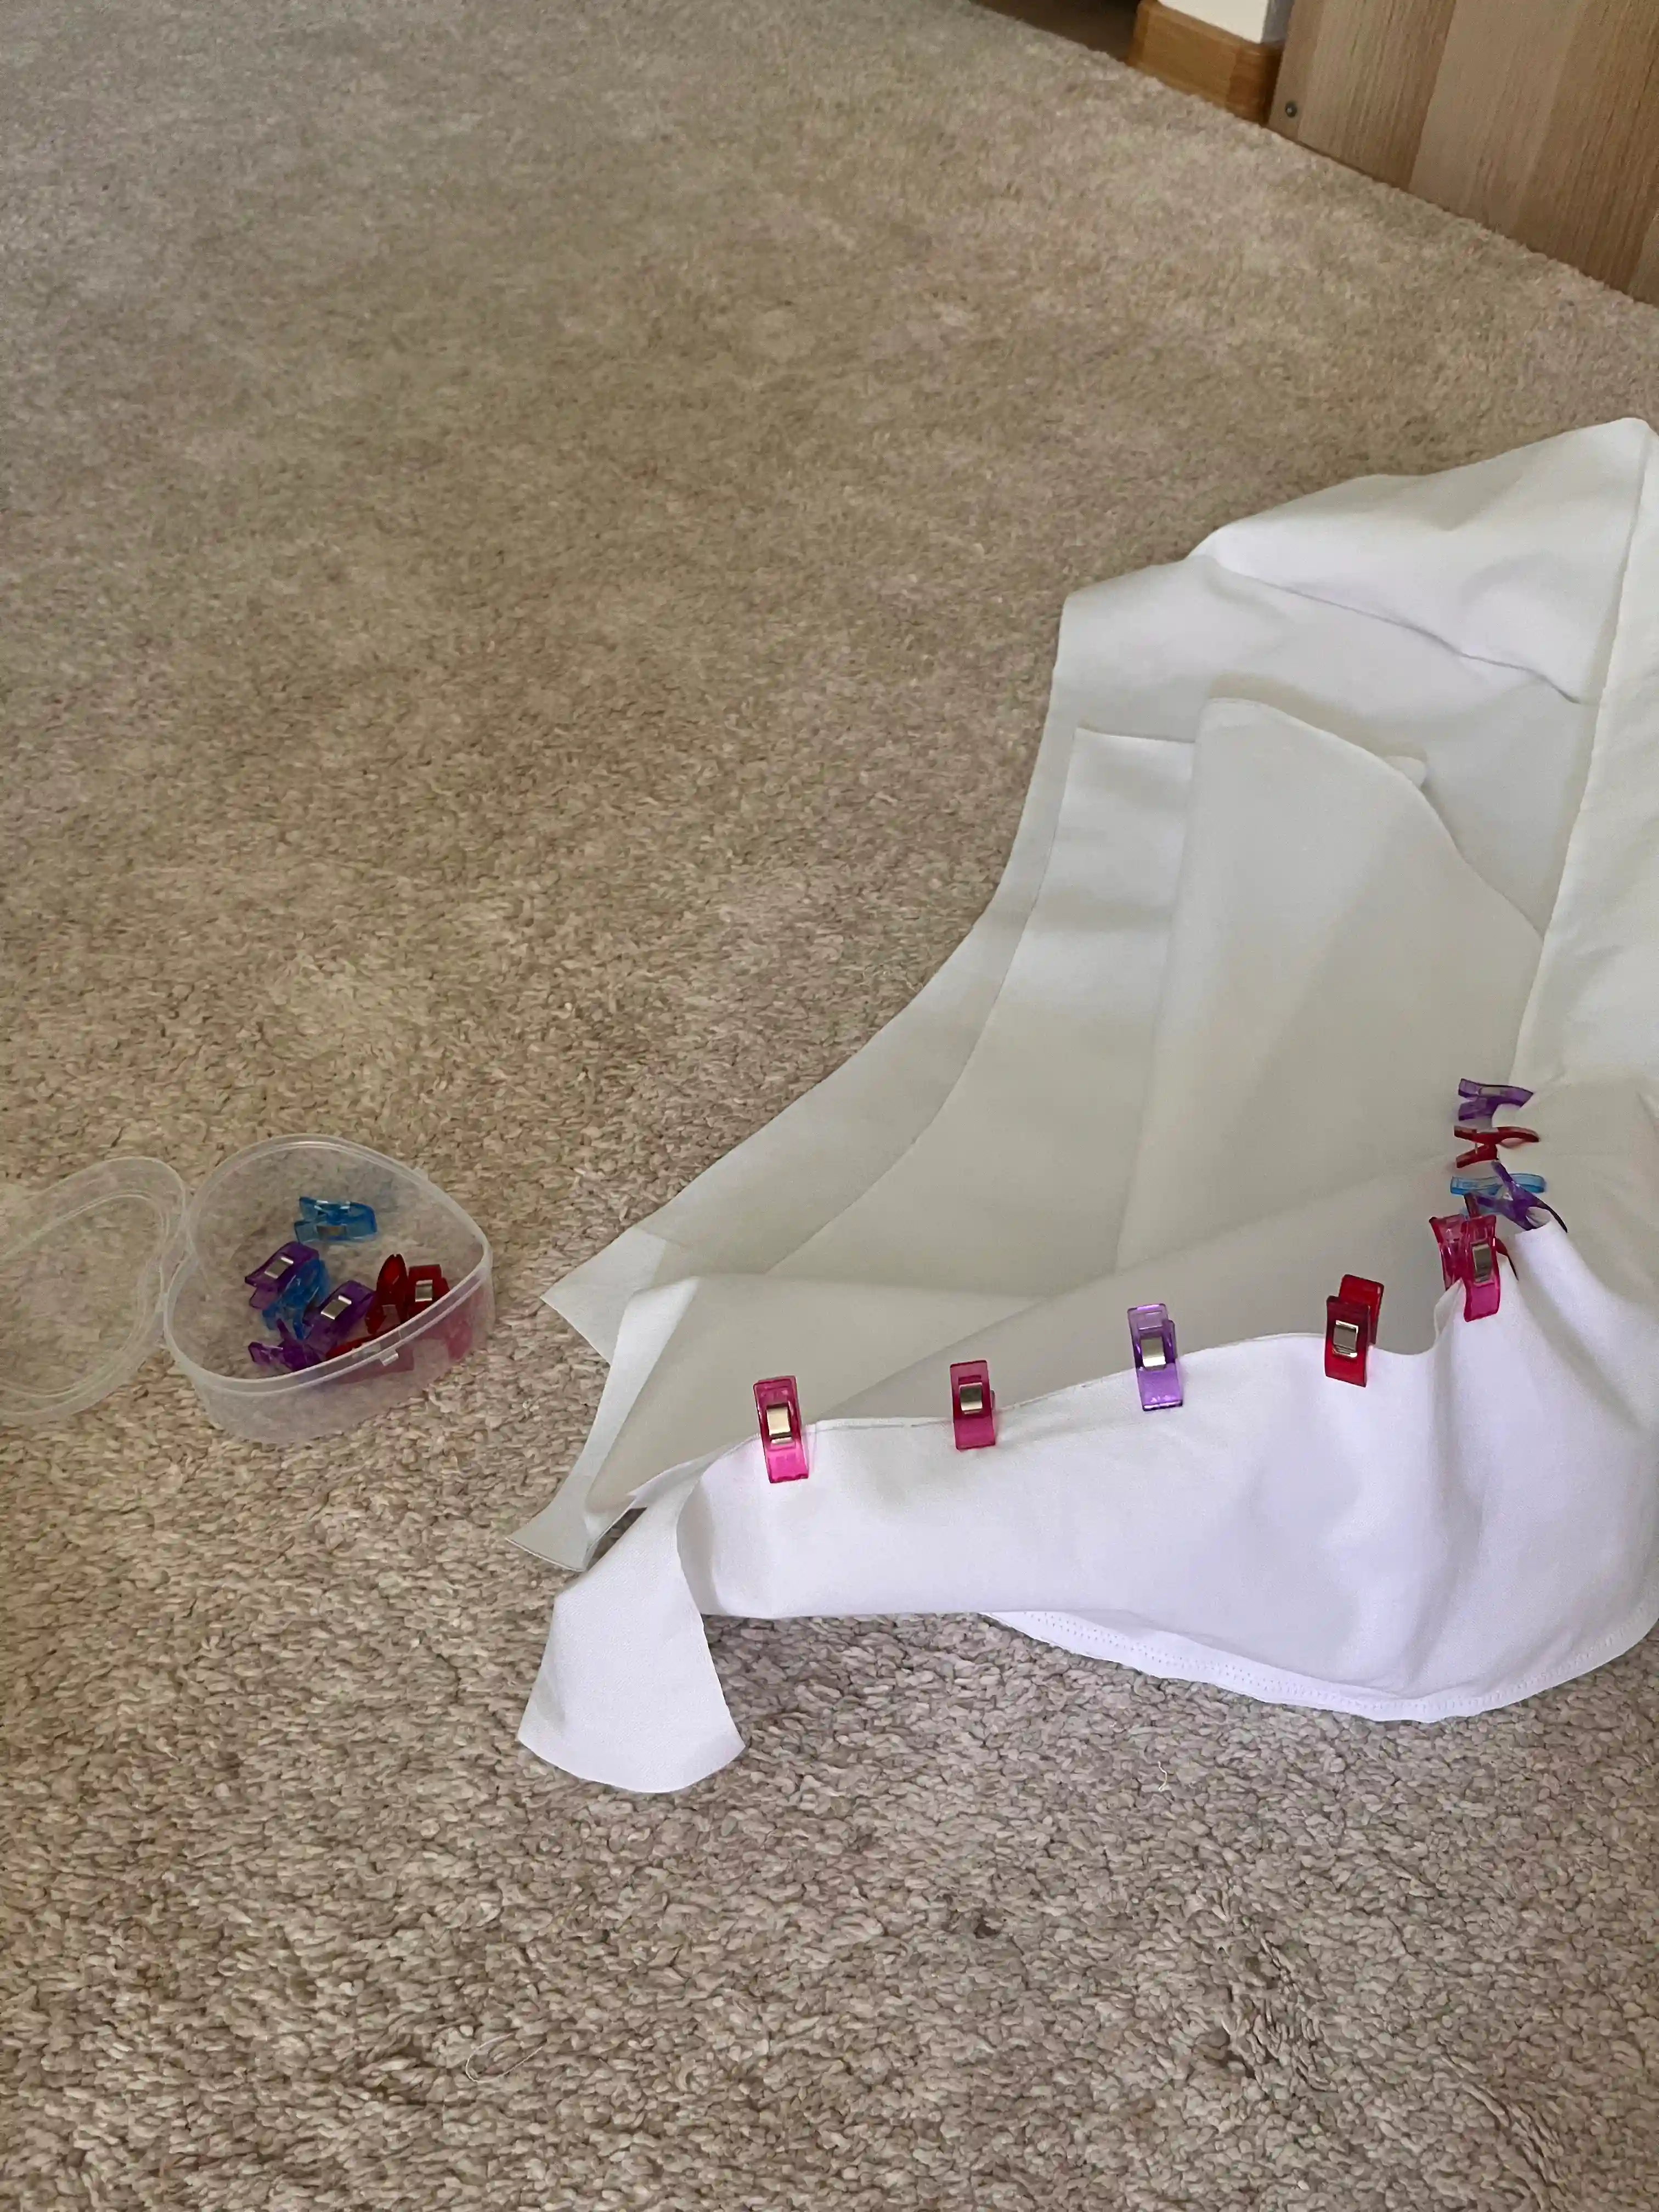
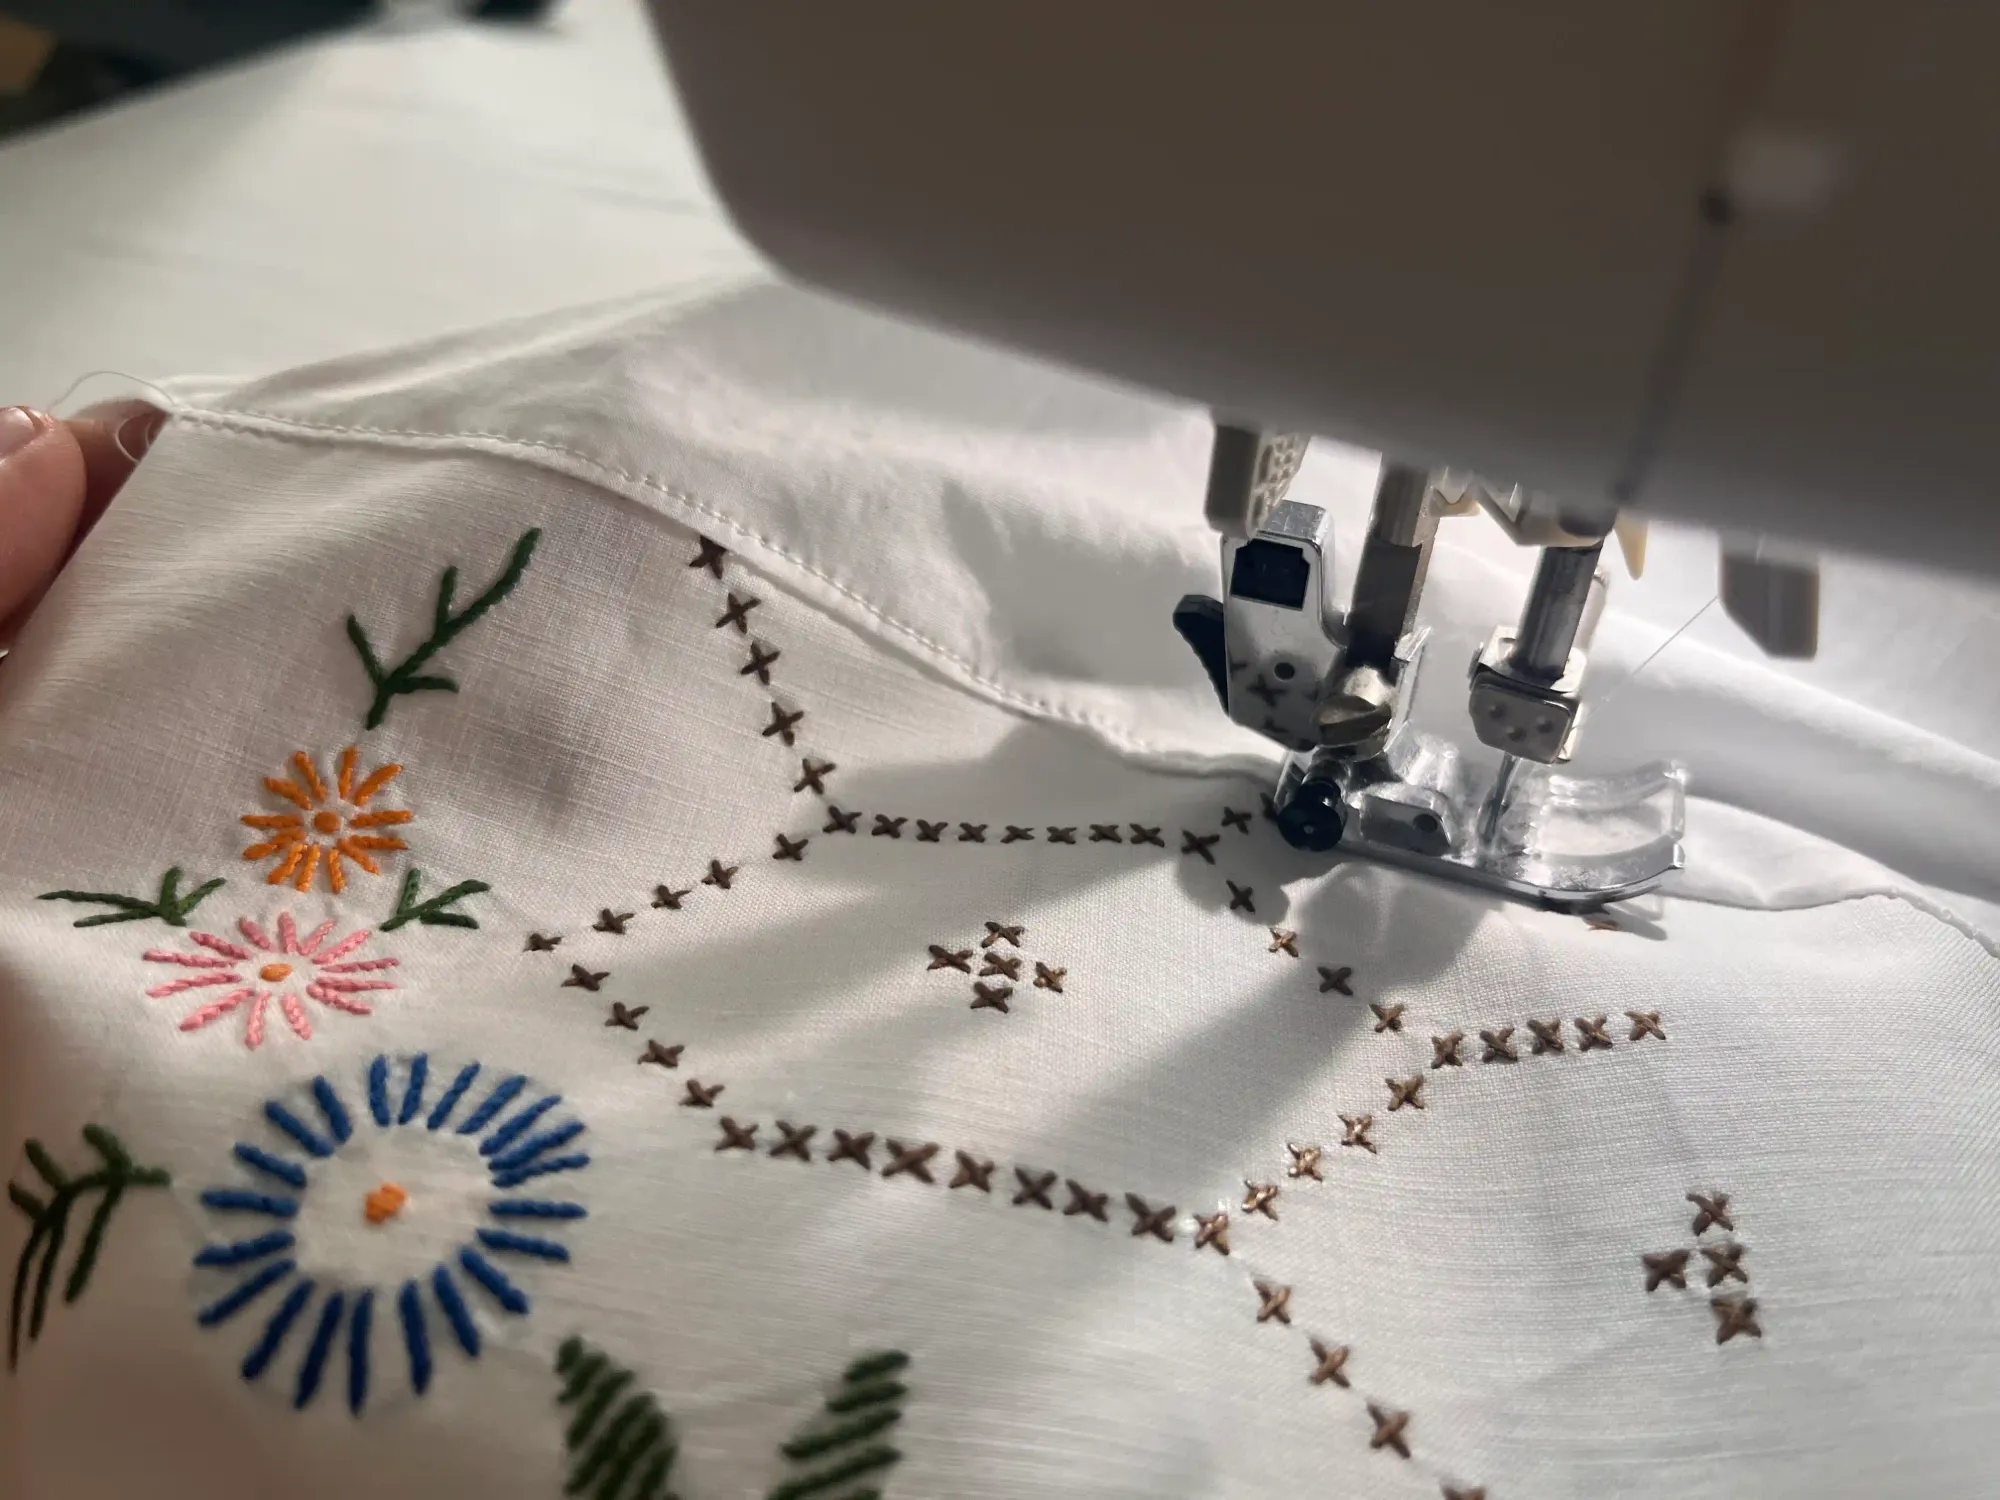
Take the outer part of the bag and stitch along the seam edges once more, this time from the outside, to create a neat seam.
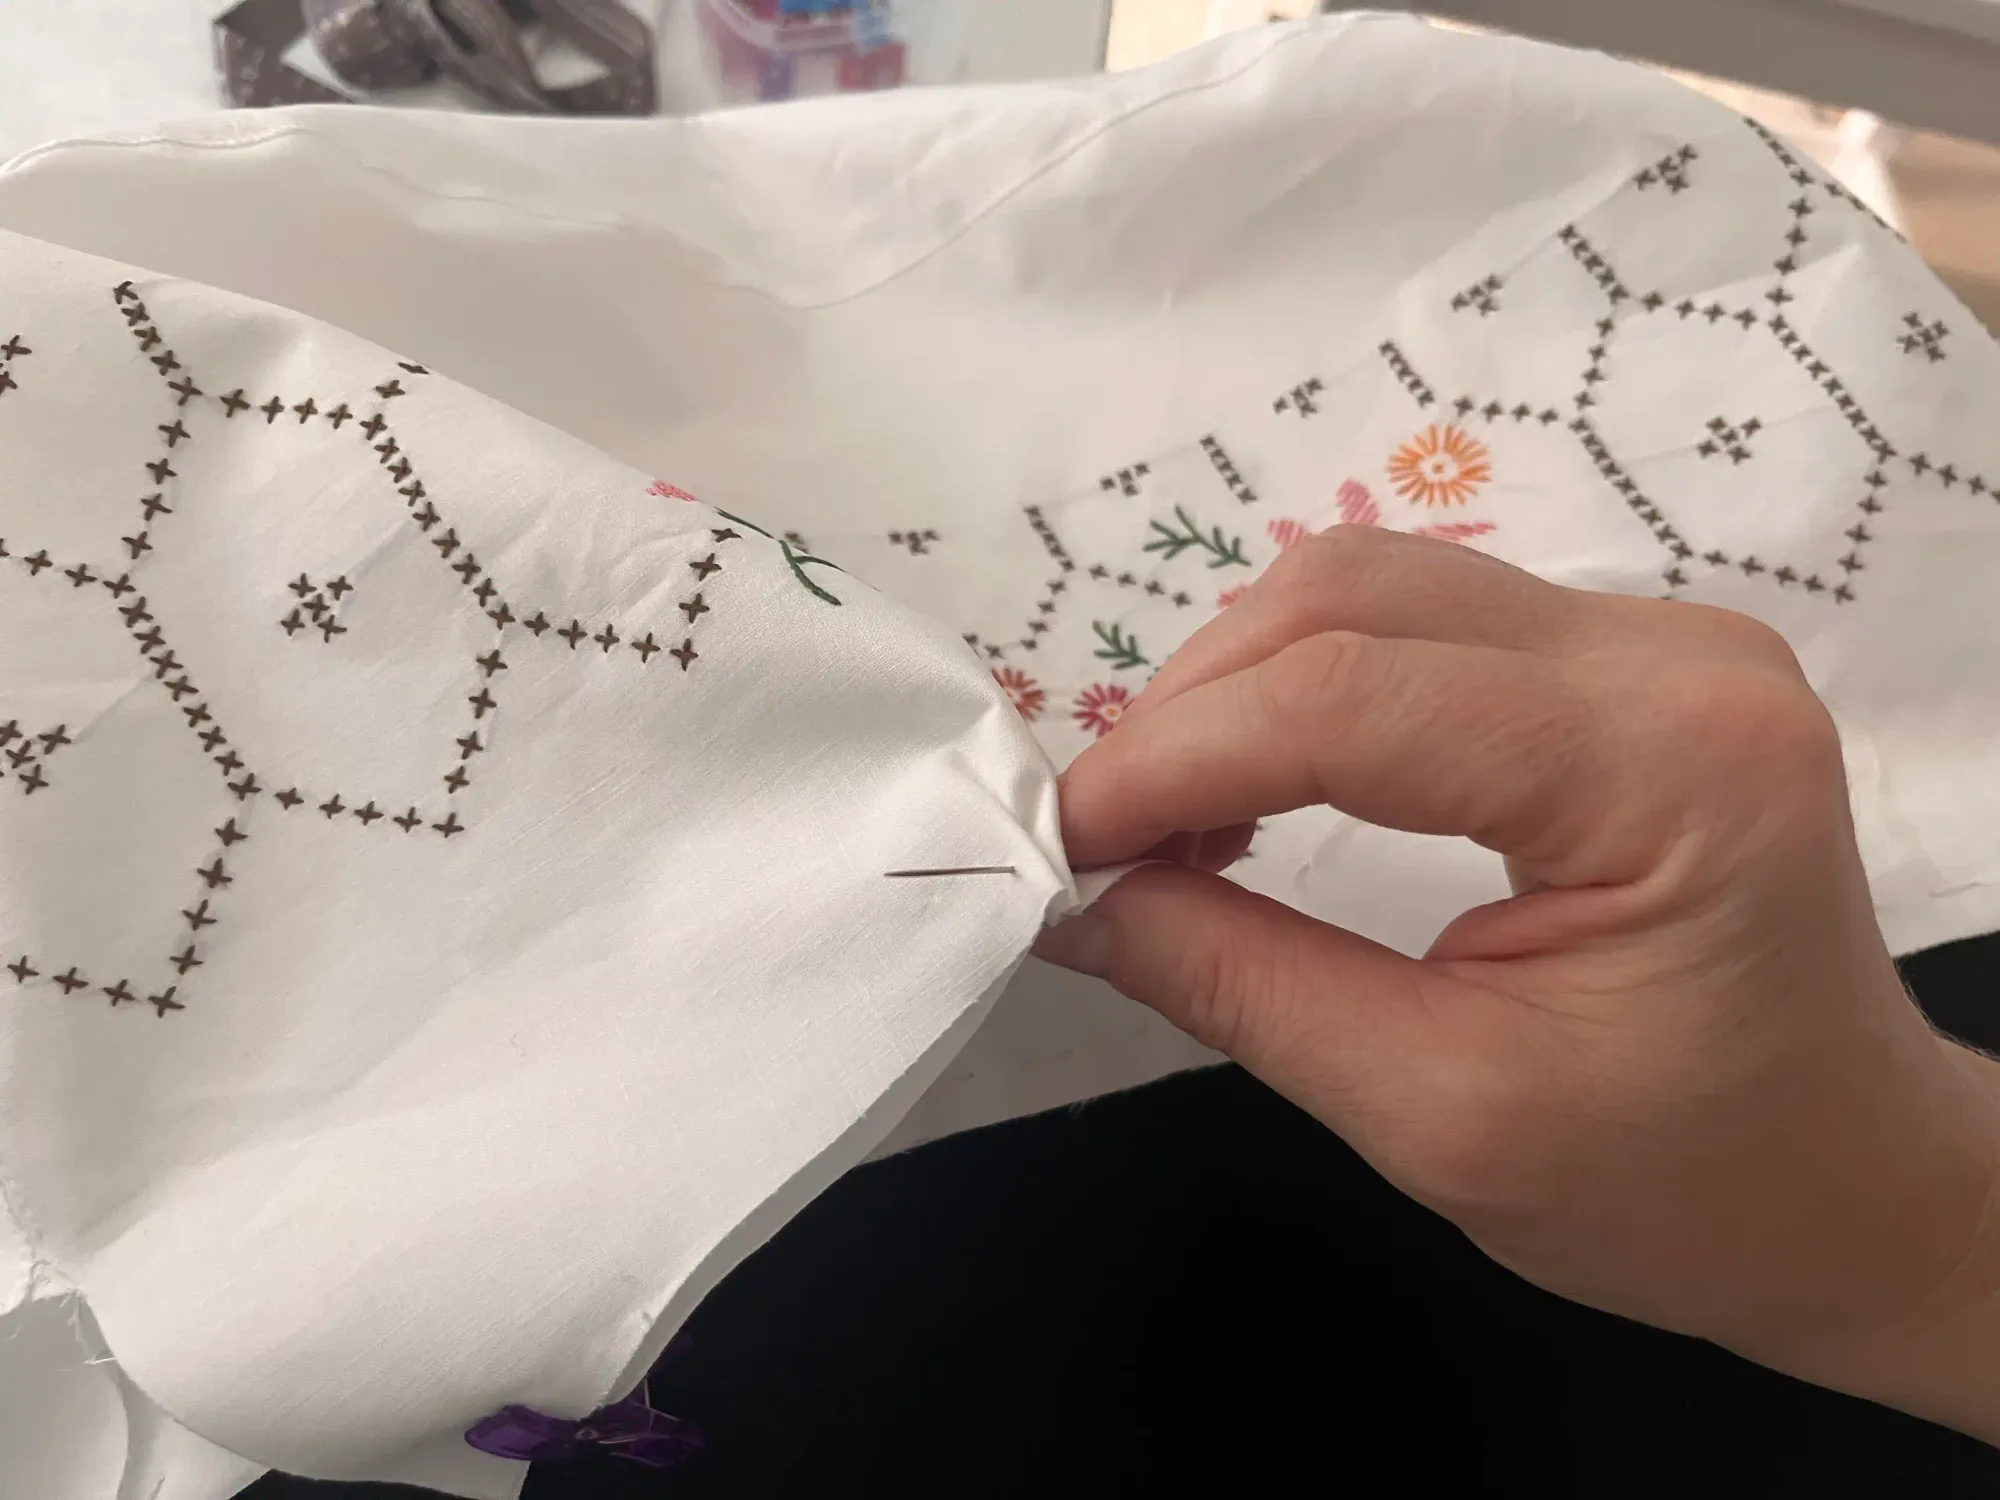
Now, turn the outer pocket right side out and insert the inner pocket so the pieces can be joined and sewn together. You can baste the pieces by hand or pin them in place to keep them from shifting while sewing.
Next, hand-stitch along the main sides of the upper part of the bag so that you can gather the fabric in these areas.
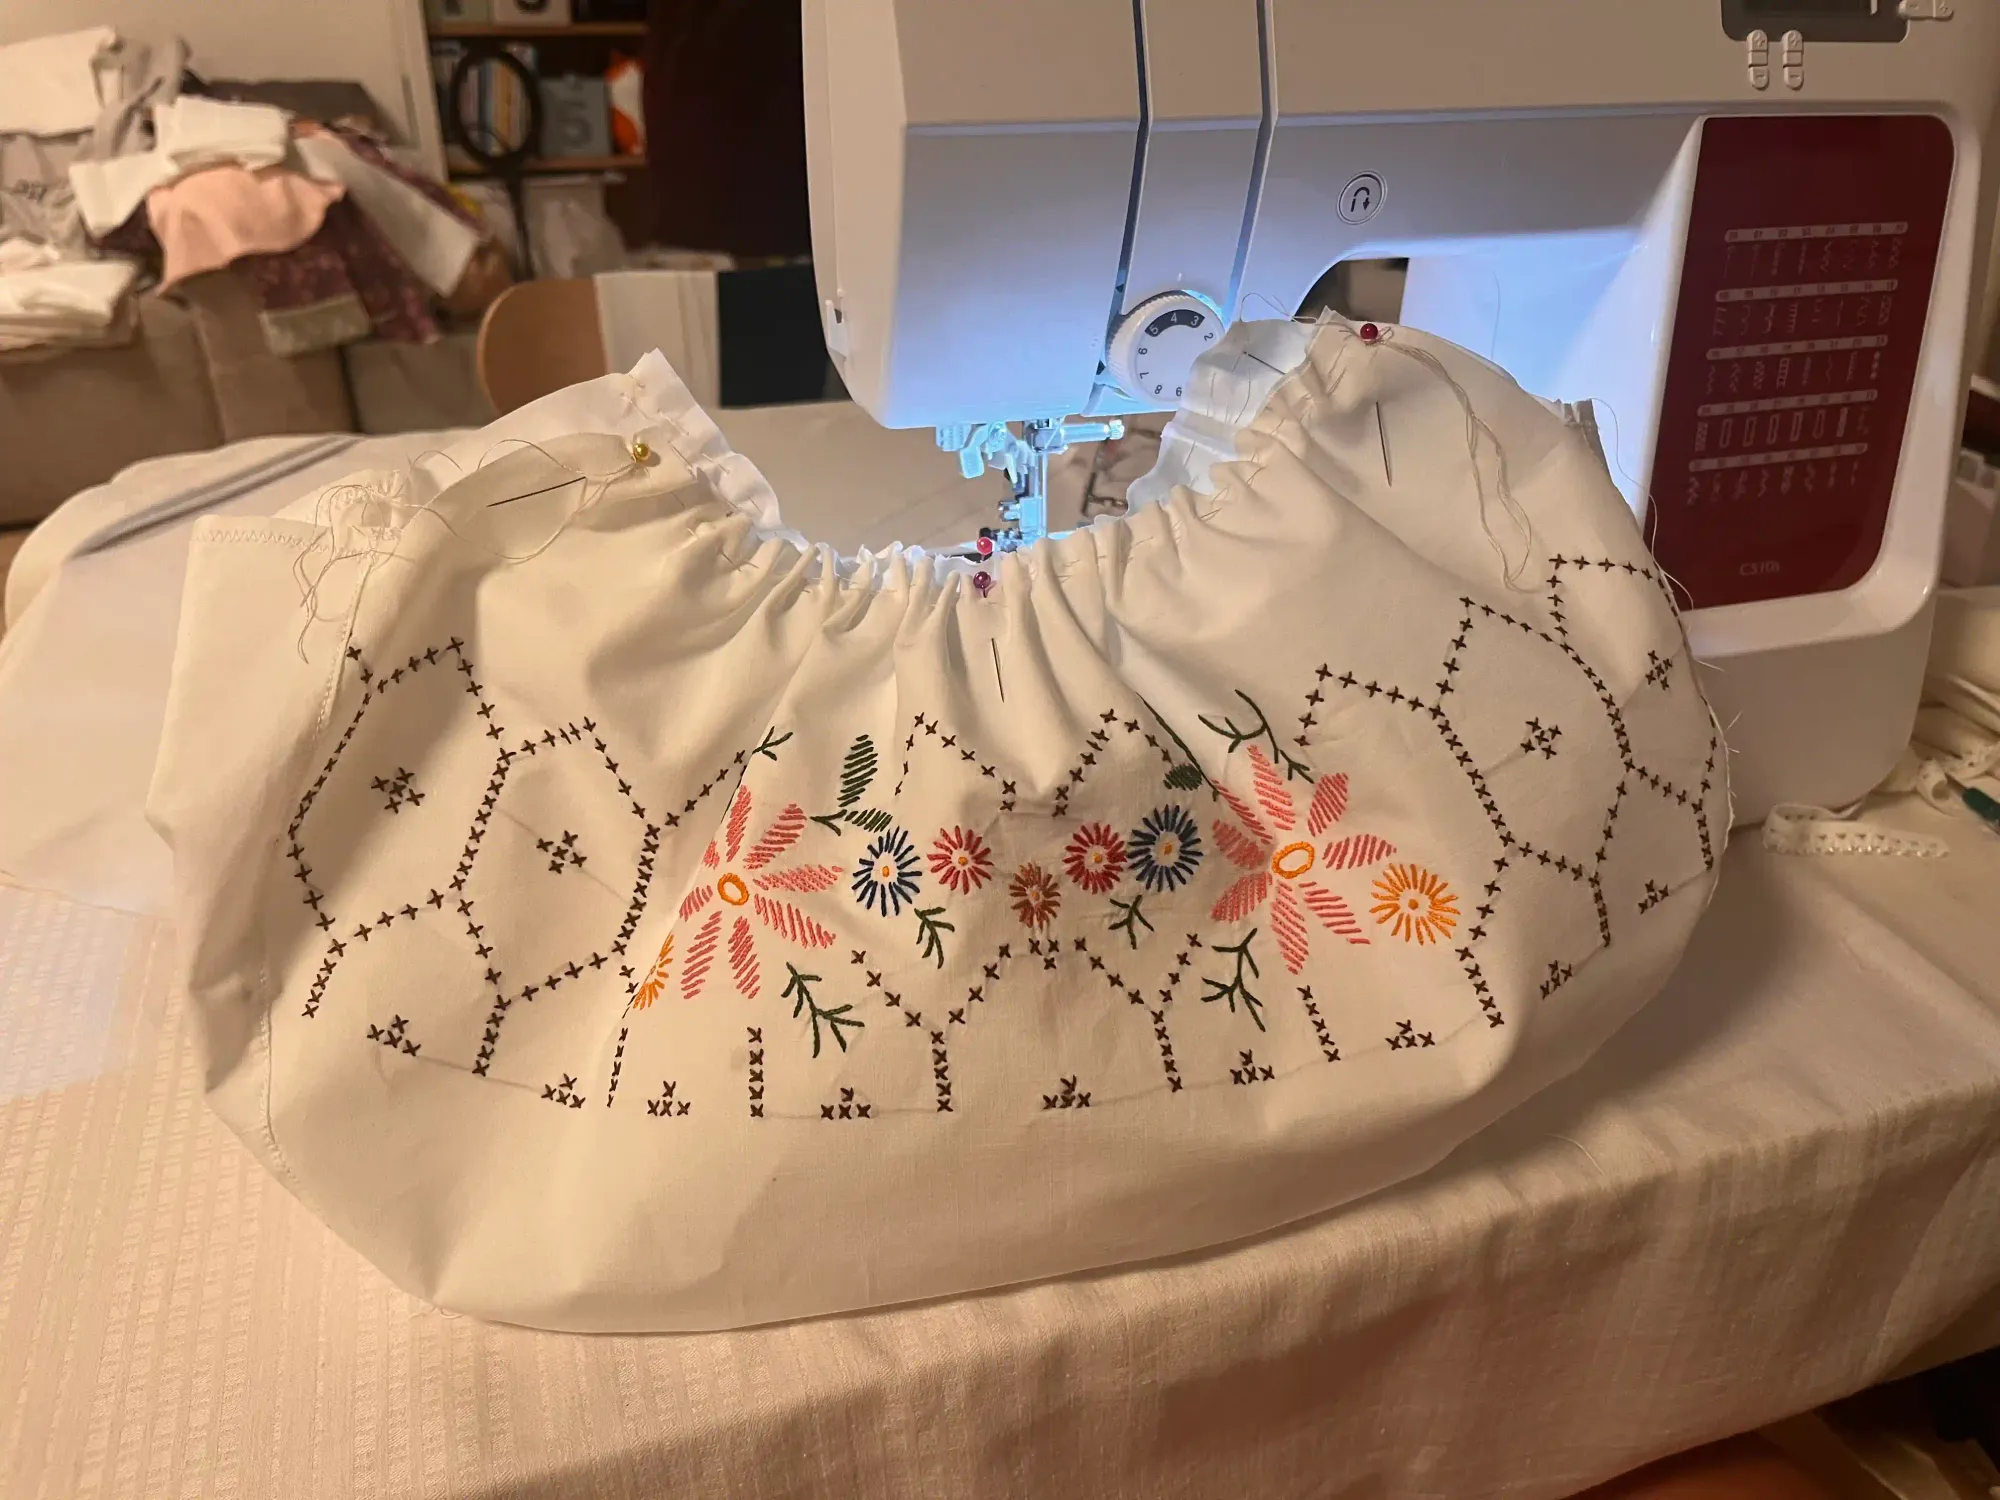
Now, sew the facing strip to the middle "curved" section of the front and back pieces. Sew the strip to the inside first. Then, fold the strip over the edge and stitch it down again to create a clean, enclosed seam.
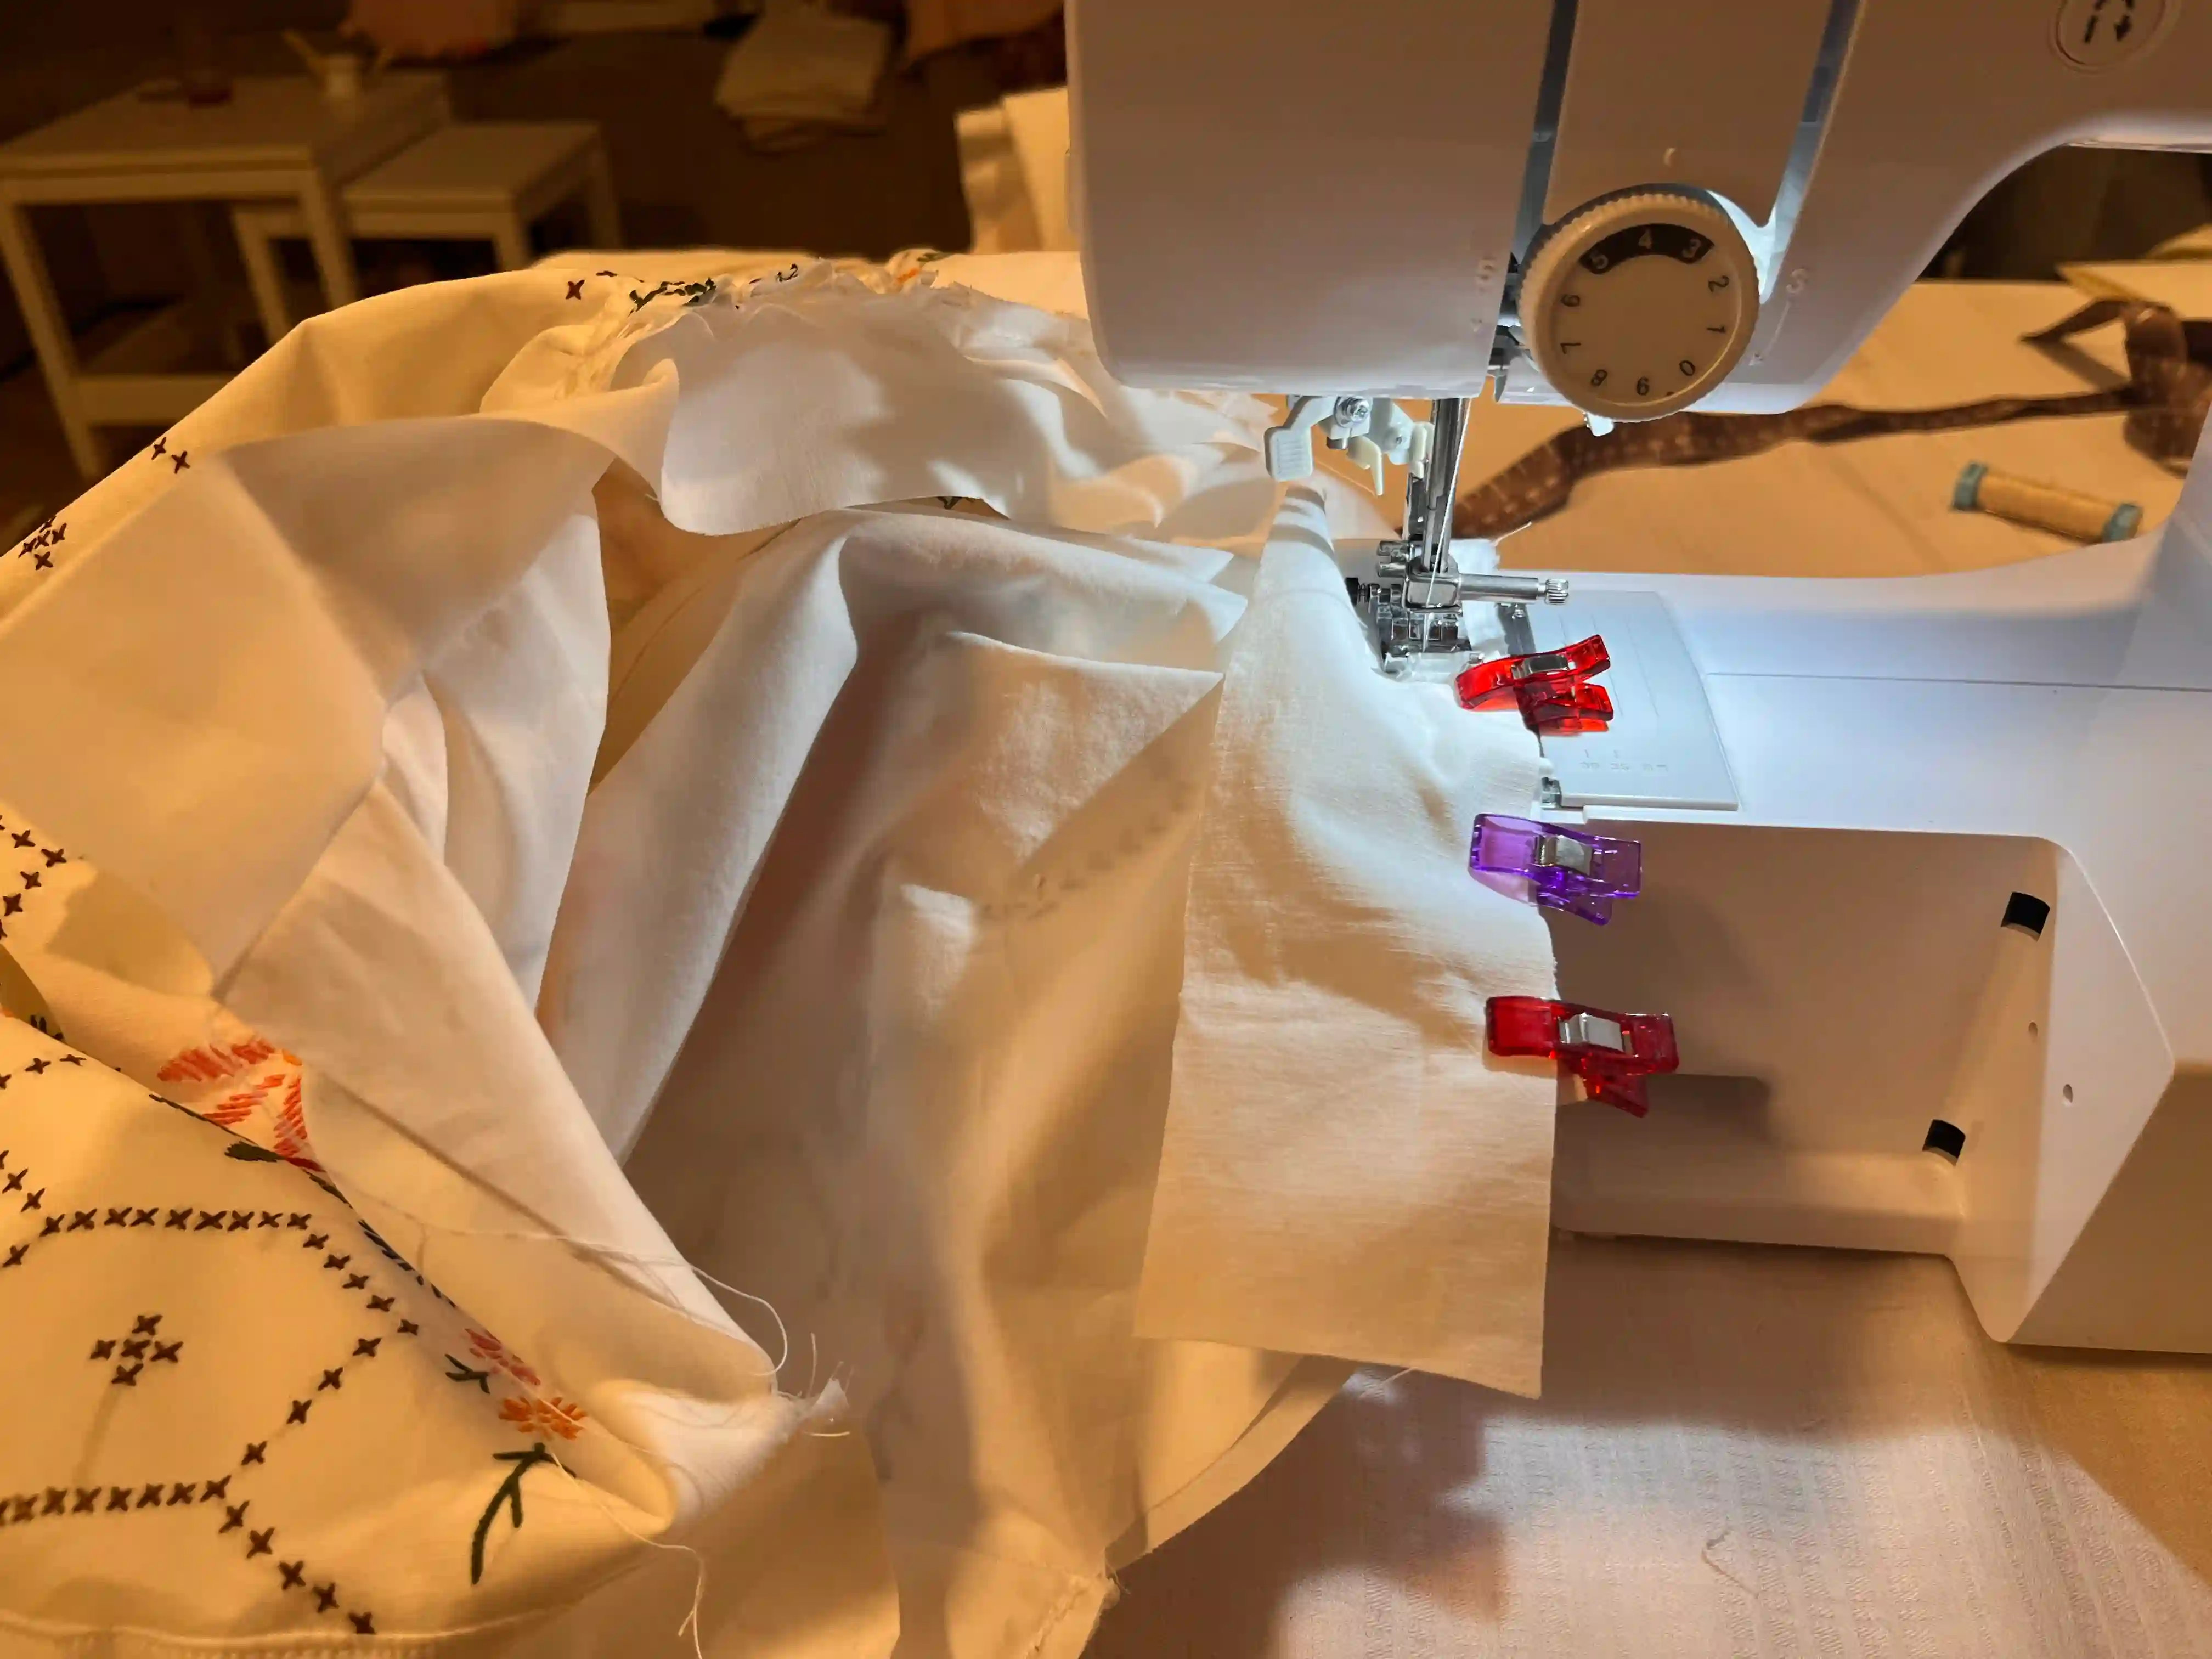
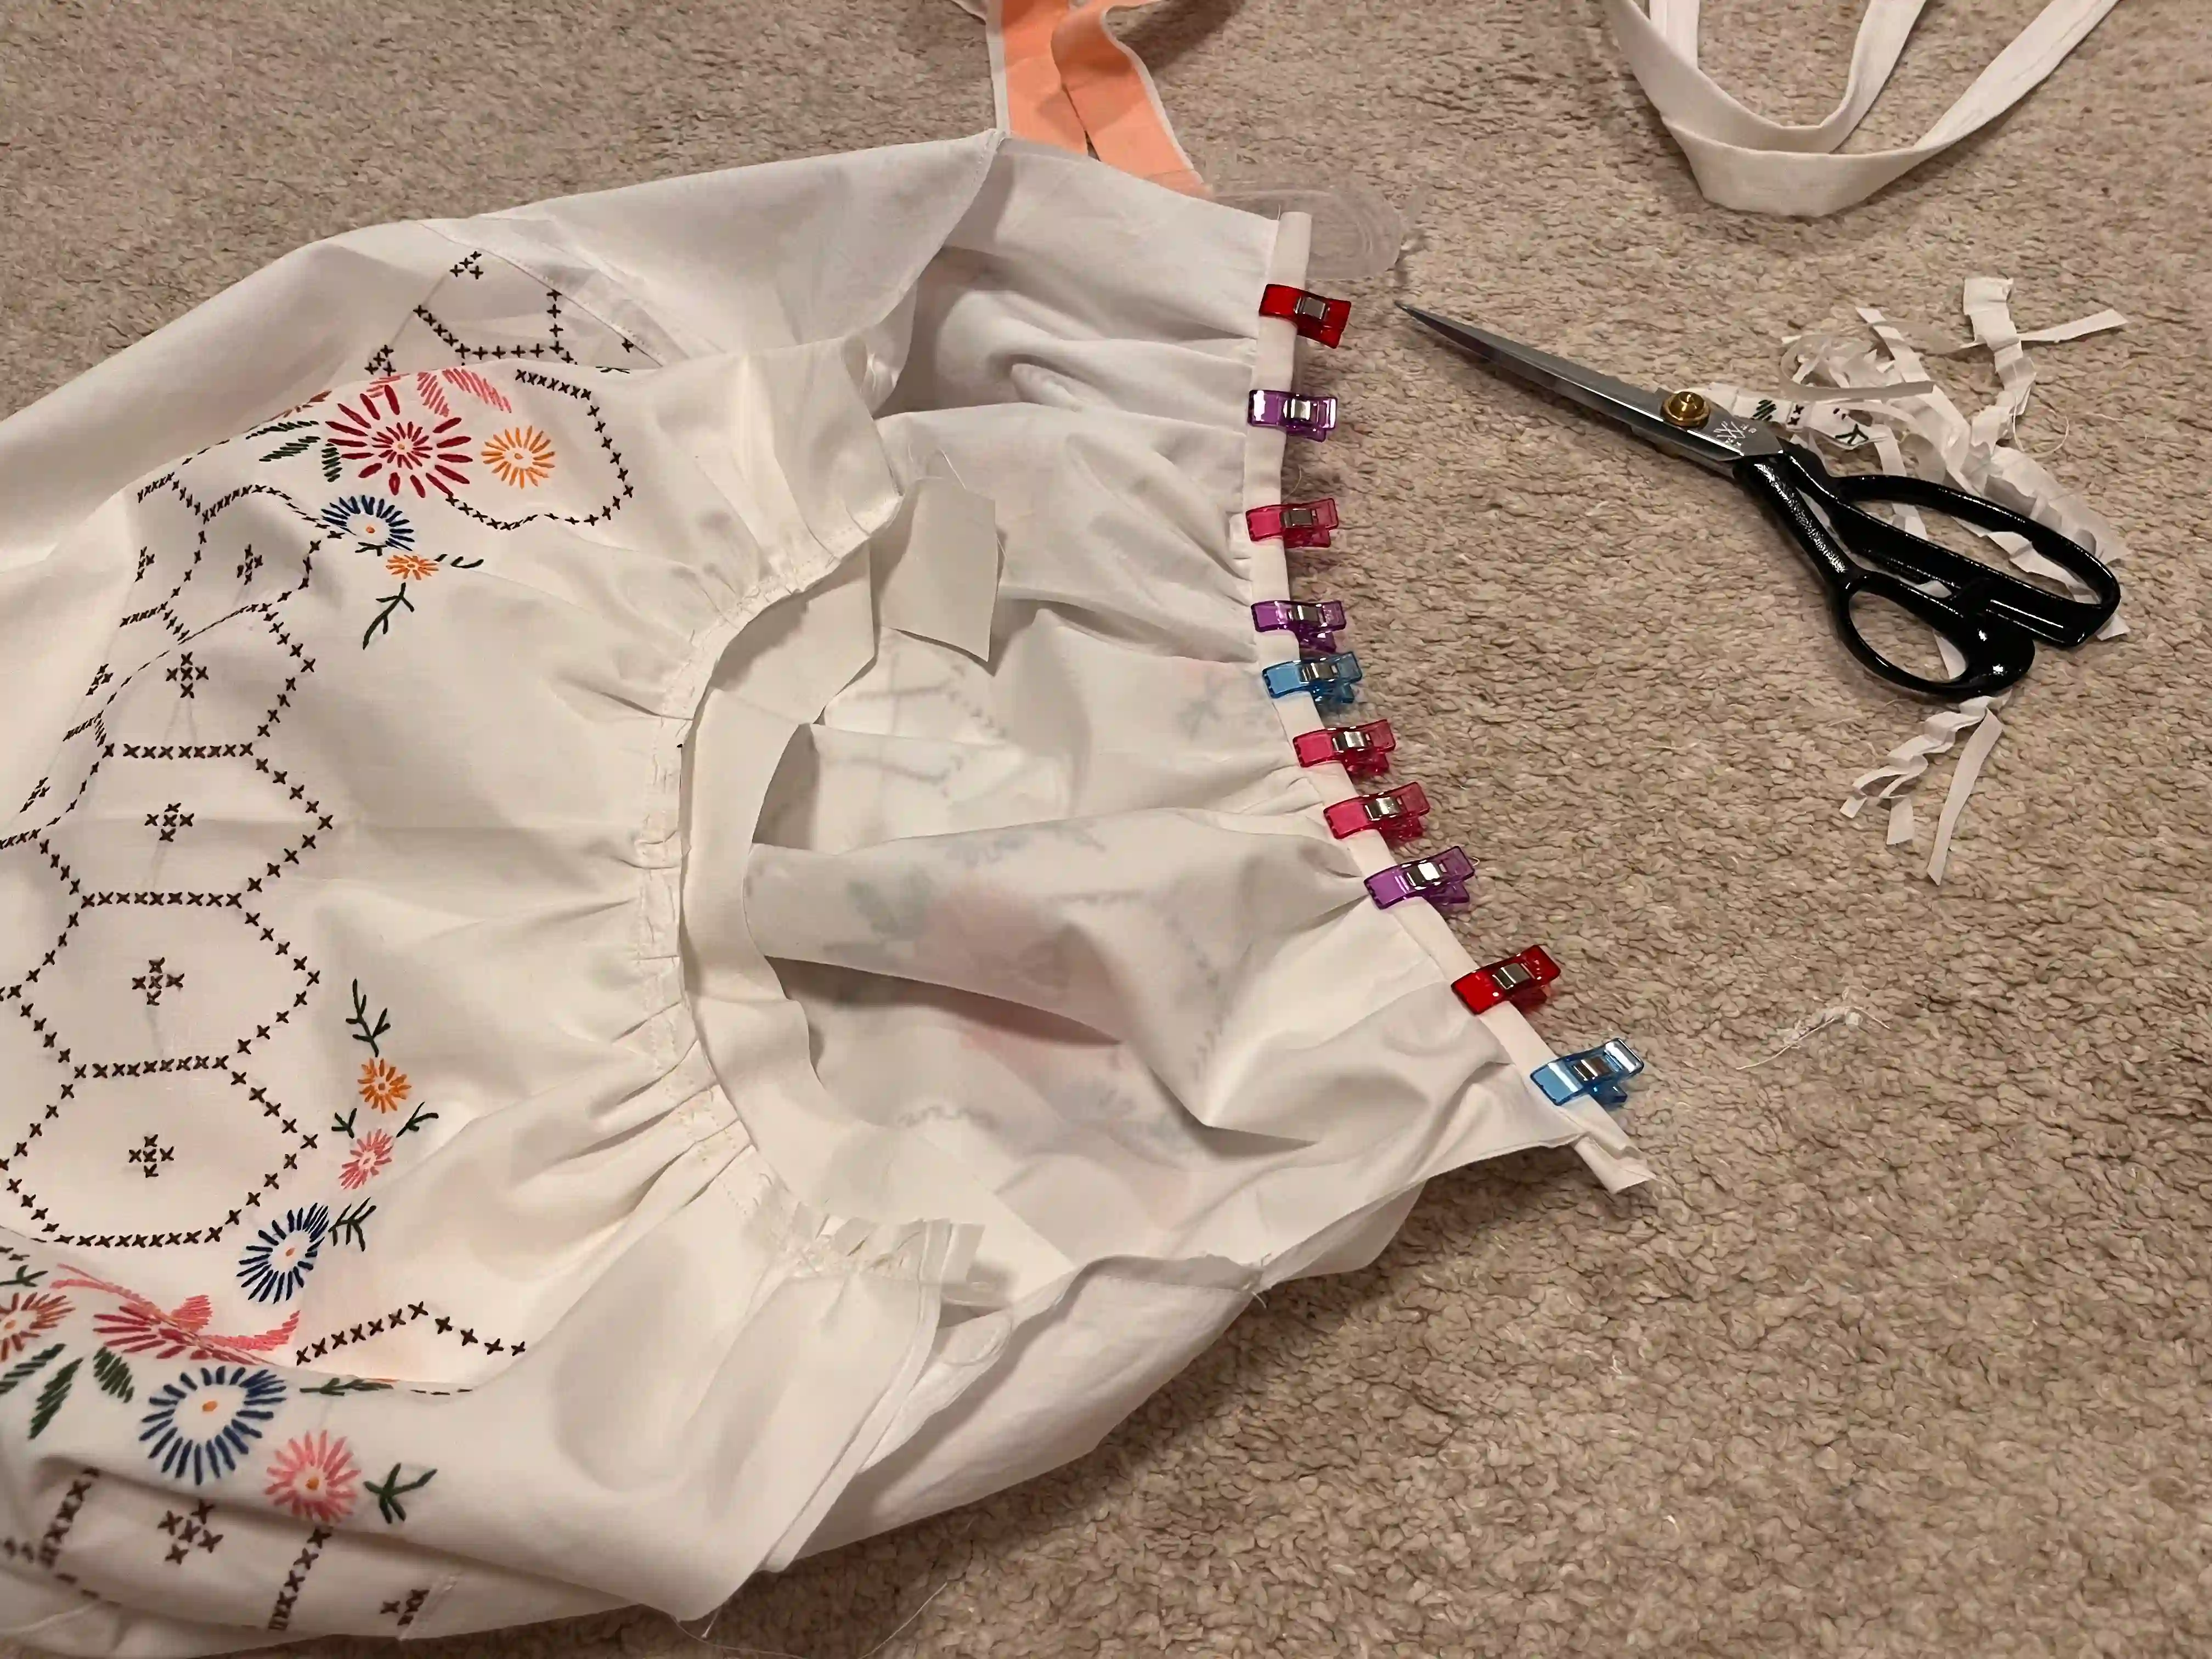
You’ve finished the main part of the bag. Great job!
Now, sew the ends of the bag handles onto the four top corners. Then, using the same method you used for the middle section, stitch around the entire perimeter, including the handles, to cover the remaining seams and blend the handles seamlessly with the rest of the bag.
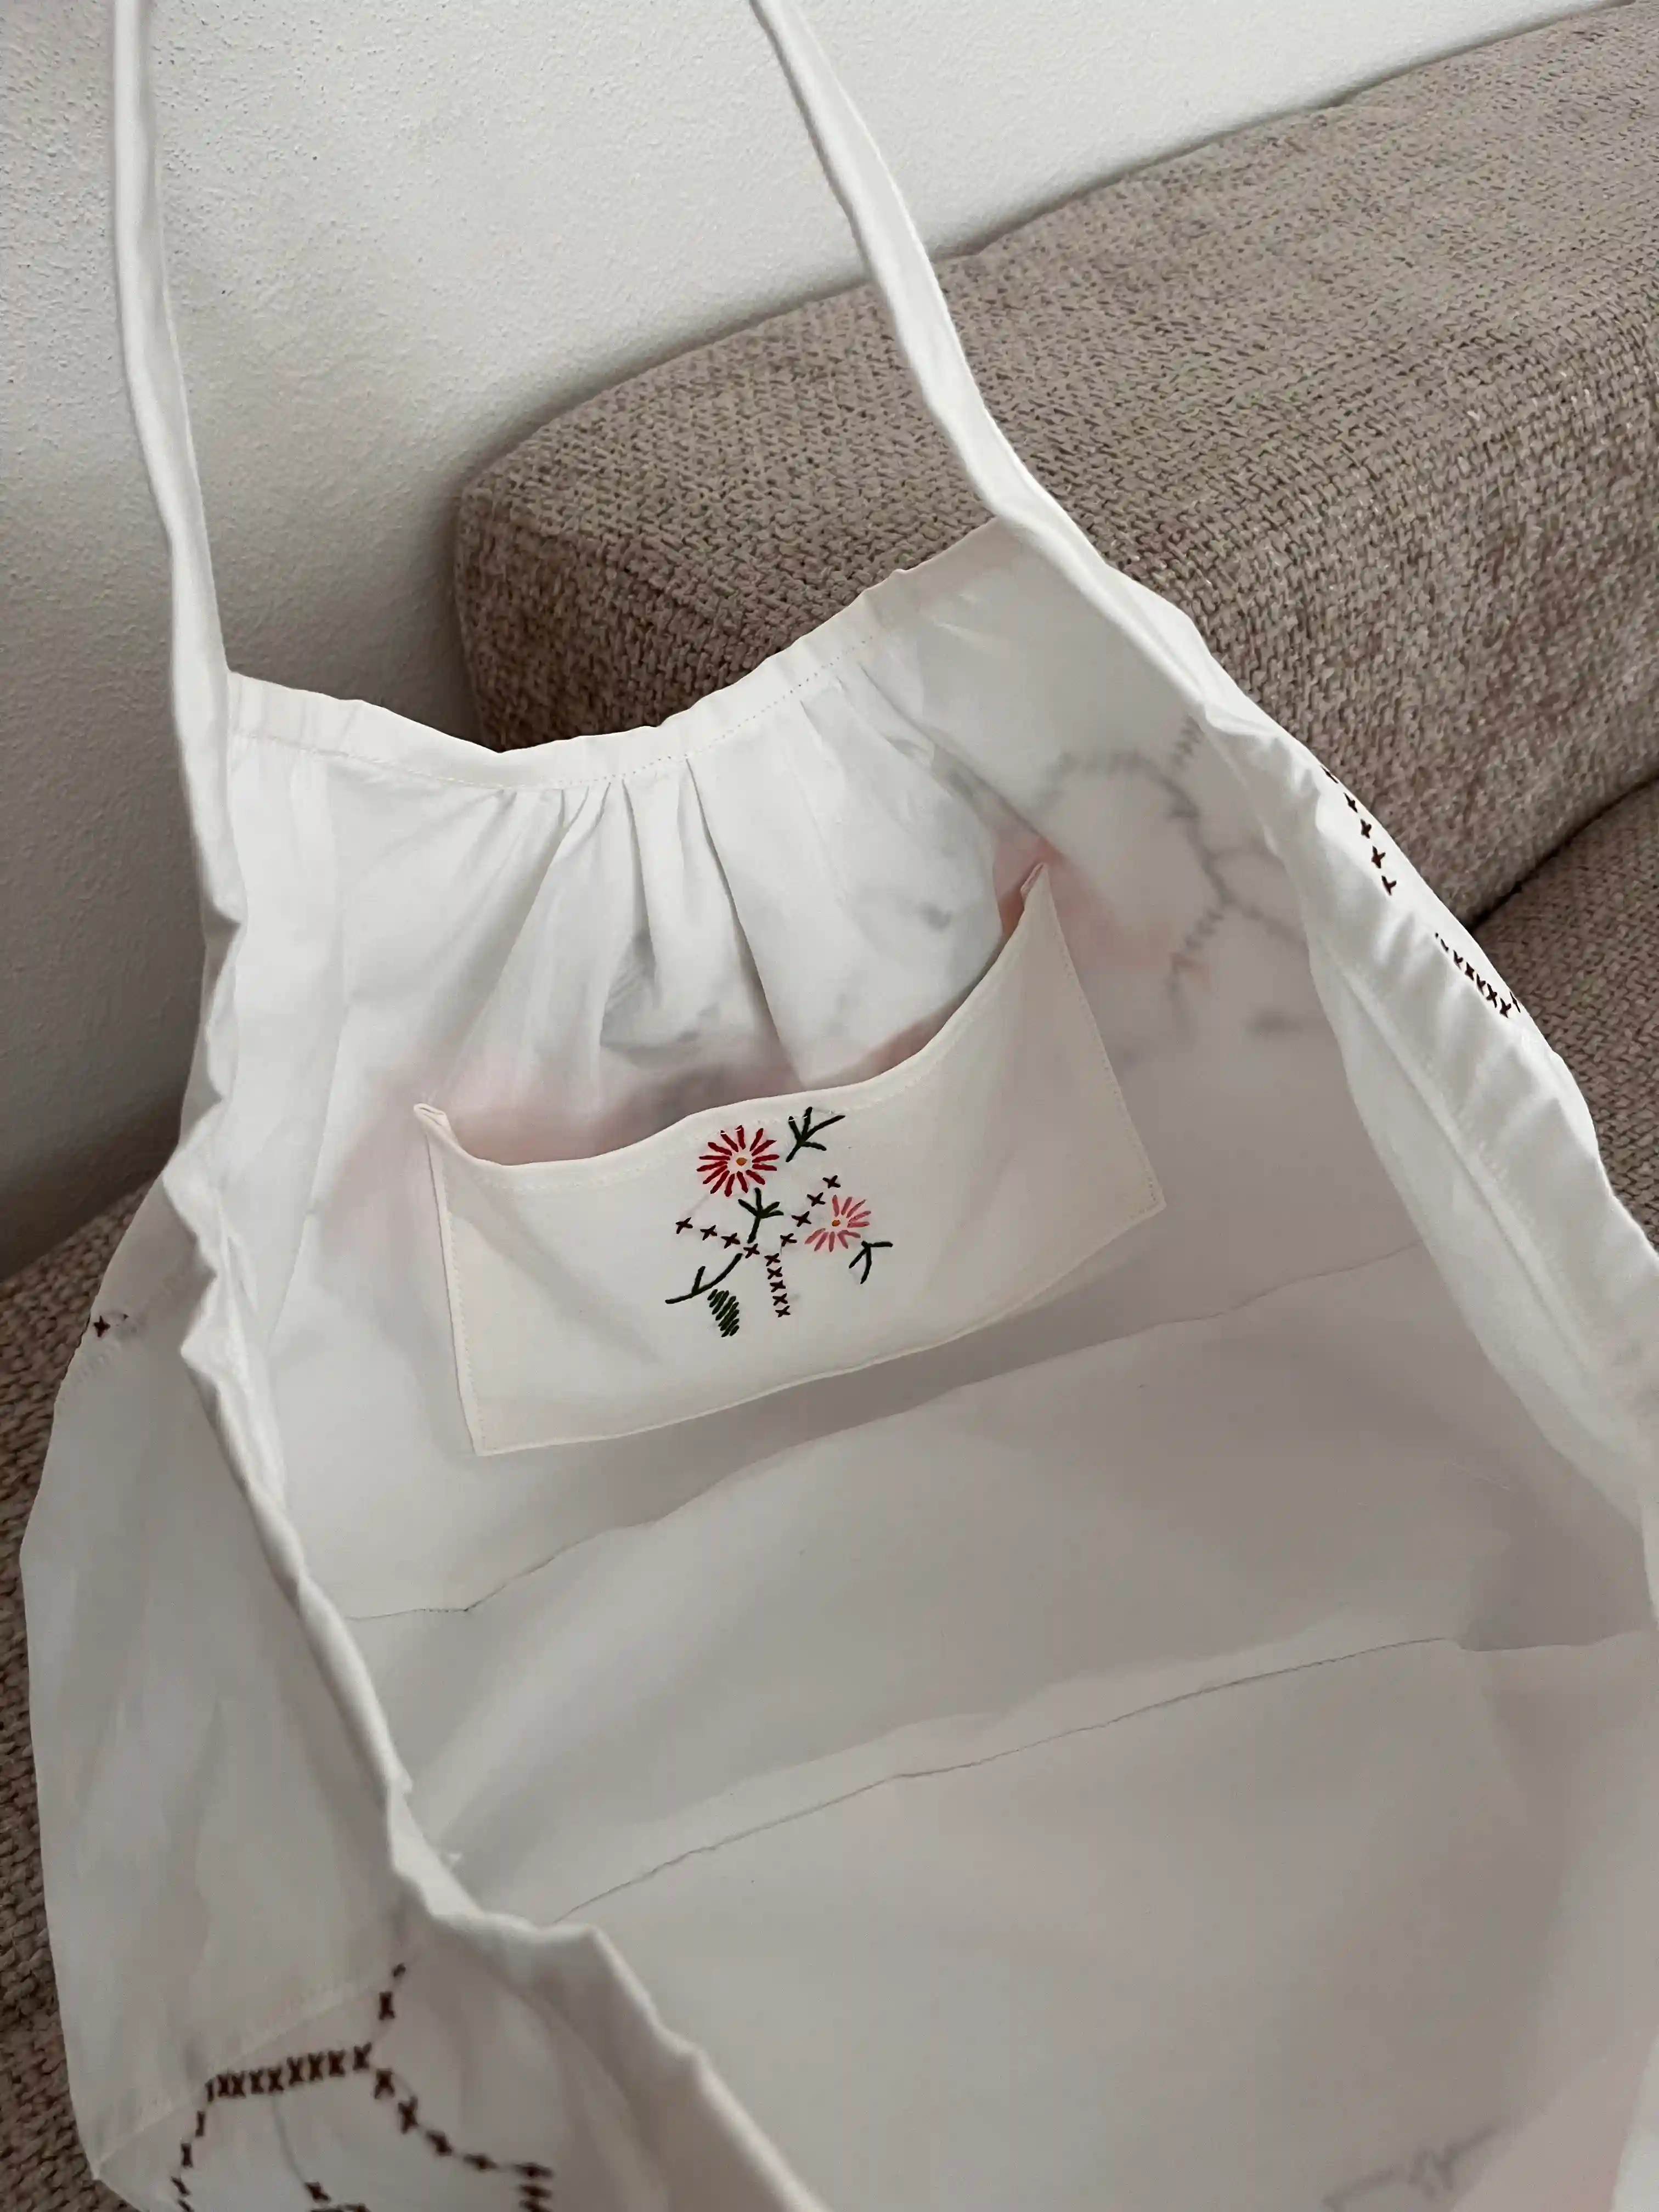
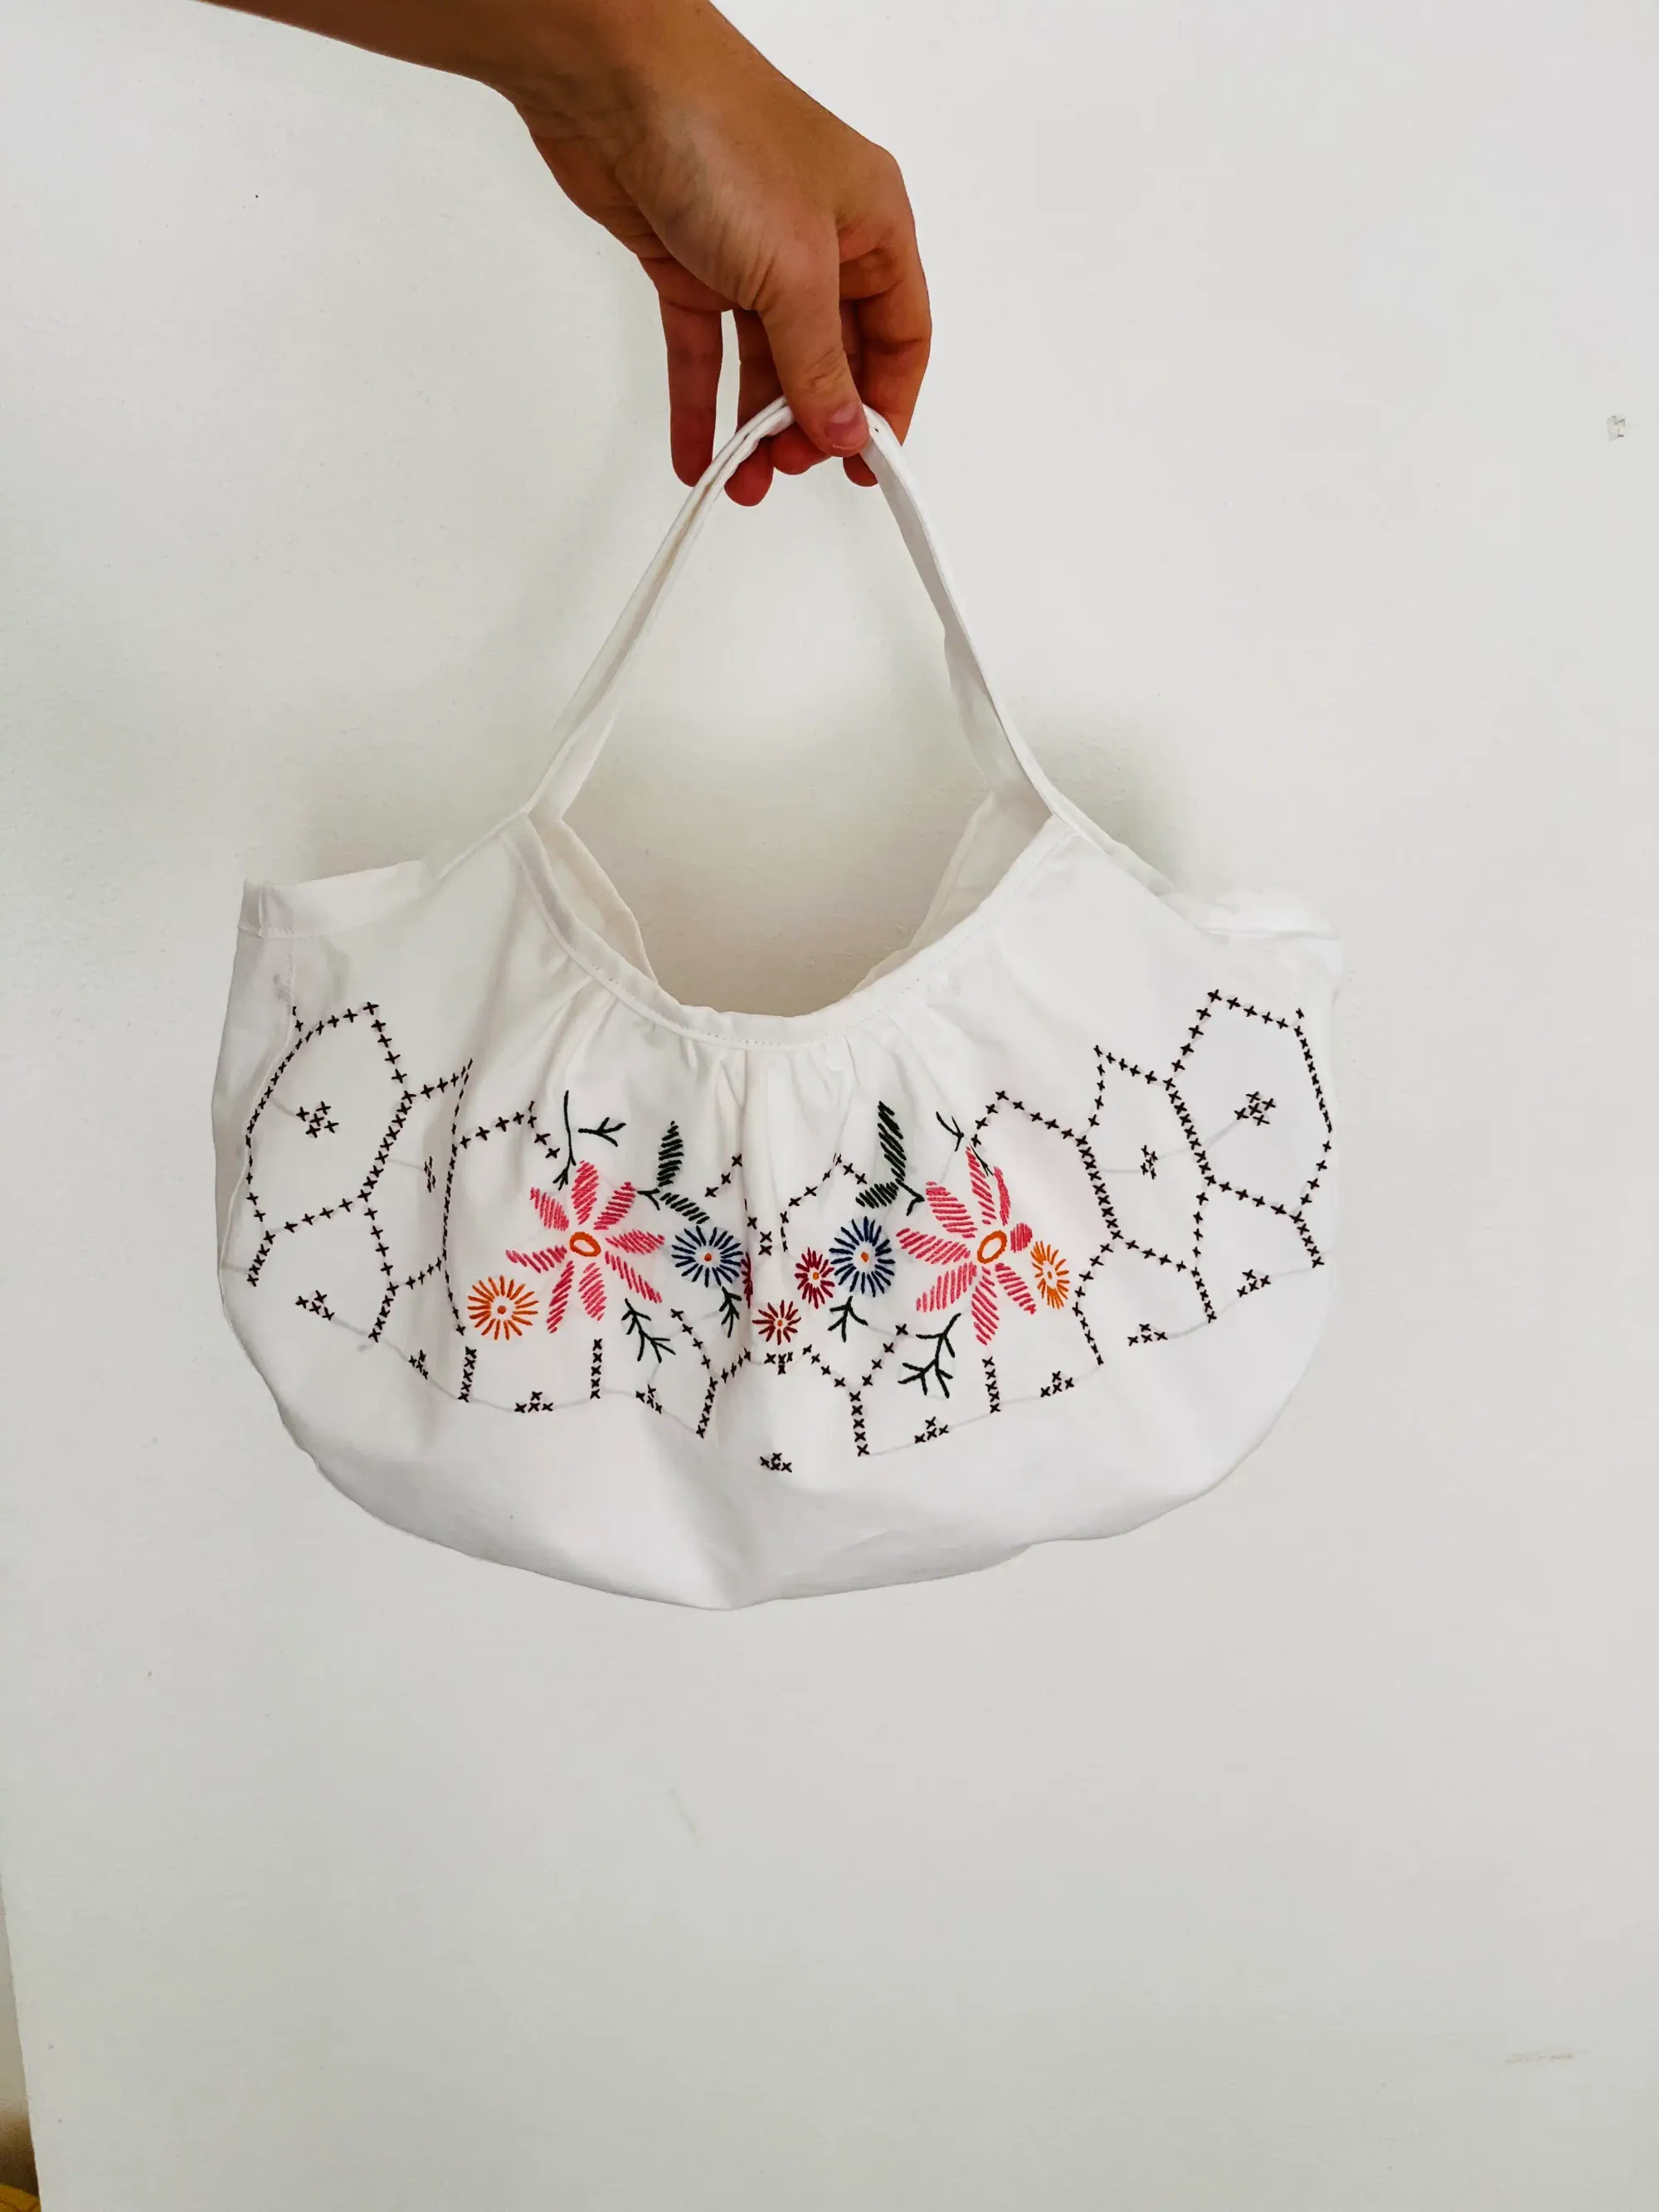
Now put whatever you need into the bag, and you're ready to go.
If you need any advice, feel free to contact me or the community by commenting below.
I hope you enjoy mindful sewing with this amazing project. I am keeping my fingers crossed for you on this beginner-friendly project. Remember, we are in this together, so if you need anything, feel free to reach out.
Happy Quiet Sewing 🌸
Dana