Table of Contents
Beauty in Simplicity
I absolutely adore minimalist A-line dresses. They feature a loose fit at the waist, ensuring they never feel restrictive, and are truly timeless. Their silhouette is flattering on most women; it can conceal a few extra pounds while also adding shape where there might otherwise be a lack of it.
Moreover, by choosing a high-quality fabric, such as a premium material from Loro Piana, a leader in "quiet luxury", I end up with a well-crafted addition to my wardrobe that would cost many times more if purchased in a boutique.
When I create, I focus on making garments I will actually wear. This is not just a financial investment, but, more importantly, an investment of my time. When I pour my heart into something, I naturally need to feel that it was truly worthwhile.
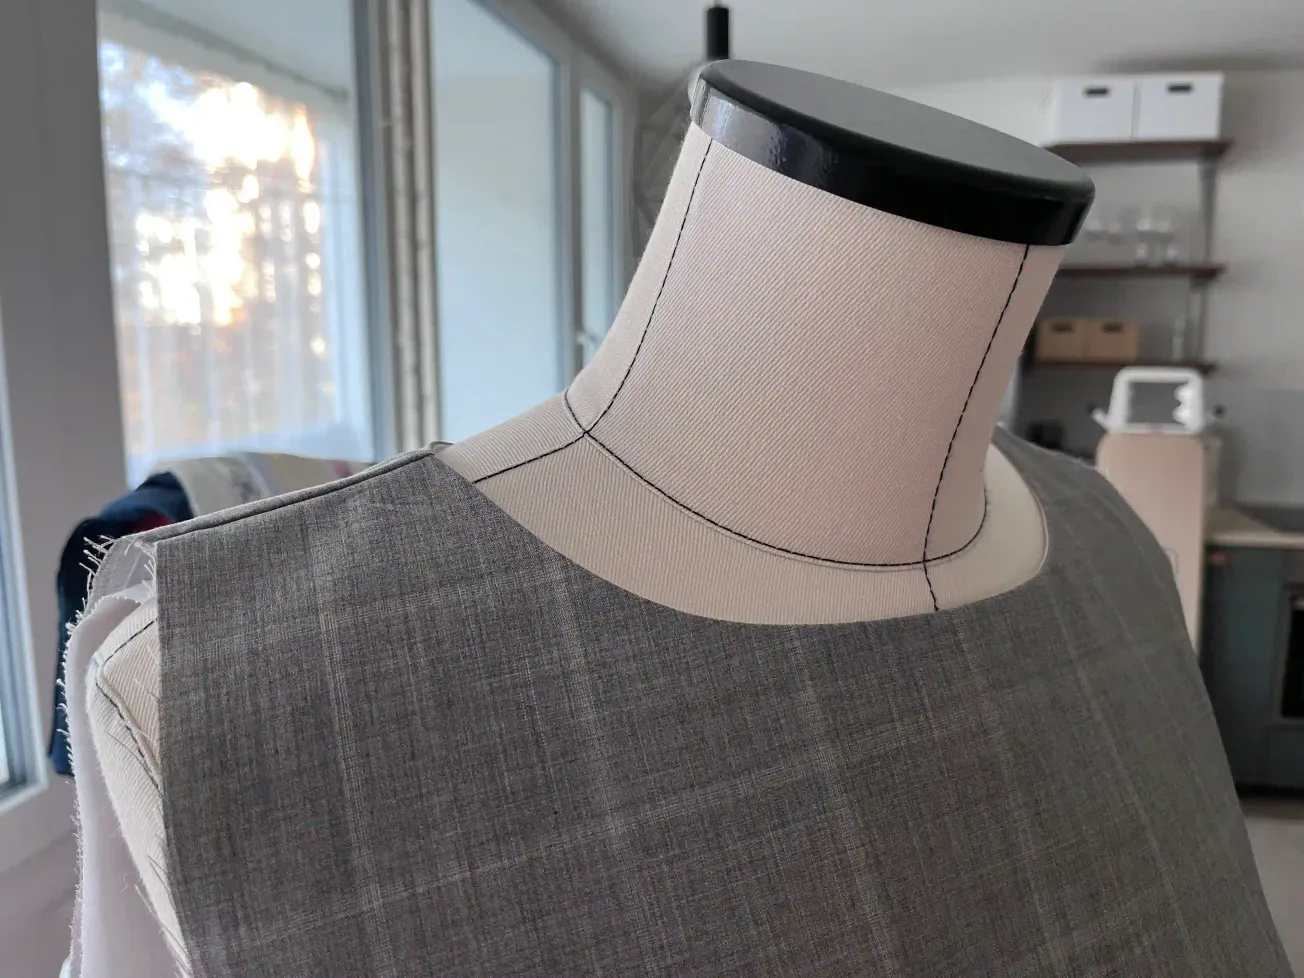
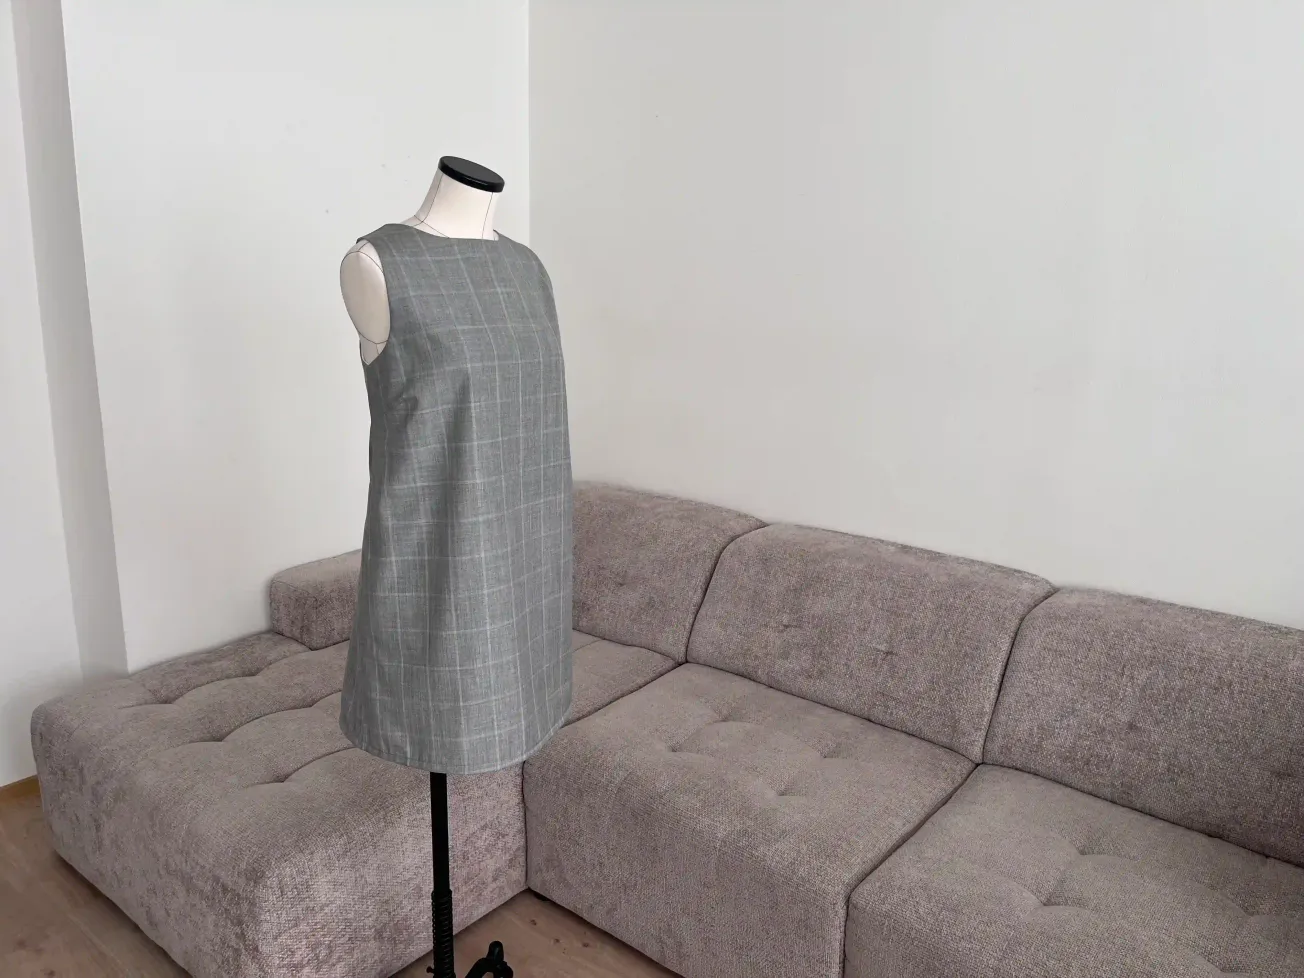
For these A-line dresses, which feature concealed seams, I selected a cashmere-and-silk blend from Loro Piana. The seams are tucked inside, constructed using a technique where the edges are threaded through one another. As a result, there are virtually no visible seams on the outside, and the dress's cut beautifully elevates the fabric.
Why Loro Piana Papillon
When I was considering what material to use for the dress, I immediately decided on a premium fabric, ideally something suitable for the office that wouldn’t wrinkle, ensuring I’d still look great even at the end of a demanding day. I also wanted a fabric that was lightweight and had a beautiful drape, and, with the addition of a lining, could be worn year-round. That’s why I chose "Papillon." It is an exceptionally fine, lightweight weave; it’s somewhat reminiscent of thin paper or butterfly wings. However, when crafted from warm, natural fibers, it creates a garment with a stunning drape that keeps you warm without overheating, all while looking absolutely fantastic. Ultimately, I selected a cashmere-and-silk Papillon from the Italian manufacturer Loro Piana. I only needed one meter for the dress, making it an investment that truly paid off.
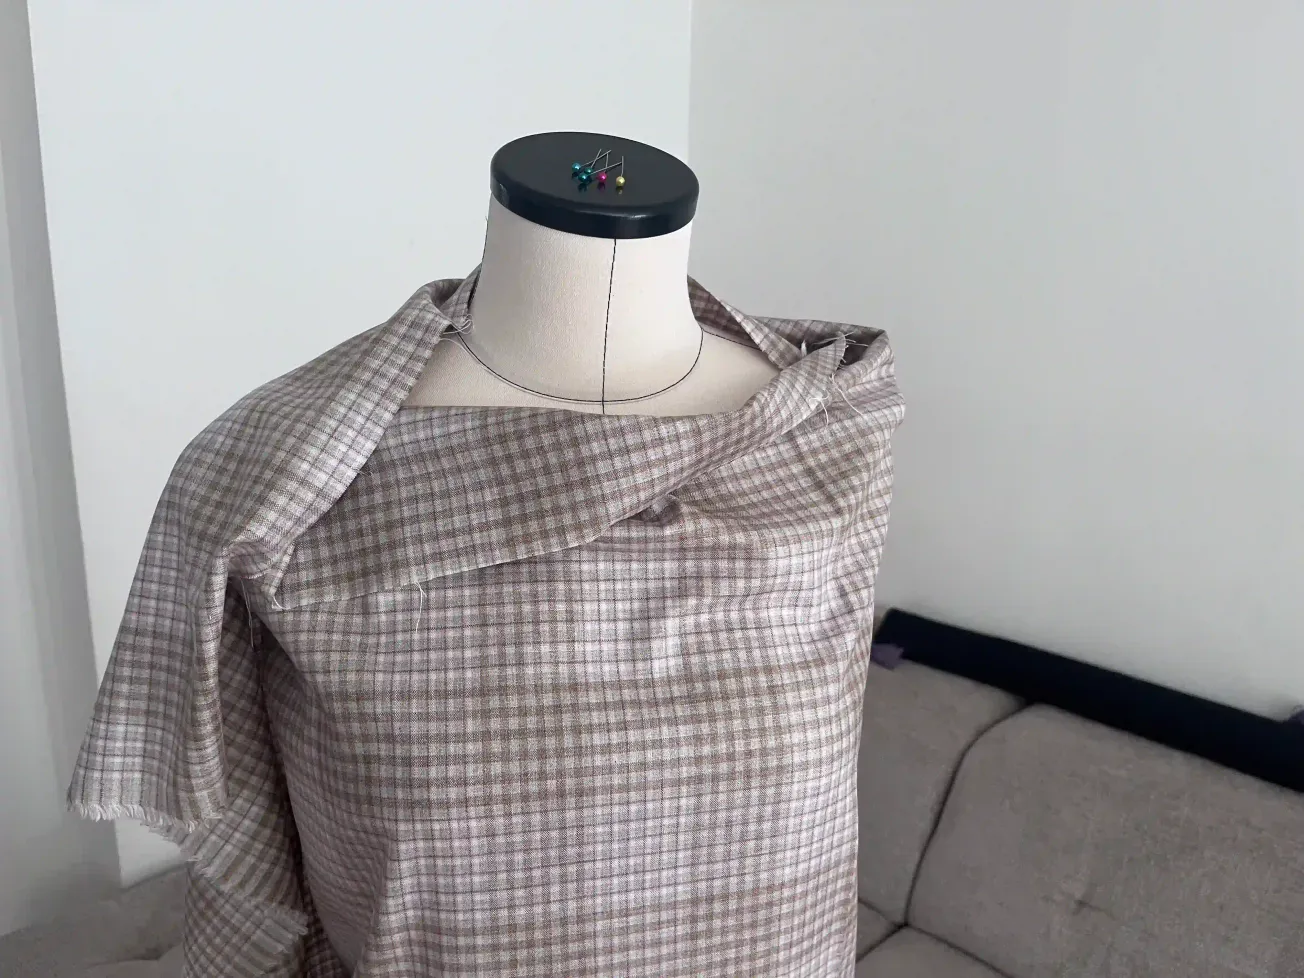
The fabric also featured a check pattern, something I hadn’t worked with before, and I wanted to see how I would handle it.
It’s wonderful to learn new skills, and working with a check pattern certainly falls into that category.
If you want to understand the unique structure of this weave and how to prep it, check out my Comprehensive Papillon Fabric Sewing Guide.
Quiet Sewing
Naturally, I had some concerns about working with a check pattern on such a premium material. I don't have 20 years of experience as a seamstress. I'm mostly self-taught, learning with online tutorials, trial and error, and closely studying how store-bought clothes are put together. Still, I really enjoy the steady sound of the sewing machine and working with different fabrics by hand. Personally, I view fashion as an expression of one’s own identity; we don’t have to follow the dictates of the fashion industry. If creating something brings someone peace, while also allowing them to learn and grow on their own, I find that truly compelling.
We don’t owe anyone an explanation, nor do we need to conform to others' expectations. If you feel comfortable in a simple dress, why spend time sewing on ruffles, or vice versa?
Creating your own clothing has a very positive impact on the mind:
1. We gain a greater appreciation for the work of others.
2. We develop a deeper sense of our own self-worth.
3. Sewing and wearing the clothes we’ve made boosts our self-confidence.
4. We exercise logical thinking as we navigate the technical steps of sewing.
5. We improve hand-eye coordination.
6. We cultivate our own creativity.
7. We find a welcome respite from the digital world.
Did you know that for many women and men, sewing is more enjoyable than "doomscrolling"?
I call it "Quiet Sewing", working in silence within one’s own creative world. It’s something many of us are already doing; it just didn’t have a name until now.
Estimated Time
Approximately 6,5 hours of mindful work
YouTube Tutorial
Tools & Materials Needed for A-Line Dress
Main fabric: 1 meter width 1,5 meter (I bought premium fabric from https://www.fabricsdeluxe.com/ )
Lining fabric: 1 meter width 1,5 meter
Matching thread
Iron-on reinforcing strip around 7 meters, no more
Bias binding tape 3 meters
Sewing machine
Tailor's chalk
Pins (or clips)
Measuring tape
Good mood and a cup of coffee 😊
Free A-Line Dress Pattern
Download the free A-Line dress pattern ( EU size M/L or 38/40, A4 print format).
Planning & Pattern Matching
Pattern Placement
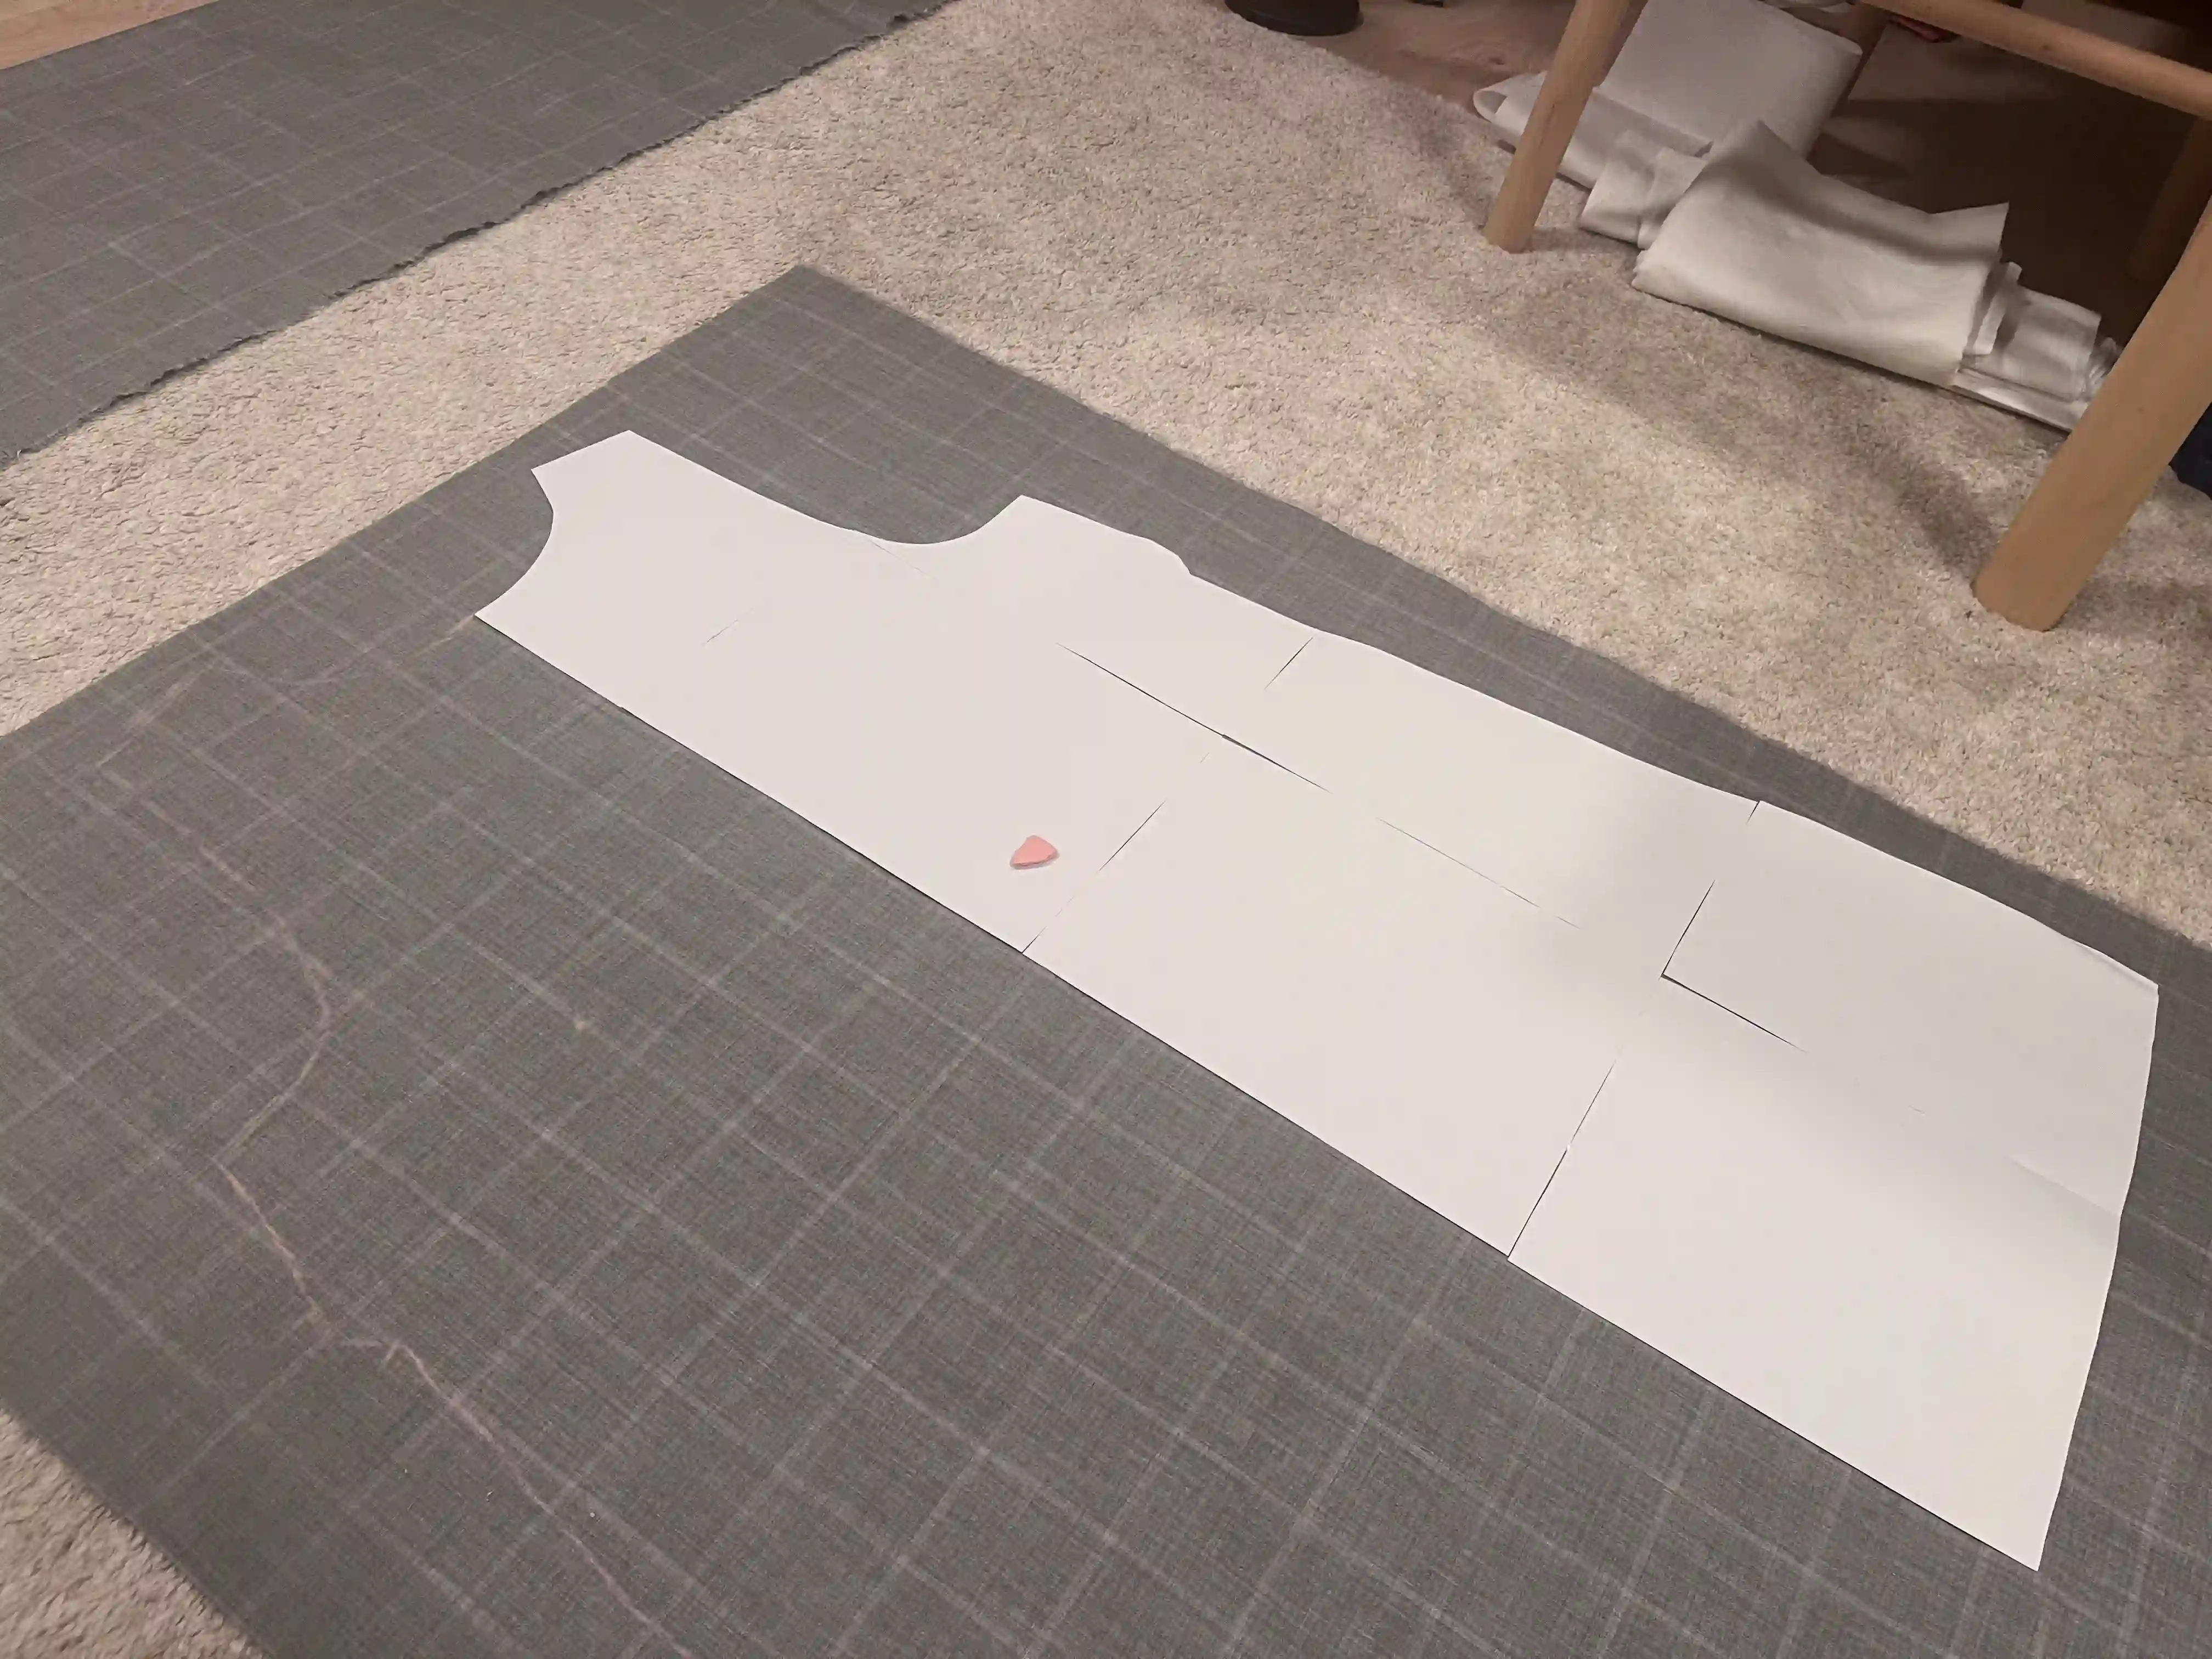
This was the most challenging part: positioning the pattern pieces on the fabric to ensure the best possible fit and alignment. From the start, I wanted to align the pattern so that it flowed seamlessly. I didn’t get it 100% perfect, but for a first attempt, I did quite well. I think next time it will be even better. Sewing is a skill that anyone can learn; it’s simply a matter of practice and an eye for detail. If you are making the dress from a solid-colored linen, cotton, or viscose, you don’t need to worry about pattern matching.
I positioned the pattern pieces by carefully checking where the checks would meet and adjusting the placement accordingly. This part took the most time.
Cutting Strategy
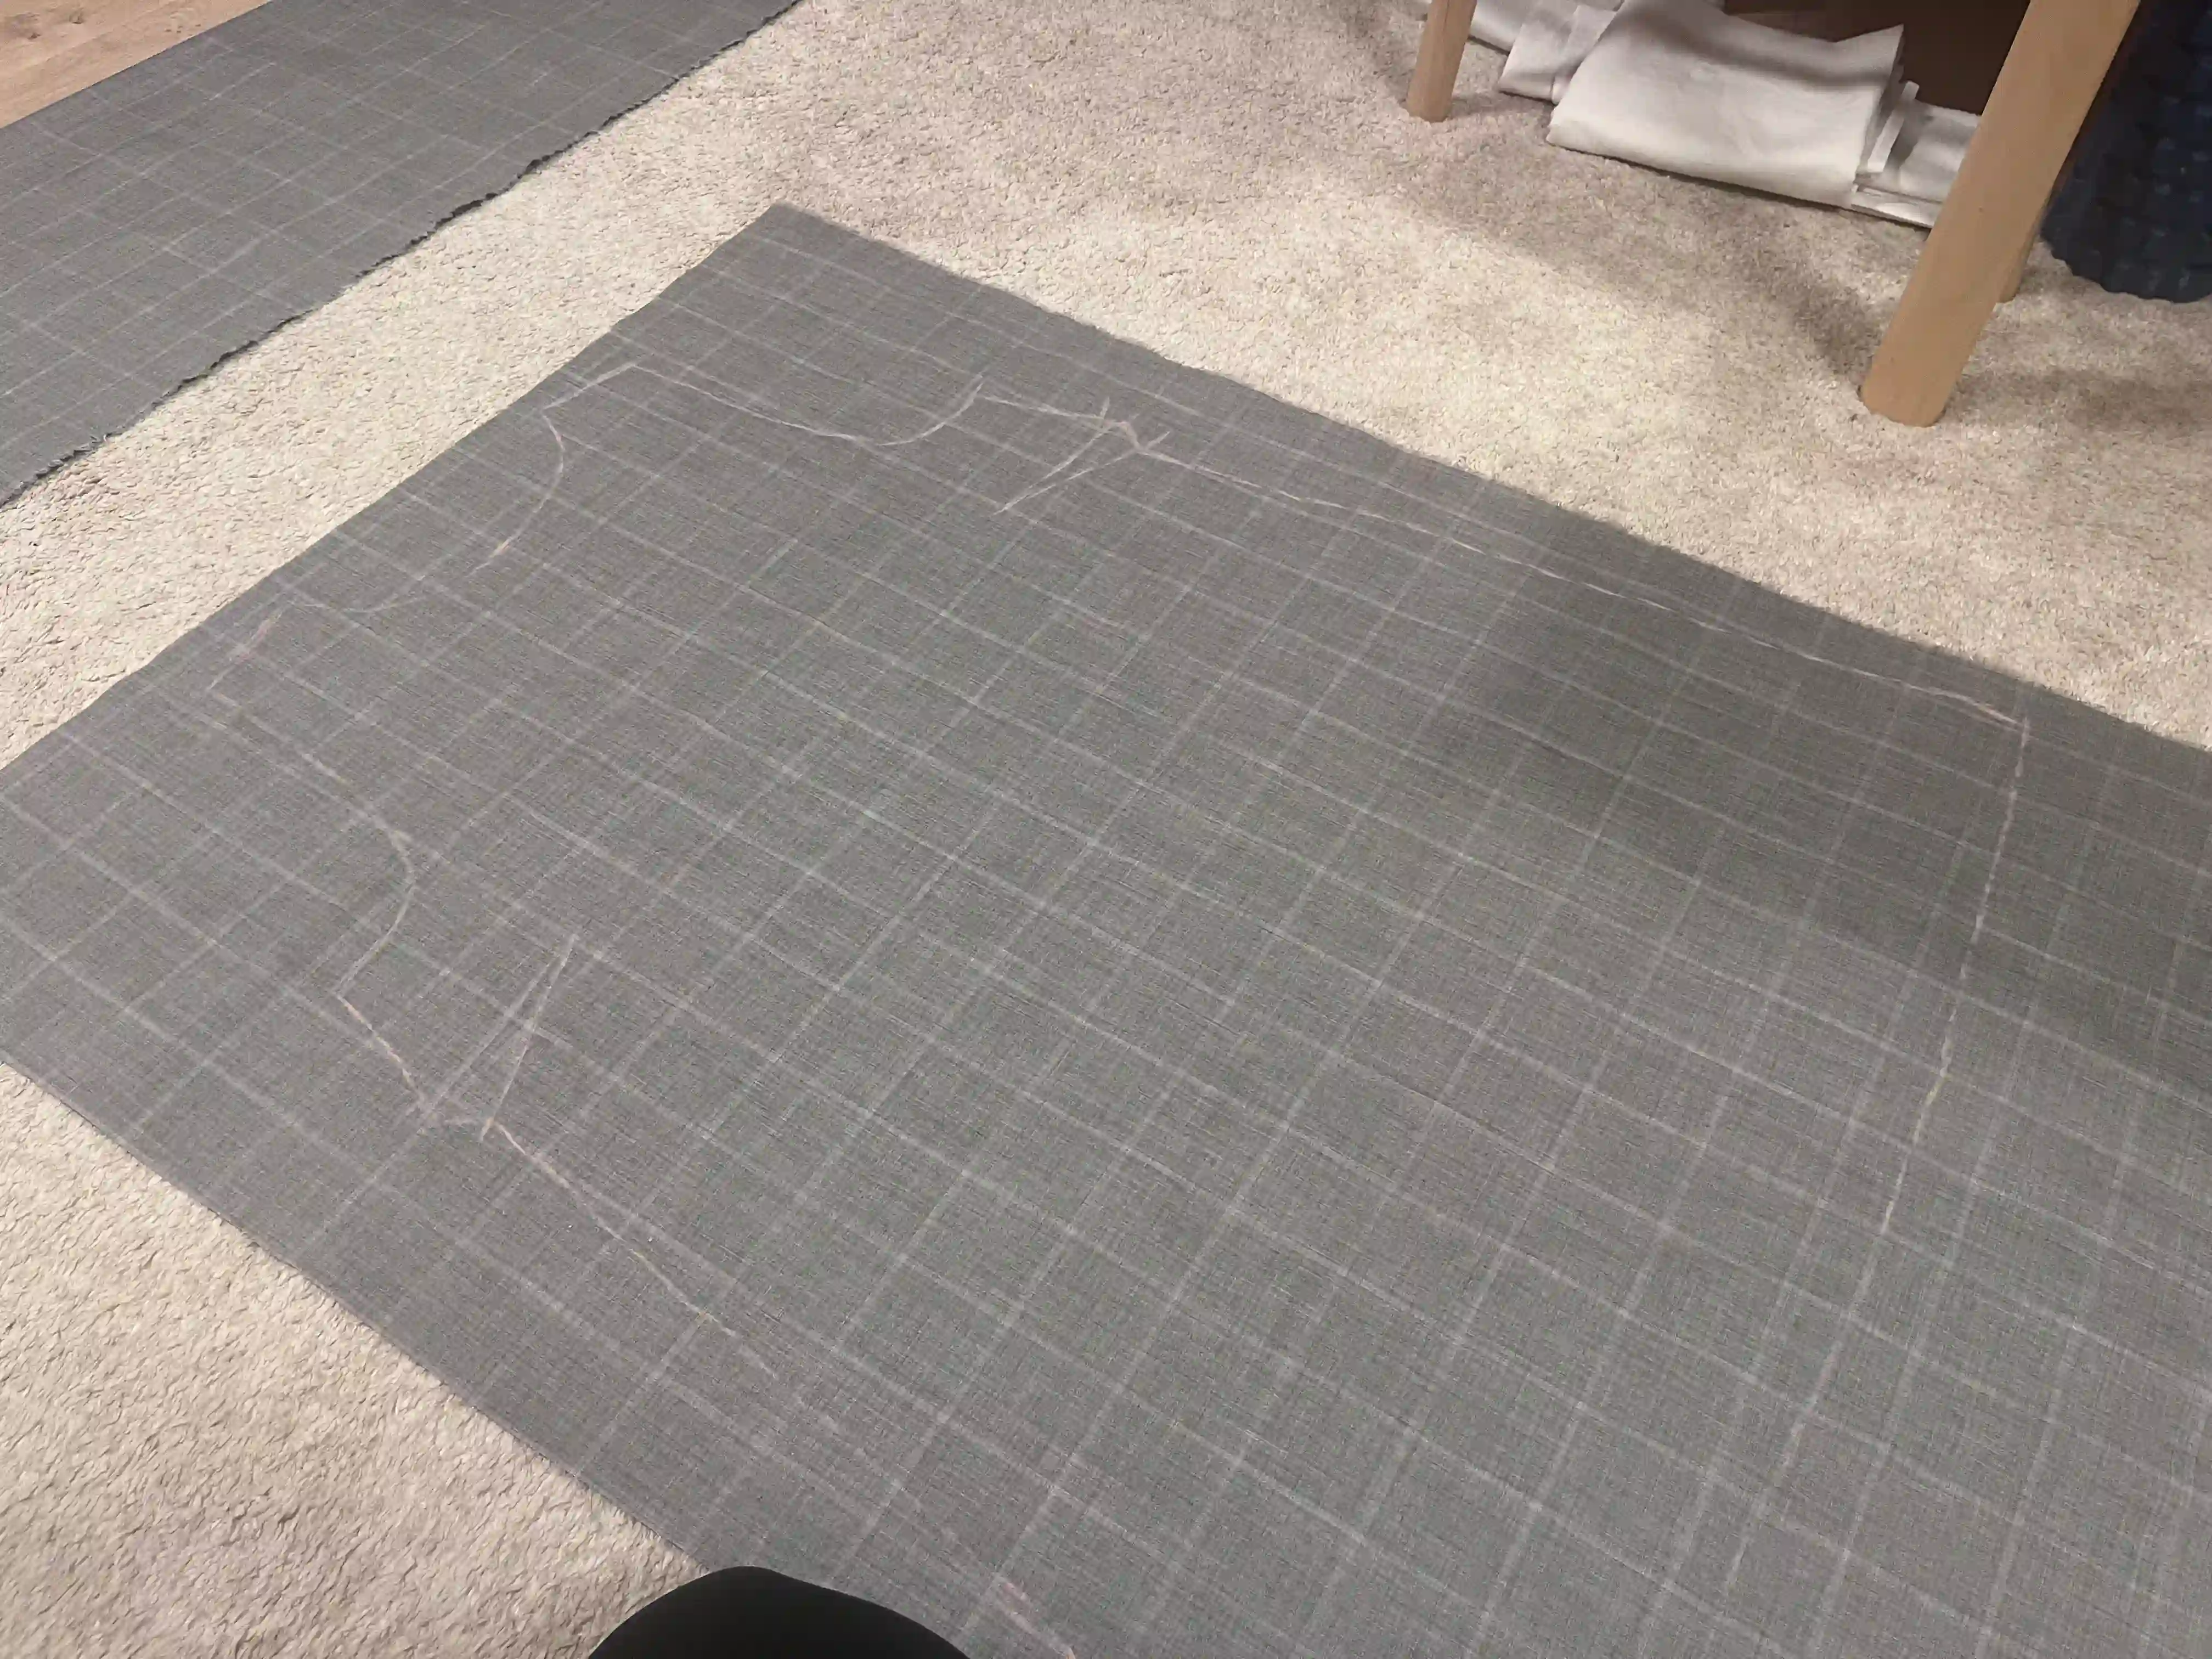
"Measure twice, cut once" holds, and even more so in this case. After positioning the pattern pieces, I traced their outlines with tailor’s chalk. Then, I placed the pattern pieces back down to double-check that nothing had shifted and that the checks were still perfectly aligned. Papillon is a very delicate fabric, so I performed all these steps on a carpet to keep it from slipping or sliding away. On a smooth tabletop, this type of fabric tends to slide or shift slightly. Therefore, it is best to cut the fabric on a surface from which it won’t "escape", such as a carpet, a blanket laid over a table, or another layer of fabric. Using a non-slip surface was a huge help when working with this material.
Step-by-Step Sewing Guide for the A-Line Silhouette
Stabilization
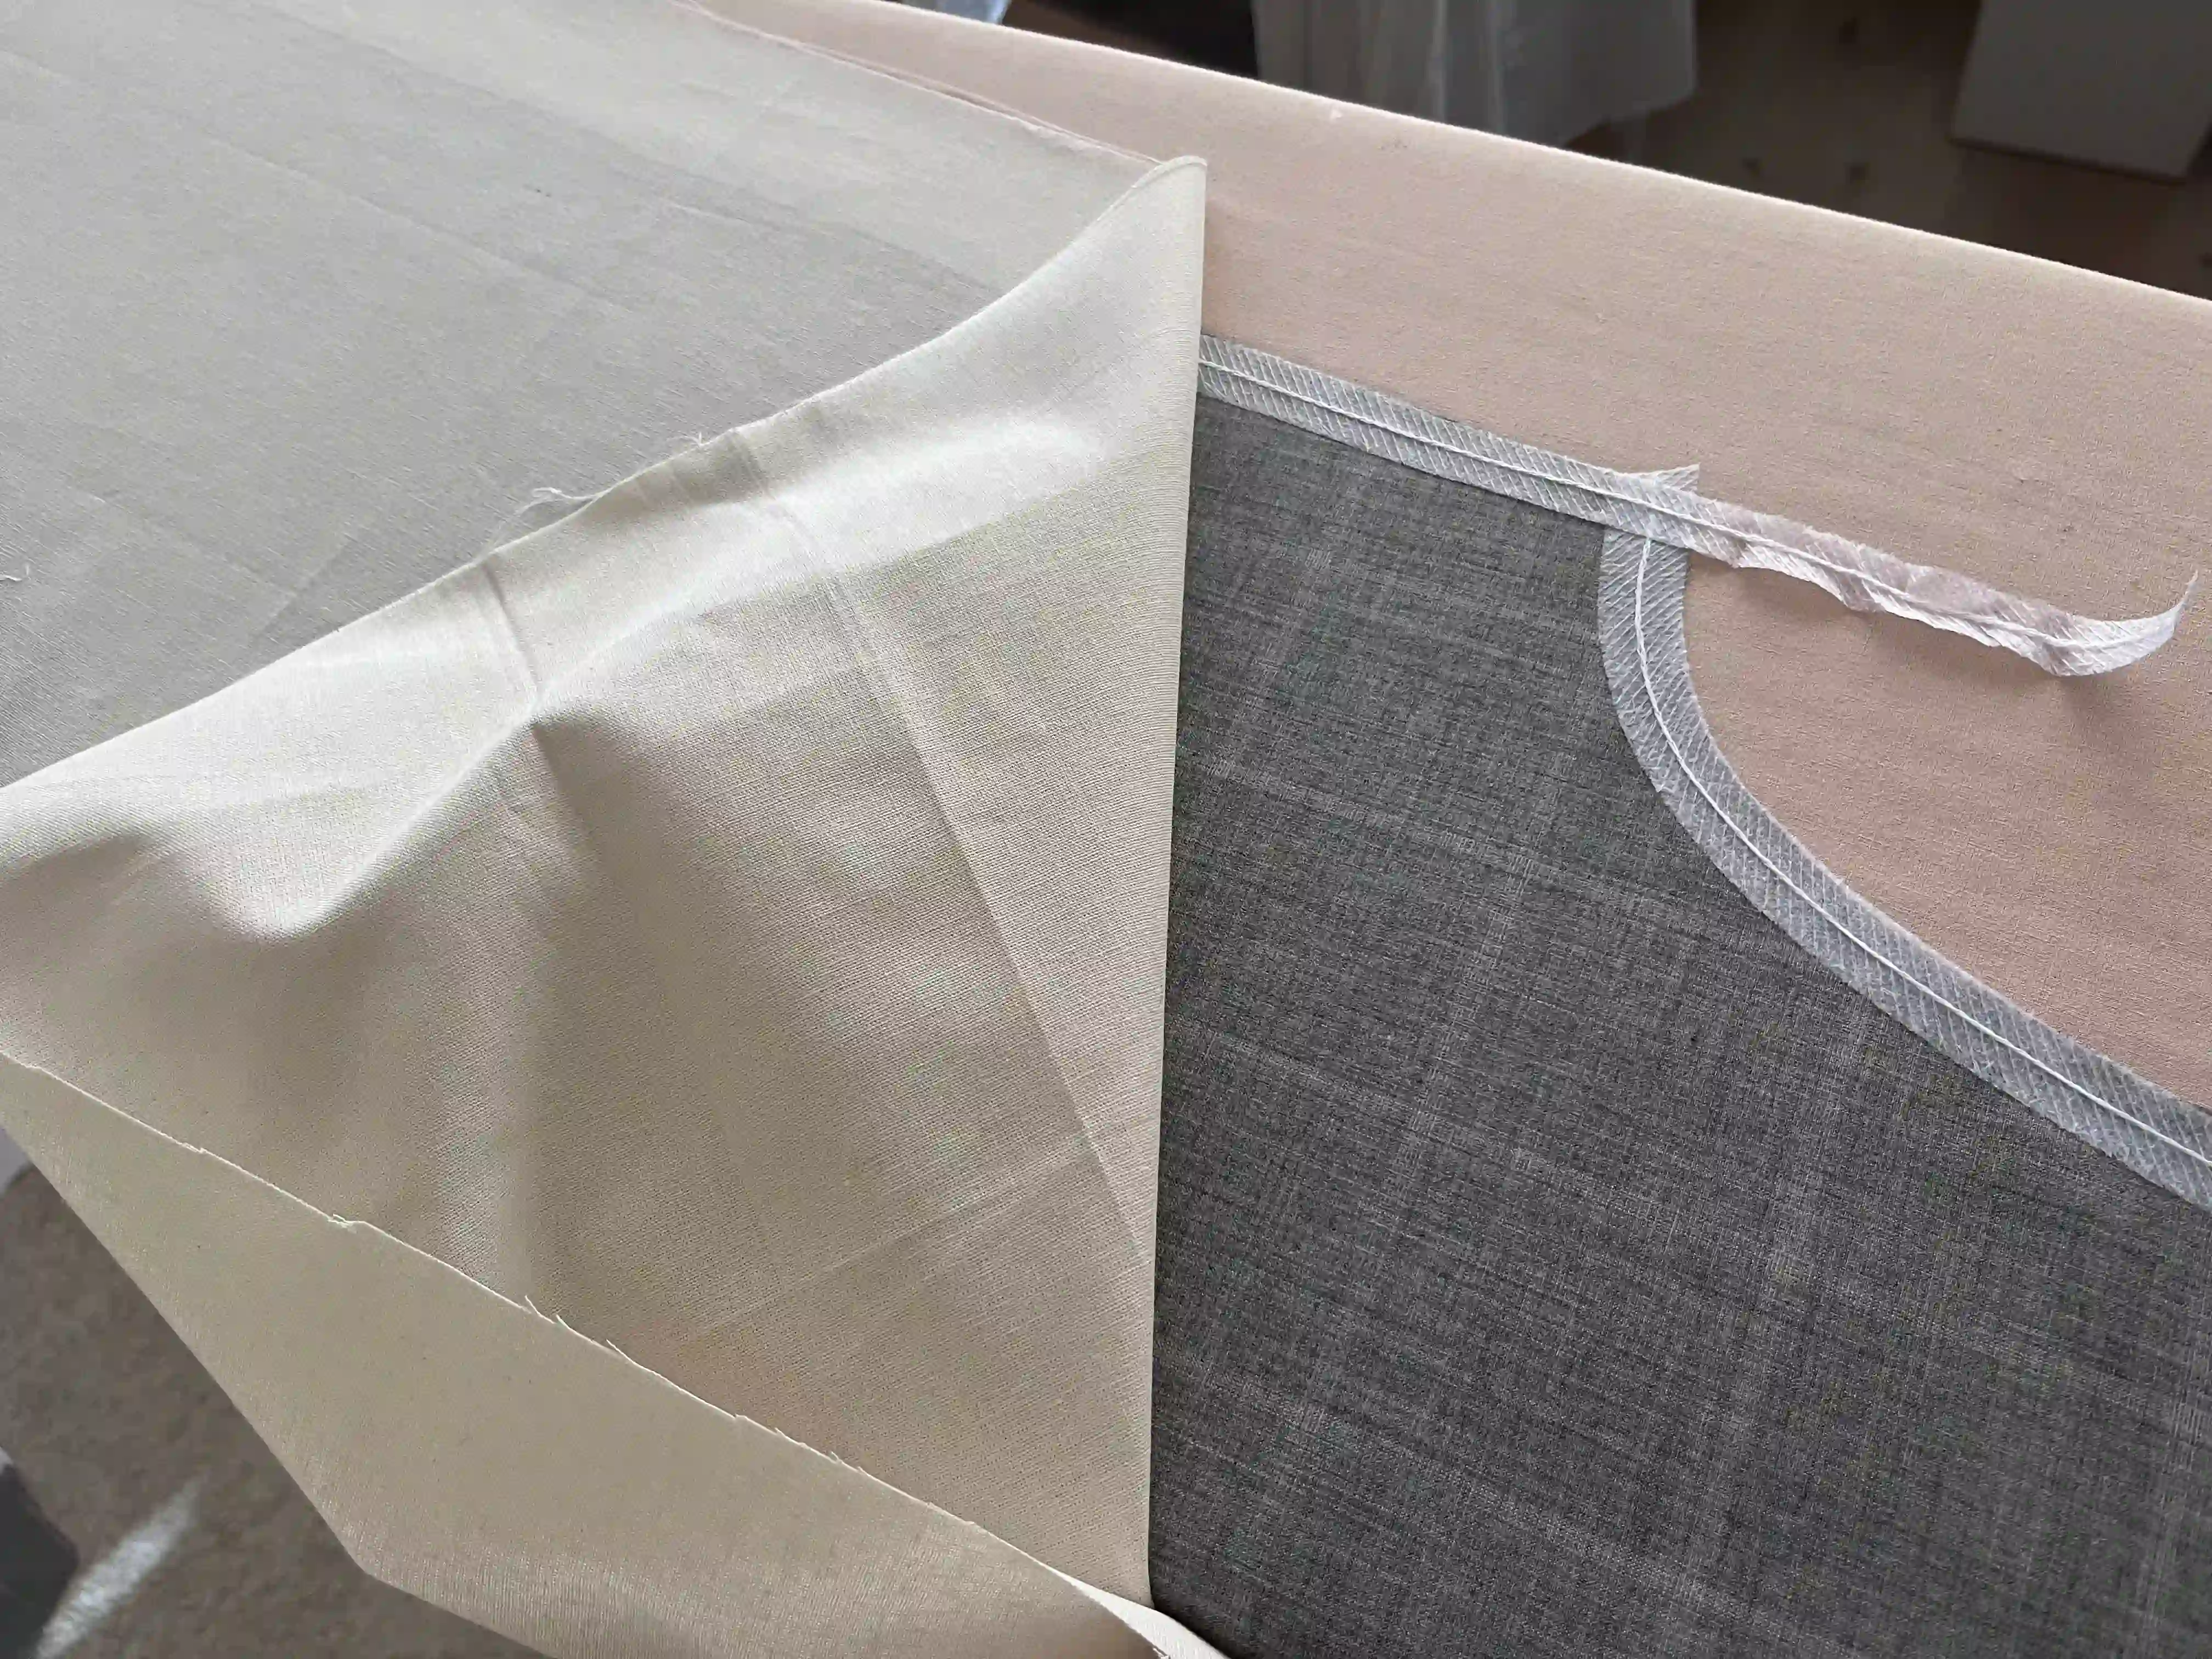
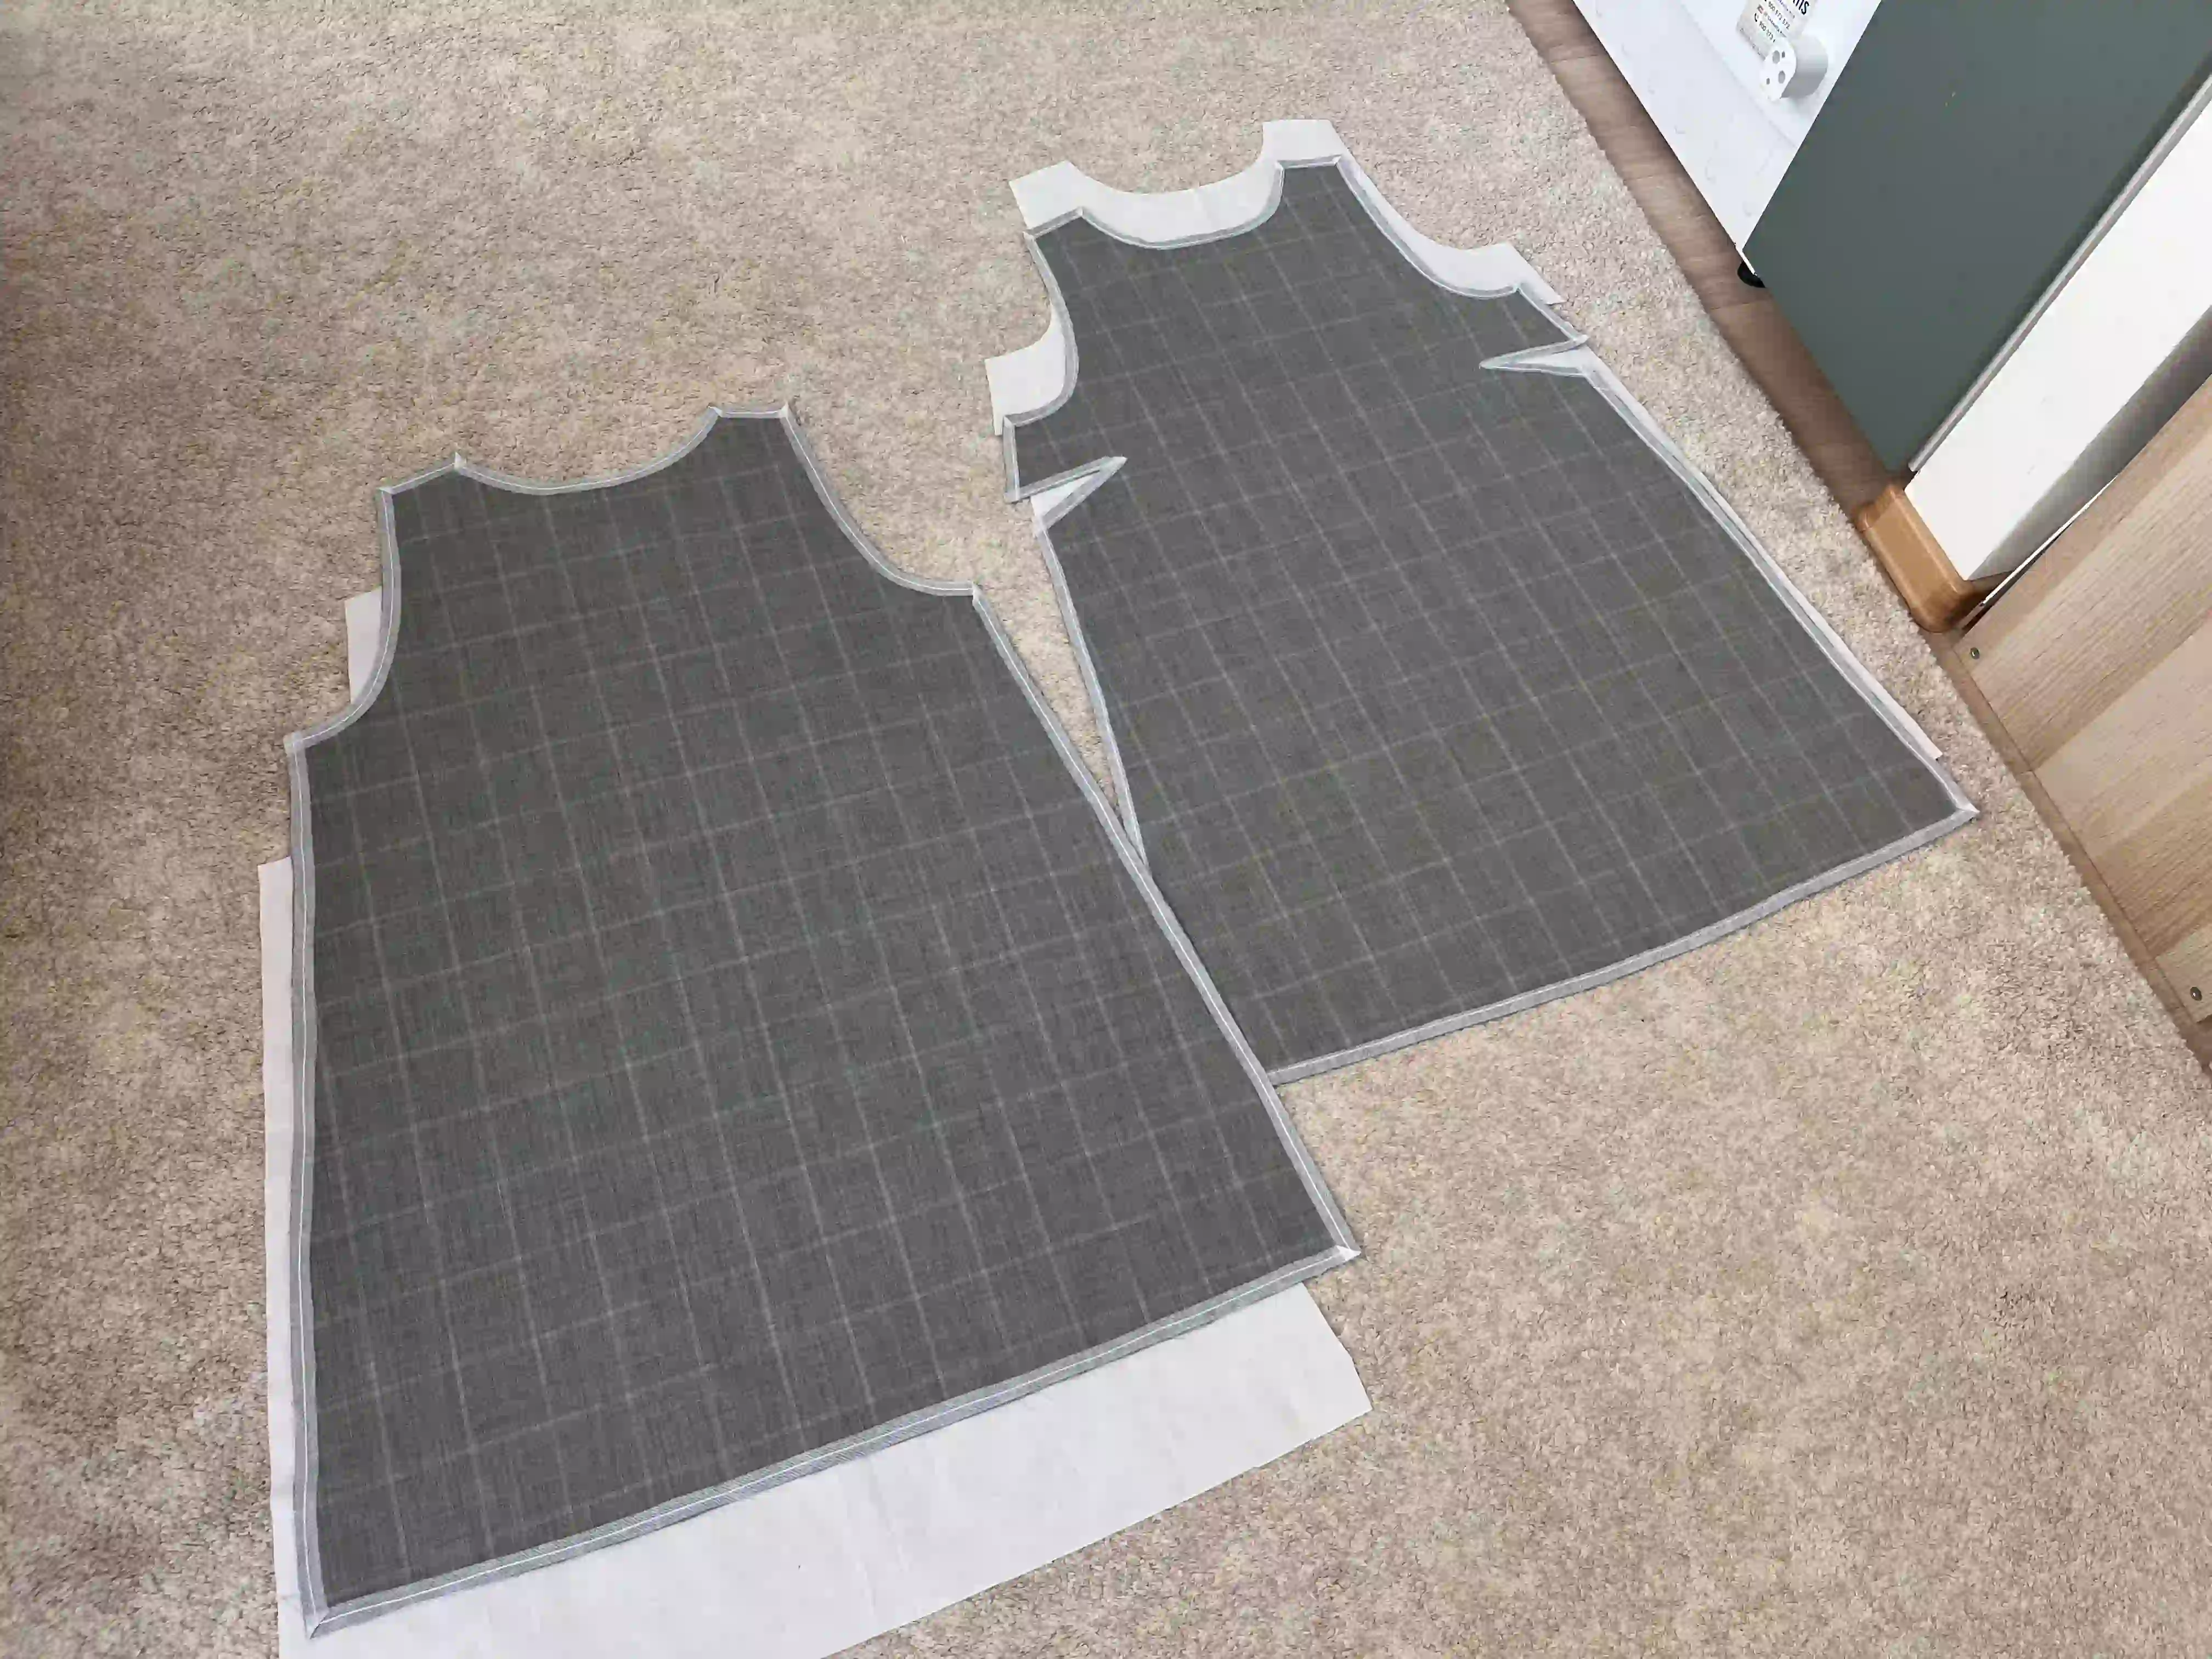
Once I cut out the individual pattern pieces, I immediately stabilized the edges of the two main pieces (front and back), made of papillon weave fabric, by ironing on stabilizing tape. When ironing premium materials, I always work on the reverse side and use a press cloth (a piece of cotton fabric) as a protective layer. This ensures the fabric doesn’t fray. While papillon weave fabrics generally aren't prone to excessive fraying, it is still a good idea to stabilize the edges right from the start. I wanted a stress-free sewing process, without worrying about fraying around the armholes or near the darts.
Needle & Thread
I used a fine needle to avoid damaging this delicate silk-and-cashmere blend. Specifically, I used a universal 80/12 needle paired with cotton thread.
I didn't need to stabilize the cotton lining; I chose it simply because it is a natural material that holds its shape well. Although it does tend to wrinkle, that doesn't bother me for a lining in a loose-fitting A-line dress.
Take the main fabric and lining for the front piece and sew the bust darts. Once done, turn both pieces wrong sides out, pin them together at the neckline, and sew the neckline area with a straight stitch. In the same way, pin the main fabric and the lining of the back side of your dress together, wrong sides facing out, and sew them again.
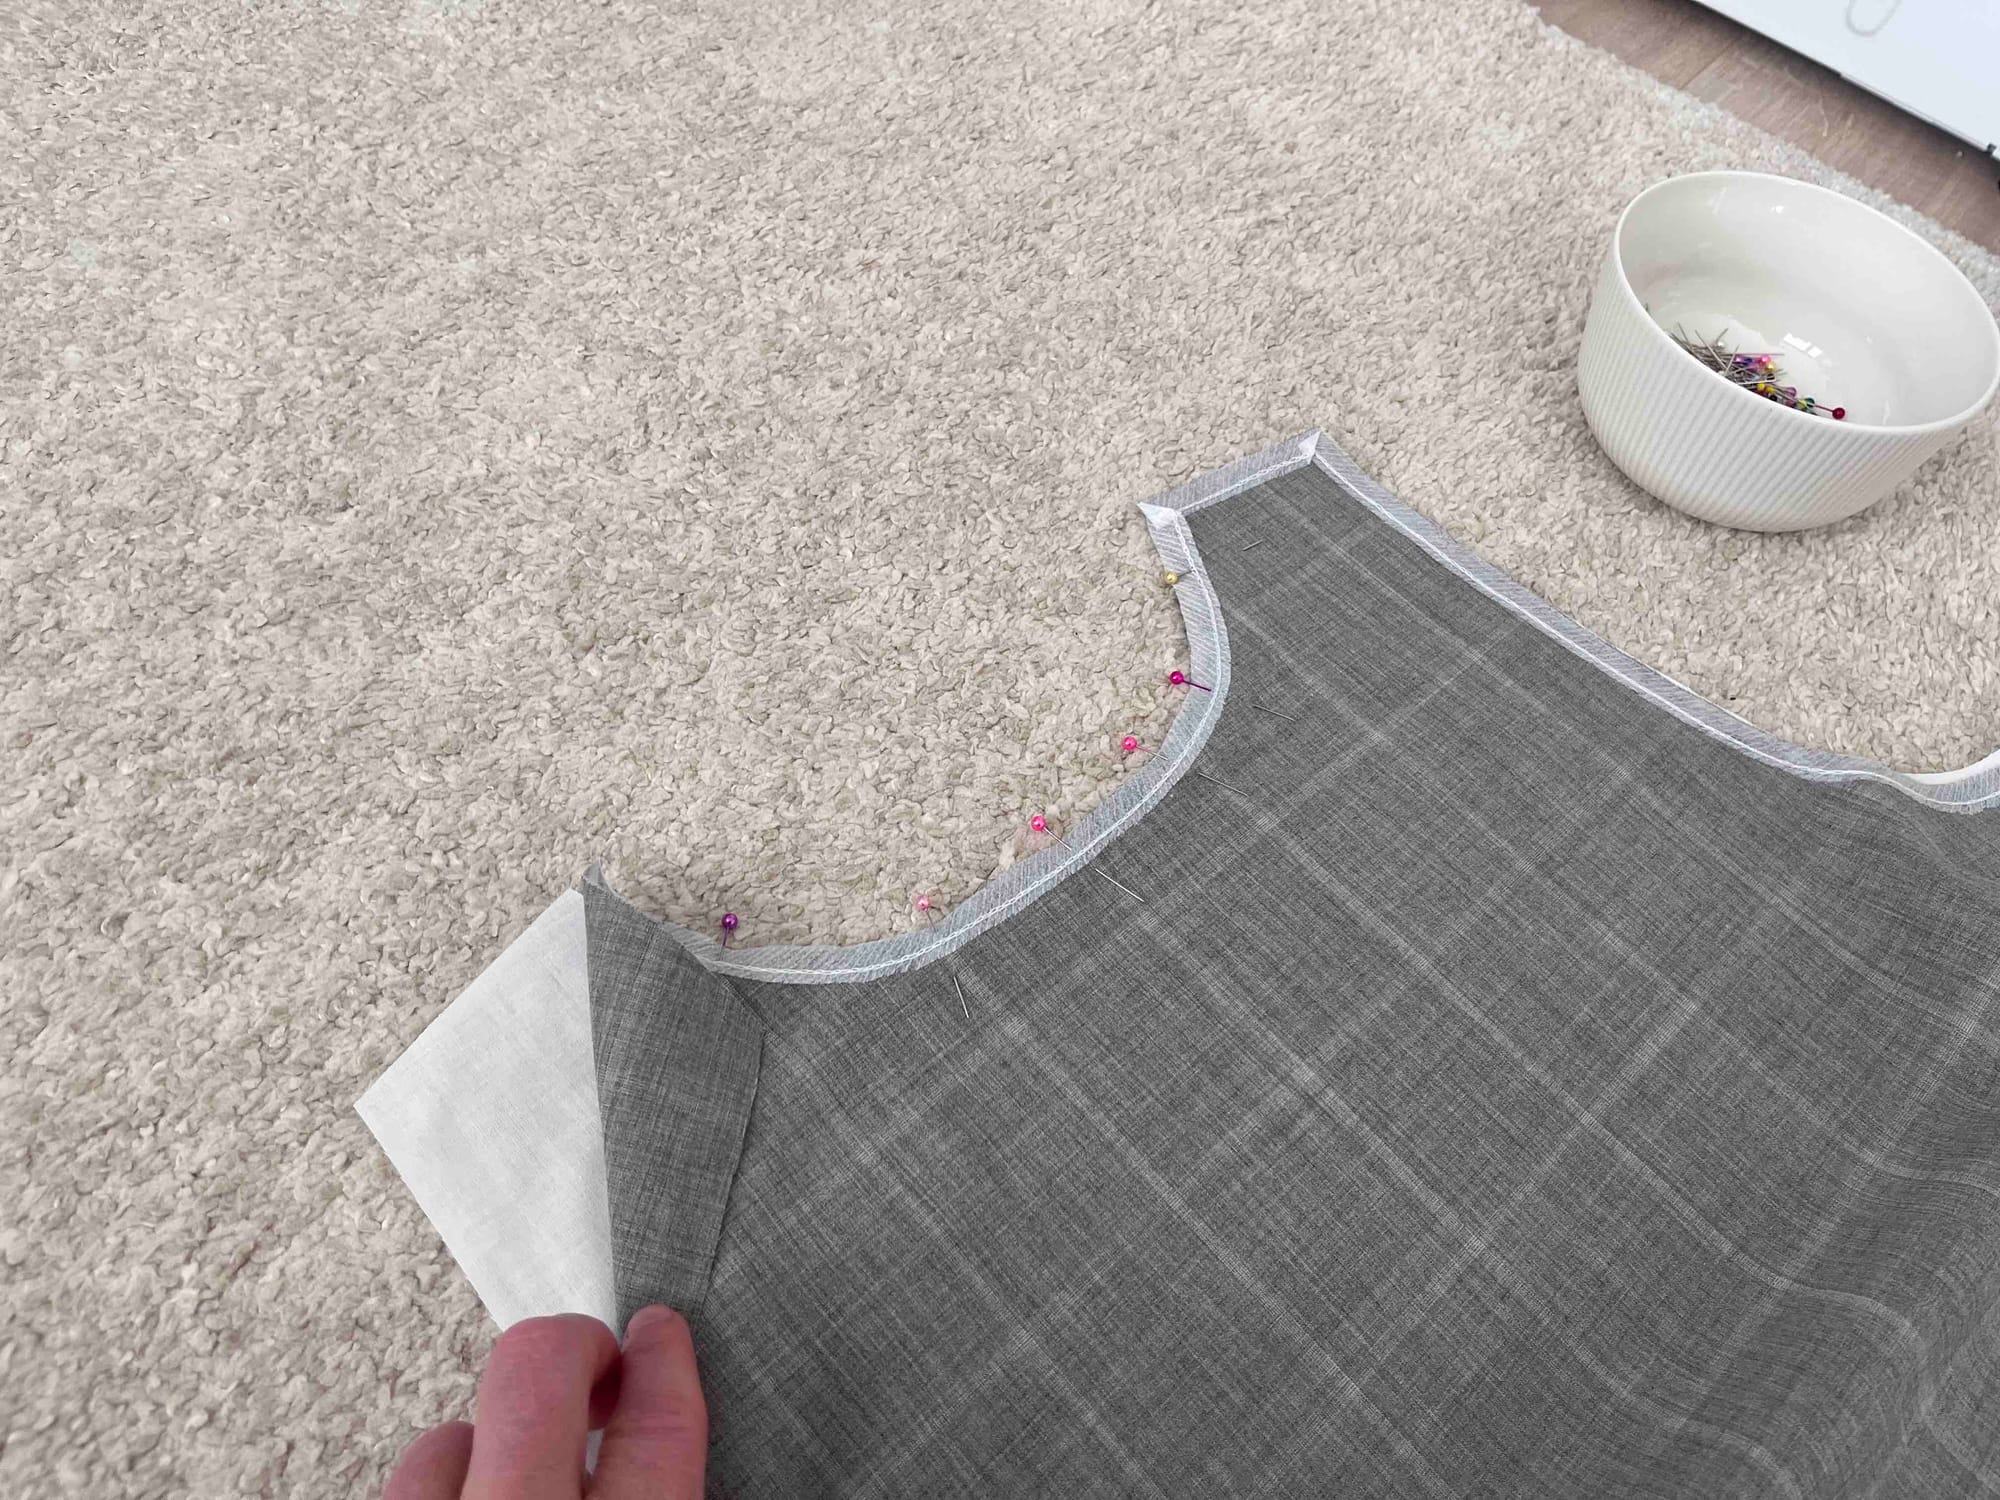
Turn the stitched pieces right side out and press both edges thoroughly so that the dress holds its shape.
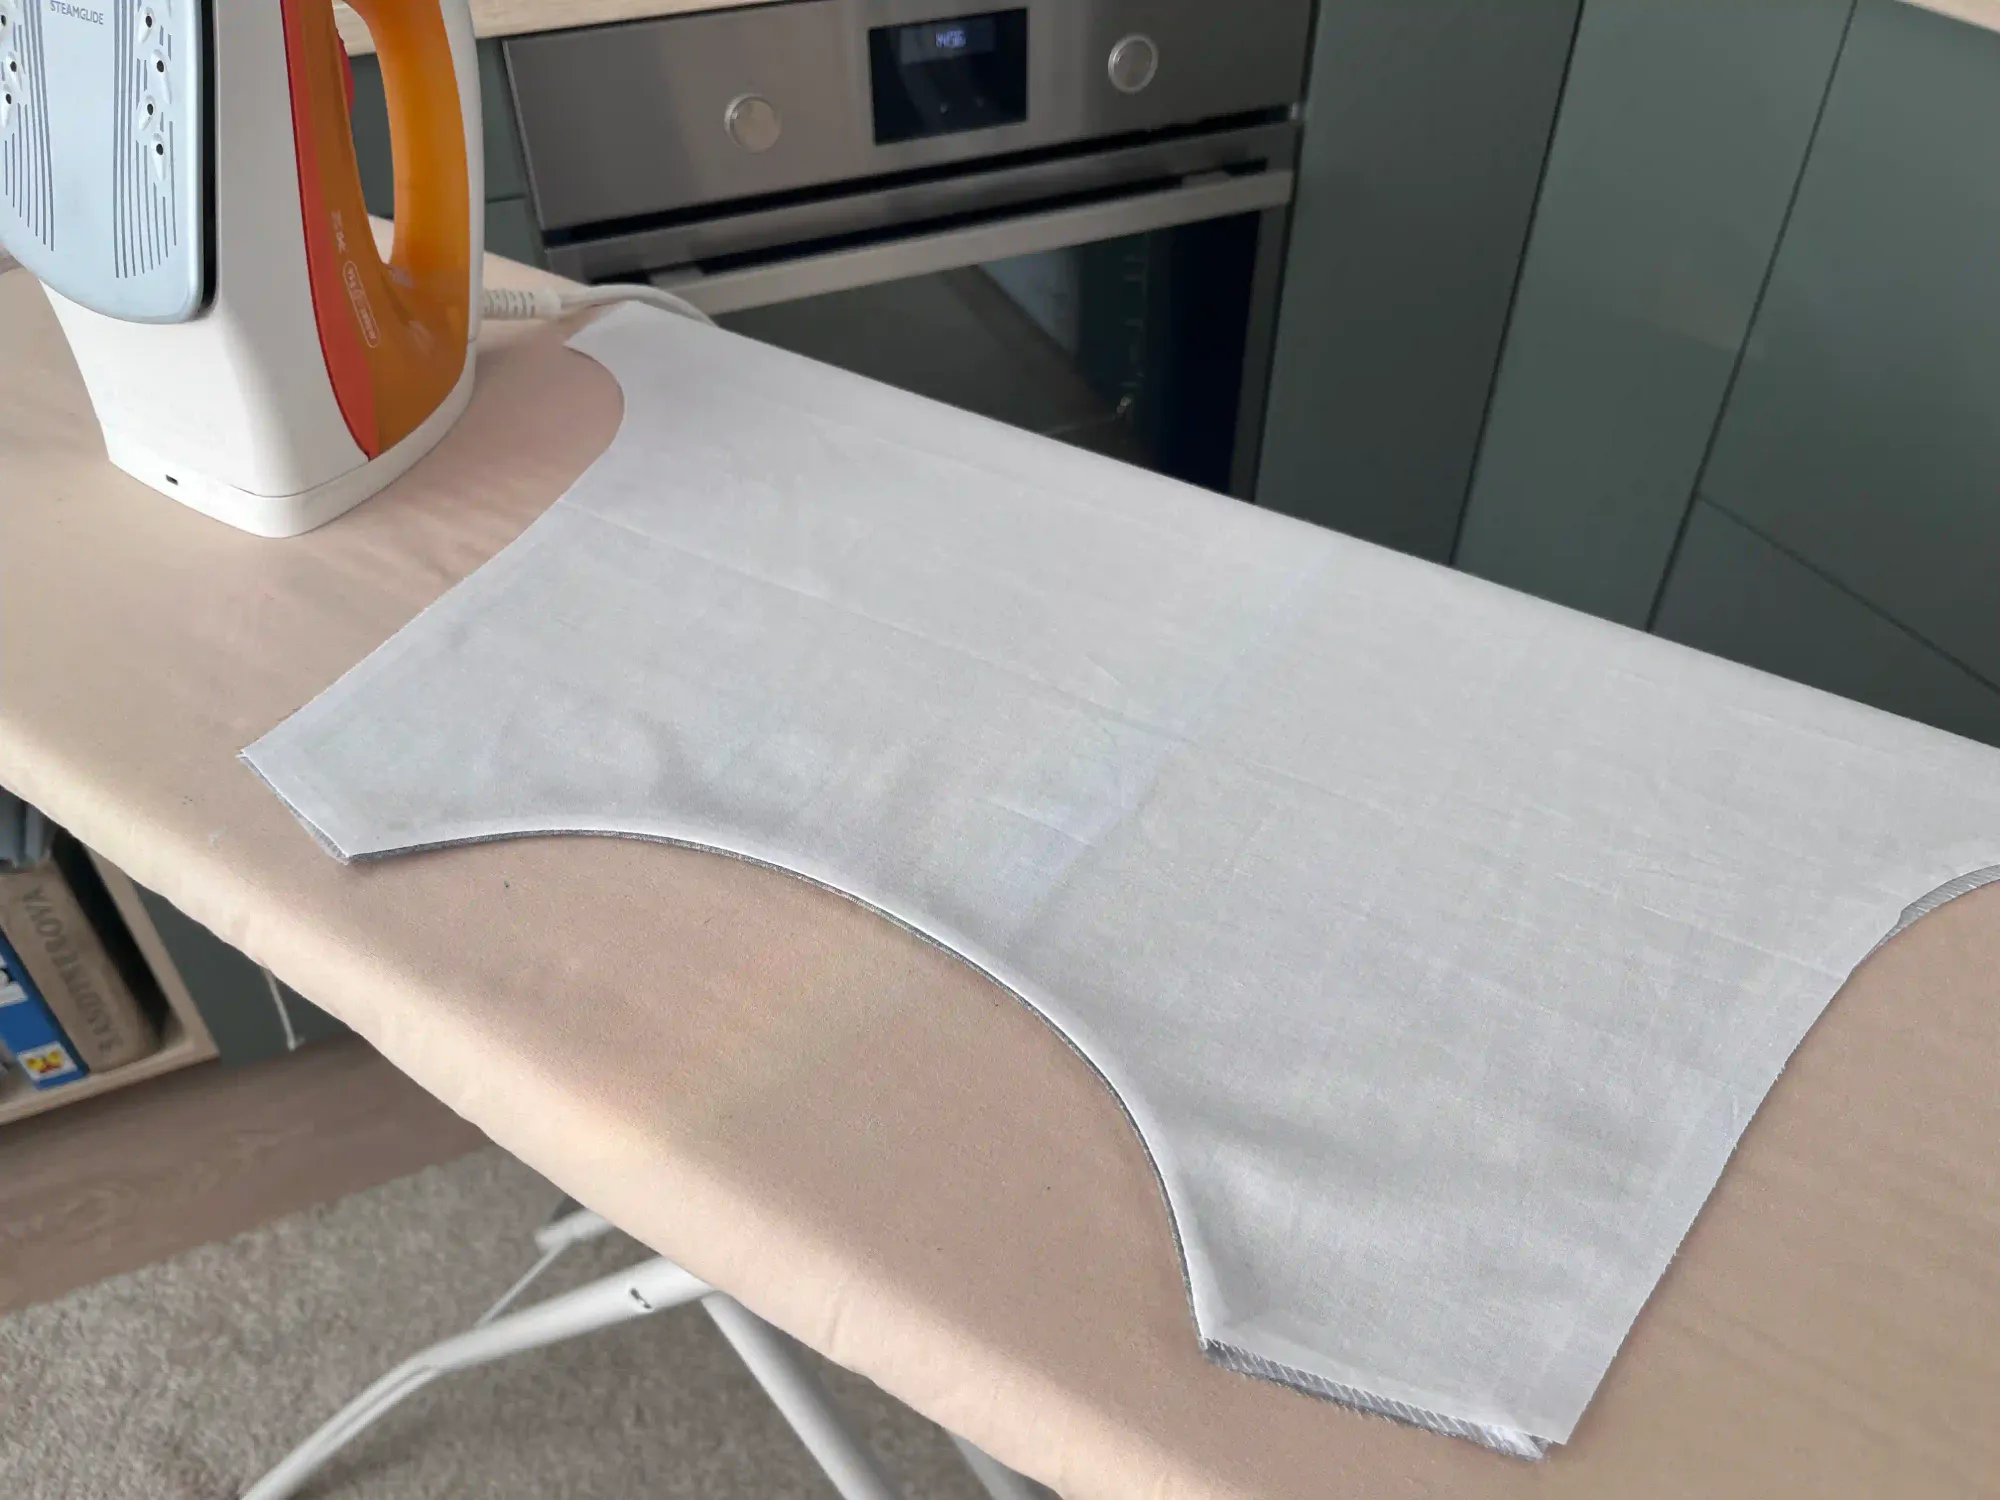
Now, place the front and back pieces of the dress together at the shoulders, pin them in place, and sew using a straight stitch. If you are using patterned fabric, try to align the pattern as naturally as possible before sewing to ensure the dress looks right.
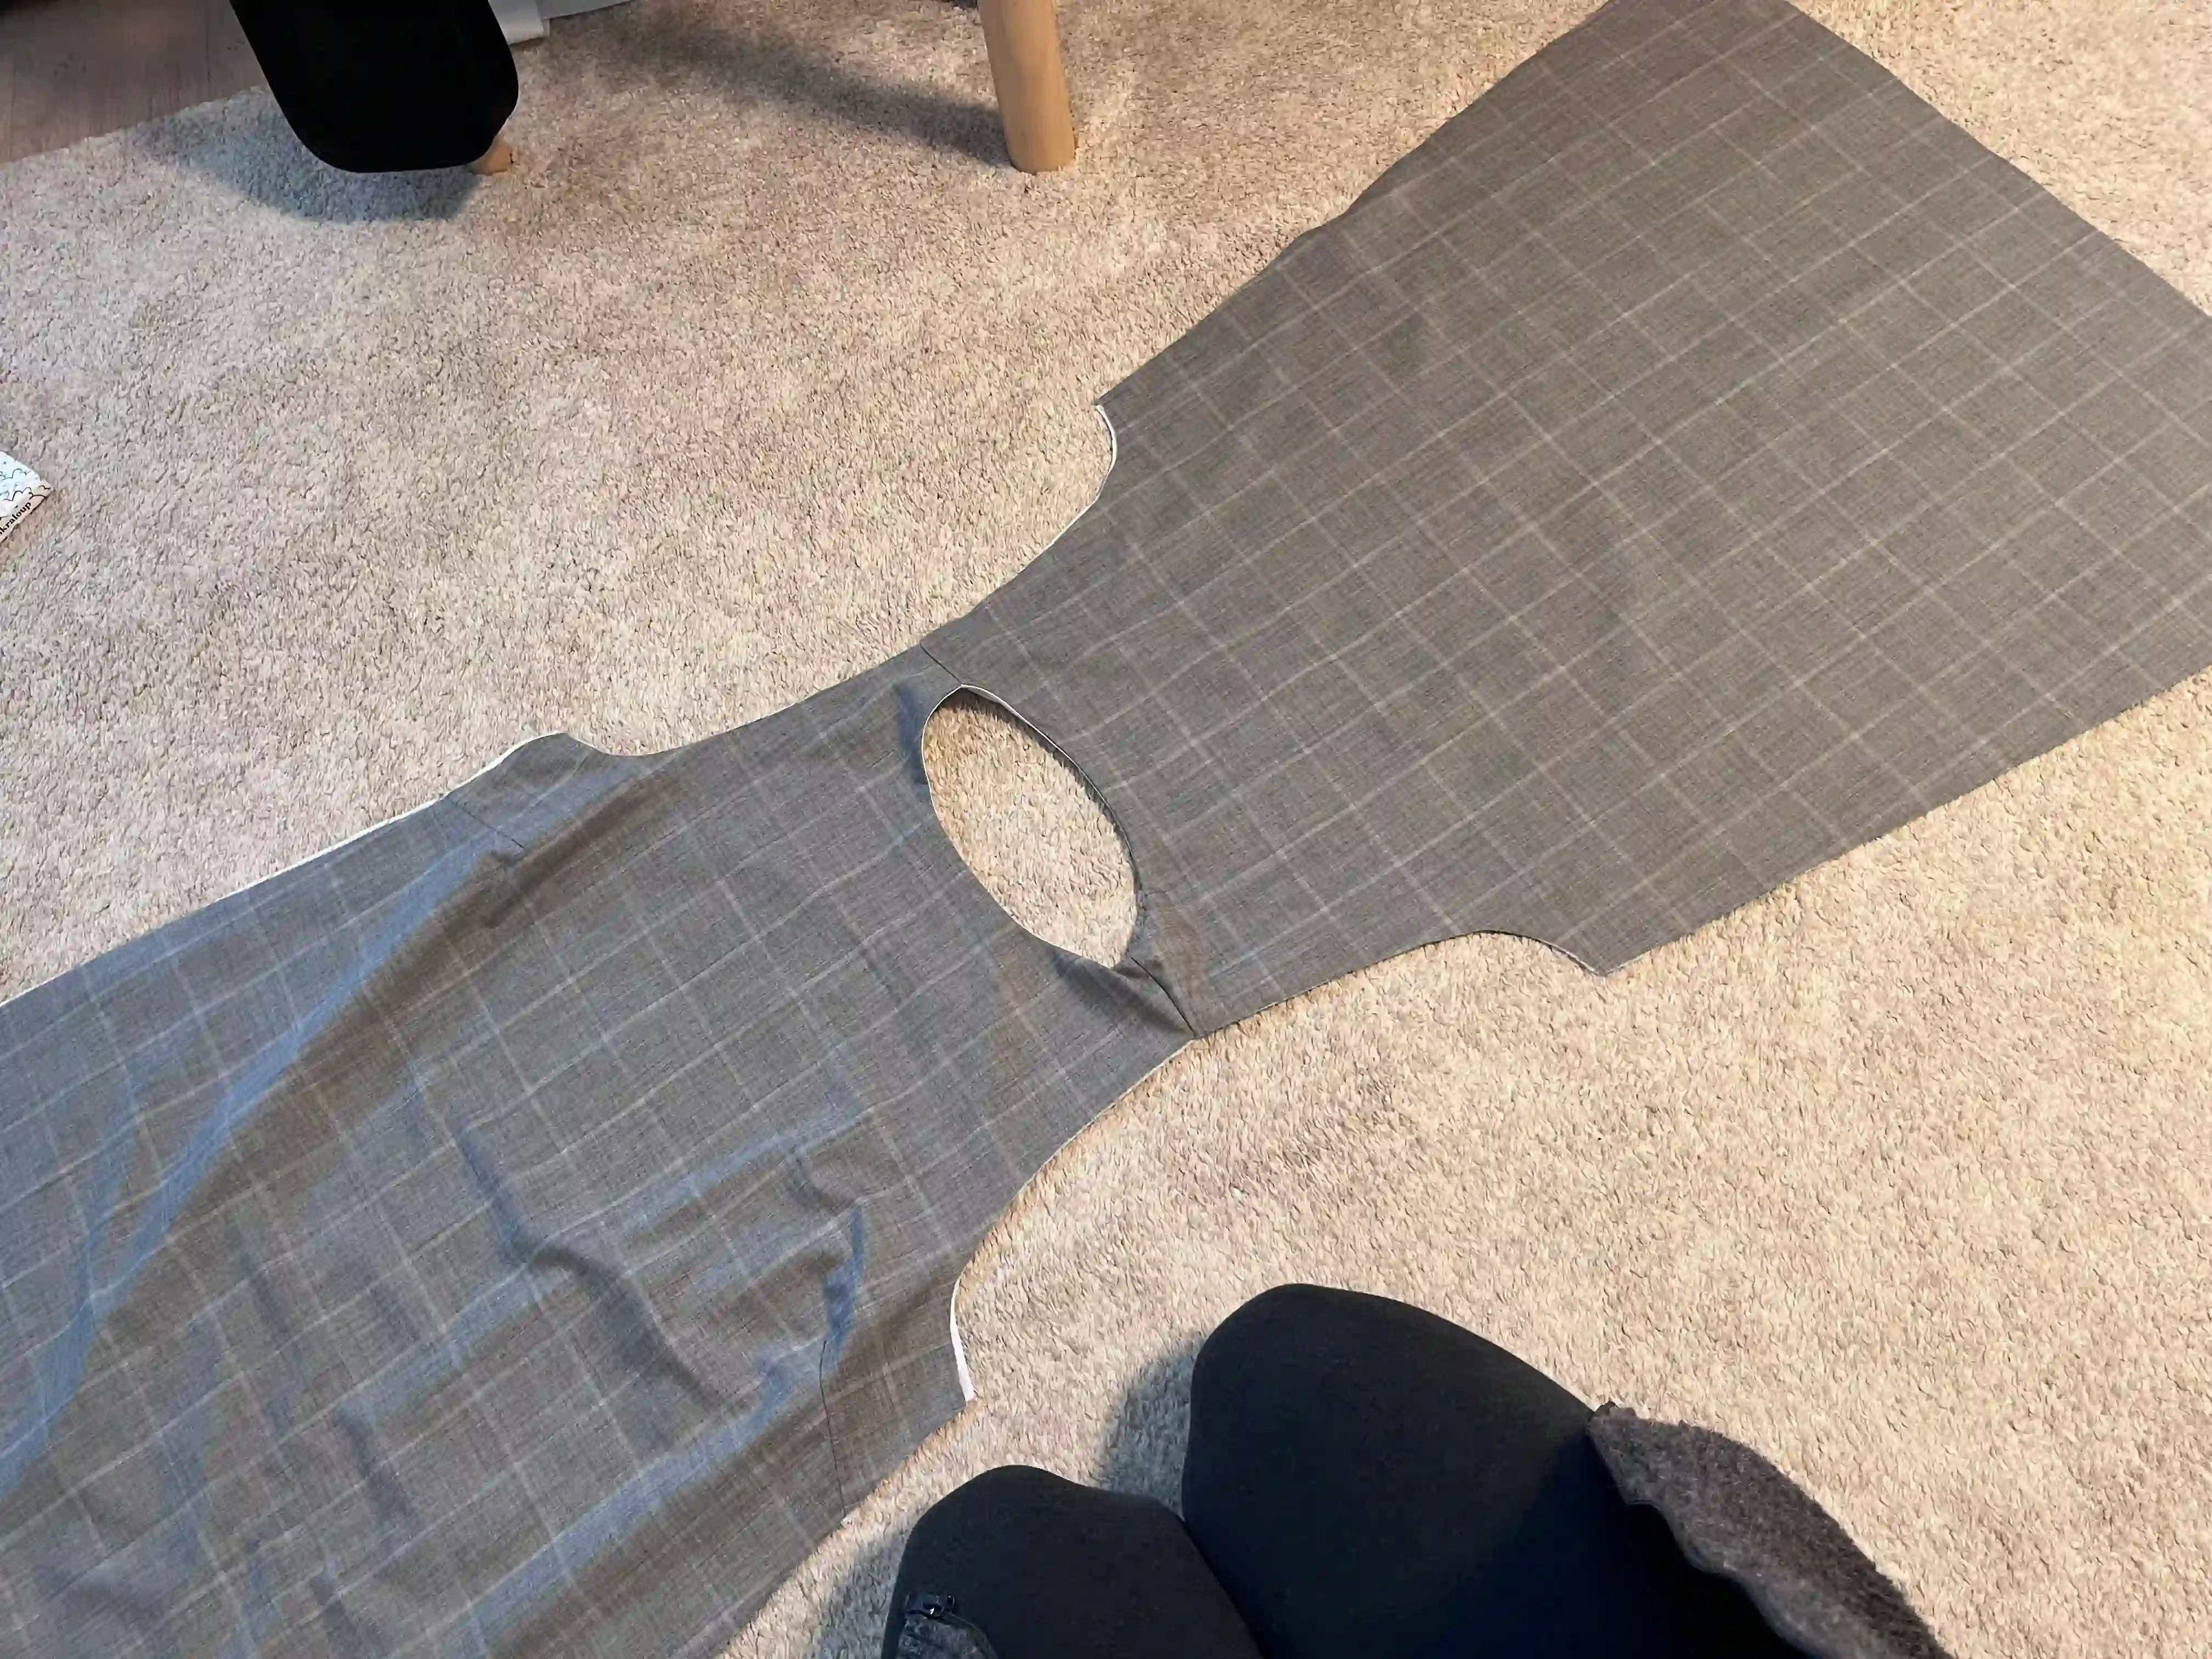
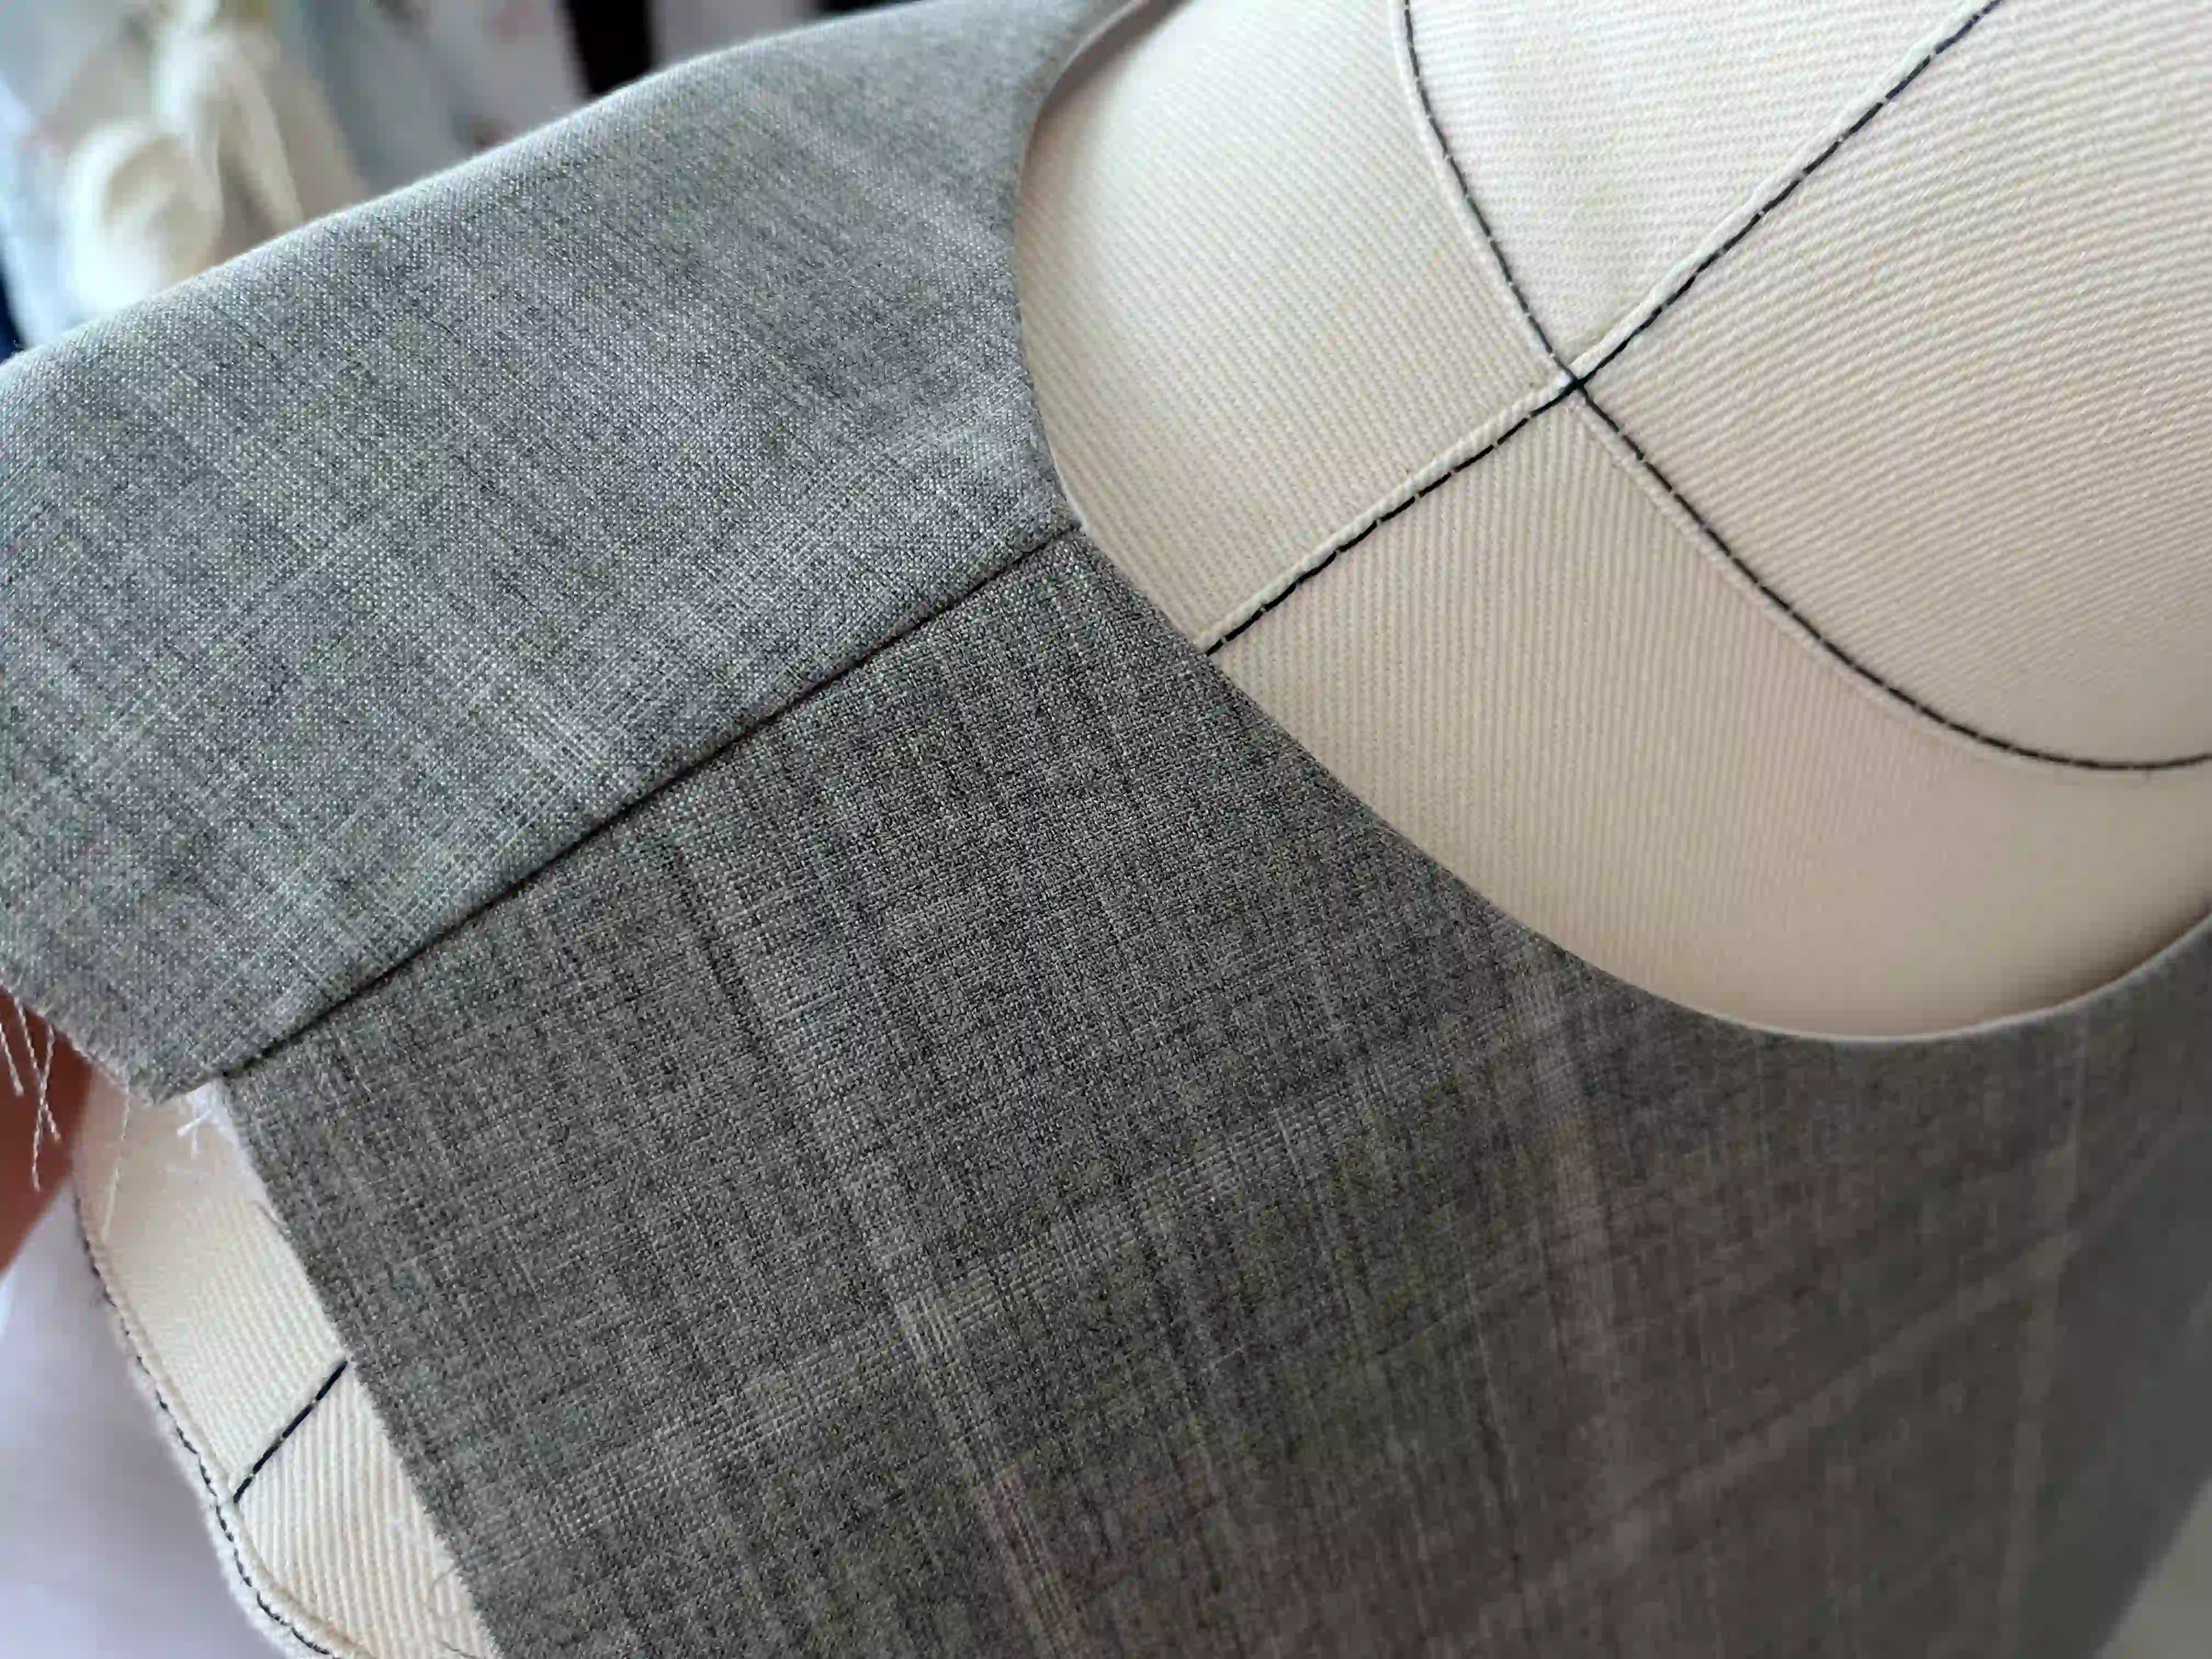
Now, lay the dress down so that the lining of both the front and back pieces faces downward. Roll the dress up along its entire length, wrapping the main fabric and the lining around the resulting roll. Then, pin the two pieces together and stitch them at the armhole.
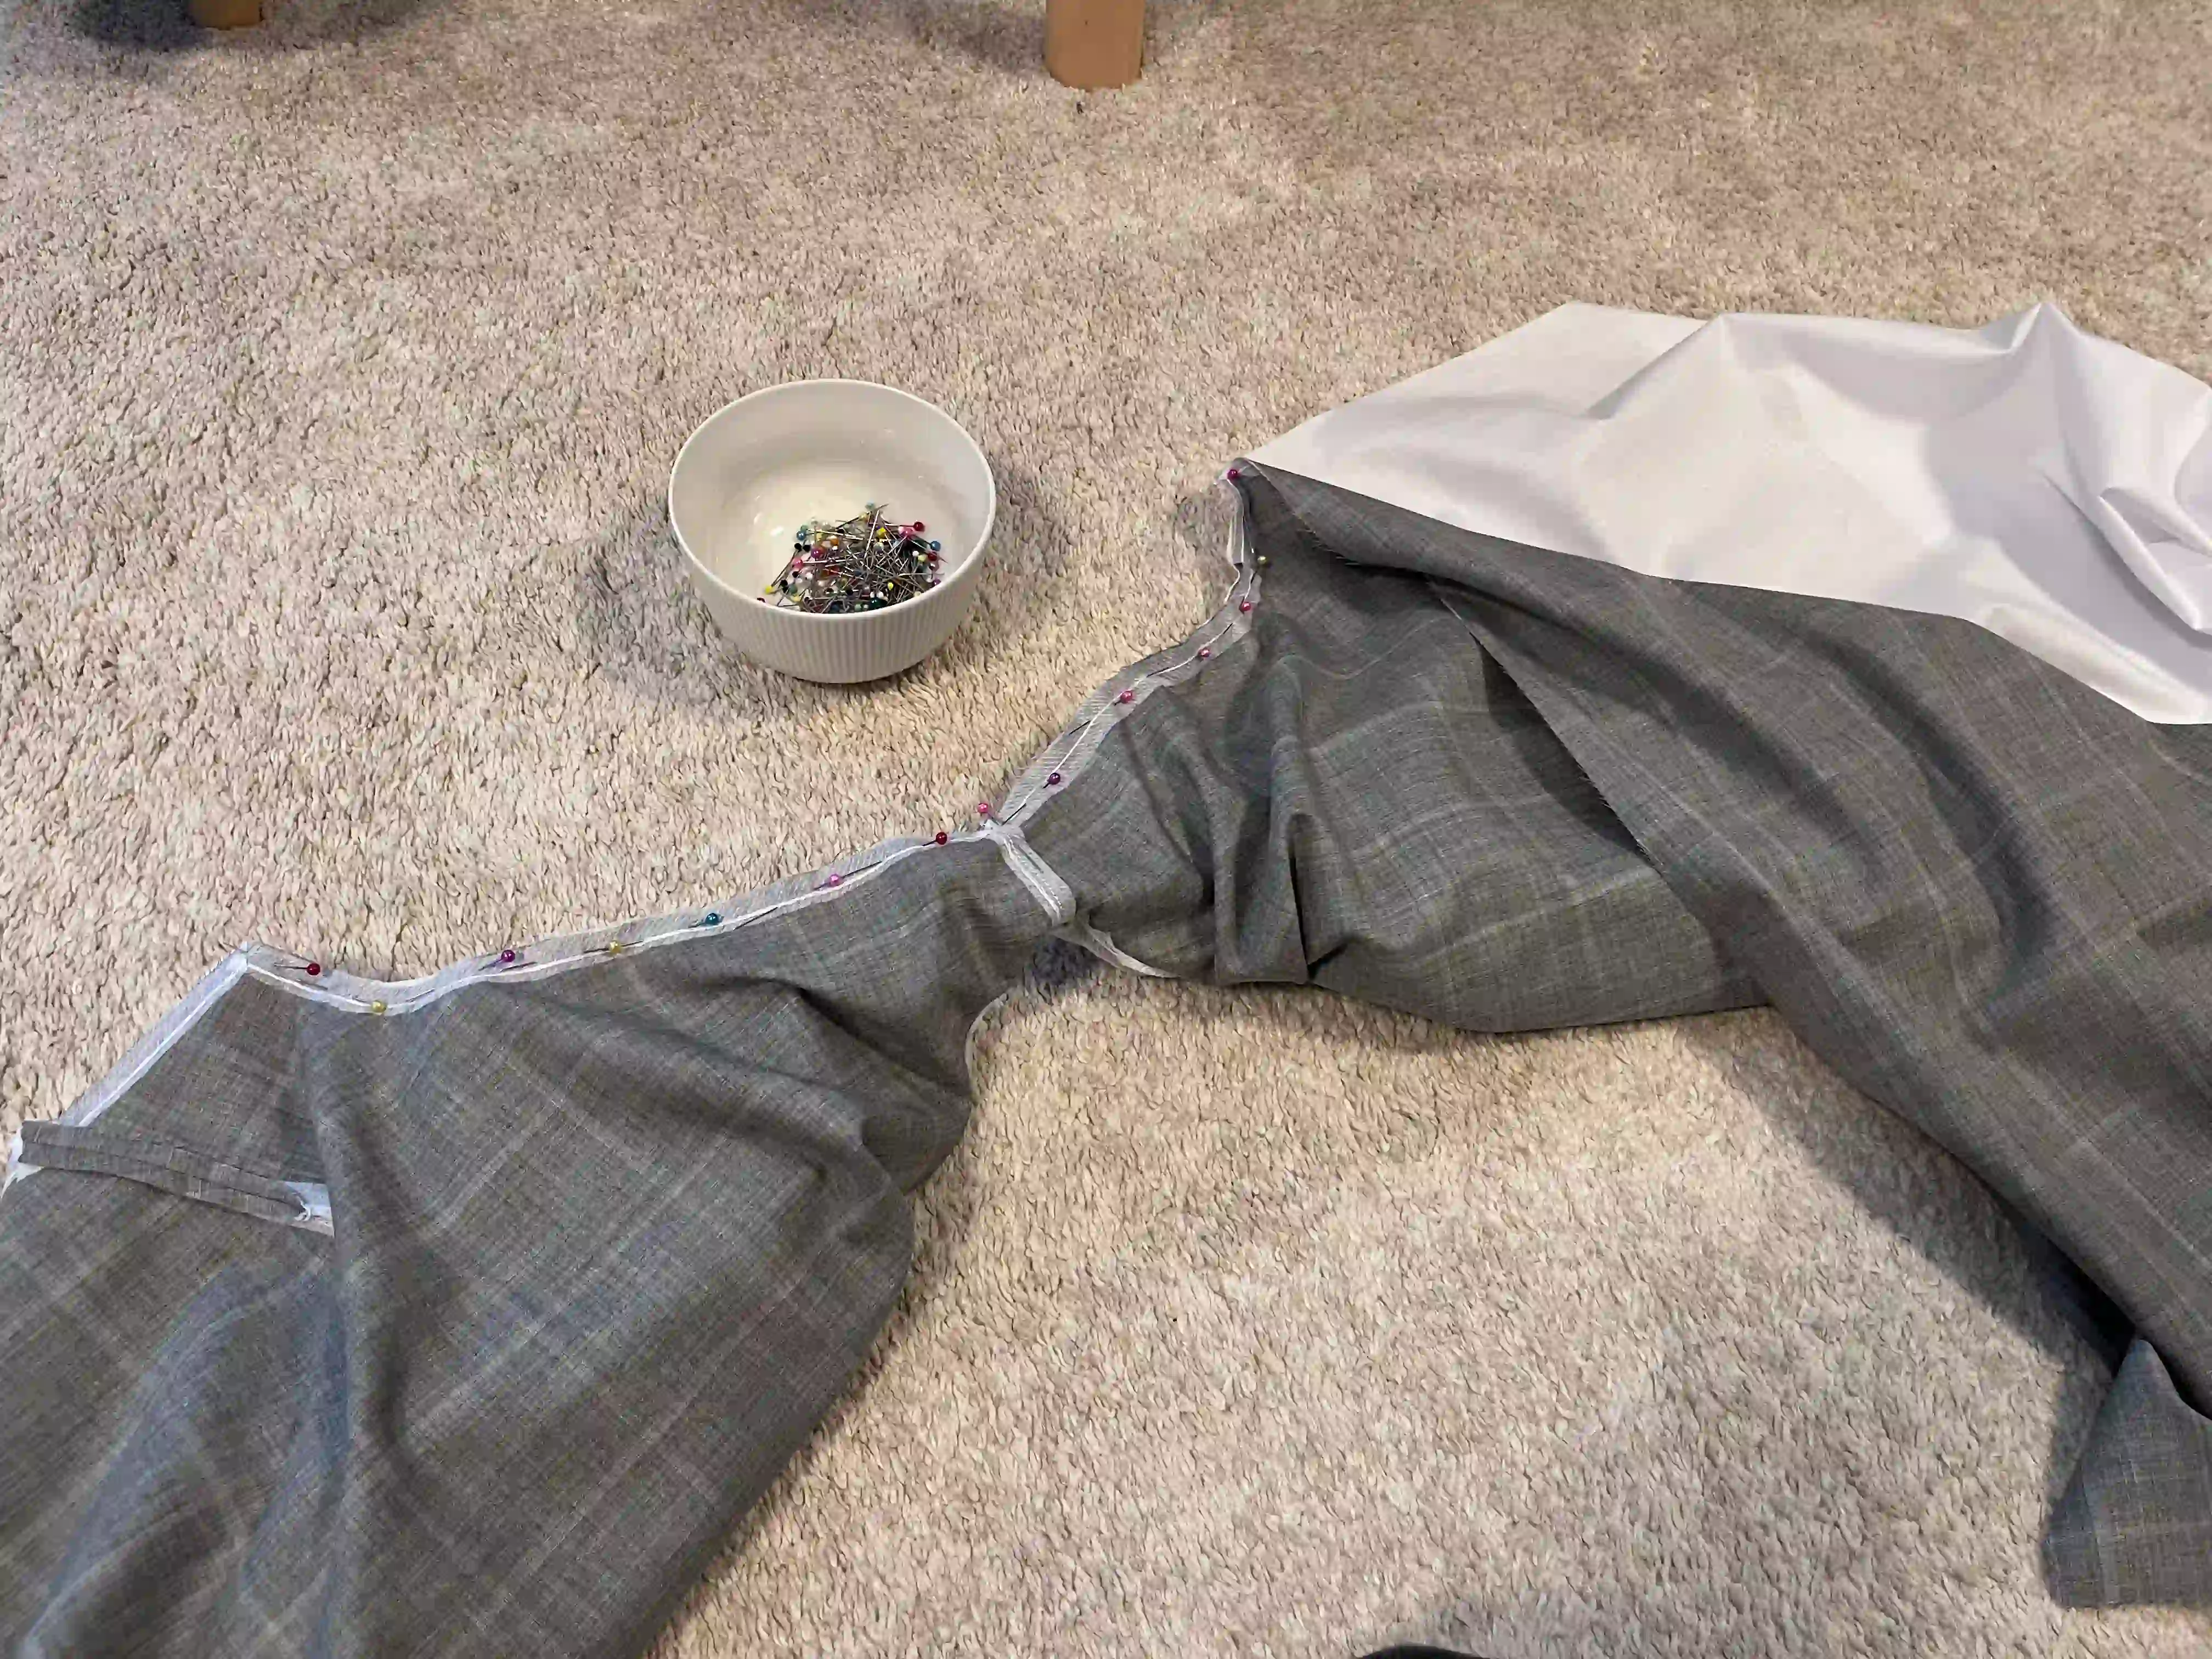
The detail looks like this.
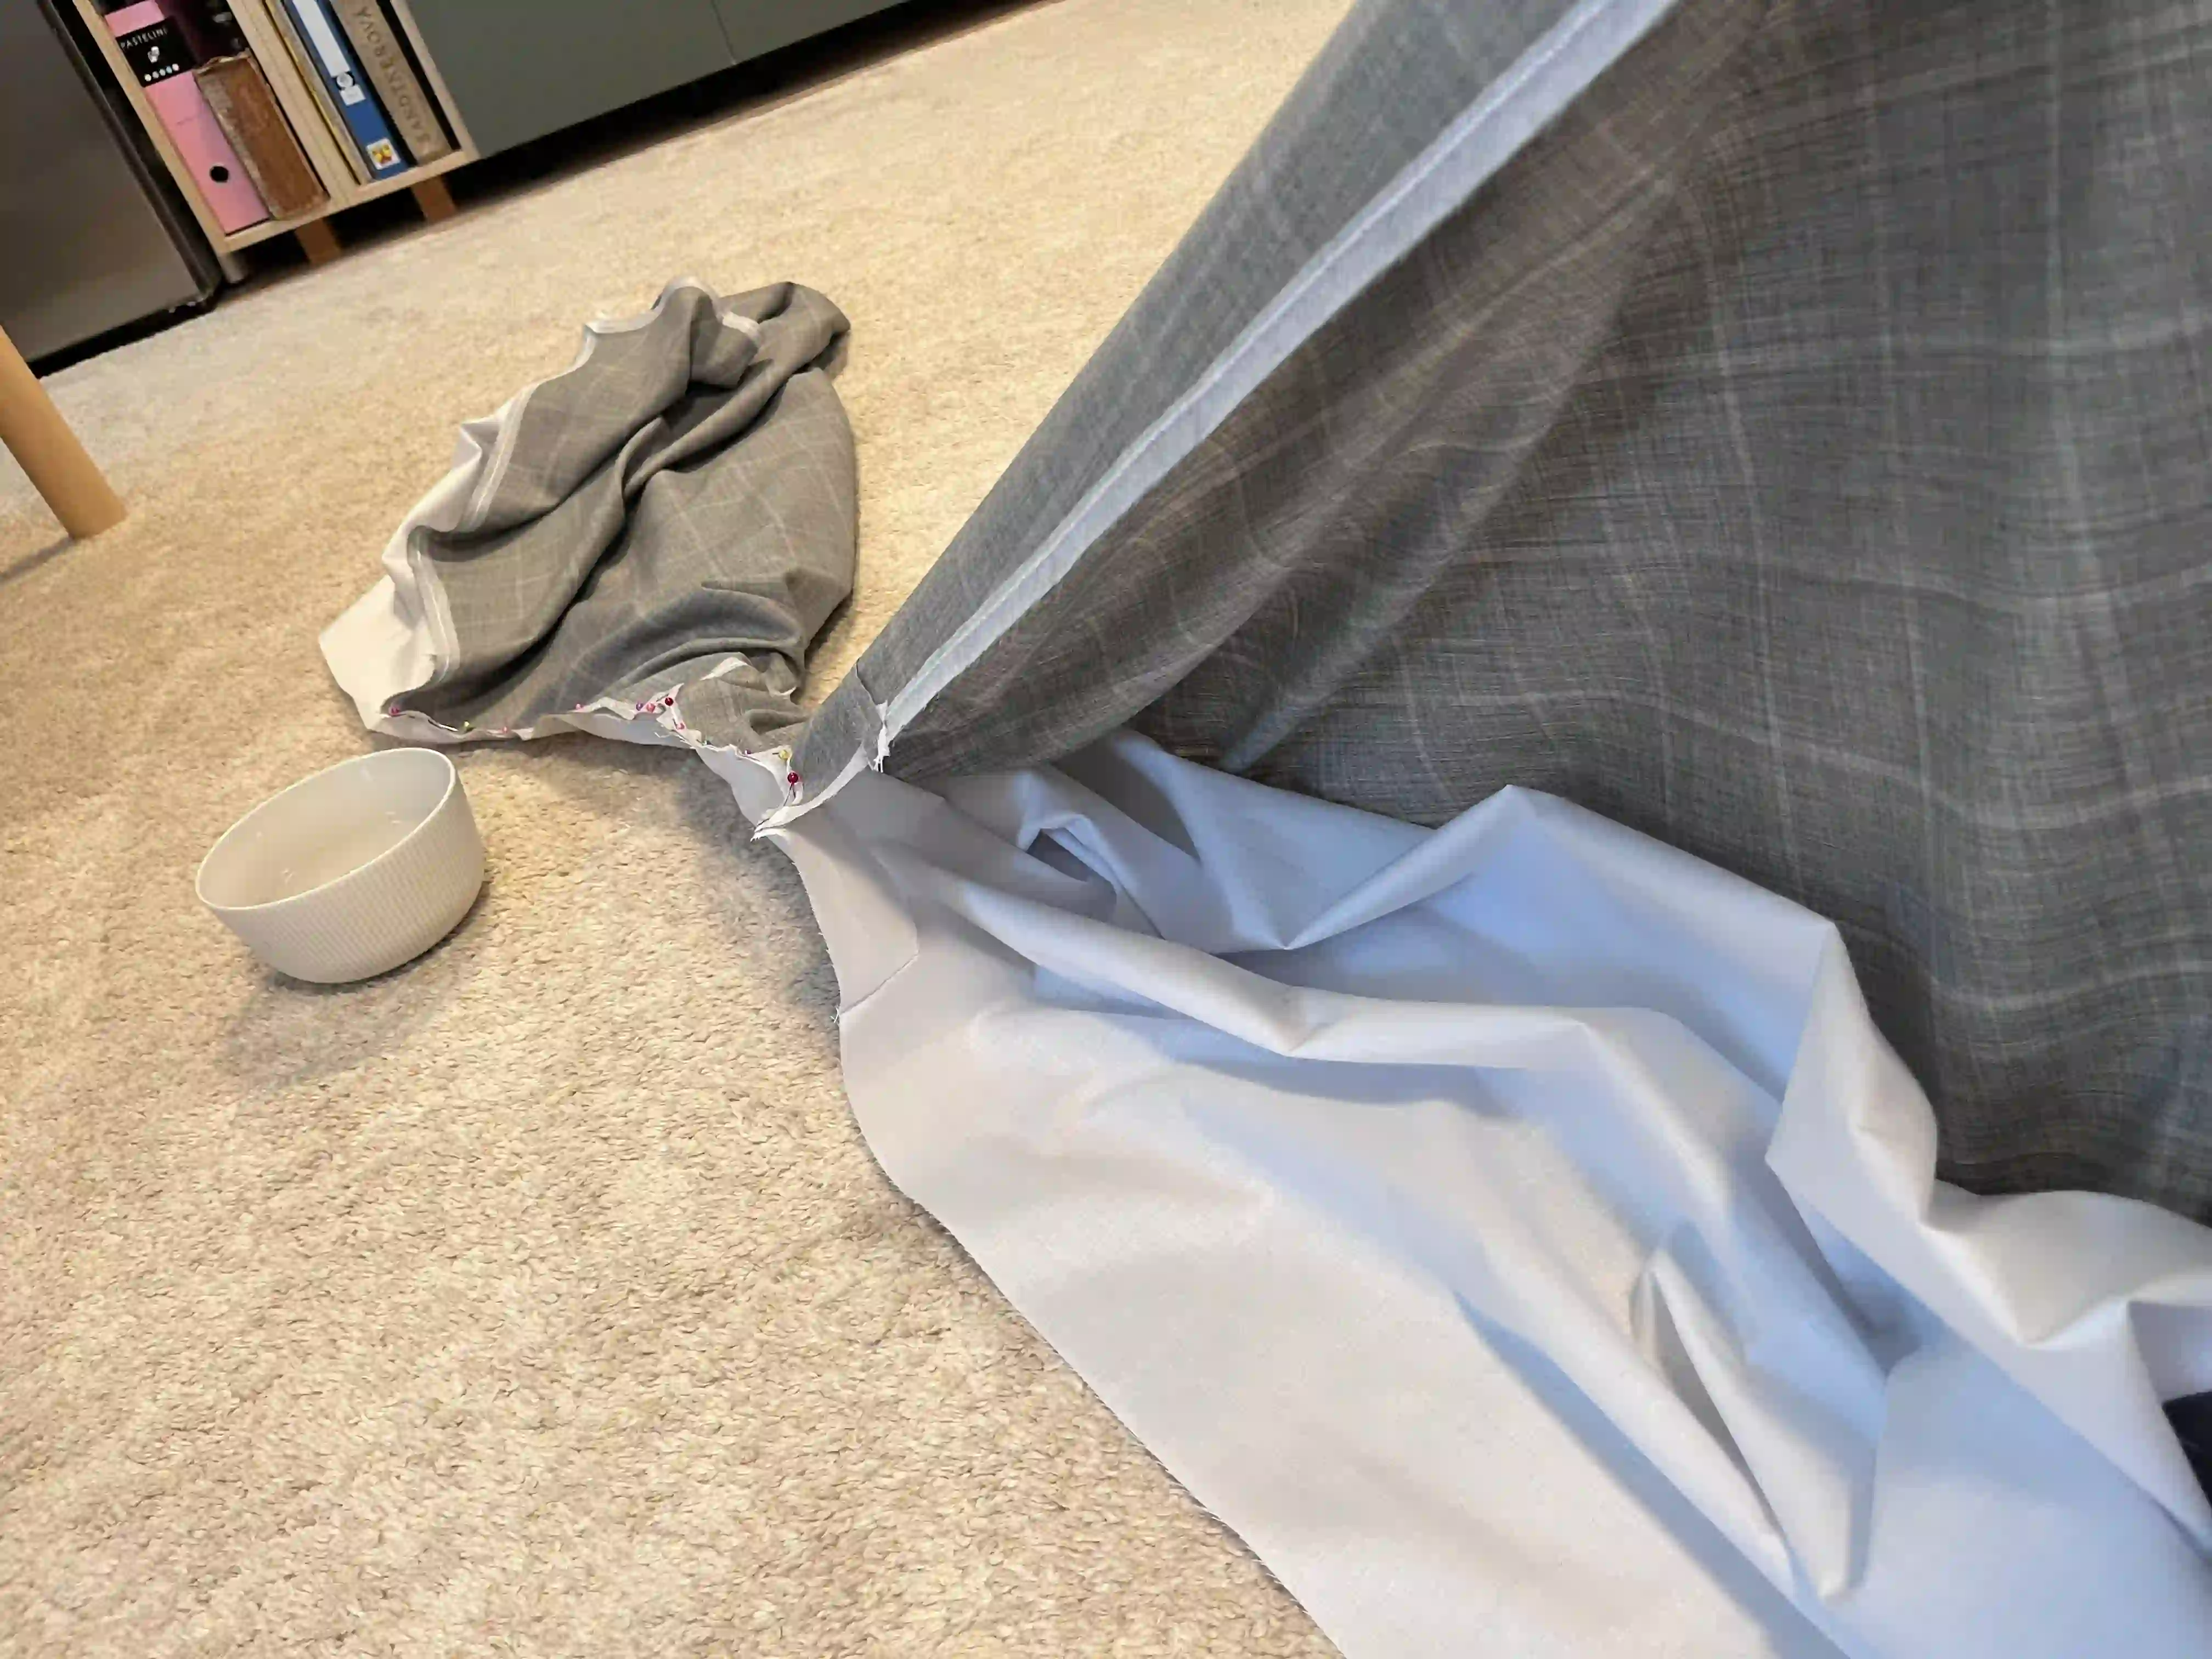
After sewing the shoulder opening, pull the fabric through from one side to turn the dress right side out. Repeat the same process for the other shoulder.
Now, turn the dress inside out and pin together the sides of the front and back pieces from the inside. Make sure to pin the two front pieces together and the two lining pieces together, as shown in the image. Then, sew along the entire side in one go. Repeat the same process for the other side.
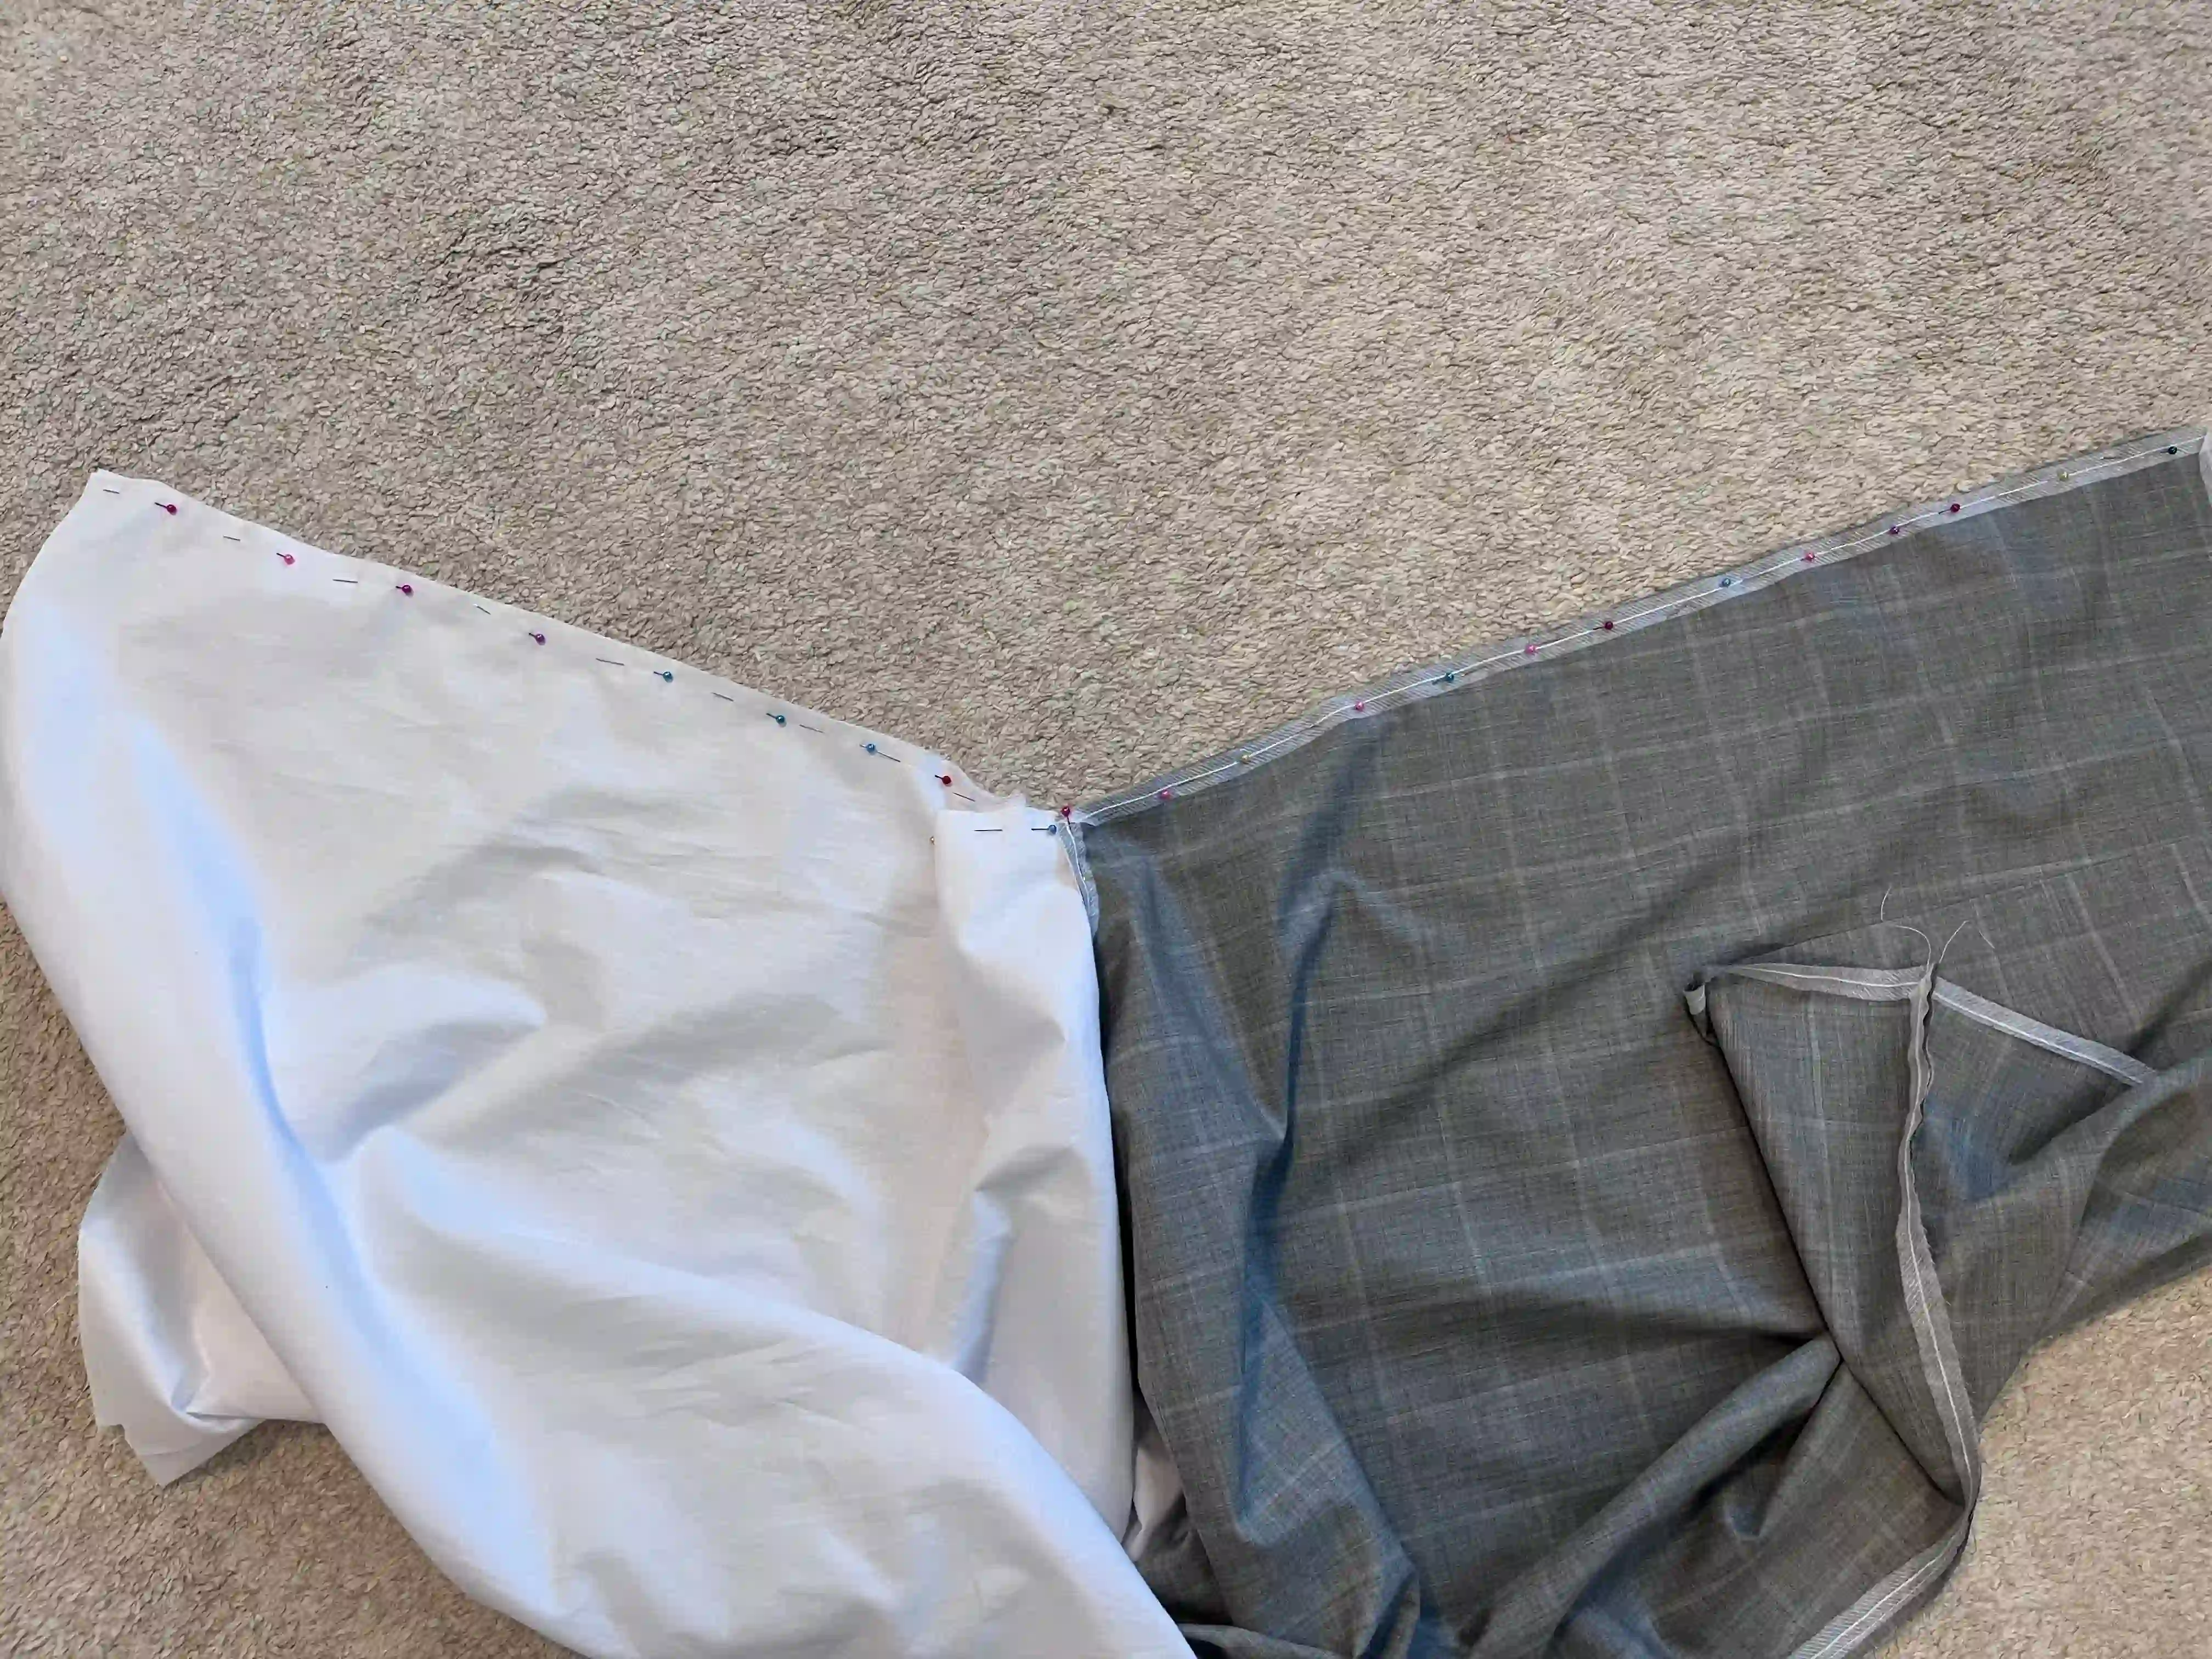
Now, turn the dress right-side out and smooth it out. I recommend ironing the dress as you go, after sewing each seam or section, to ensure everything sits perfectly according to the pattern and the dress holds its intended shape.
Next, align the bottom edges of the main fabric and the lining, and pin them together.
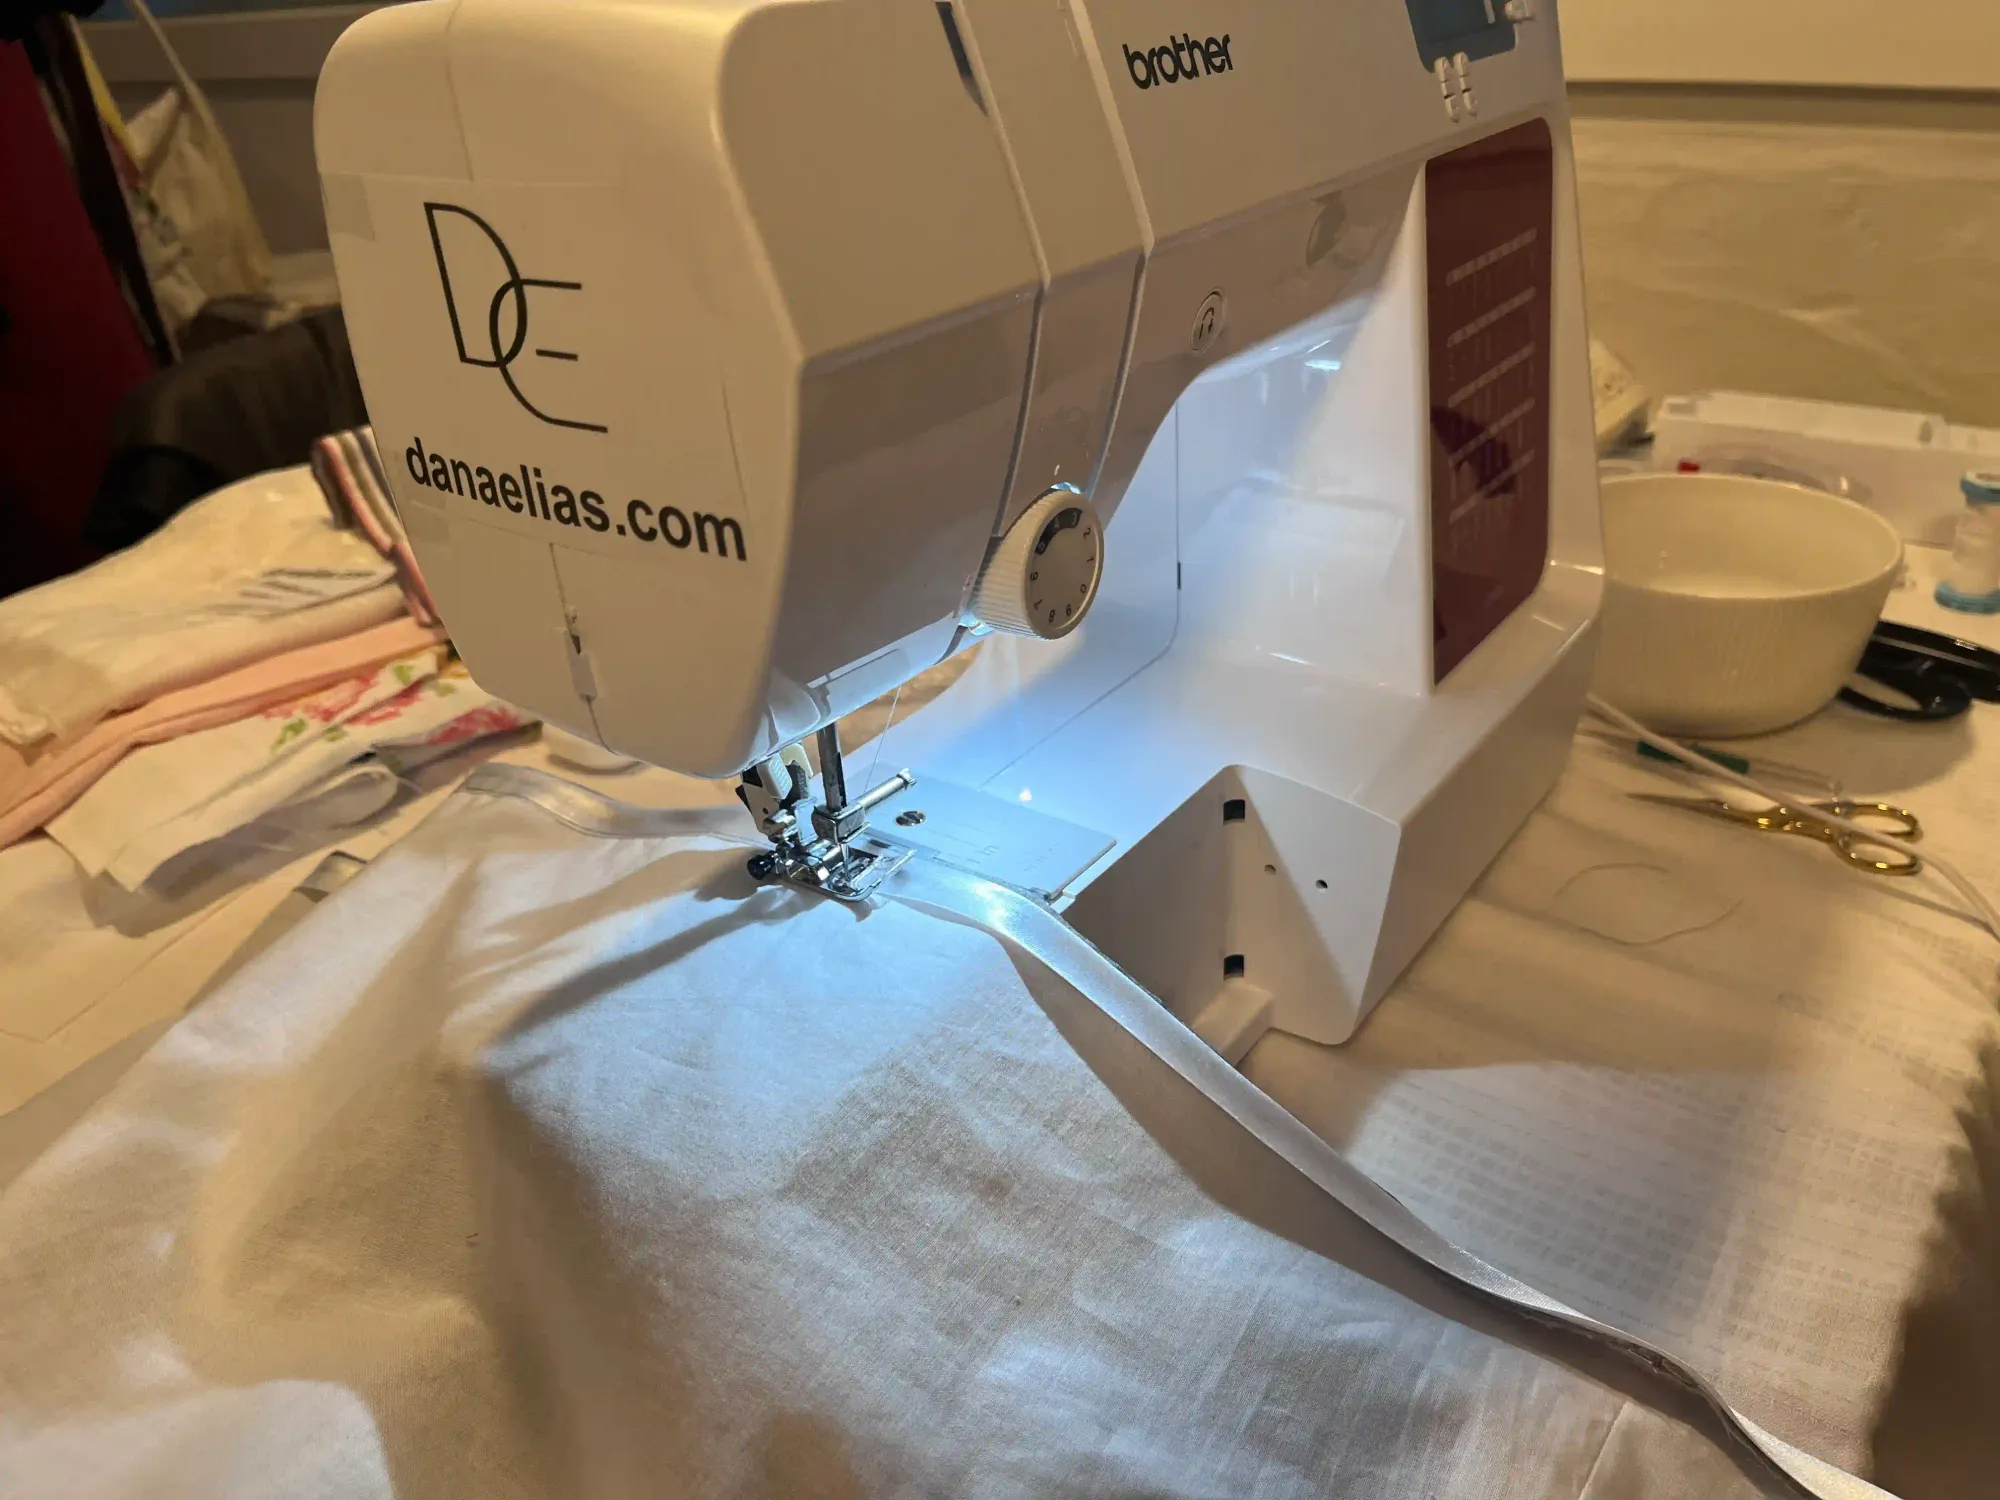
Prepare a bias binding strip and sew it along the outer edge of the main fabric, all the way around the bottom hem.
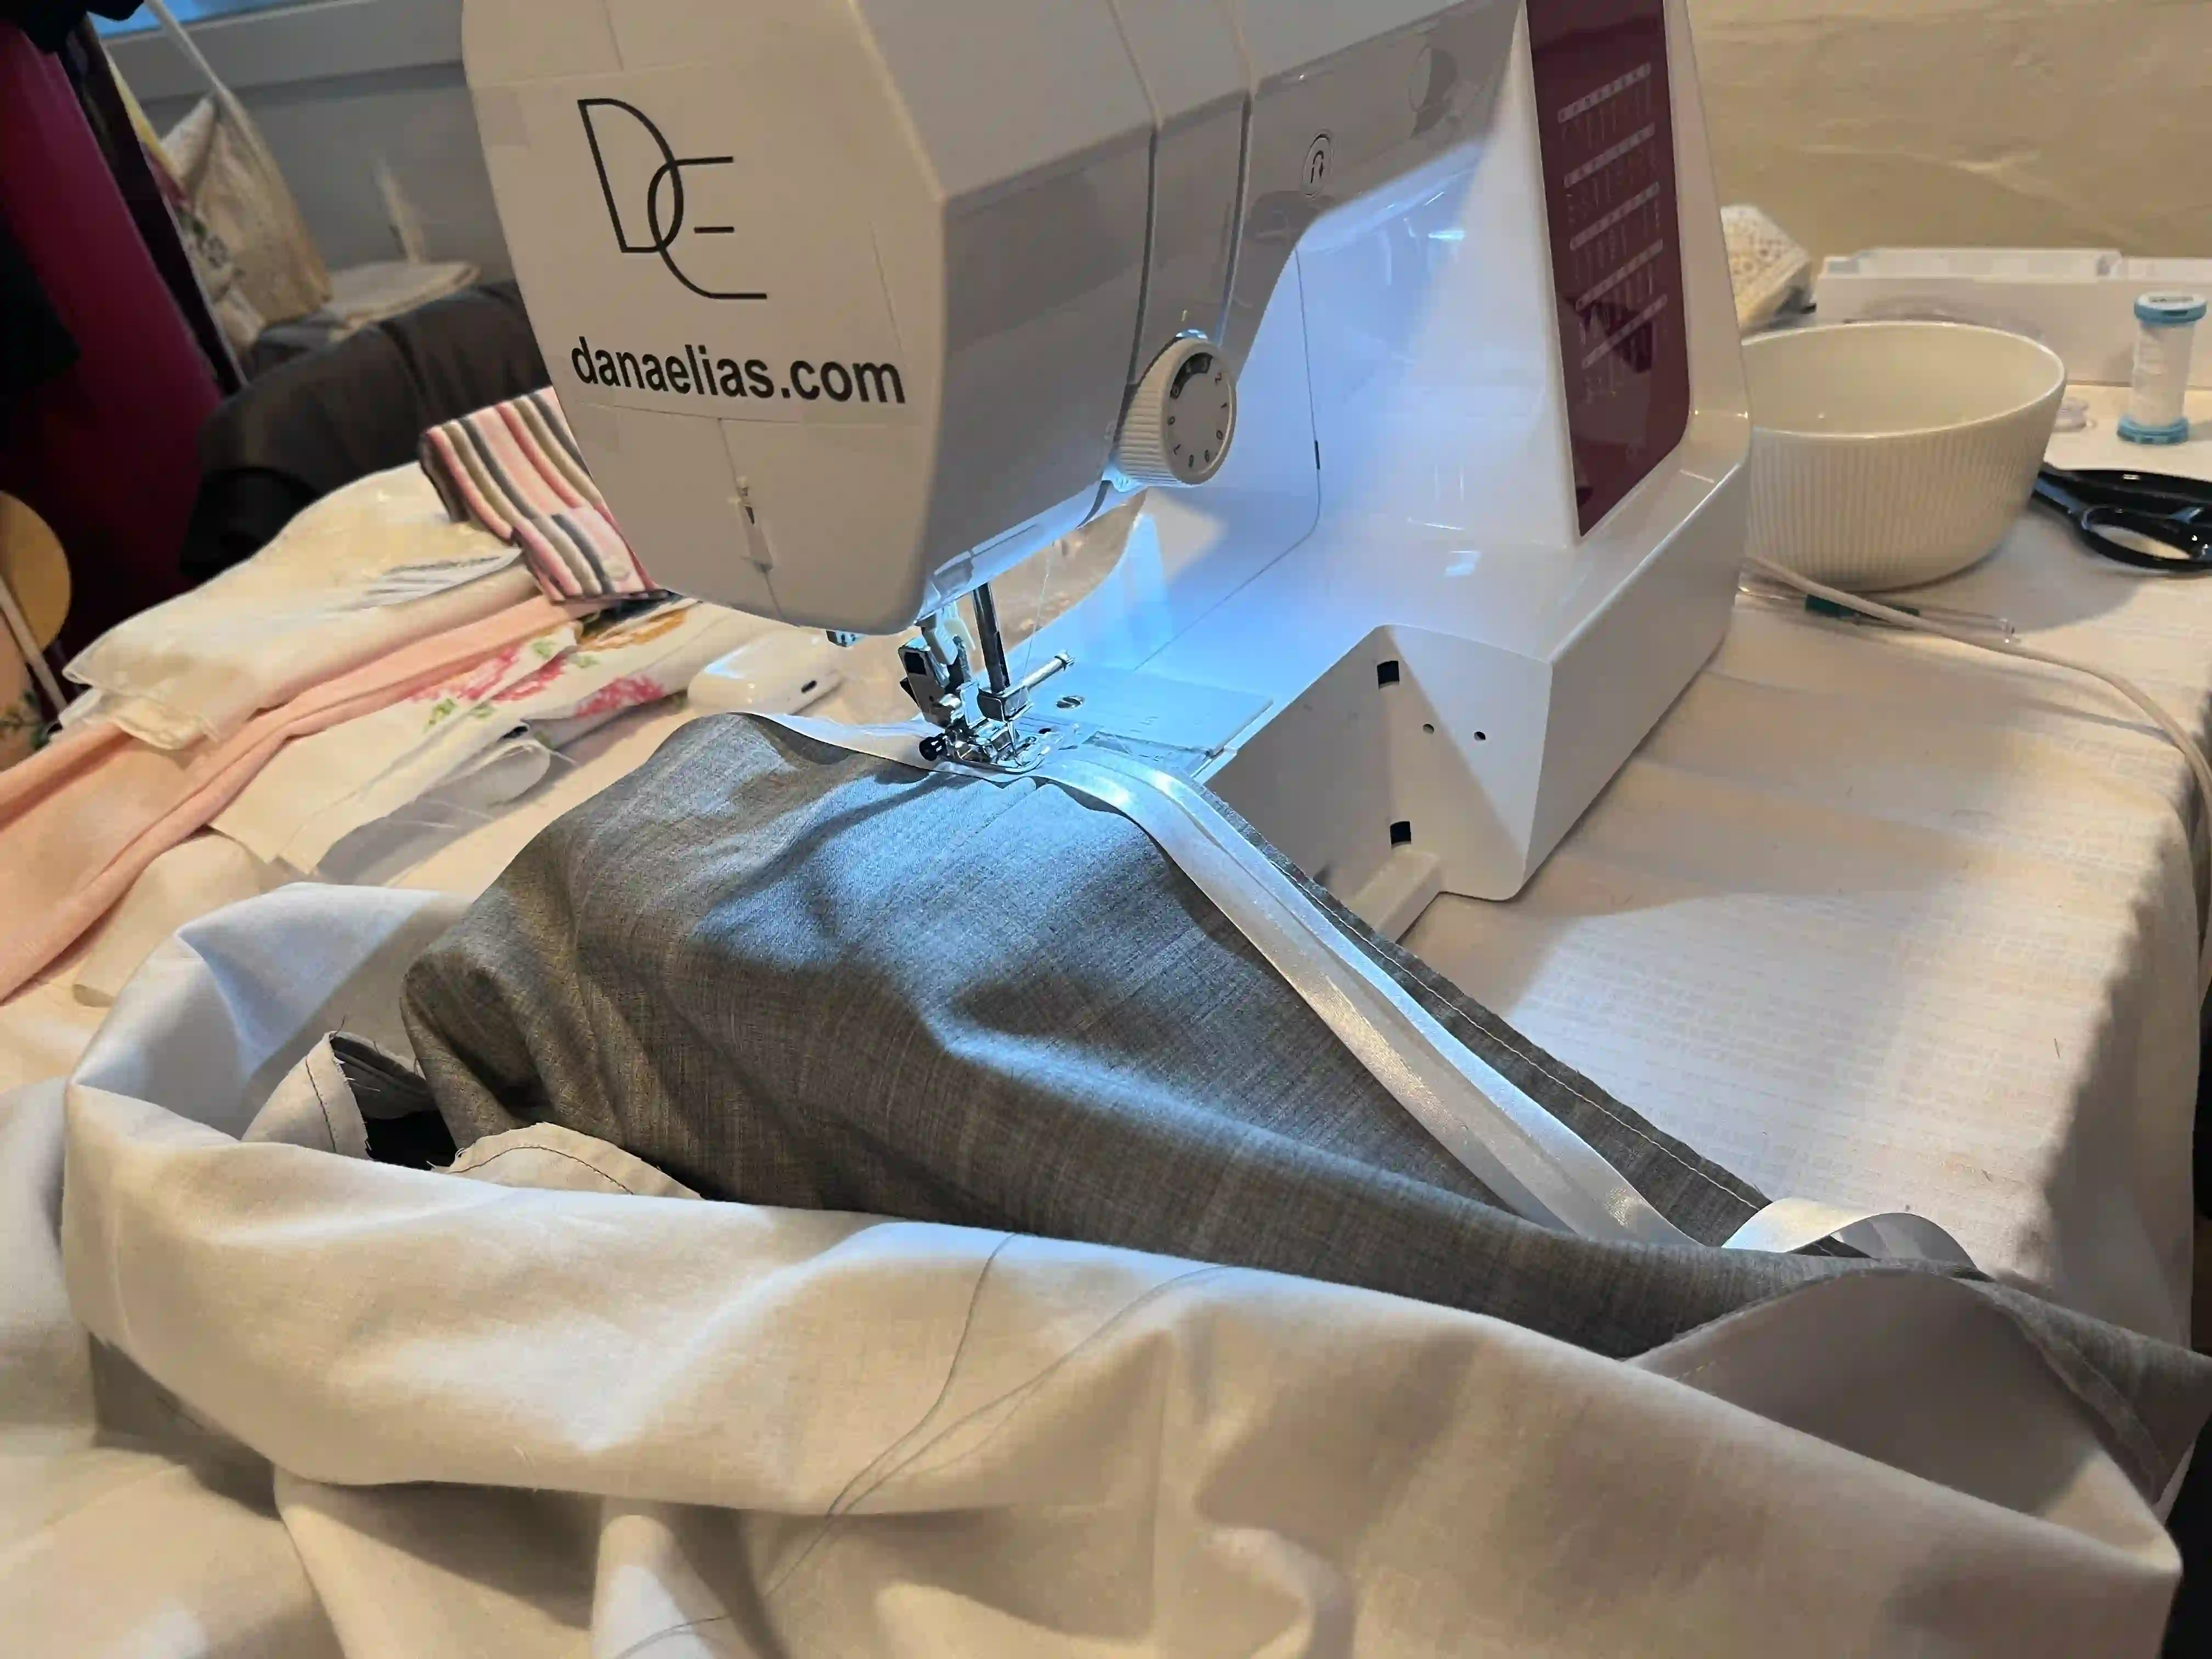
Now, fold the strip toward the inside of the dress and stitch it in place along its edge.
Now you’re done!
Give the dress a final press so the last seam and the hem are perfectly straight and smooth. Now you’re all set to head out, perhaps to meet a friend!
Let’s do the math
For this dress, I used 1 meter of a cashmere-silk blend fabric, specifically "Papillon" by Loro Piana.
The fabric cost me 200 EUR (223 USD).
Sewing the dress took 6.5 hours of "quiet sewing."
A similar dress at a Loro Piana boutique sells for approximately 2,900 EUR (3,300 USD). My costs (excluding the value of my own labor) therefore amounted to about 7% of the final boutique price.
So, you don’t need a massive budget.
Admittedly, the dress won’t look exactly like an original piece straight from a Loro Piana boutique, but it is a beautiful creation, one you made yourself. I am so glad that these fabrics are accessible to everyday people, rather than being an exclusive luxury reserved solely for the wealthiest "one percent."
After all, for 200 EUR / 223 USD, the most I could buy at a typical shopping mall would be a standard polyester dress. While sewing it myself requires time and effort, the result is a timeless dress that I can wear to almost any occasion.
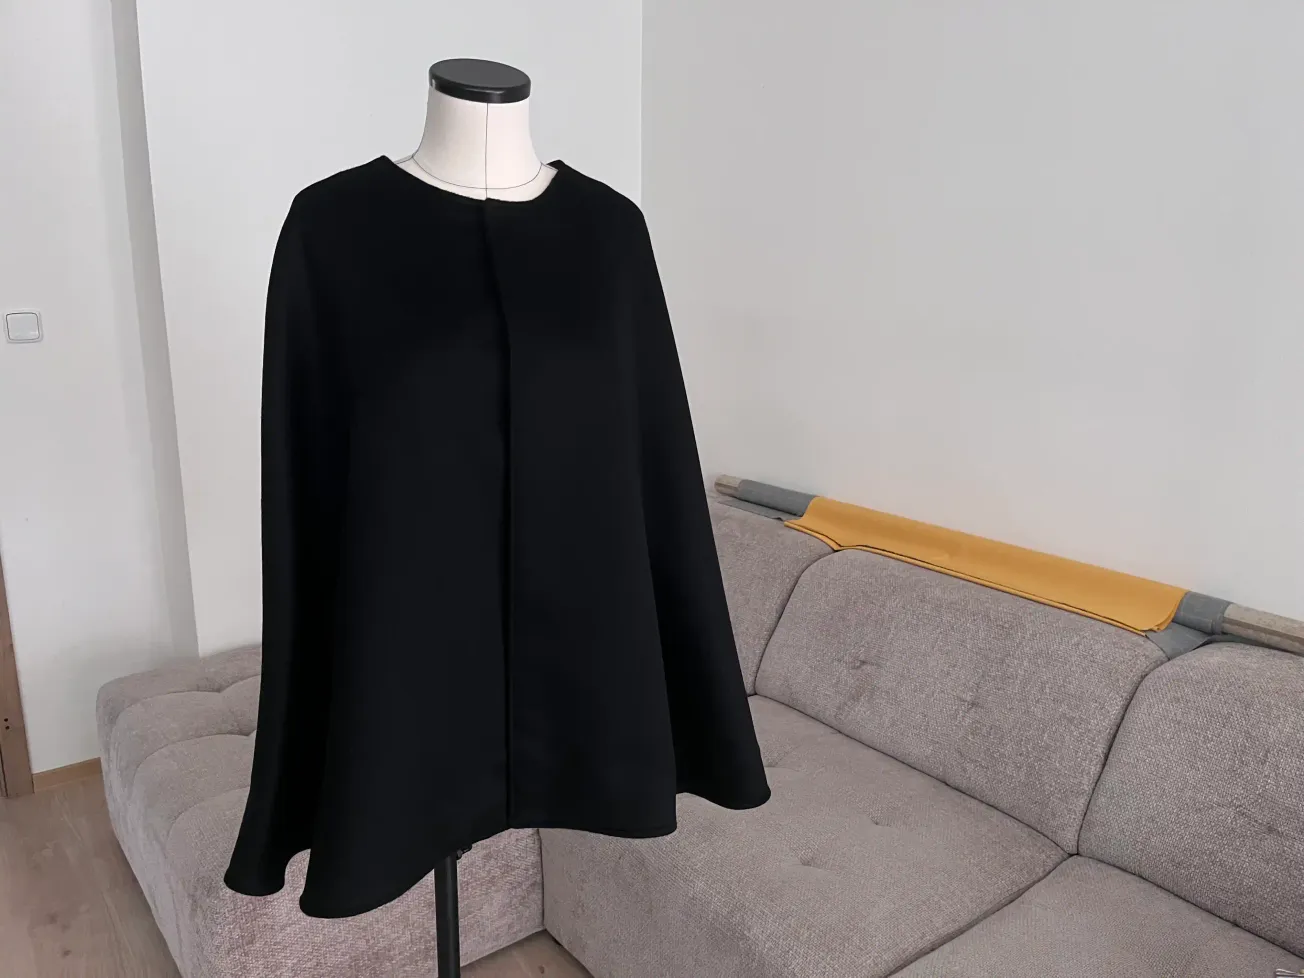
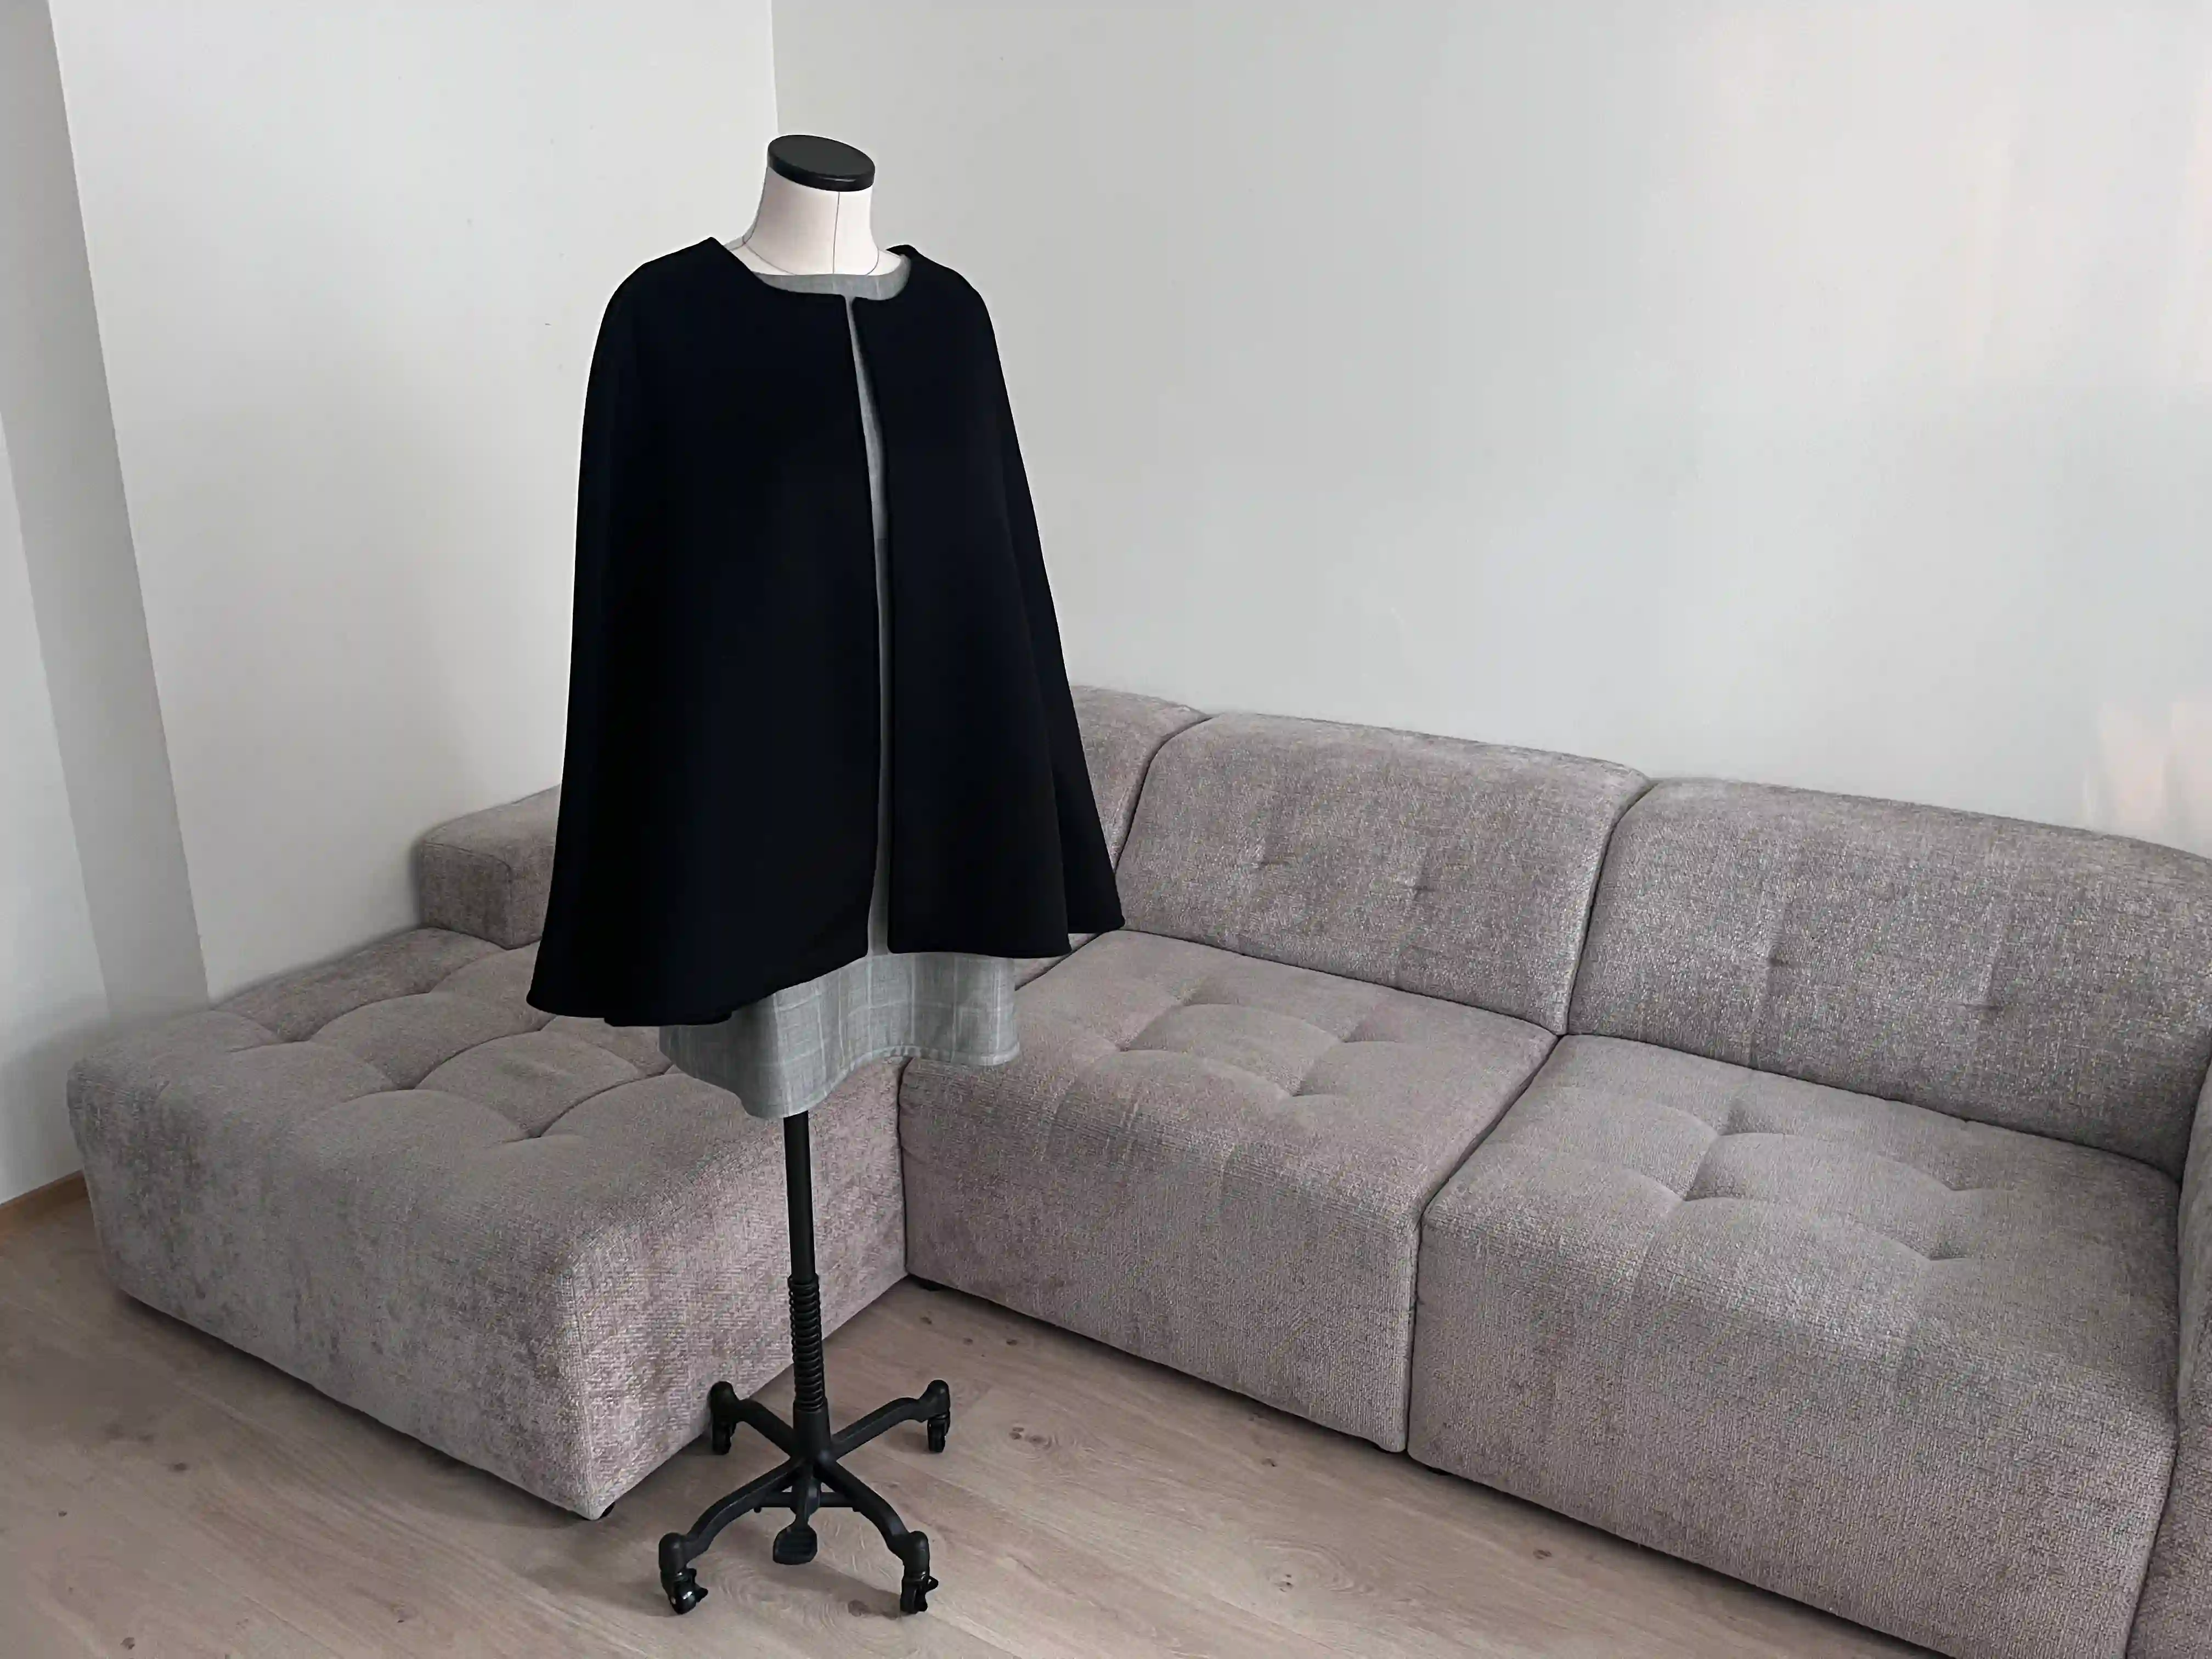
This dress perfectly matching with cashmere cape i sewed few days ago.
If you are interested in other A-line styles, take a look at the A-Line Dress Guide page, where you might find more interesting variations of this dress style.
If you have any questions while sewing, please don’t hesitate to reach out in the comments. I’m here to help! 🫶
Happy Quiet Sewing 🌸
Dana