Table of Contents
Every handmade product has its own unique story. Each one is unique, often created over a long period of time and with love. Many creative people can make truly beautiful things. Sometimes so beautiful that you stand there and stare in amazement at the beauty.
But what happens when an item, such as a hand-embroidered tablecloth, is irreparably damaged? Or even worse, when it simply "just doesn't fit" someone?
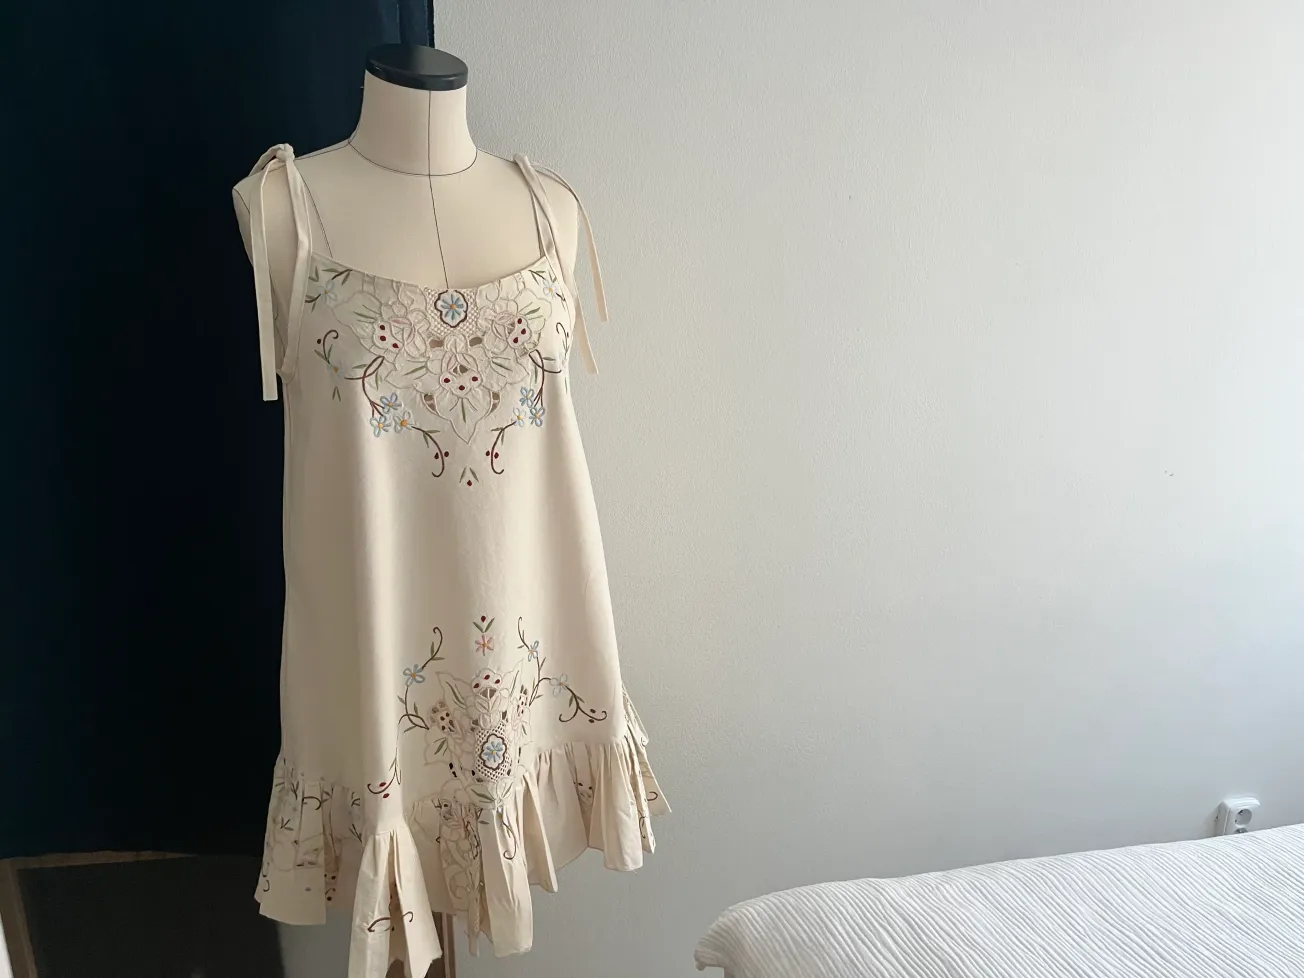
I have great respect for handmade creation. It supports creativity, develops us, and allows us to take a break from the digital world that is all around us. At the same time, it is very interesting when there is an opportunity to recycle these products and give them a more modern look while maintaining their original charm. For example, creating upcycled clothing or bags.
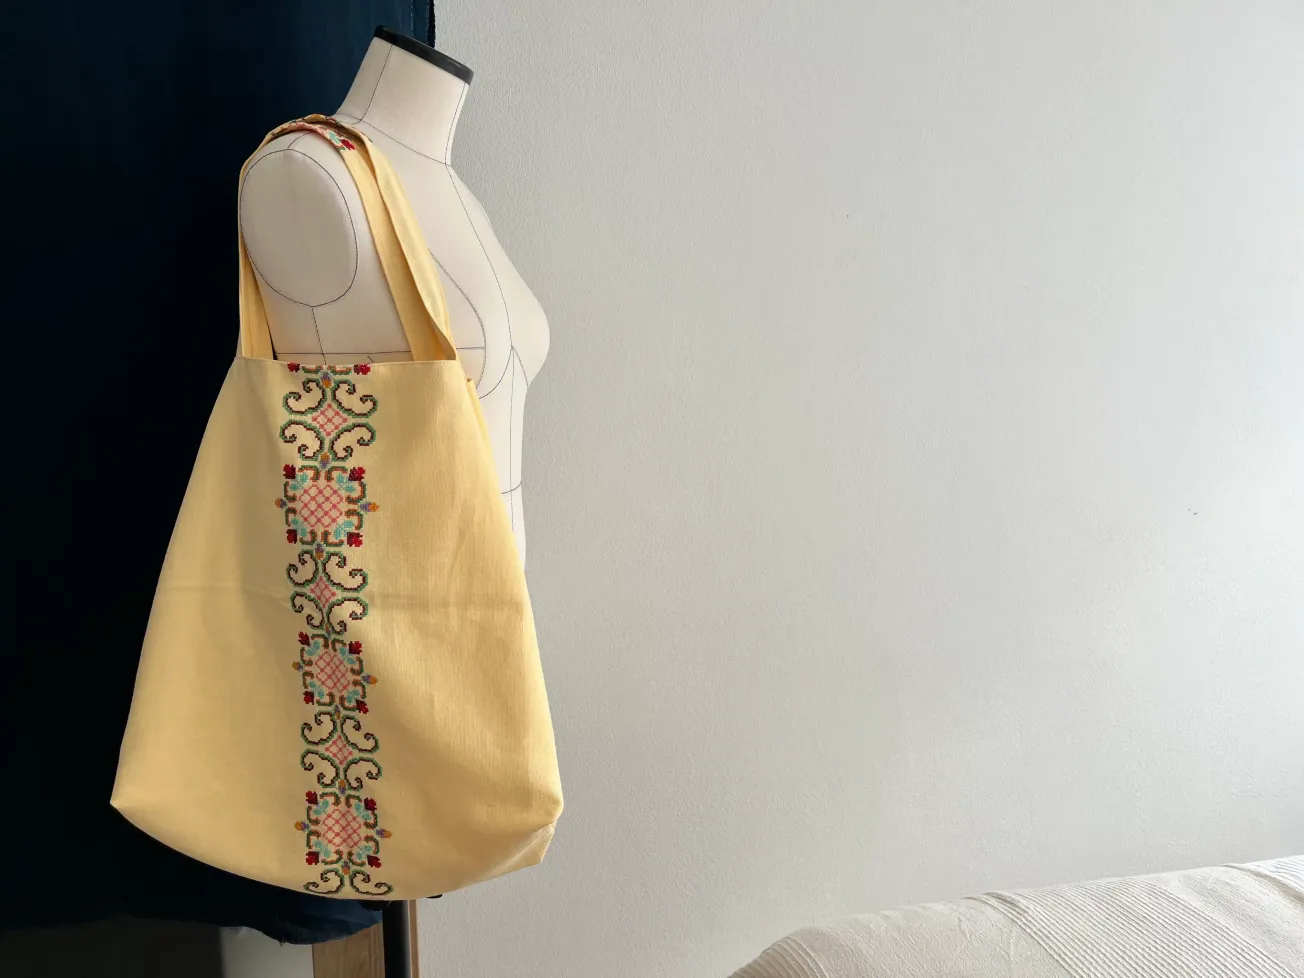
For example, this is typical of tablecloths. Many people today will not put an antique cross-stitch tablecloth on the table. Let alone when it has stains or a hole somewhere. I find these tablecloths very attractive. They usually don't make it to the table anymore, but I can still recycle them and create a new, unique piece that no one else has. At the same time, I support sustainability because I find a new purpose for a product that would no longer be useful, and one that will still look great, like a Tote Bag made from an embroidered tablecloth.
In this article, I will show you how you can easily sew your own bag step by step, even if you are a beginner. You don't need any special skills to sew a bag.
What You Will Need For Your Tablecloth Bag
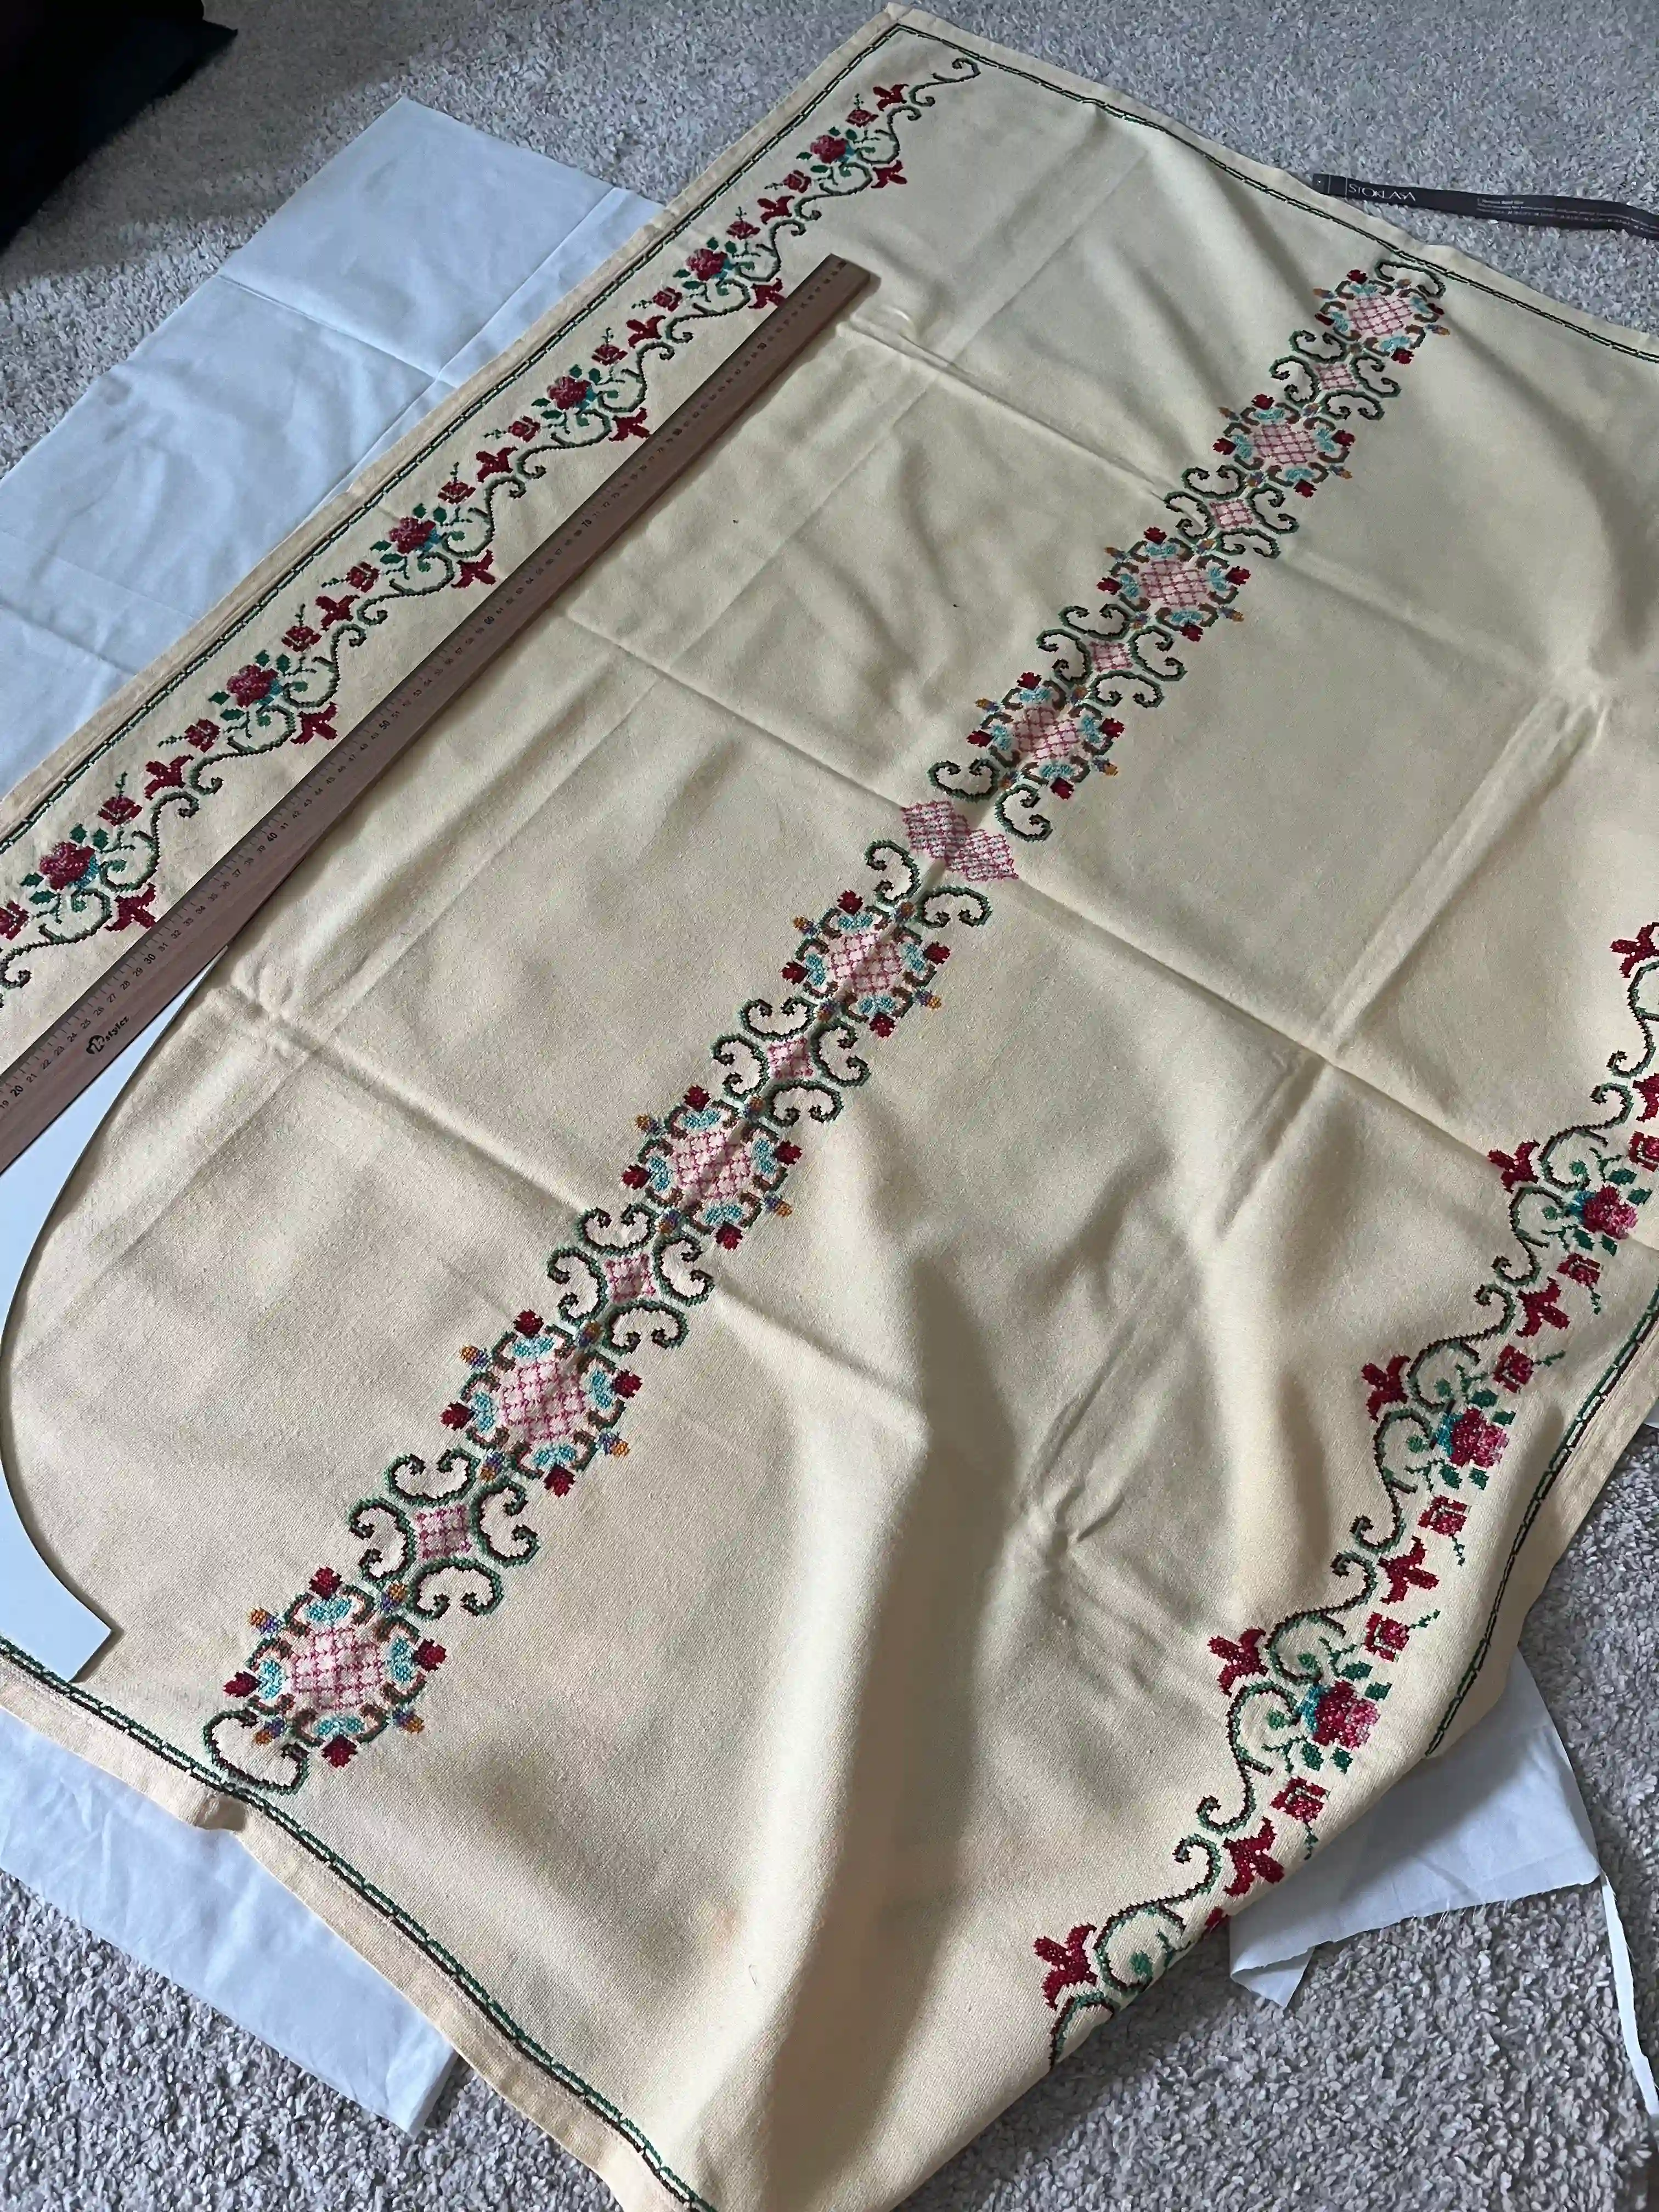
Embroidered tablecloth (main fabric); I have one old one with cross-stitch
Fabric for the inside of the bag (lining)
Sewing machine
Tailoring scissors
Tailoring chalk or pencil
Thread in the color of the main fabric (so that the seams are not visible)
If your fabric is too soft, you can buy interlining to reinforce the main, soft fabric so that your bag holds its shape better
Preparing The Material
Carefully wash the tablecloth by hand. Handmade products are never washed in a washing machine, as this is a very delicate process that a regular washing machine could damage, for example, by wringing.
Always wash in a mild detergent. For example, I use delicate laundry or baby soap. If you sew with hand embroidery, cotton yarn tends to bleed after years. For example, if you have dark embroidery on a light background, rinse it gently with lukewarm water and then wring it out and let it dry. Soaking it for too long could cause the cotton to bleed and ruin the tablecloth. You can iron the wrapped tablecloth on the "cotton" setting.
Tablecloth Tote Bag Cut Layout
This step will affect the result of your work and make your bag unique.
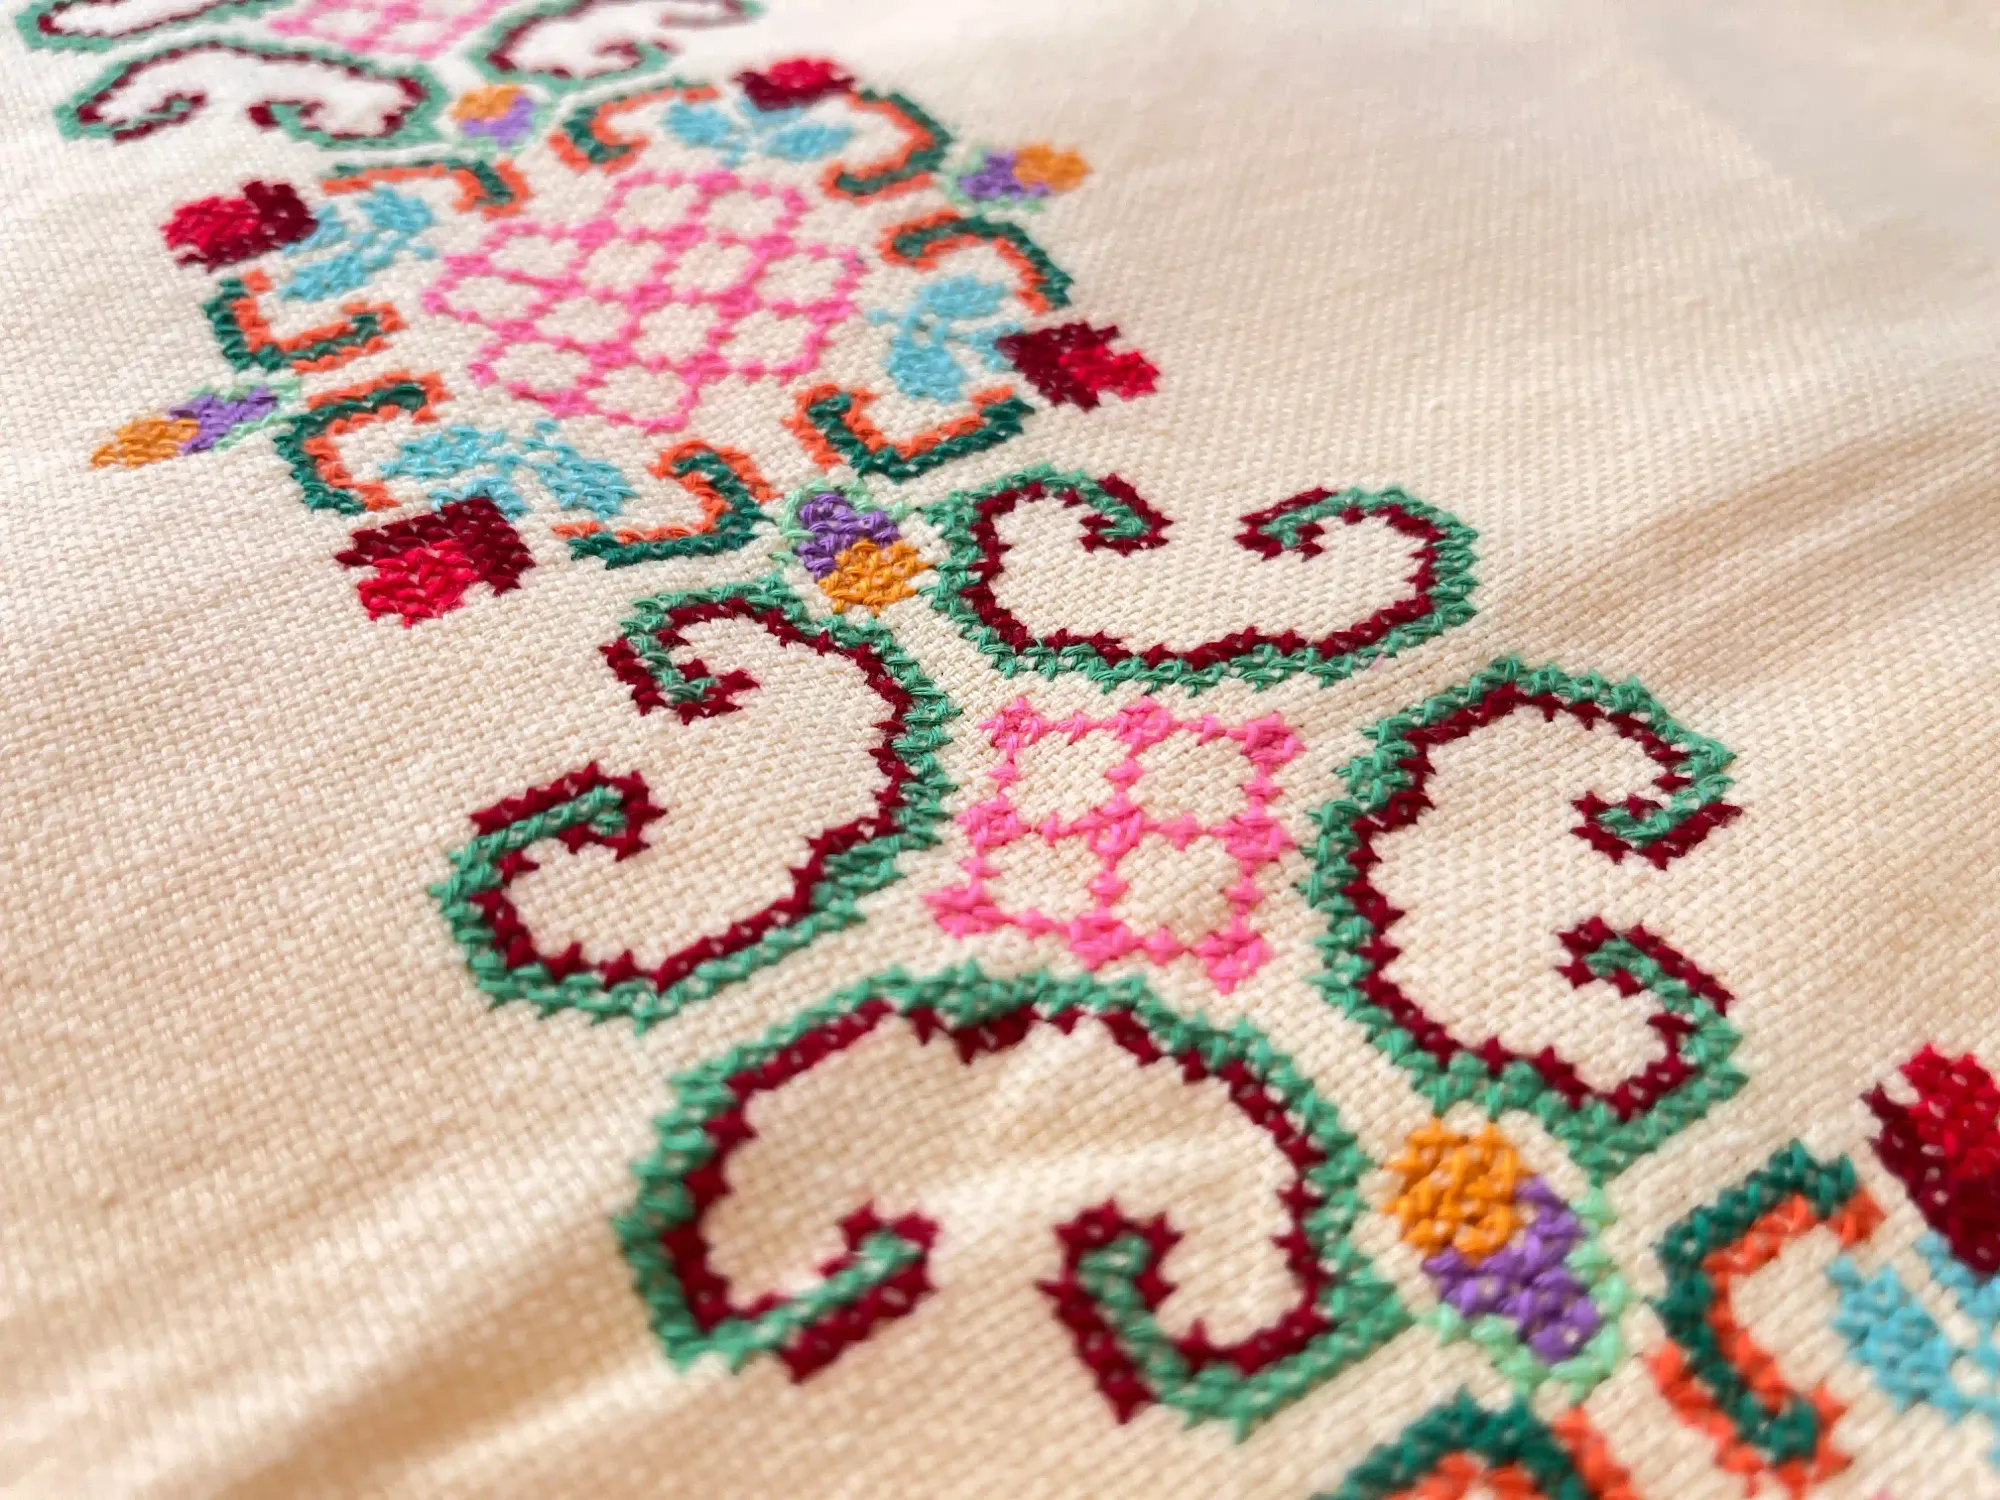
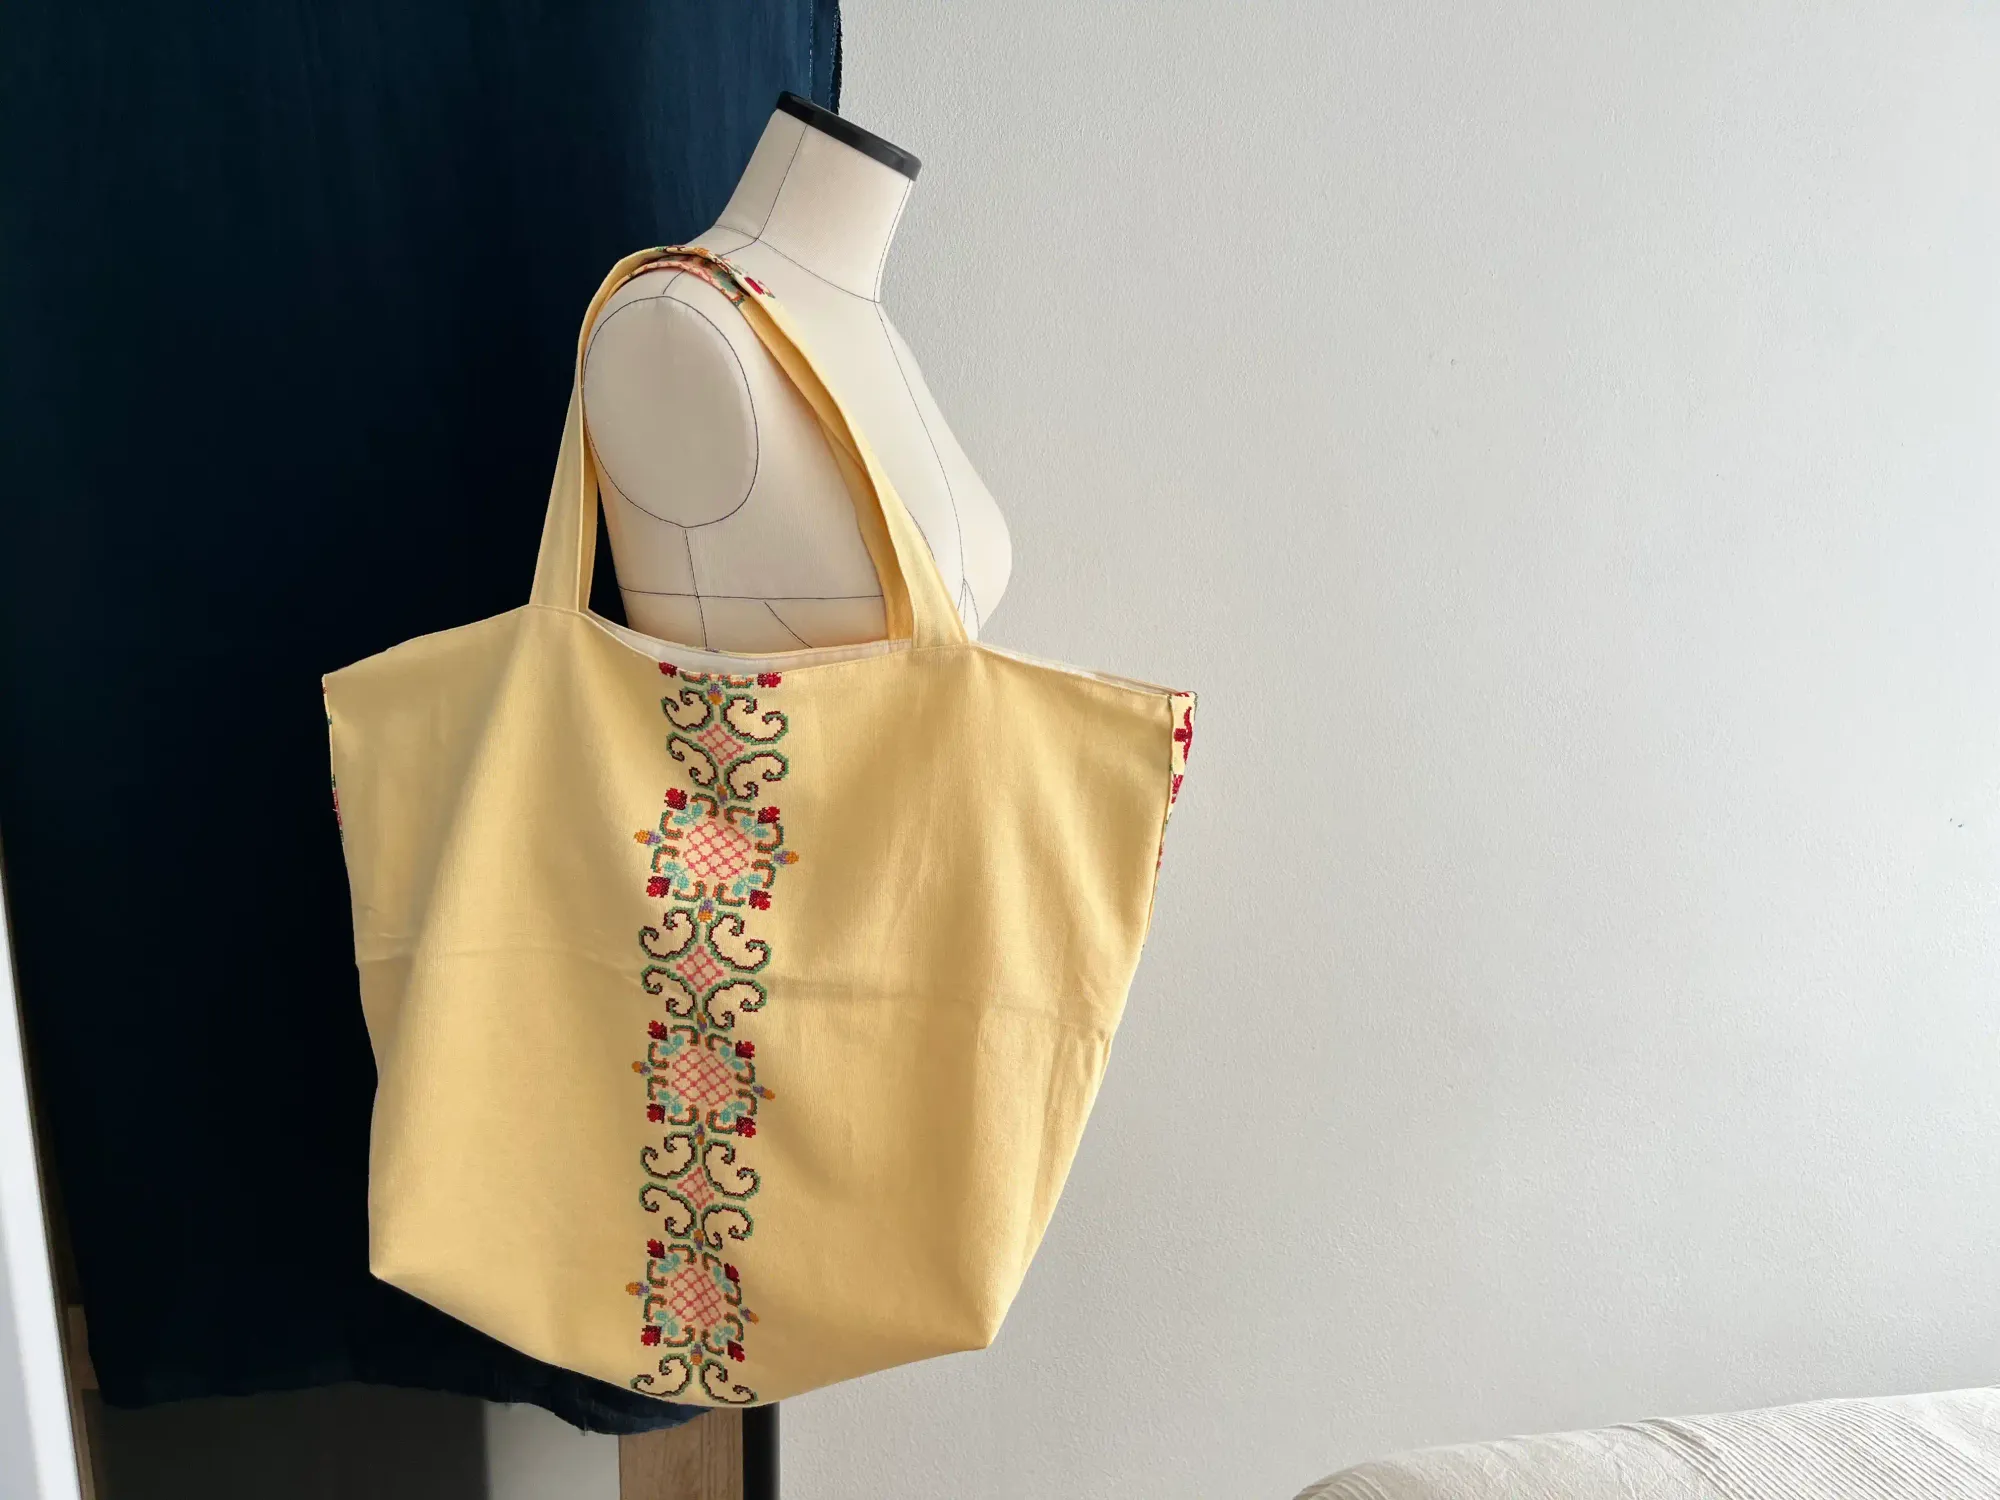
Place the planned shape of the bag on the embroidery so that the embroidery is where you want it. I used the bag cut so I have my cross-stitch embroidery in the middle, and I left the rest as clean as possible so the bag looks delicate and the main stripe in the middle stands out.
I placed the handles of the bag in the same way so that the embroidery is in the middle and the bag looks professional.
Troubleshooting
Does your tablecloth have stains or holes in key places?
If your tablecloth has holes, you can cover them with another part of the tablecloth that you don’t need. If the hole is larger, I would gladly cover it with embroidery and sew it on so that the hole stands out. This is called turning a lack into a major benefit. 😉 You point out that there was a hole, and you’ve solved the problem. If you place the embroidery in the hole correctly, you’ll create an interesting effect on your bag. The same goes for stains. You can cover it, cut it out, cover it with a lining, or just sew it over and cover it. Or you can leave it alone. Stains are part of life, right?
Tutorial Step-by-step How To Upcycle Vintage Tablecloth Into Tote Bag in Cottagecore Style
On the wrong side of the tablecloth, use tailor's chalk or pencil to draw the main part of the tote bag, two handles, and one long handle that will allow you to carry the bag over your shoulder. Place the pieces so that they correspond to where you want the embroidery on your bag.
On the inner fabric of the tote bag, draw the main part of the bag.
Cut out all the pieces. You have a total of 5 pieces to check.
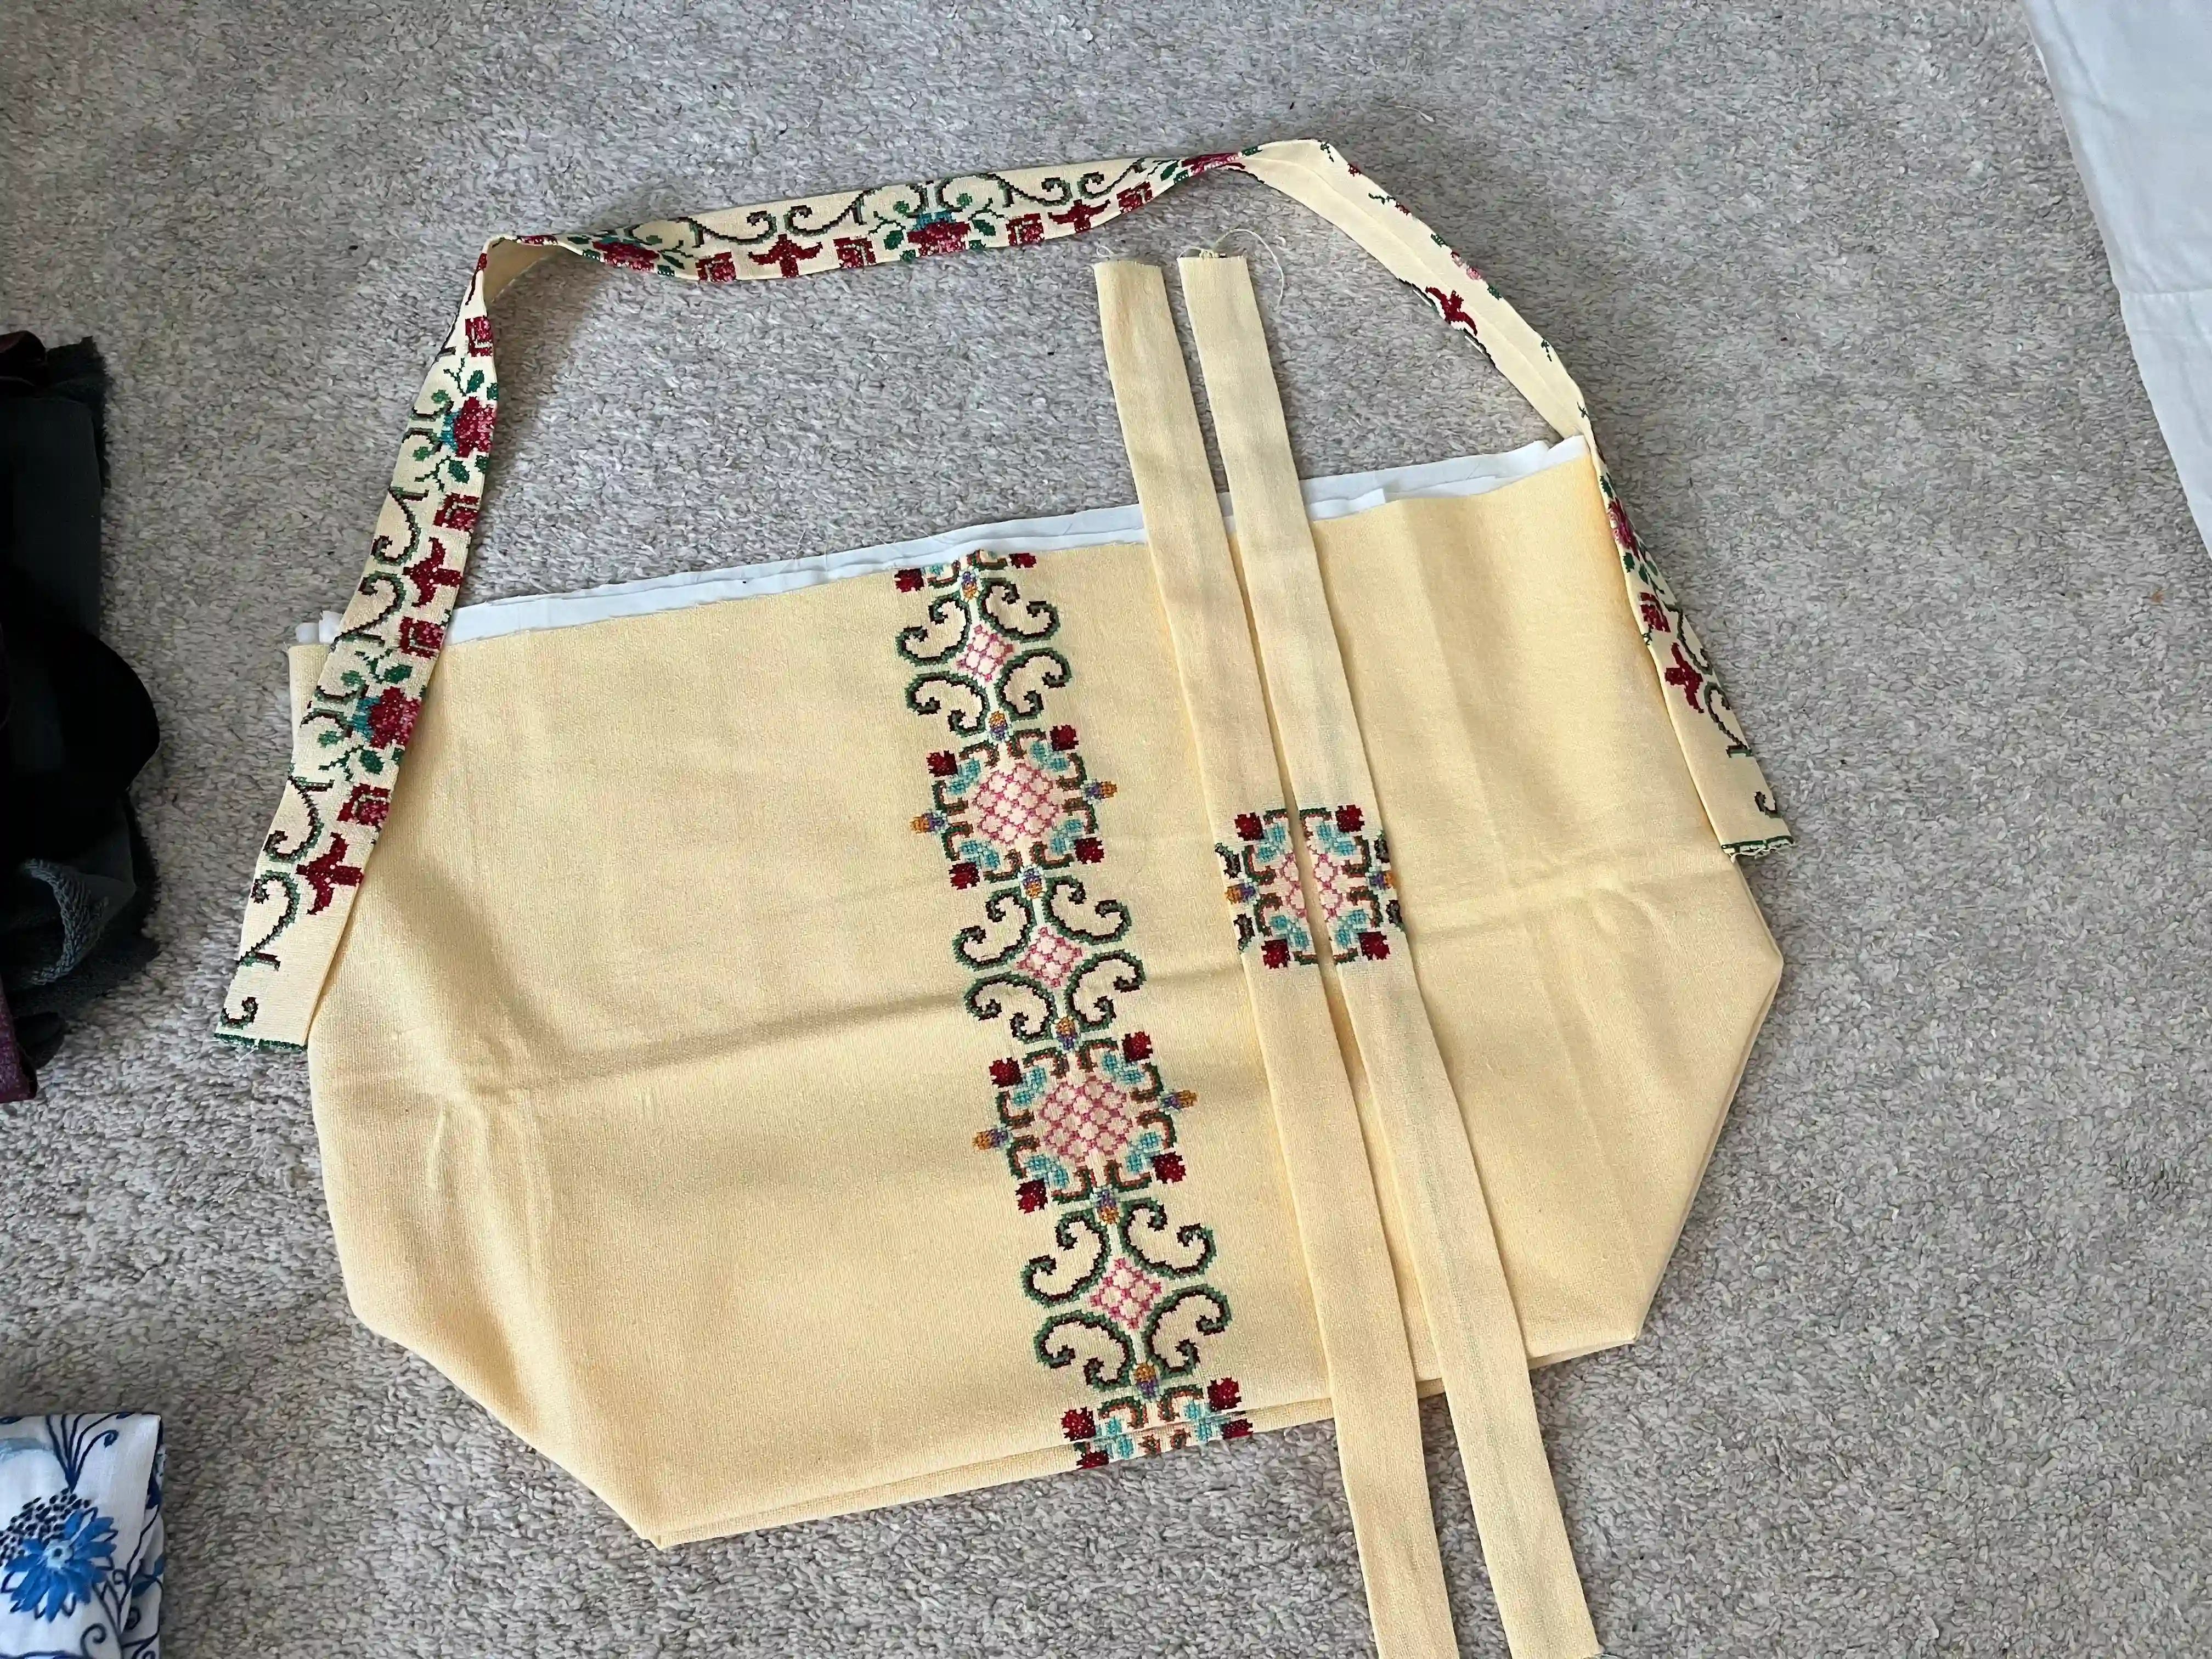
Sewing a Handmade Tote Bag in Cottagecore Style
Sew all three parts you intended for the handles of the bag, one by one, from the wrong side into tubes.
After sewing, turn all three parts one by one and iron them so that the seam of each piece is in the middle of the bottom side and is not visible.
Sew the edges of these three handles around the perimeter. (Don't forget to tuck the part of the ear that you used to thread the fabric through.)
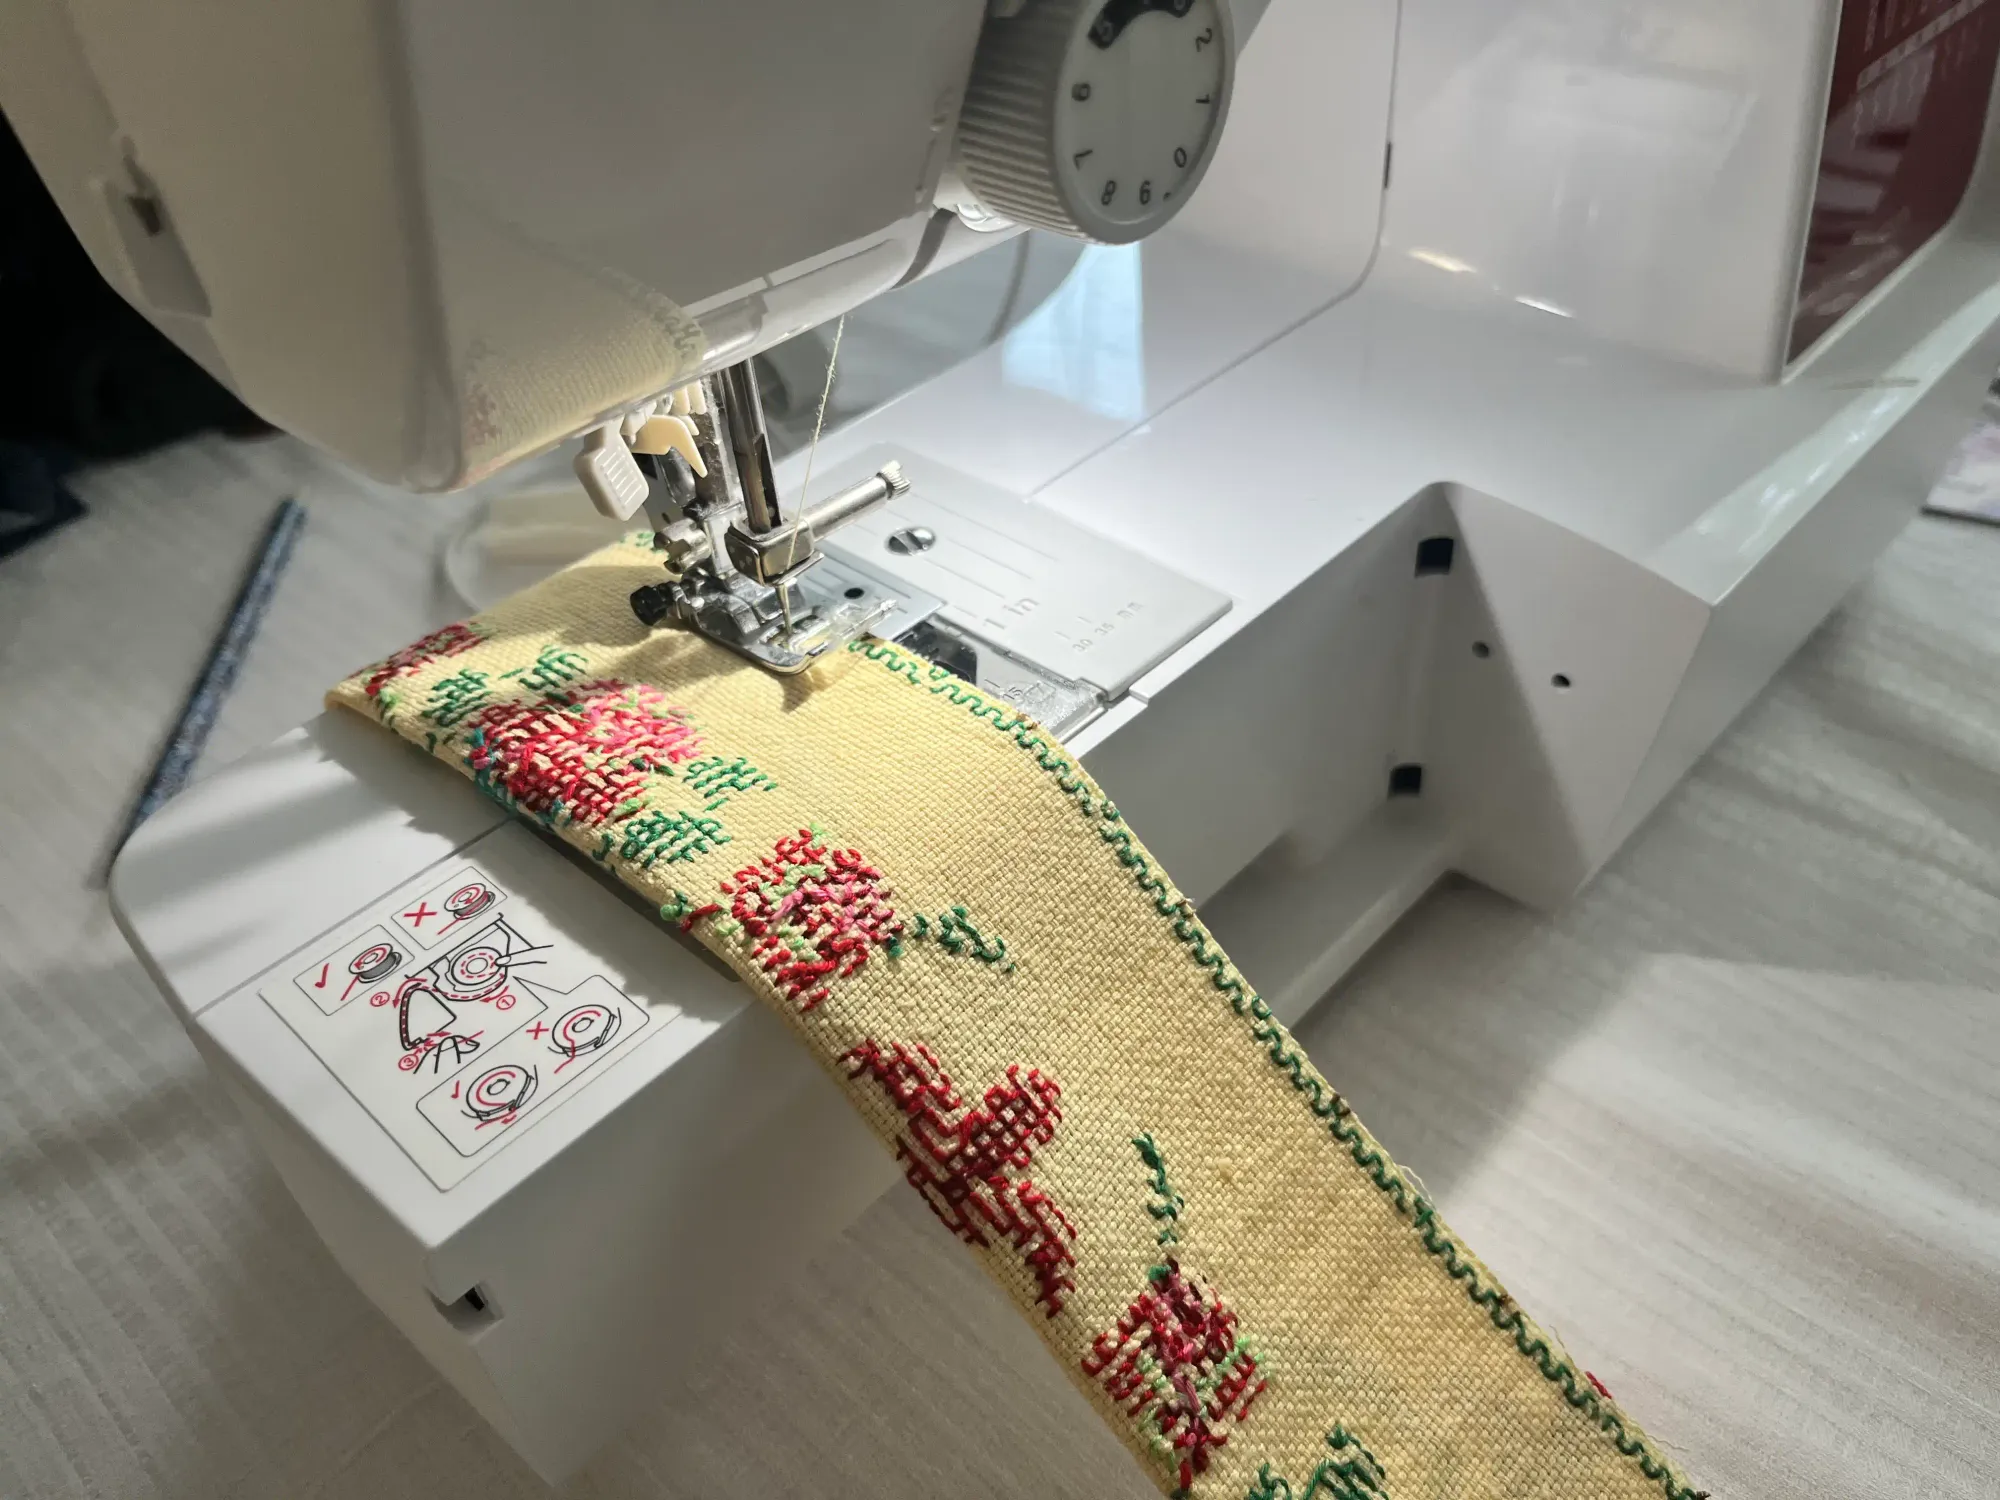
Main Part of Tablecloth Bag
Fold the main fabric wrong side out and sew along the sides to create a pocket. Then sew both corners at a 90-degree angle to create a square bottom of the bag. You can determine the width yourself.
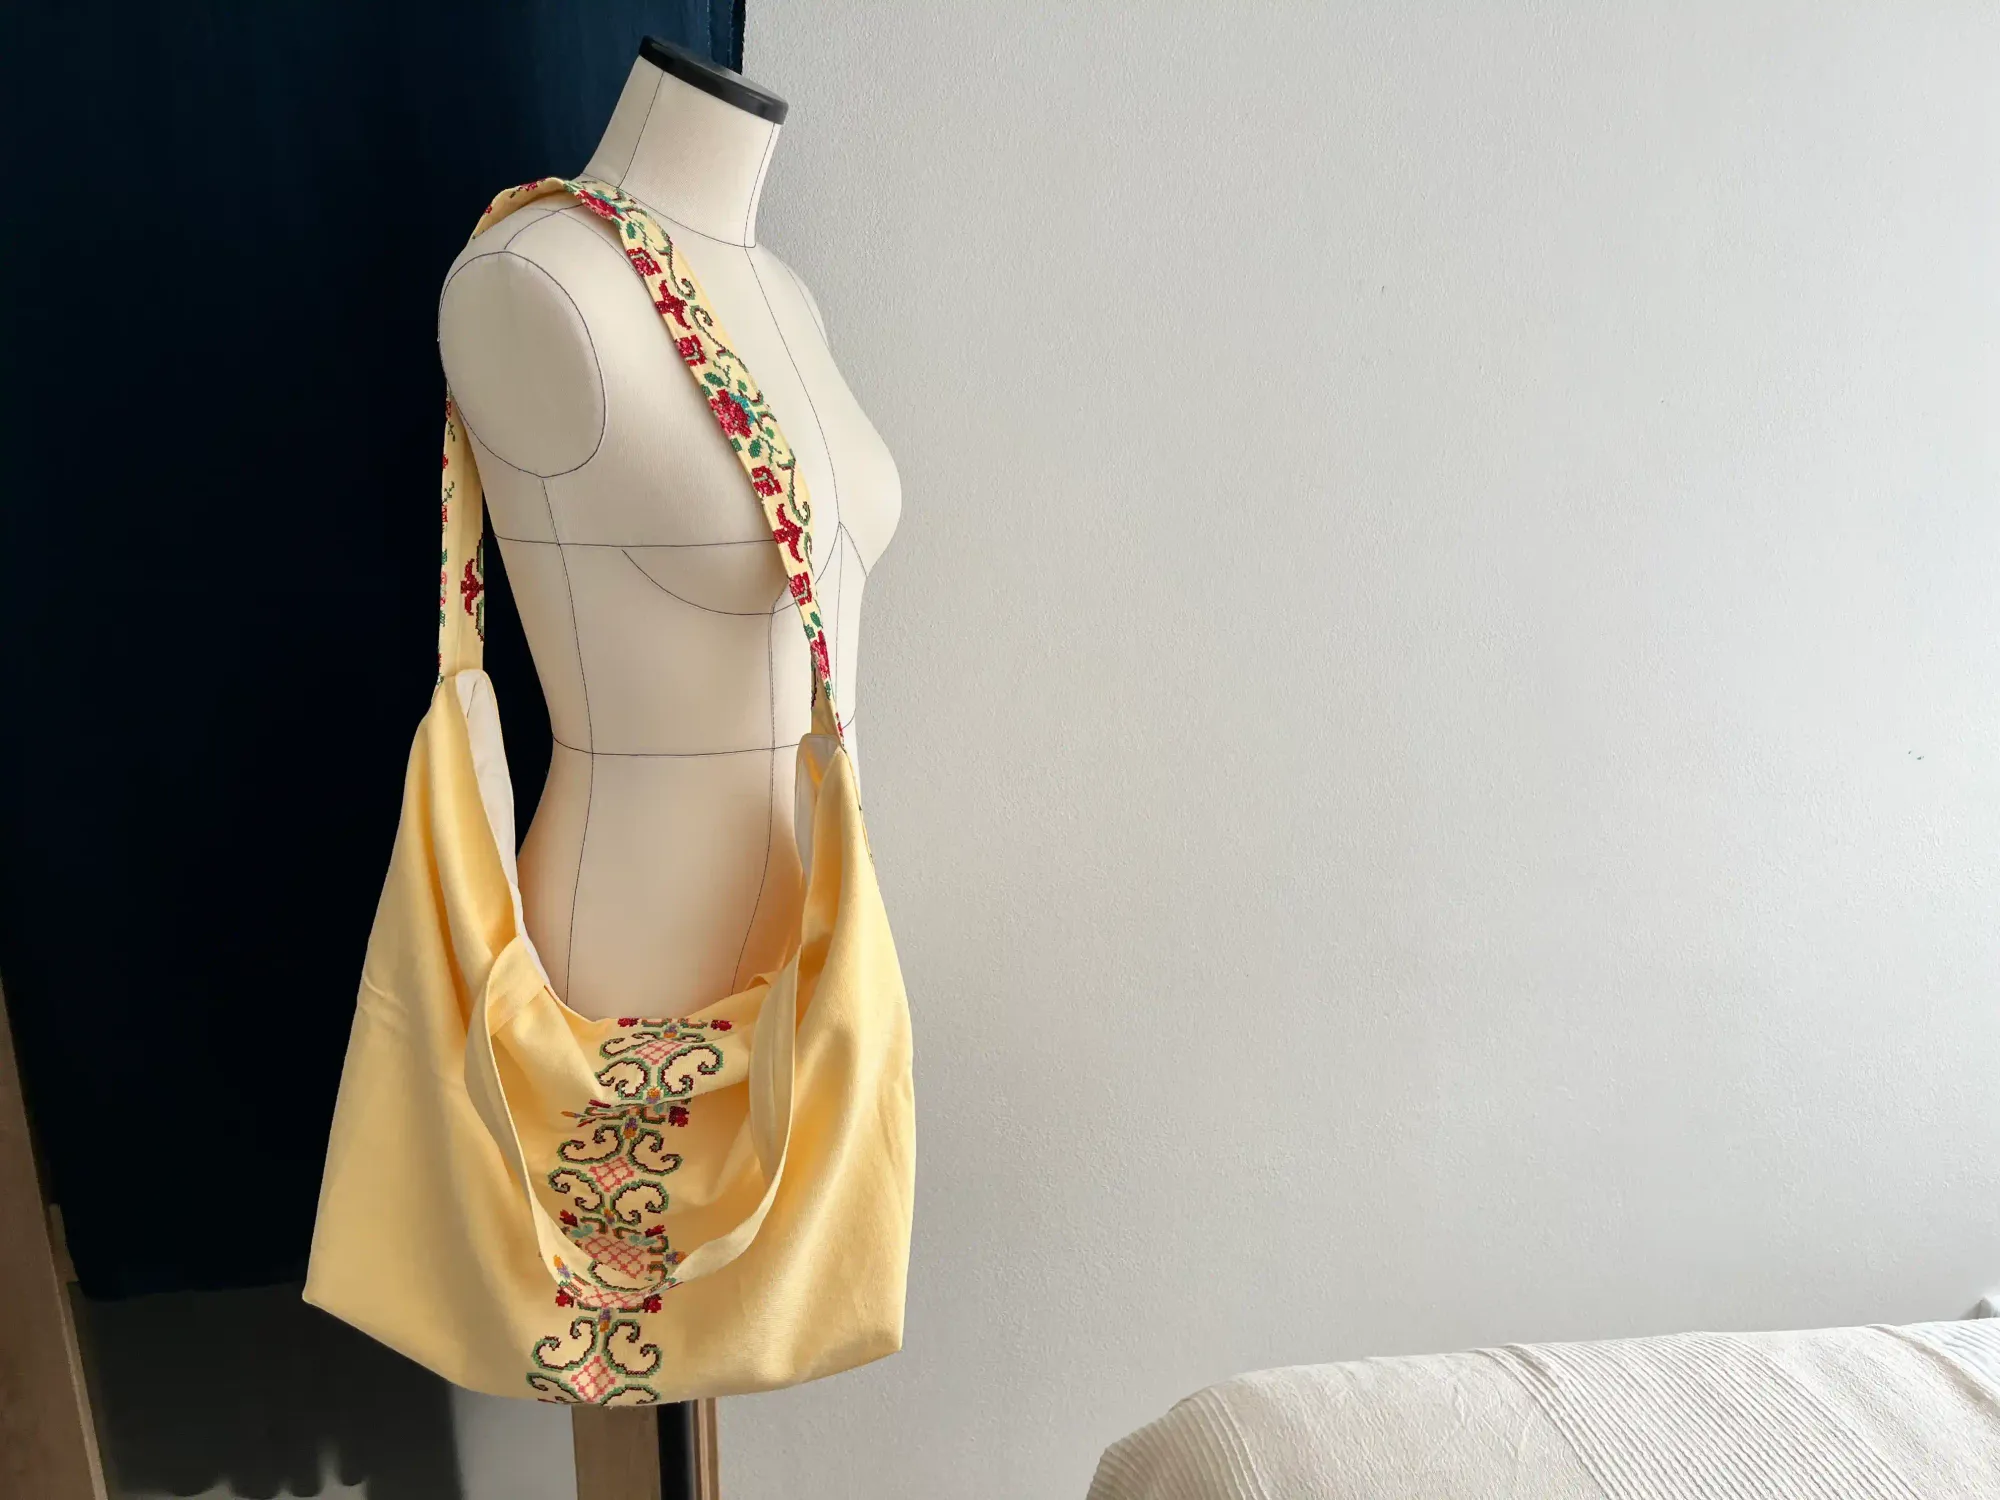
Sew the two main ears of the bag on the sides where you want them. I chose to place them in the middle of the bag so that both ears fit with the embroidery pattern and the bag was sewn well, even though I'm still a beginner. Then sew the main large ear for throwing over the shoulder to both sides of the bag. When sewing large ears, do not sew them all the way to the edge. Leave a gap of about the width of a thumb so that you can sew the main and inner parts of the bag together later.
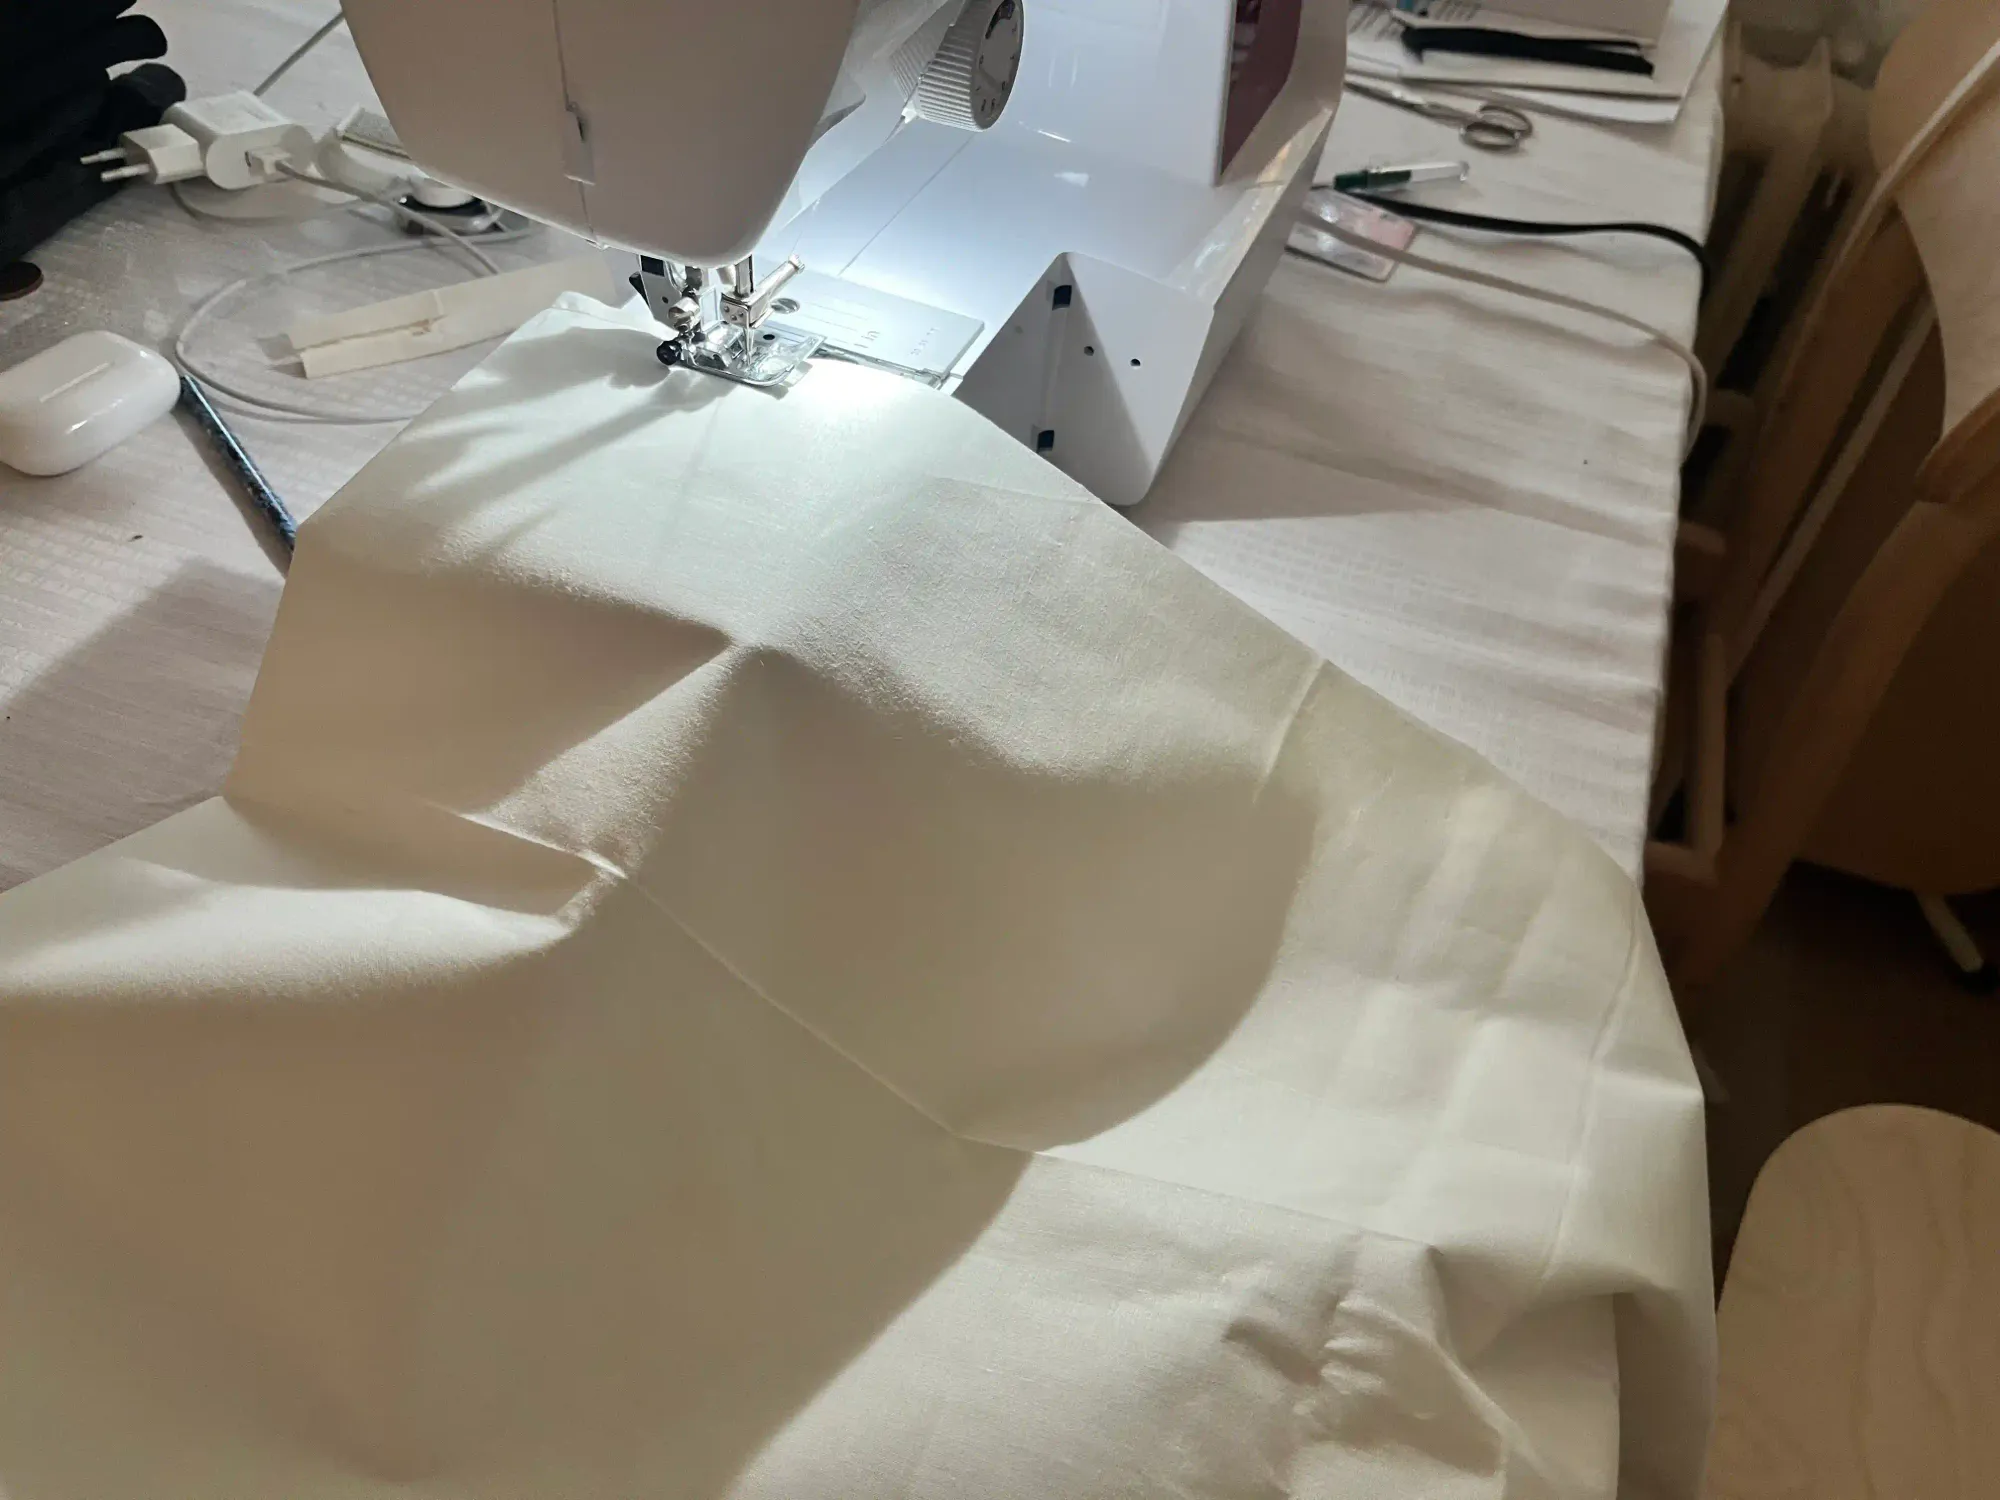
Inner Part of my Handmade Tote Bag
Sew in the same way as the main part, but leave at least 10 cm / 4 in. on one side. Fold the fabric in half and sew the sides together to create a large pocket with a gap on one side. Sew the same width of the corners that you chose for the main pocket on the inner part so that the parts fit together.
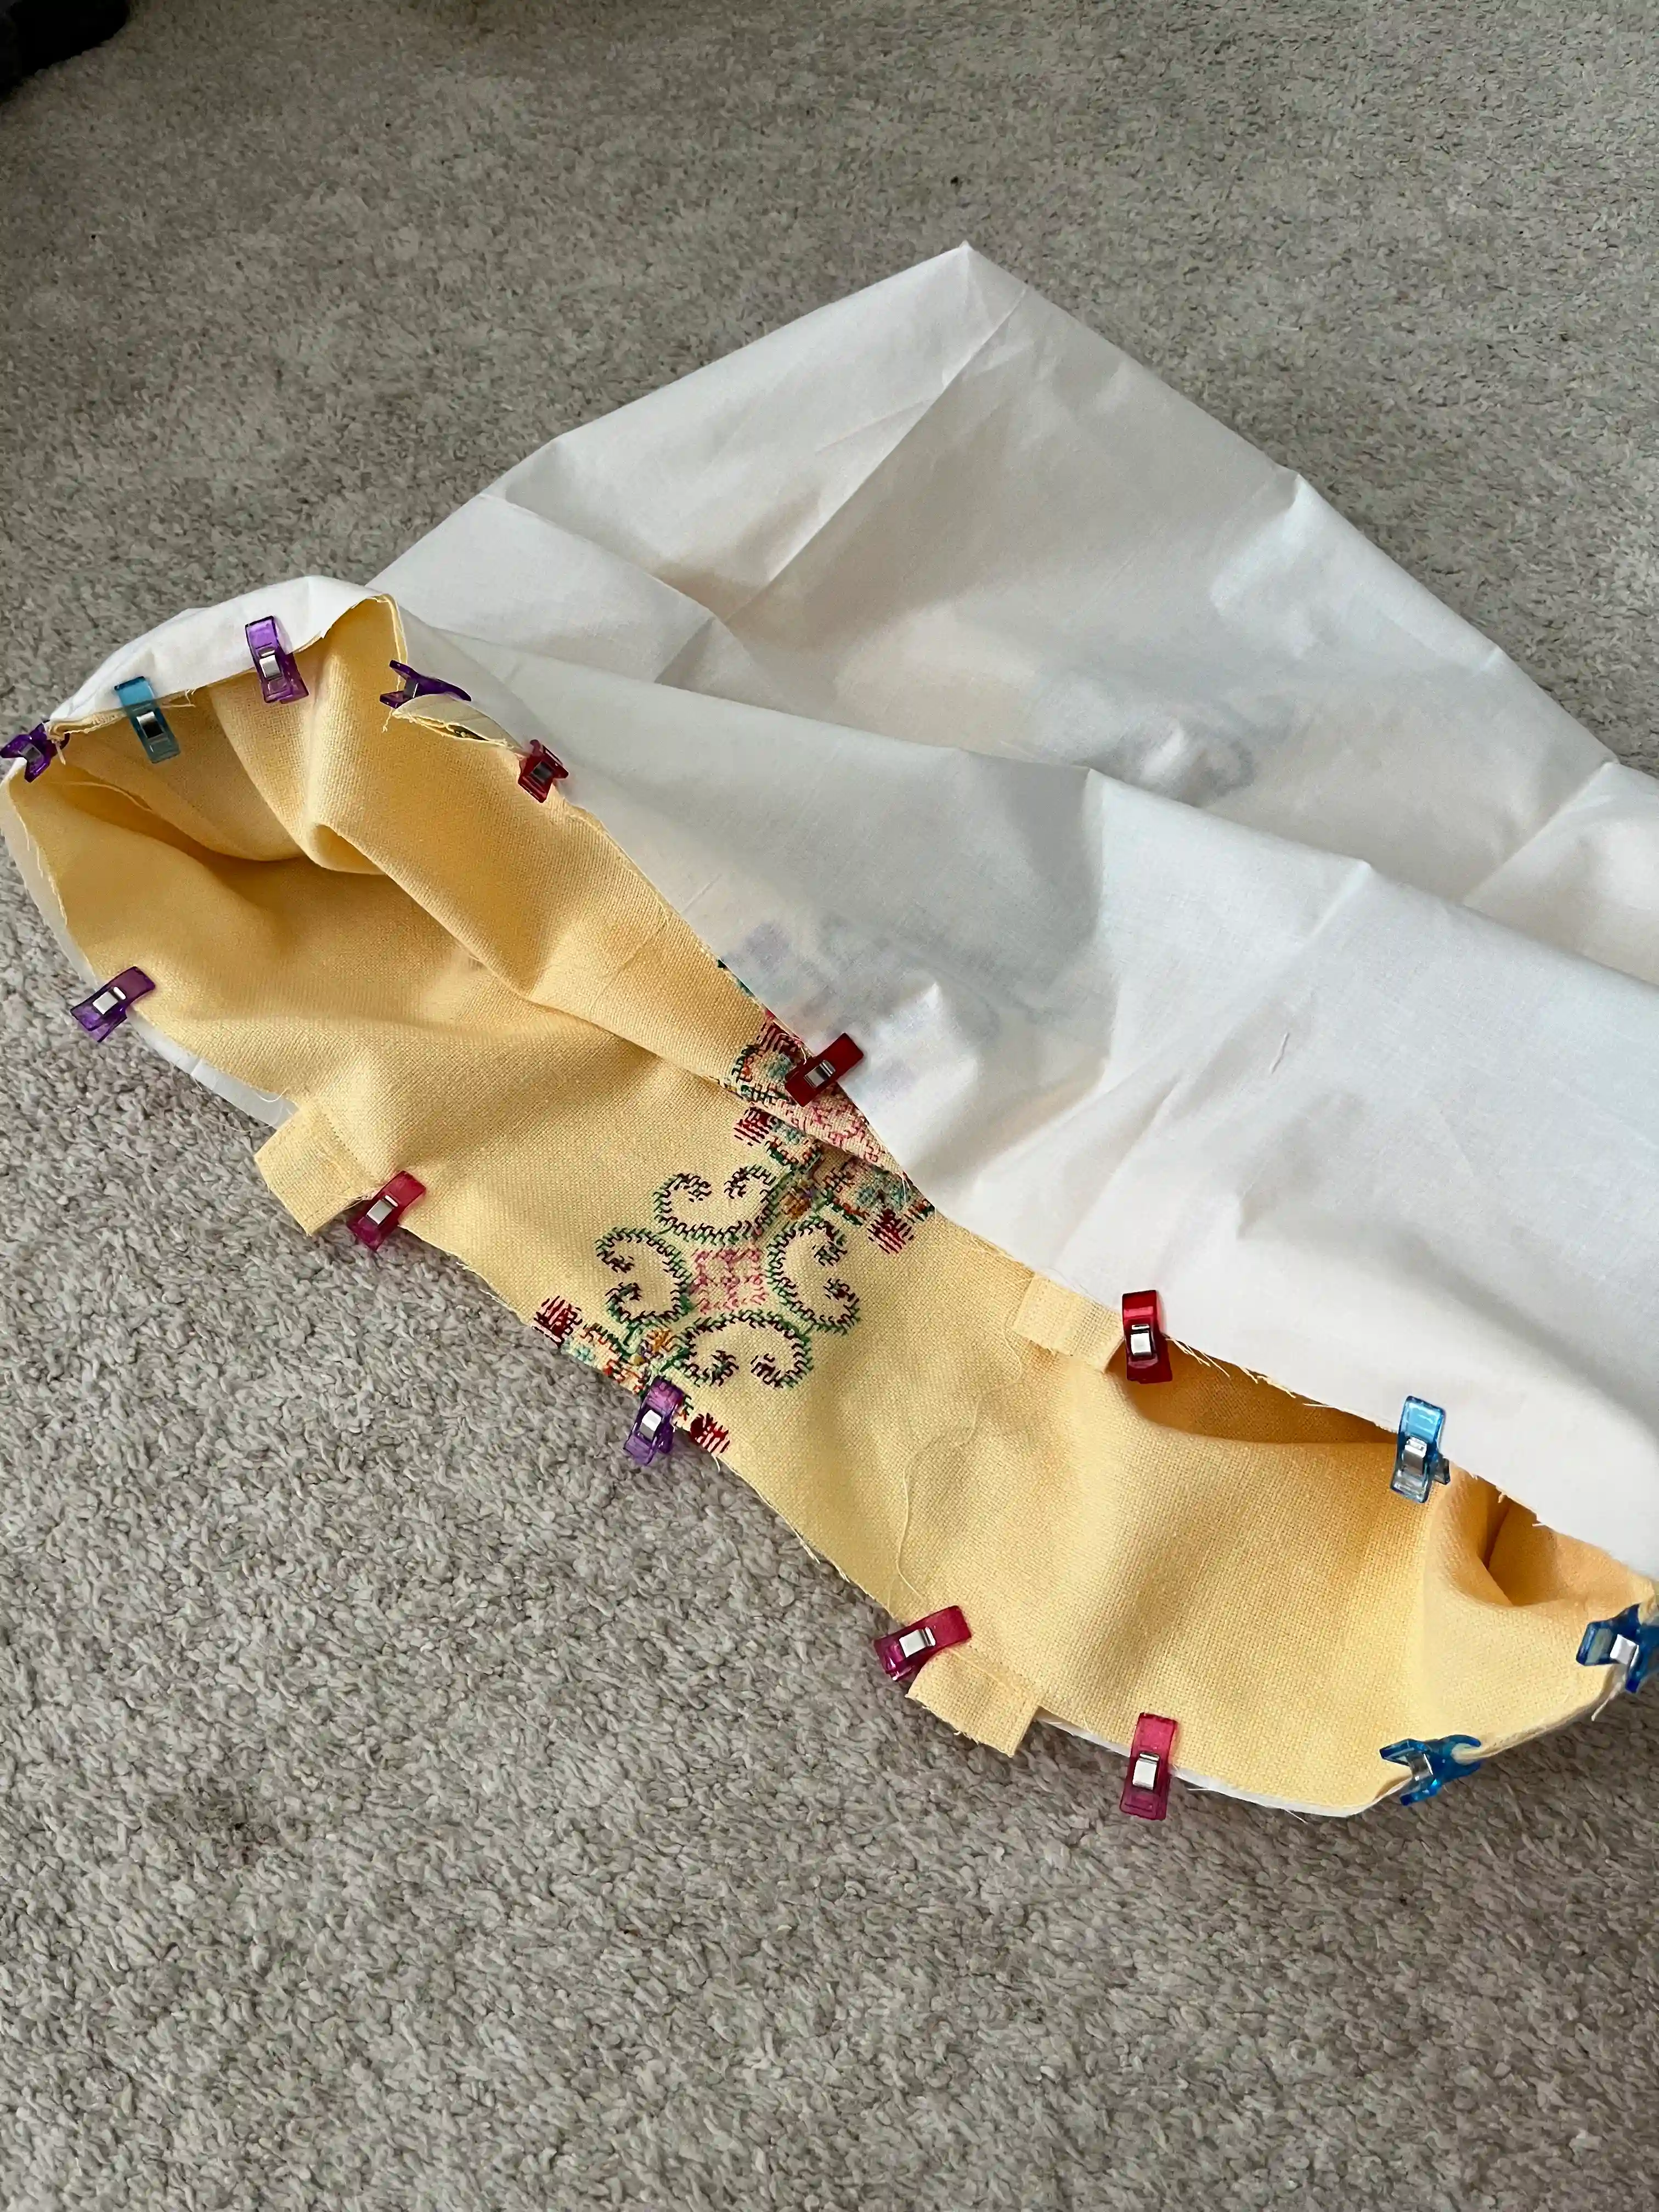
Final Touches
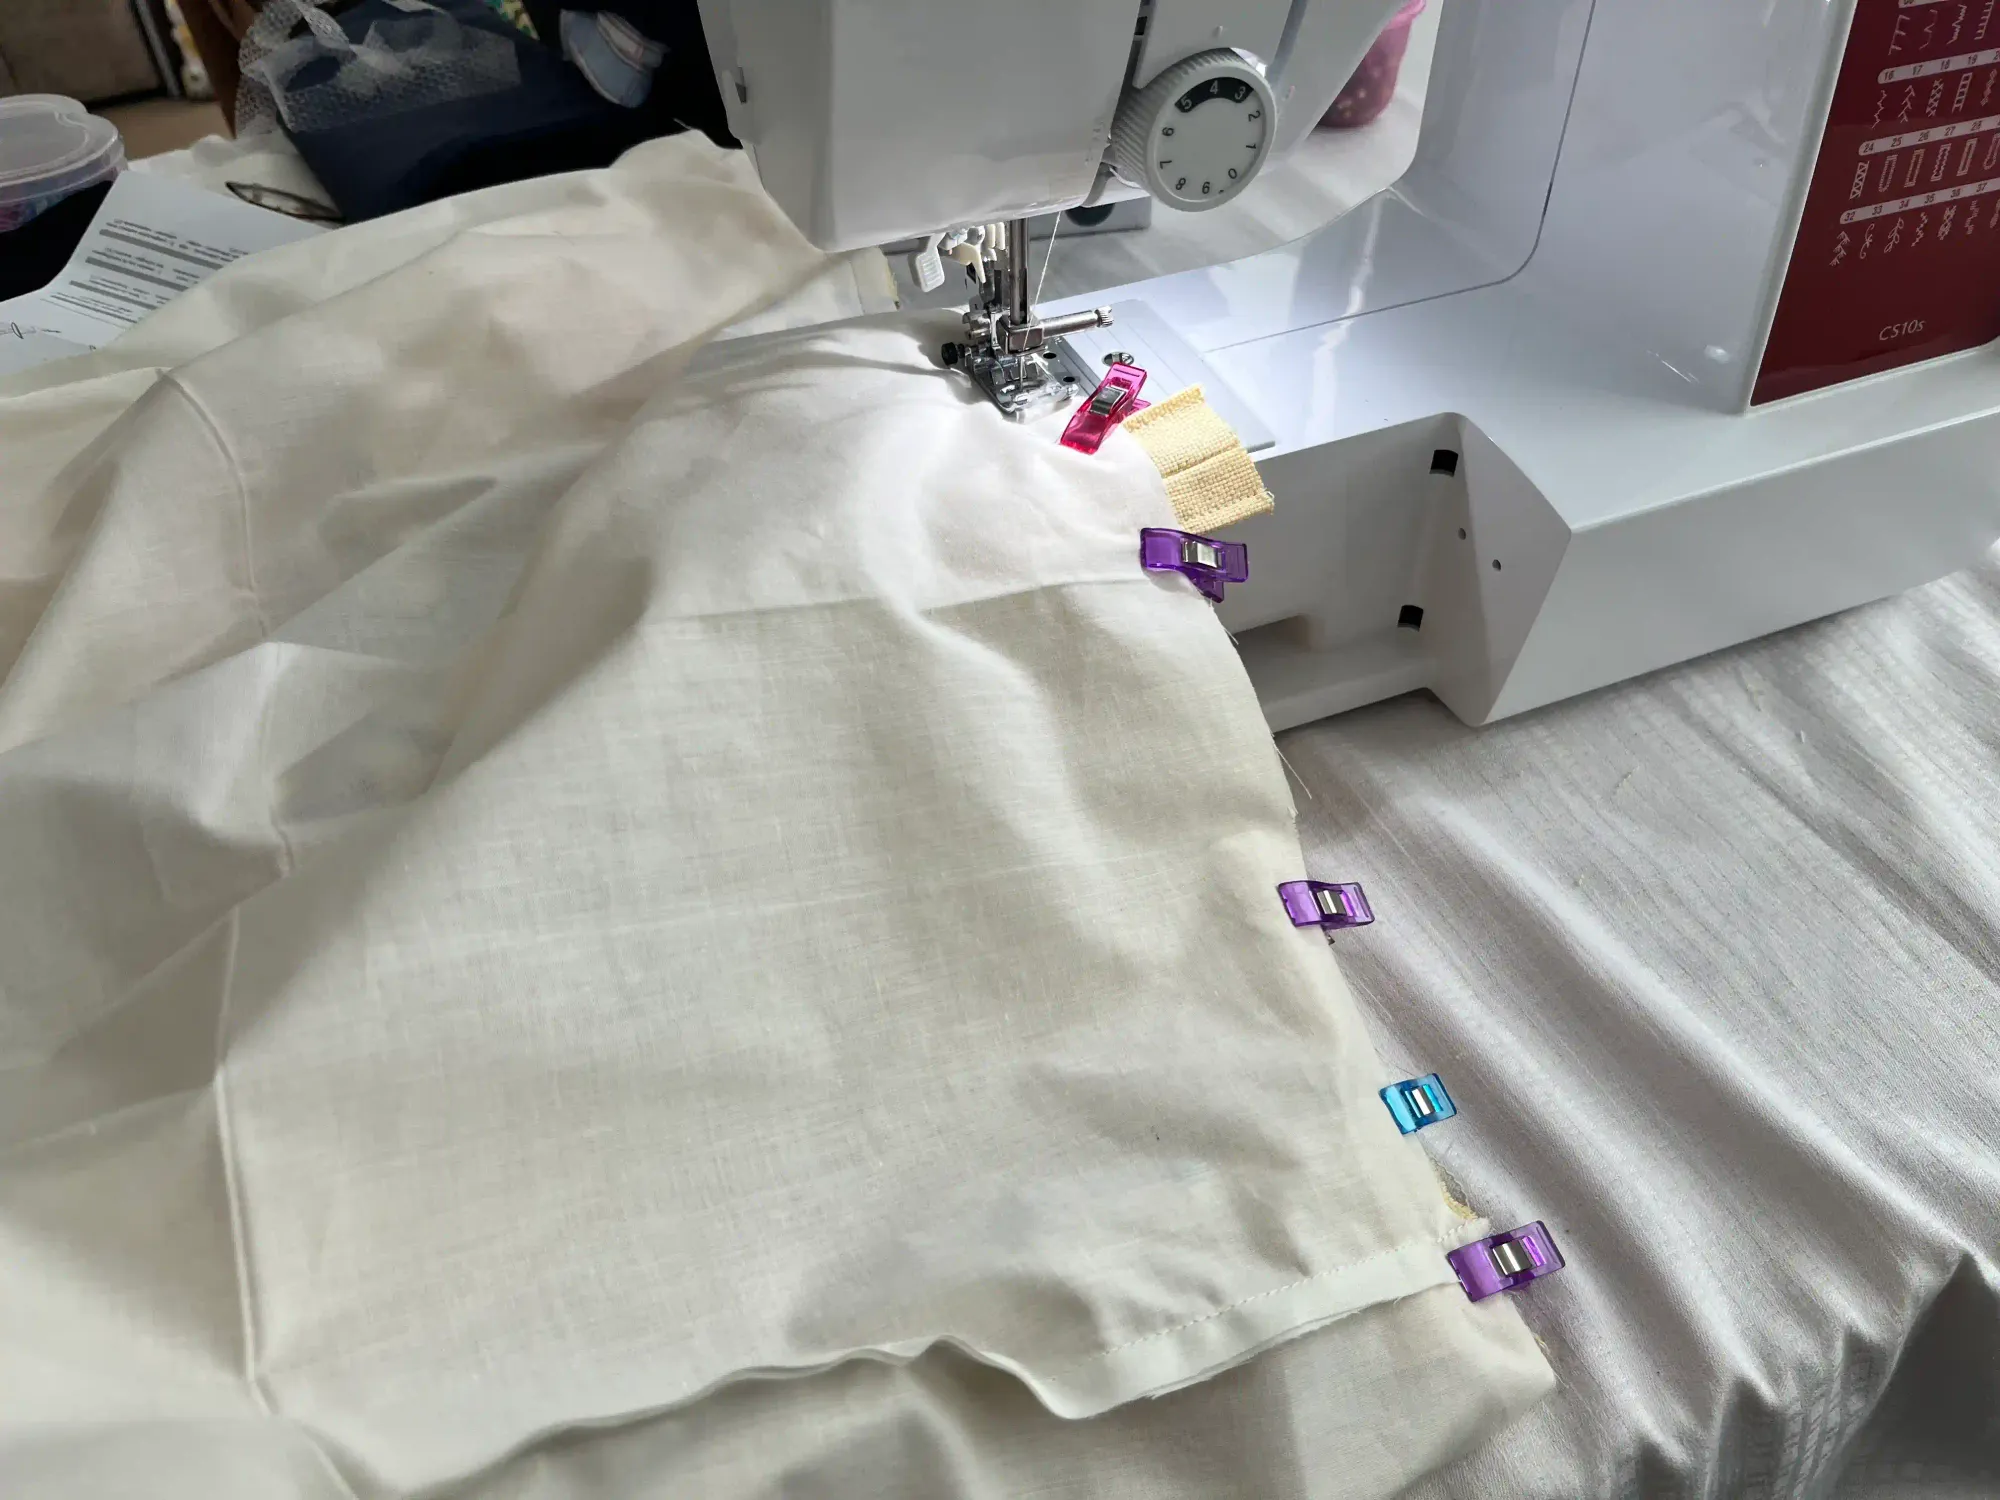
Leave the inner pocket of the bag with the wrong side out and put the bag from the main part inside, which is turned wrong side in. Attach the top of both parts together around the perimeter.
Sew the parts together around the perimeter. Now turn the entire bag right side out through the hole in the side of the inner pocket.
Adjust the parts by hand so that they fit together, and then sew the bag around the perimeter once more, this time on the right side, to create a visually adjusted edge. Sew the open part of the inner pocket.
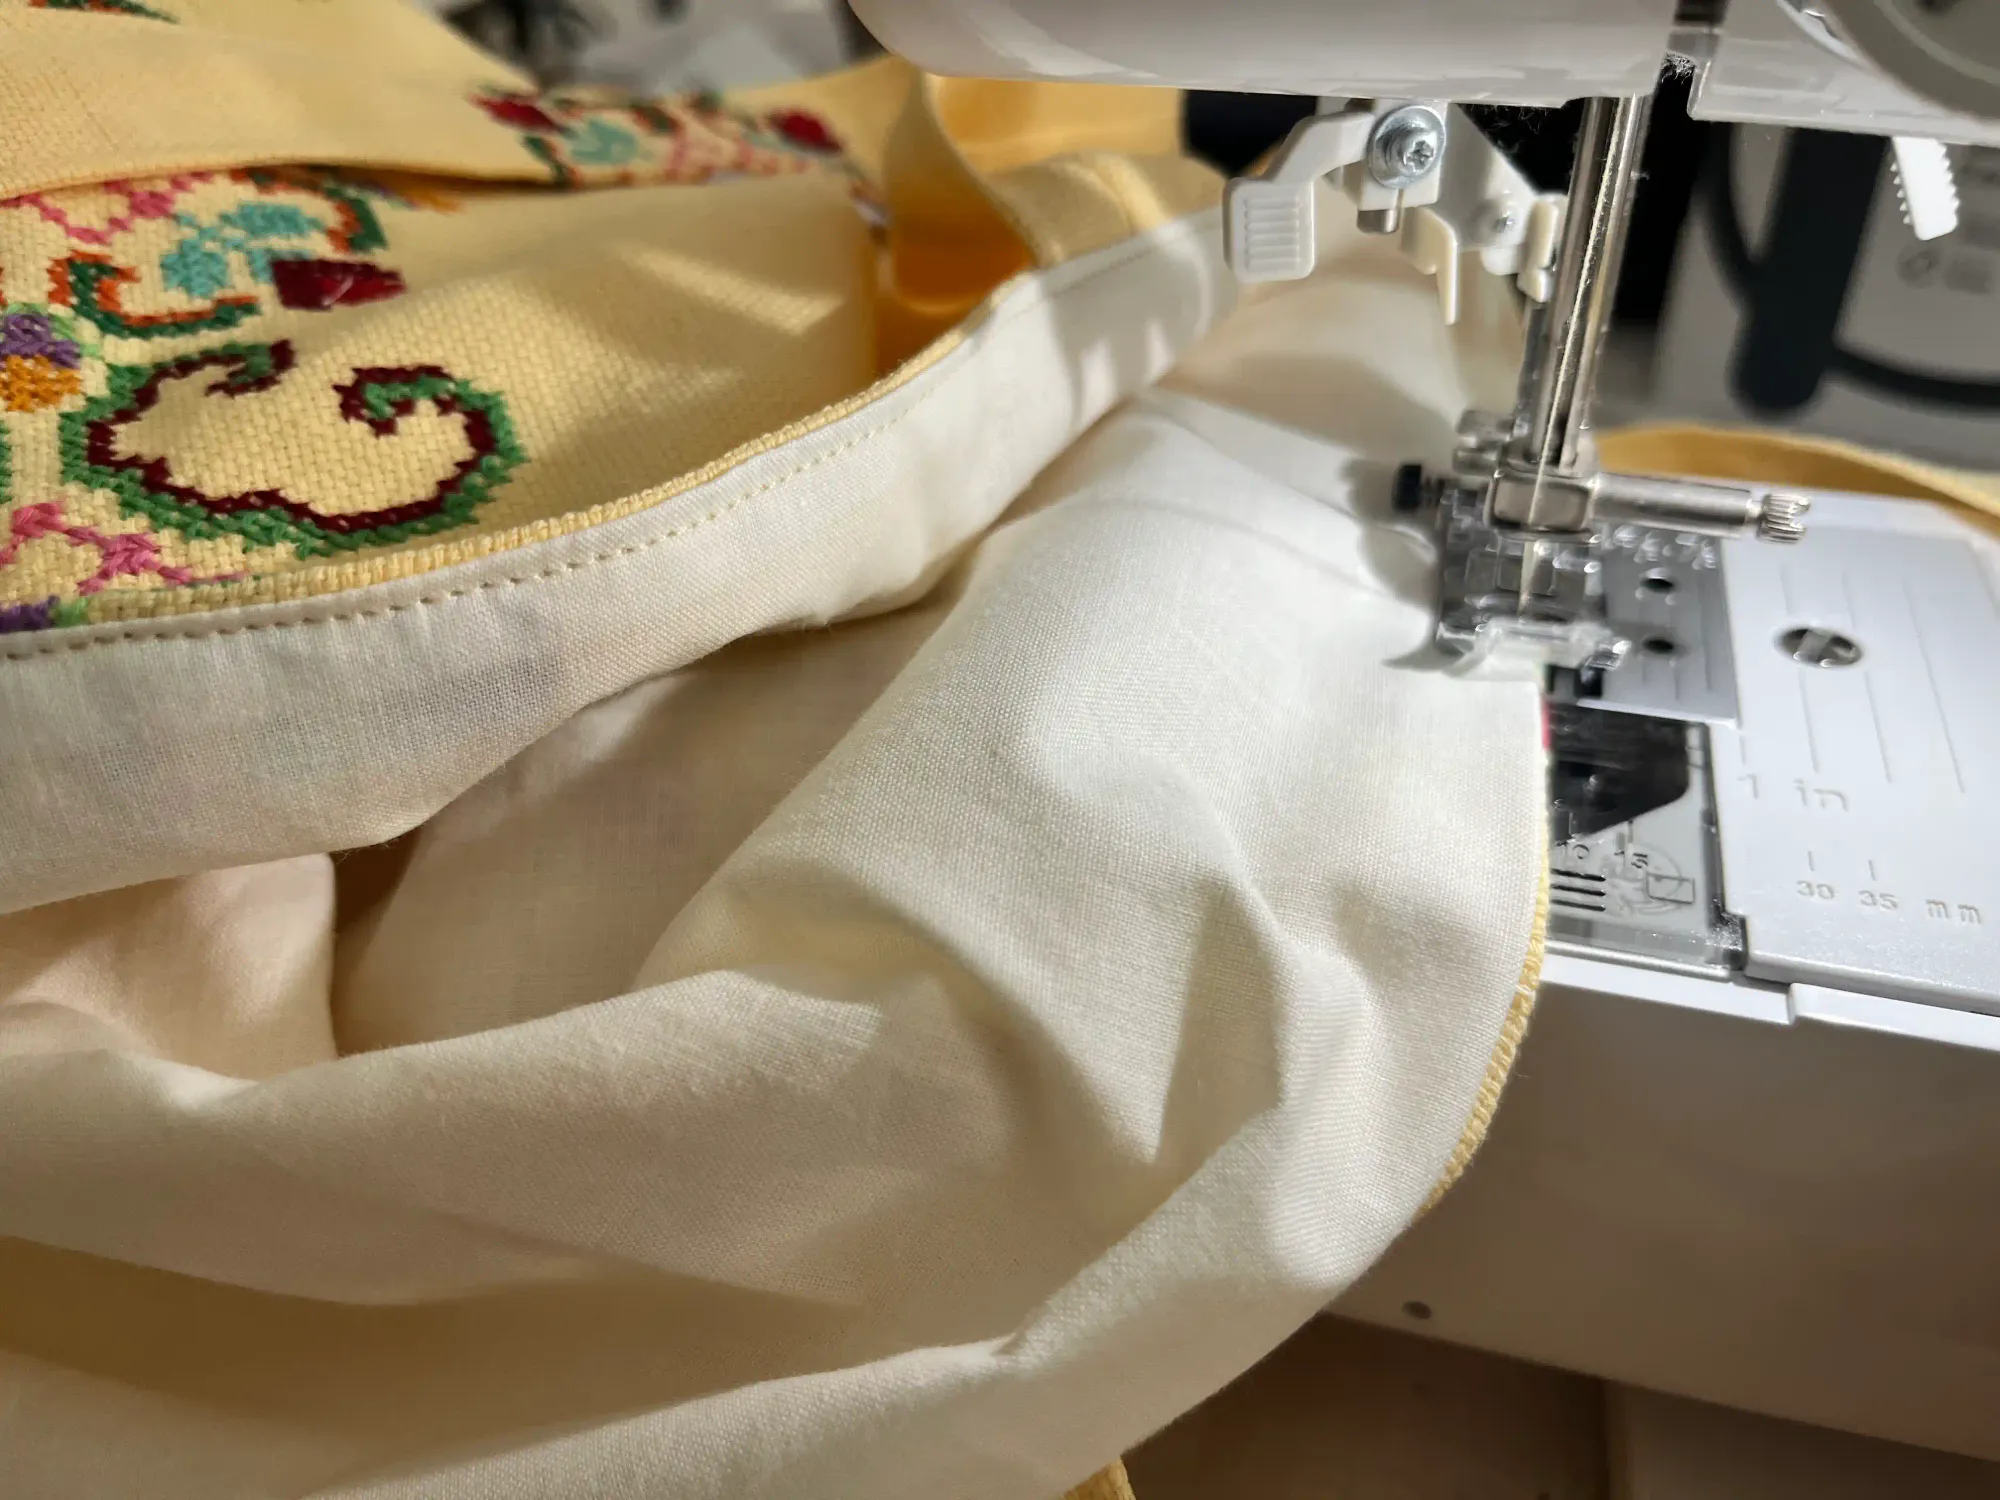
Your amazing DIY Tote Bag in Cottagecore Style is now ready to wear. You Did it!
Want to share your experiences and ideas or just need some advice? Let me know in the comments. I'm here as always. 🌸
Enjoy your beautiful sewing time and good luck with your project! 🧵✨
Have a nice day
Dana