Table of Contents
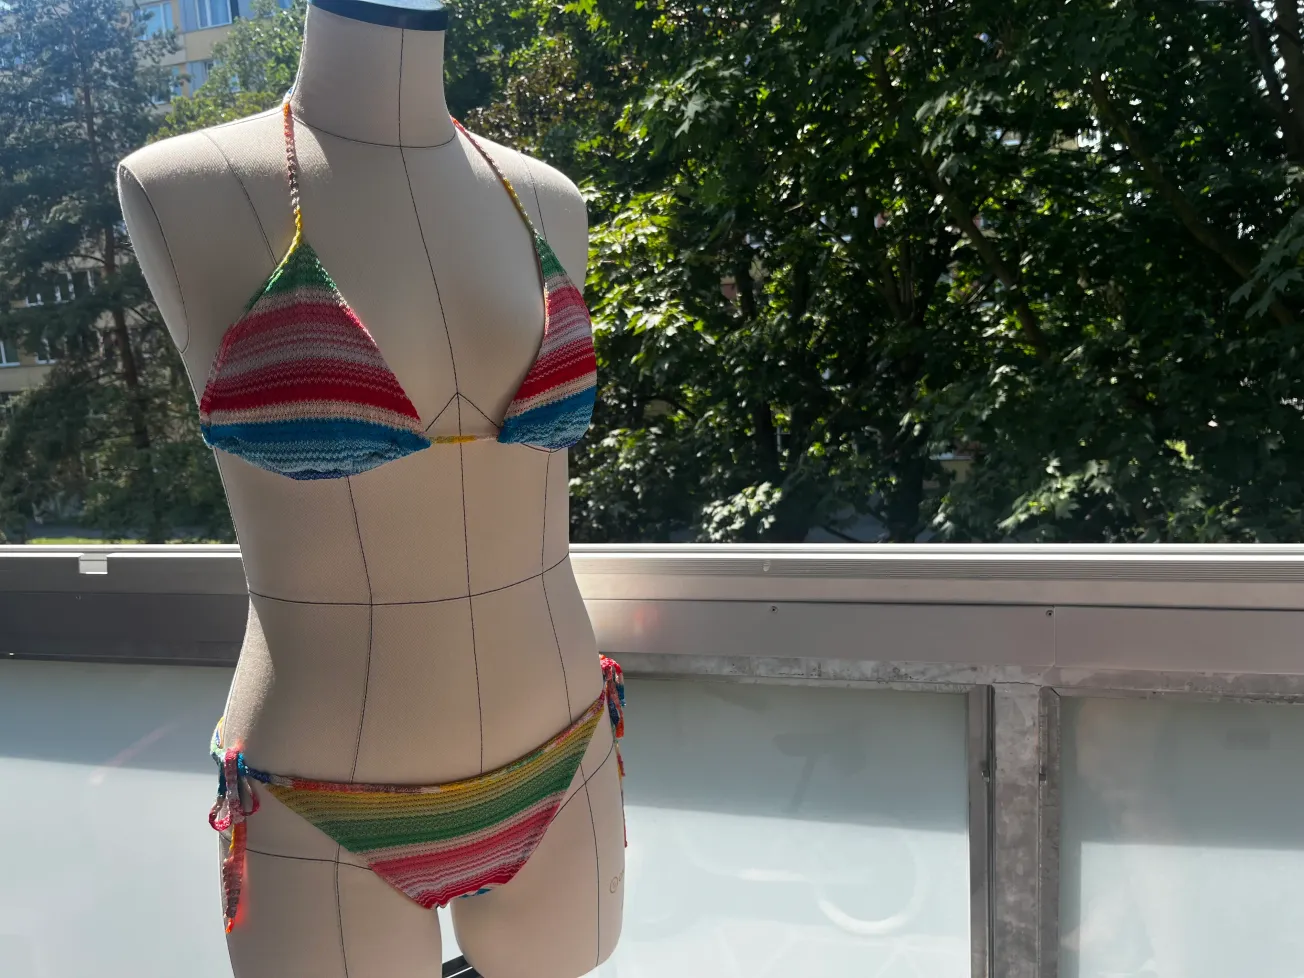
Imagine walking on the beach in Sicily, on Isola Bella, the sun warming you, the gentle wind blowing through your hair, and the clear water creating that beautiful zigzag pattern. You look absolutely divine because you are walking in a swimsuit you sewed yourself and feel great in.
This year, I decided that this is exactly how I want to feel on the beach. Just peace, a great-fitting swimsuit, and sunshine. I don't need a million dollars. All I need is a little creativity and basic skills. Although I am still a beginner, I decided to try sewing a swimsuit inspired by the luxury Italian brand Missoni. Of course, I was a little scared, after all, I am not a professional, and this is my first swimsuit, but who hasn't tried anything, hasn't learned anything new. ☺️
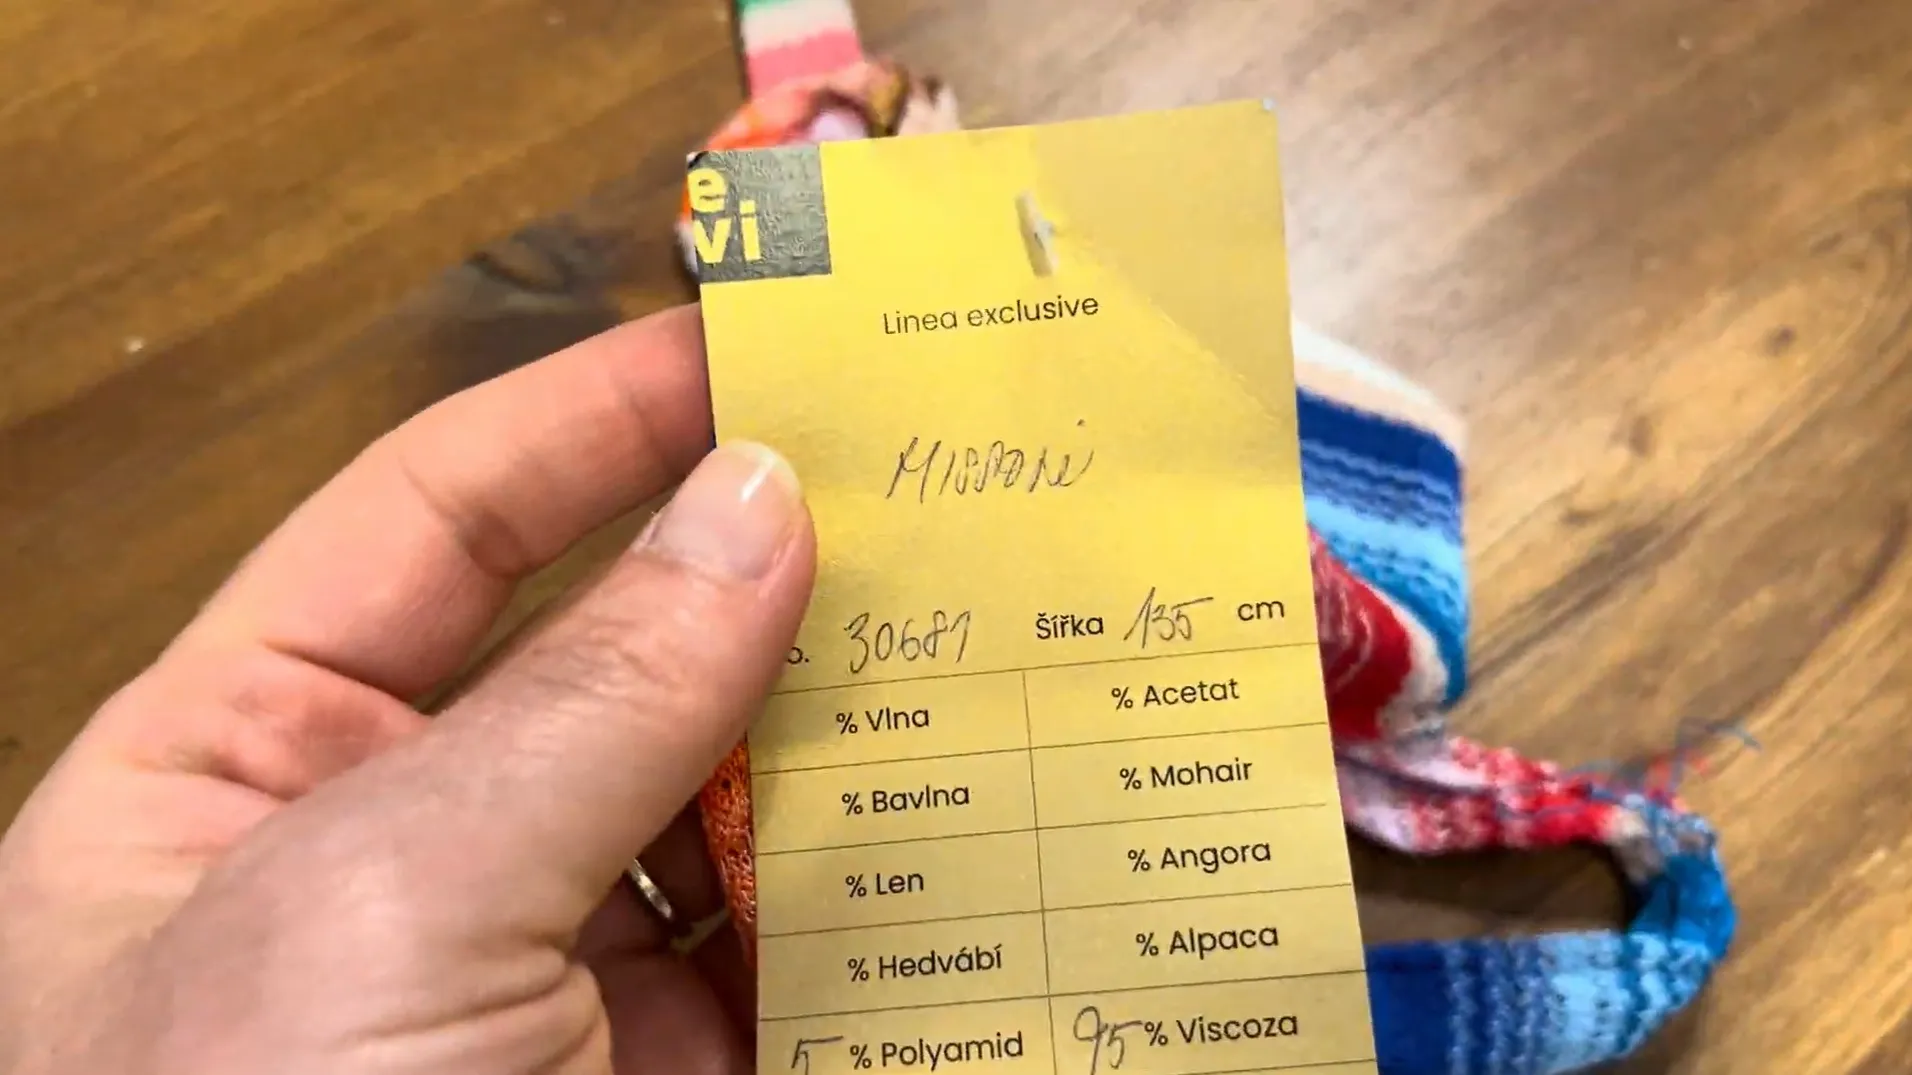
I found a denser weave from this famous luxury Italian brand at a fabric store, but it is elastic enough, so I will use it for the swimsuit. I used my perfectly fitting bikini from Decathlon as a model. This swimsuit cut from them has suited me for years, so why change it and invent something complicated when I already have one perfectly fitting cut in my hand, I thought. So I got to work, and now I'm going to share the secret with you. I also redrew the cut for size L for you, which you can download for free and use as you wish. It's the bottom part in one piece, plus two classic triangles and a few strings.
Now I'll show you, step by step, how I turned this basic cut, inspired by the swimsuit from Decathlon, into a masterpiece.
Estimated Time
Around 7 hours of your time.
What you will need for bikini sewing:
Main fabric I bought Missoni (cover fabric - I bought 80 cm / 31.50 in of fabric that spreads 130 cm / 53.15 in)
Swimsuit lining - swimsuit fabric
Matching threads
Sewing machine. It doesn't have to be overlock.
Tailor's Scissors
Tailor's chalk
Pins or clips - to catch fabric
Tailor's tape measure
Sewing machine
Free bikini pattern to download (if you have a different size, just reduce the pattern a little, or you can trace the bottom part from your favorite, well-fitting panties)👍. The pattern includes a 1cm seam allowance. It is easy to print and ready to use immediately. Or you can draw your own swimsuit if it fits you.
Free pattern download size EU 40 L
I created the pattern for you to download based on my swimsuits at home, and I know they fit well.
I added 1 cm for the darts. If you want a larger swimsuit or a little smaller, just add or subtract a few centimeters at your discretion.
If you need advice, do not hesitate to contact me. I will be happy to advise and help you.
Preparing and cutting the bikini pattern:
You may be laughing a little here; it really is not a science.
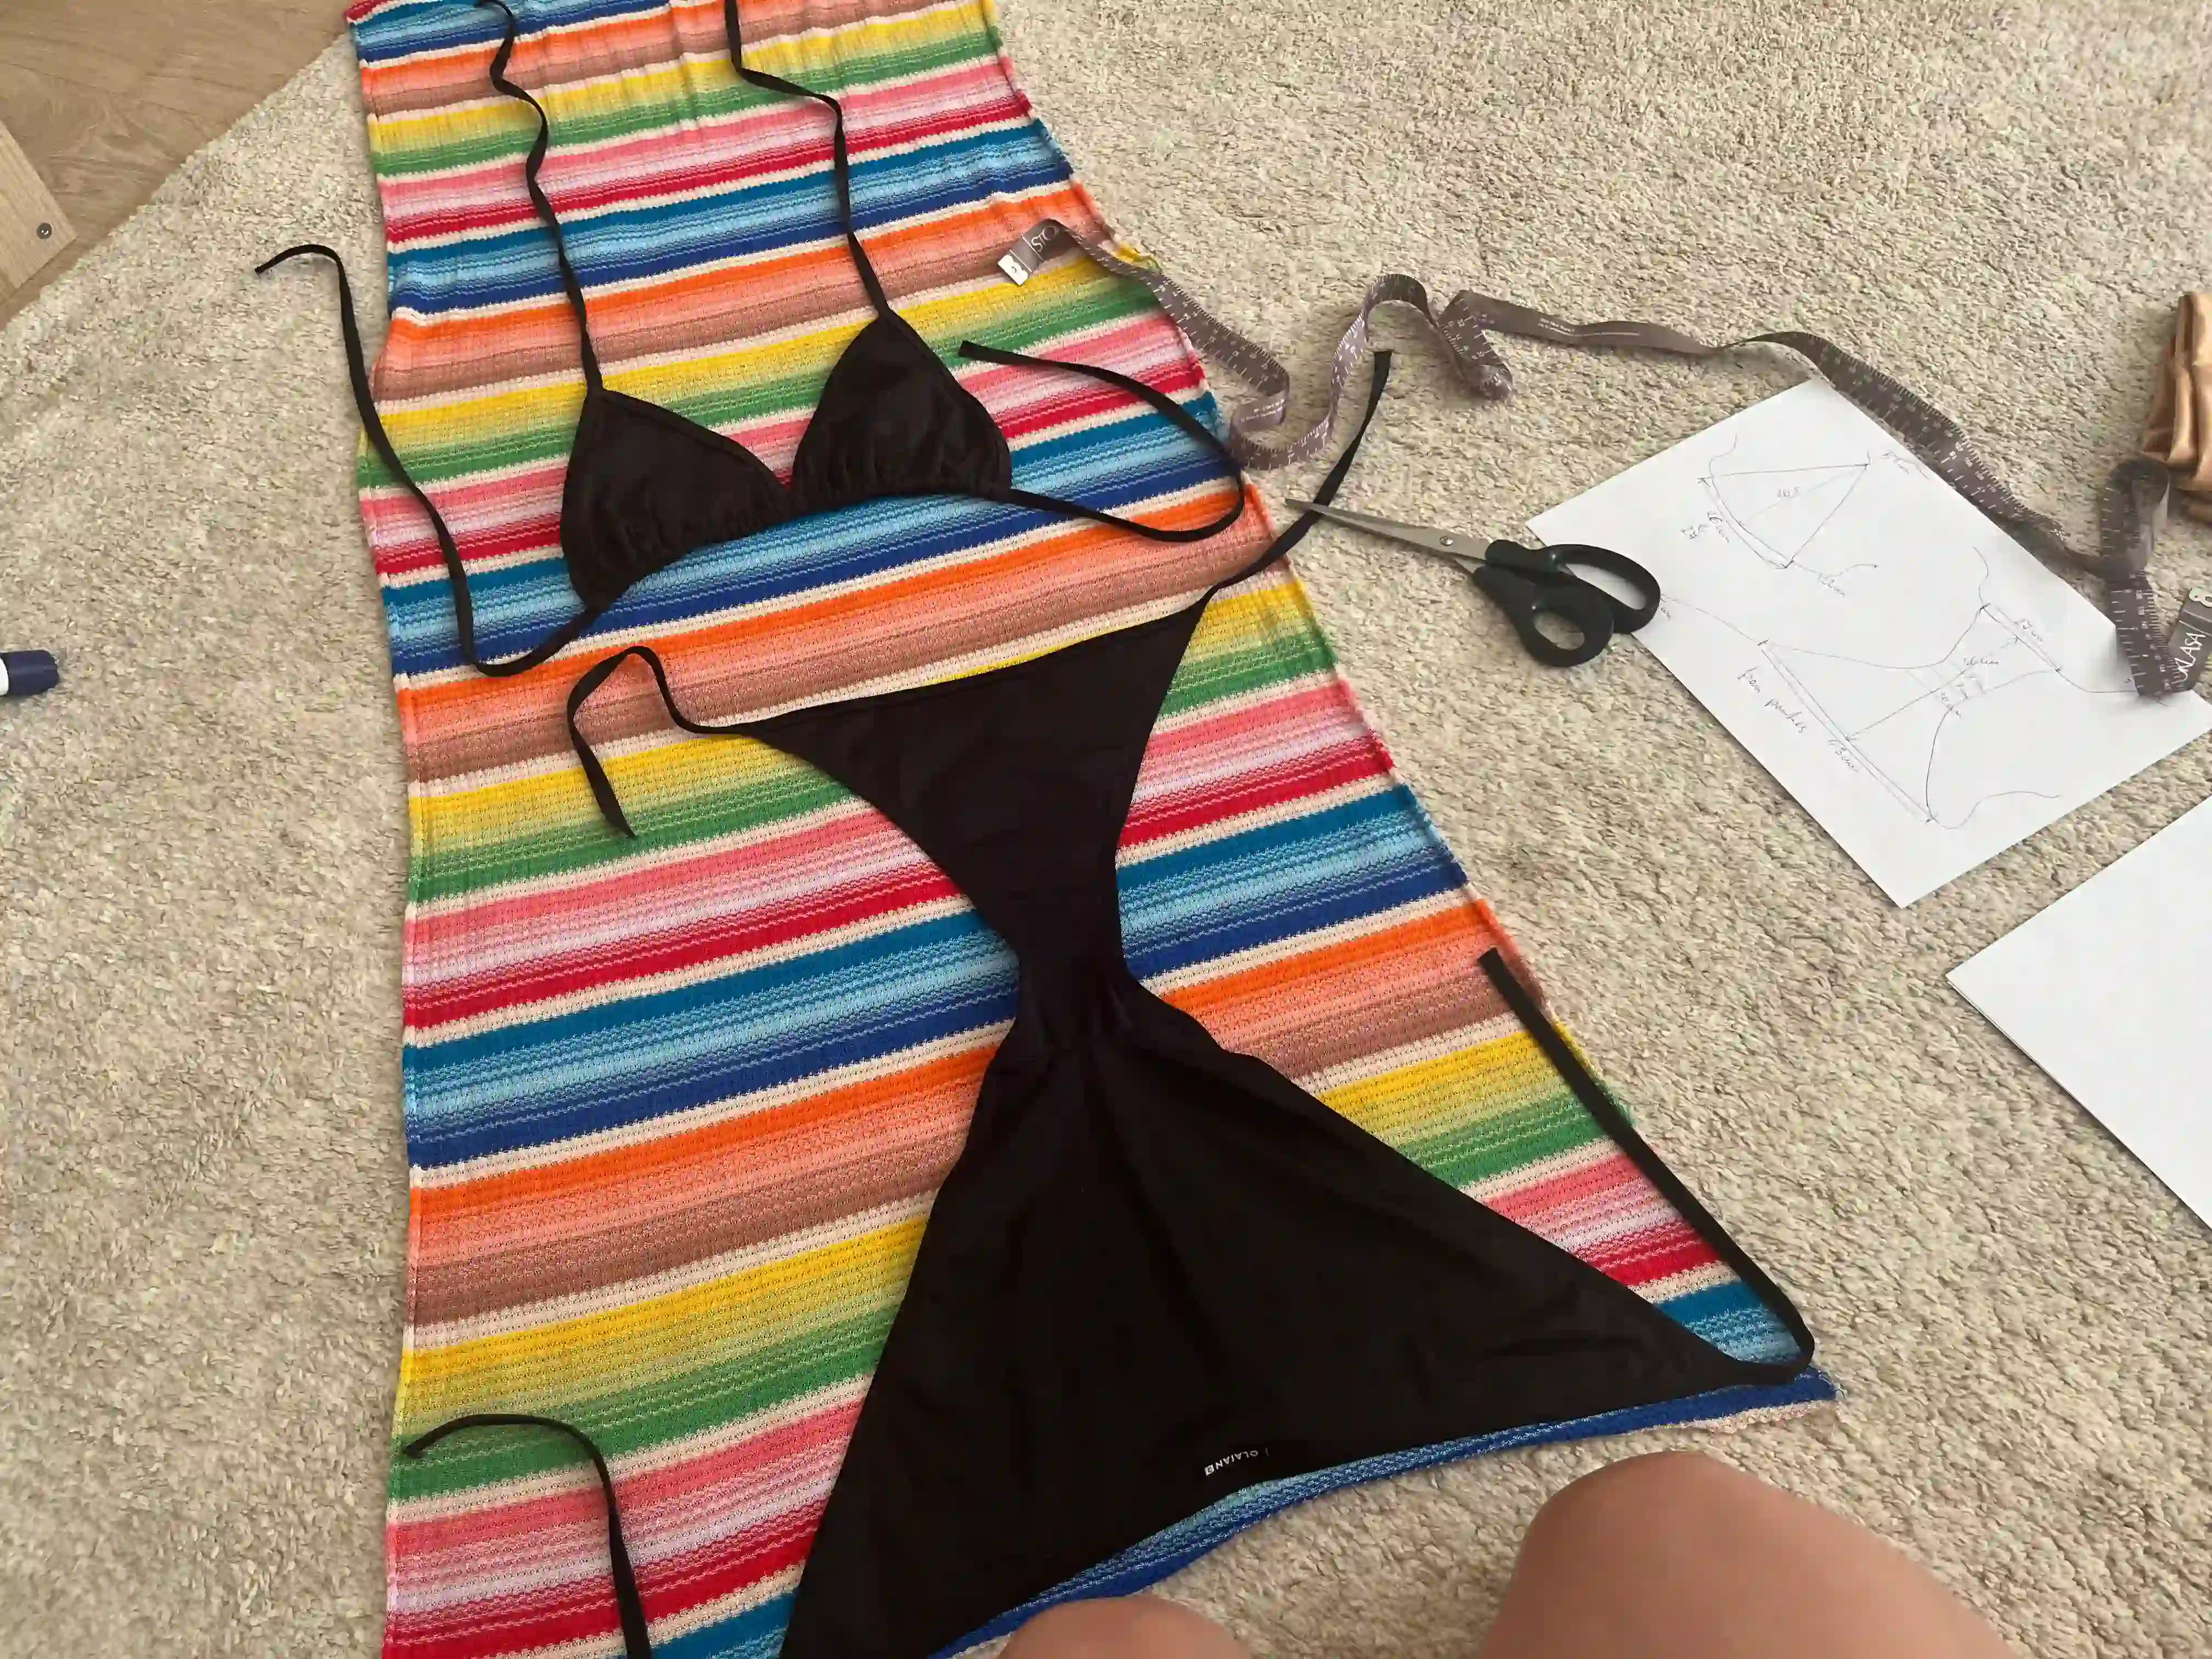
- I traced my existing swimsuit onto the new fabric.
While tracing, I added 1cm to all sides for darts. (If you use my pattern, 1cm is already included in the pattern. - Cut out the individual parts (2x triangle, 1x bottom part). Then you have to do the same with the second lining fabric.
- Placed the cut-out pieces of the main fabric on the lining fabric and pinned them. When you cut the swimsuit fabric, be careful because it is very stretchy; lay the cut along the weft and avoid stretching the fabric. Swimwear and stretchy knits are elastic, so avoid stretching them when working with them, and pin them securely so they don't move unnecessarily. Knits are generally more lively fabrics, so it's important to pin them to prevent the final result from getting ruined.
- Then I measured the length of the strings.
2x strings that I will sew to the upper parts to tie behind the neck.
1x longer string to tie the upper part of the swimsuit around the chest (under the breasts).
2x string for the bottom part. The front string one is a little shorter. If you measure from your swimsuit, measure everything twice to check. Sometimes it really comes in handy.
If you're sewing my pattern, please check that the control square measurements fit you, just to be safe.
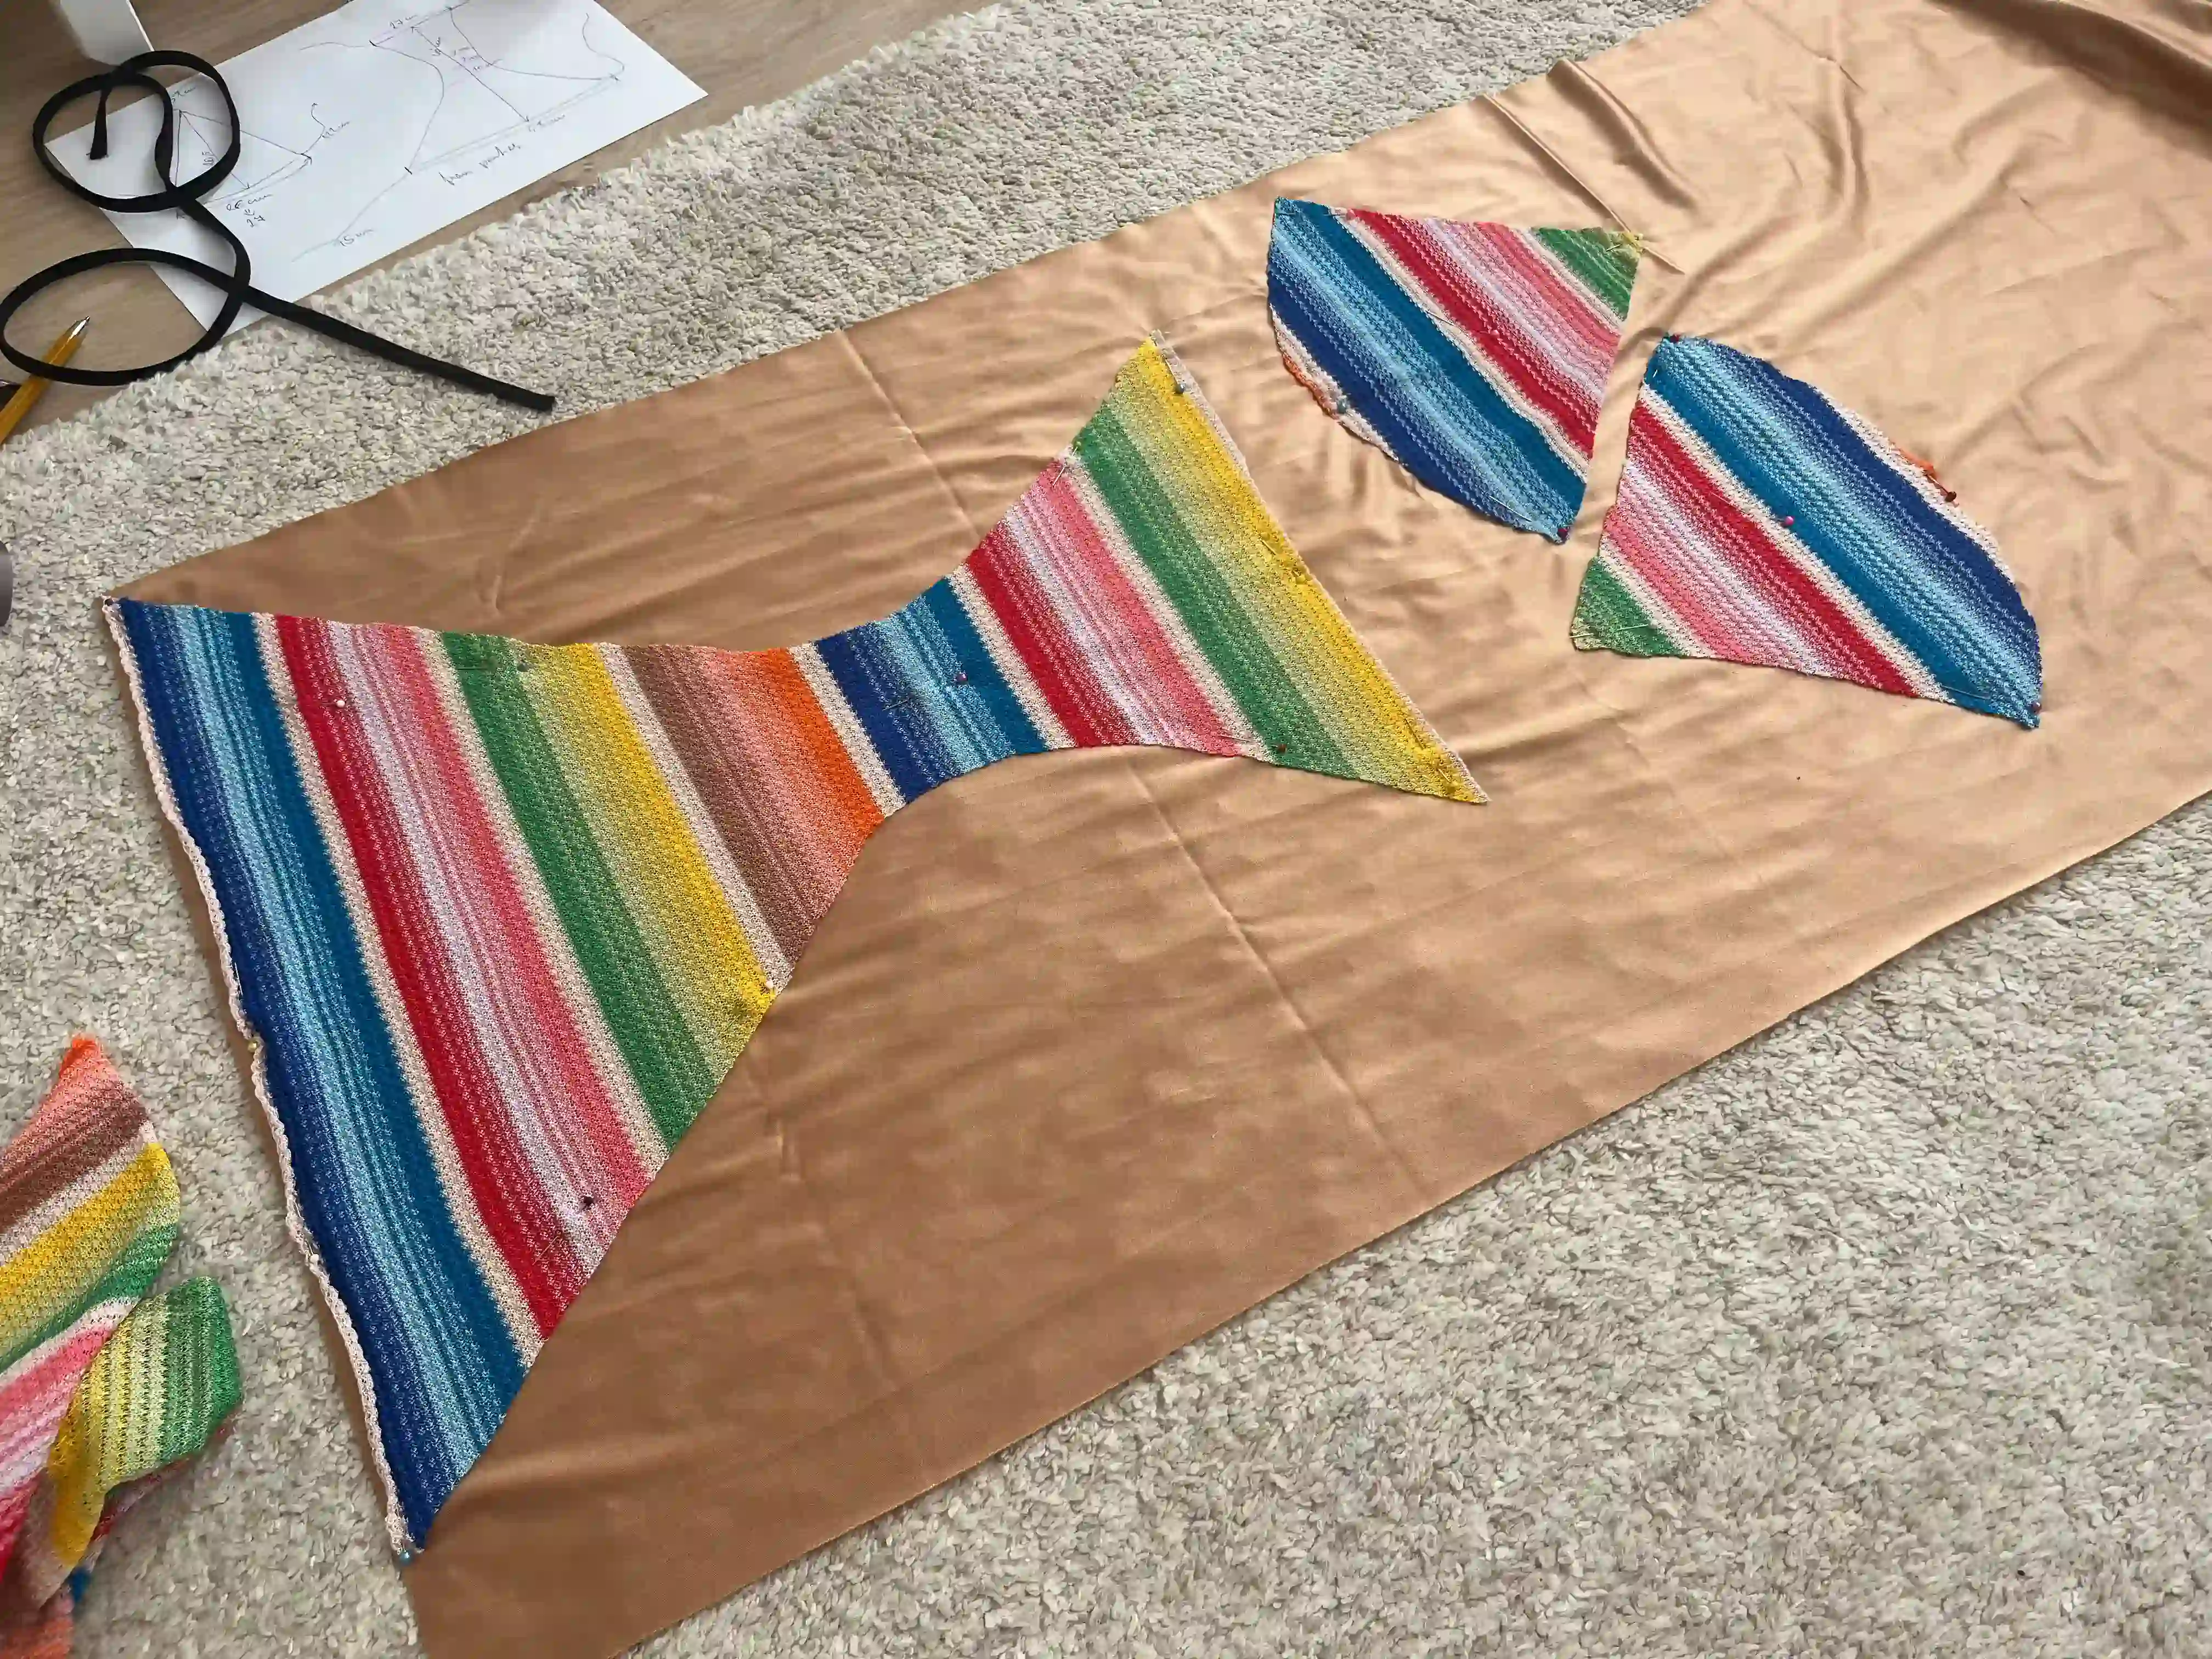
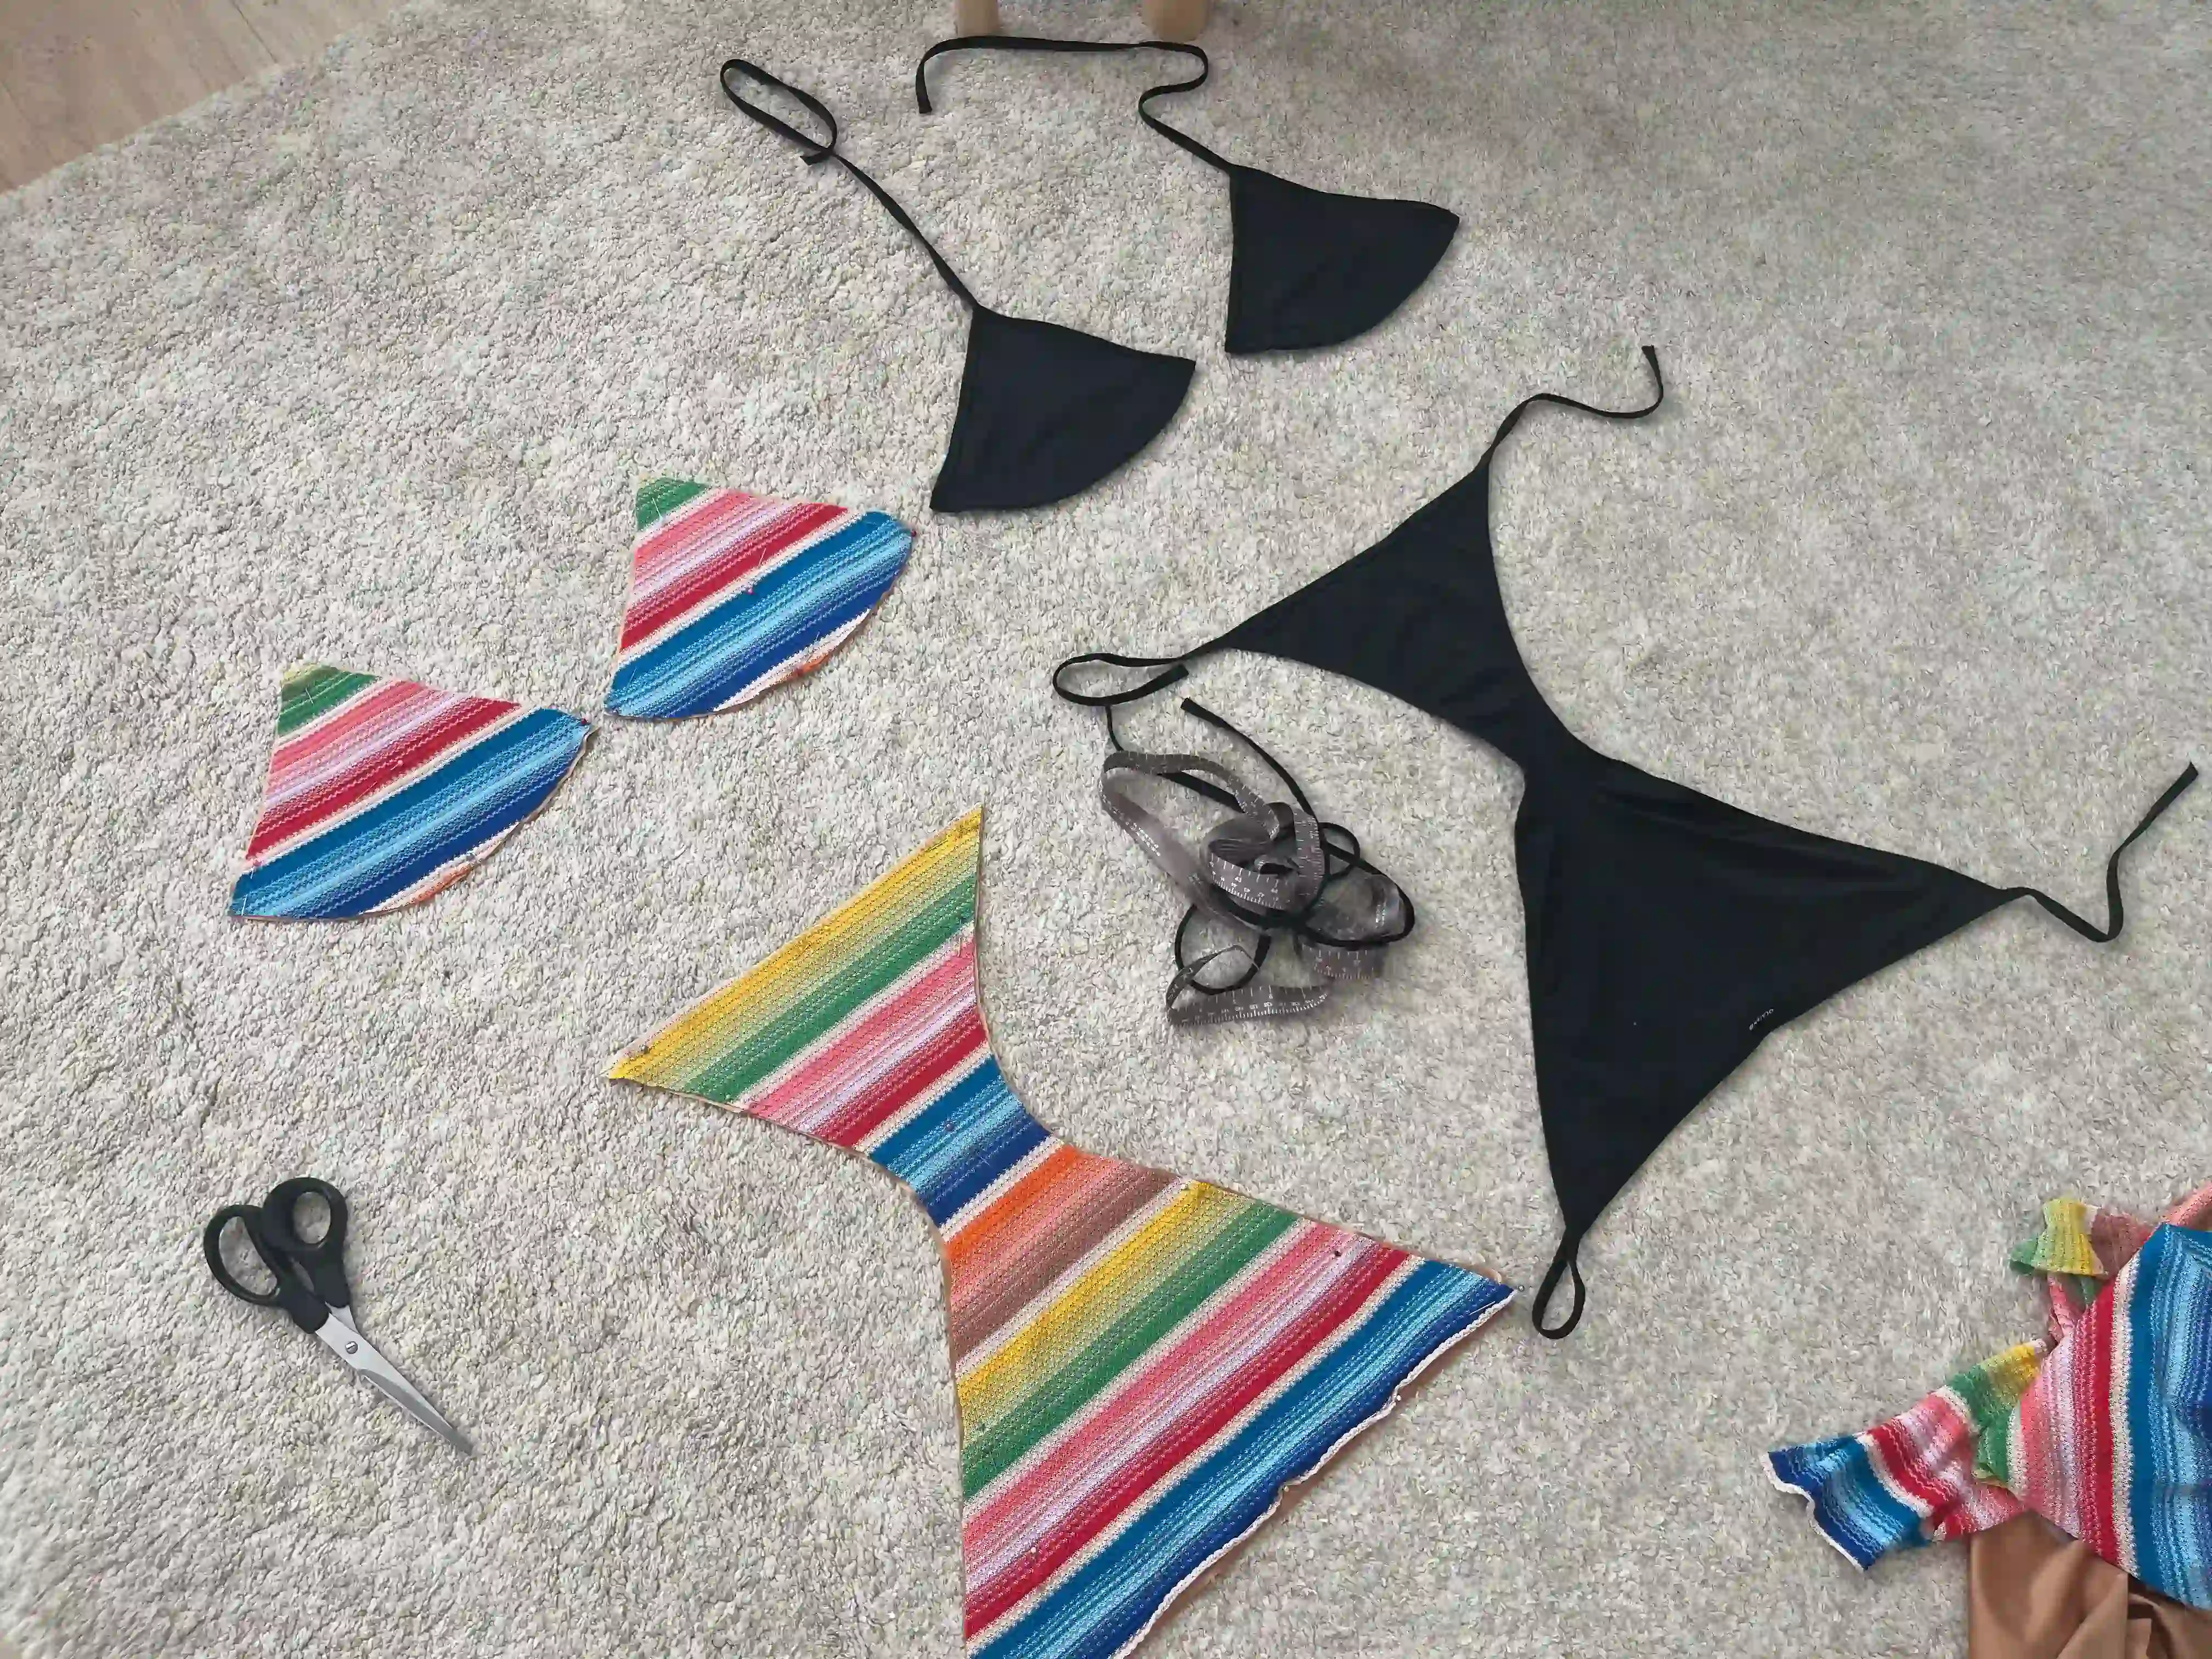
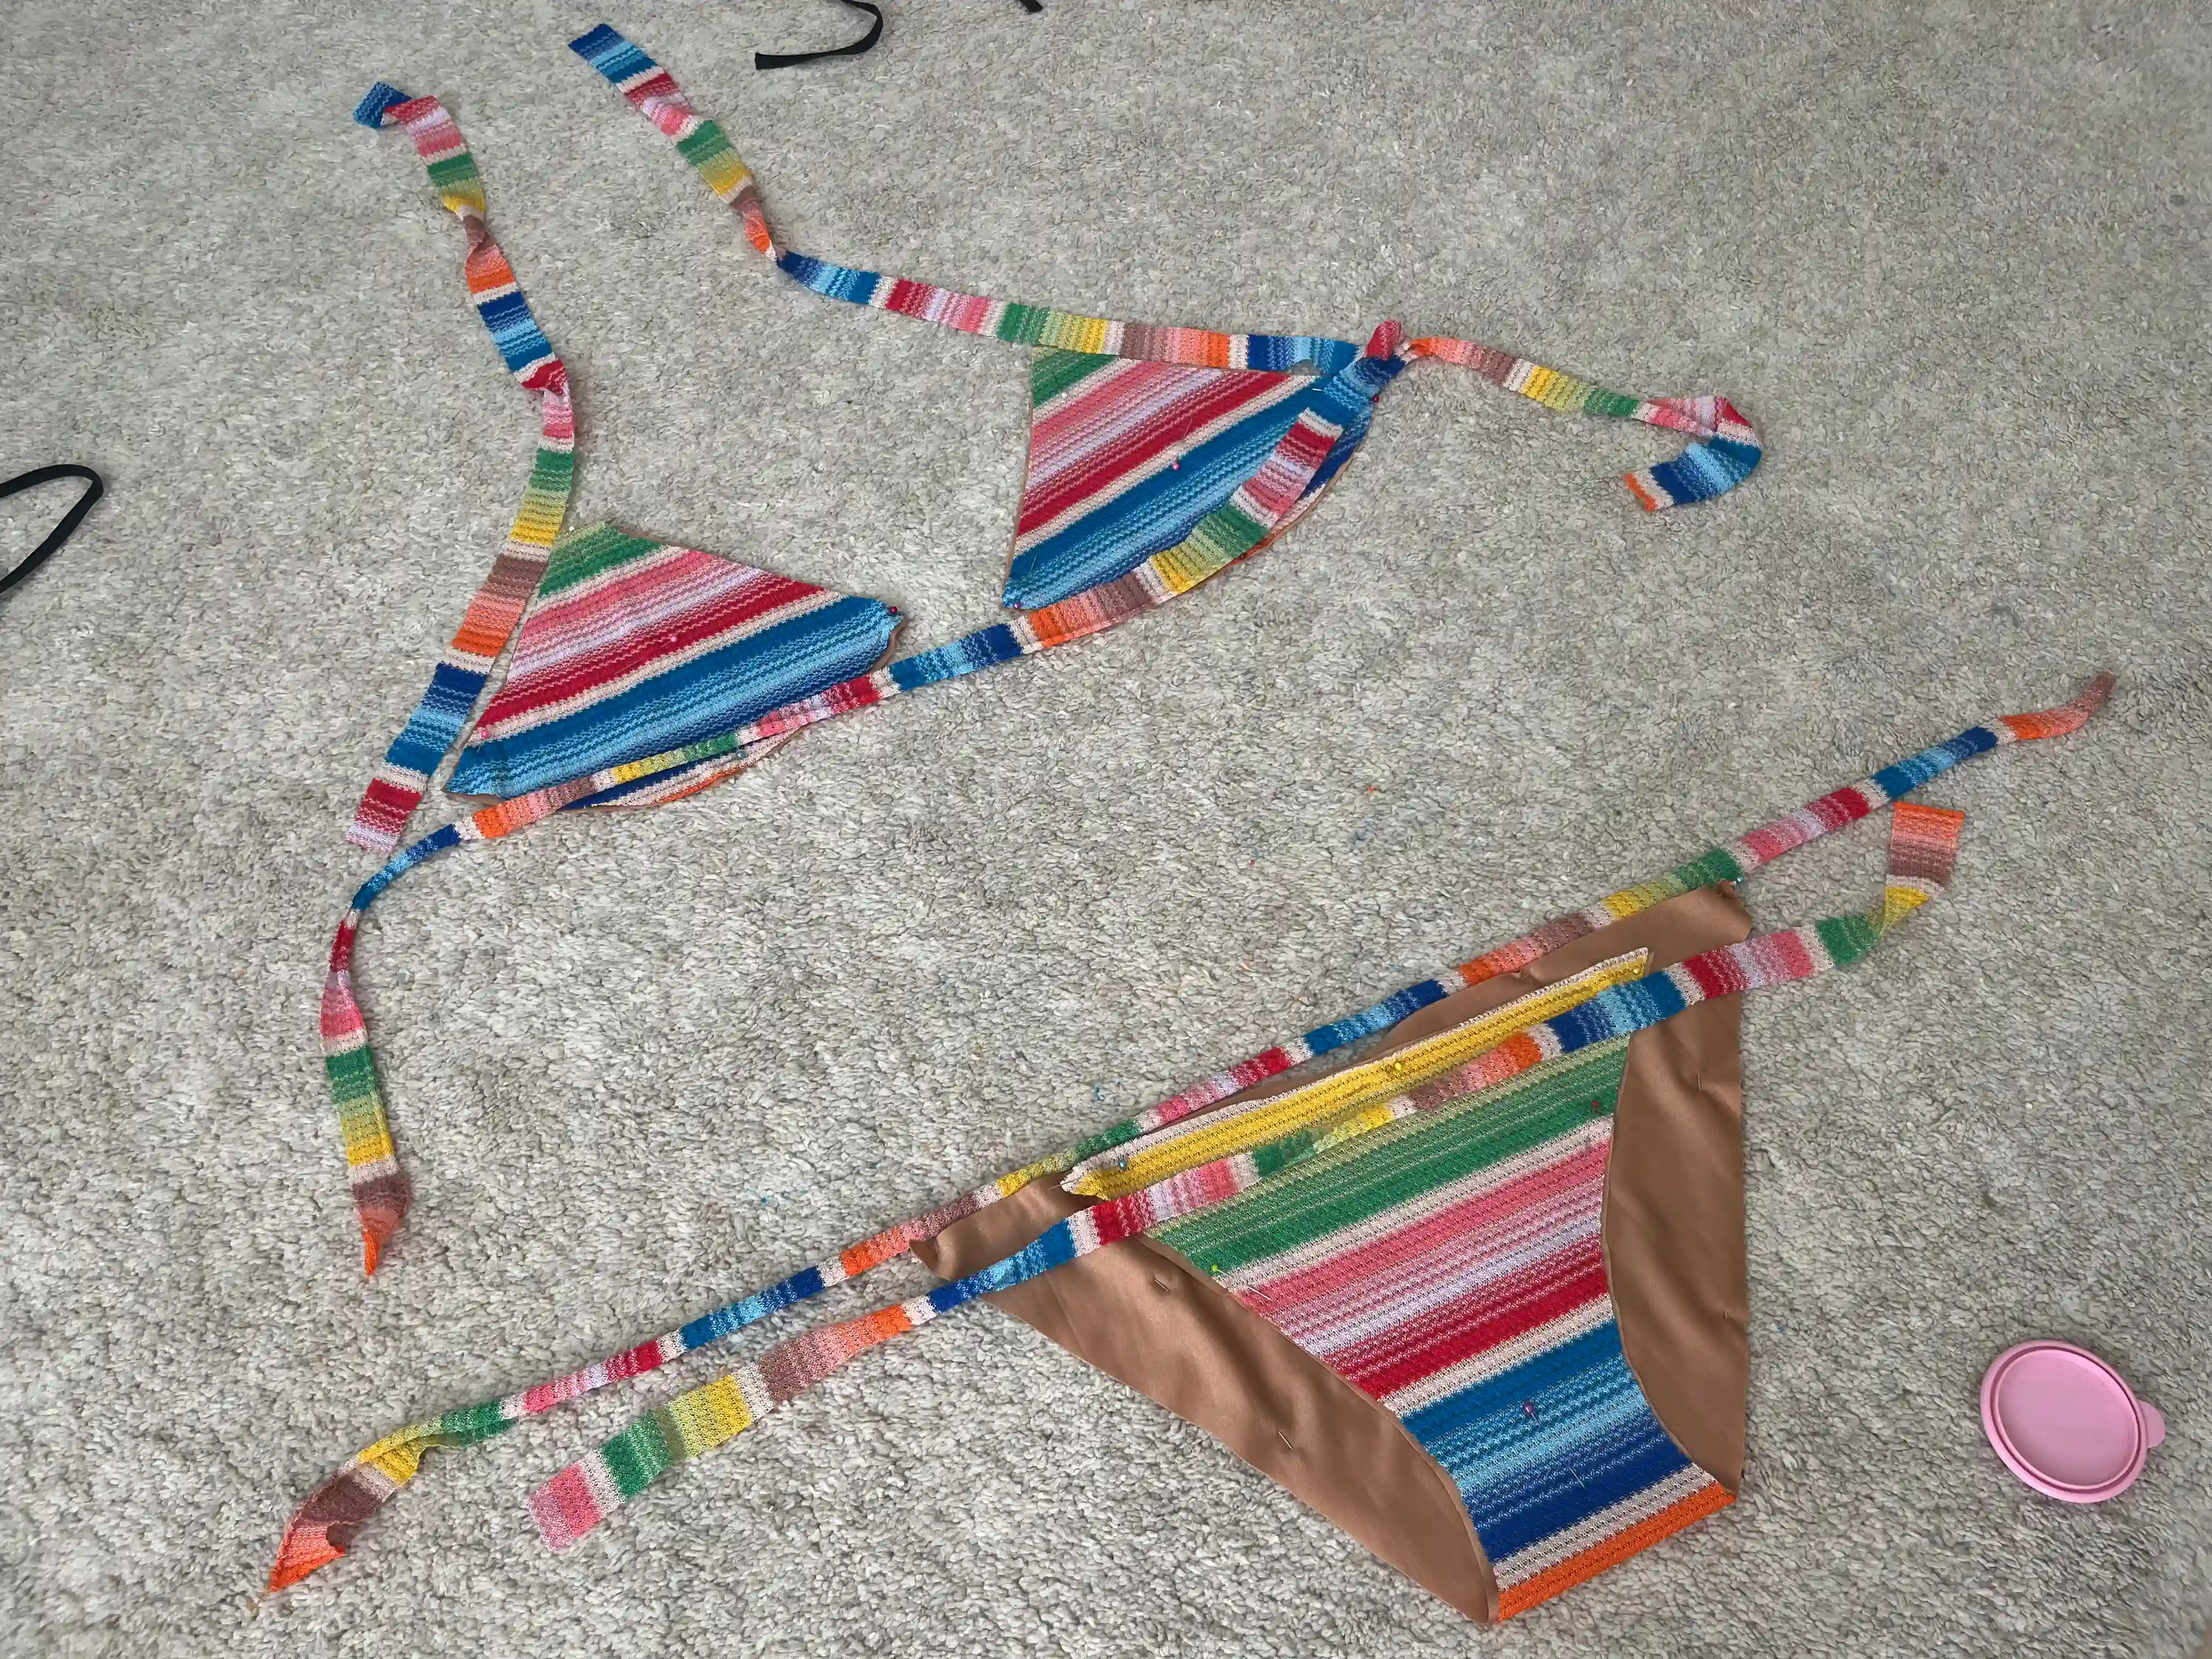
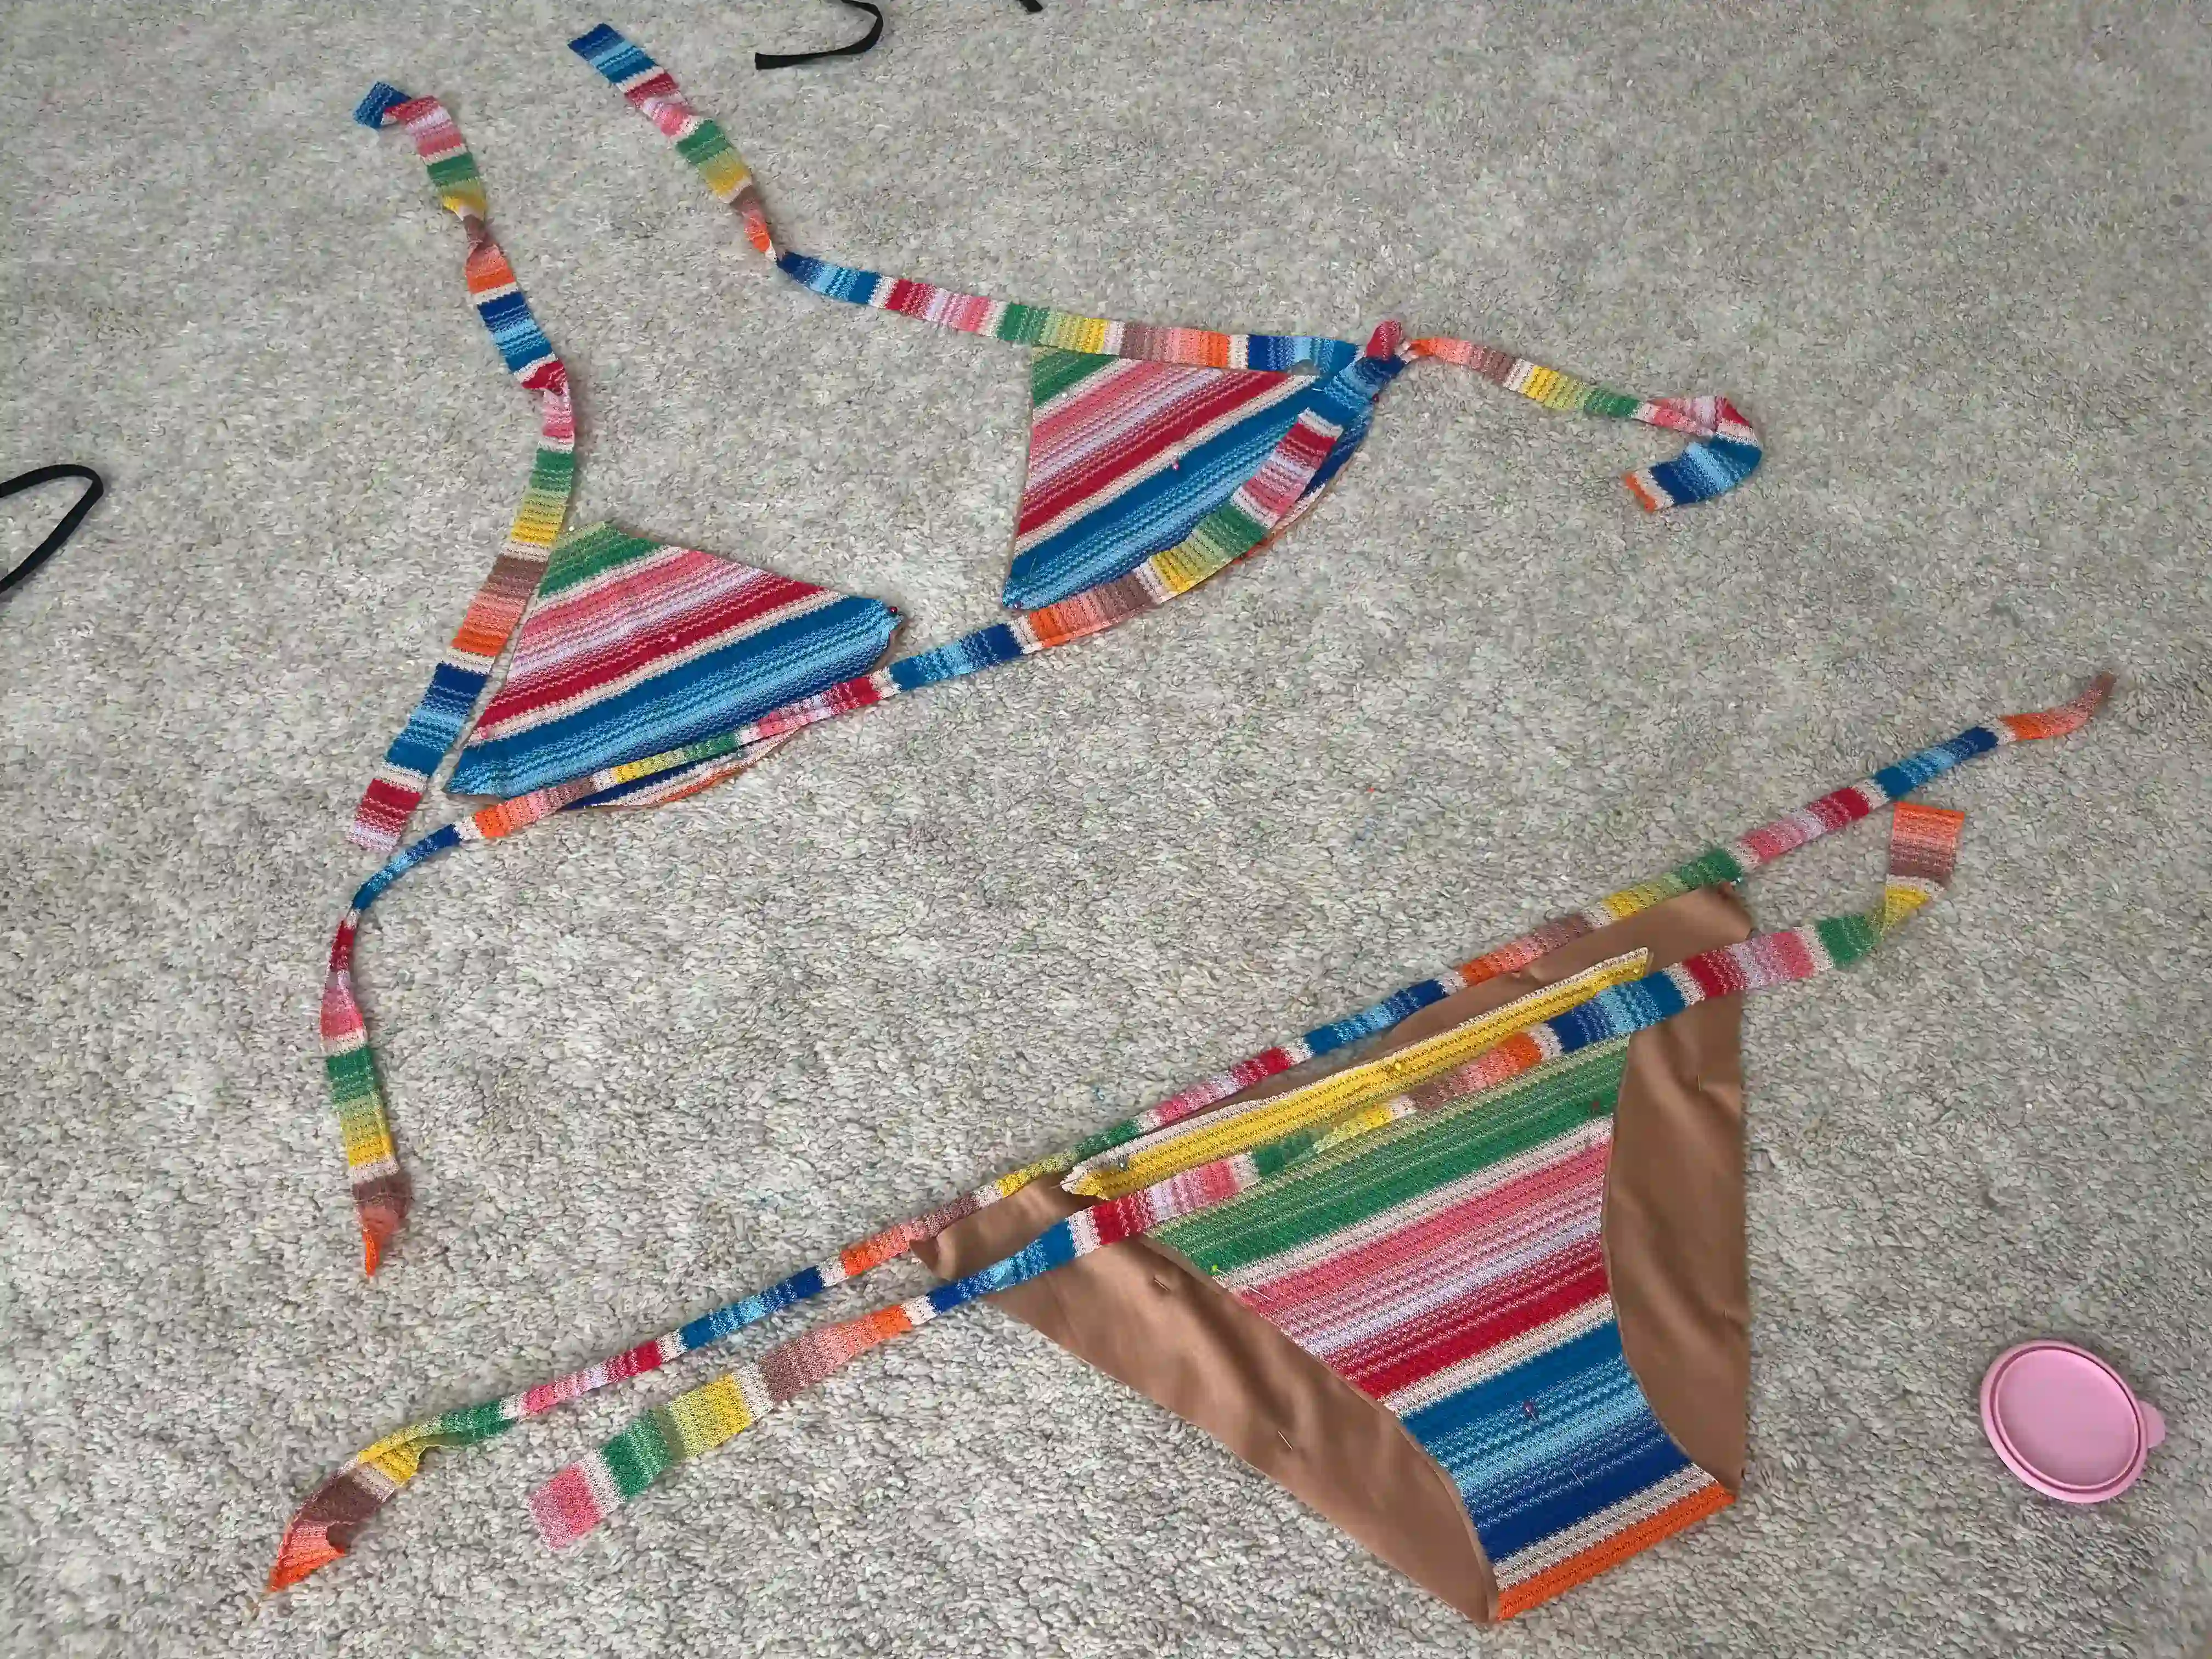
Cutting a bikini on fabric according to the bikini pattern:
- Prepare your pattern. You can download my pattern for free, or trace your own bikini if you already have one that fits you well.
- Place the main fabric on the floor or on the table where you will work.
- Place the pattern along the weft on the fabric and pin it. (The swimsuit will stretch to the side)
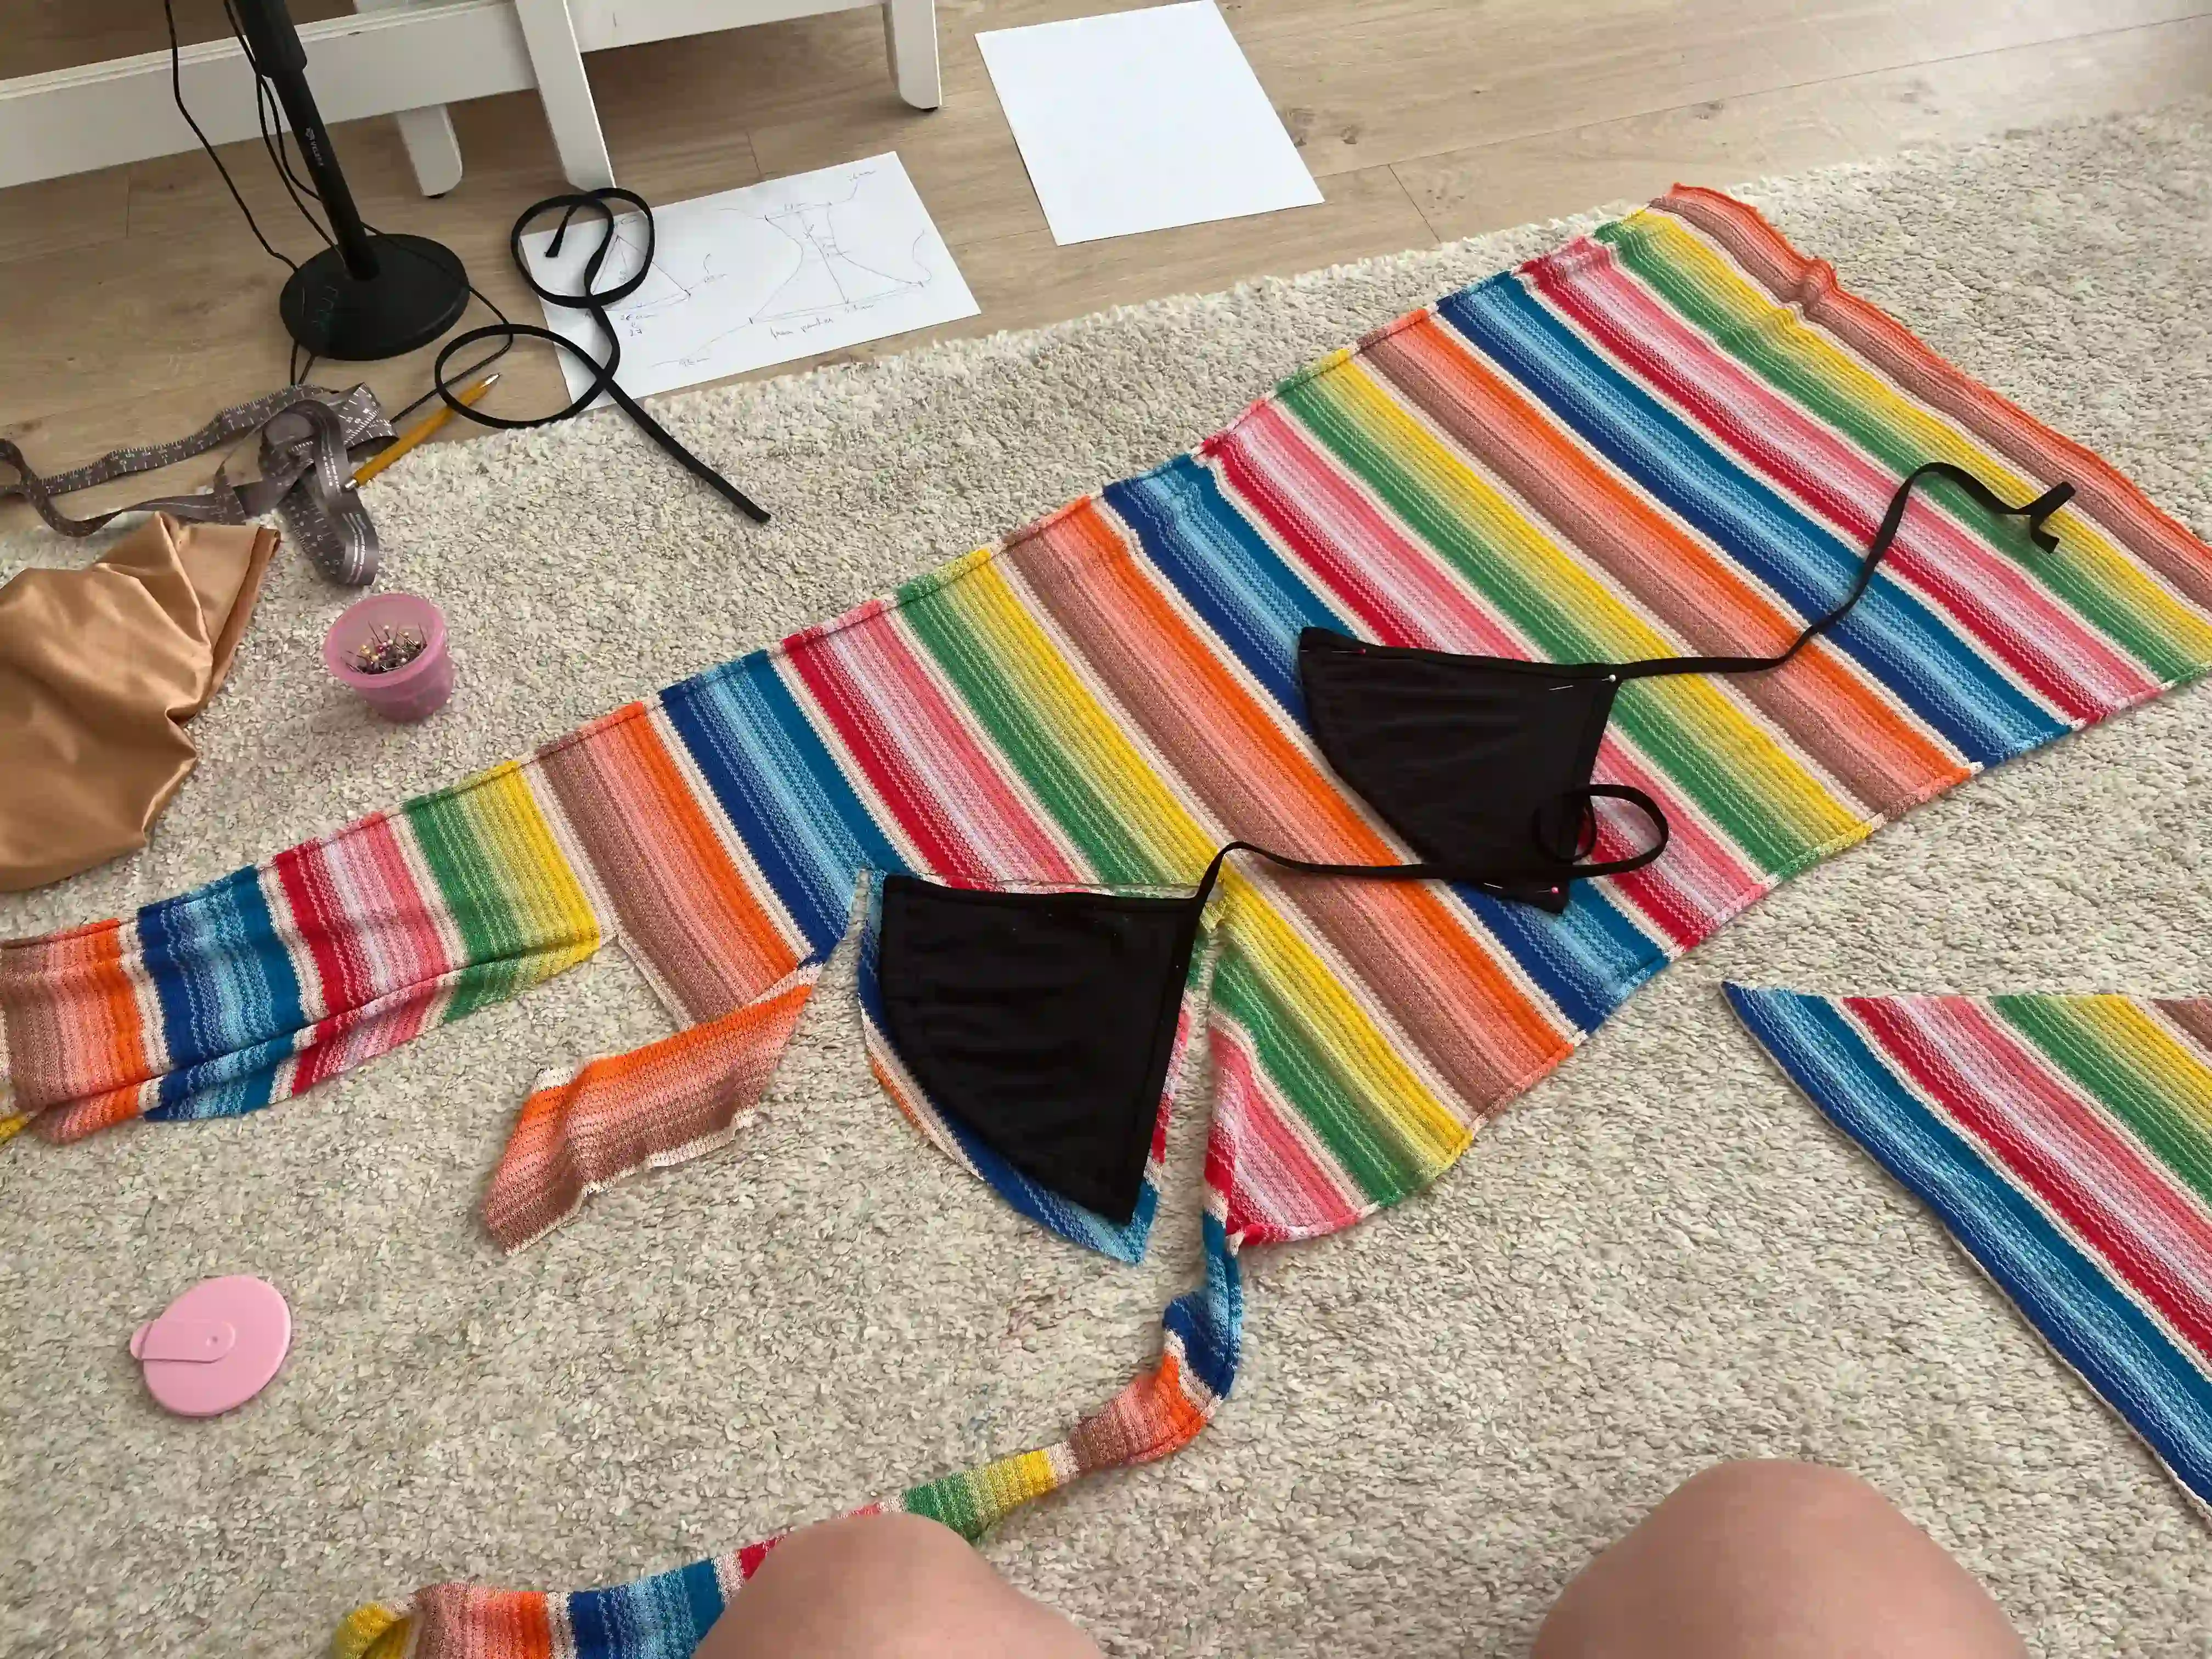
- Trace the pattern and cut out the main parts: 2 triangles on top and 1 bottom part. WARNING! If your fabric has a pattern, like mine has stripes, and you want the bikini to look great on the beach, place the pieces on the fabric so that the pattern matches. For example, I had to move one top piece to another place where the stripe pattern continued.
- Cut out the strings. 2 strings will go from the side of the triangle to the neck, and one under the breasts. The other 2 strings will hold the bottom part of the swimsuit.
- Place the triangle parts and the bottom part of the swimsuit on the lining fabric along the weft. Pin everything securely so the fabric does not shift.
- Cut out the individual parts of the swimsuit lining (two triangles and one bottom piece).
Now you have cut out: 2x triangles from the main fabric, 2x triangles from the lining fabric, 1x bottom piece from the main fabric, 1x bottom piece from the lining fabric, and 5 strings. You can start sewing. 😉
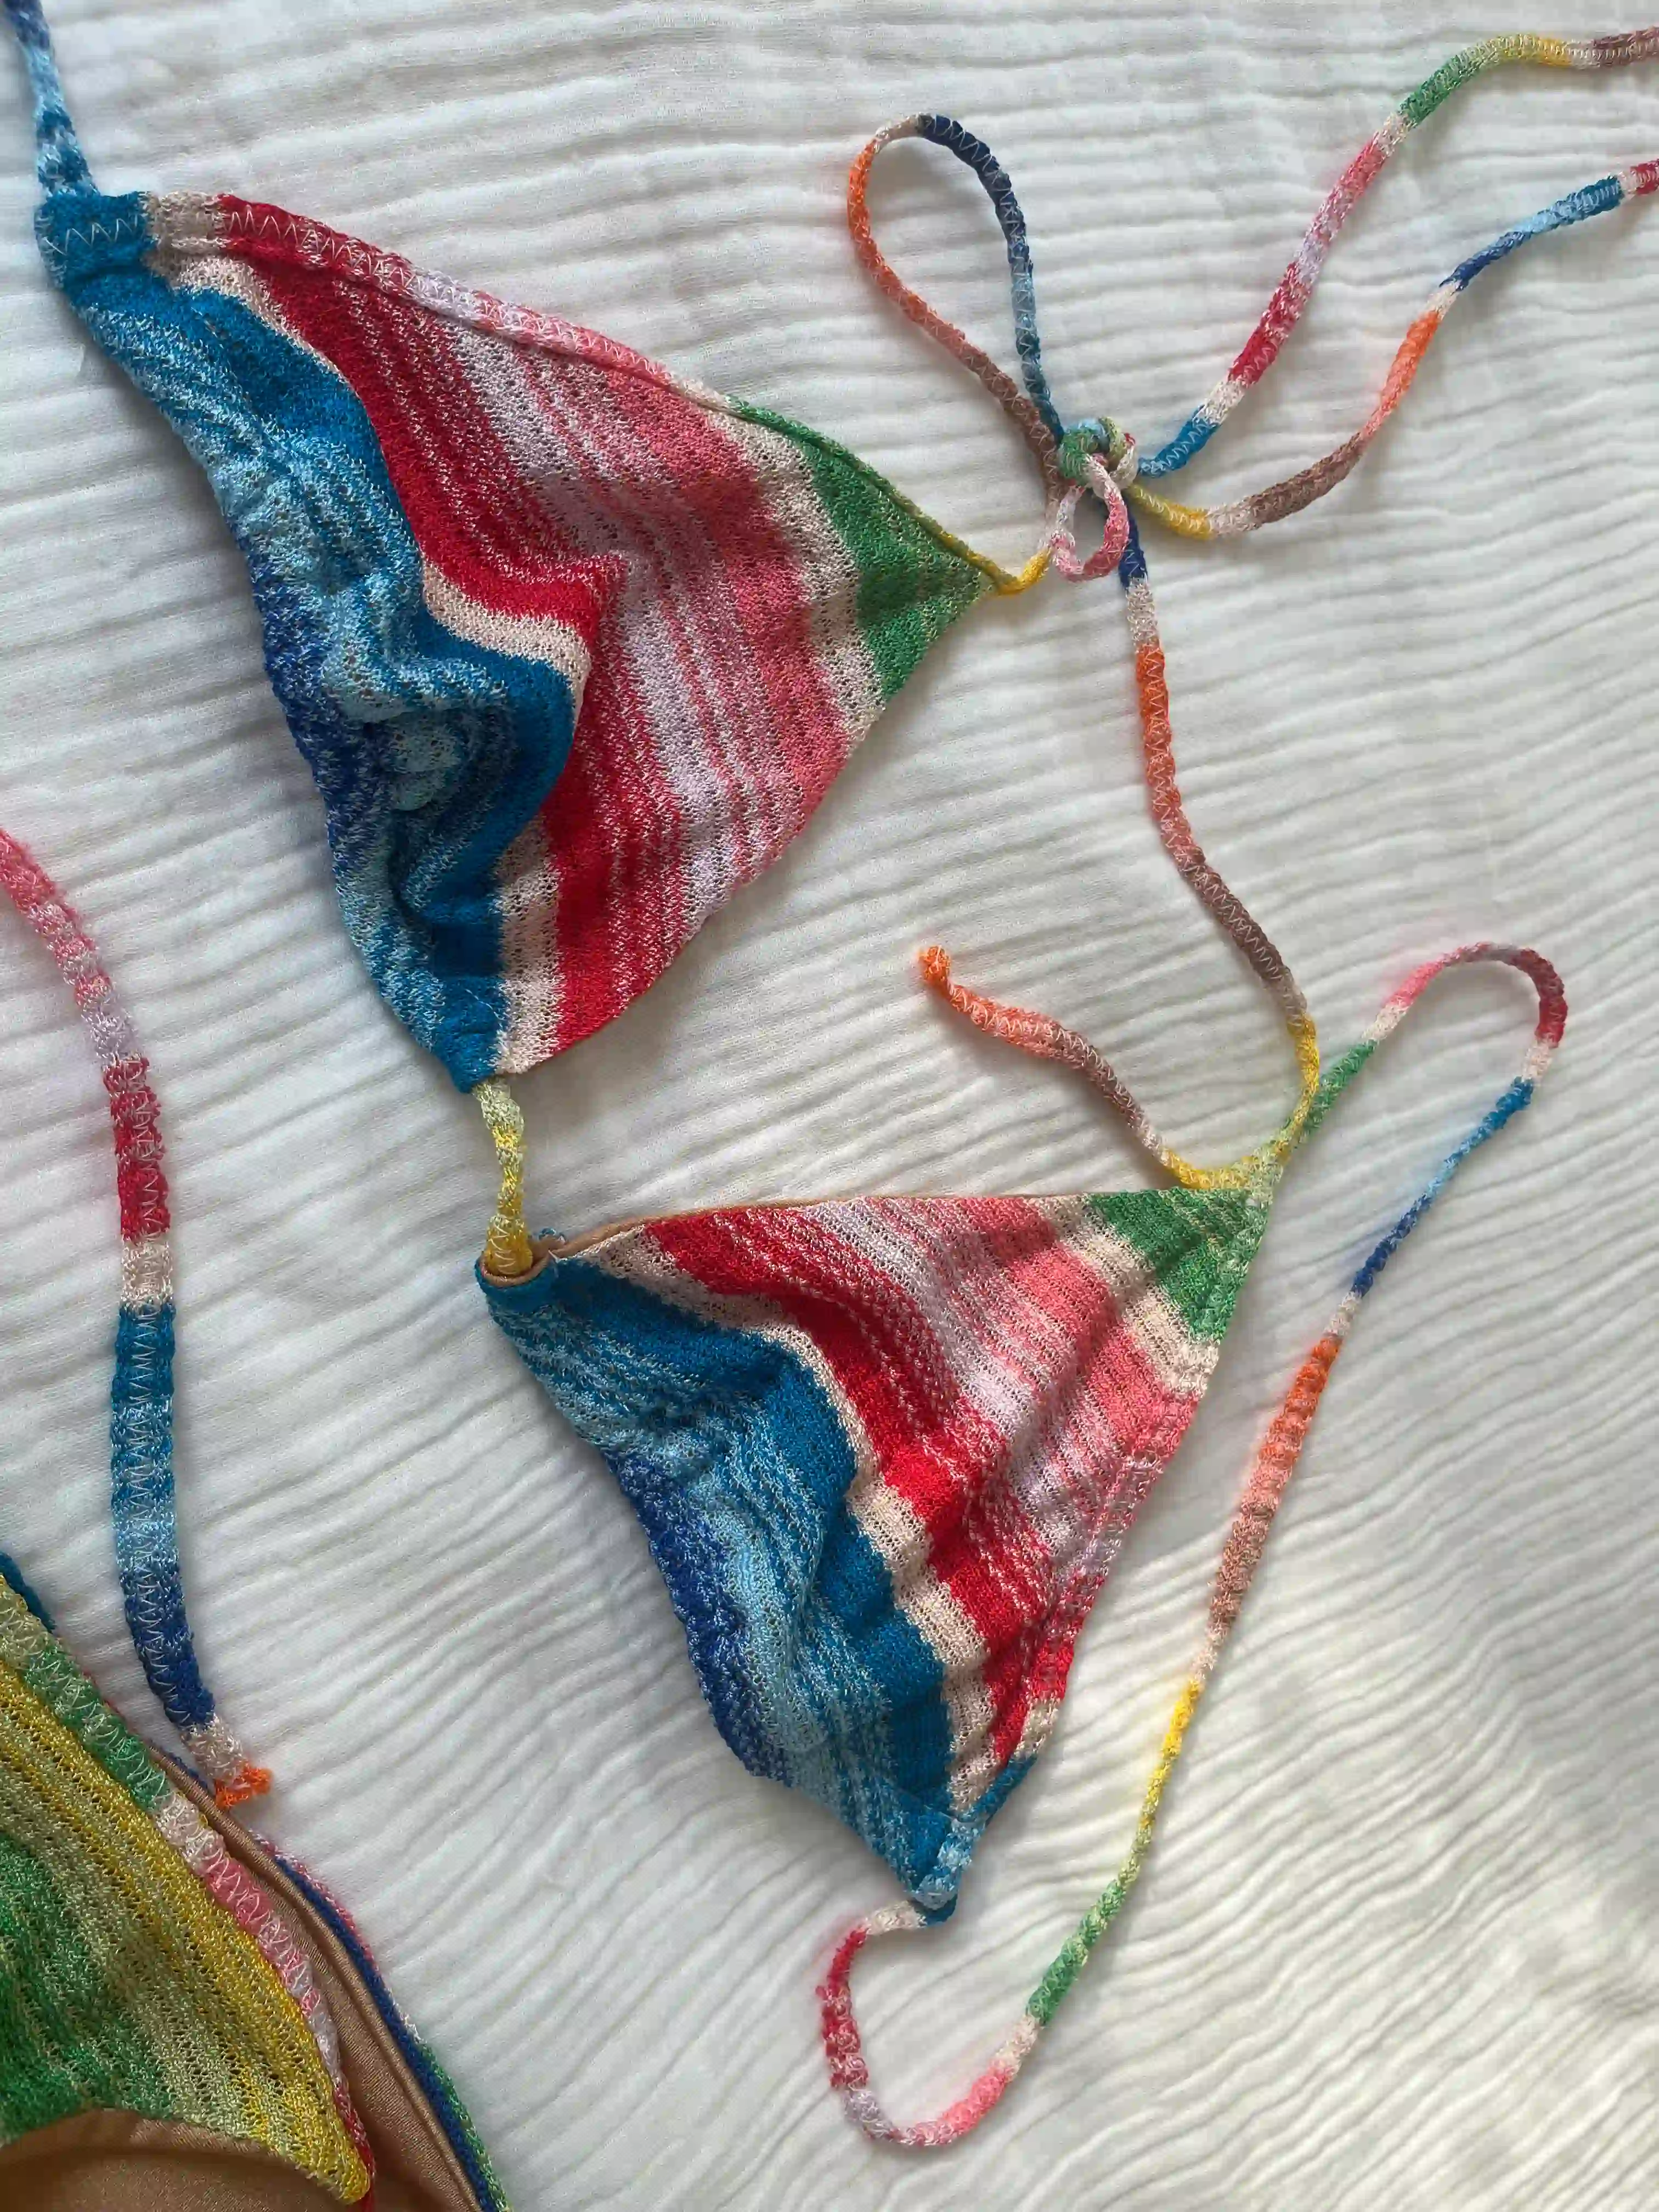
Handmade bikini step-by-step sewing tutorial:
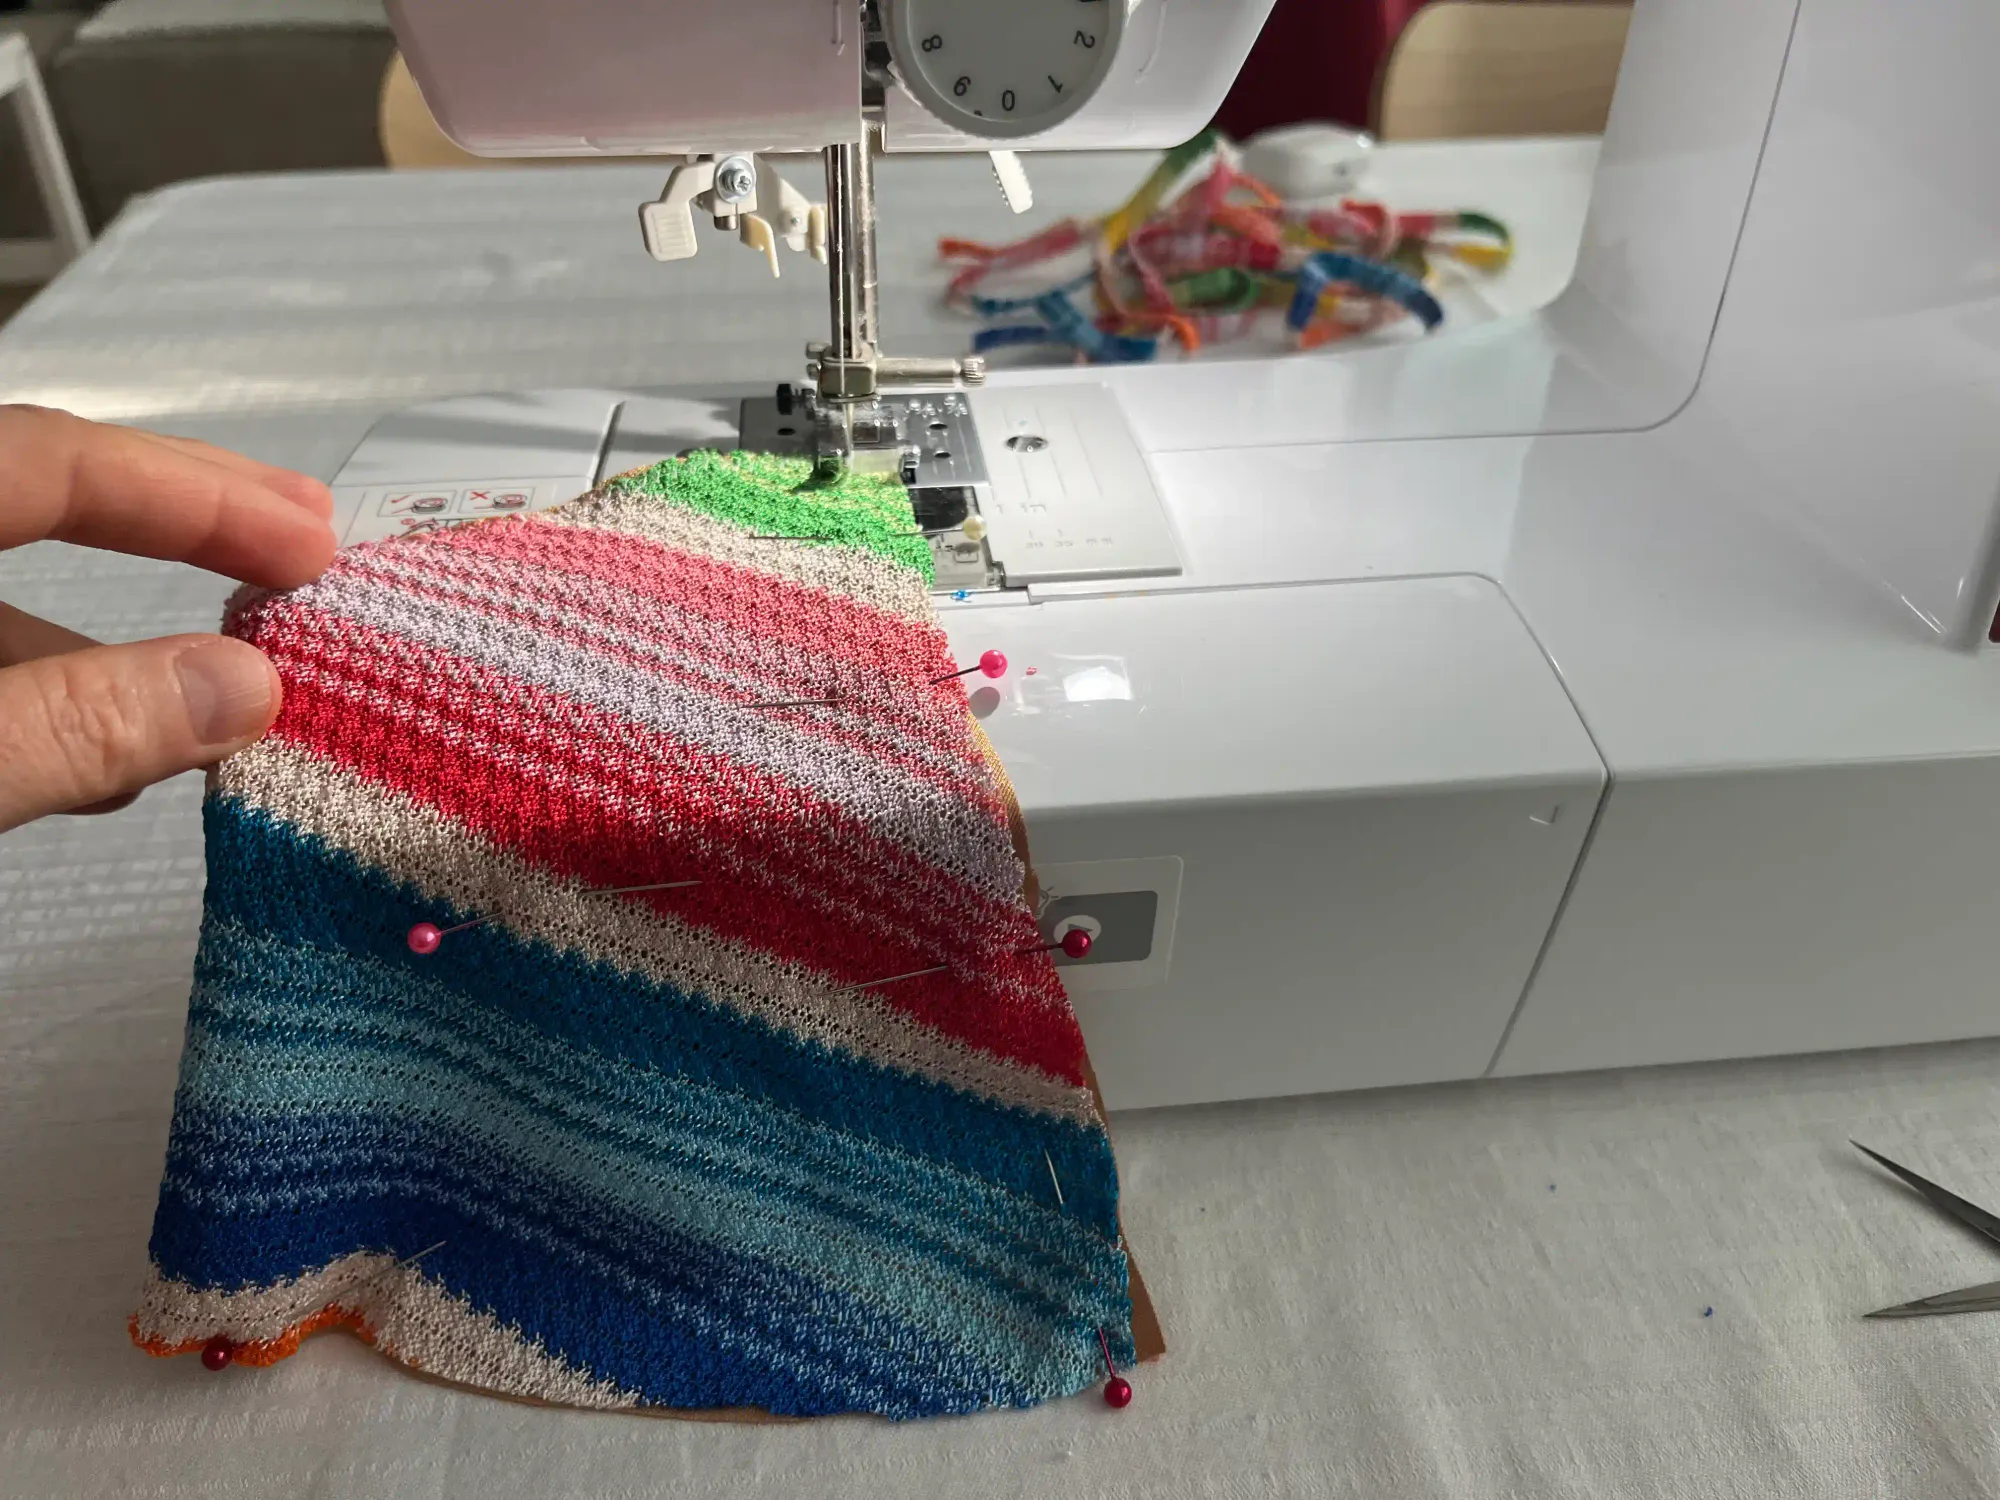
1. Sew each piece around the perimeter. Turn each piece (2 triangles and one bottom piece) wrong side out, then sew them together along the perimeter with a zigzag stitch. Leave a small opening in each piece so you can turn each piece right side out. By sewing the pieces and then turning them, you will hide the seam so it is not visible, and your future swimsuit will look great.
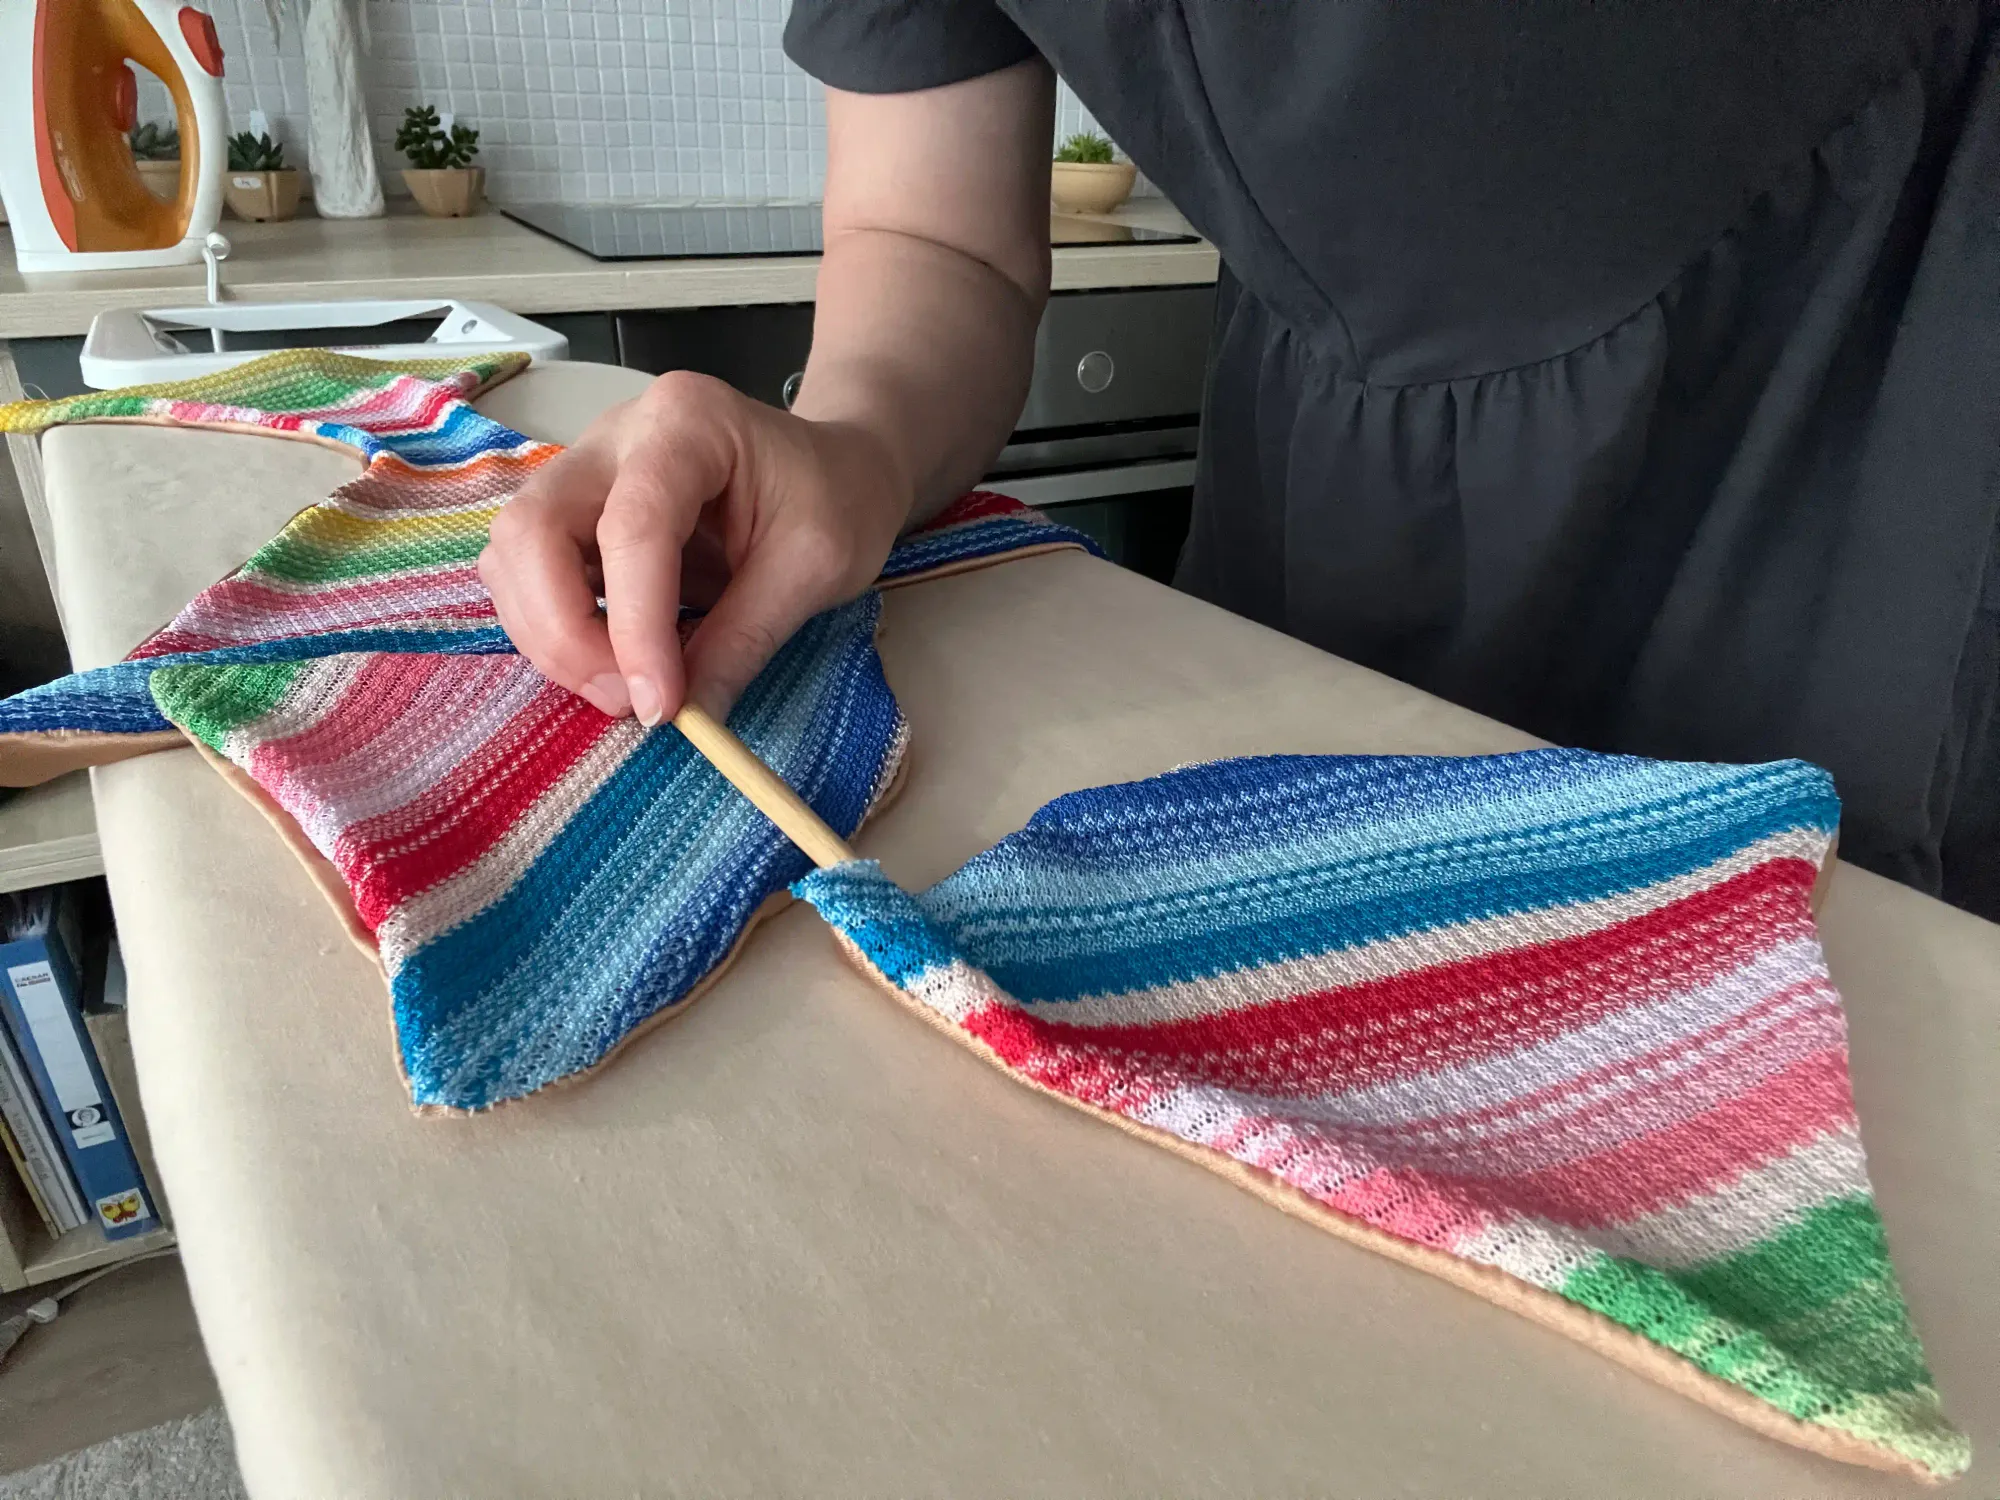
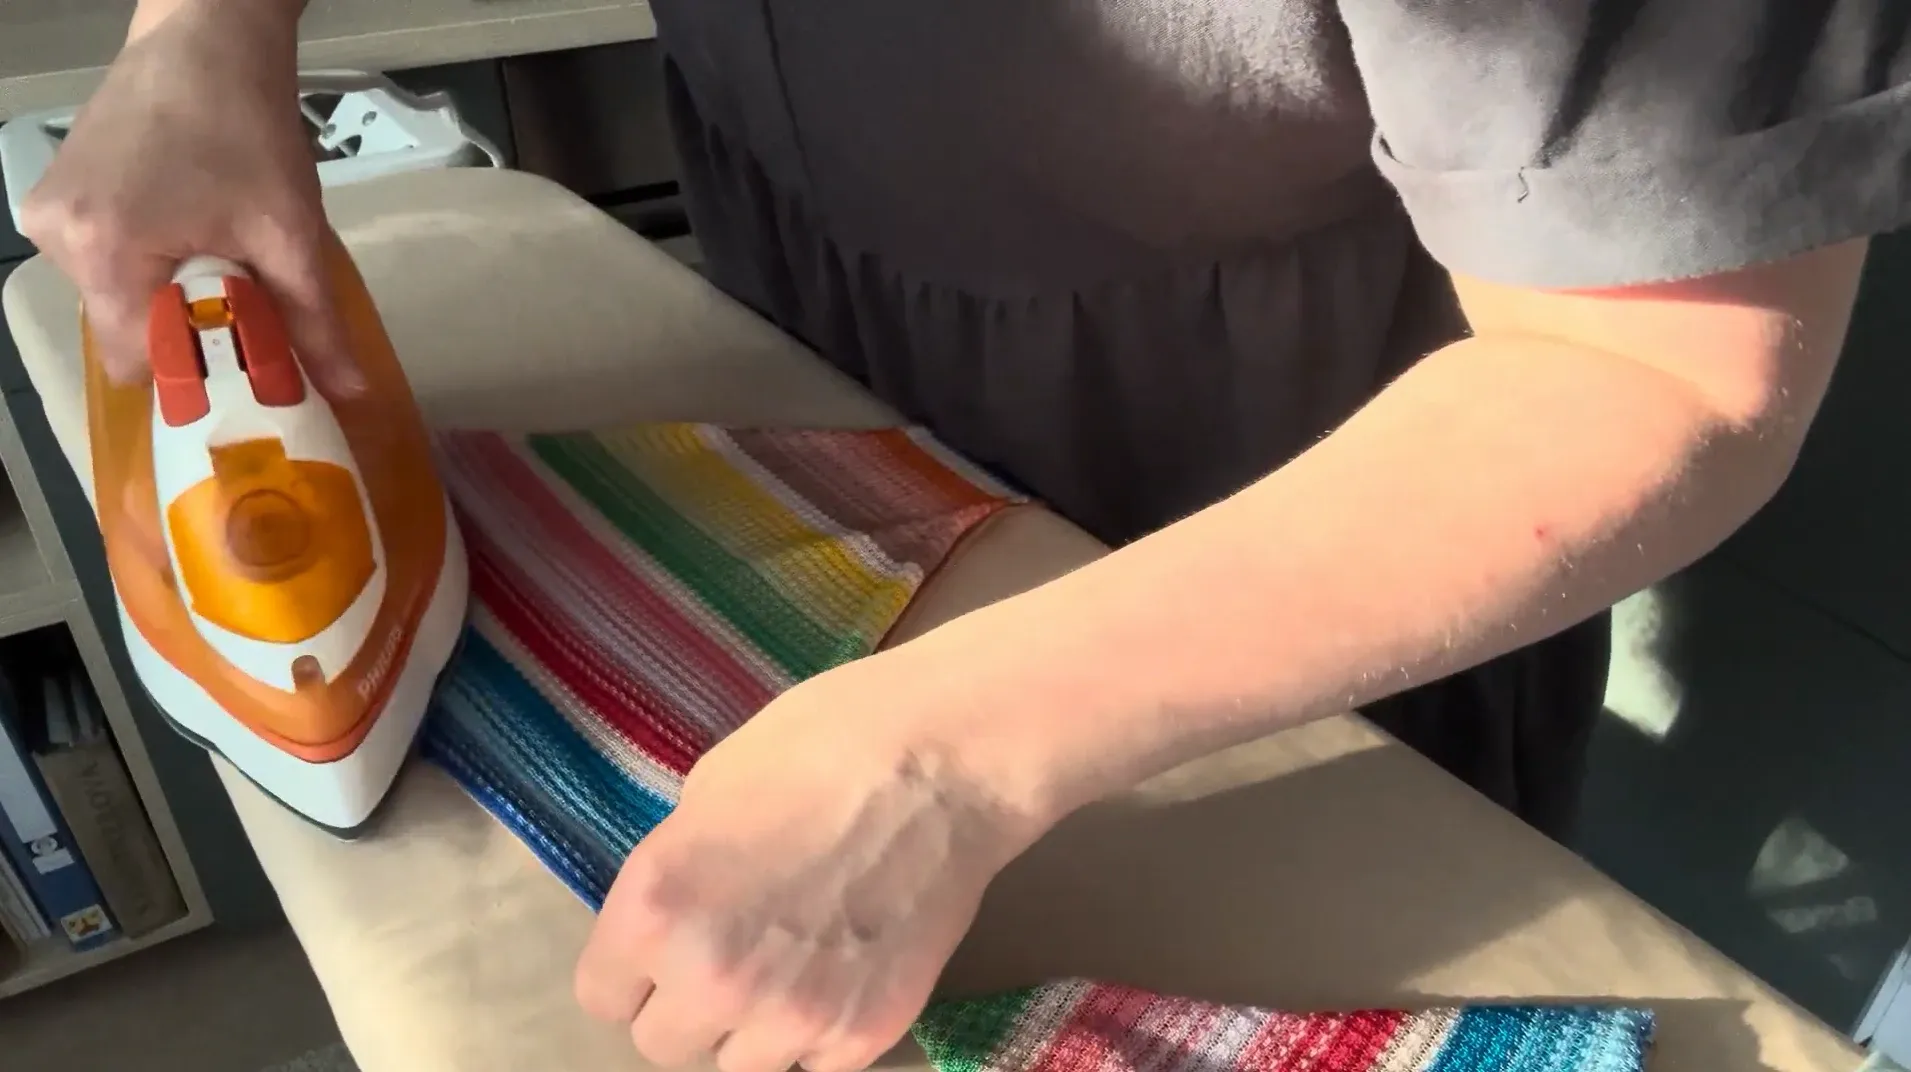
2. Carefully turn all the pieces right side out, straighten the seams (a piece of wood or a bamboo stick that you use for sushi will help you with this), and iron the individual pieces on the lowest setting of the iron.
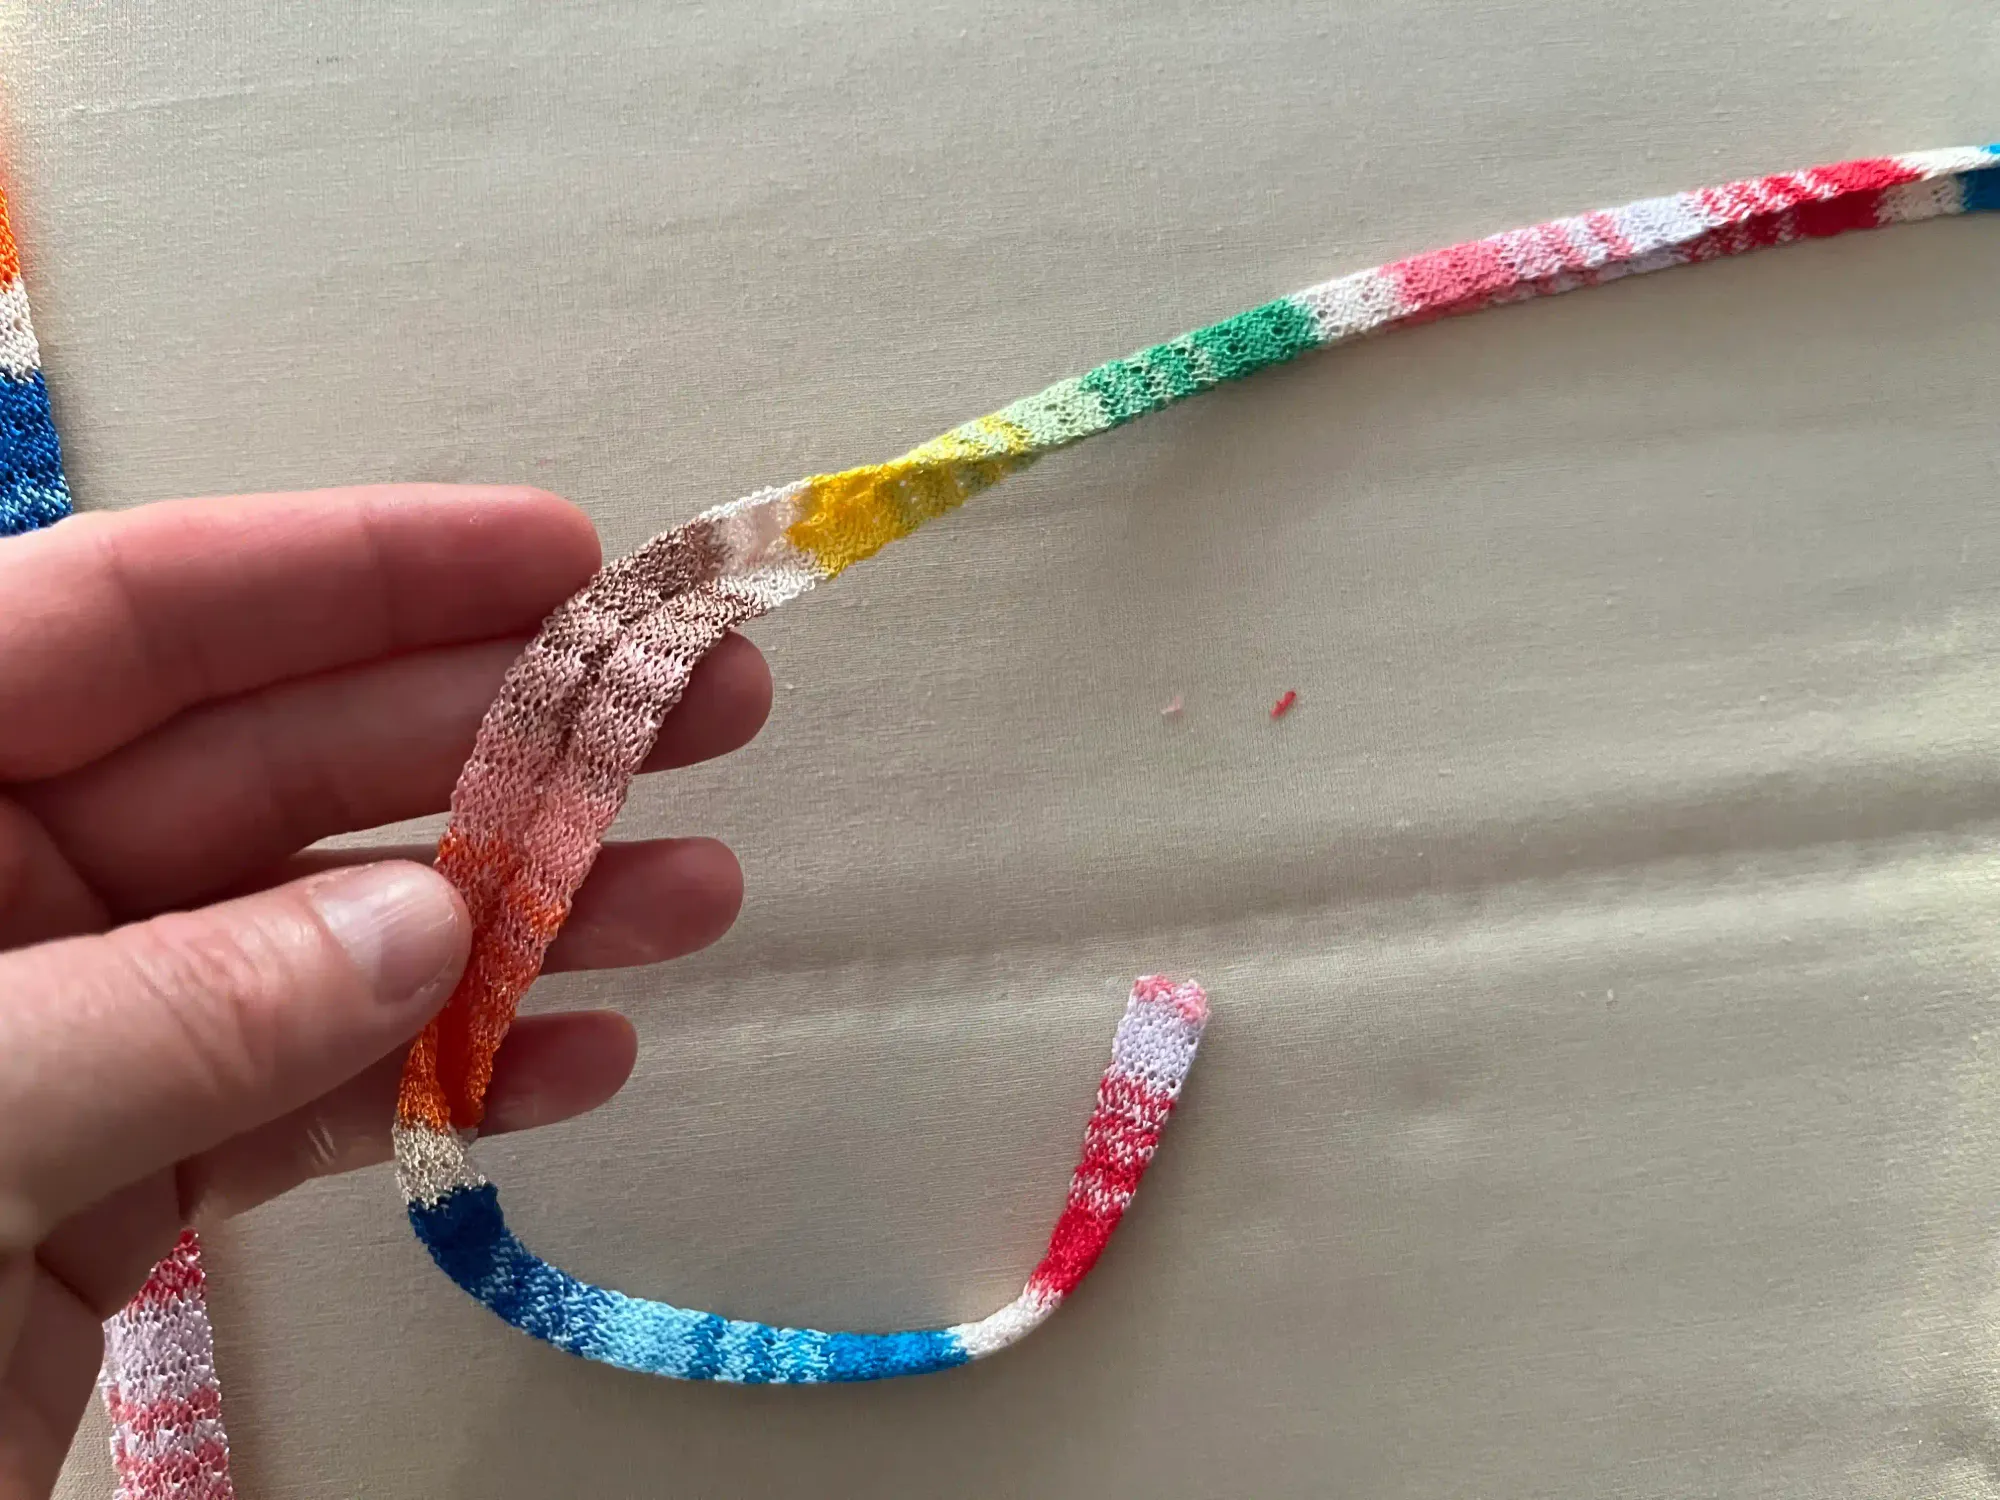
3. Iron the strings that you have prepared for the top of the swimsuit, and fold them in half and then in quarters, so that you have a long, thin string that holds each piece.
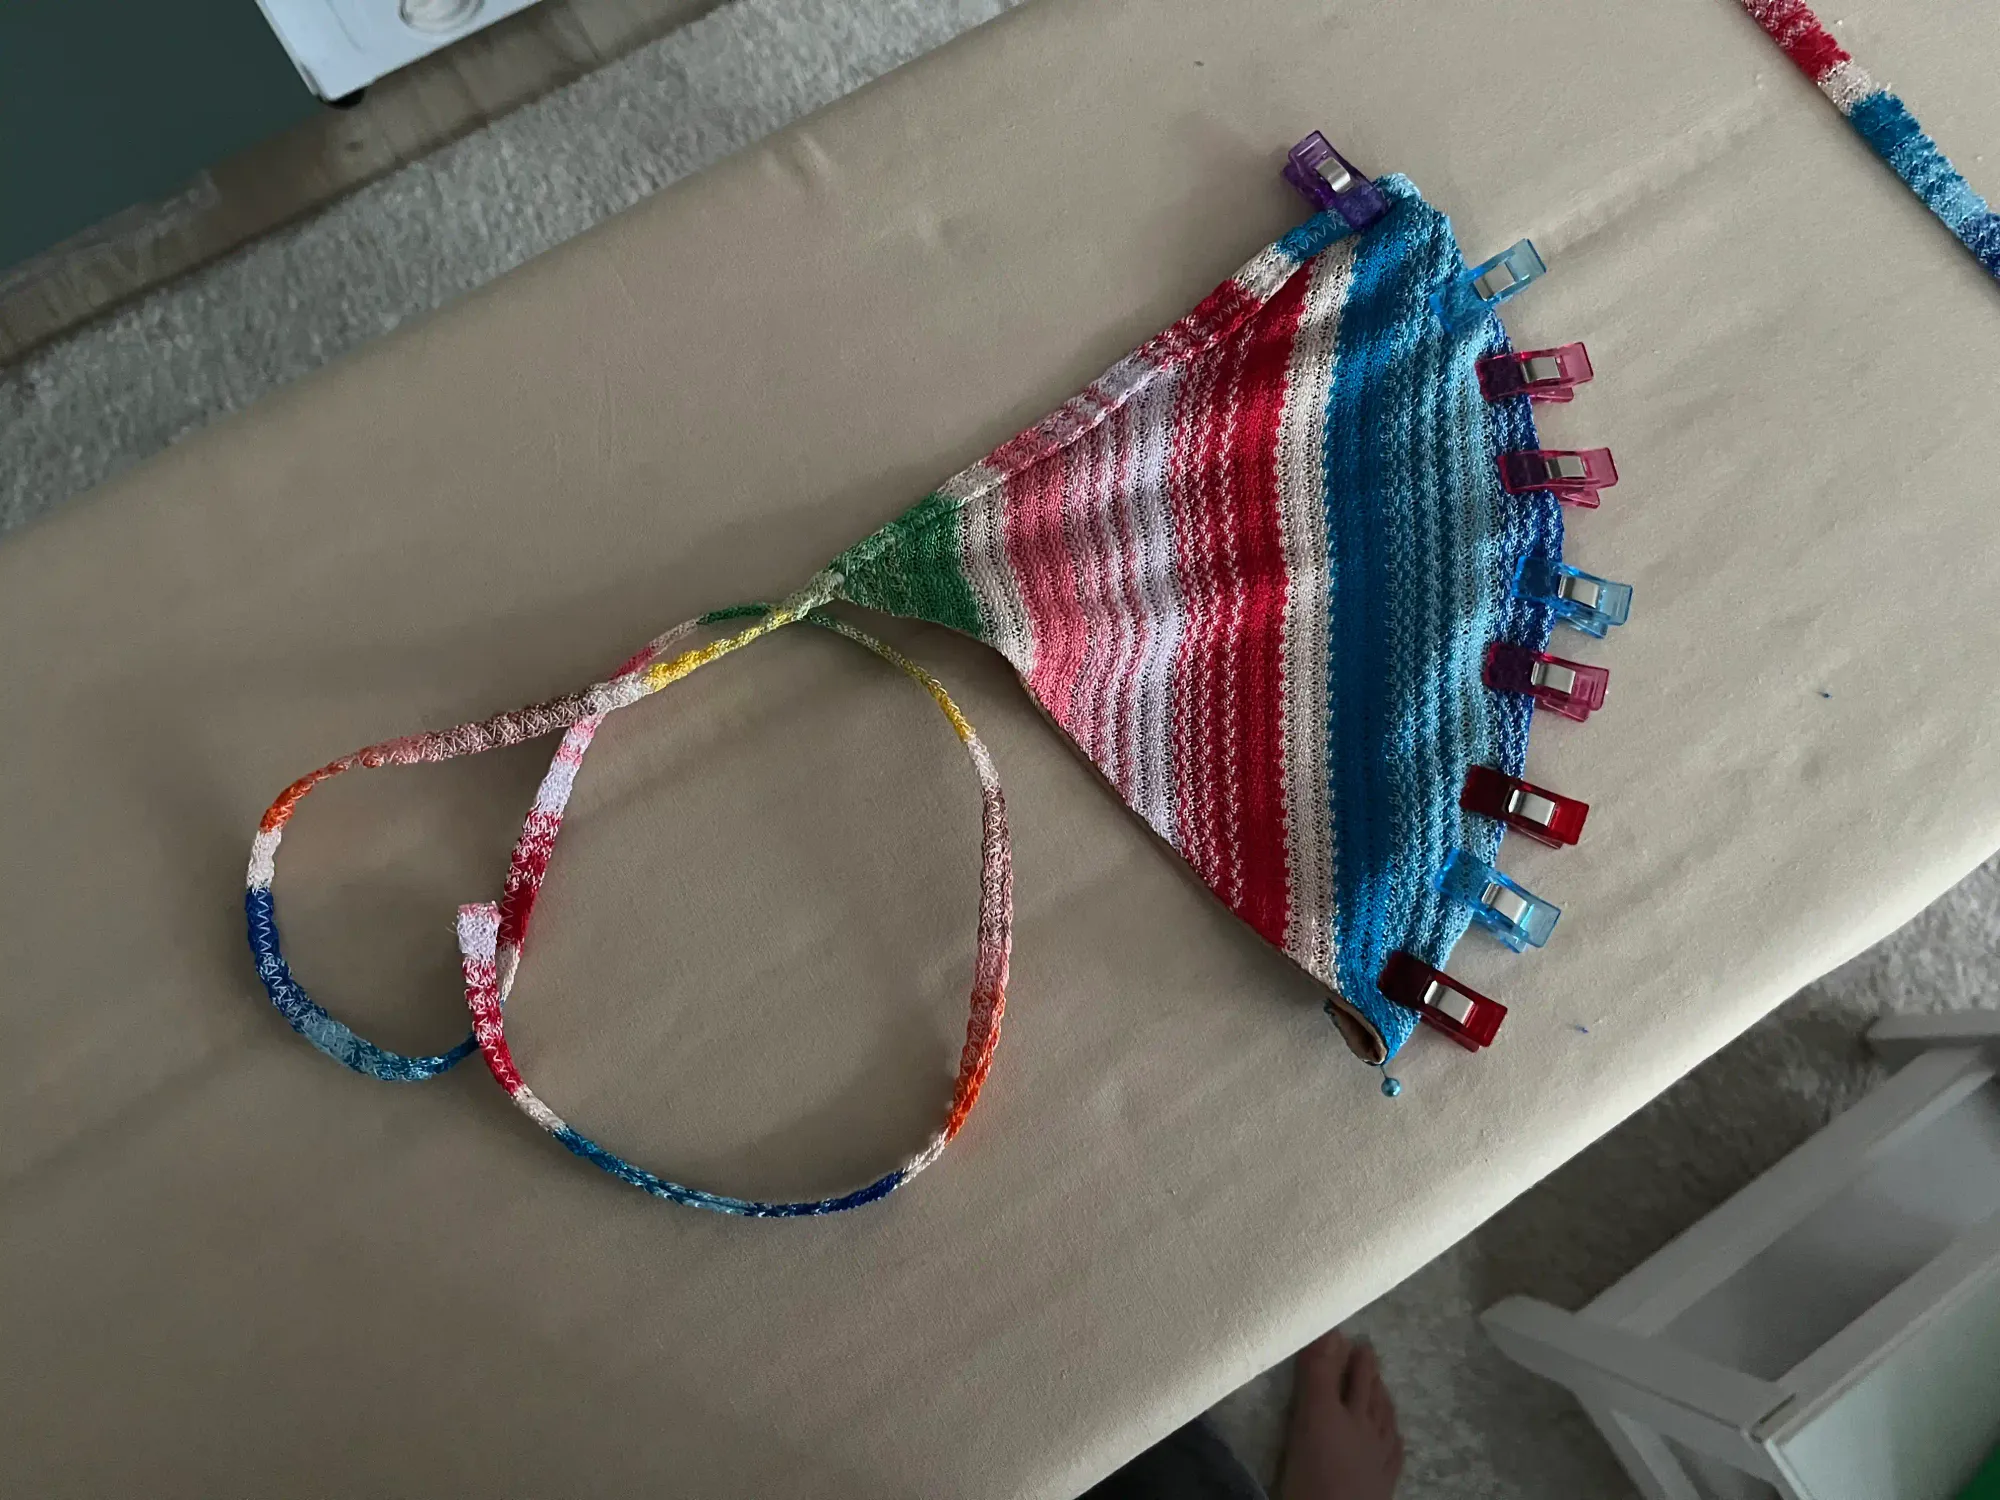
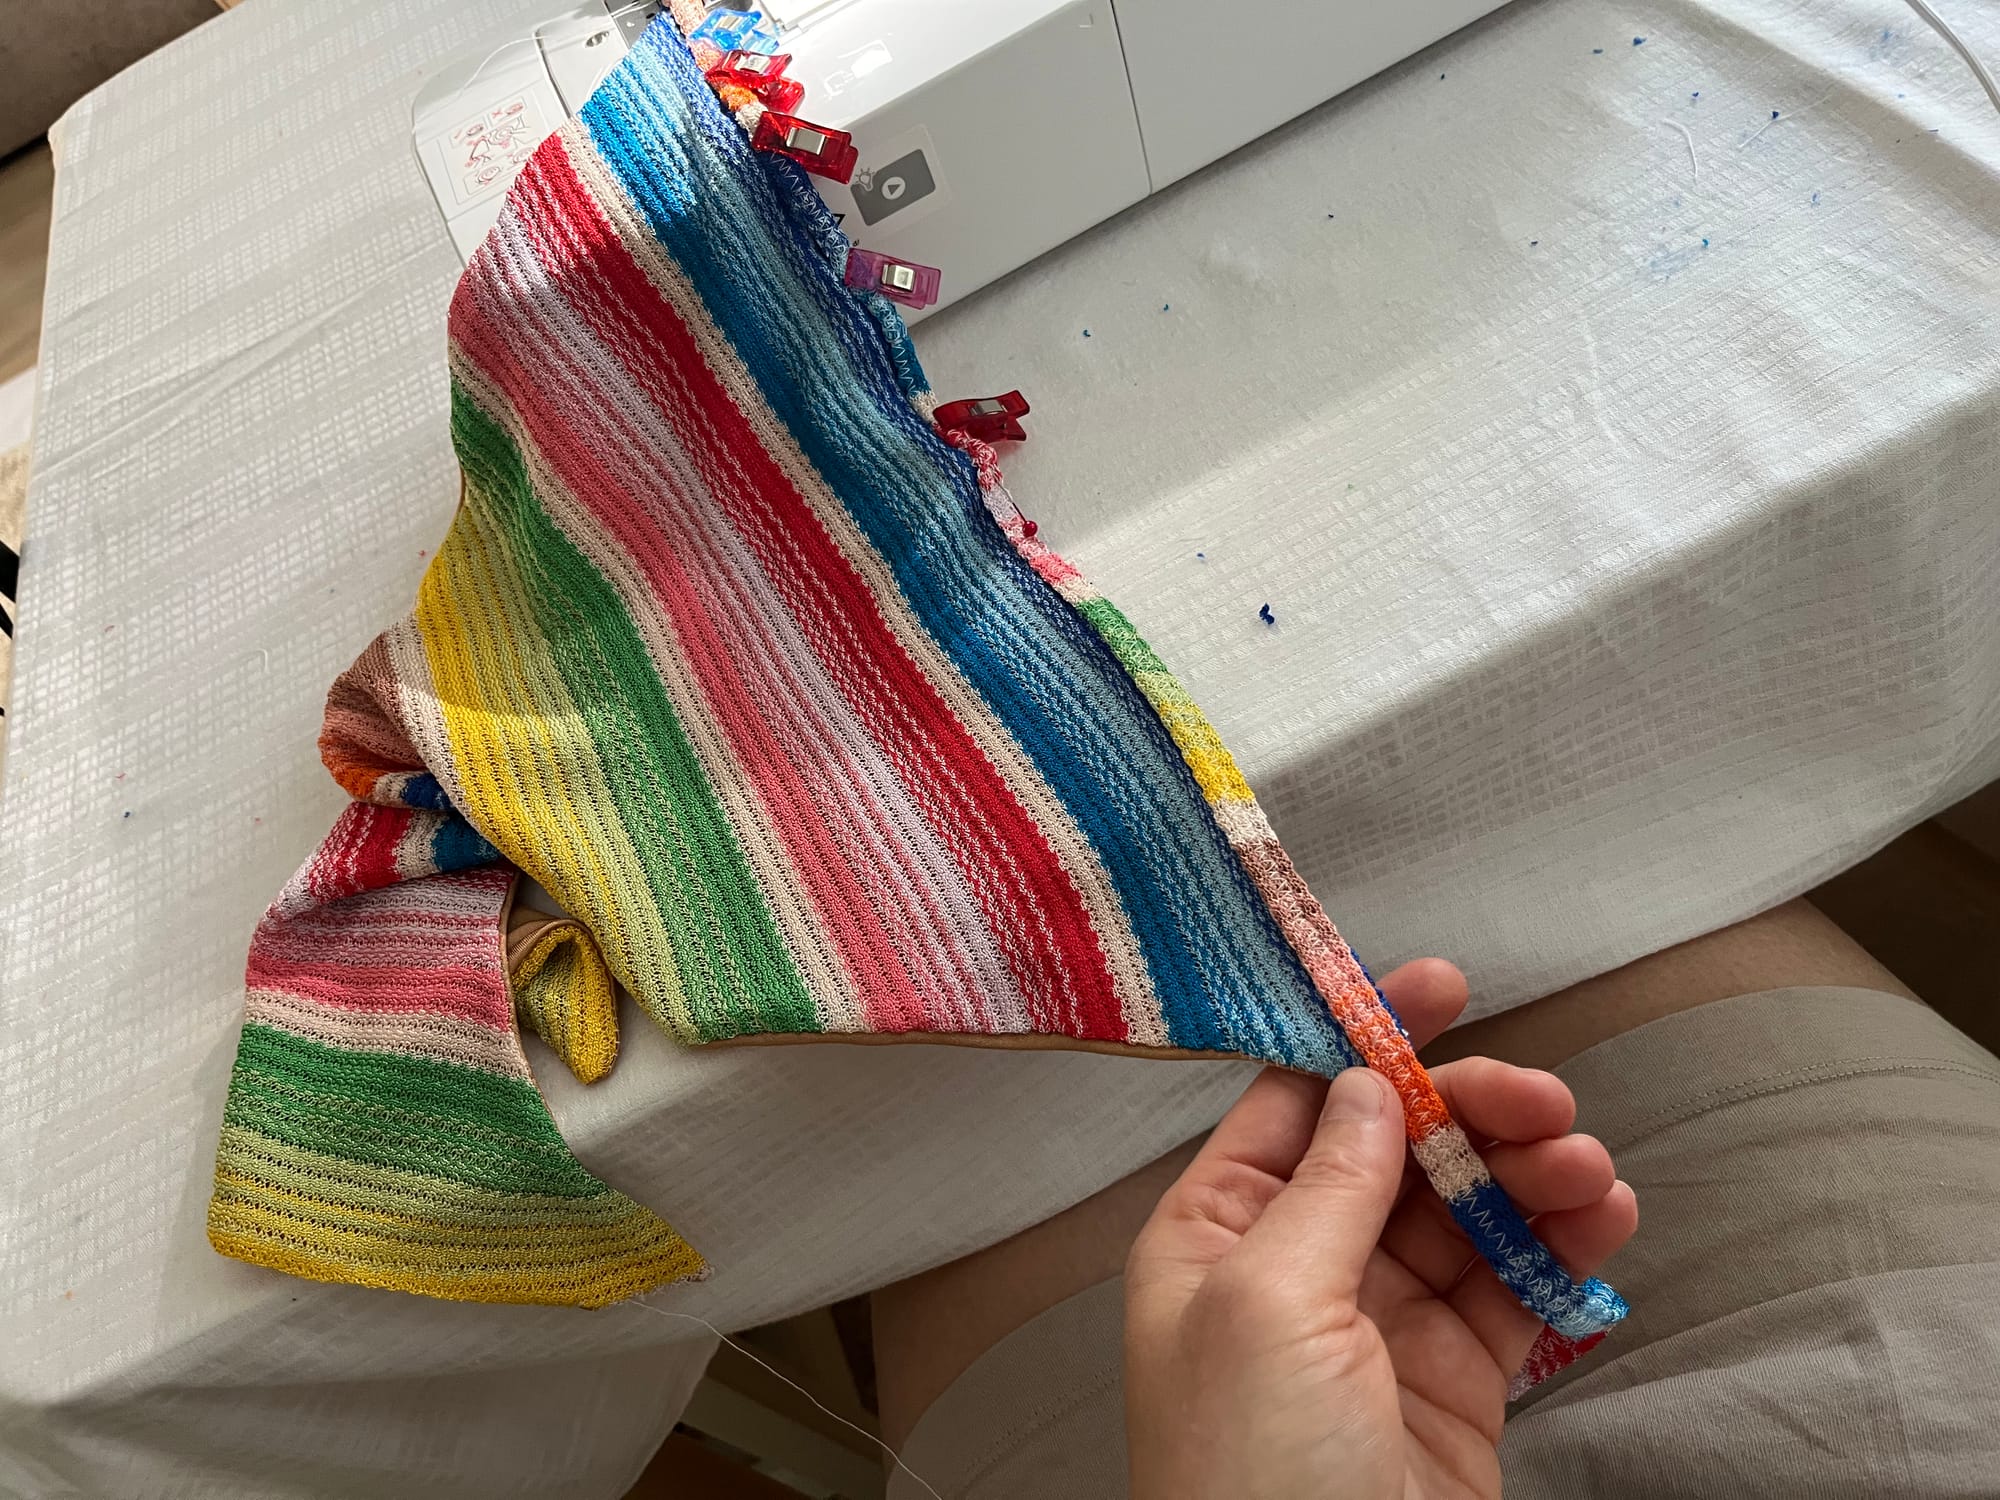
4. Take the top of the swimsuit. From the outside of each of them (from the shoulder), insert the prepared string with the open side, and sew it along its entire length. The outer part of the swimsuit will be beautifully sewn into the string, and the part will be beautifully hemmed. Sew again with a flexible zigzag stitch, if you are not sewing on an overlock.
5. Fold the bottom of the swimsuit inwards at both upper parts and sew. Just fold approximately 1 cm. / 0.4 inch. You will have a tunnel through which you can thread the string for tying the upper part around the chest.
6. Iron all 3 remaining strings in half and in quarters and sew them along their entire length with a zigzag stitch. Then thread the string for the upper part through both upper parts of the swimsuit. The entire upper part of your bikini is now finished.
7. Finish it. If you want the bottom part to be pulled over, fold the ends on both sides (front and back) by 1 cm (0.4 in) and sew.
Thread both ends through the strings. The shorter one belongs on the front part. And you're done.
If you want the bottom part to be decorative like mine. Fasten the strings in the middle so they are the same length on both sides of each part, then sew them firmly to the upper edge of the swimsuit's front and back.
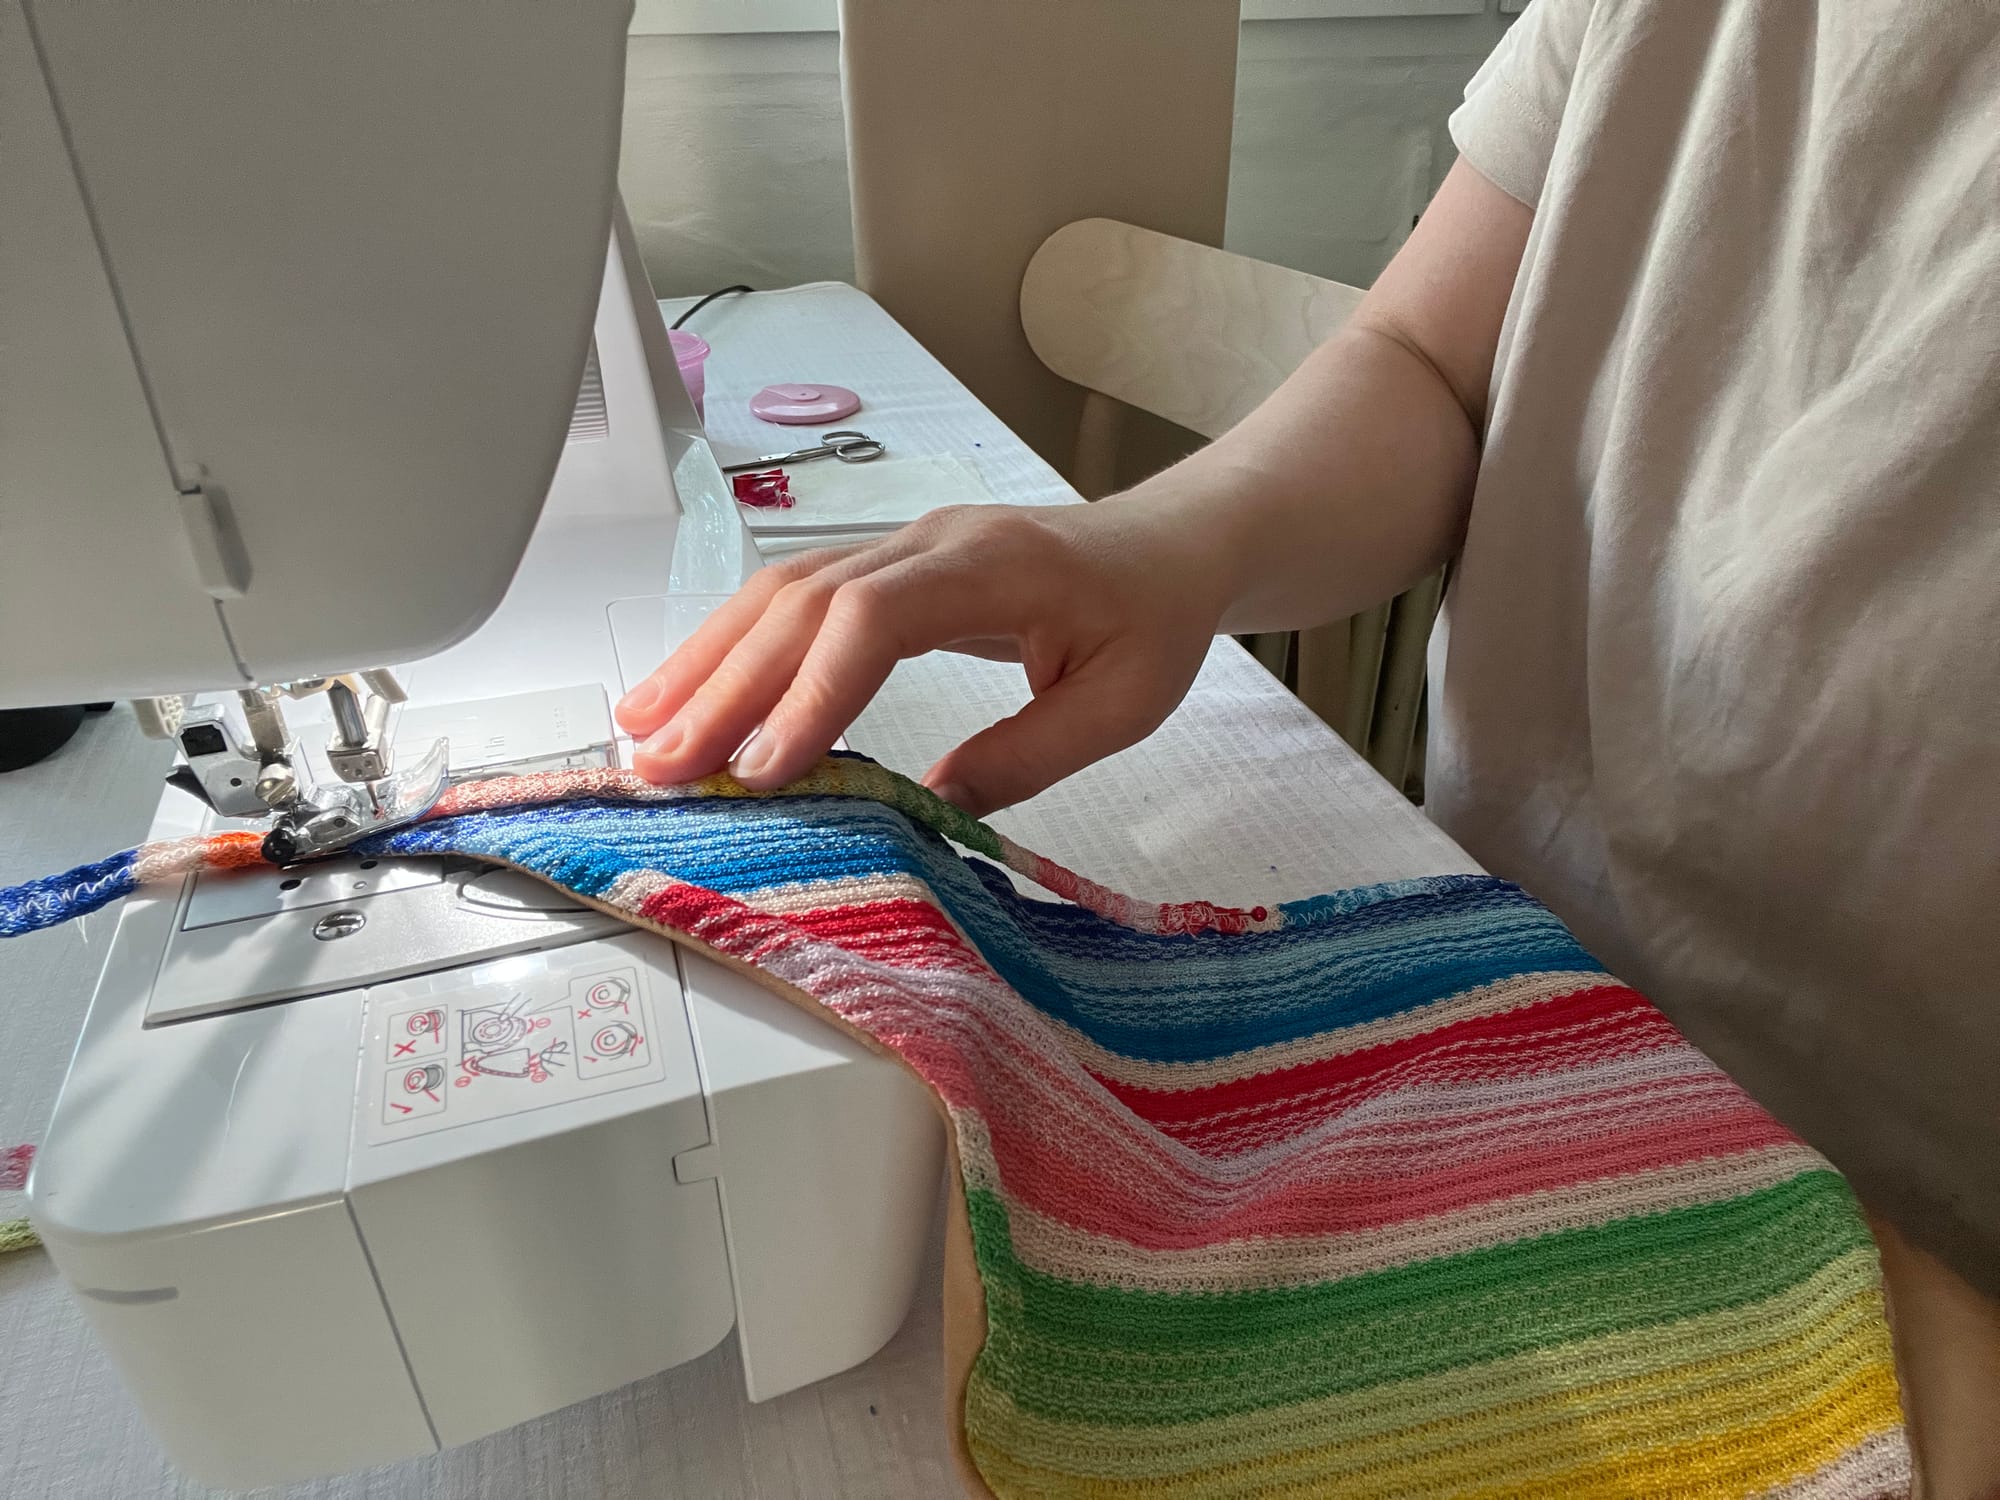
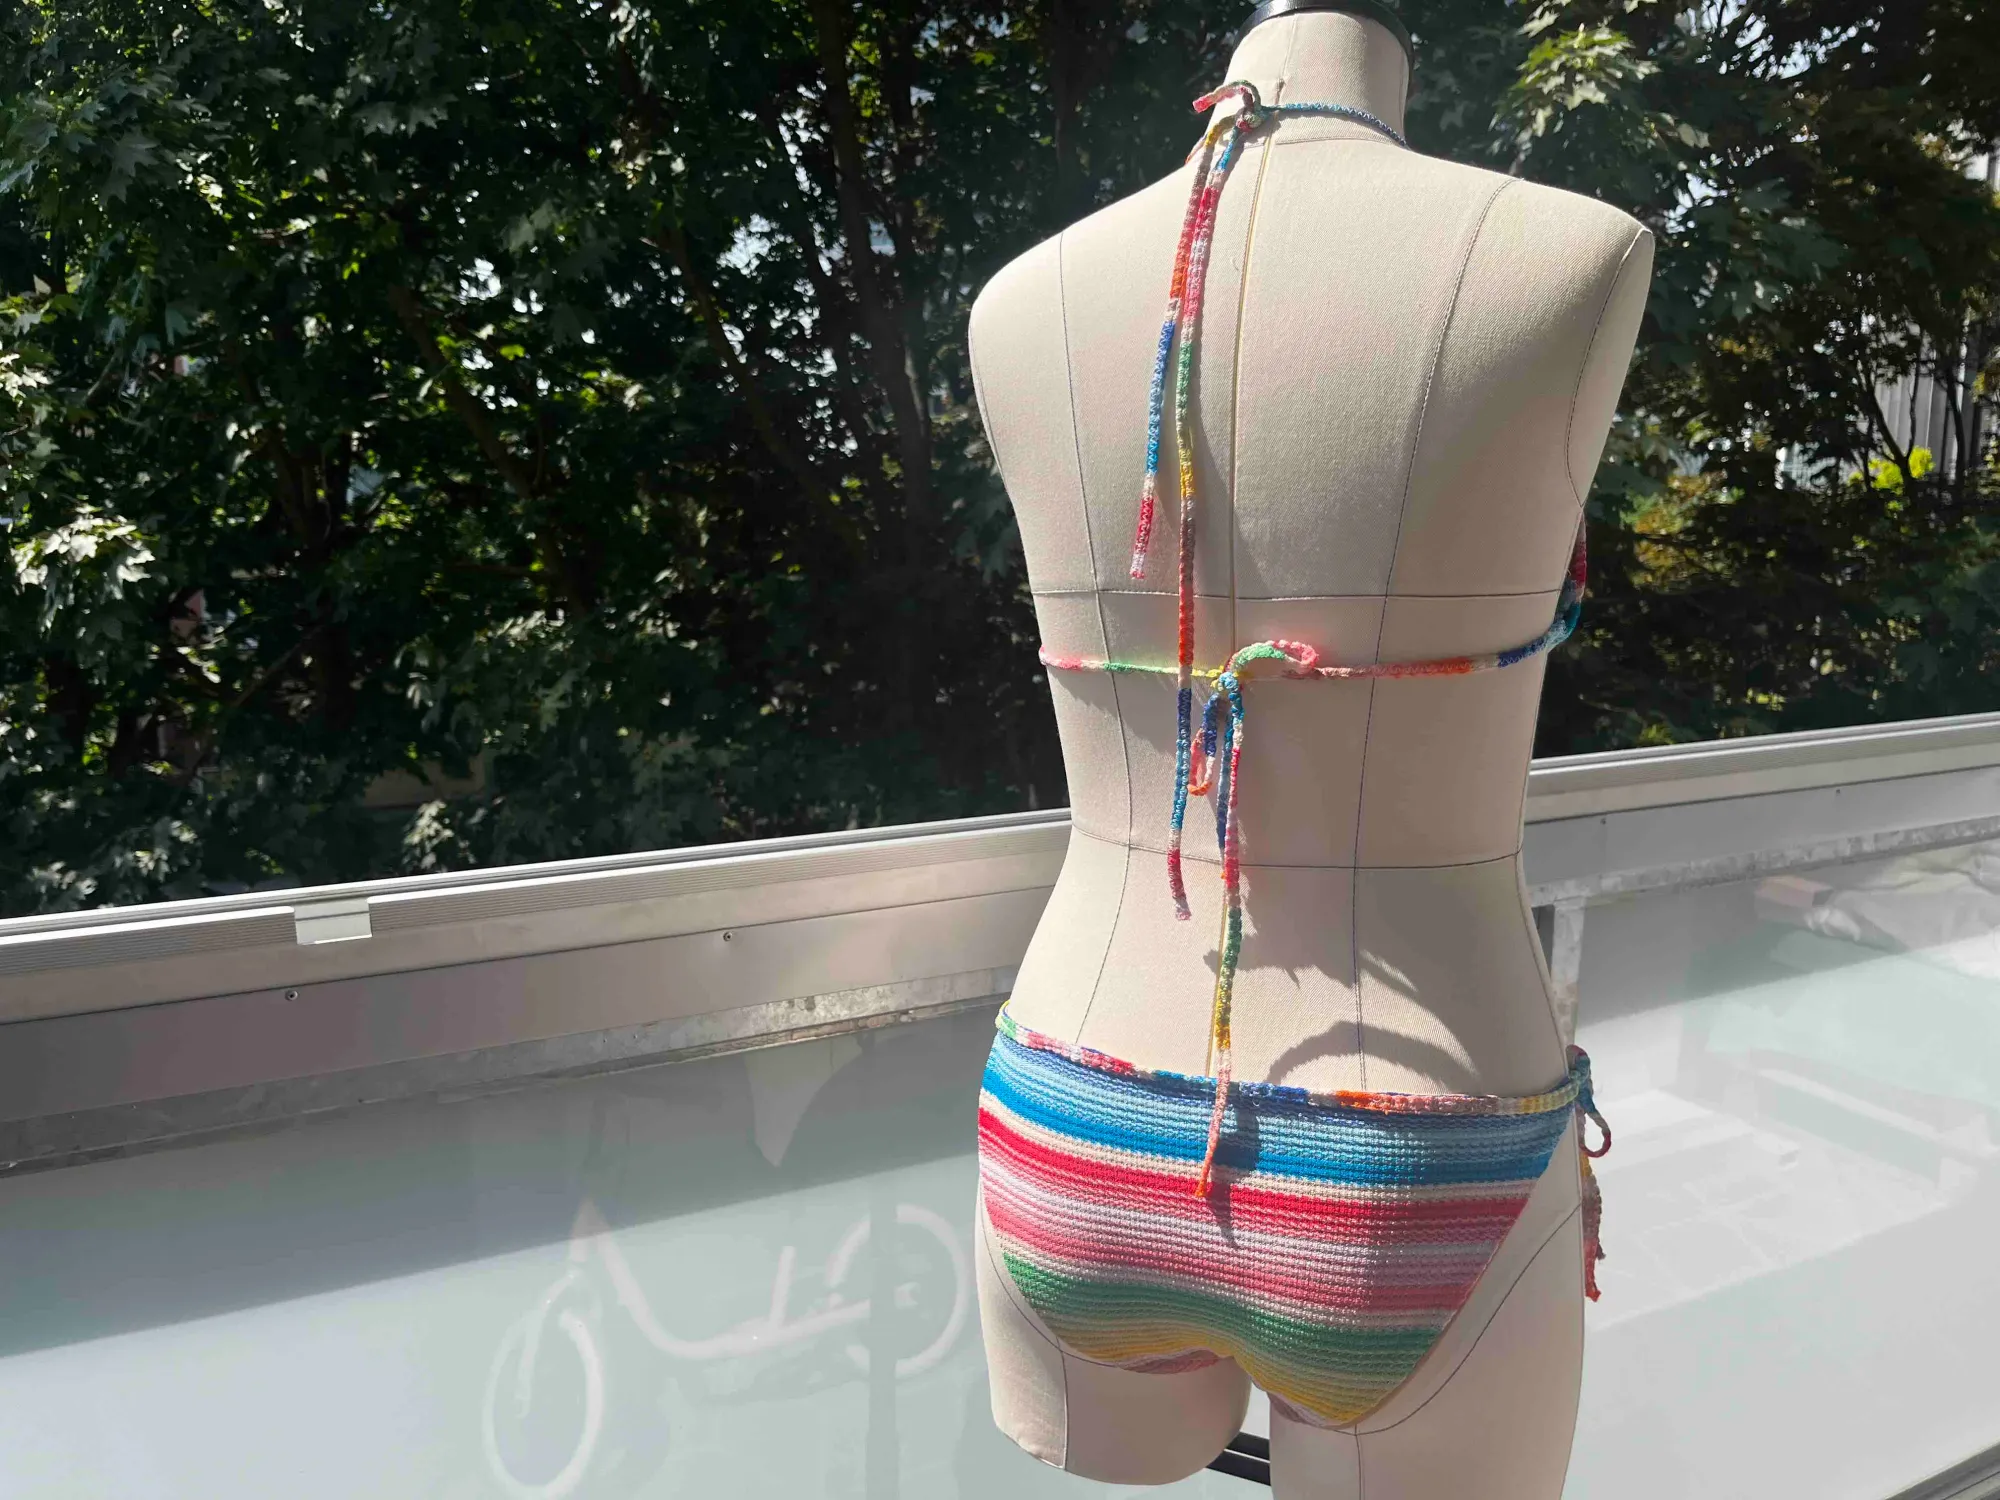
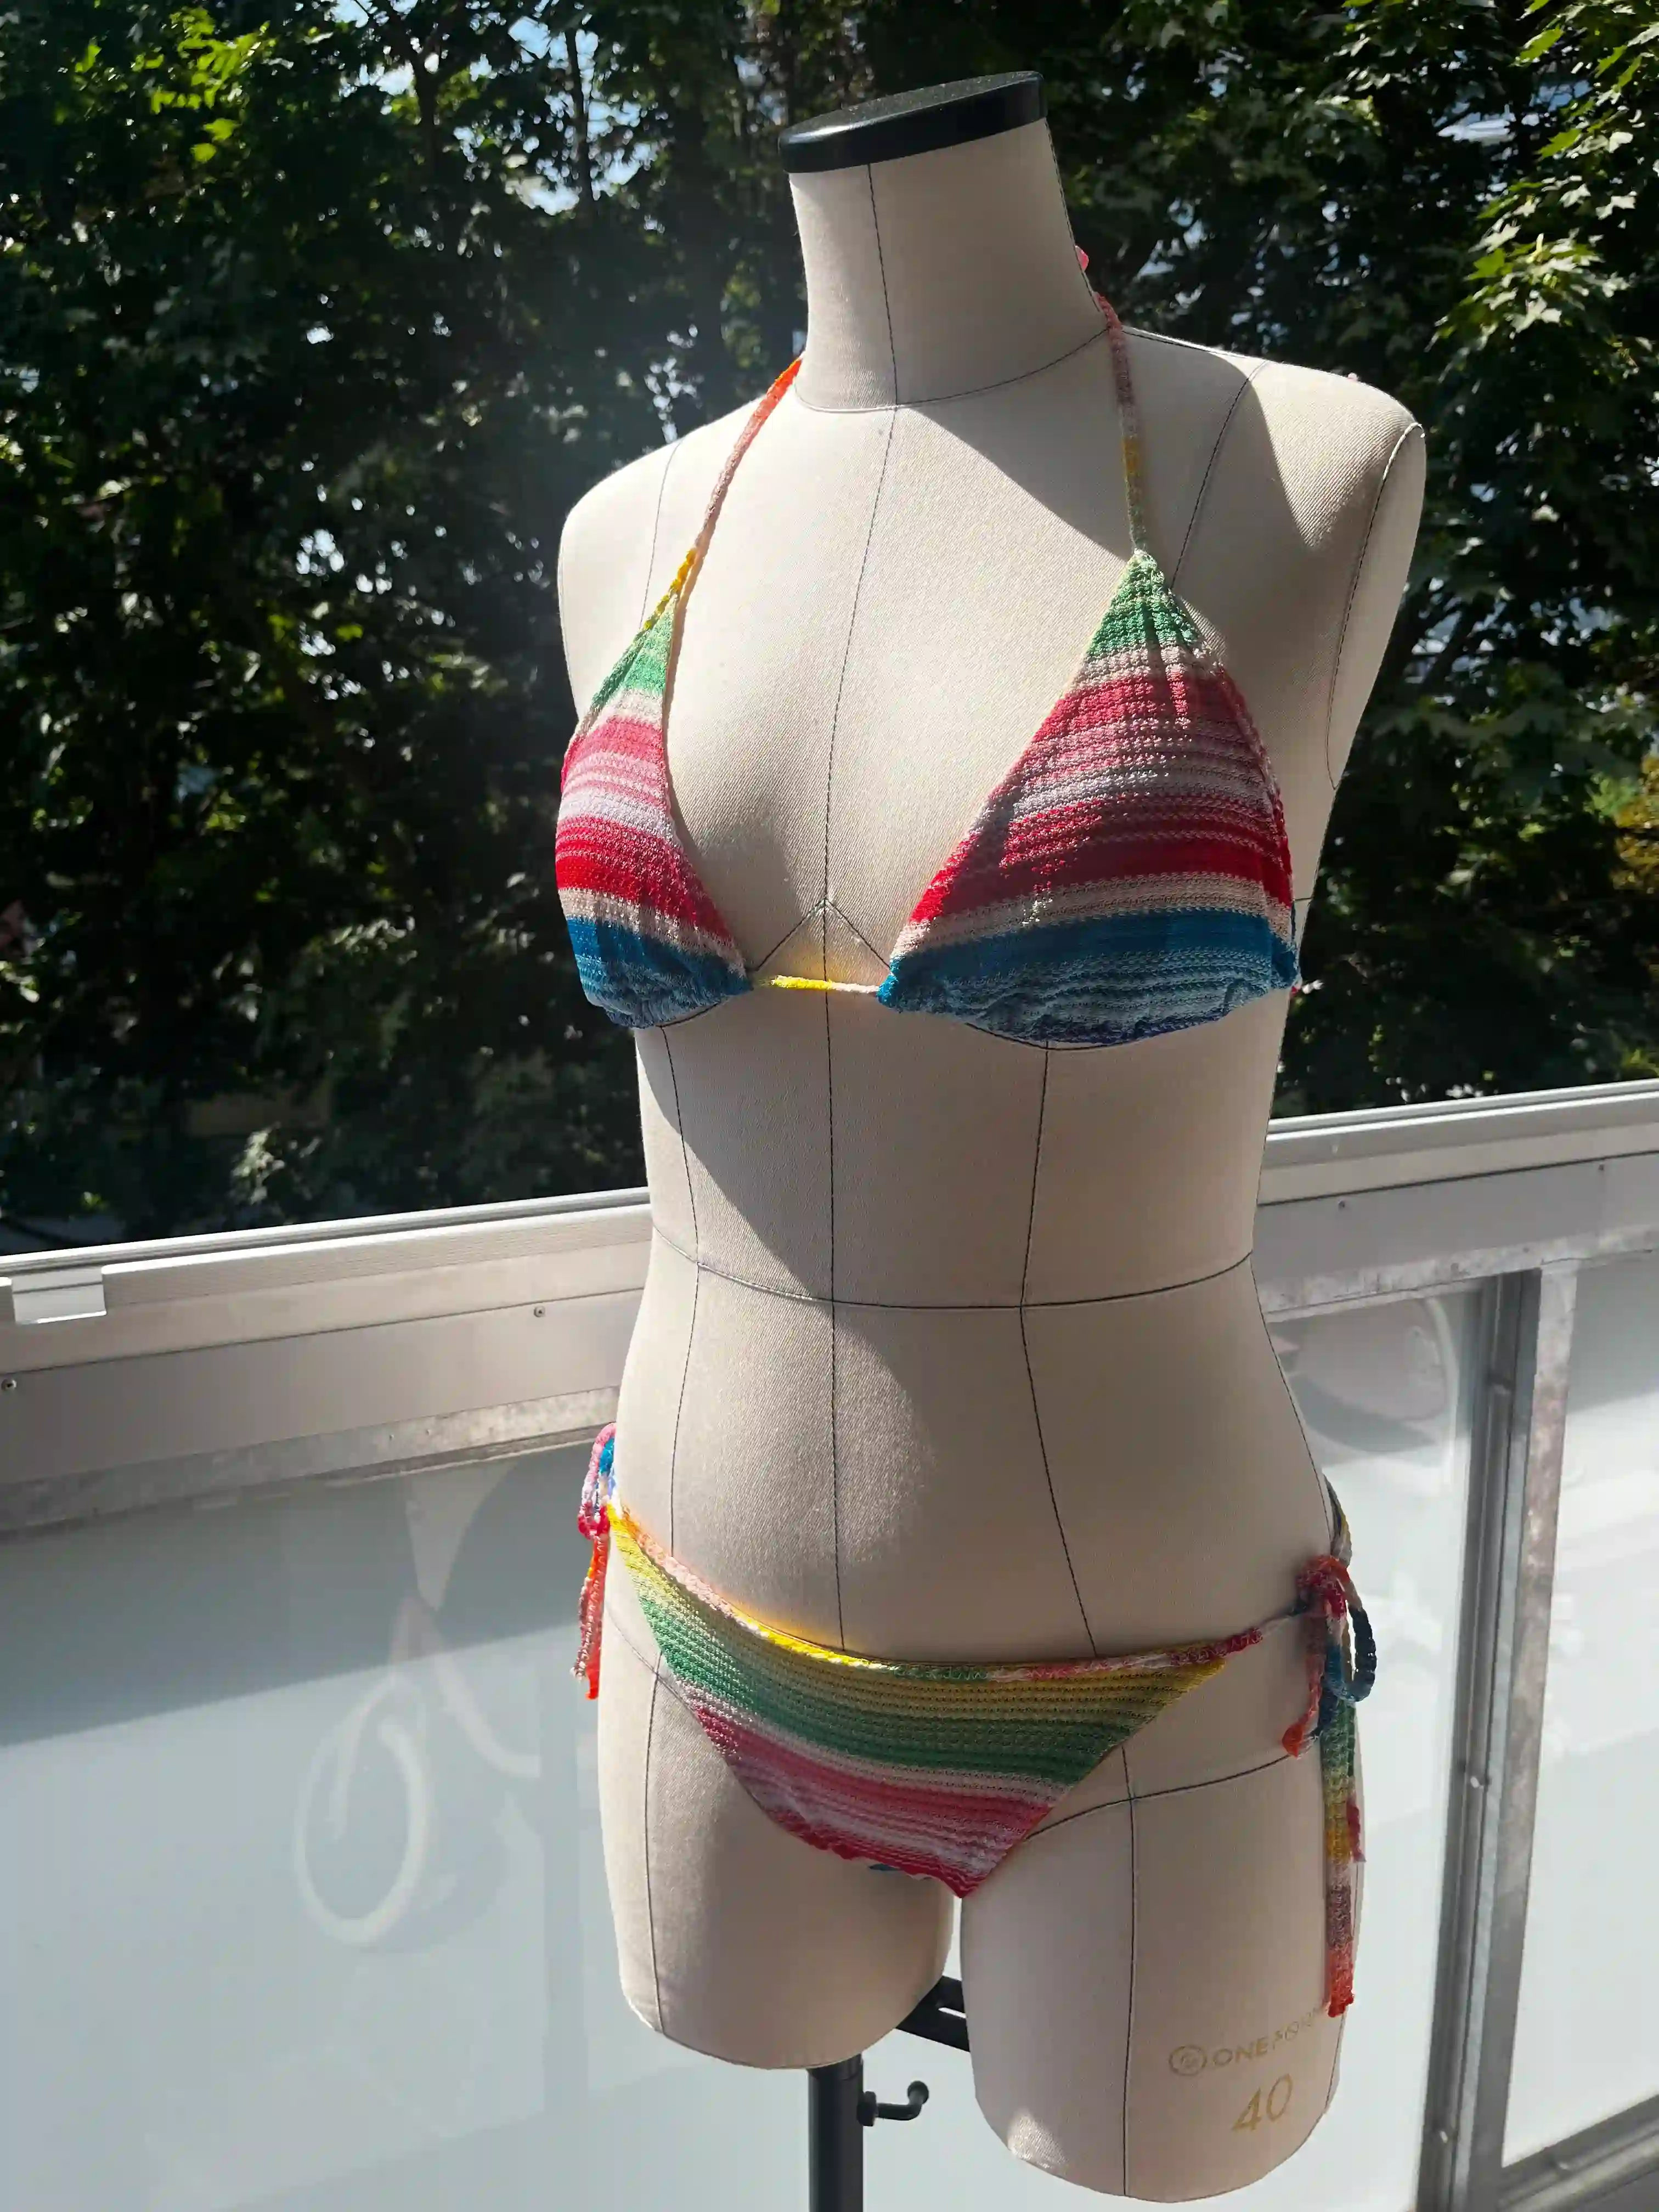
Now you're done. Just pack your swimsuit and head out to the beach to sunbathe and have fun.
Let's Do the Math
For the Missoni-inspired summer bikini, I needed 0.8 m / 31.49 in of Missoni fabric I bought at the shop. Same length for Swimsuit lining. These fabrics cost me 50 EUR / 57 USD in total.
I sewed this bikini in around 7 hours due to the knitting, stretchy material.
On the Missoni website, I found a similar bikini (not the same as mine, of course) priced at around 430 EUR / 496 USD.
I am certainly not denying whether the bikini is well-made or how much we pay for the brand. I can appreciate that working on their bikini takes a lot of time. On the other hand, I wanted to show you the raw cost.
If you need to discuss anything, write to me, I'll be happy to help.
BTW: Don't forget to check out the Missoni-inspired dress, which you might also be able to sew. I managed to do it as a beginner.
Happy sewing! 🧵✨
Dana
)